Foam Fixed-Wing Drone / RC Aircraft
This is actually just a Remote Controlled (RC) airplane build. However, since the controller in it is capable of keeping the wings level and flying to a destination without my direct input, I have to concede that this is truly a drone. To most, a Drone is a quad-copter. To me, they are all Remote Control aircraft regardless of their configuration, and Drone only defines that it can fly itself. Anyway...
I have been building RC things since I was a kid. I have built dozens of them. These include:
- Traditional balsa models covered in heat-shrink film.
- Hot-wire foam models covered in epoxy and balsa.
- Hobby foam board and hot-melt glue models.
- Quad-copters, cars, whatever.
The point of this build is to explore non-traditional methods of construction. It may look ugly, but pretty is not the point. On this build, I used a CNC router to 3D mill the wing and fuselage from solid foam. And, I am trying to use as many non-RC aircraft materials and methods as possible. The following is a photo album of that build:
2023
The wing is a flat bottom design. This makes it a bit easier to fabricate, but there are a couple of steps that have to be done by hand. If the bottom was to be curved, the two options are to:
-
Mill the top, mill a holder which matches the upside-down wing, and then mill the bottom.
-
Separately mill a top and a bottom surface and then glue them together (easiest method).
The top surface of the wing was milled with the Worktable CNC and a long bit:
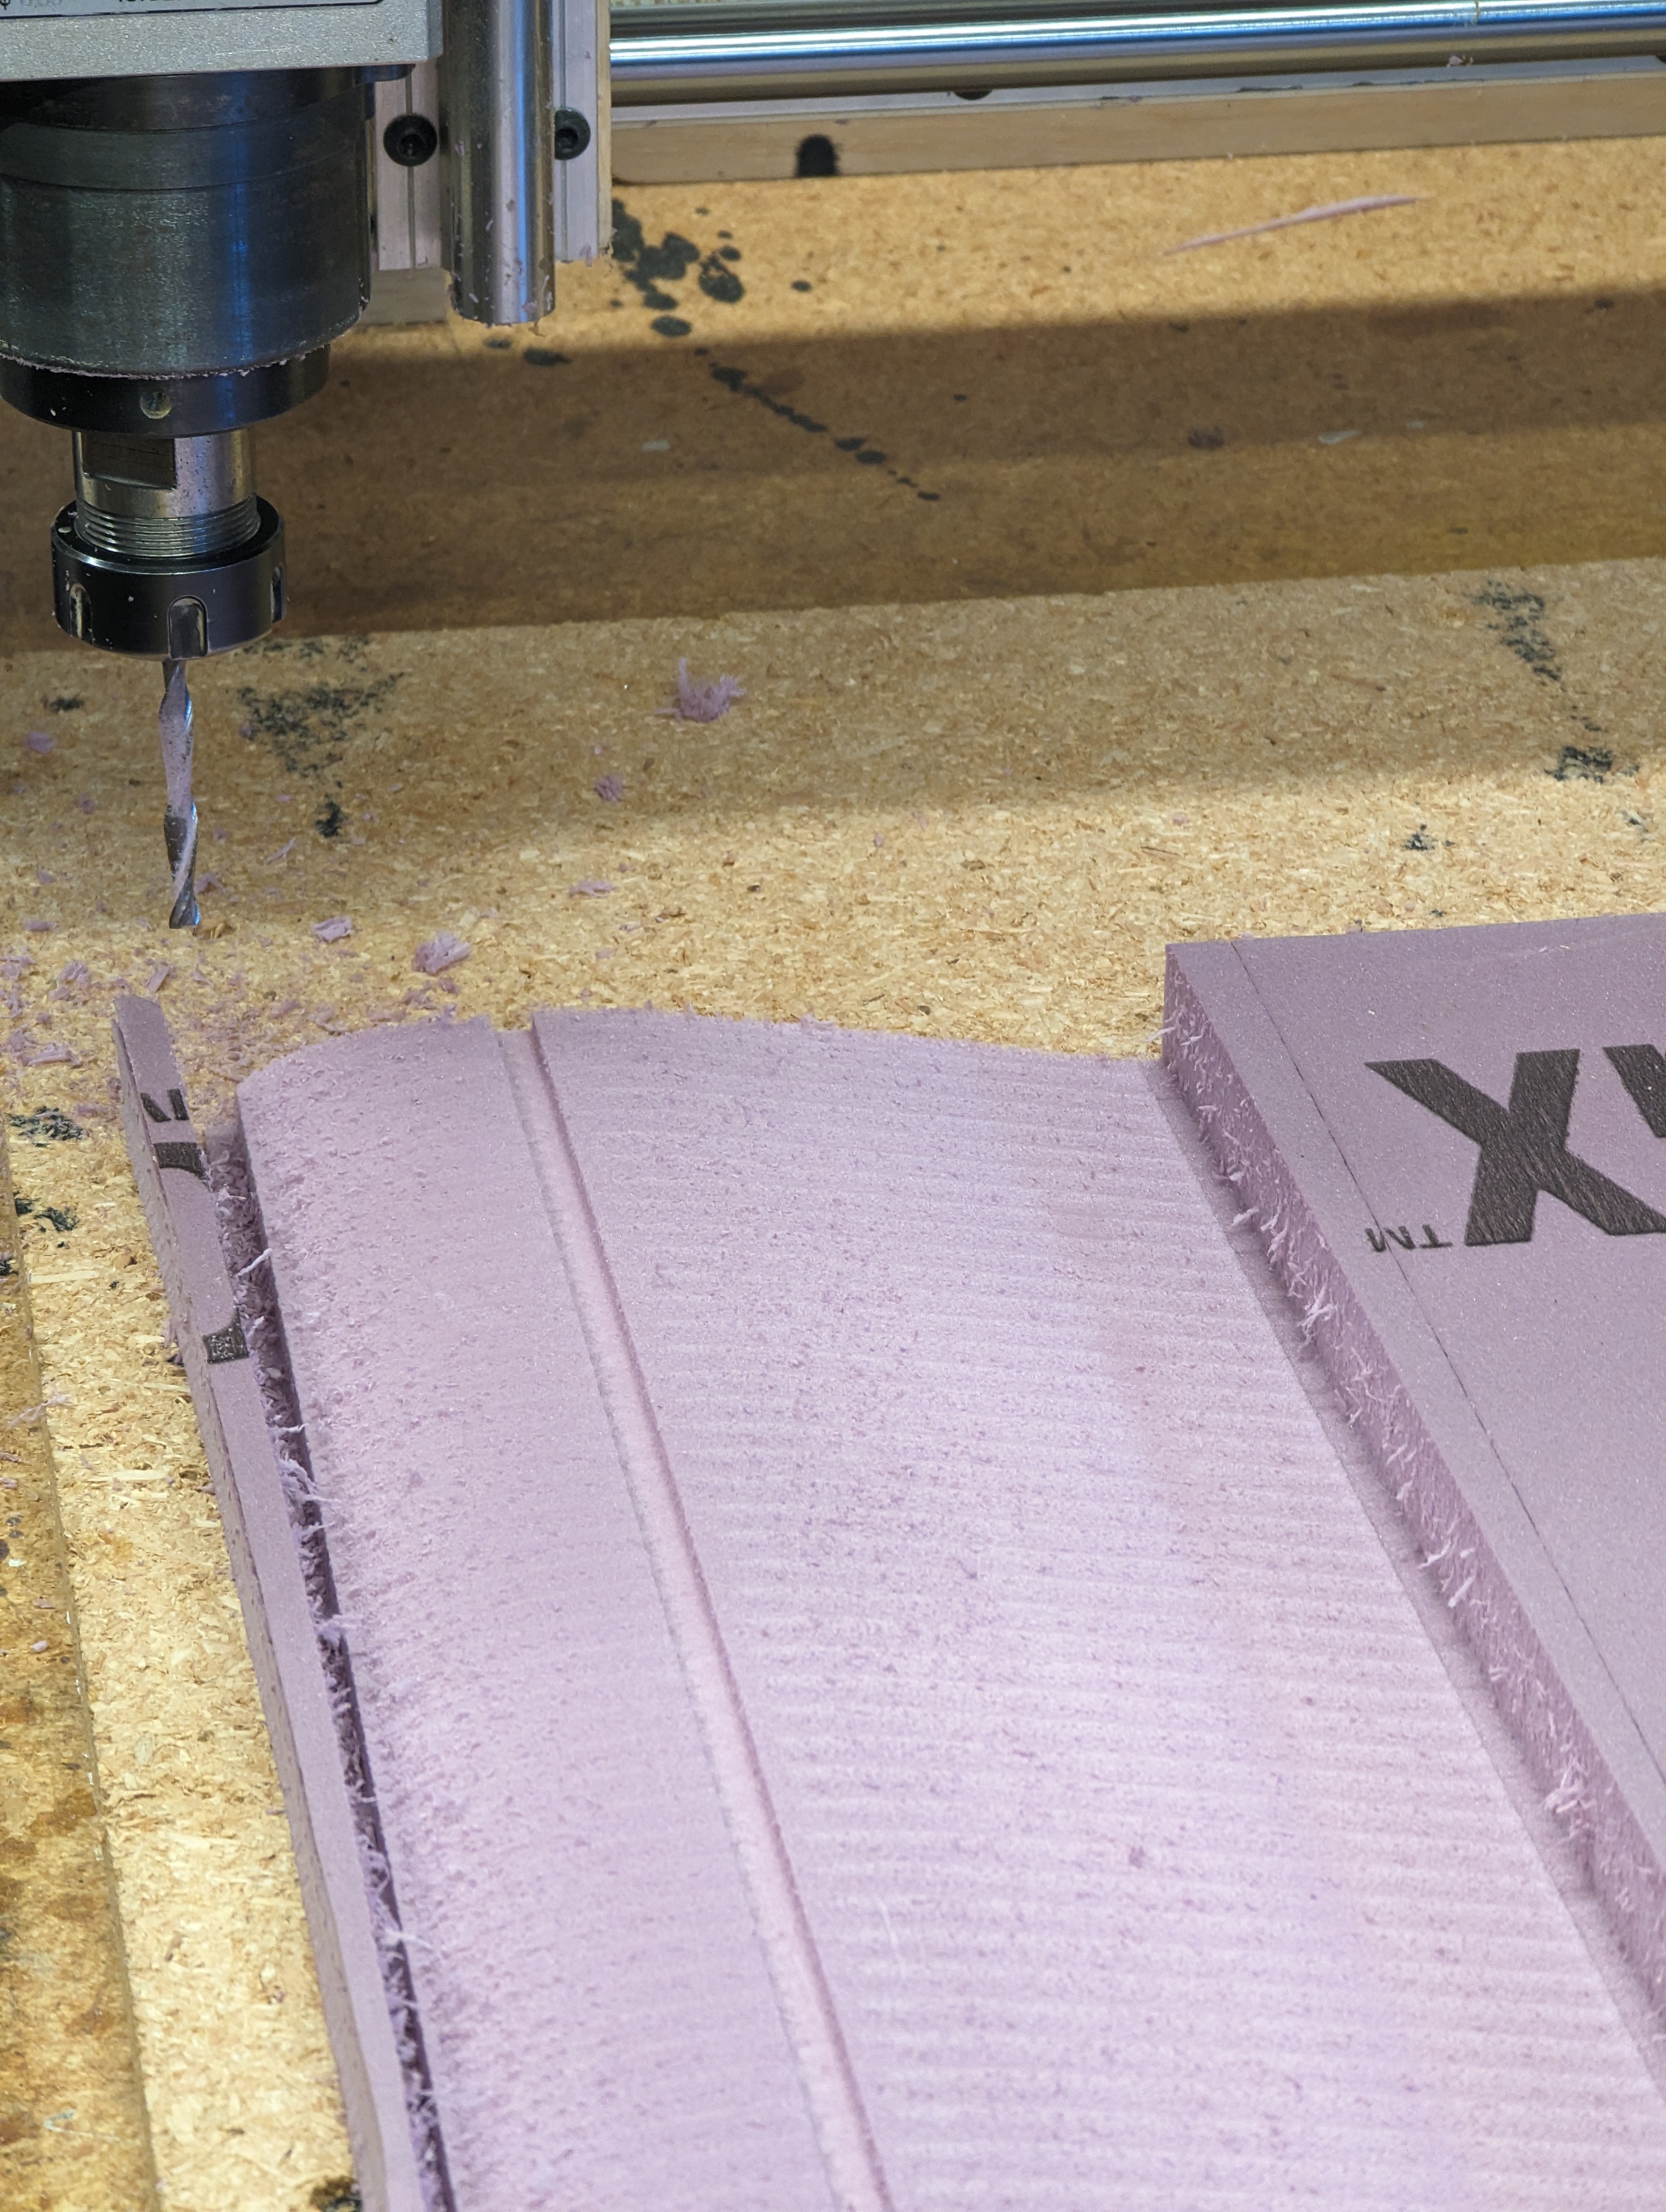
A time-lapse video of the milling:
The rough cut wing:
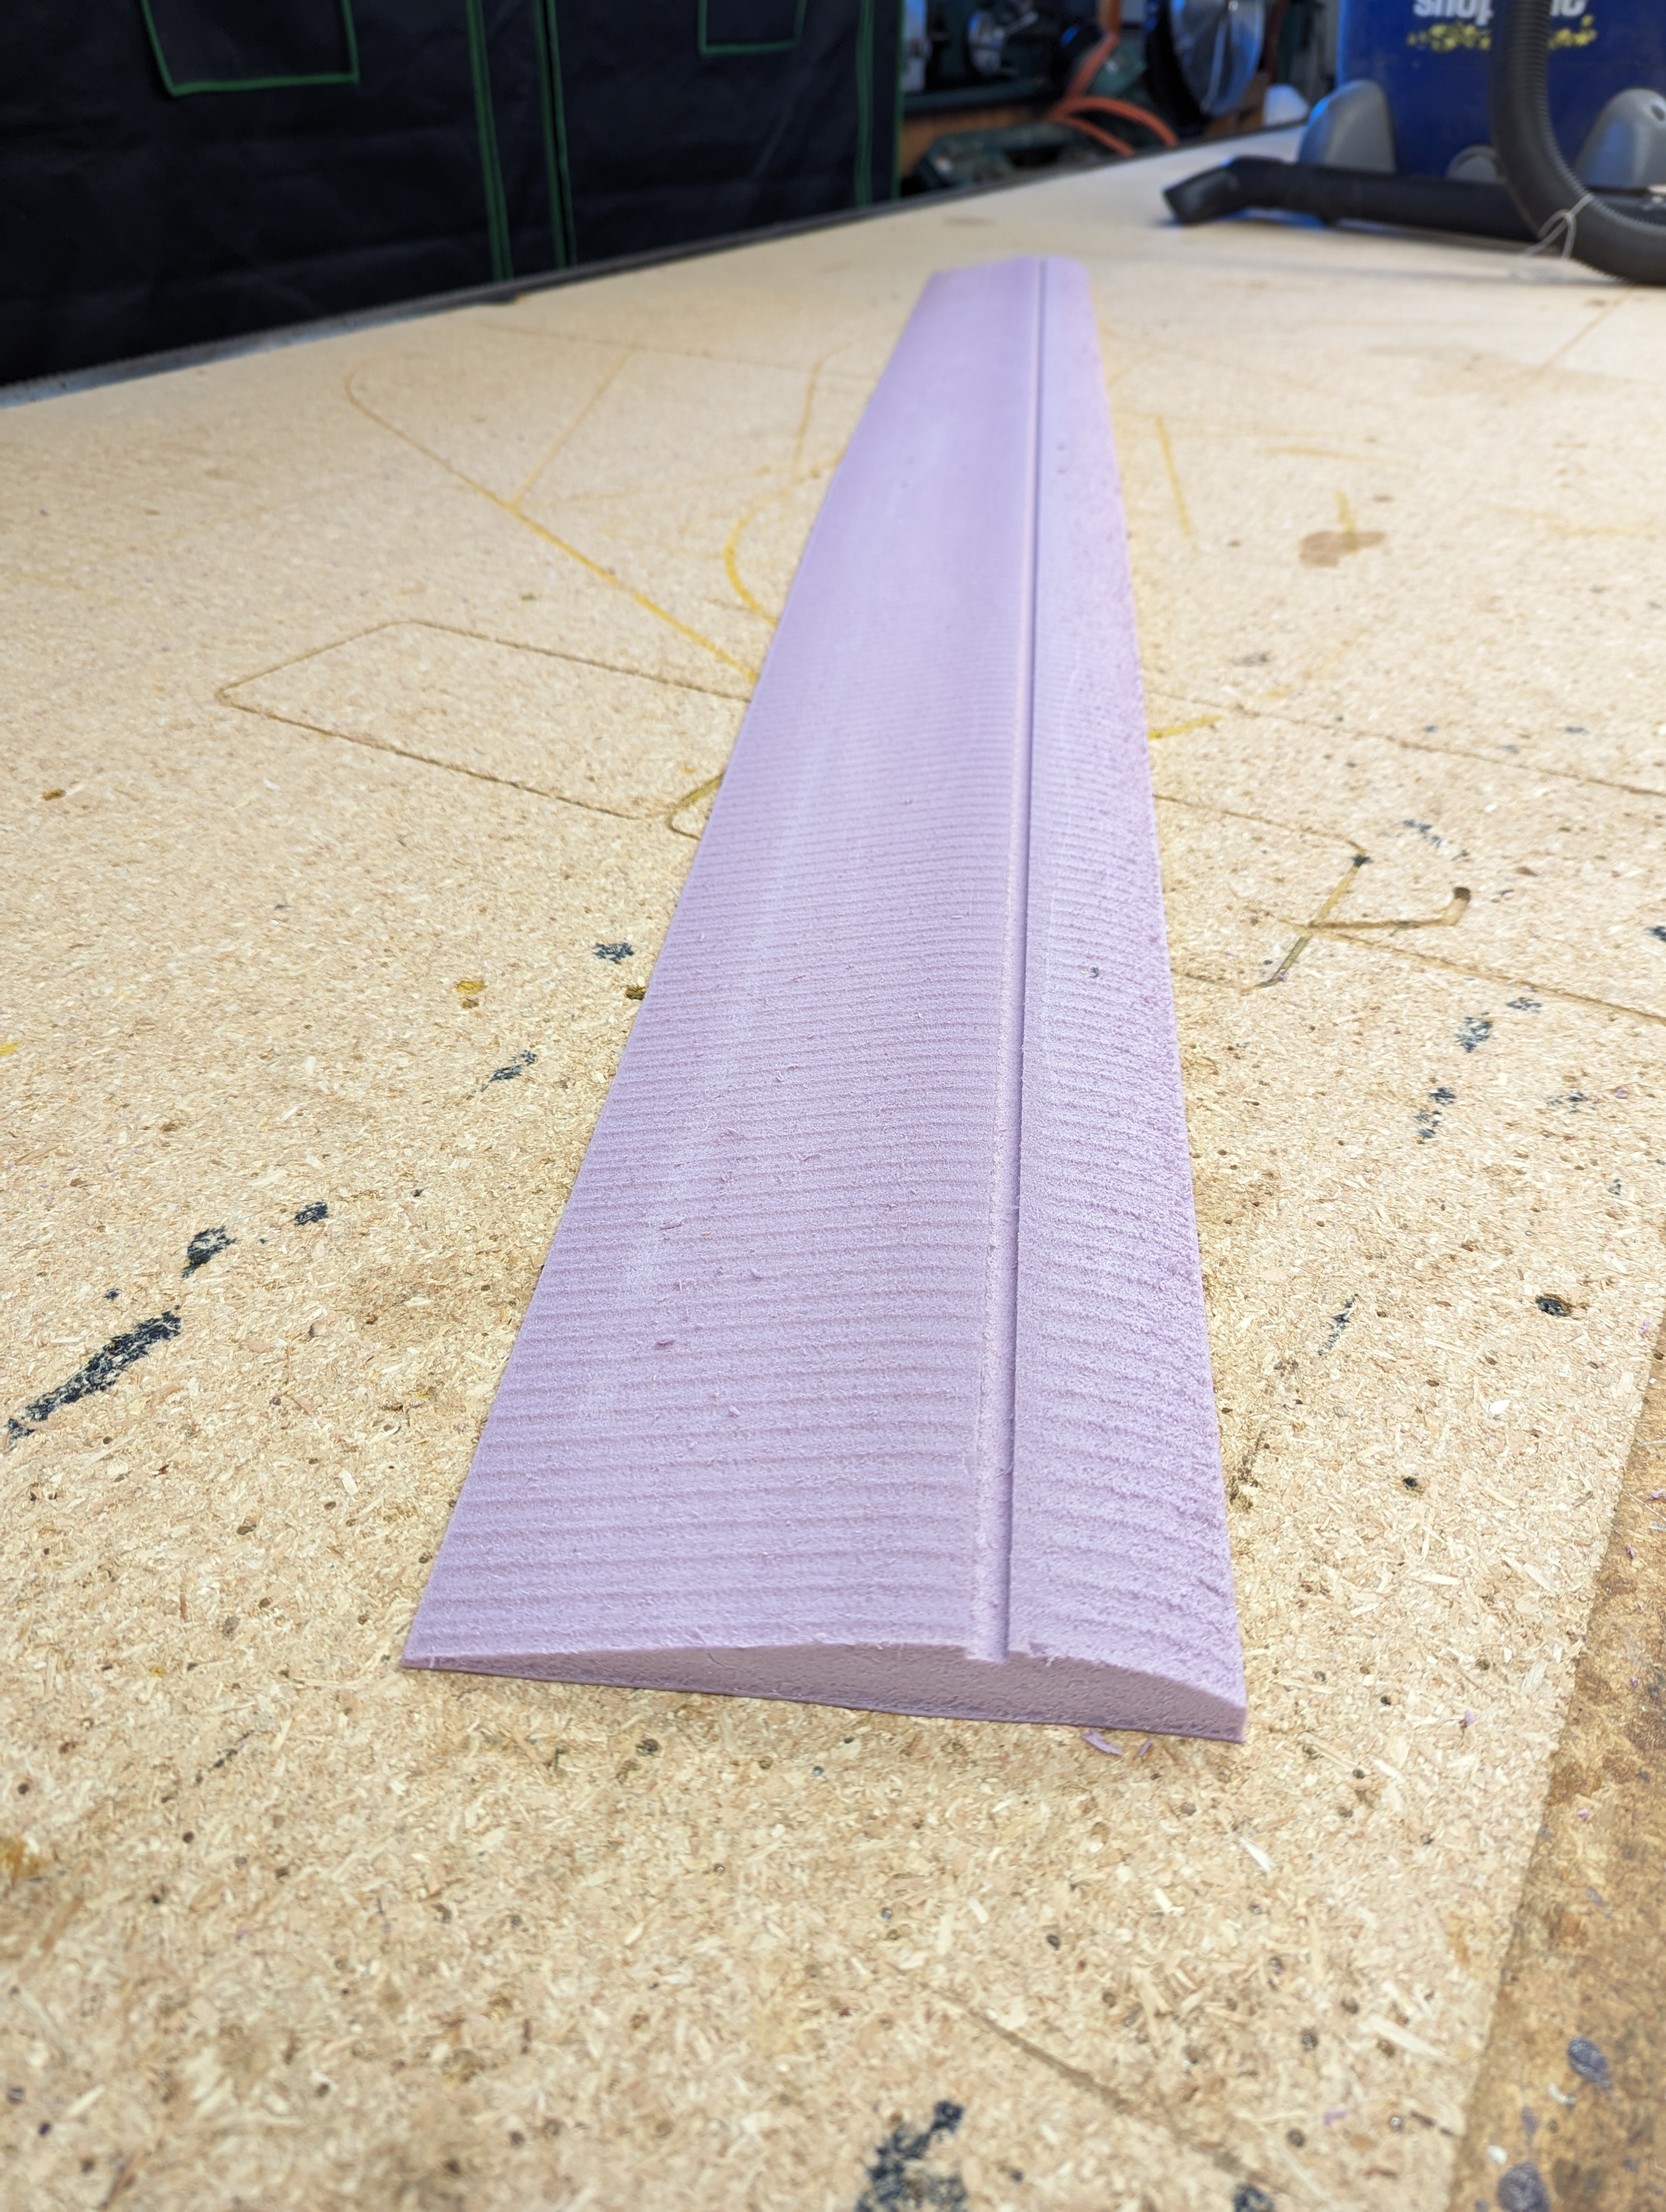
A groove was cut on the bottom surface to receive a spar:
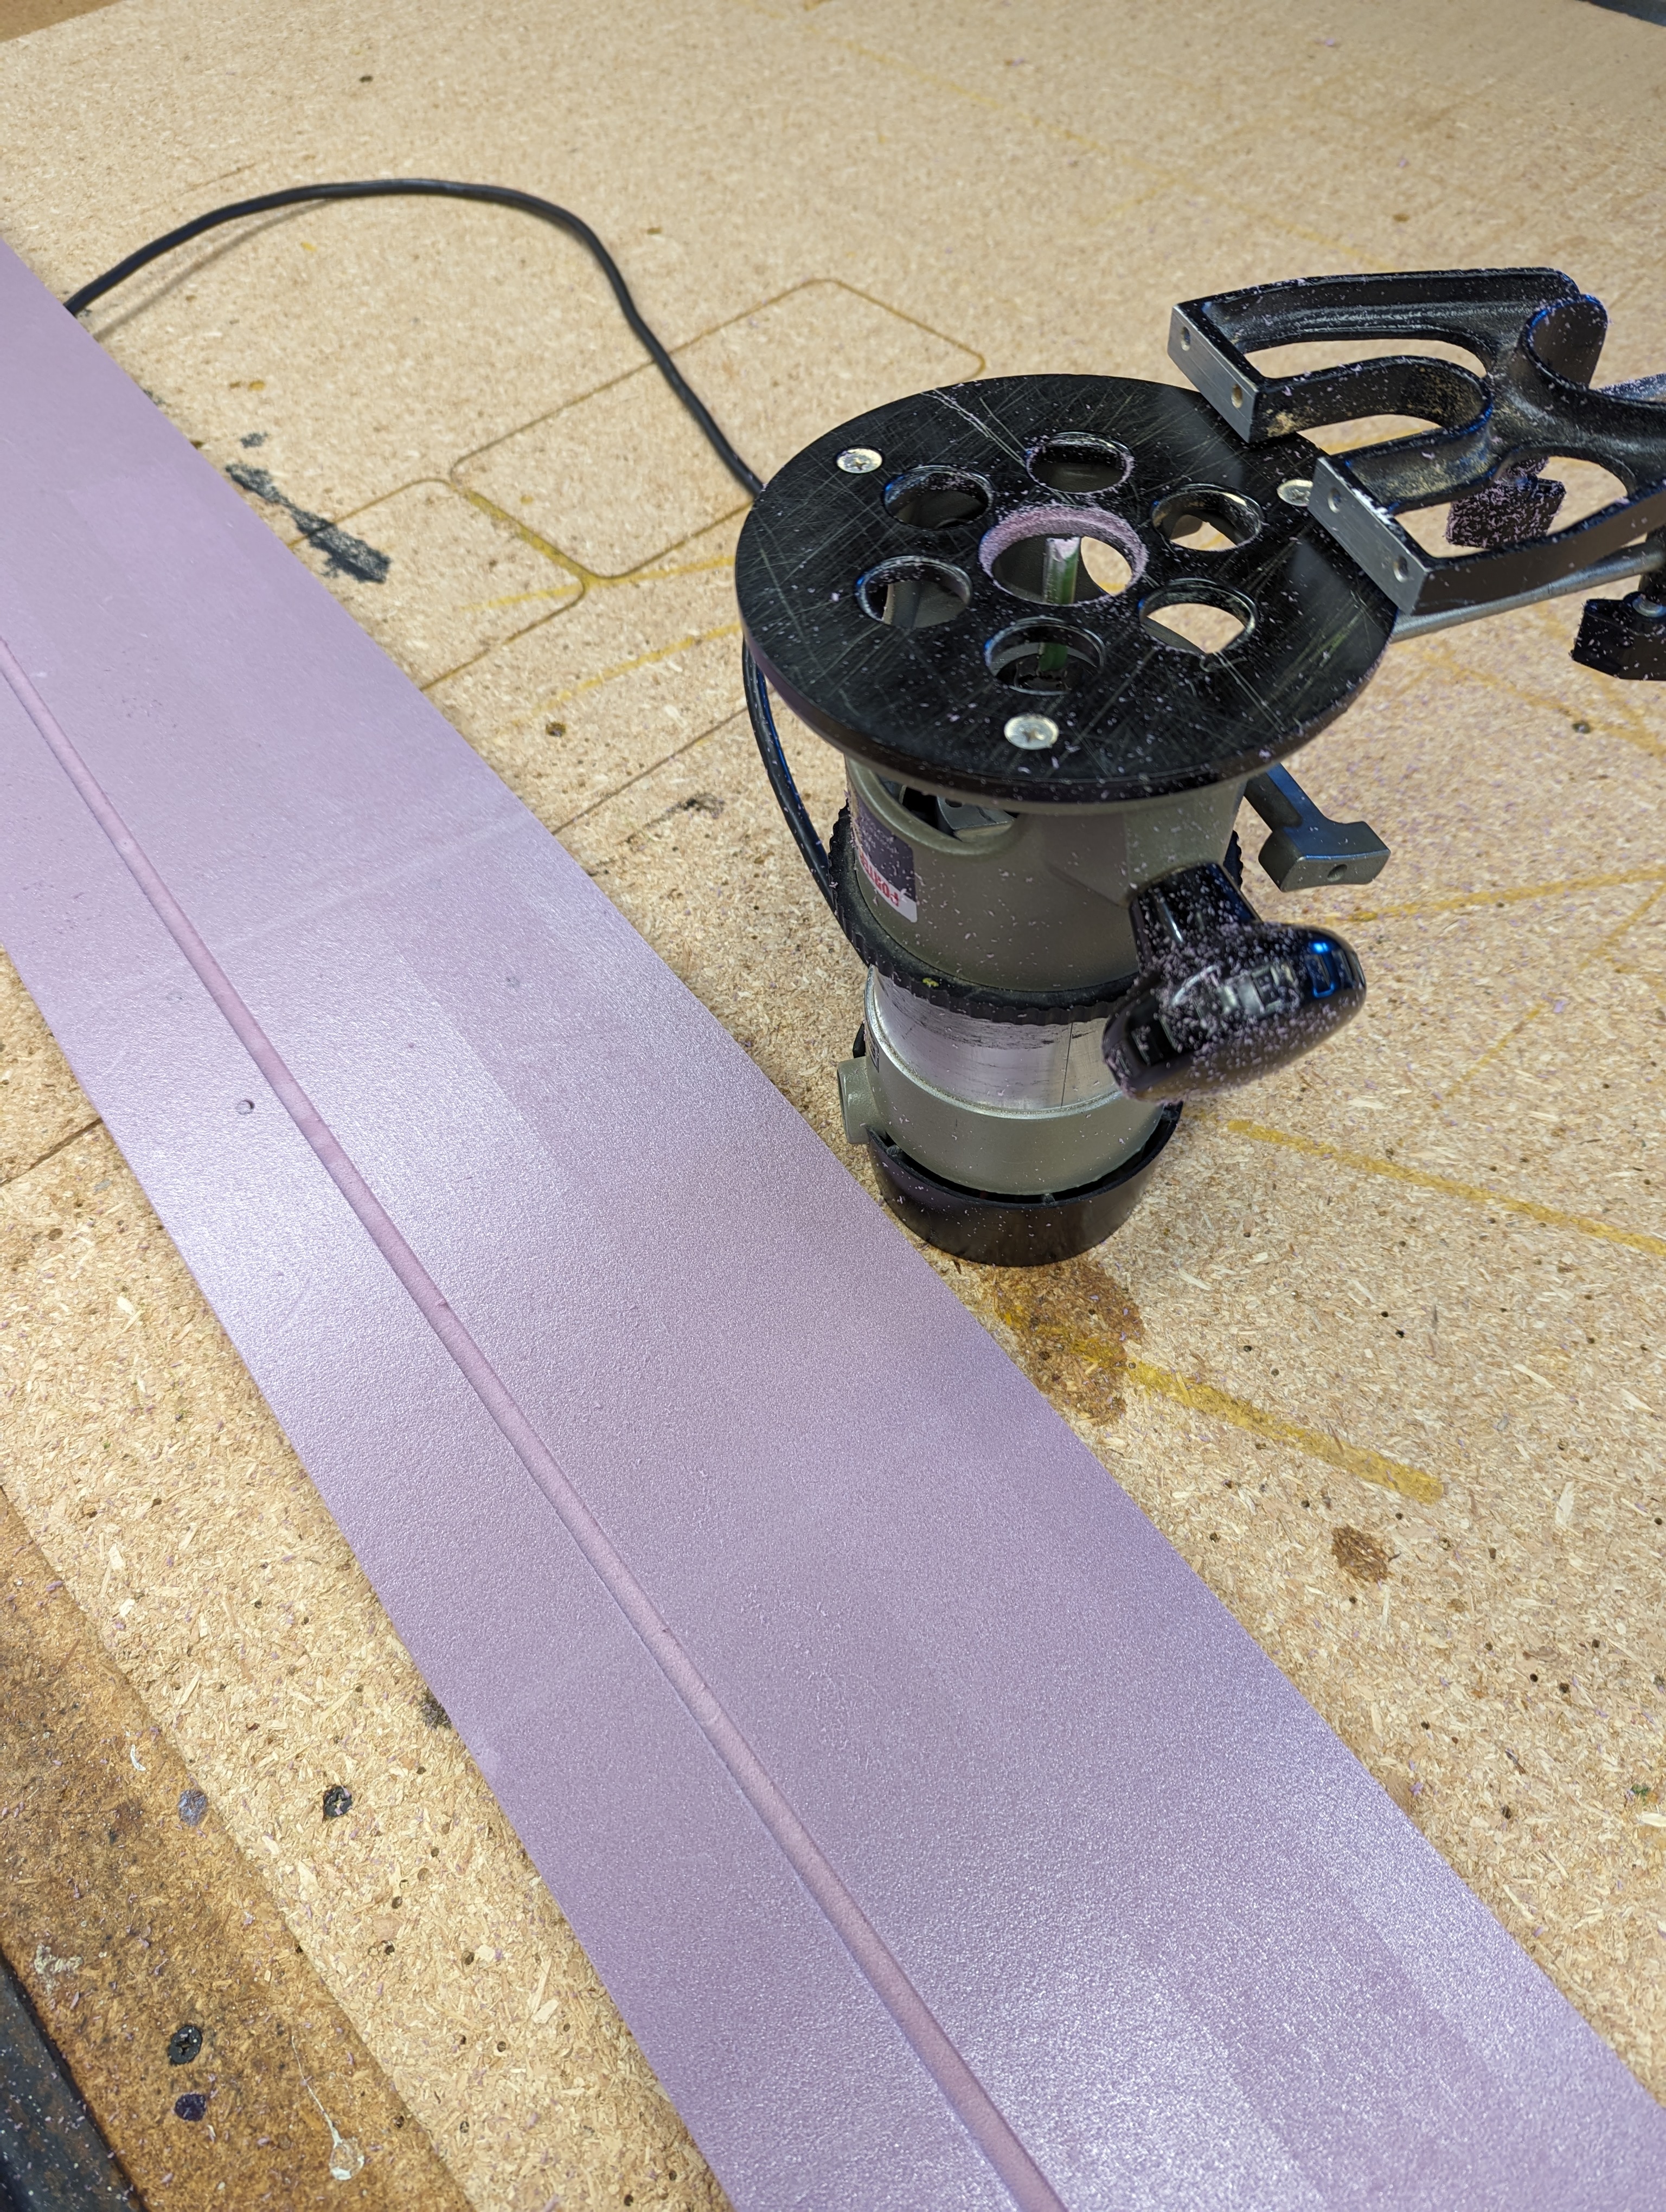
The bottom surface of the leading edge was rounded over:
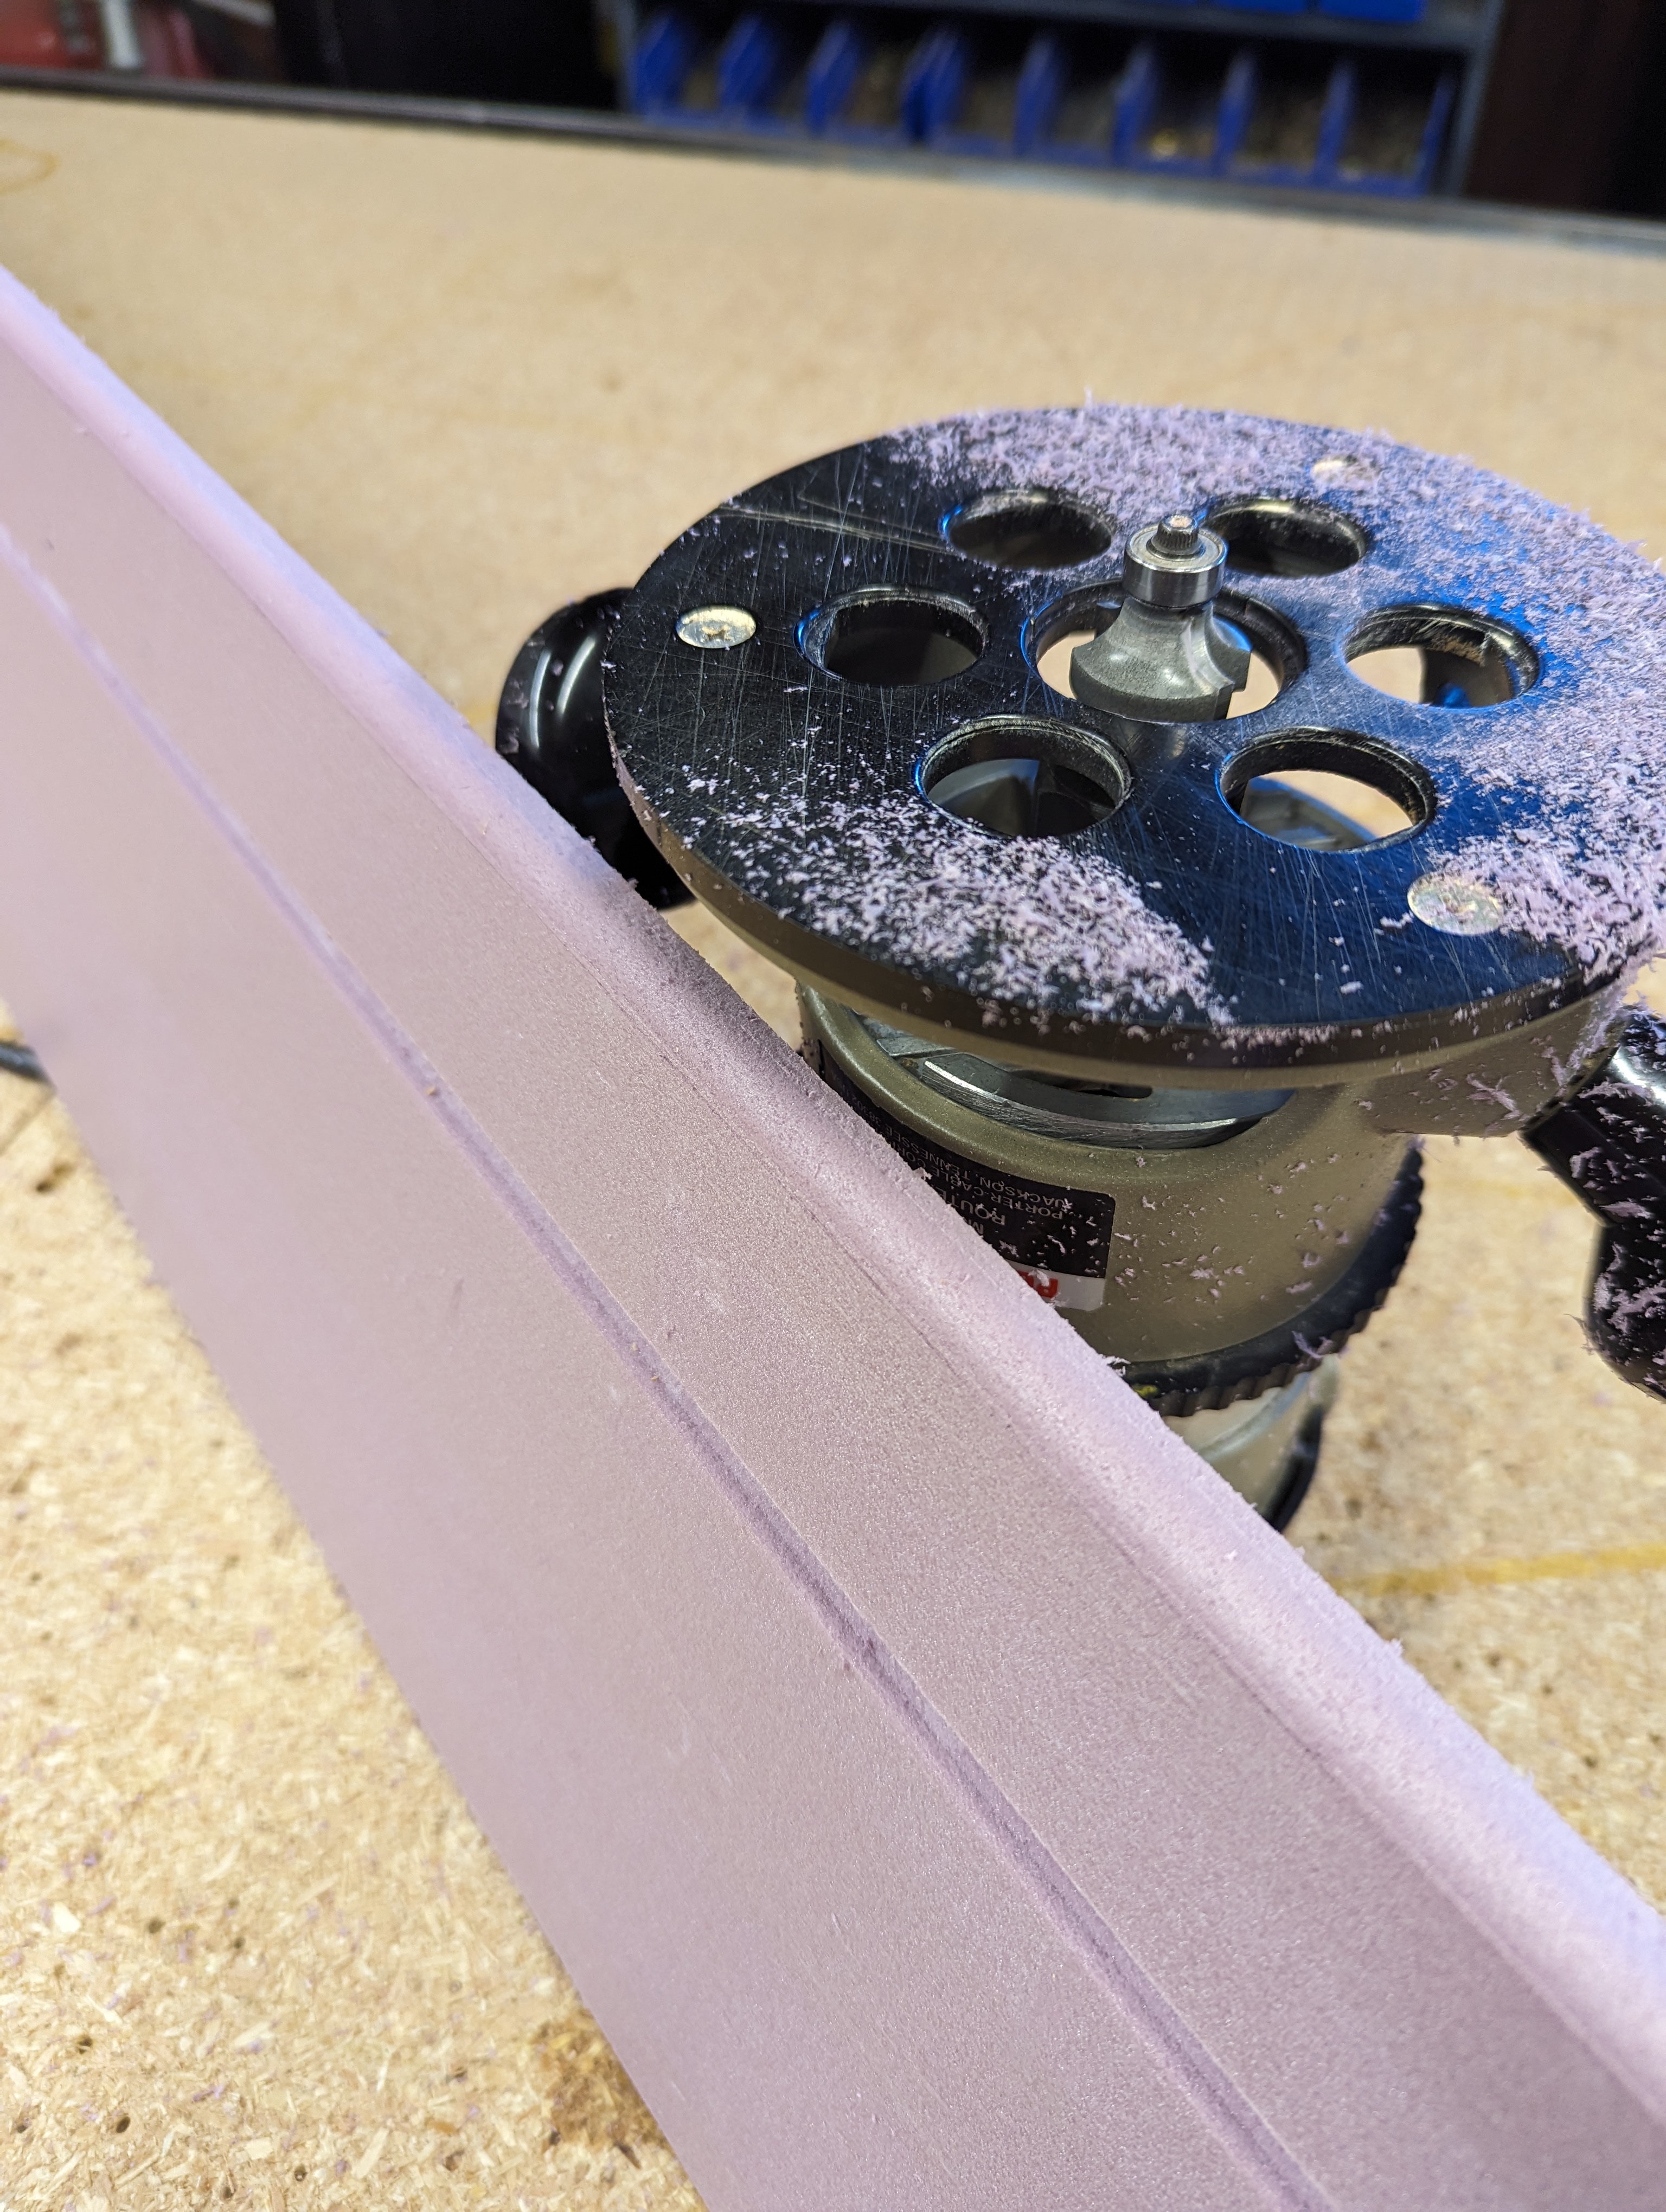
The wing was sanded smooth:
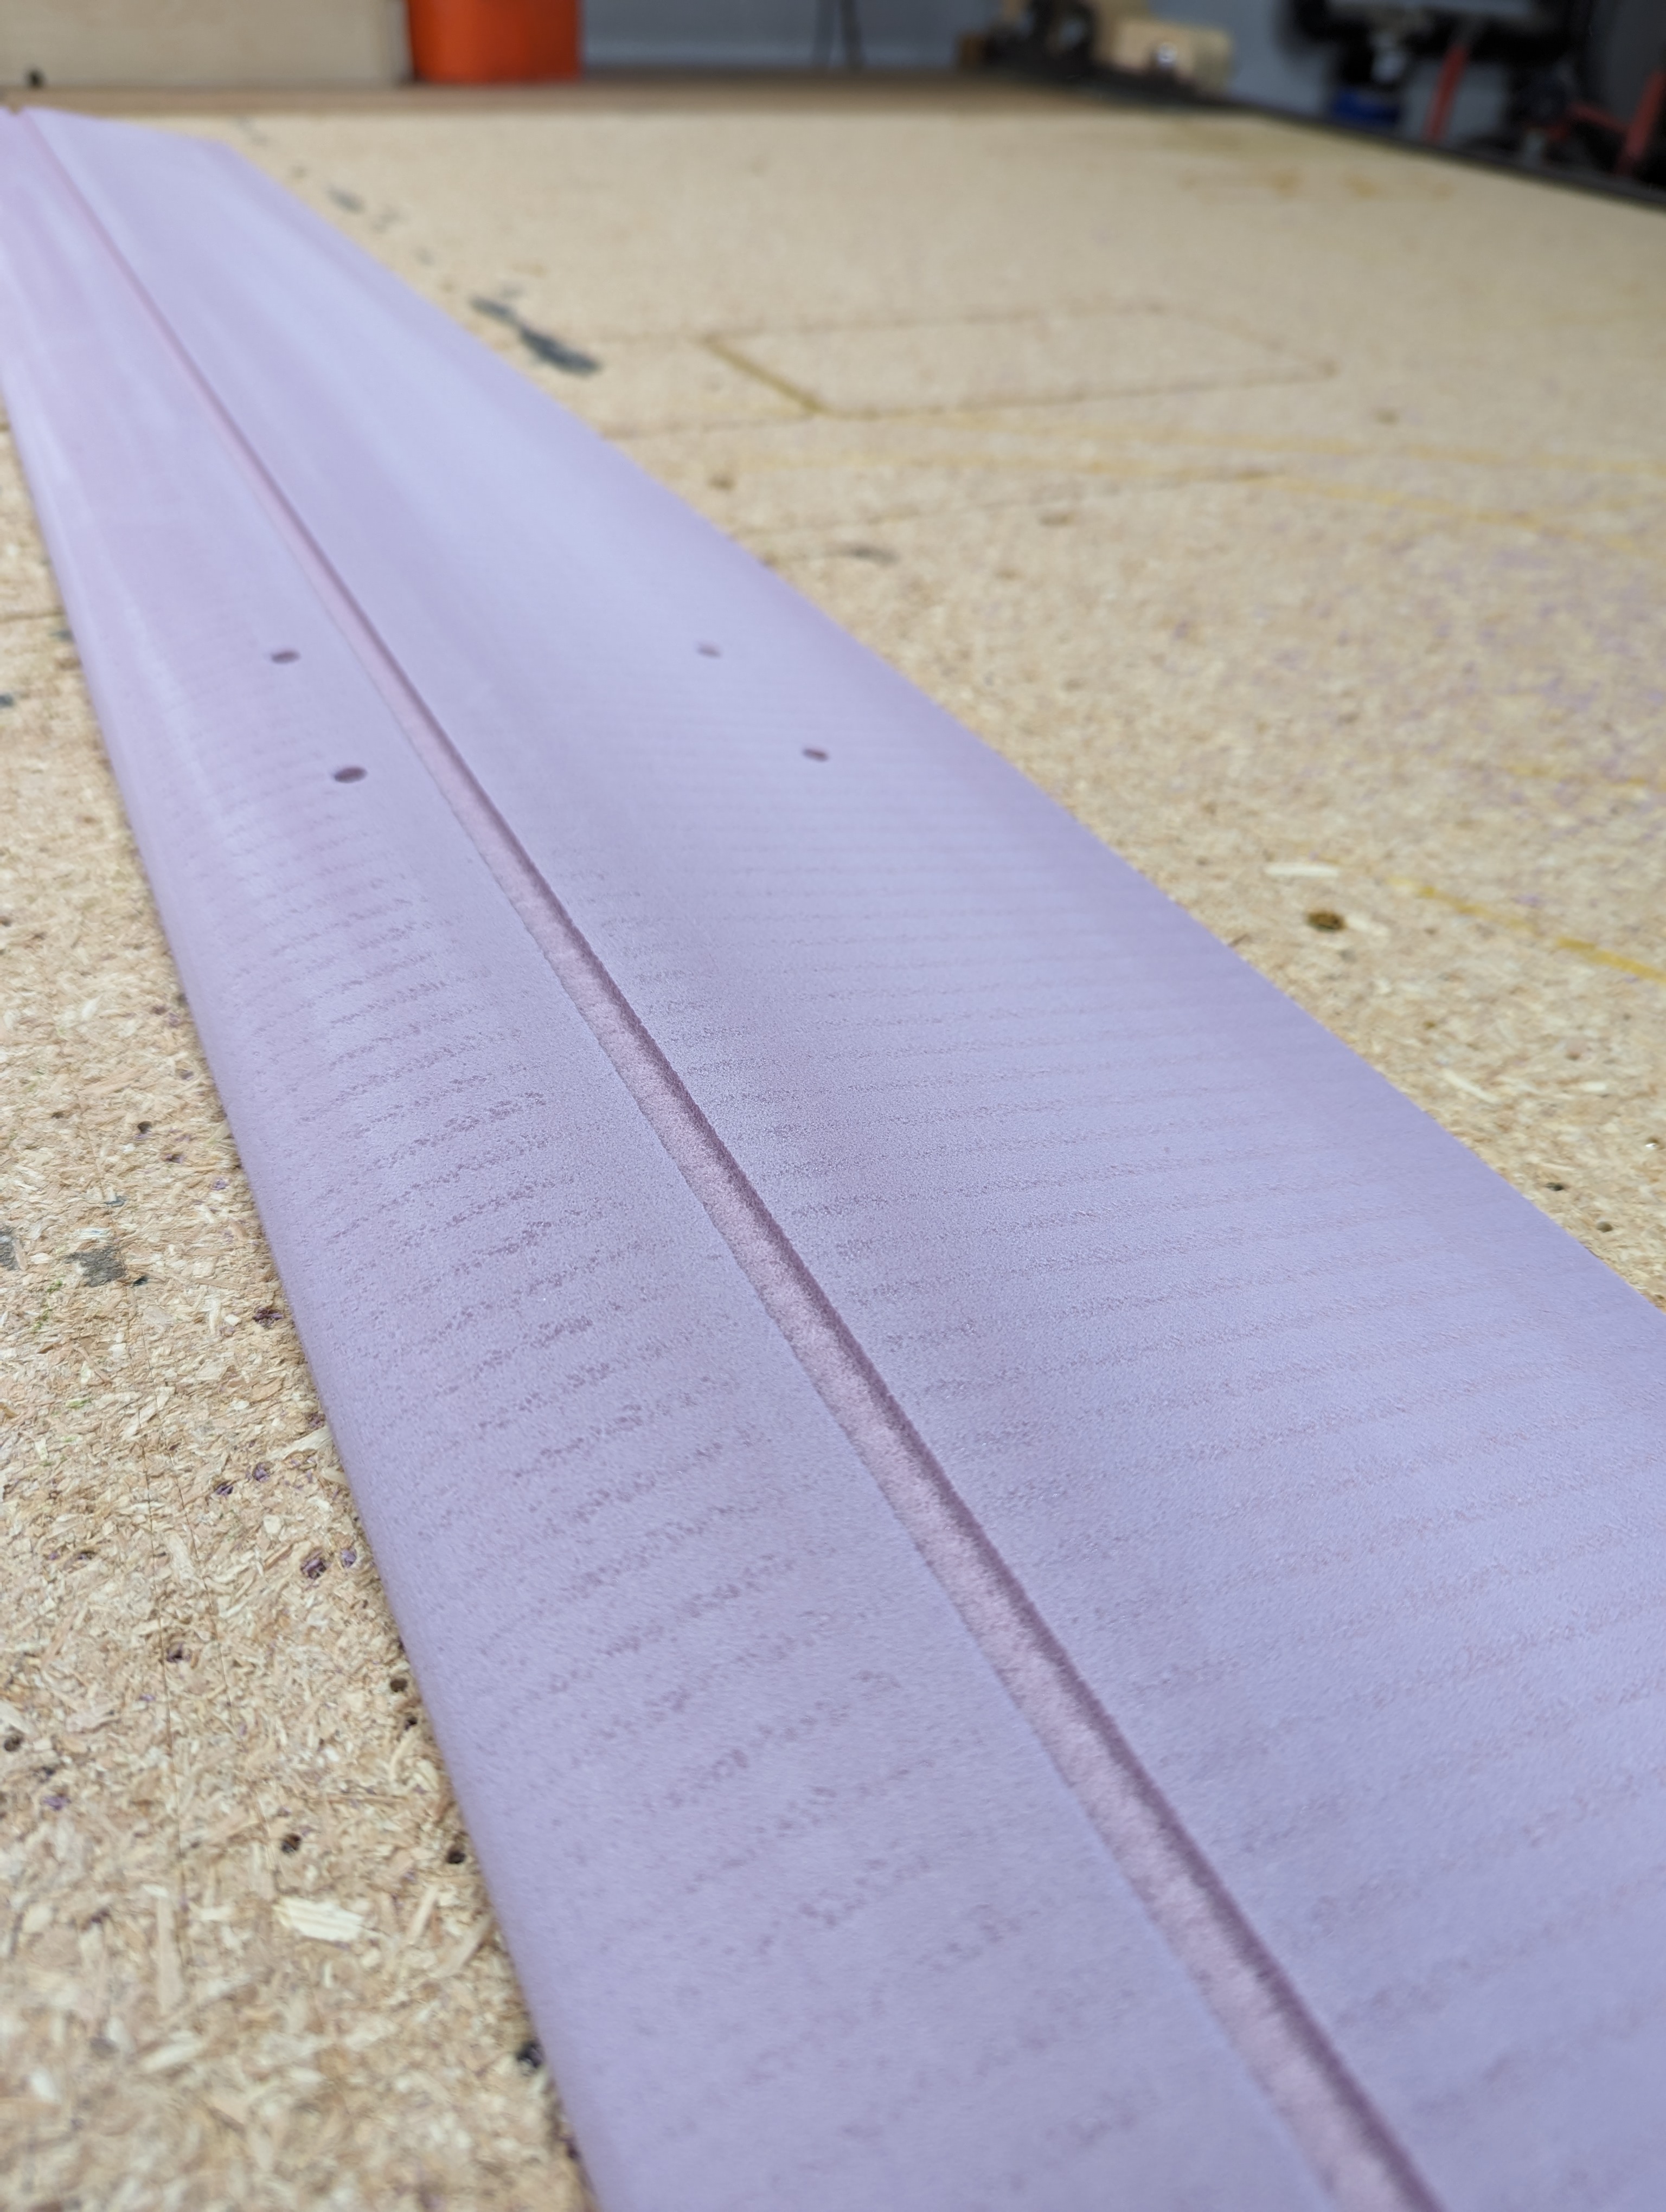
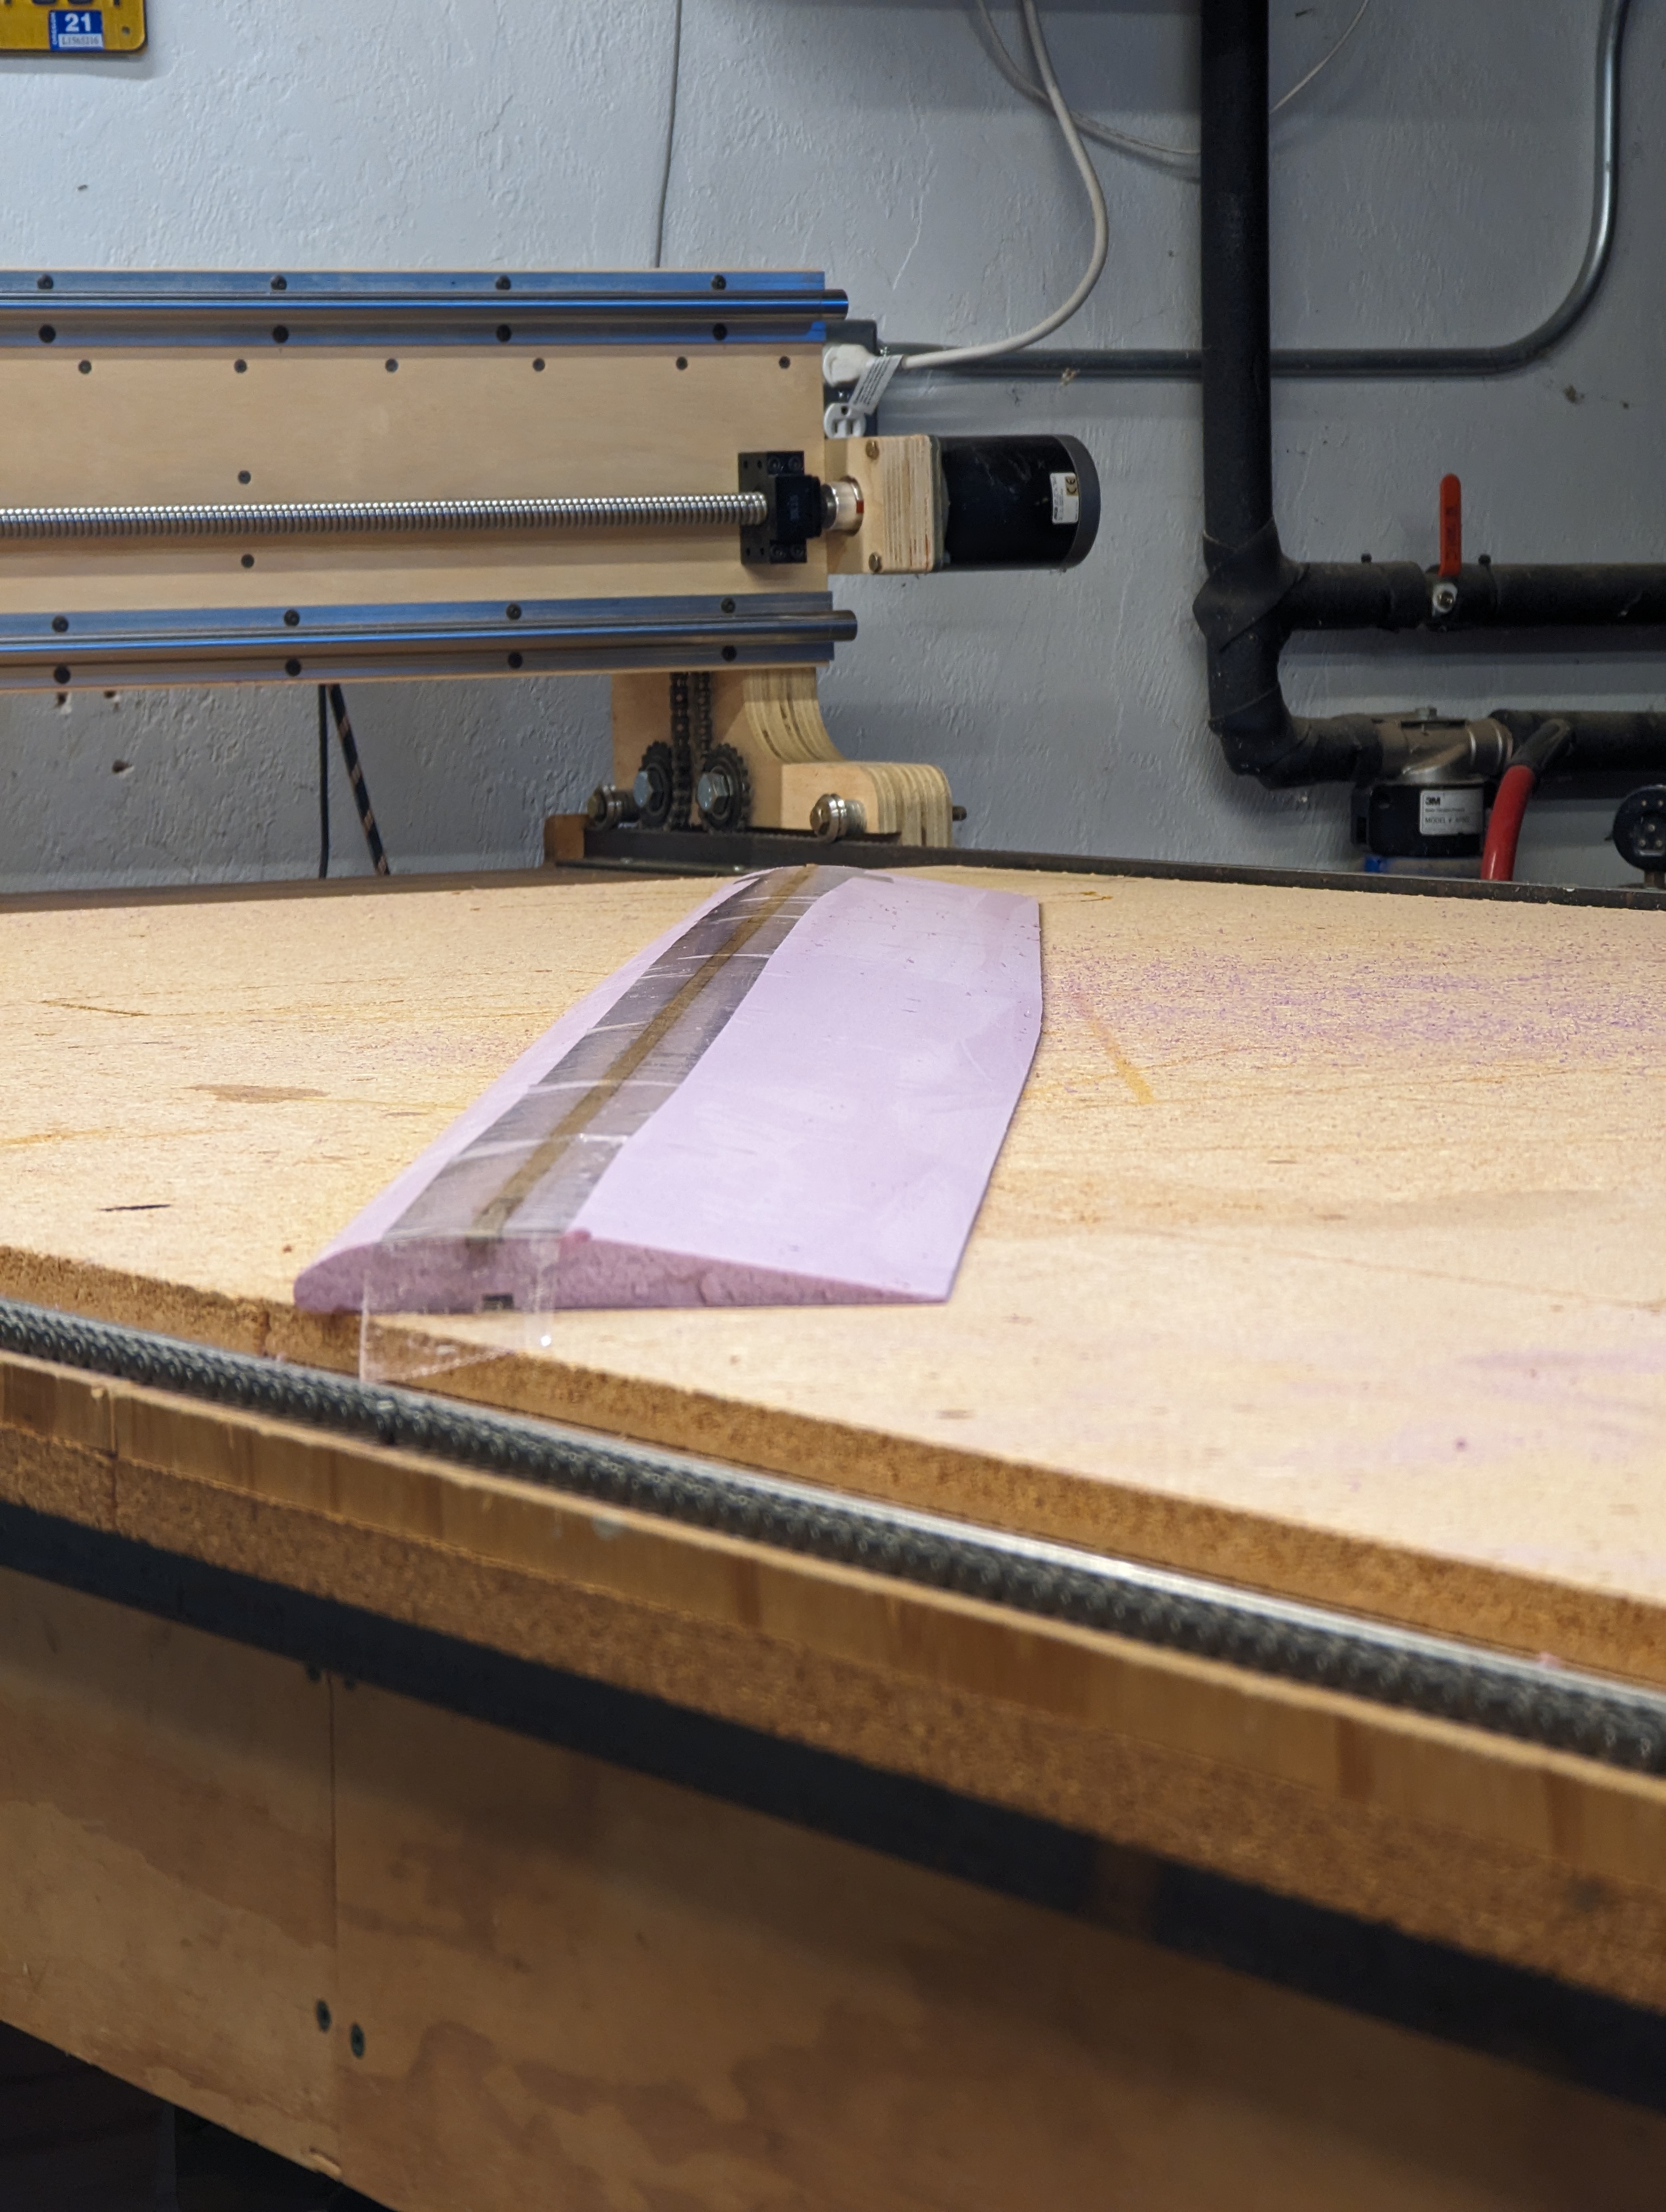
Spars were glued in. The packing tape holds them in place while the glue dries:
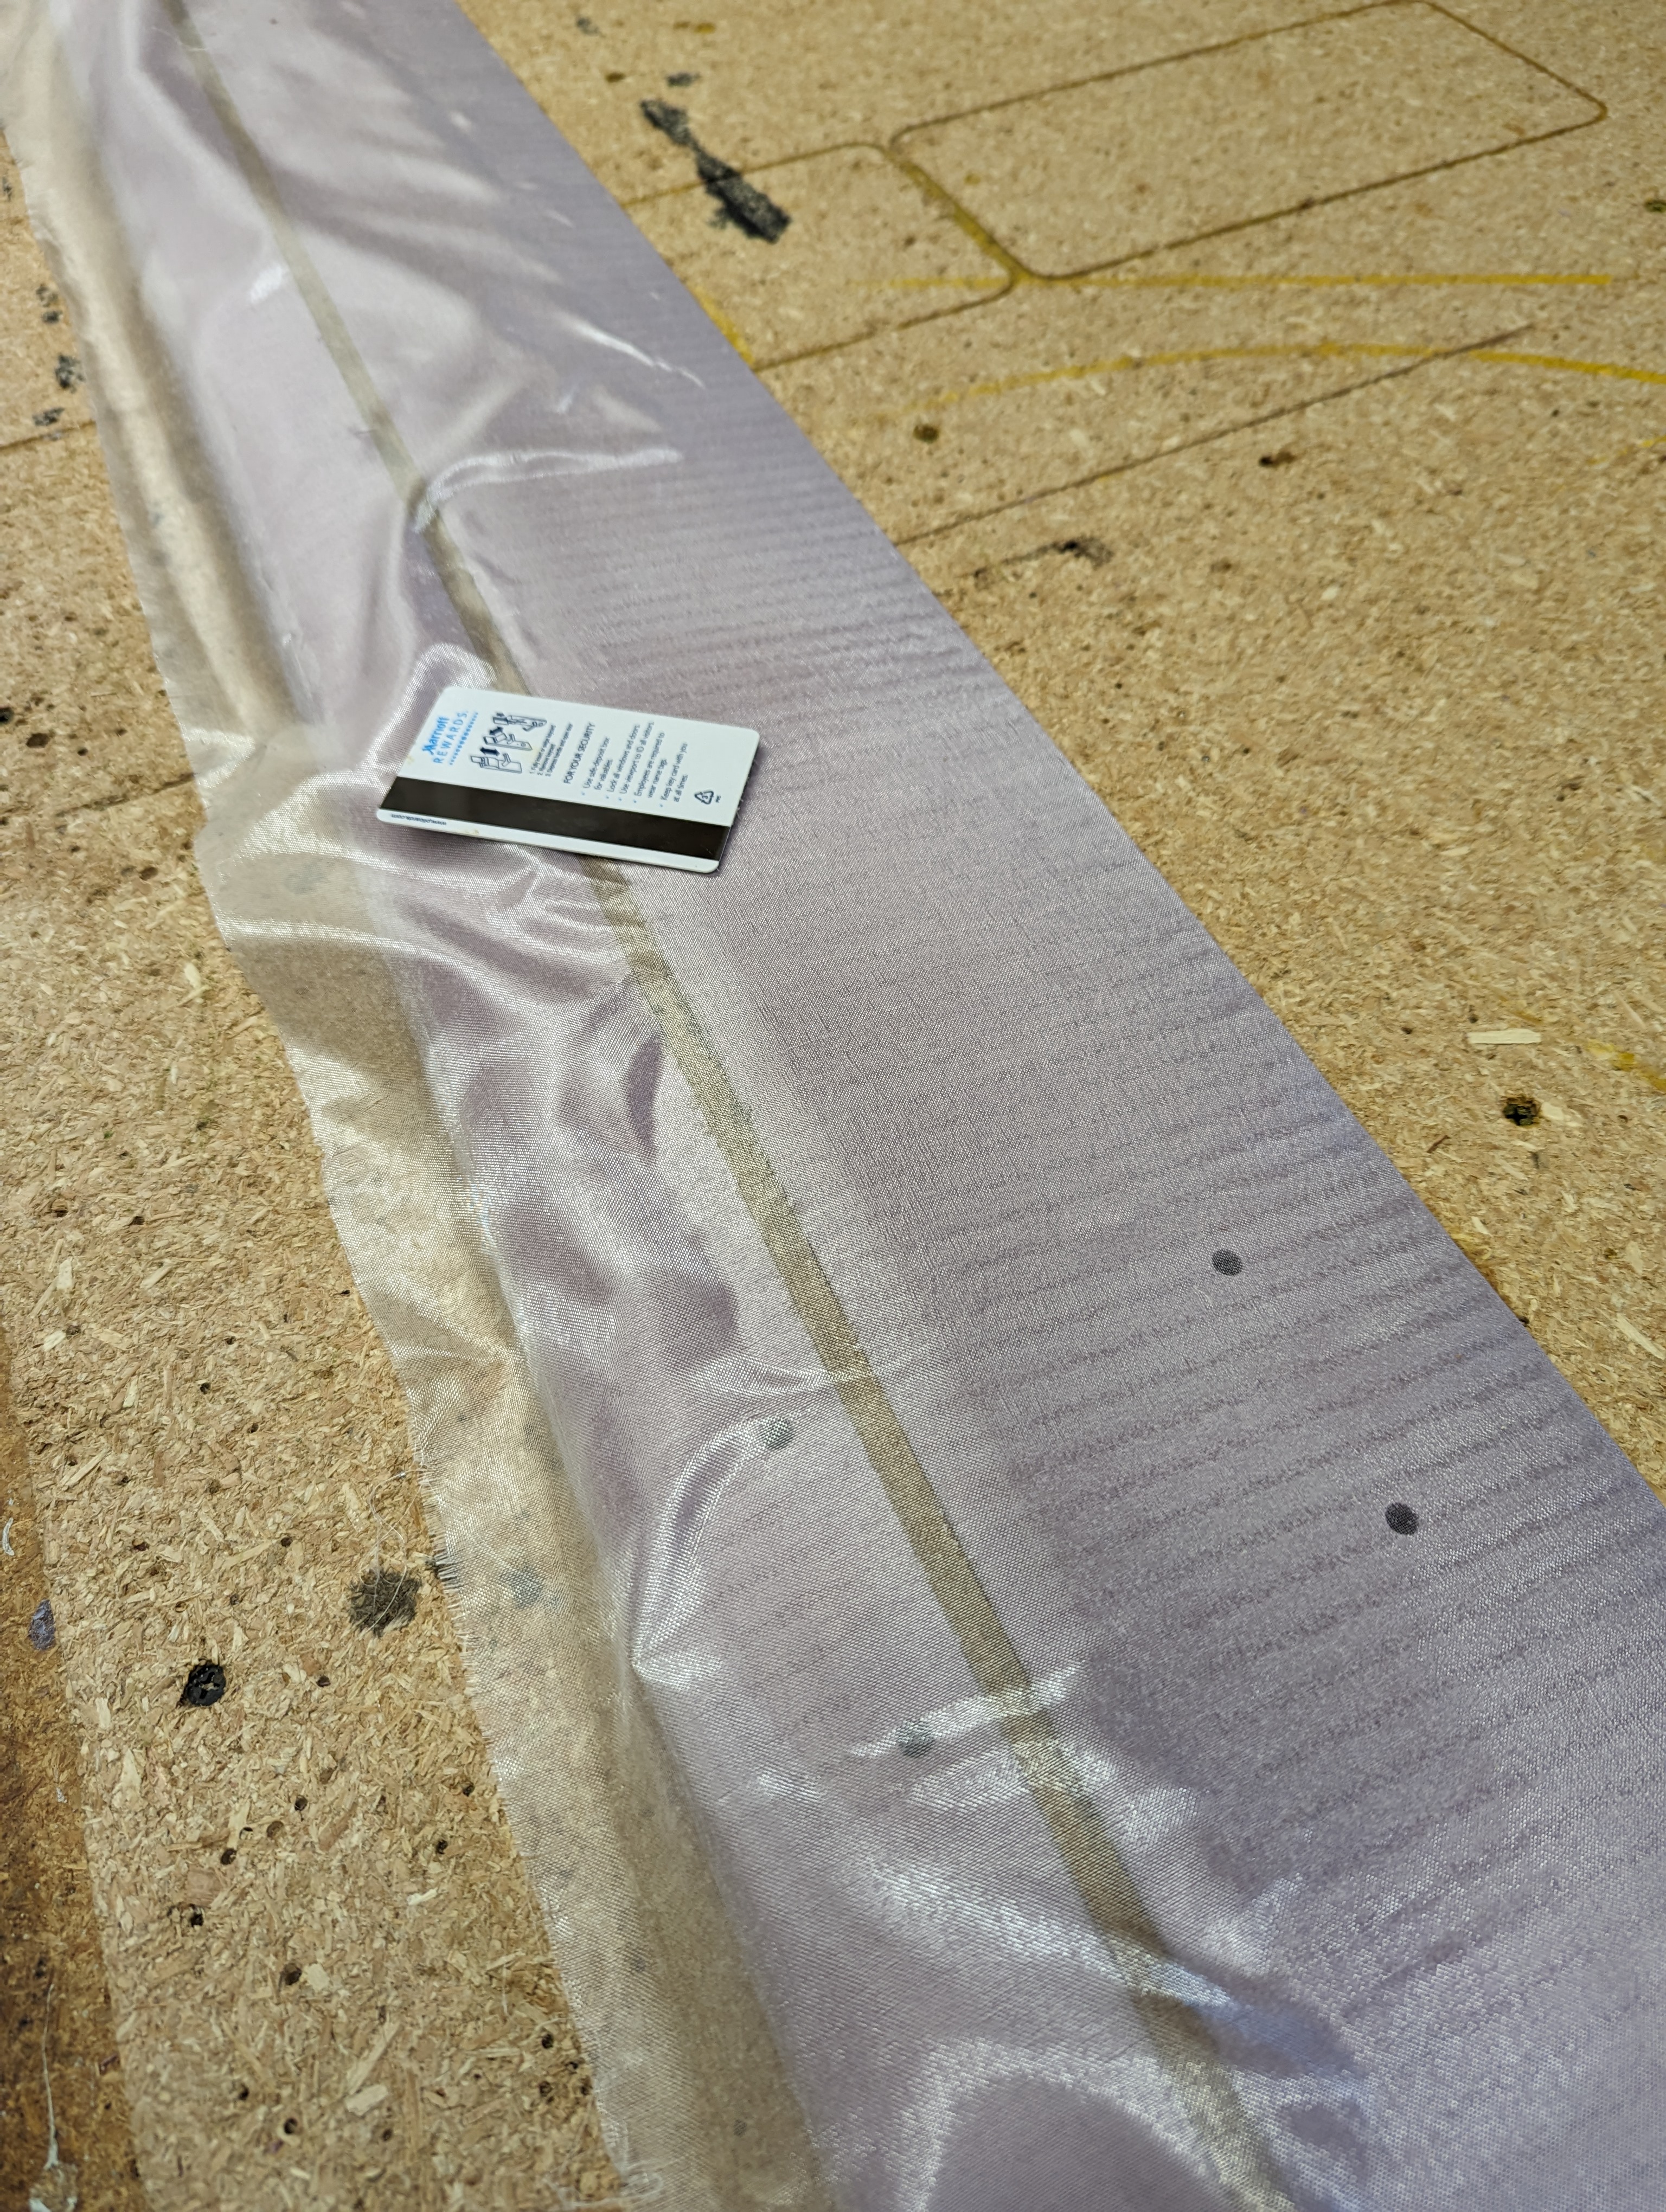
The following step deviates from those who use vacuum bagging to fiberglass the outside.
-
First you lightly glue the surface with spray glue, such as 3M Super 77 or similar.
-
Then, using a plastic card, you stick the dry glass in place: straight and wrinkle-free.
-
Finally, using a plastic card you spread a thin layer of epoxy into the glass.
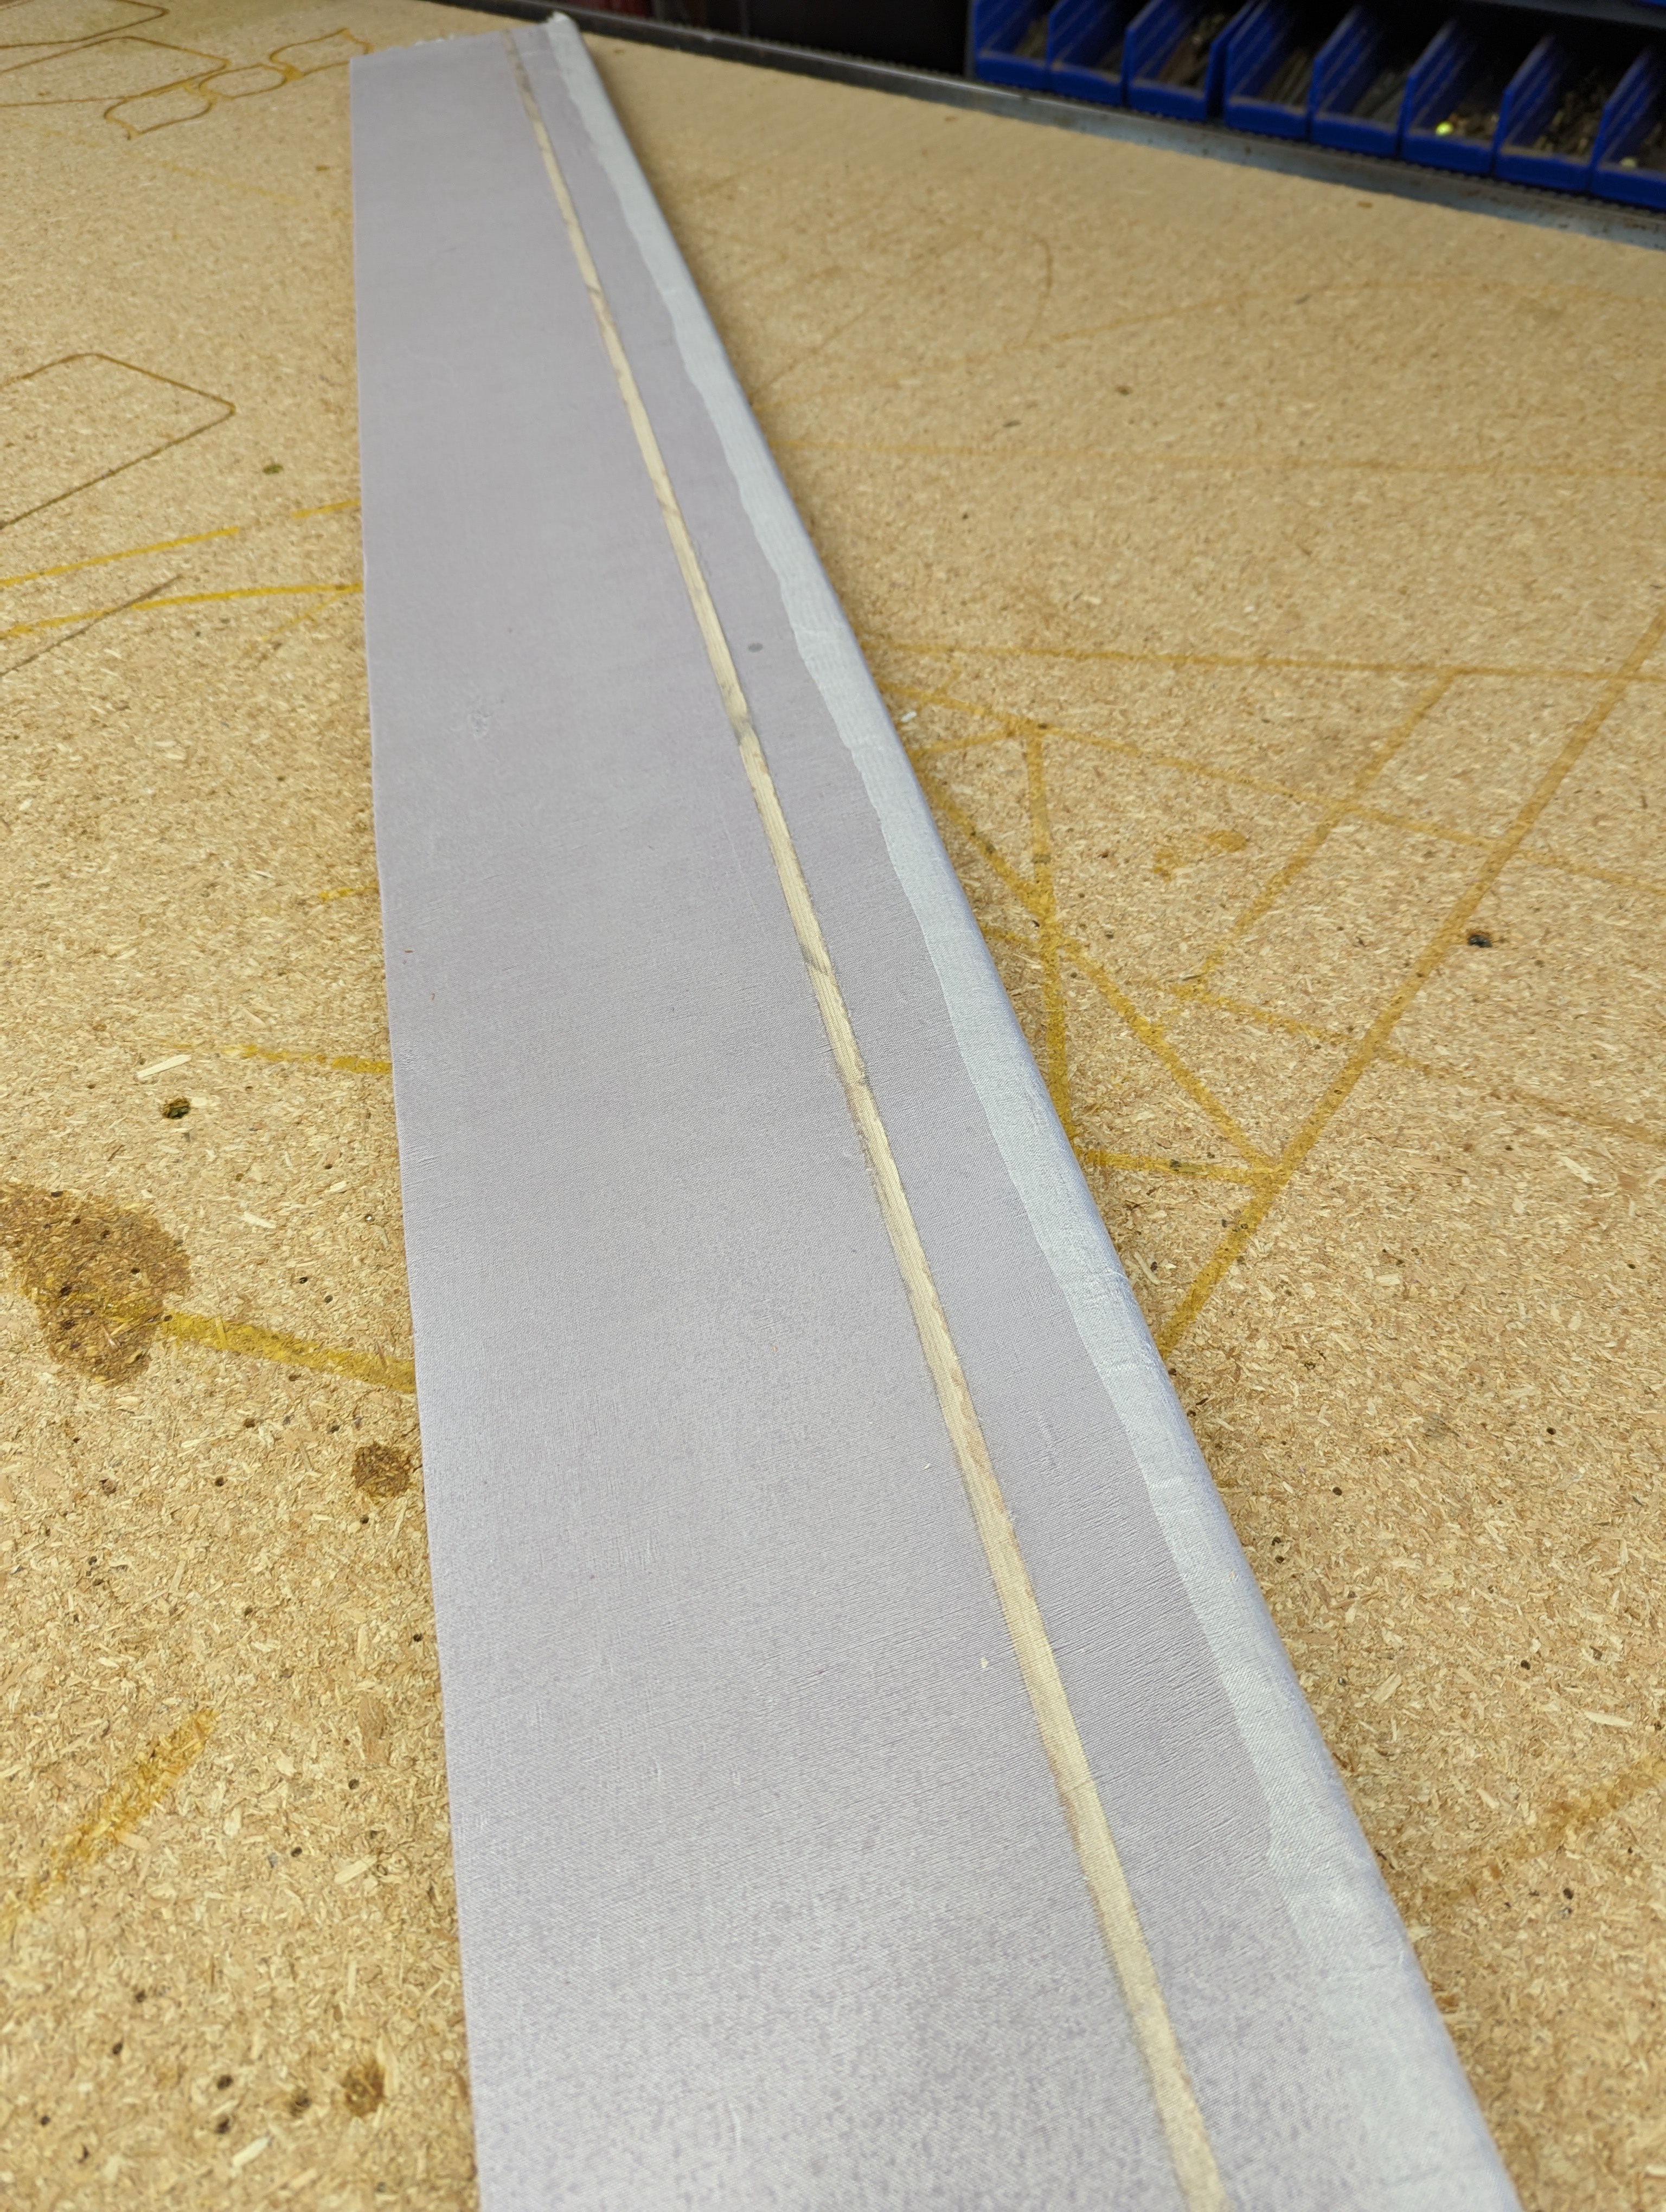
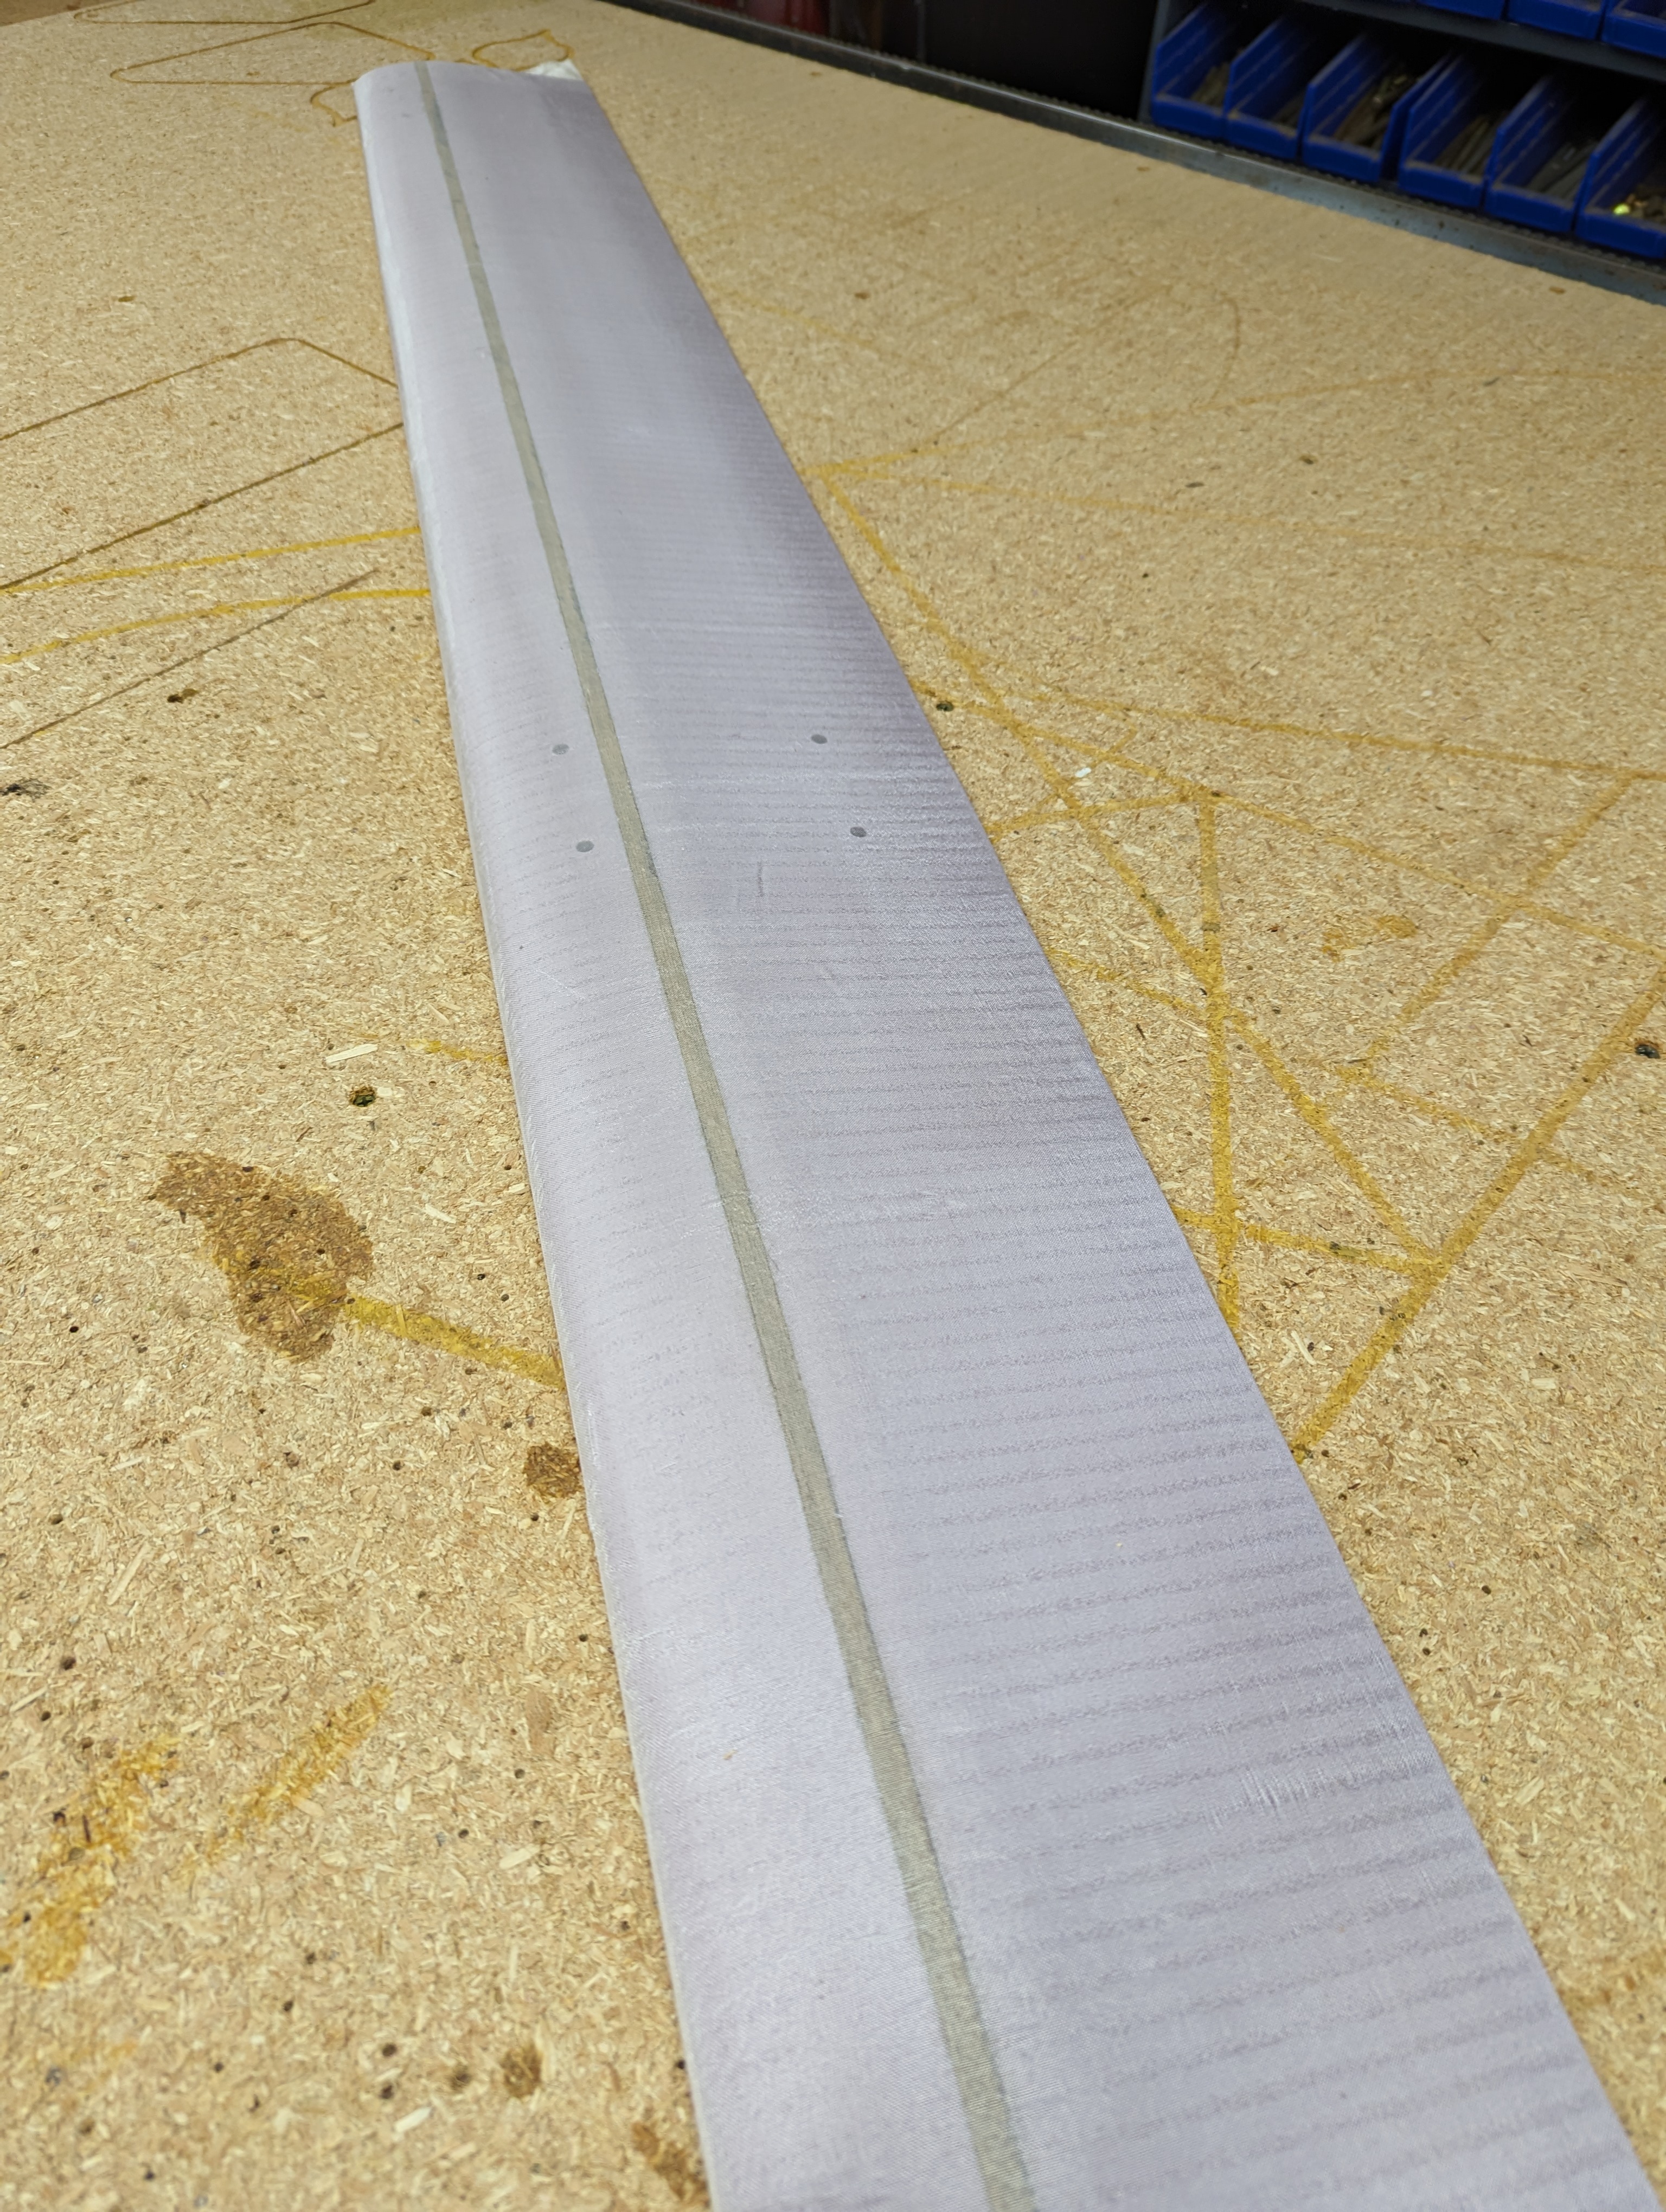
The ailerons are cut using a straight edge and a razor:
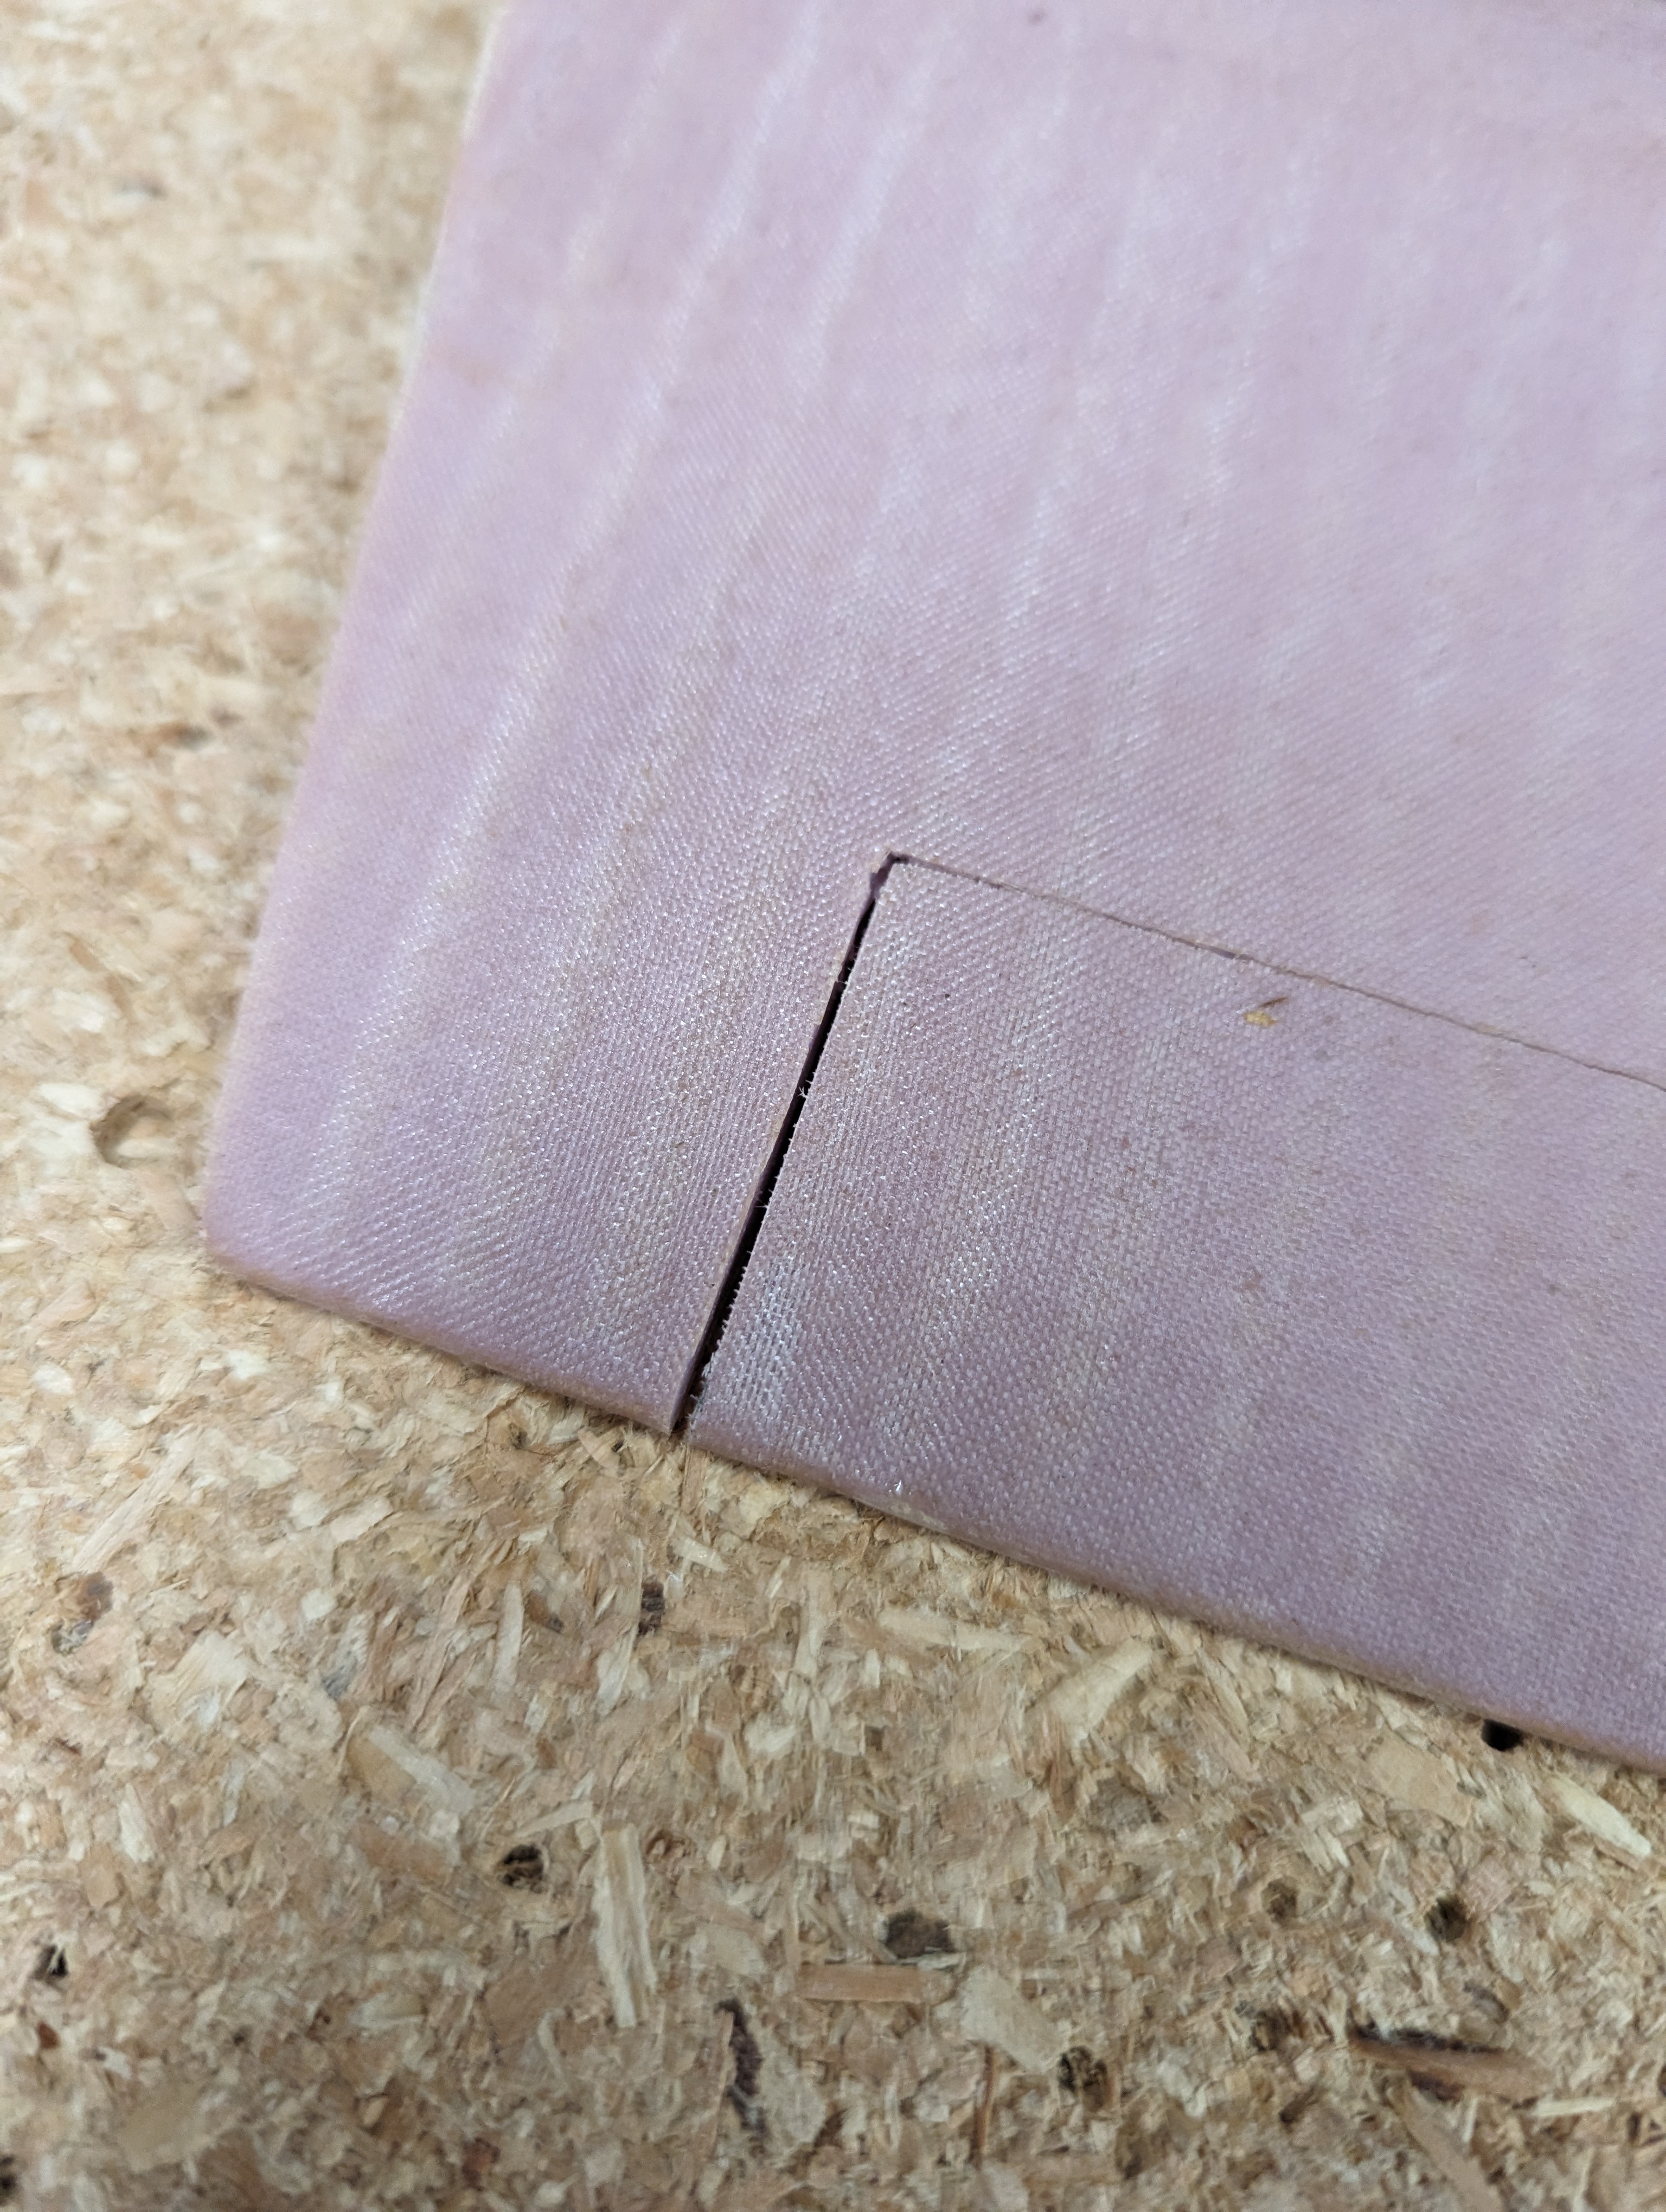
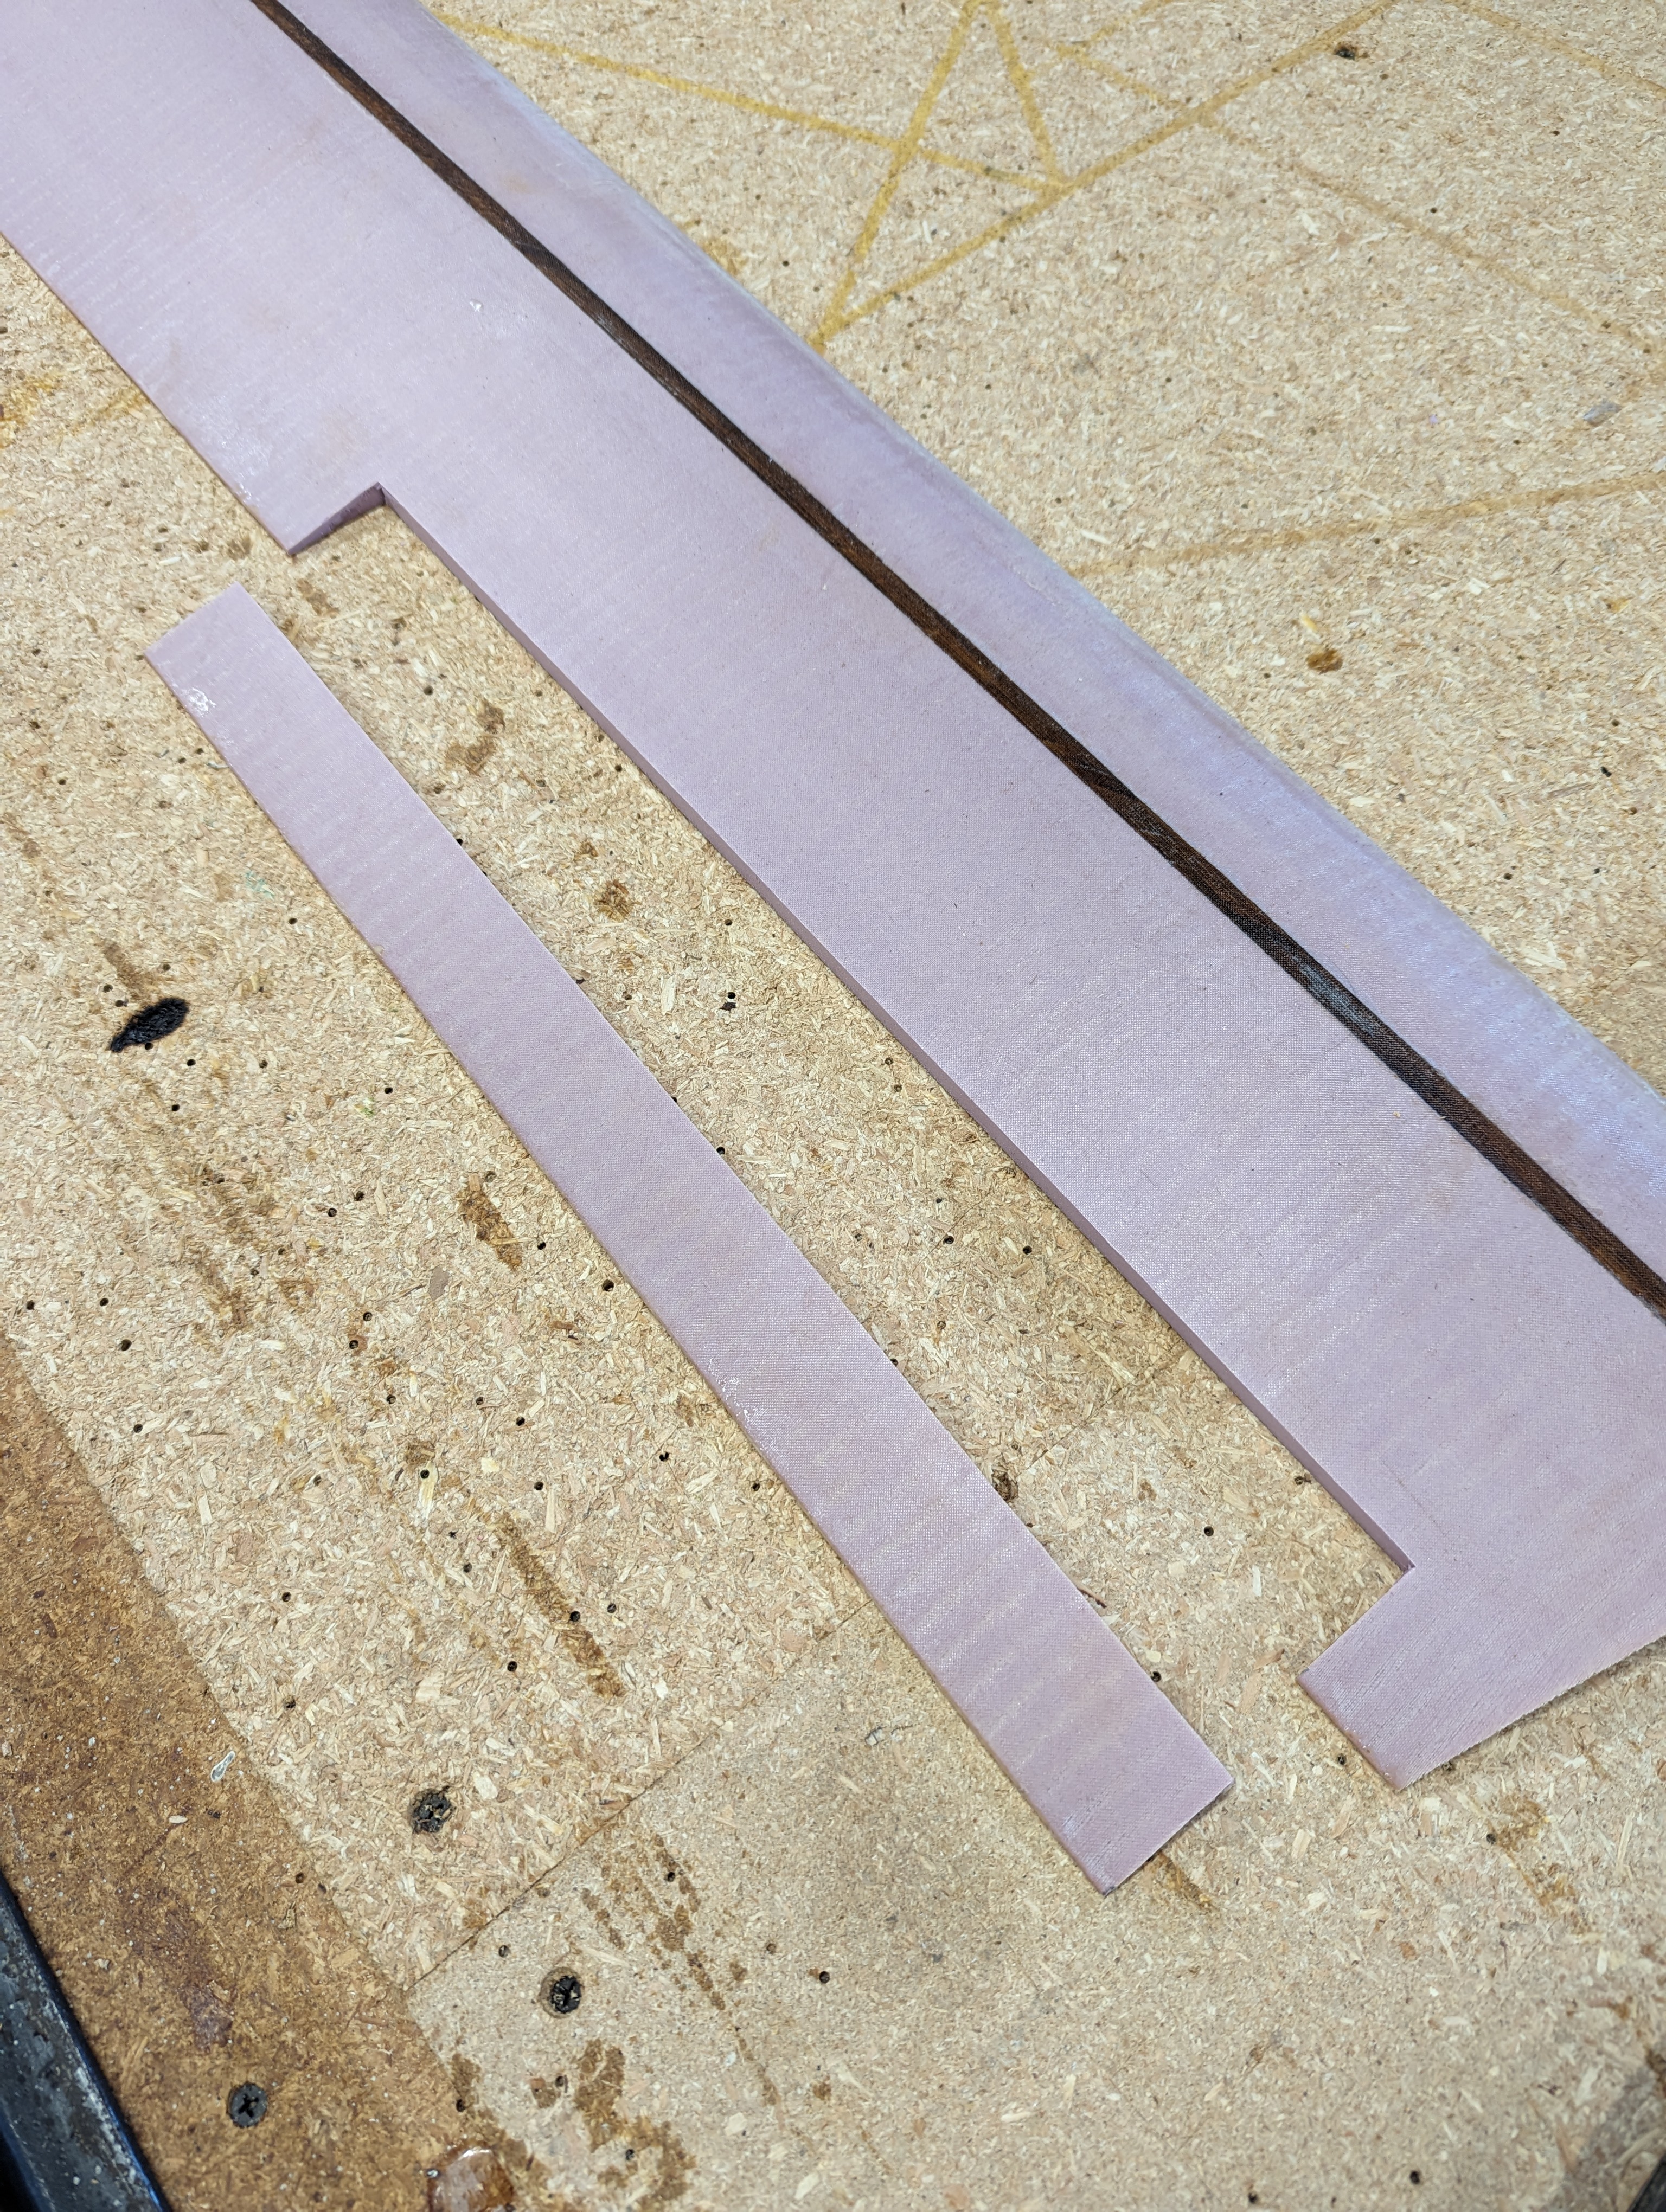
And then the bottom-front of the ailerons are beveled for clearance:
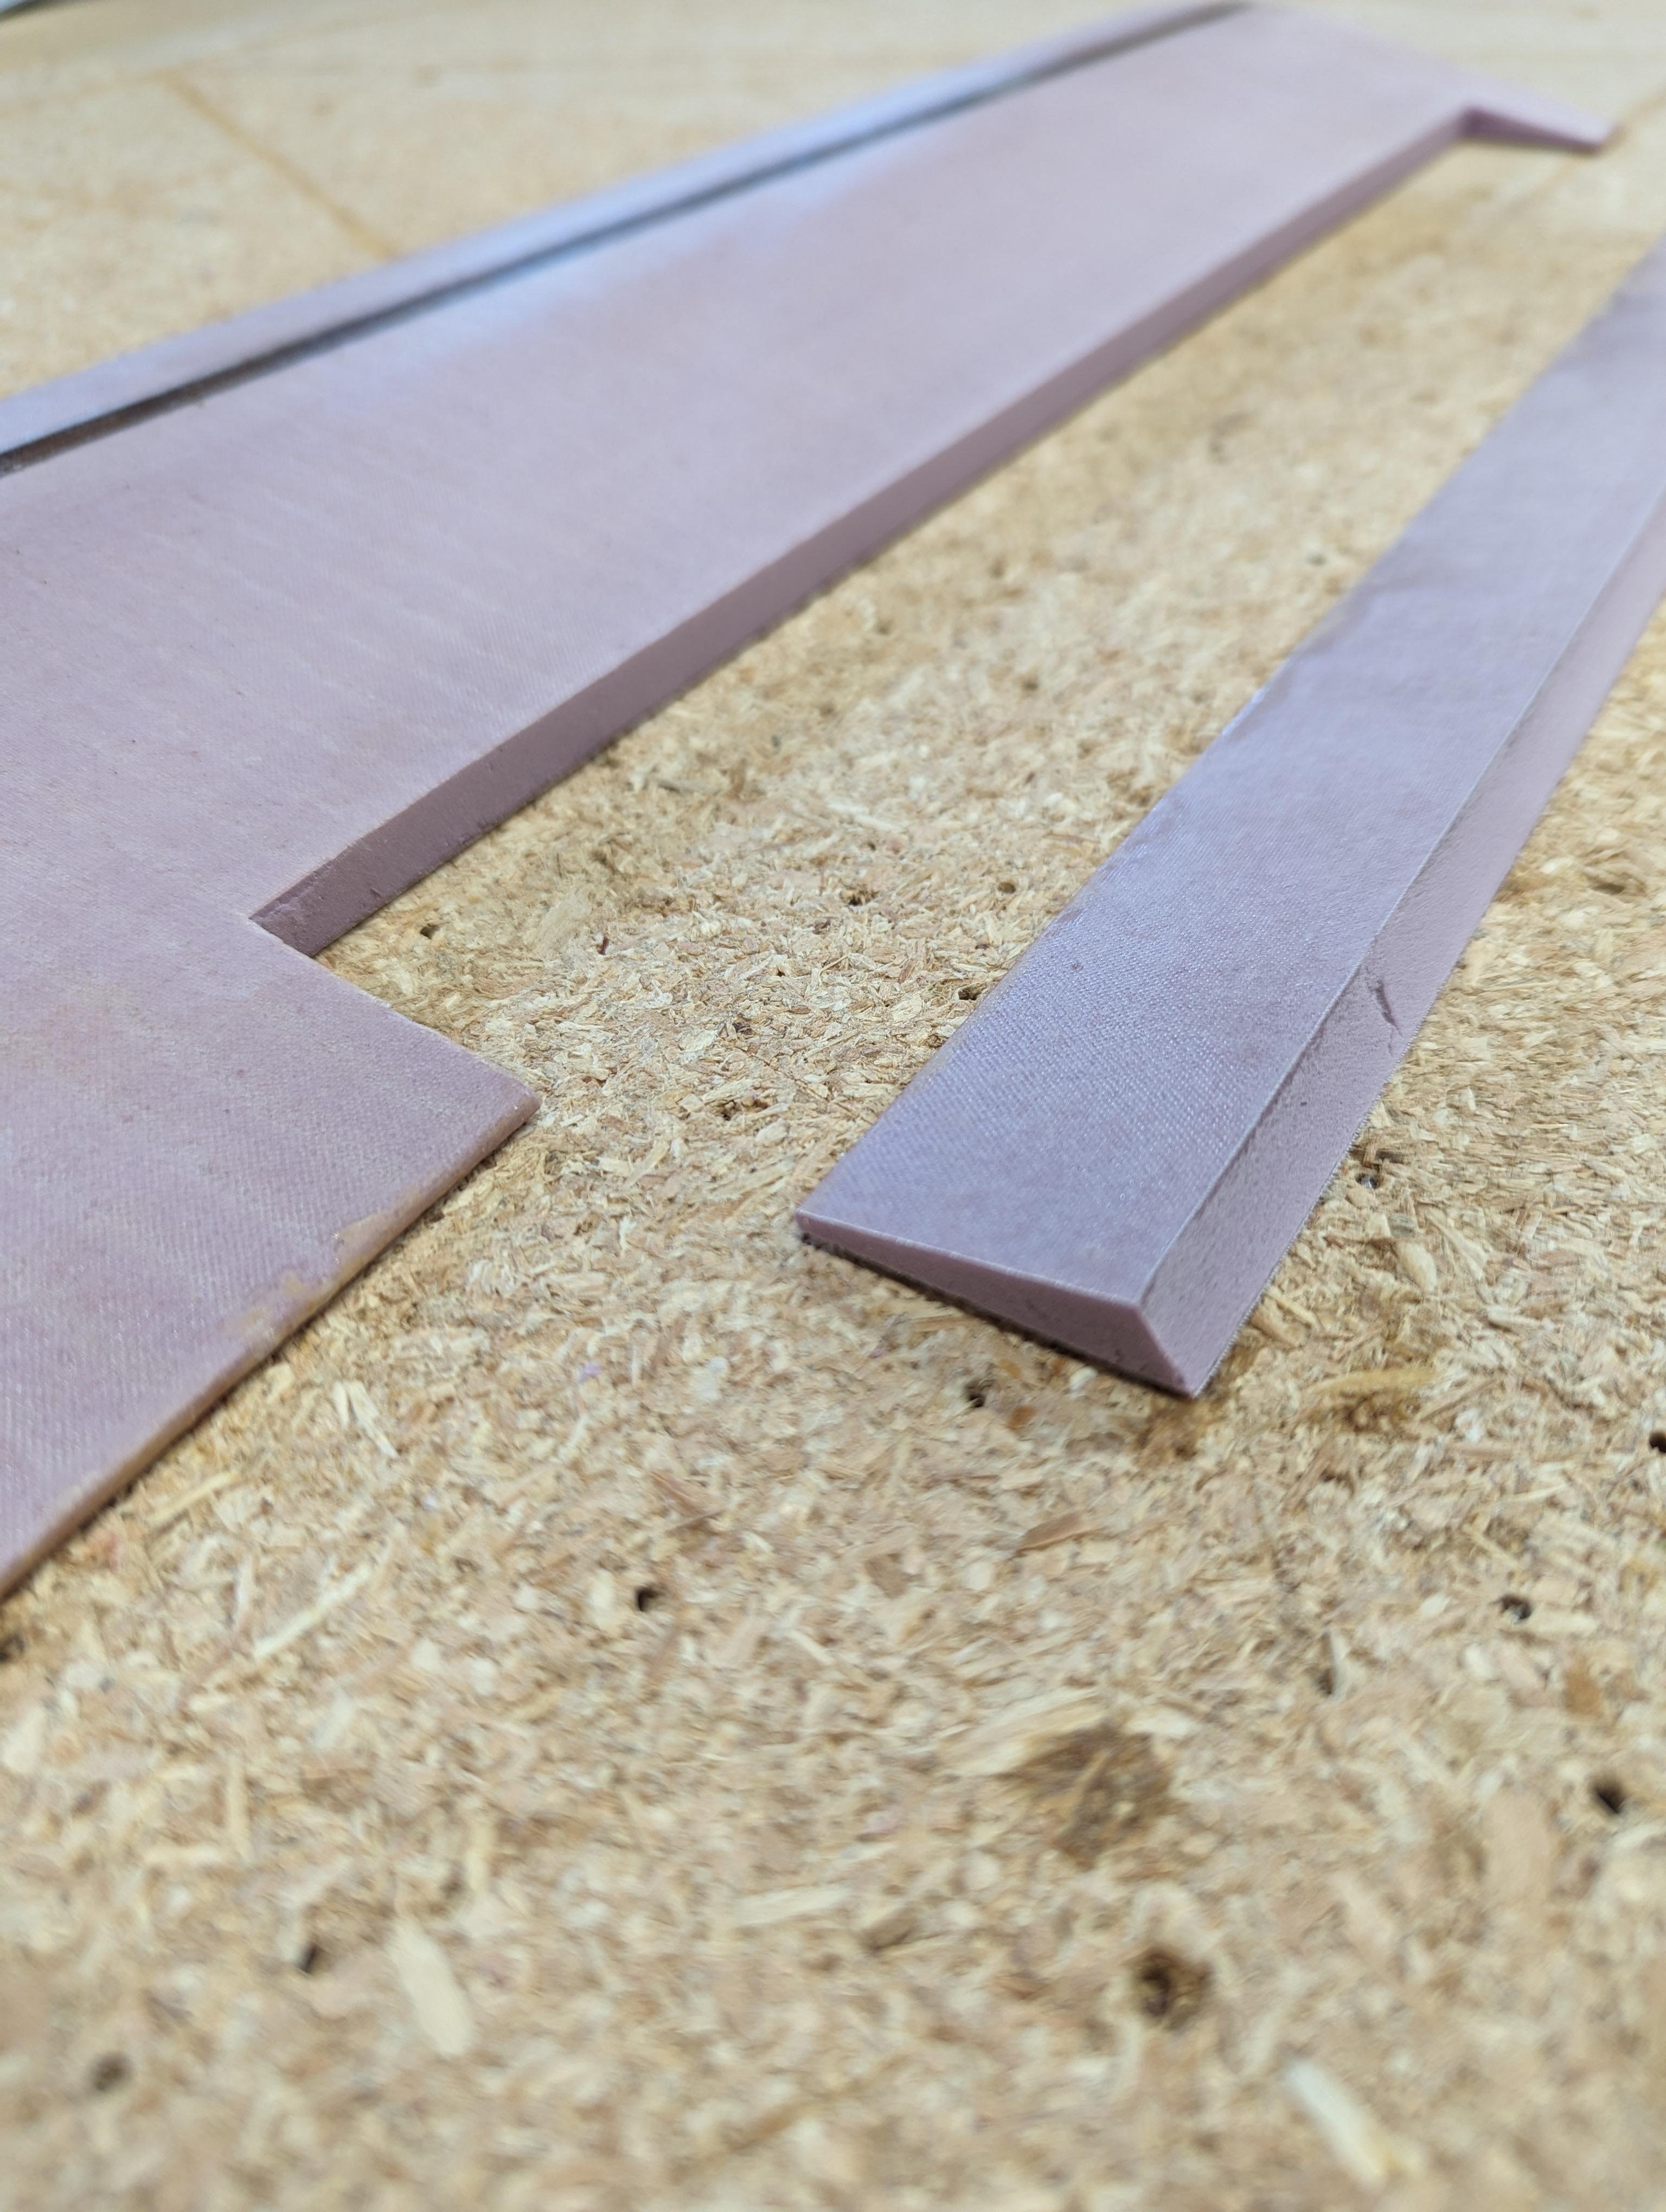
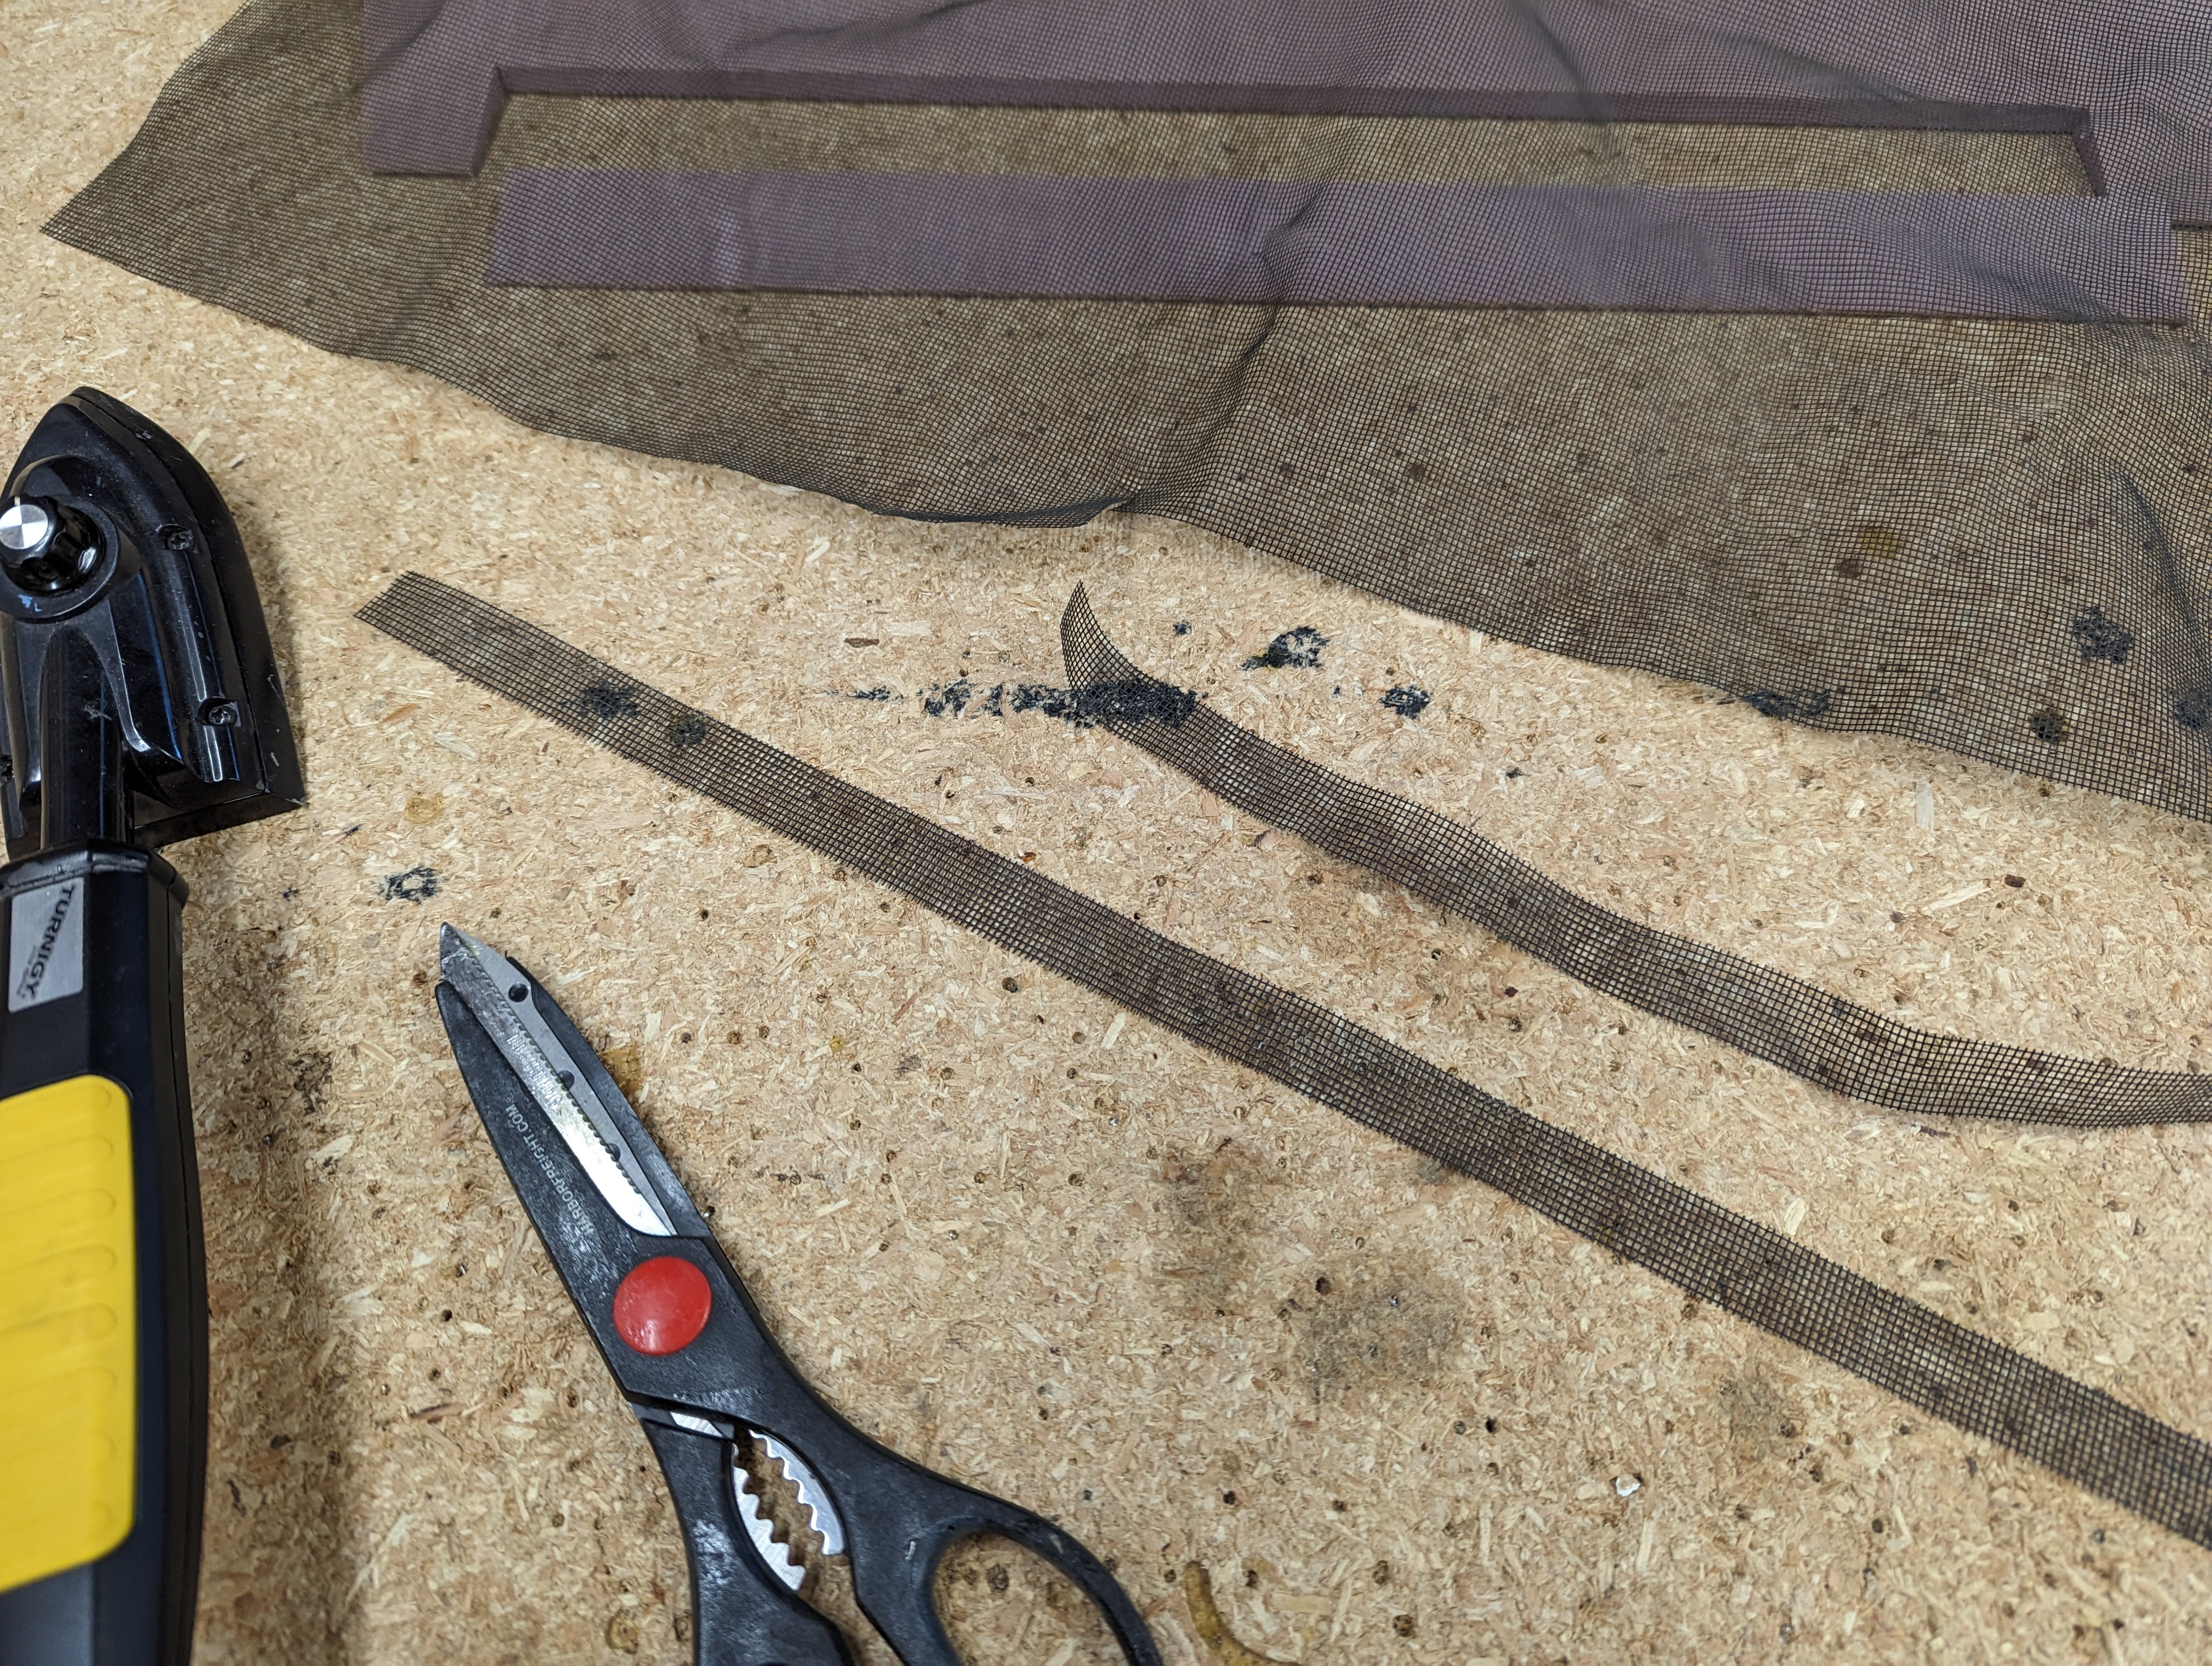
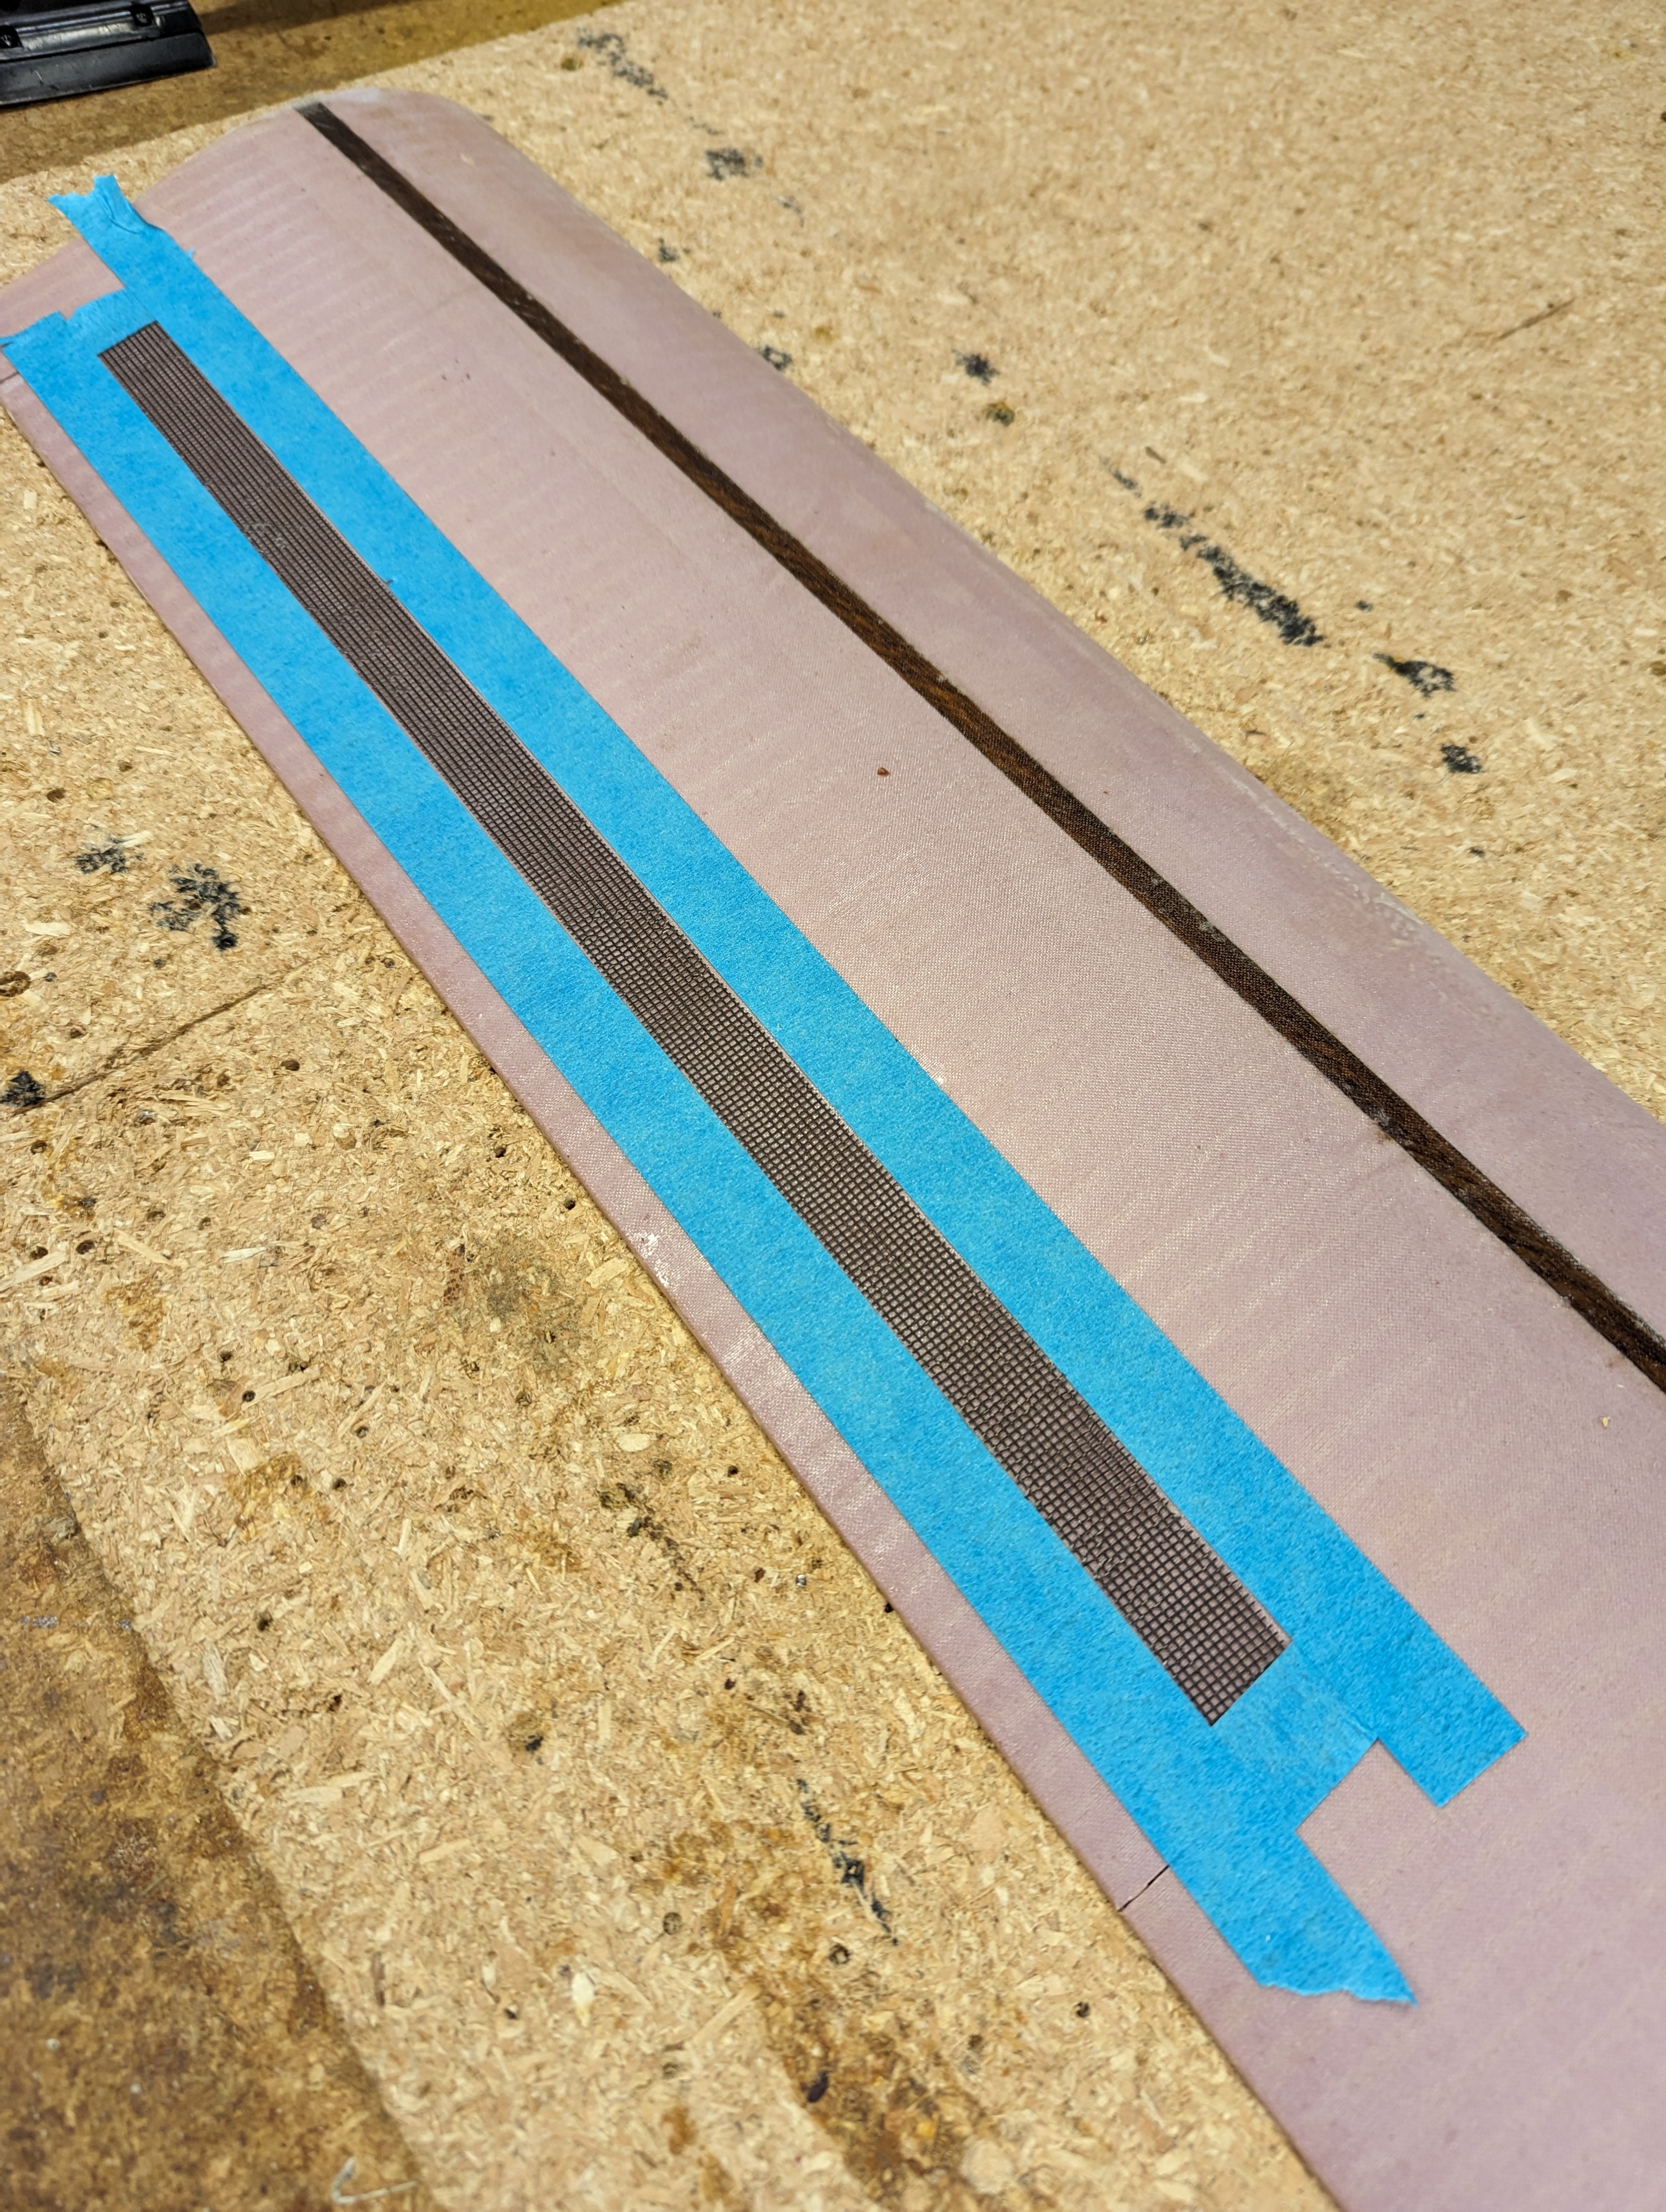
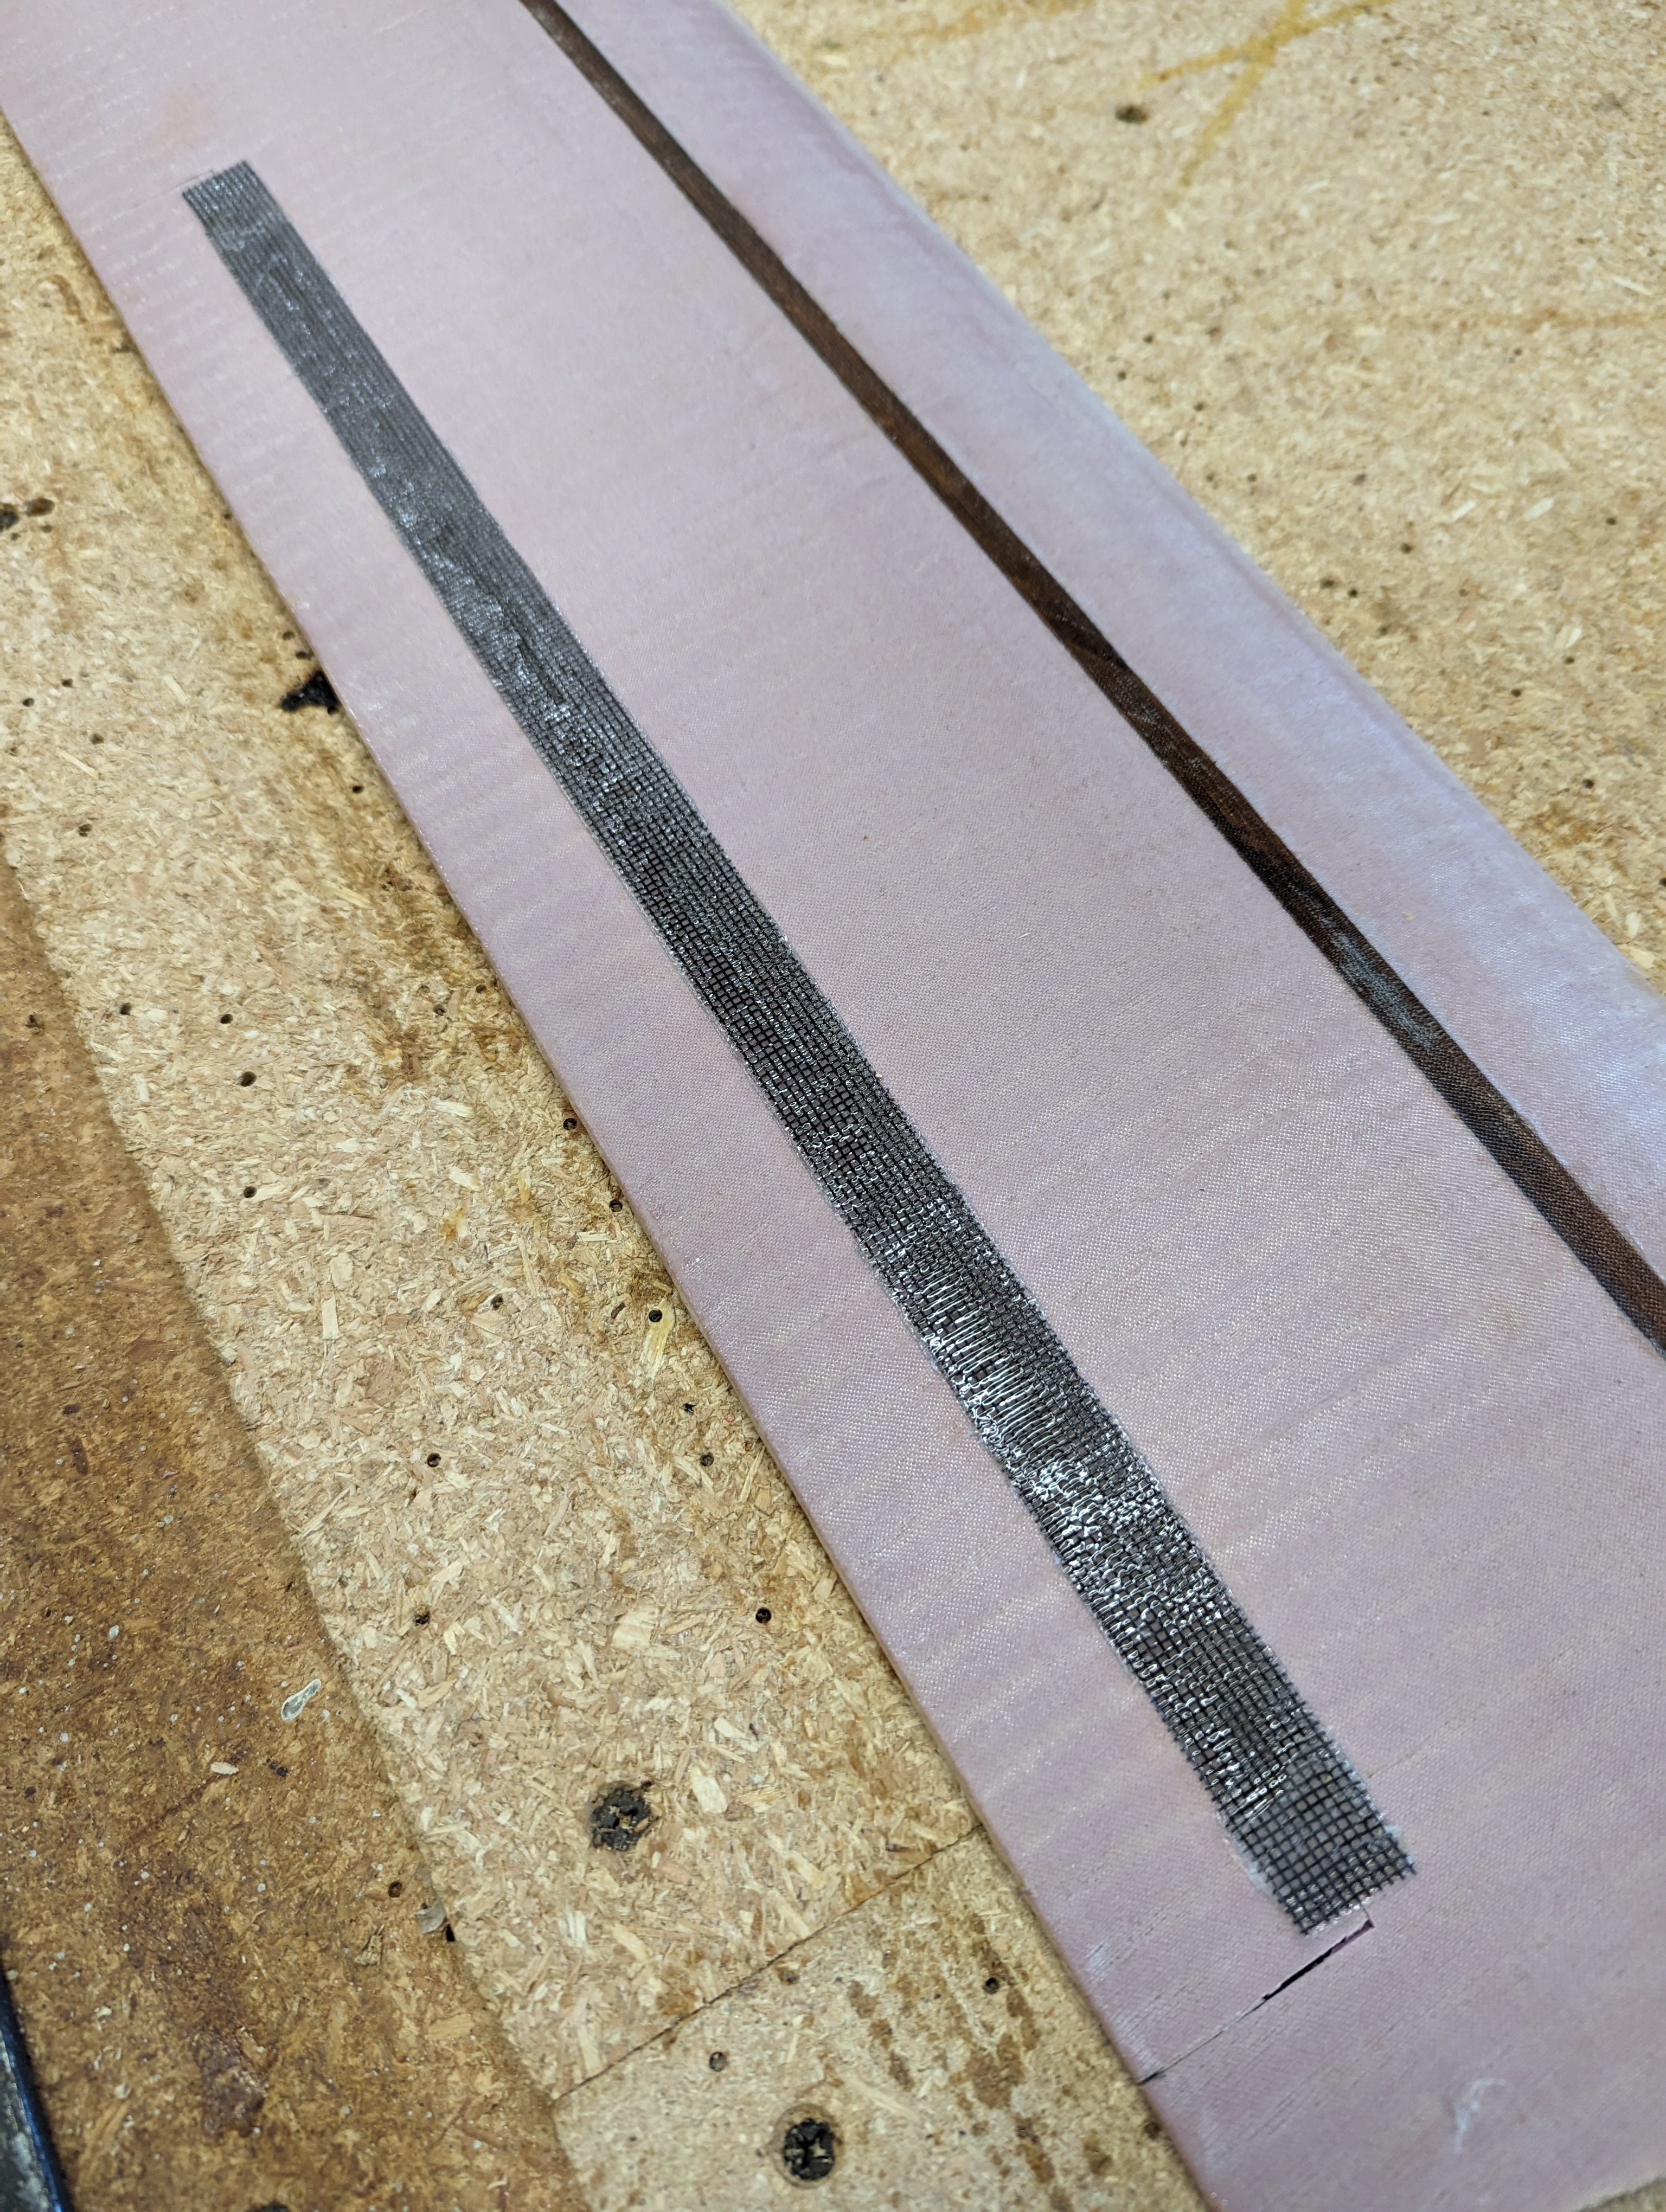
Using plastic screen-door screen, a hinge is cut and hot-melt glued into place:
The fuselage is cut:
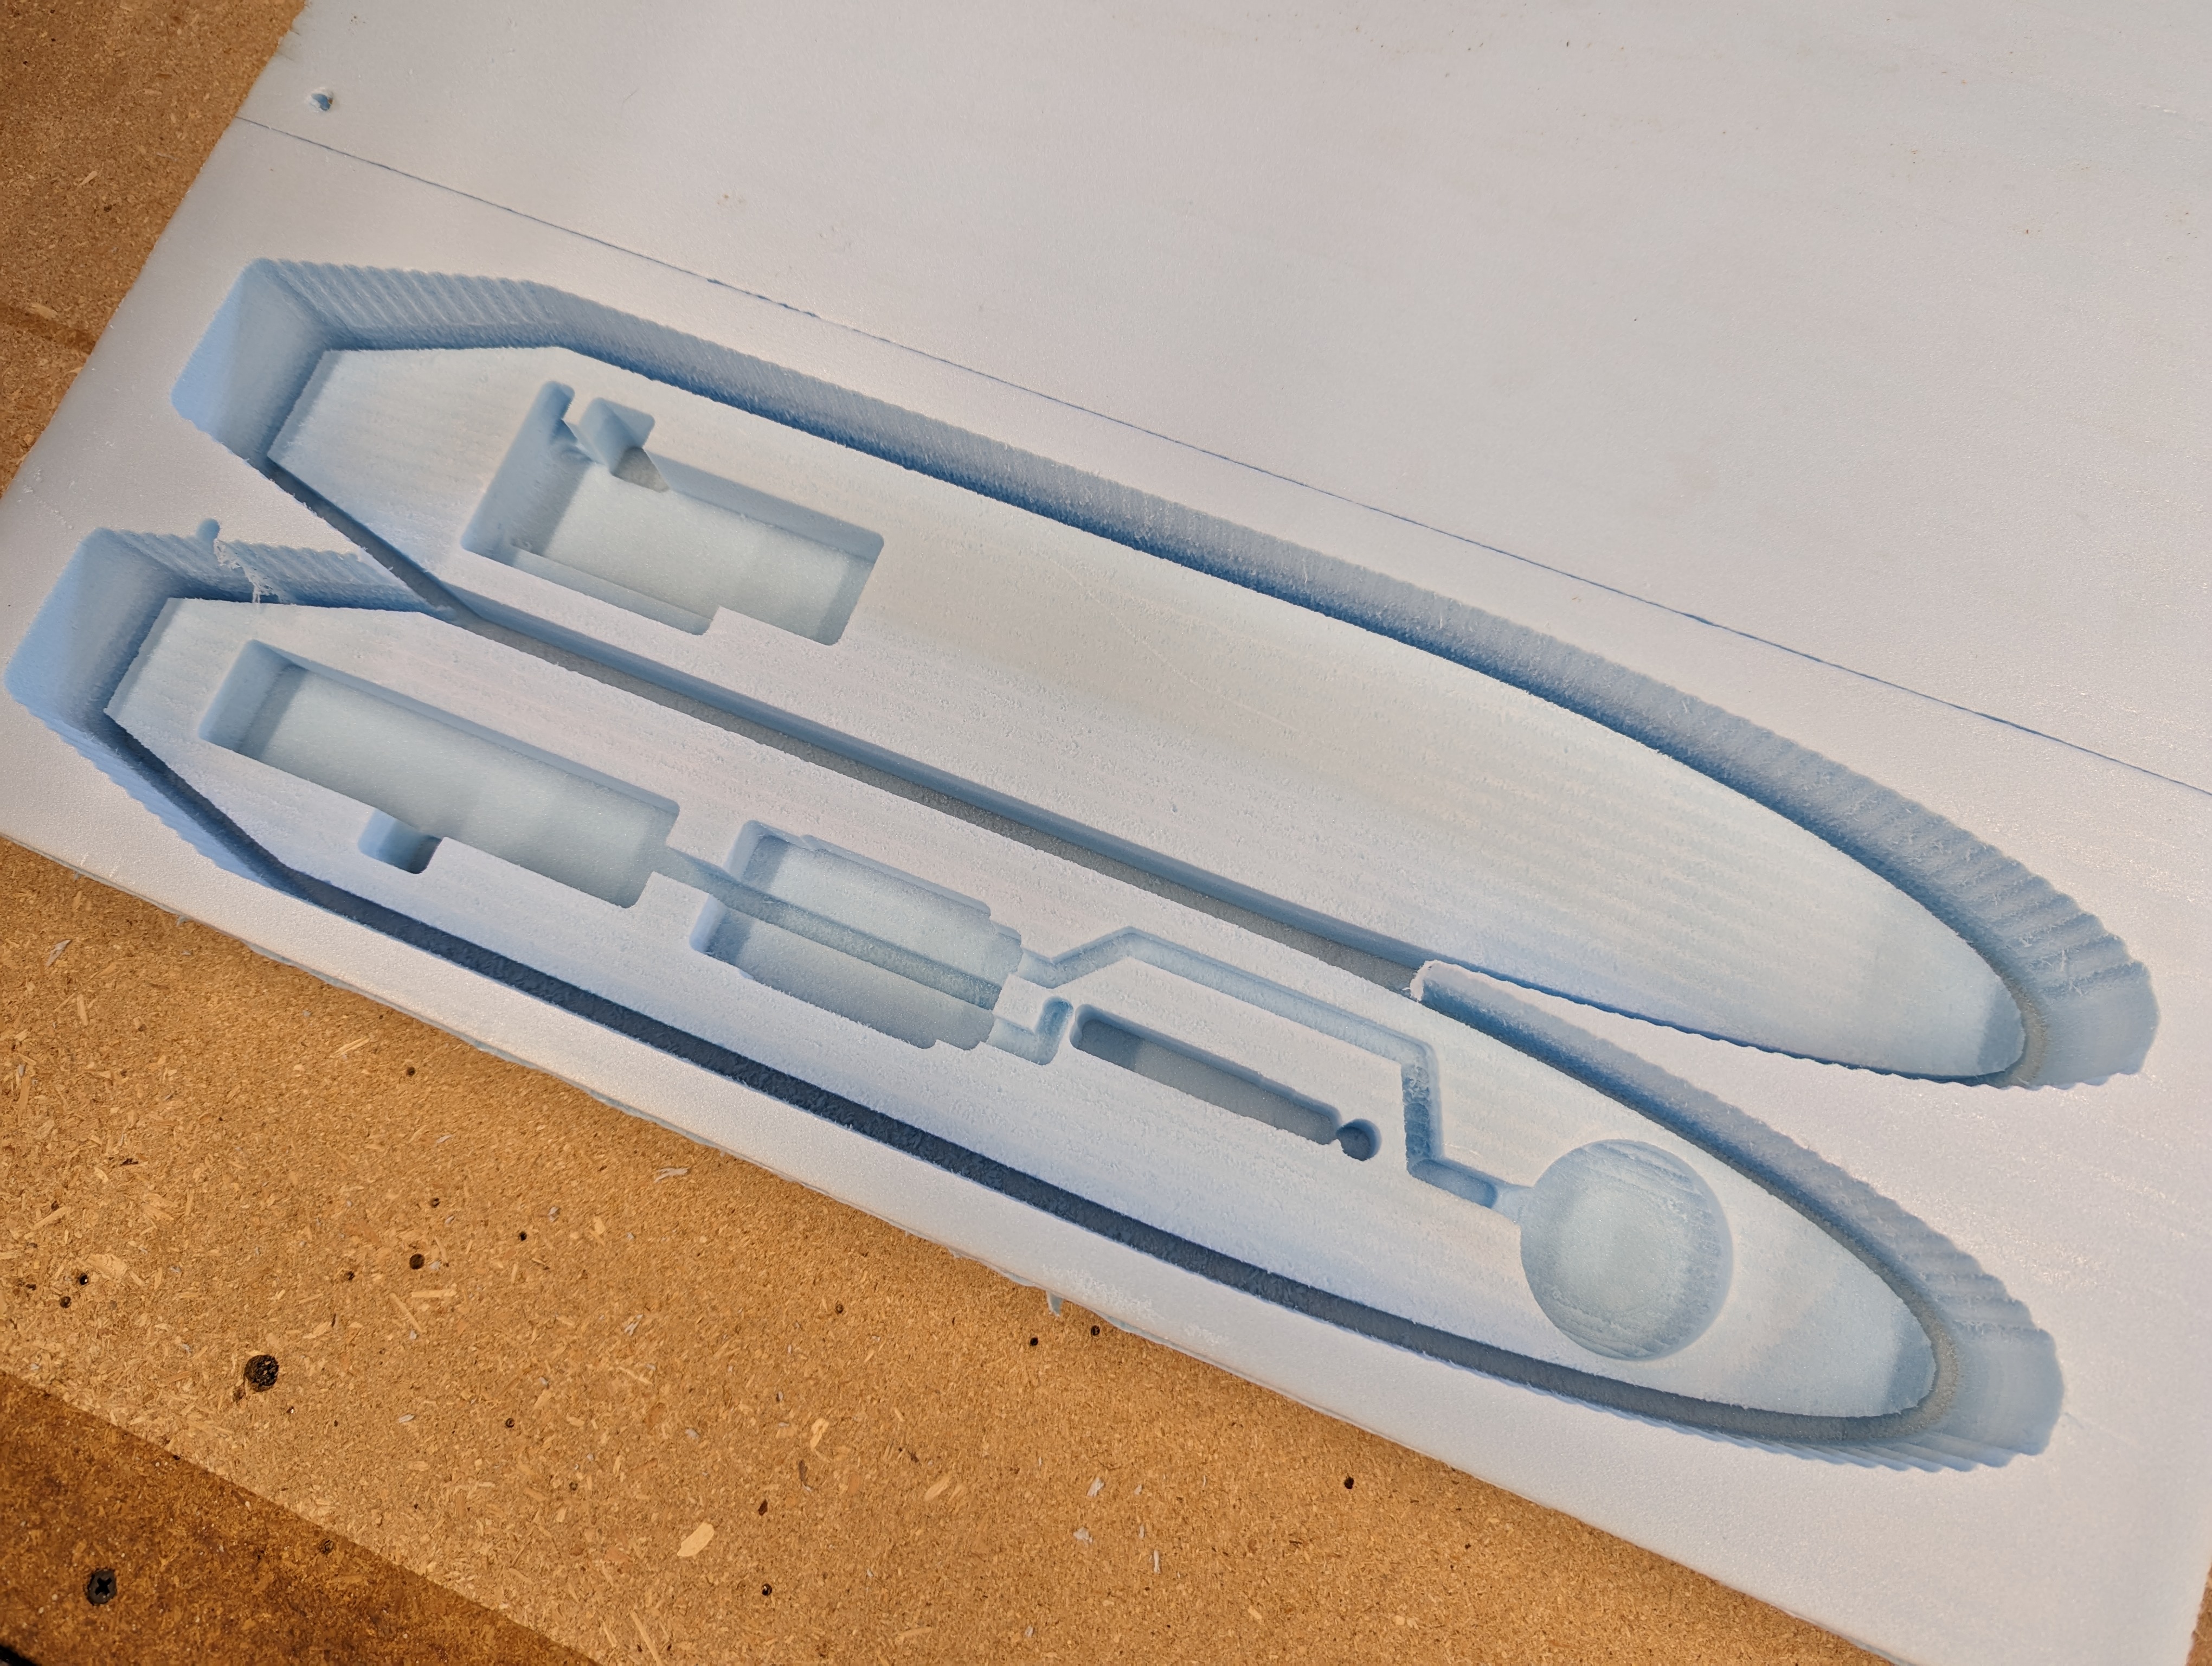
(Sorry... not quite finished with this)