Paramotor Phone and Radio Rail Mount
When flying, you need a phone. The phone will provide navigation and communication. But it is a problem when your phone is in your pocket. It needs to be mounted. And if you are going to mount a phone, you might as well mount an aviation radio as well.
The Old Designs
Originally, I had created a round boss at the same diameter as motorcycle handlebars. I then mounted a motorcycle phone mount to it. Below are a couple of images of that setup. If all you want is a phone, then this might be the way to go:

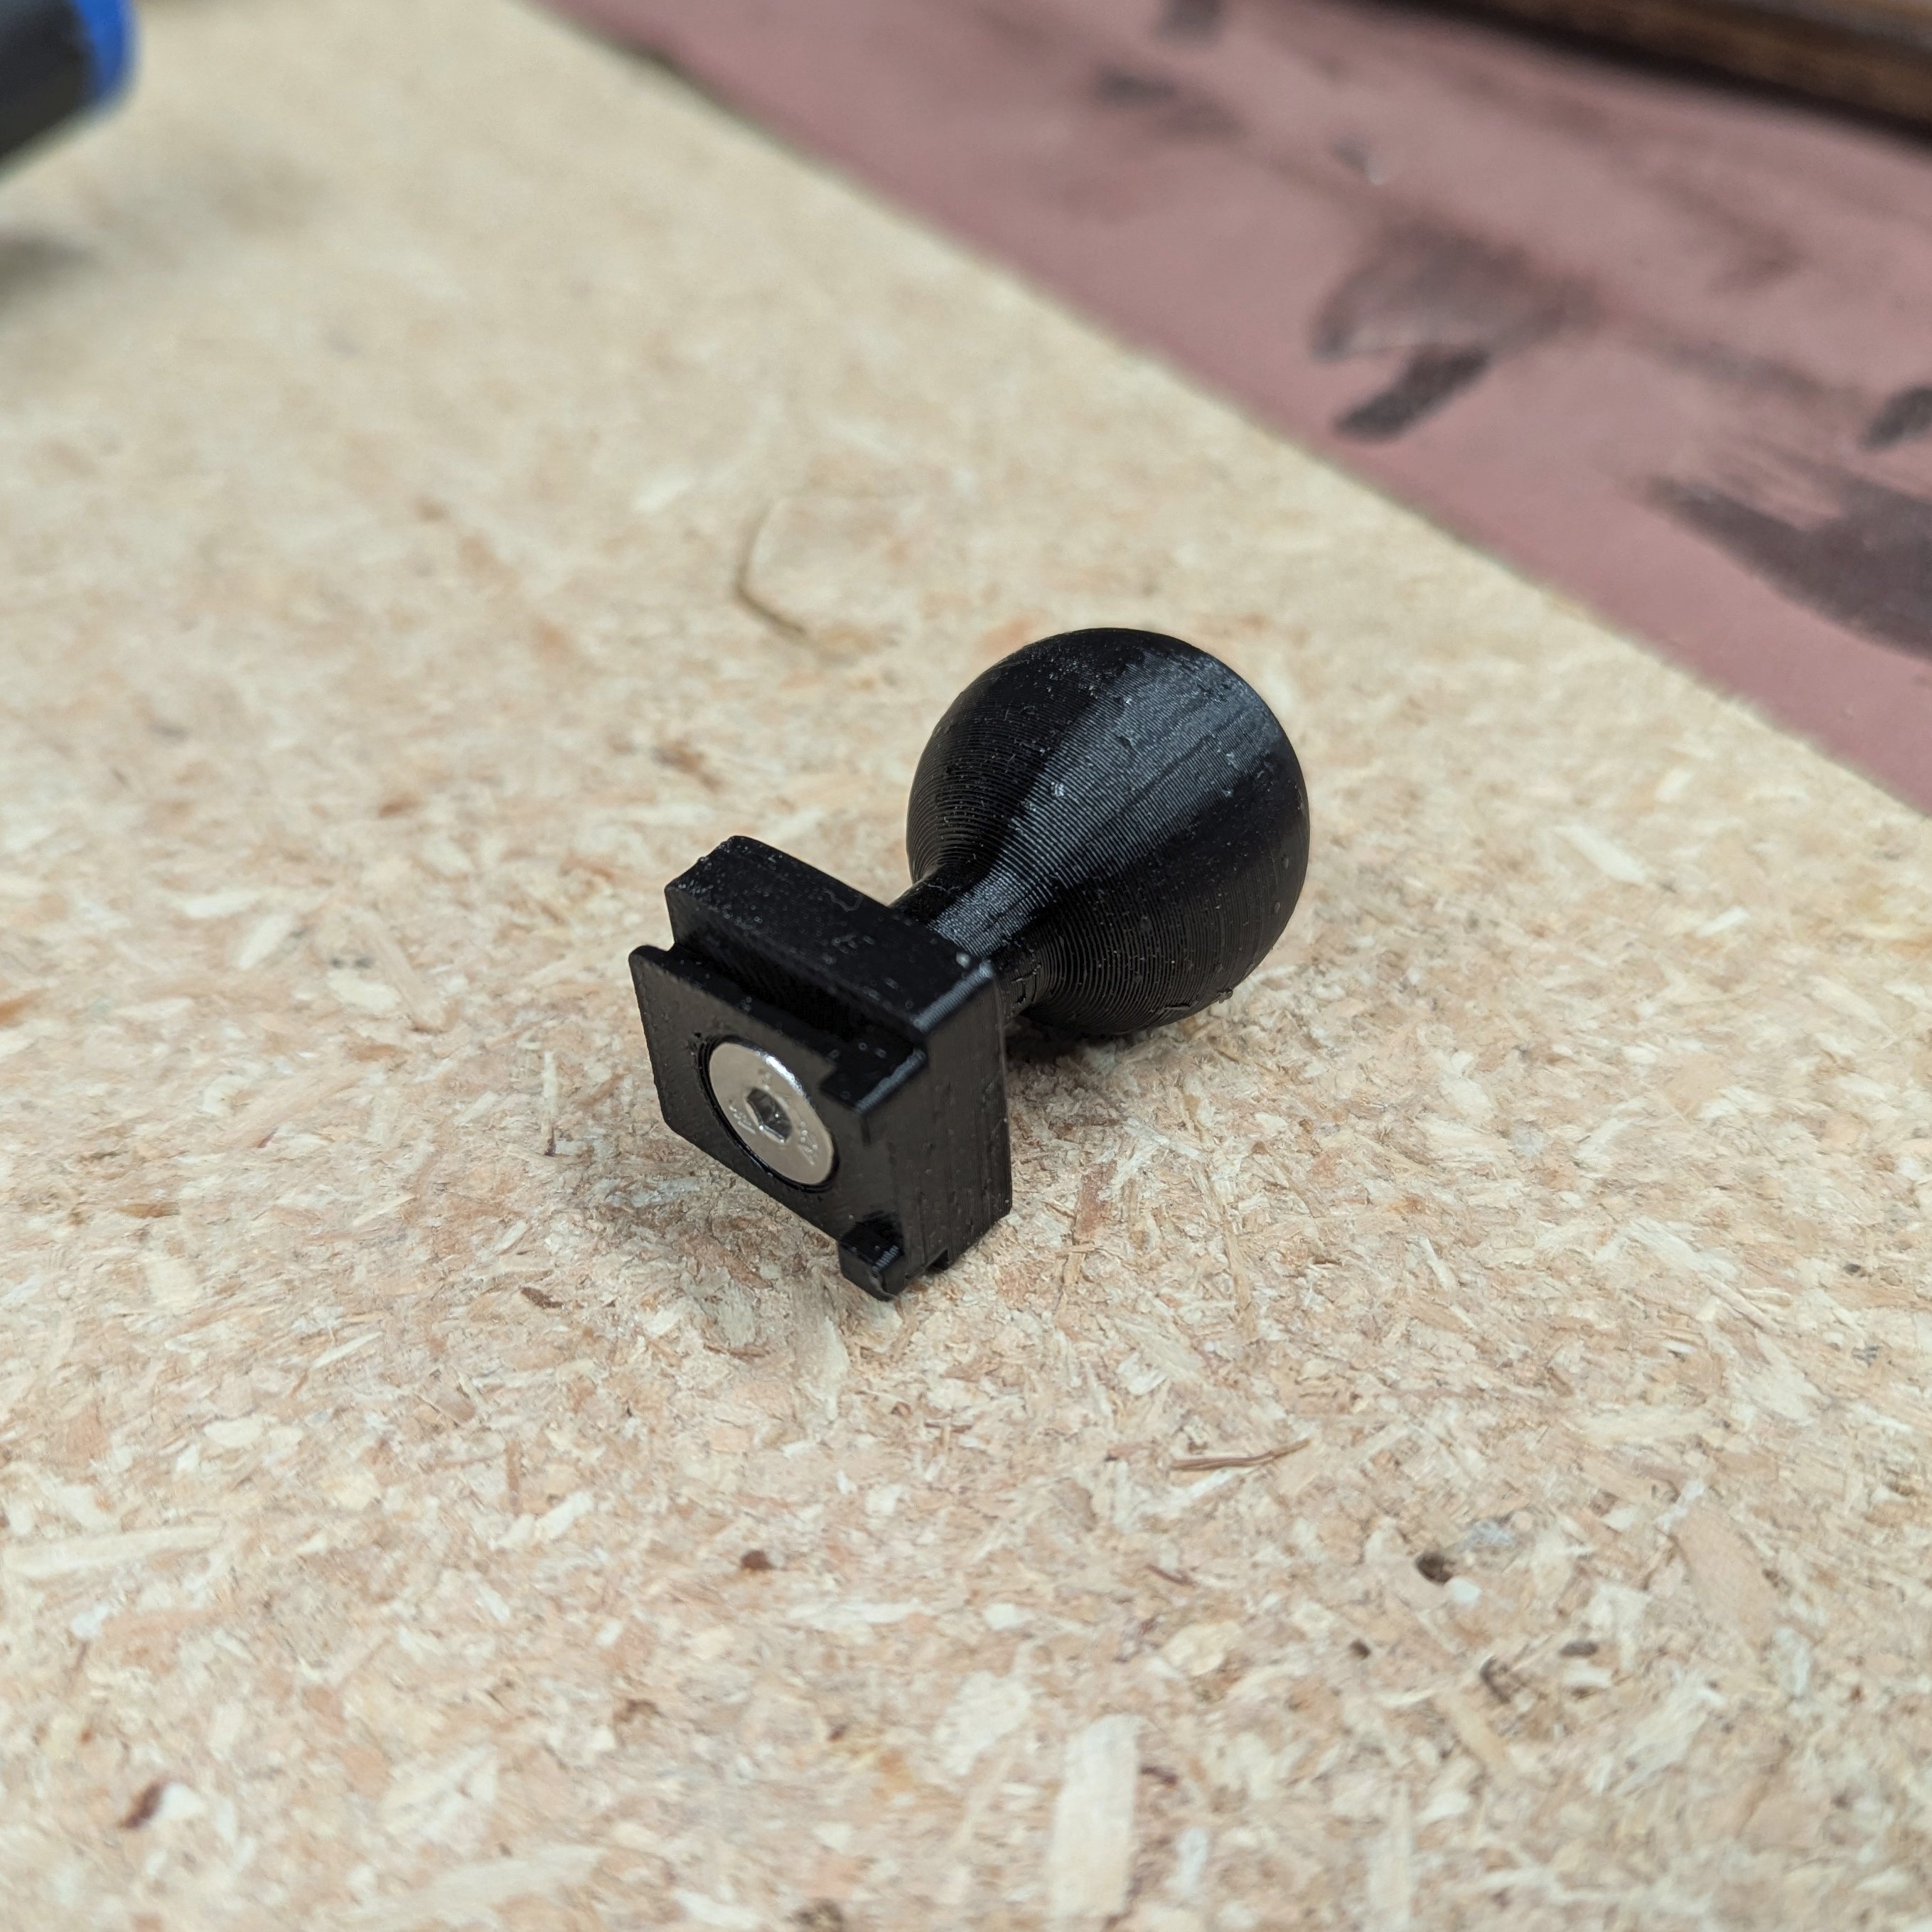
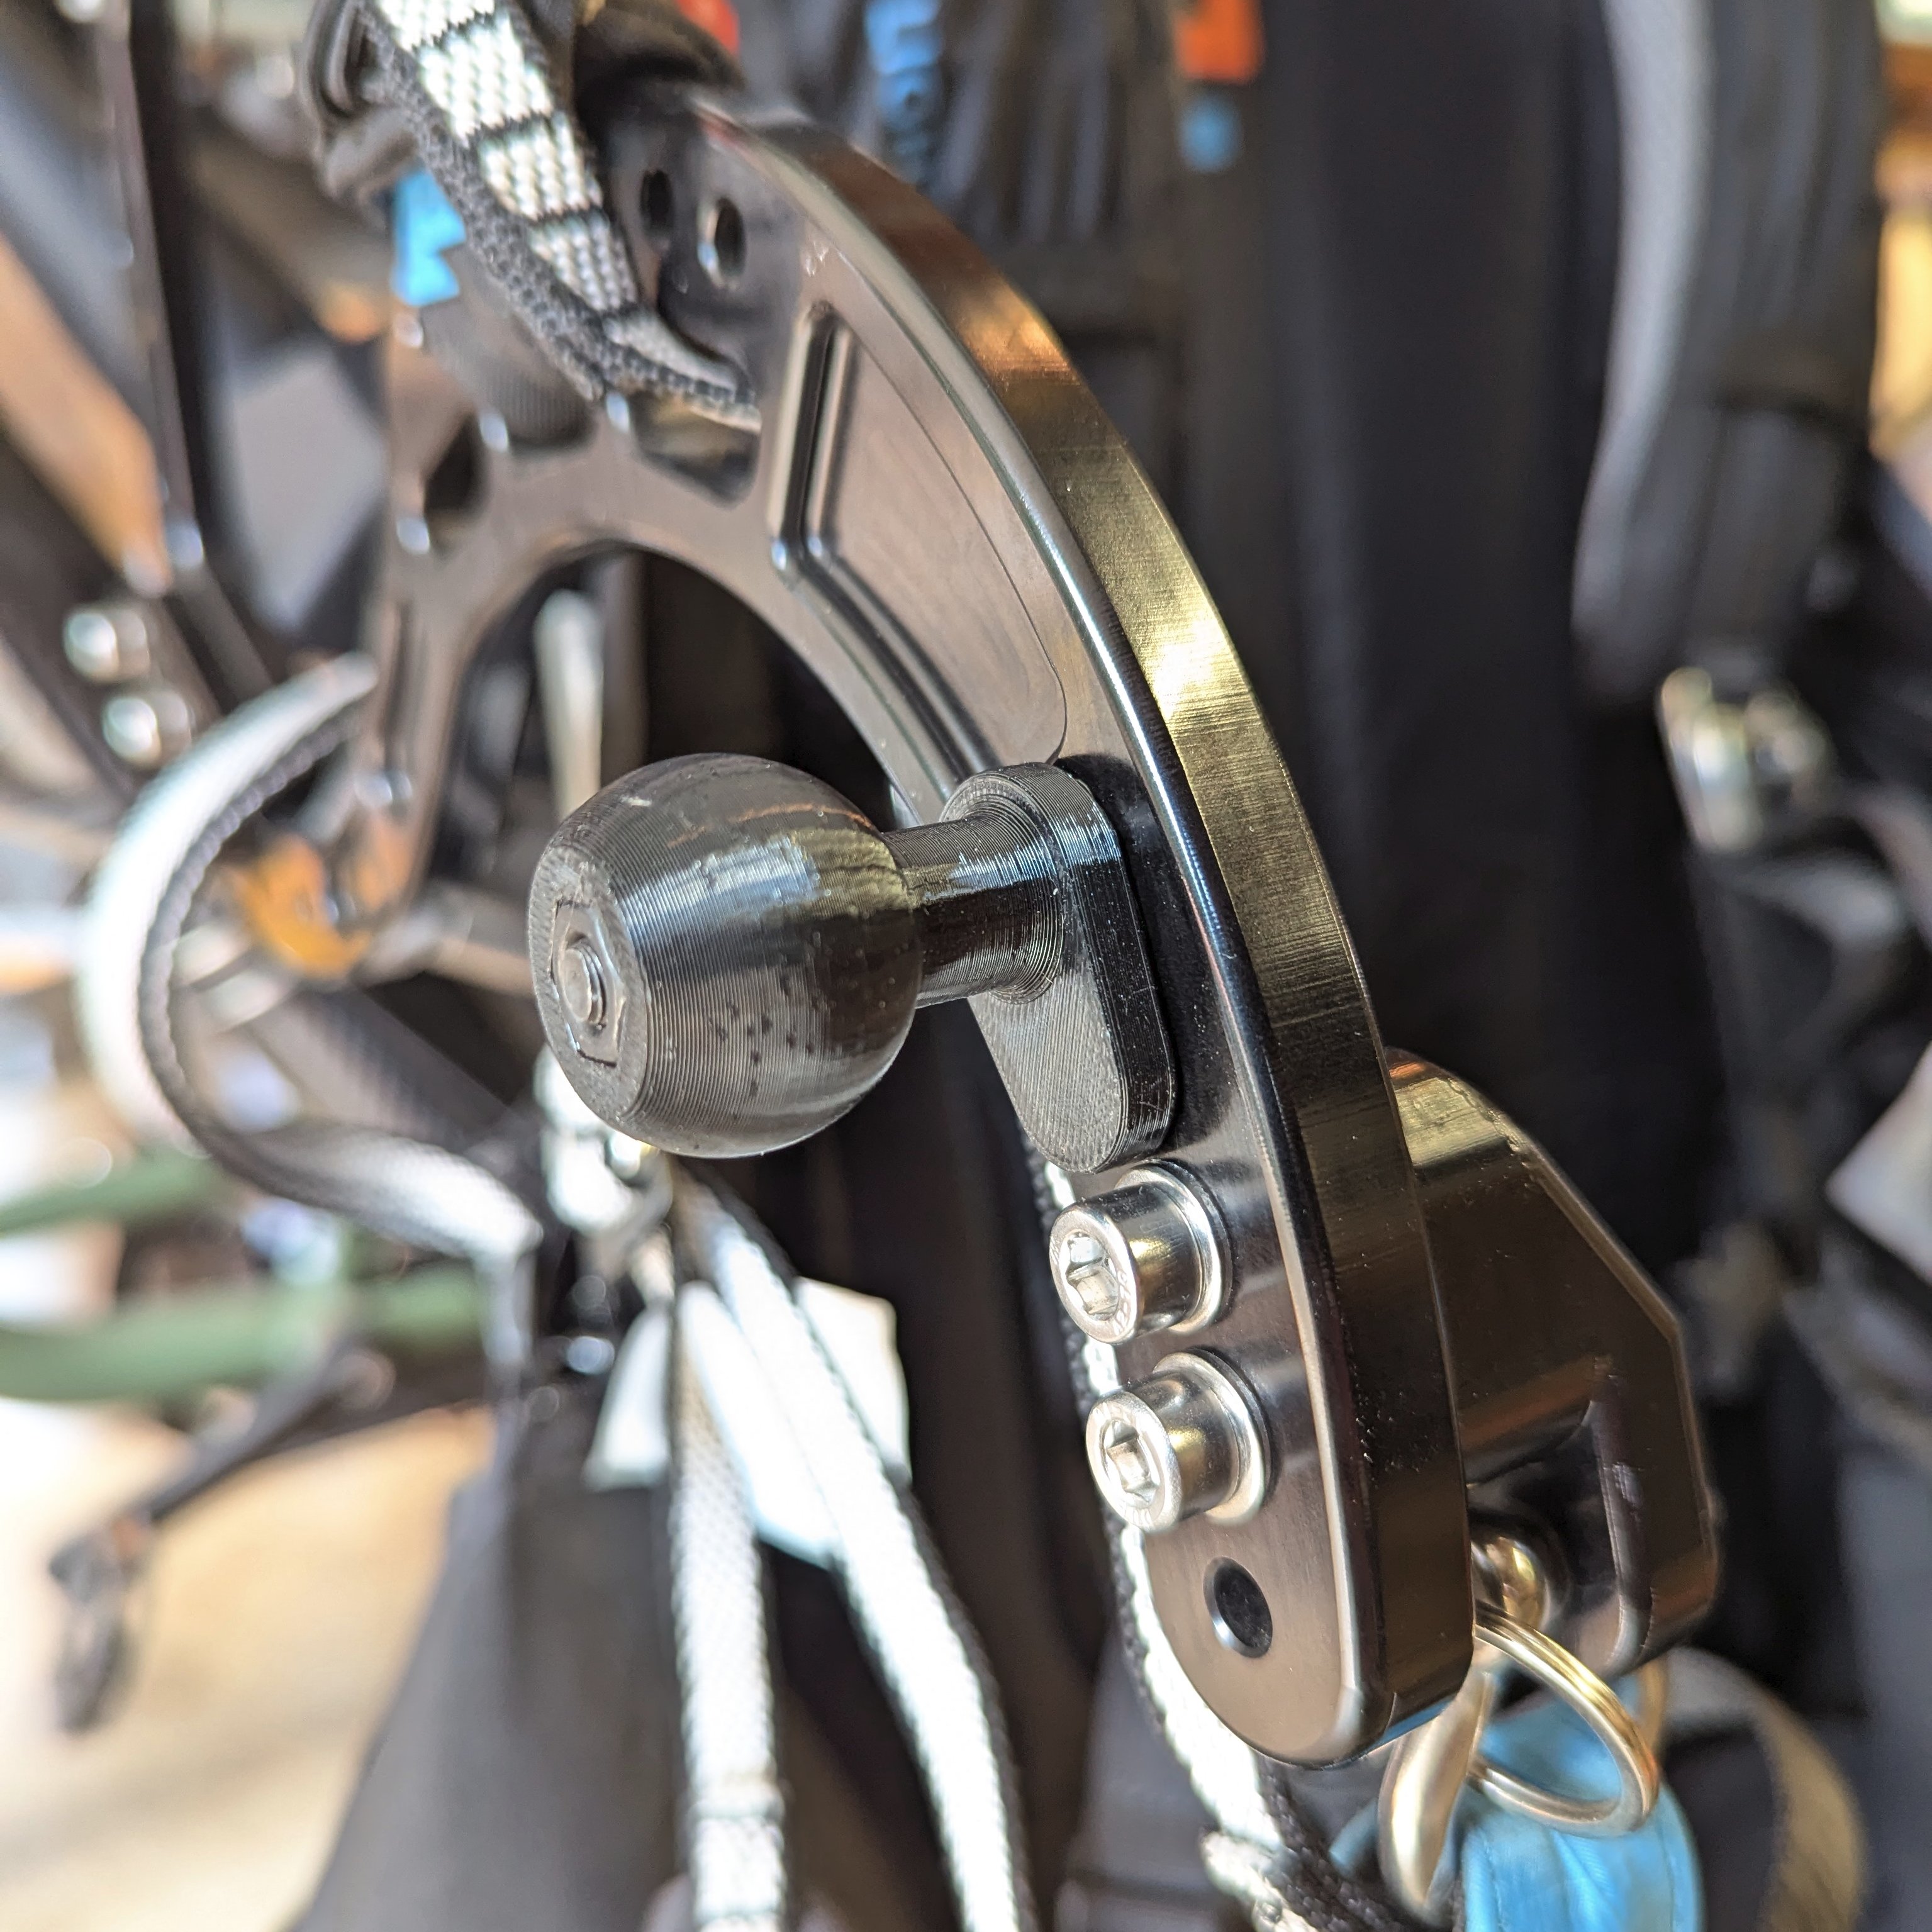
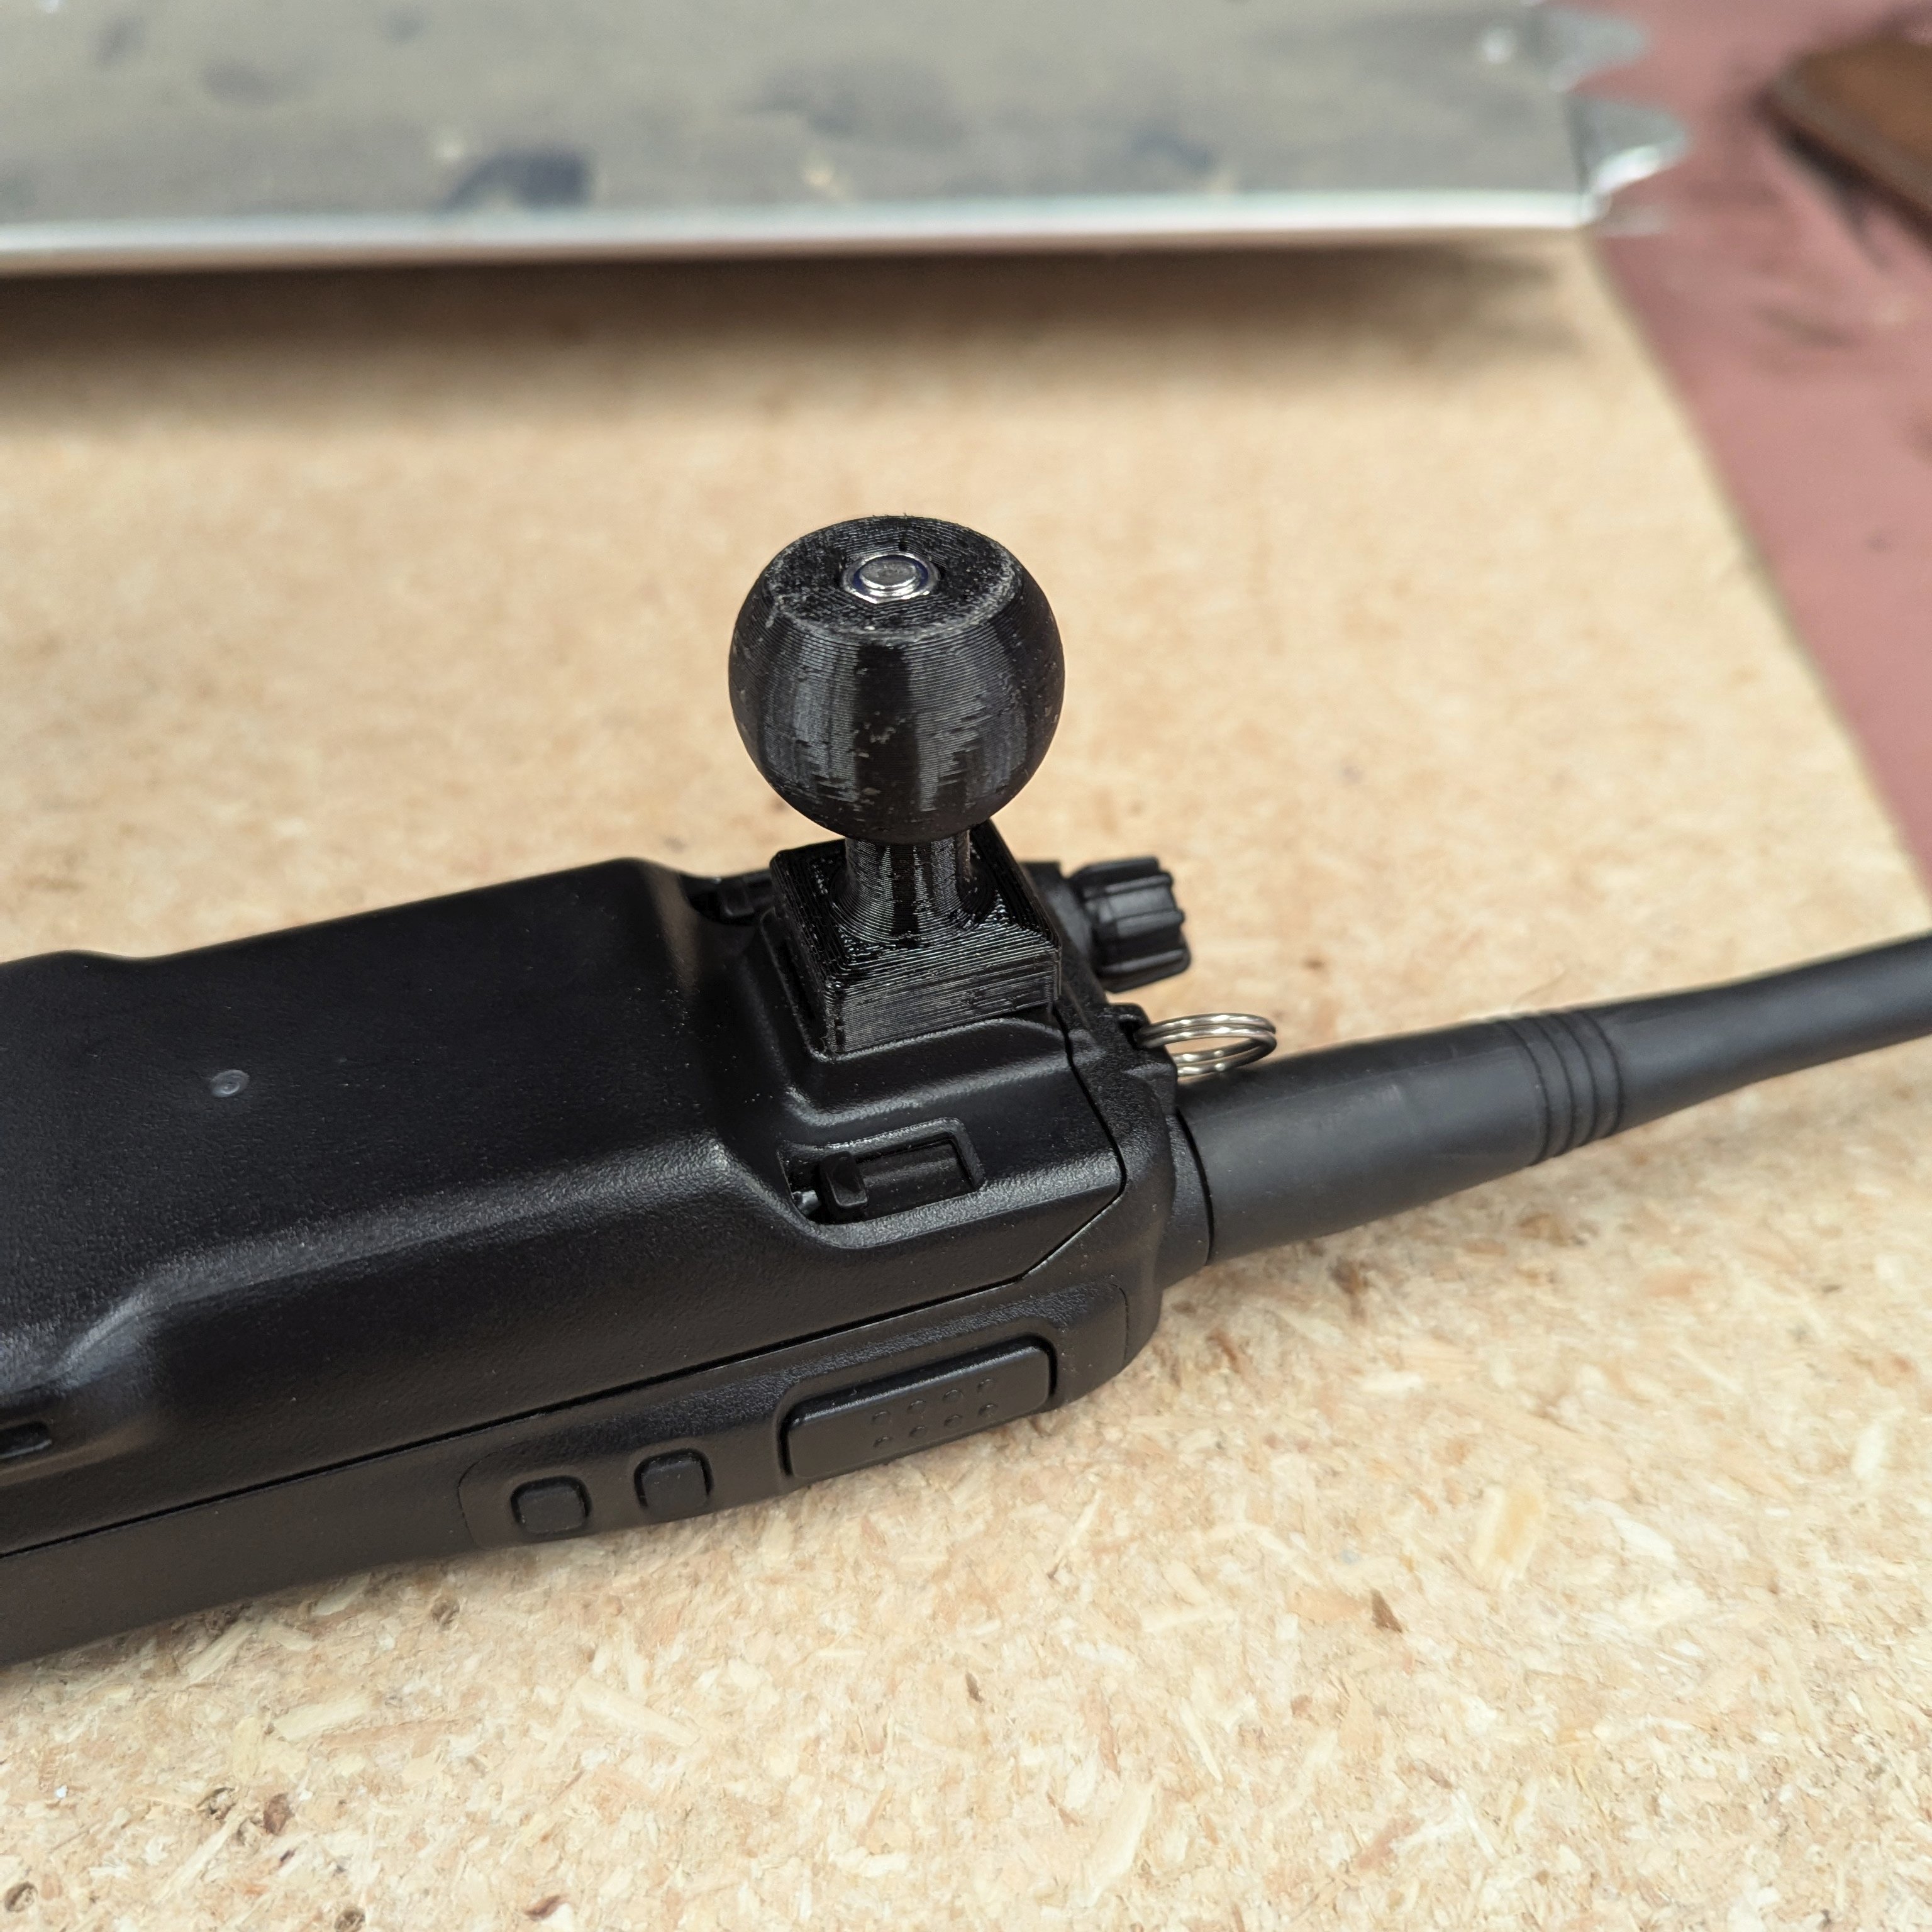
After the success of that phone mount, I decided to try to mount my radio. For this, I scratch built a ball mount system for the Icom A16B radio. This worked... but it had it's issues. Below are the images of that setup:
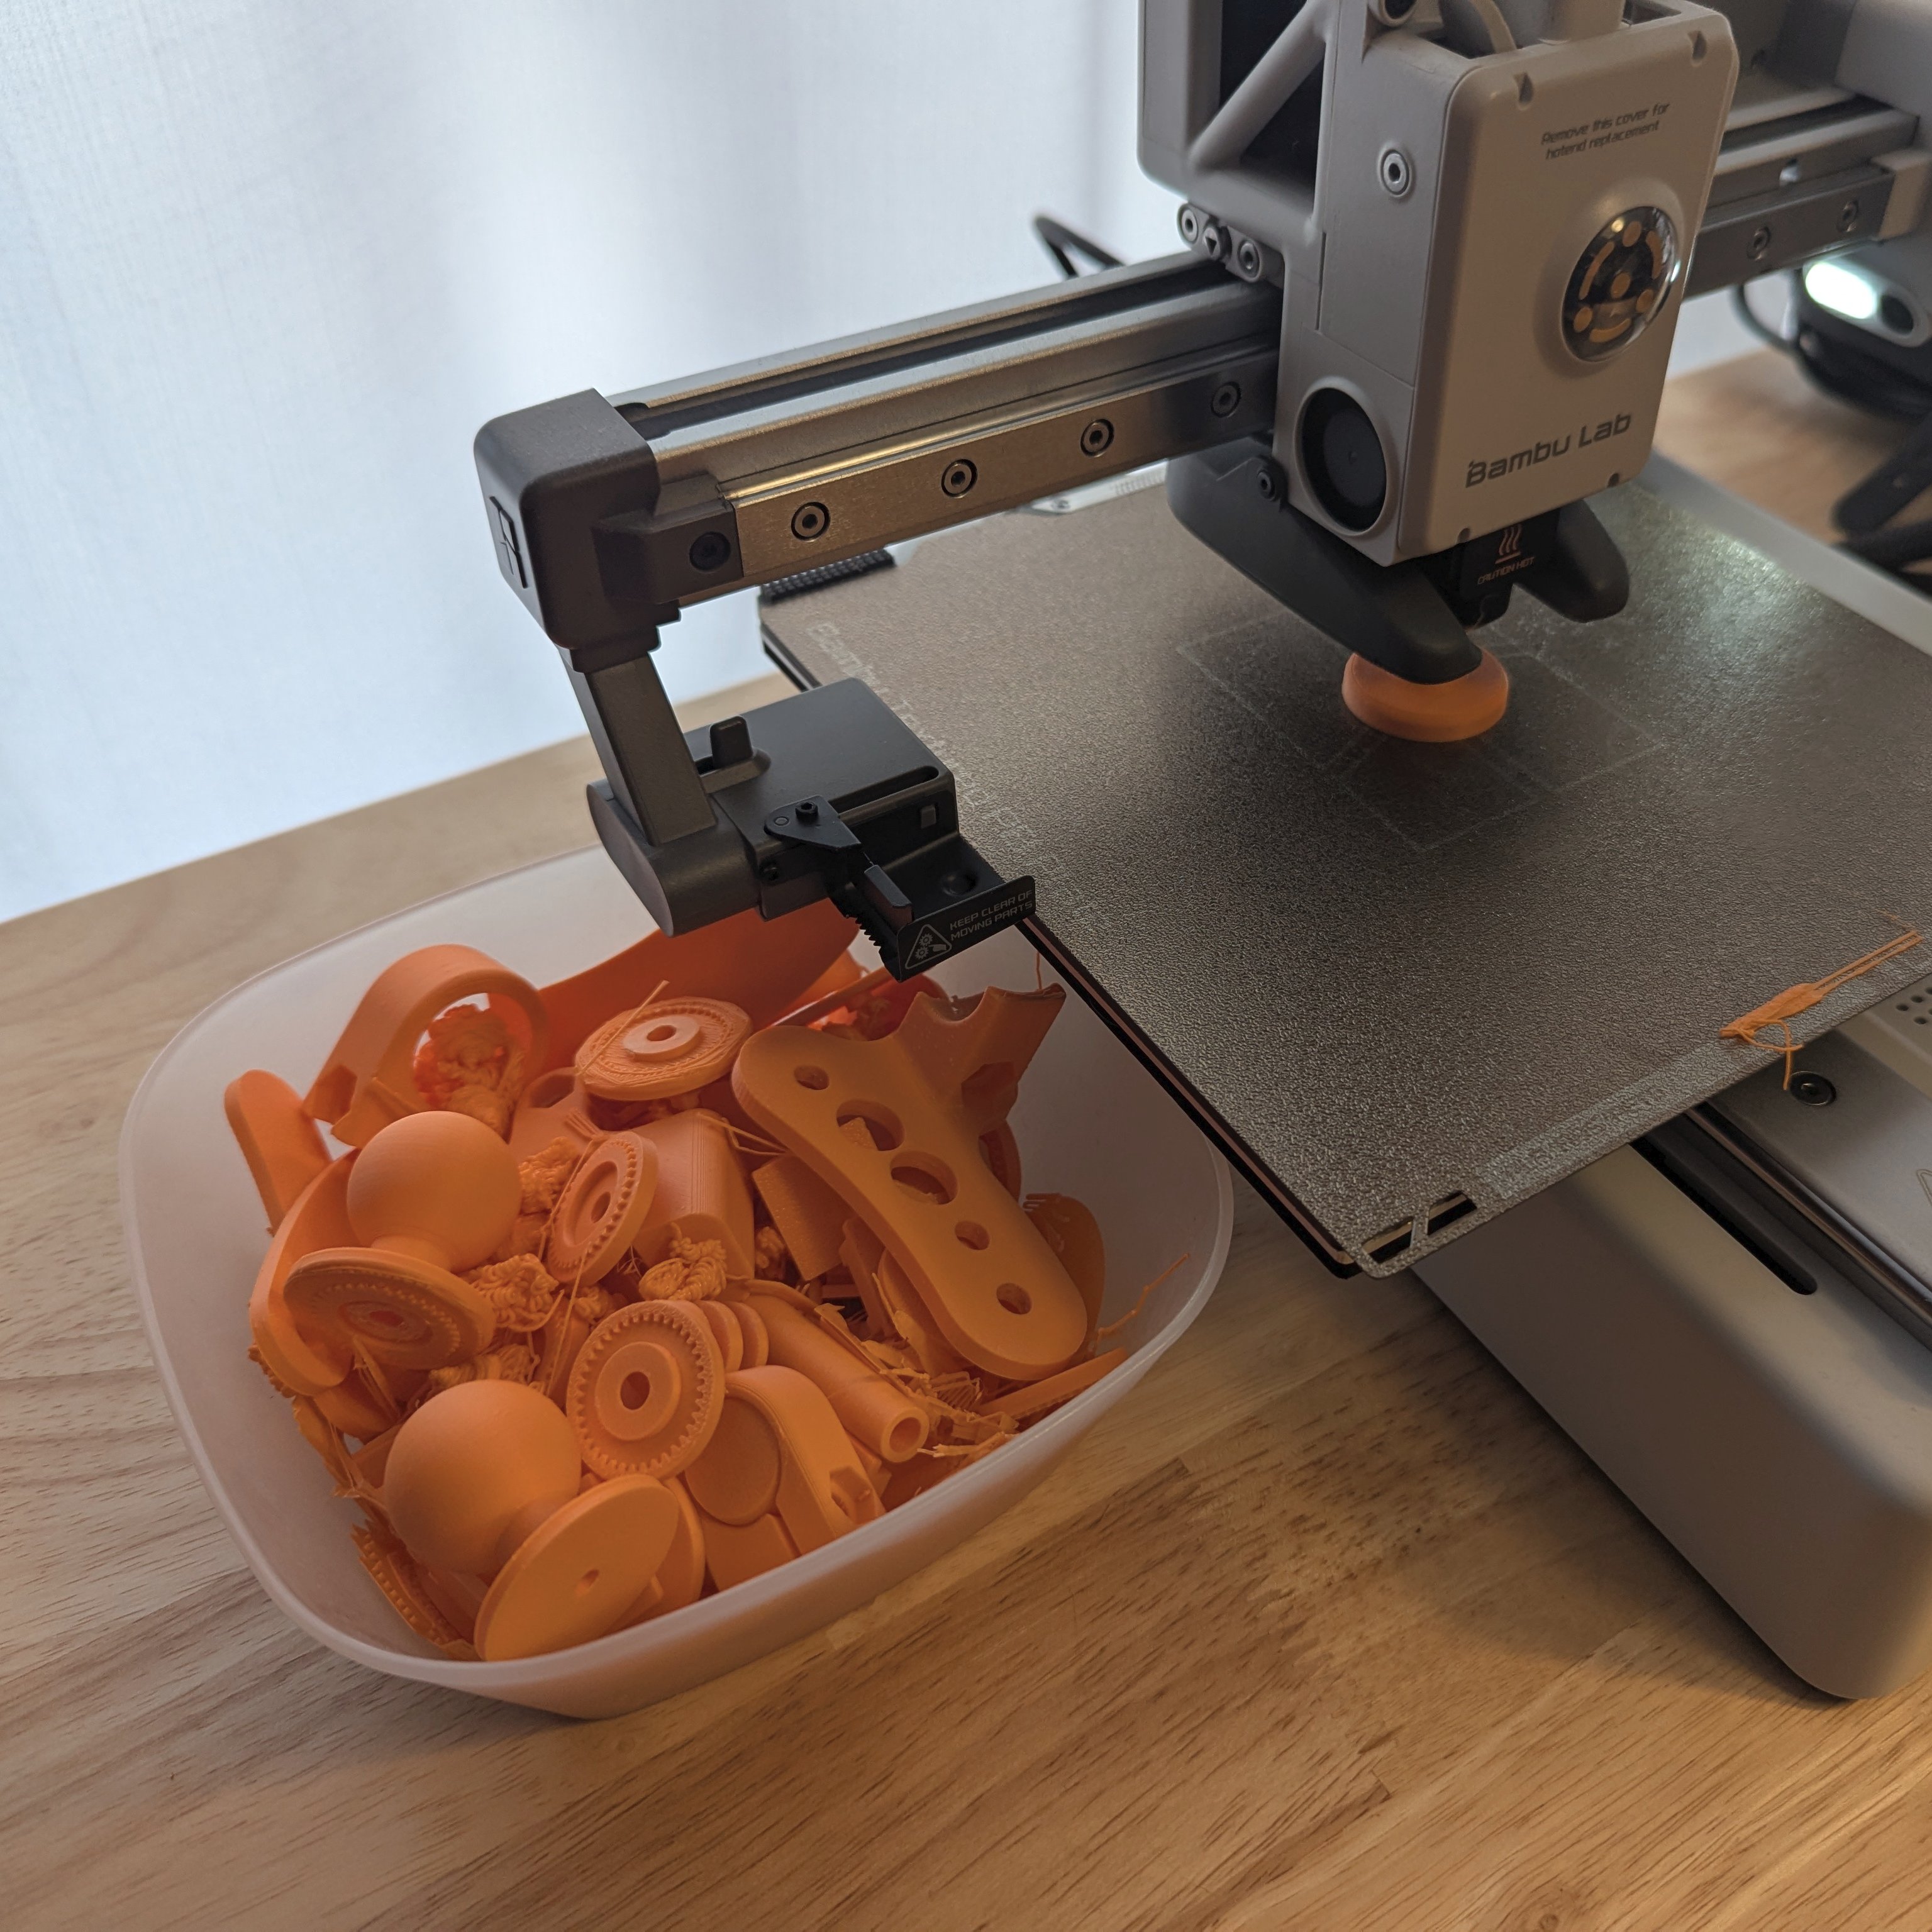
(Yes, the first image in that group is simply to show that you waste a lot of 3D filament prototyping!)
Here are the two mounts. On the left swing arm is the phone (the mount is there but the phone is elsewhere). On the right swing arm is the radio. The radio, since it is on a ball mount, can be rotated as necessary:
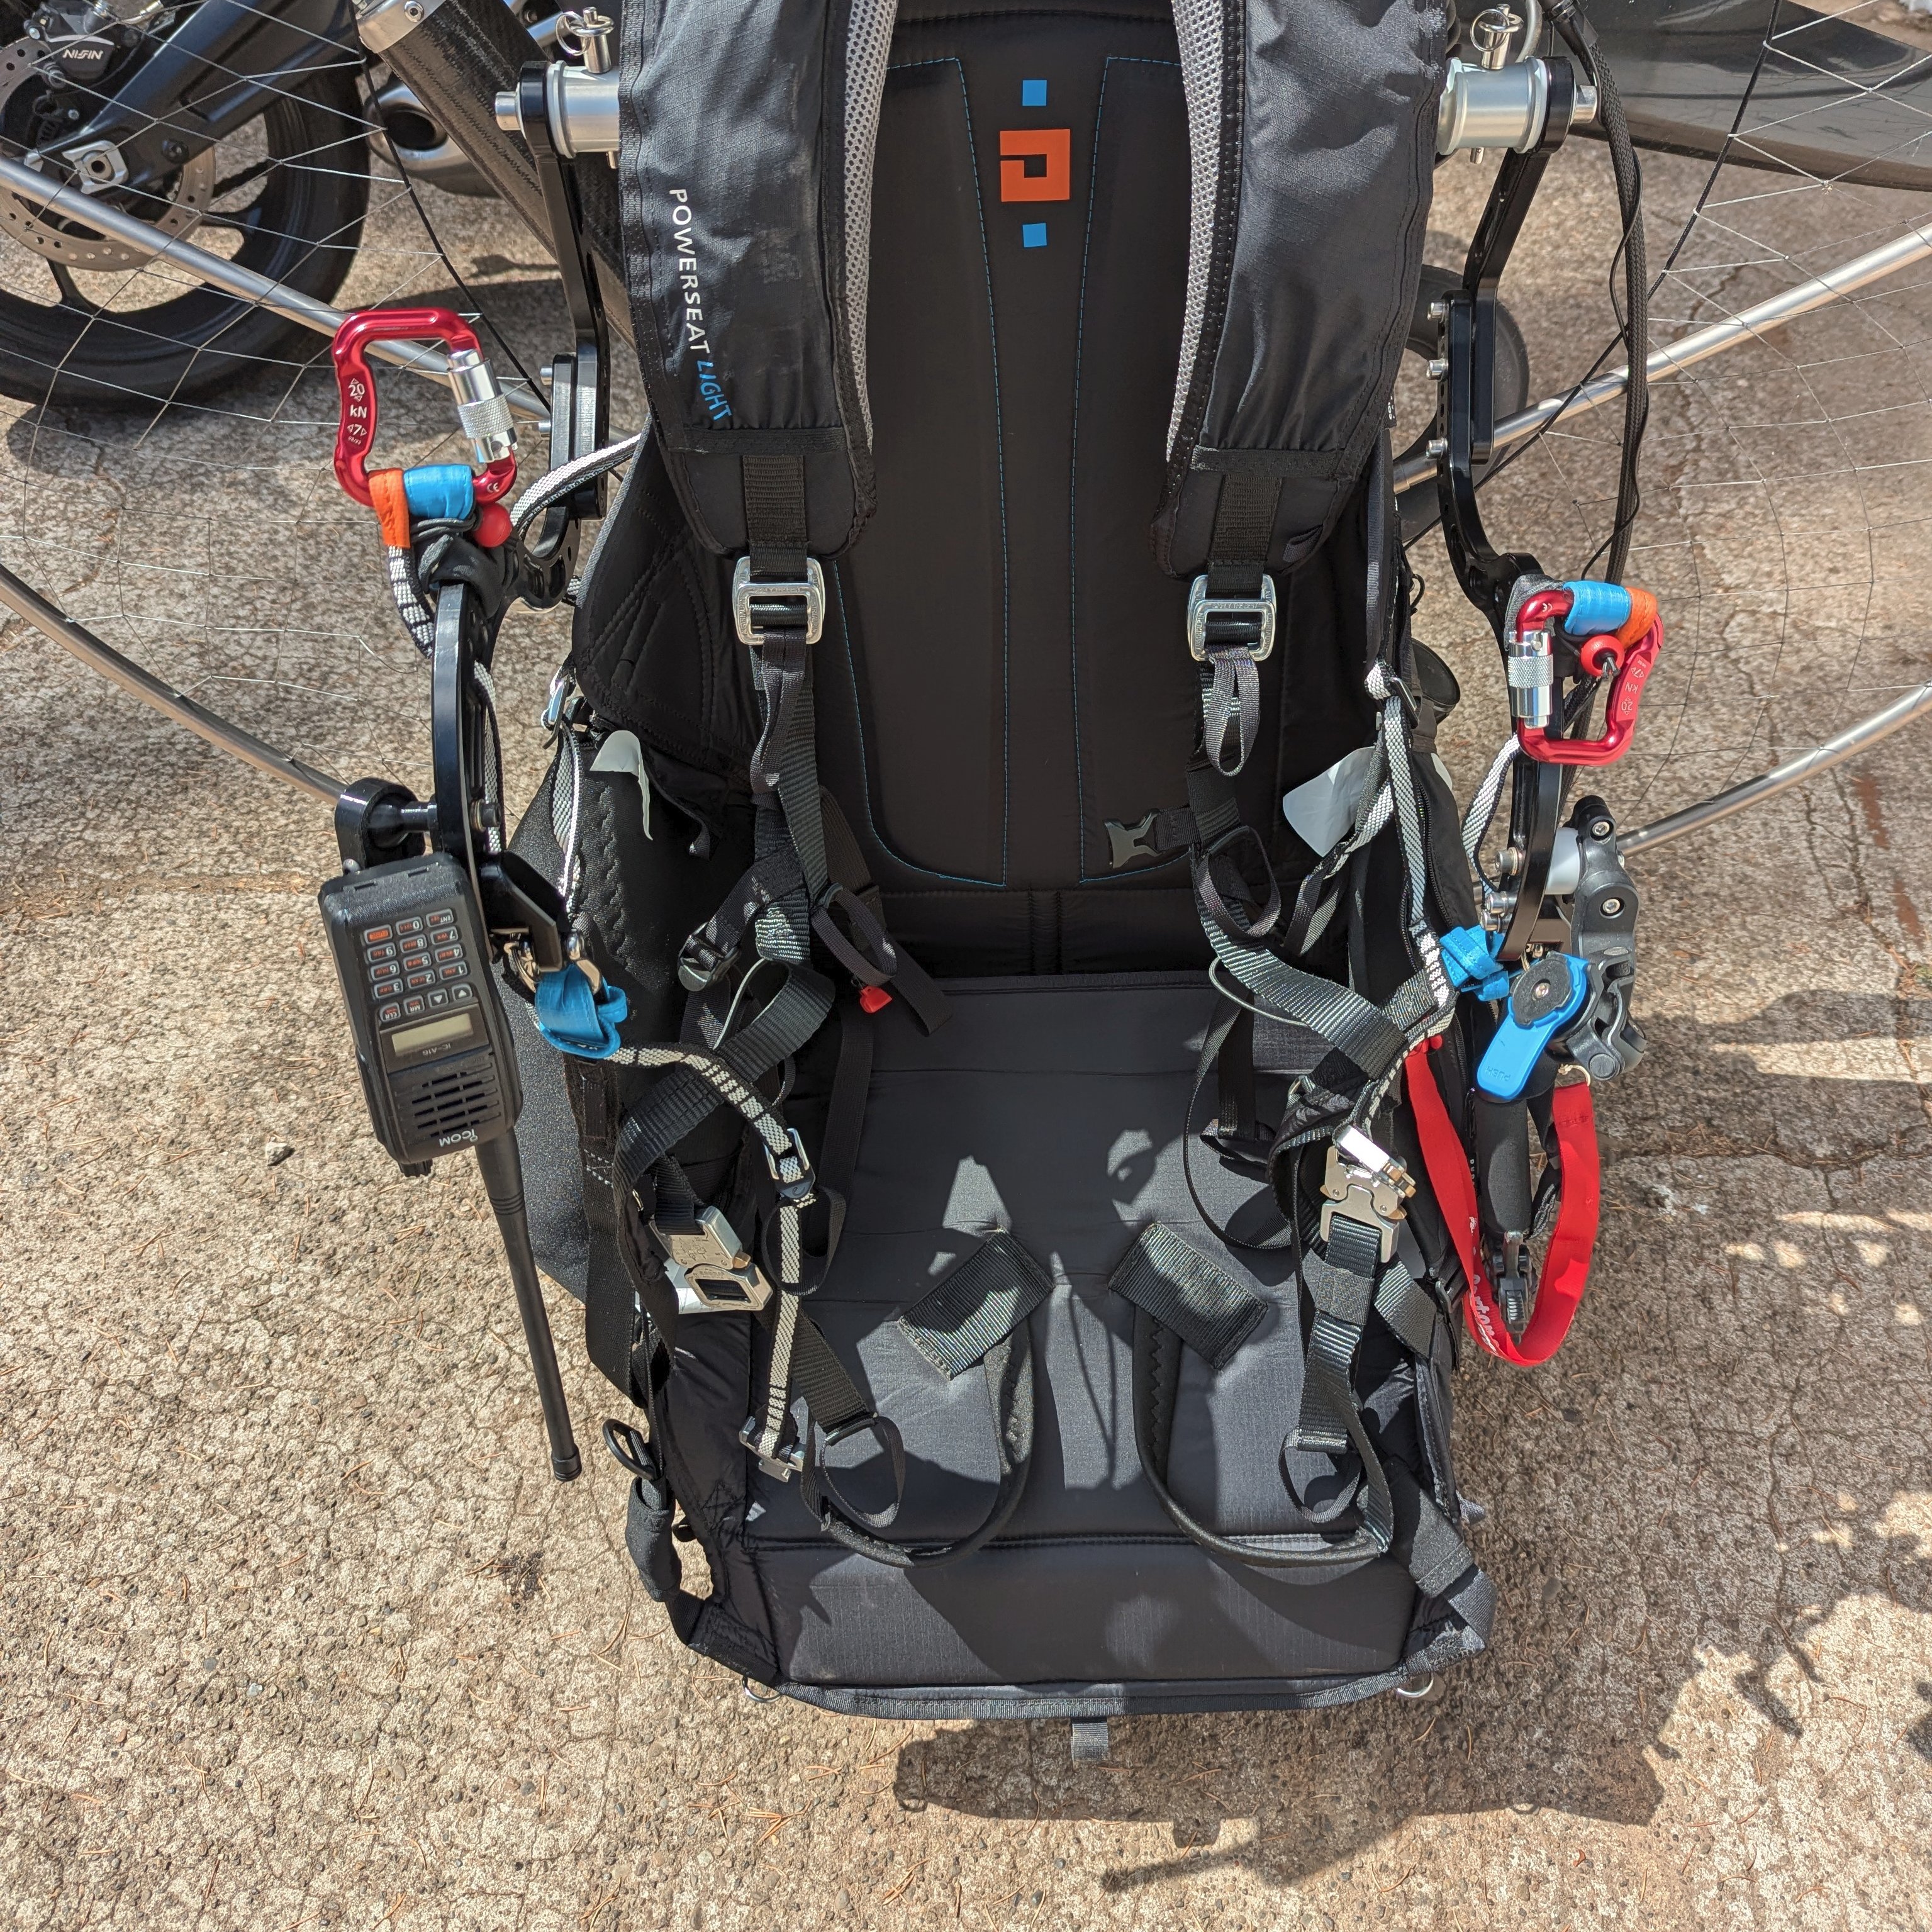

The problem with the radio setup is its location. It is on the right side. And so is my reserve parachute. I did not like having anything on that side which might impede the deployment of the reserve!
So on to Version 2...
The New Design - A Mounting Rail
The basic issue is that there is not any dedicated locations to mount extra stuff on a paramotor frame. This makes sense, it should be as light as possible. But I need a phone! So I built a dedicated mounting rail.
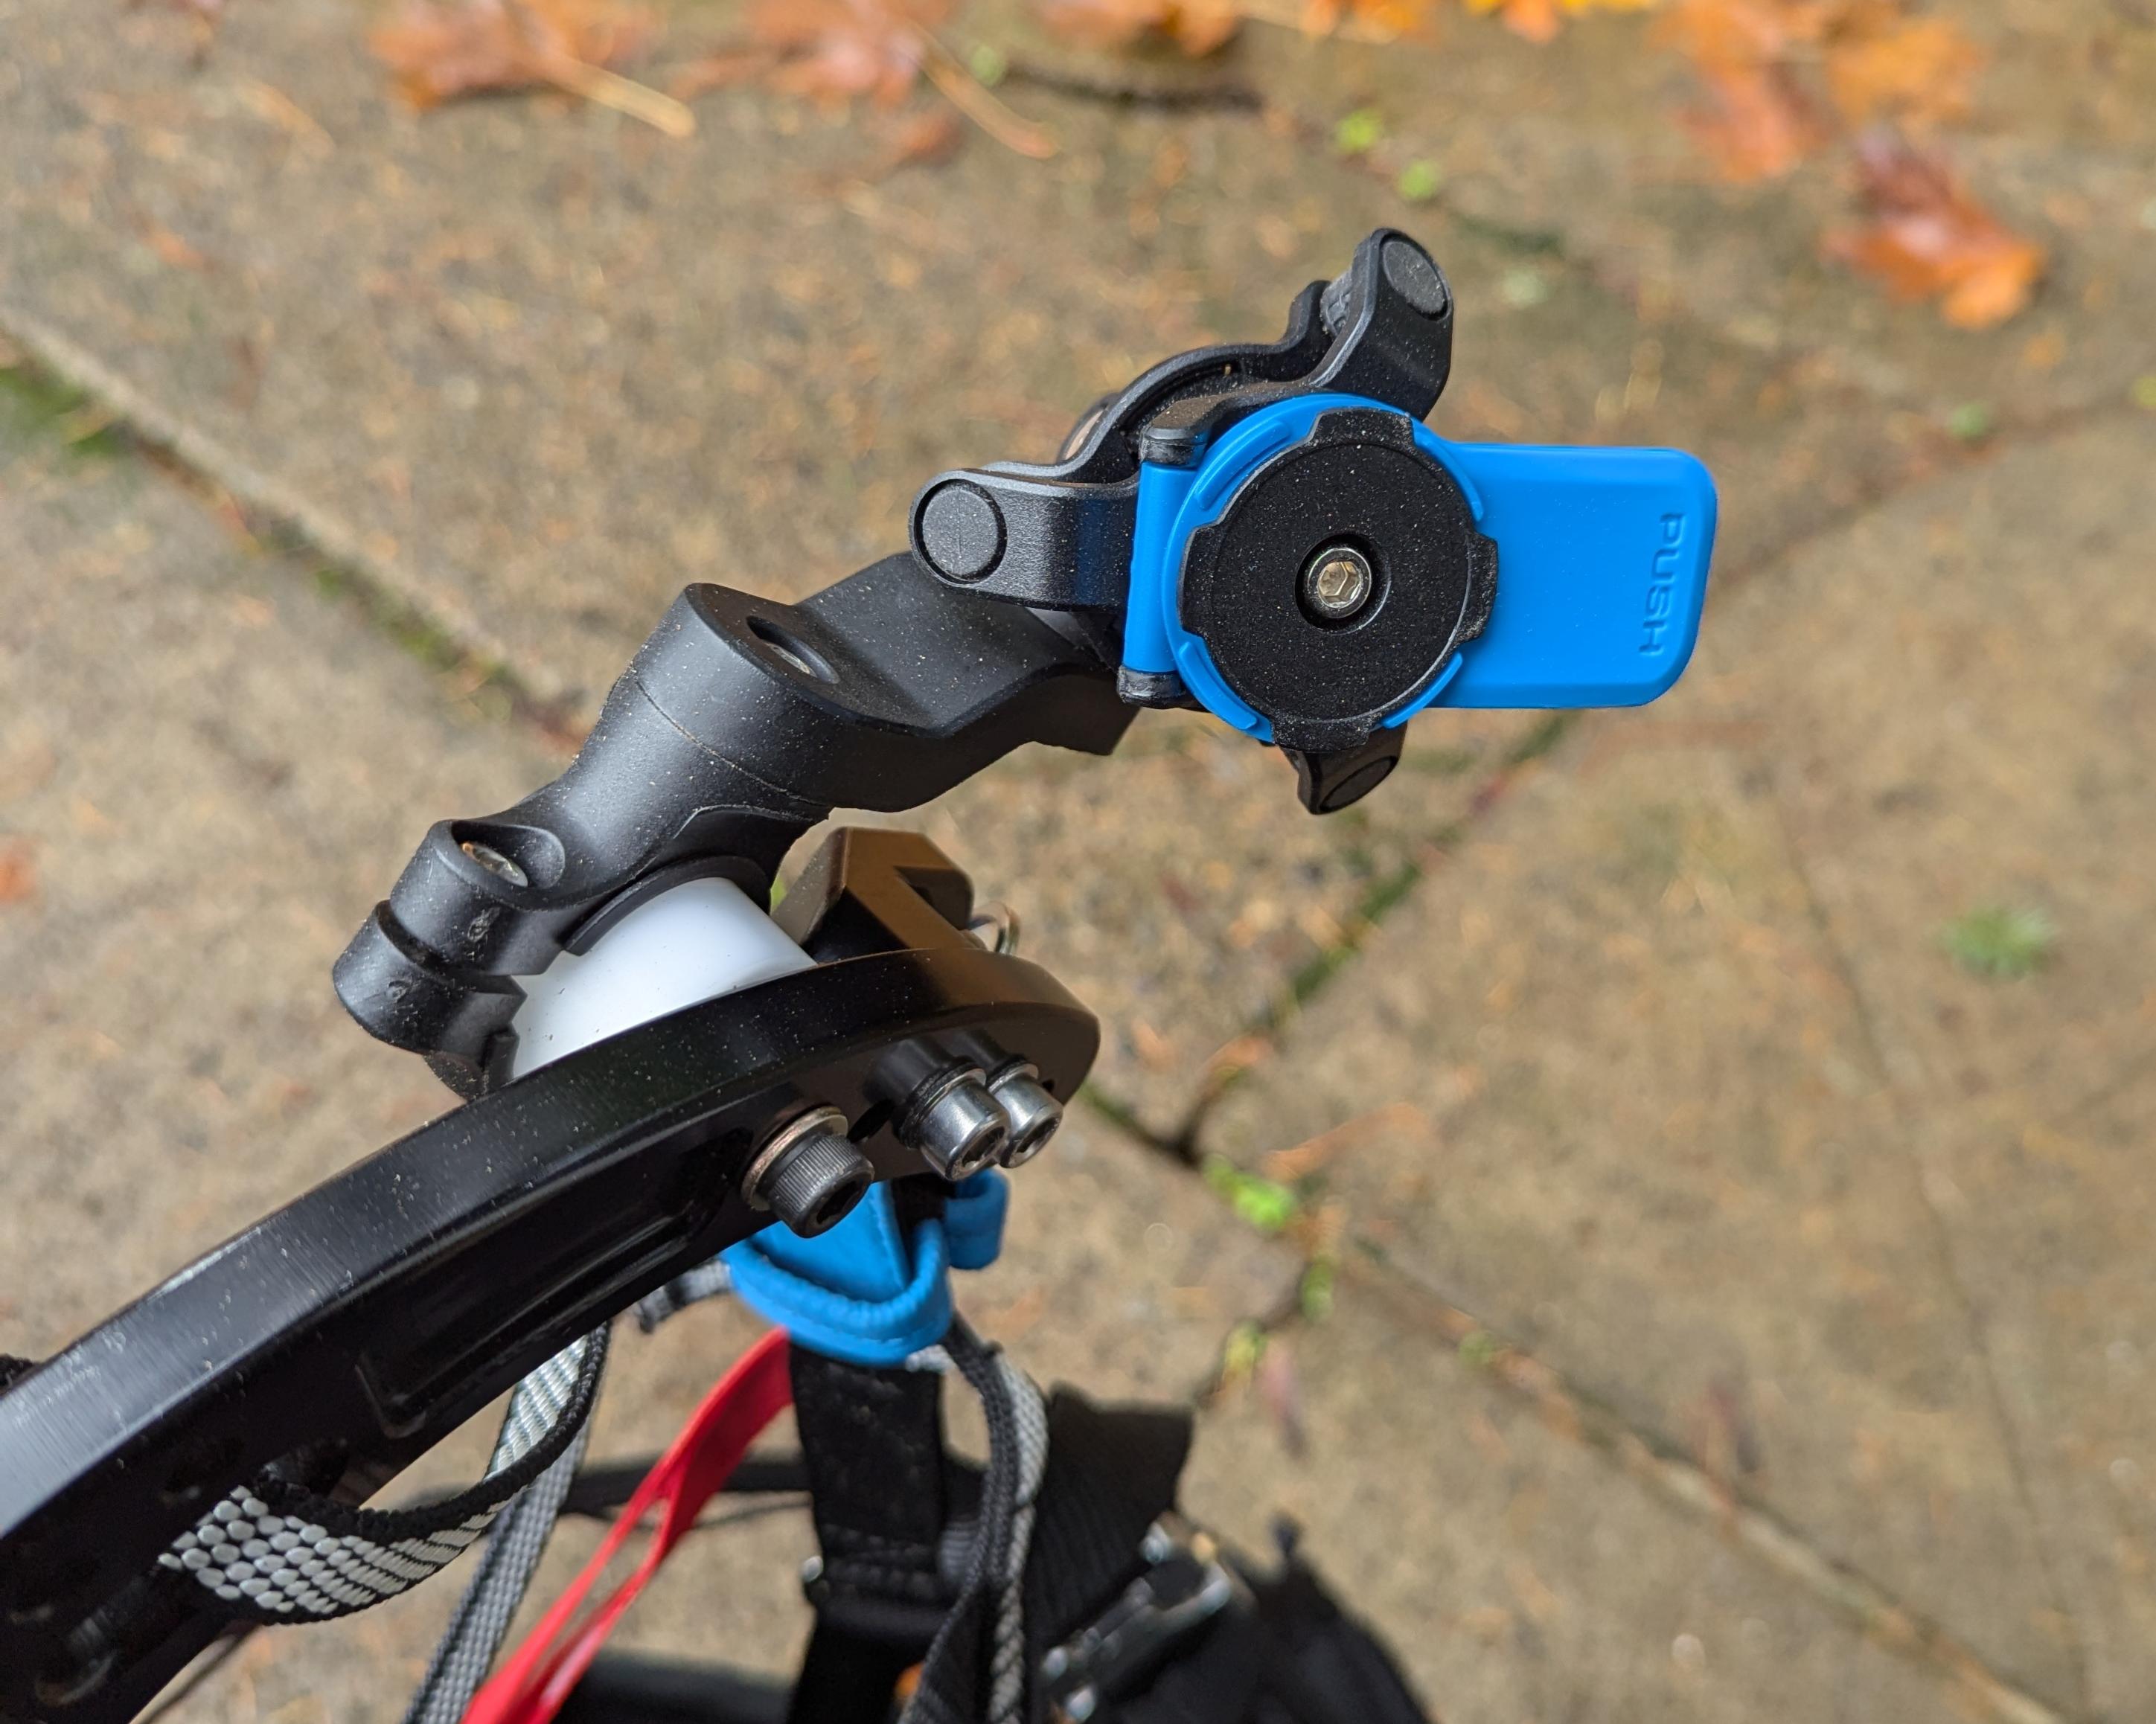
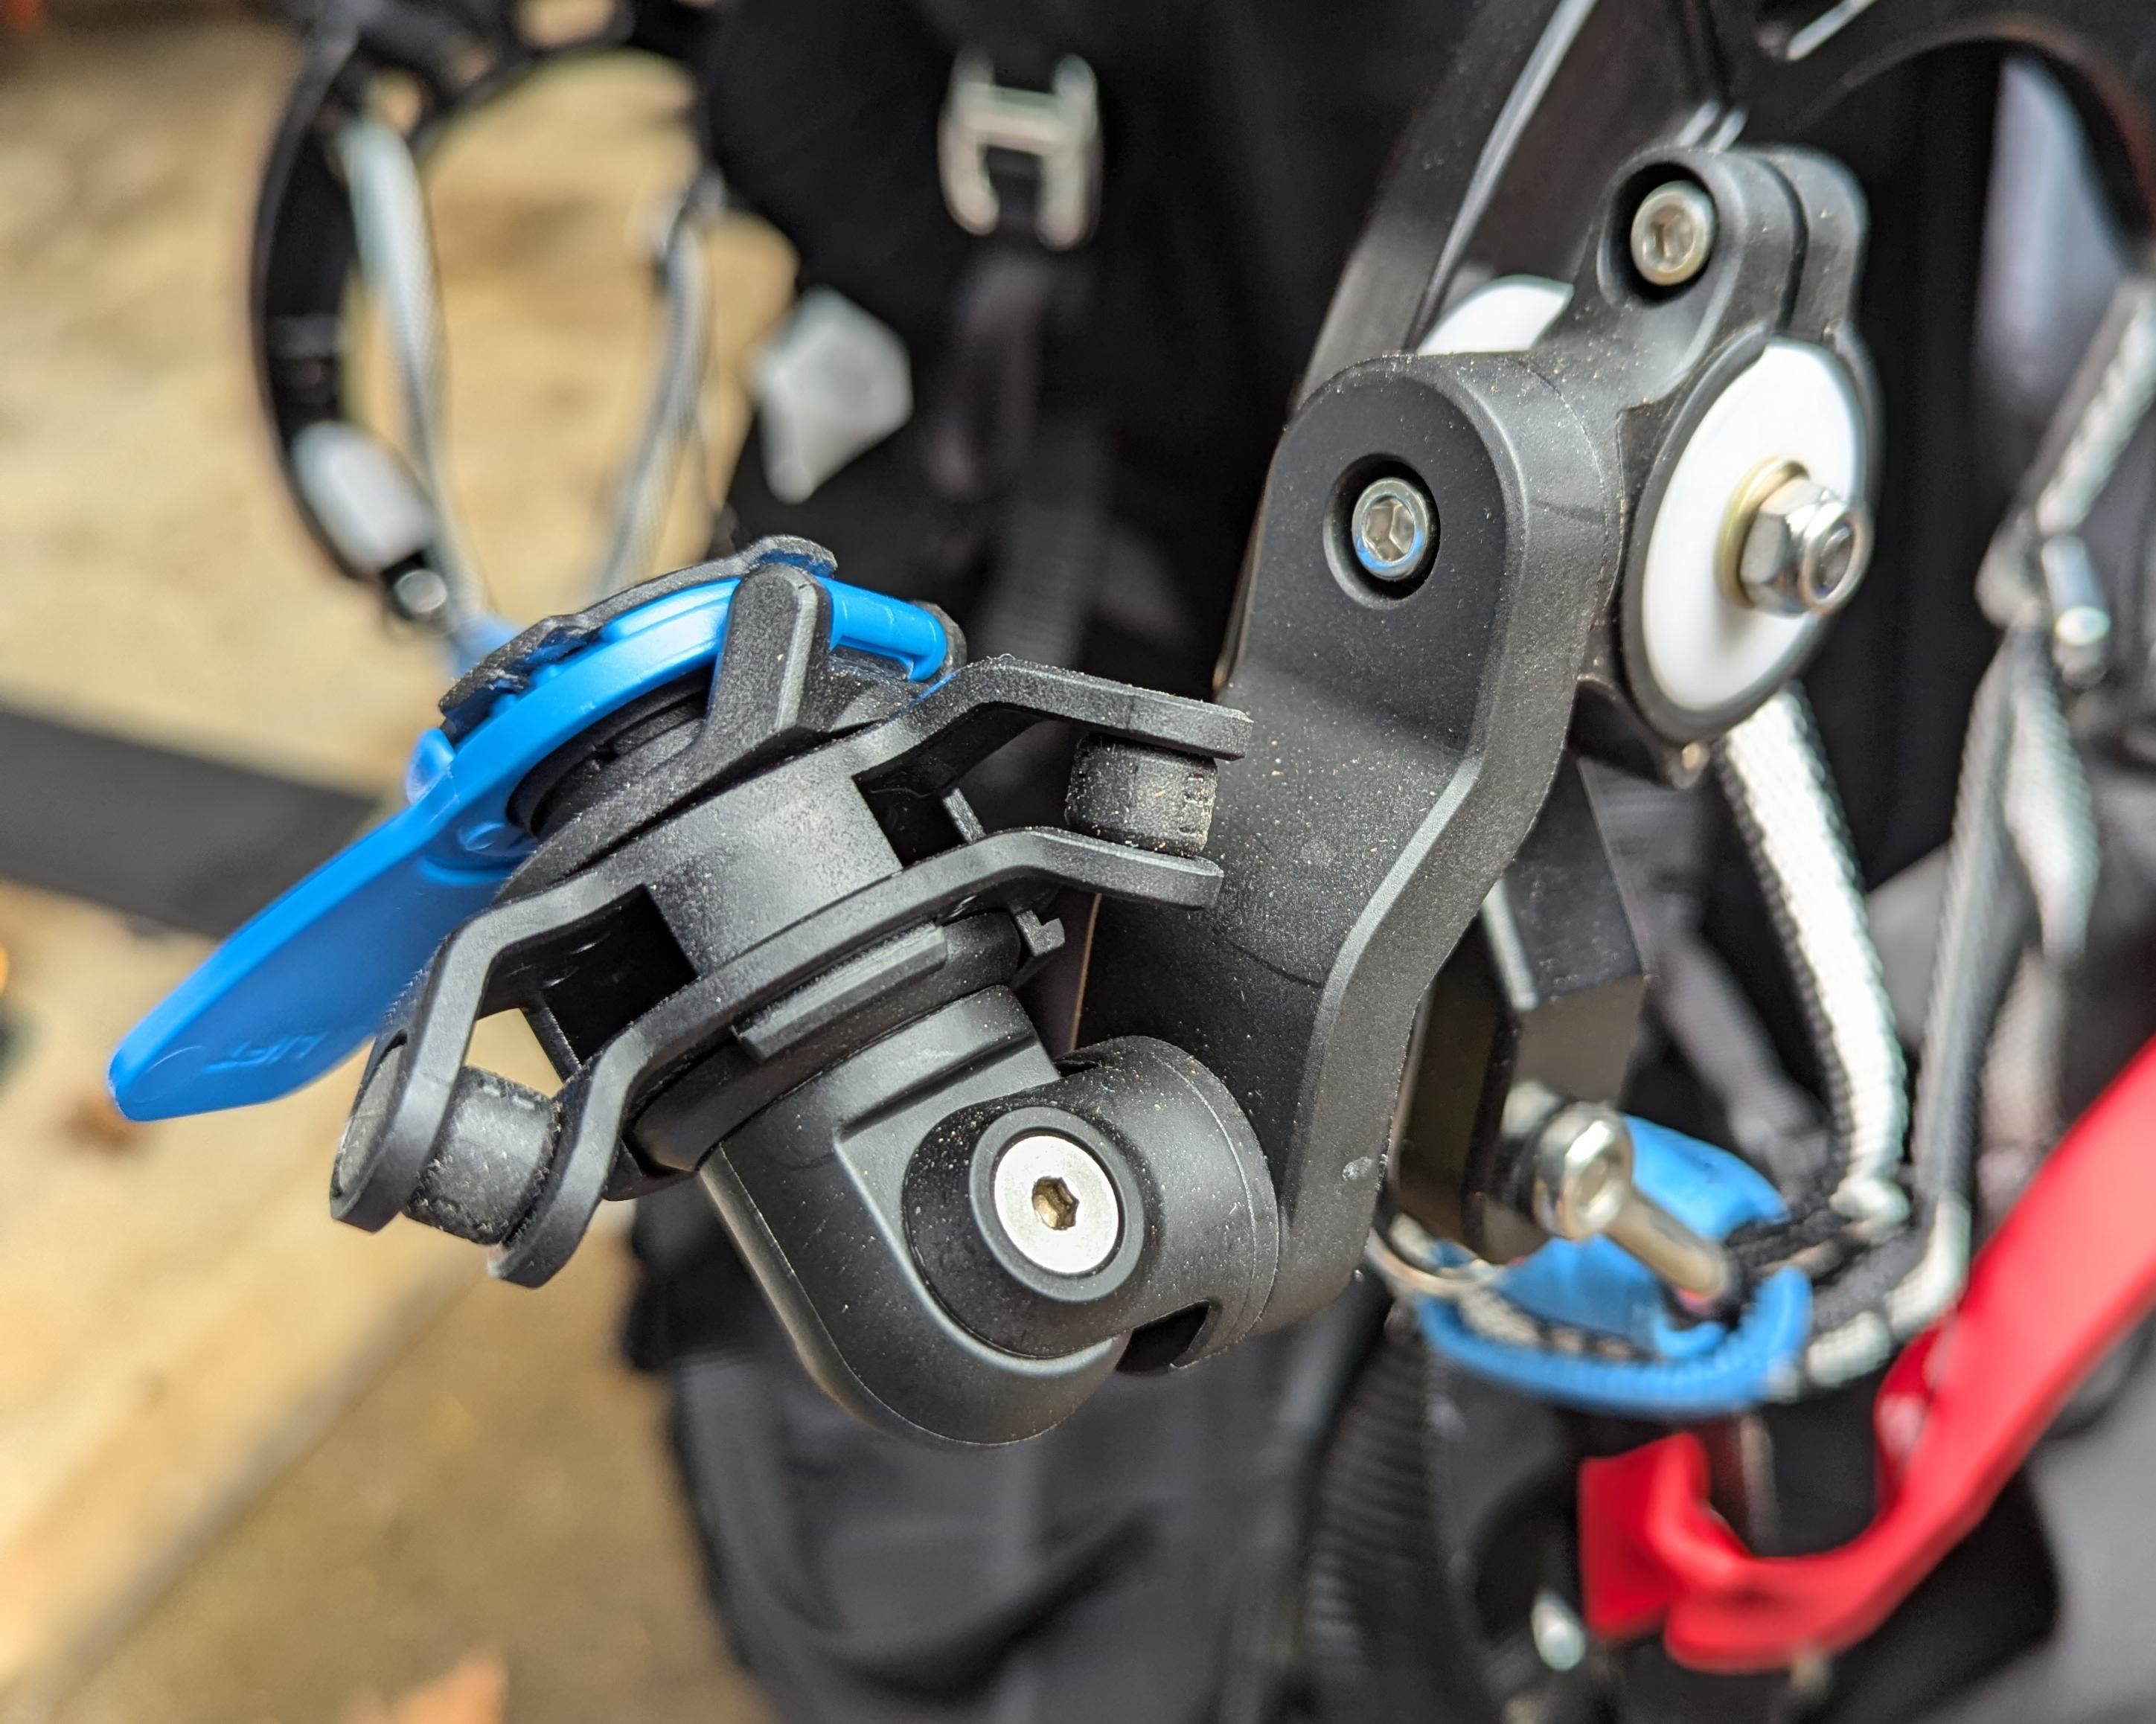
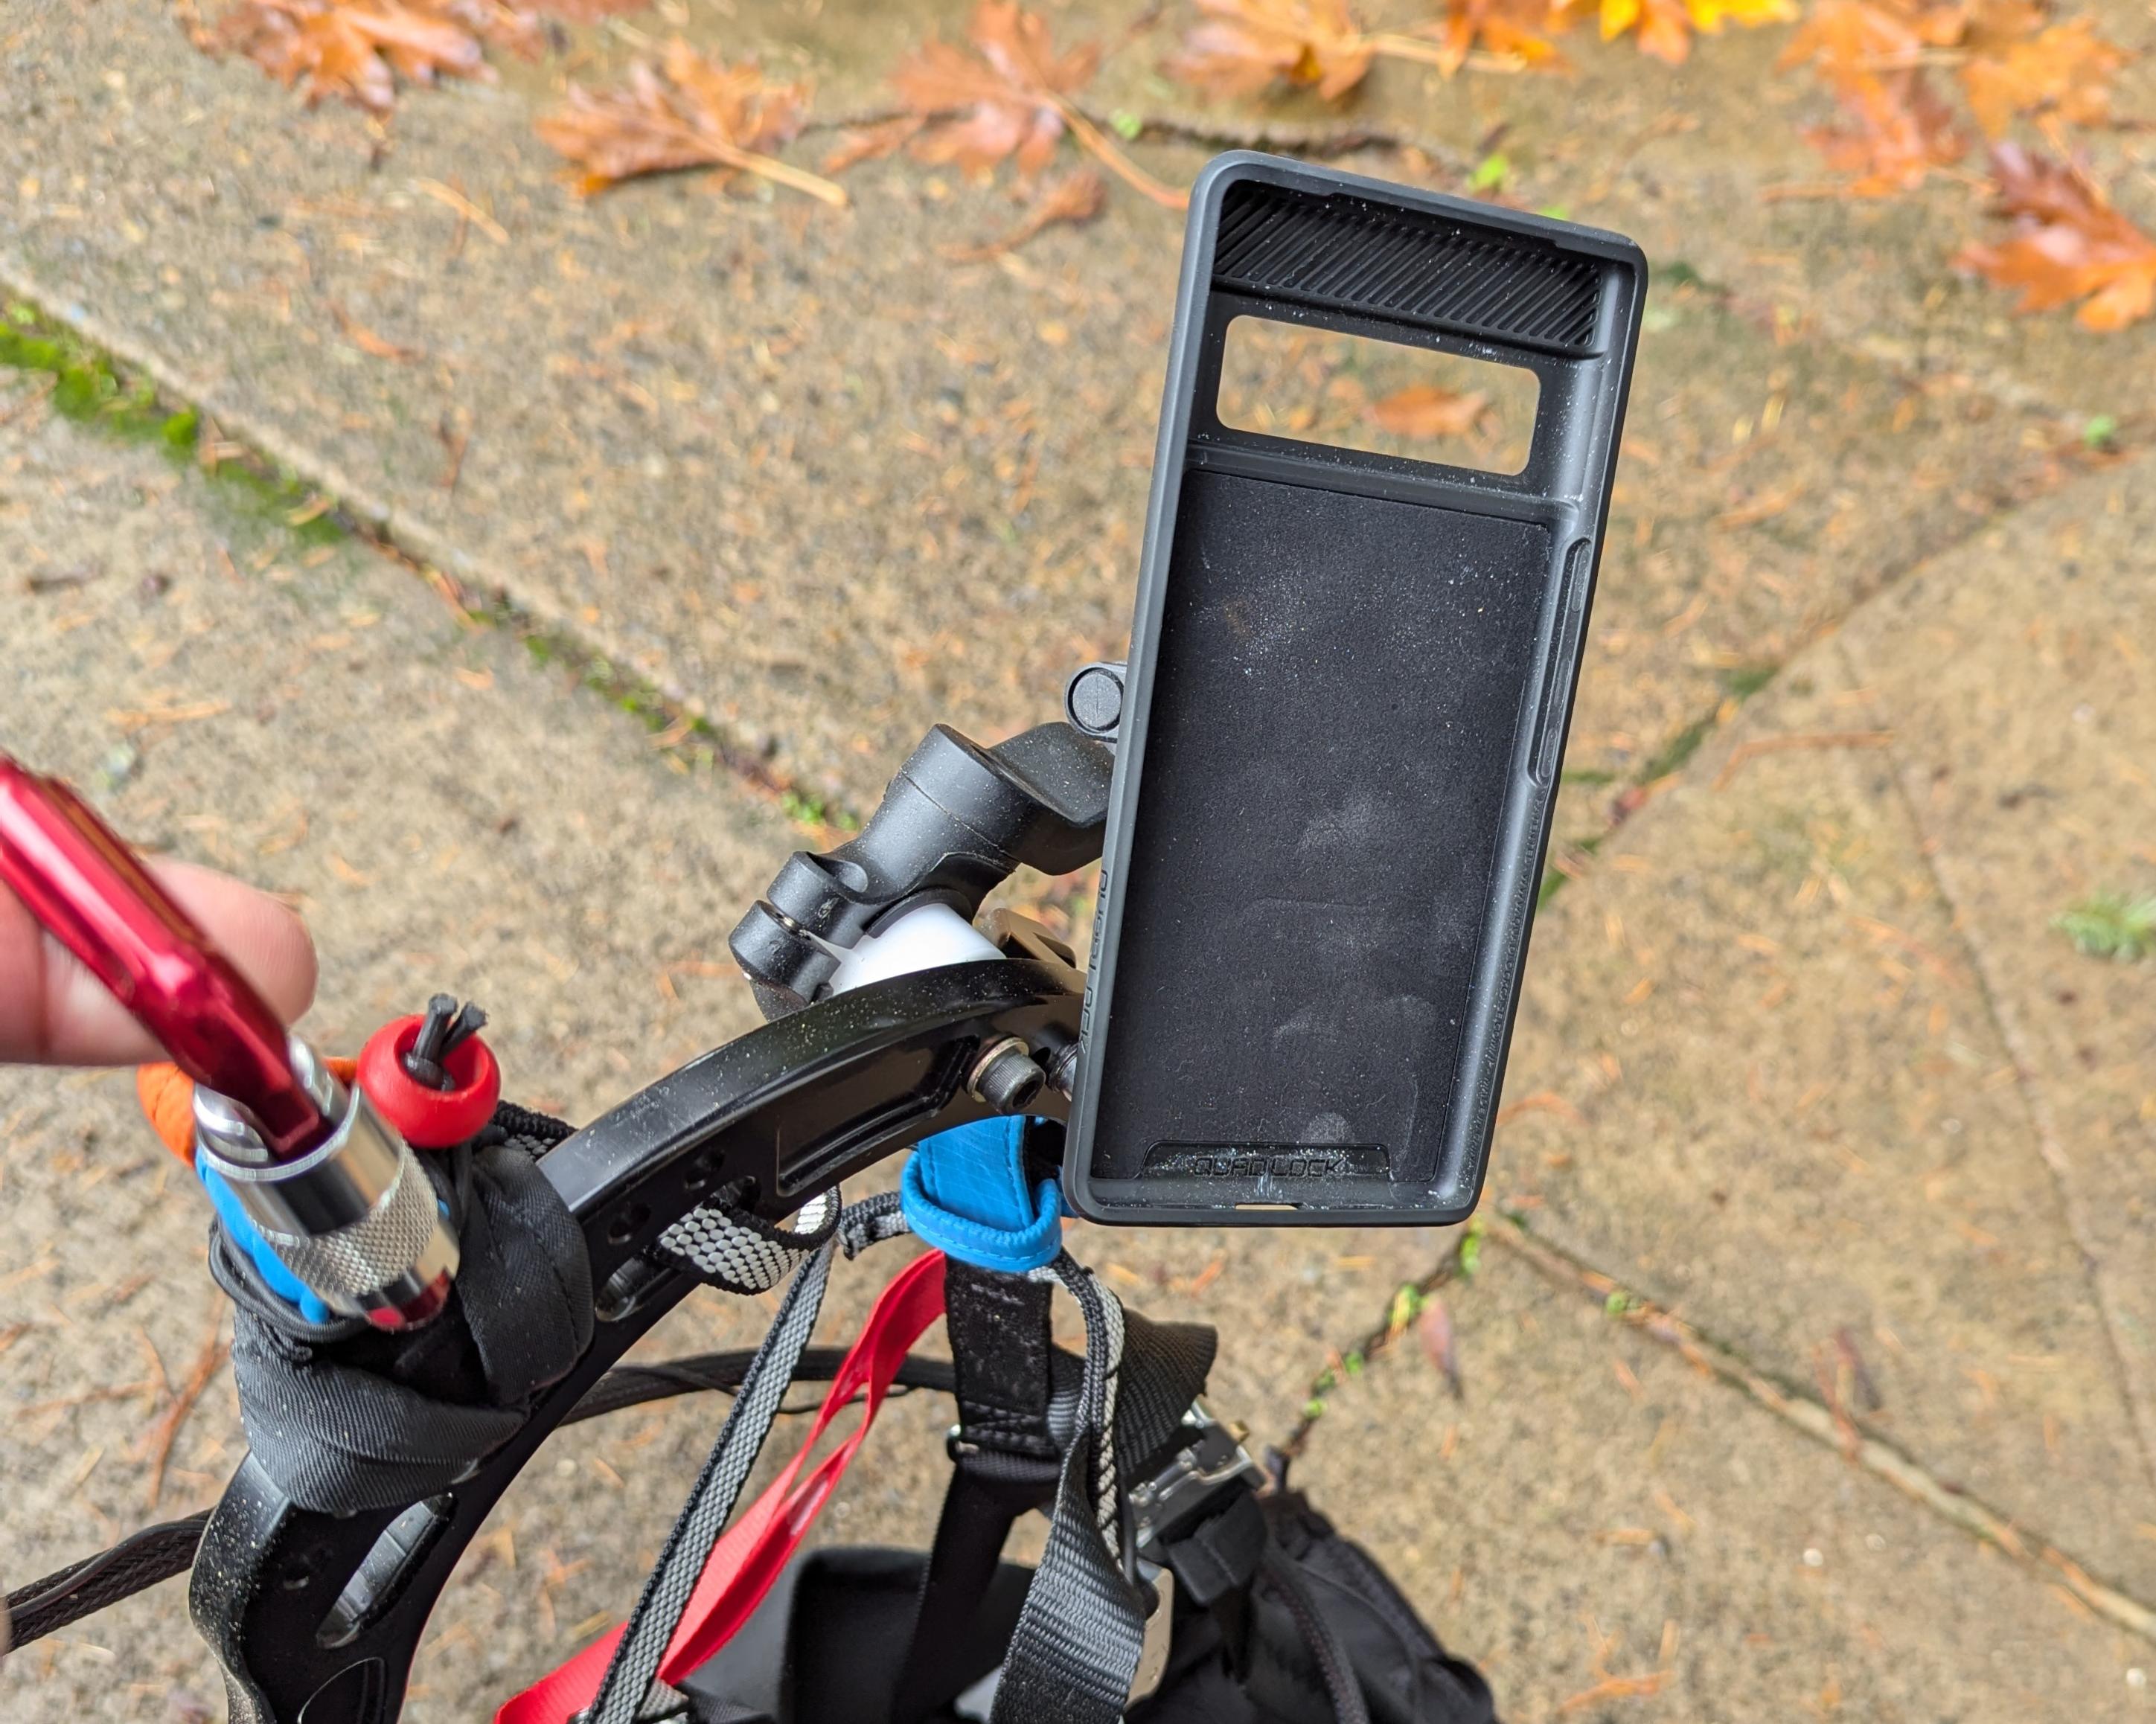
This rail mounts to my left swing arm. The rail is simply a 1/2" aluminum tube (I build airplanes, I have scrap 6061-T6 x 0.035 tubing in a bucket). I used 3D printed brackets and mounted this rail to the spare 6mm adjustment holes on the swing arm.
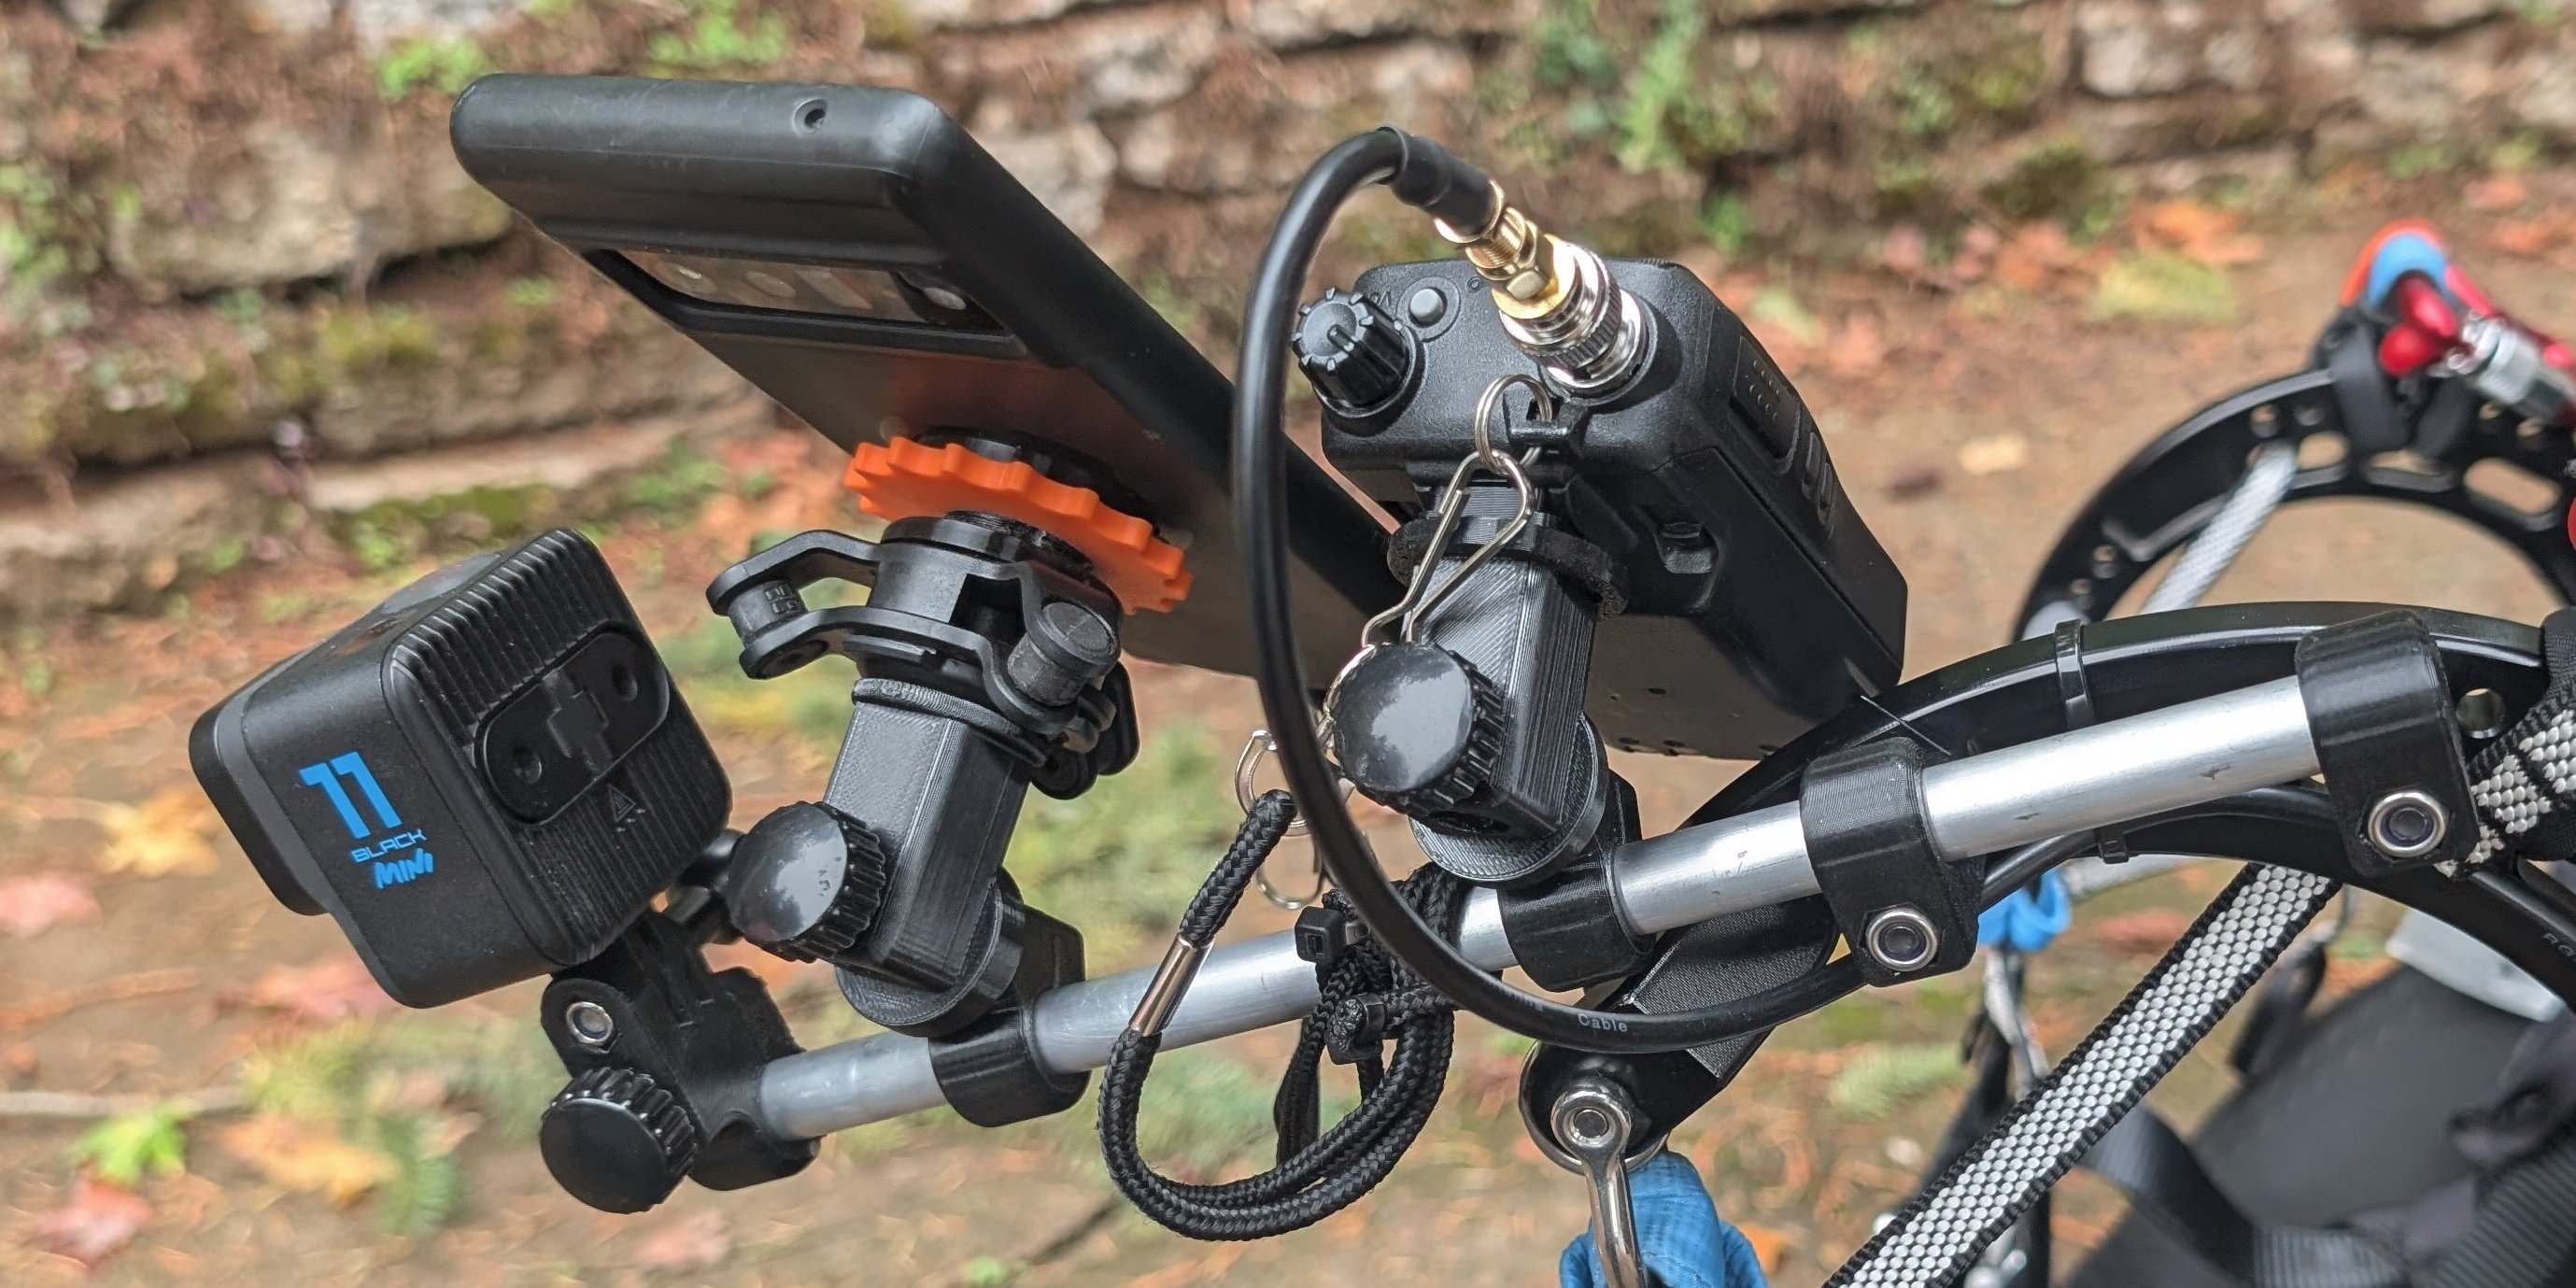
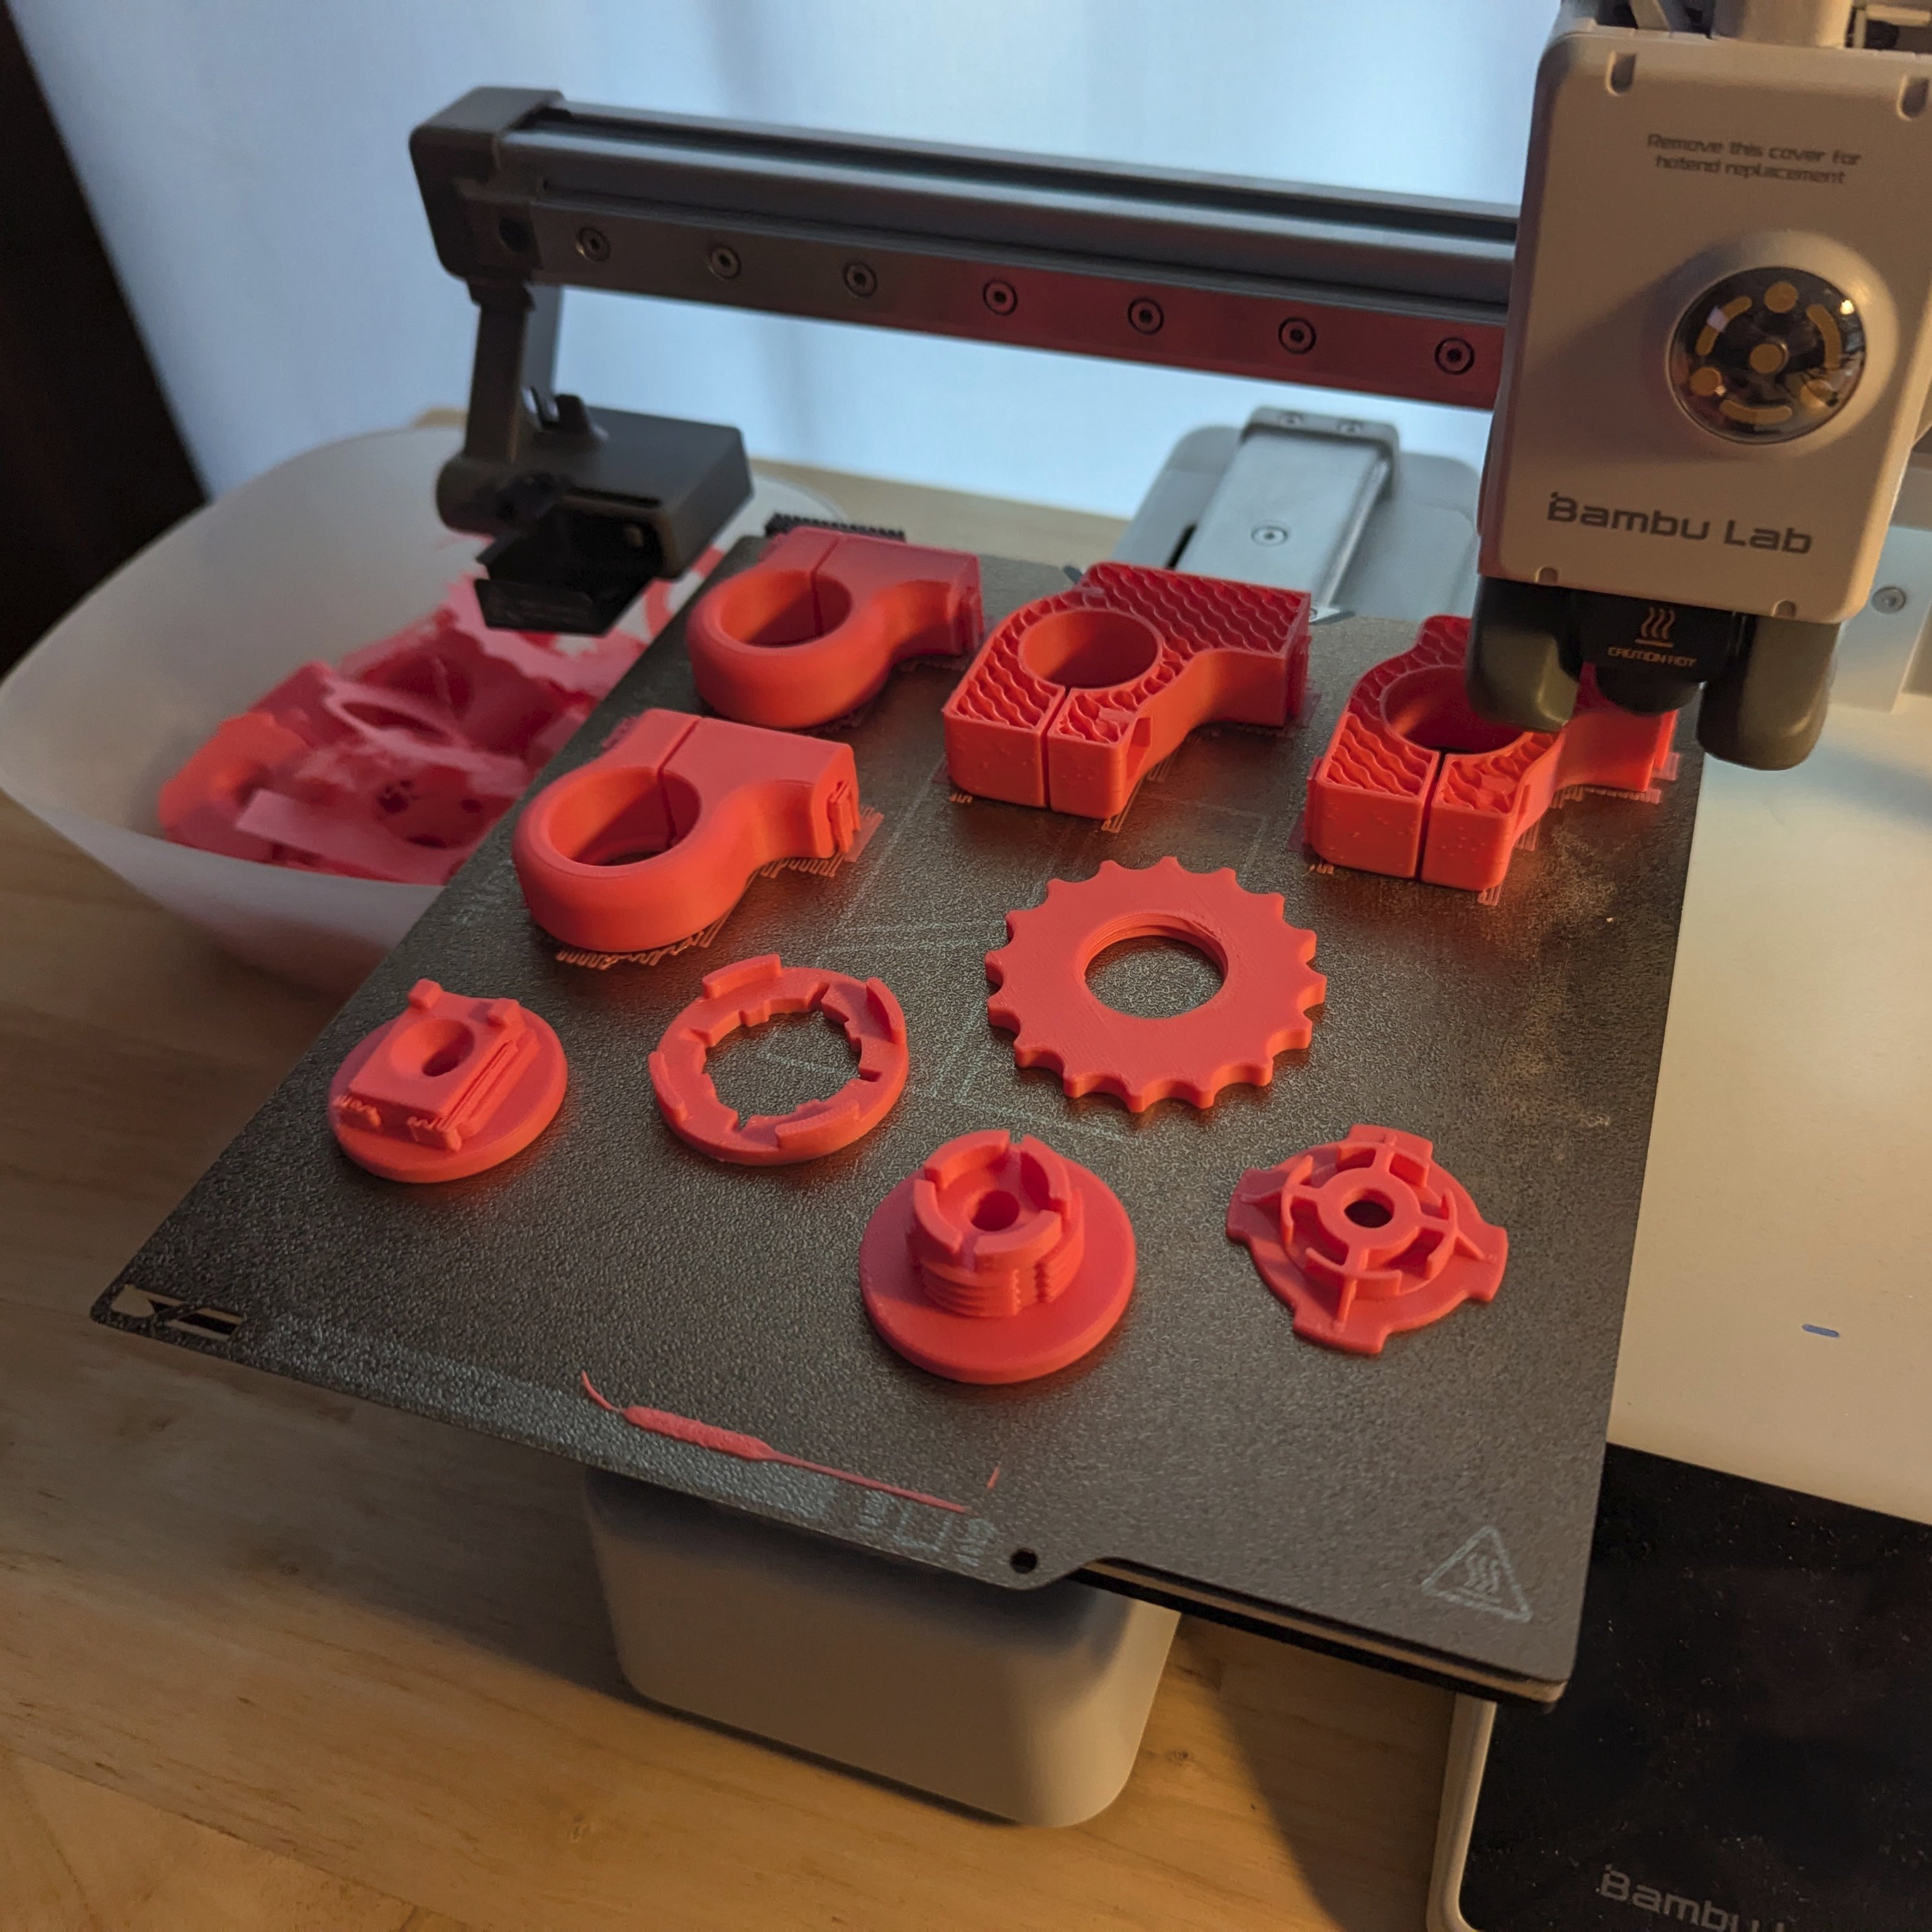
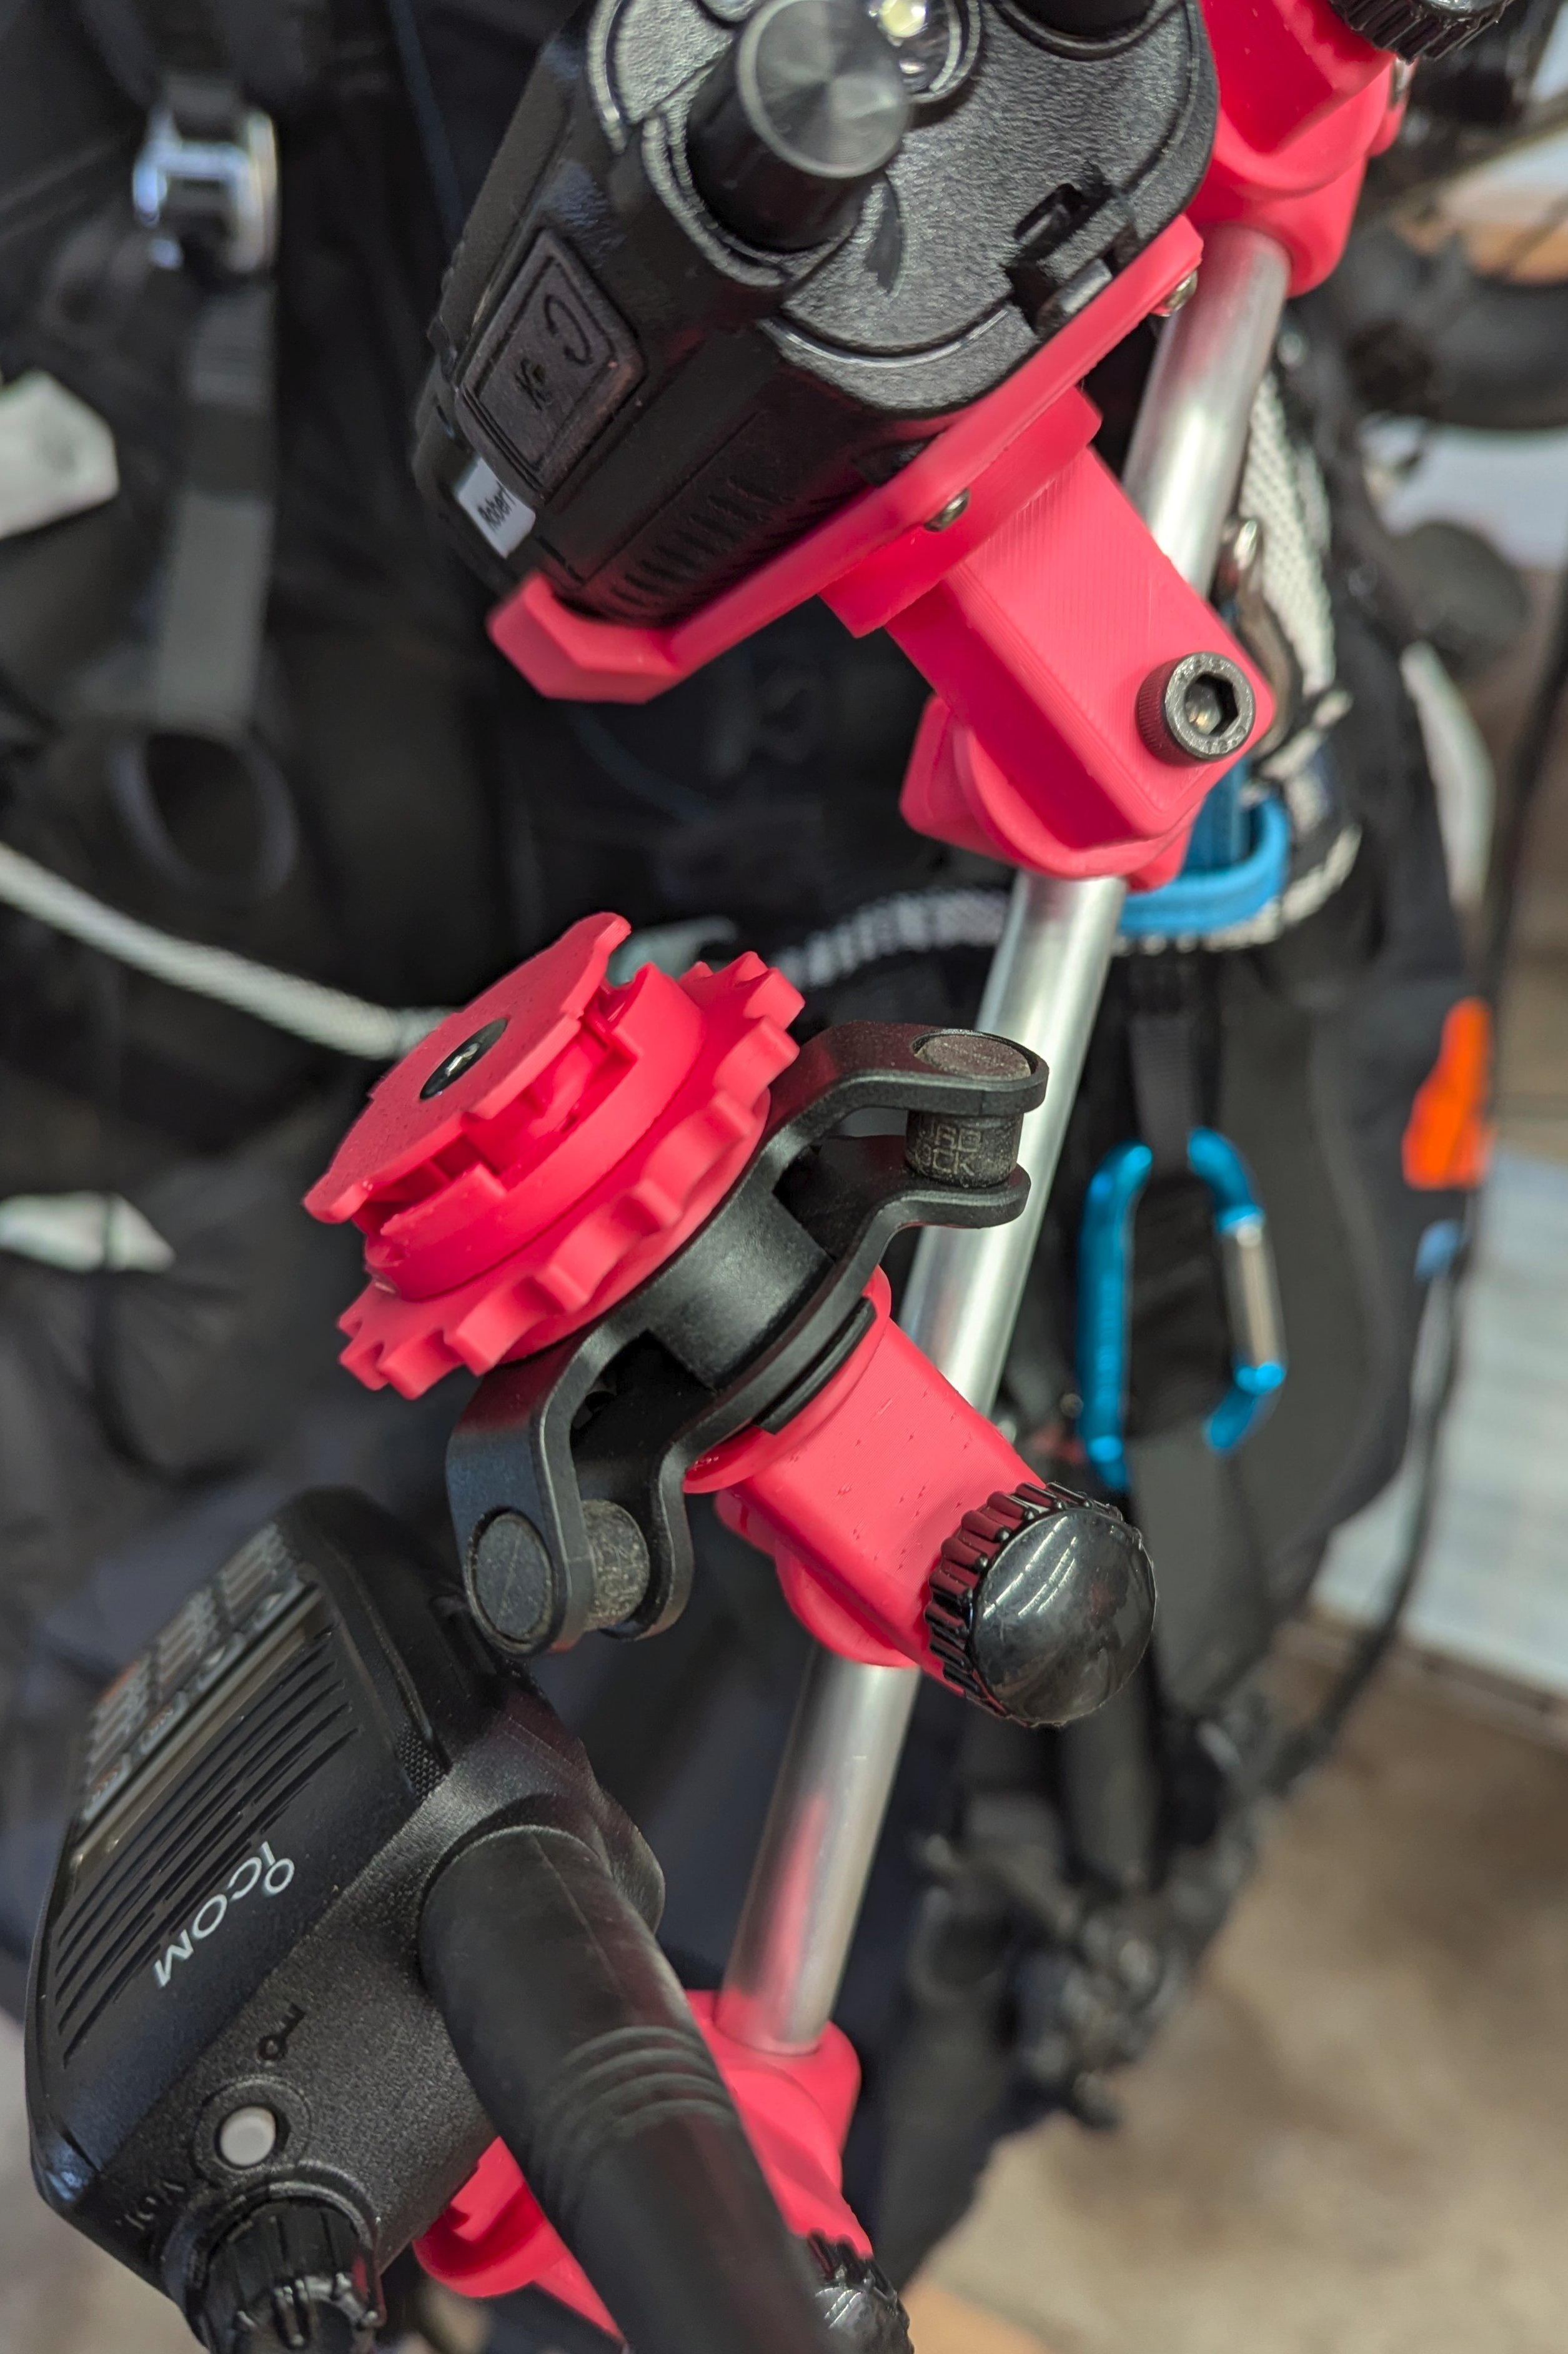
The fun part was creating a whole series of mounting brackets for my different stuff. I scratch built a Quad Lock type connector for my phones (they have Quad Lock phone cases), the radios were mounted by removing the belt clips and replacing them with connectors, and I even stuck a GoPro mount on the end for good measure.
Print baby print!:
Below is the prototype. NO, I will not be flying with two phones and two radios! That is silly. But just for fun, I mounted them all anyway:
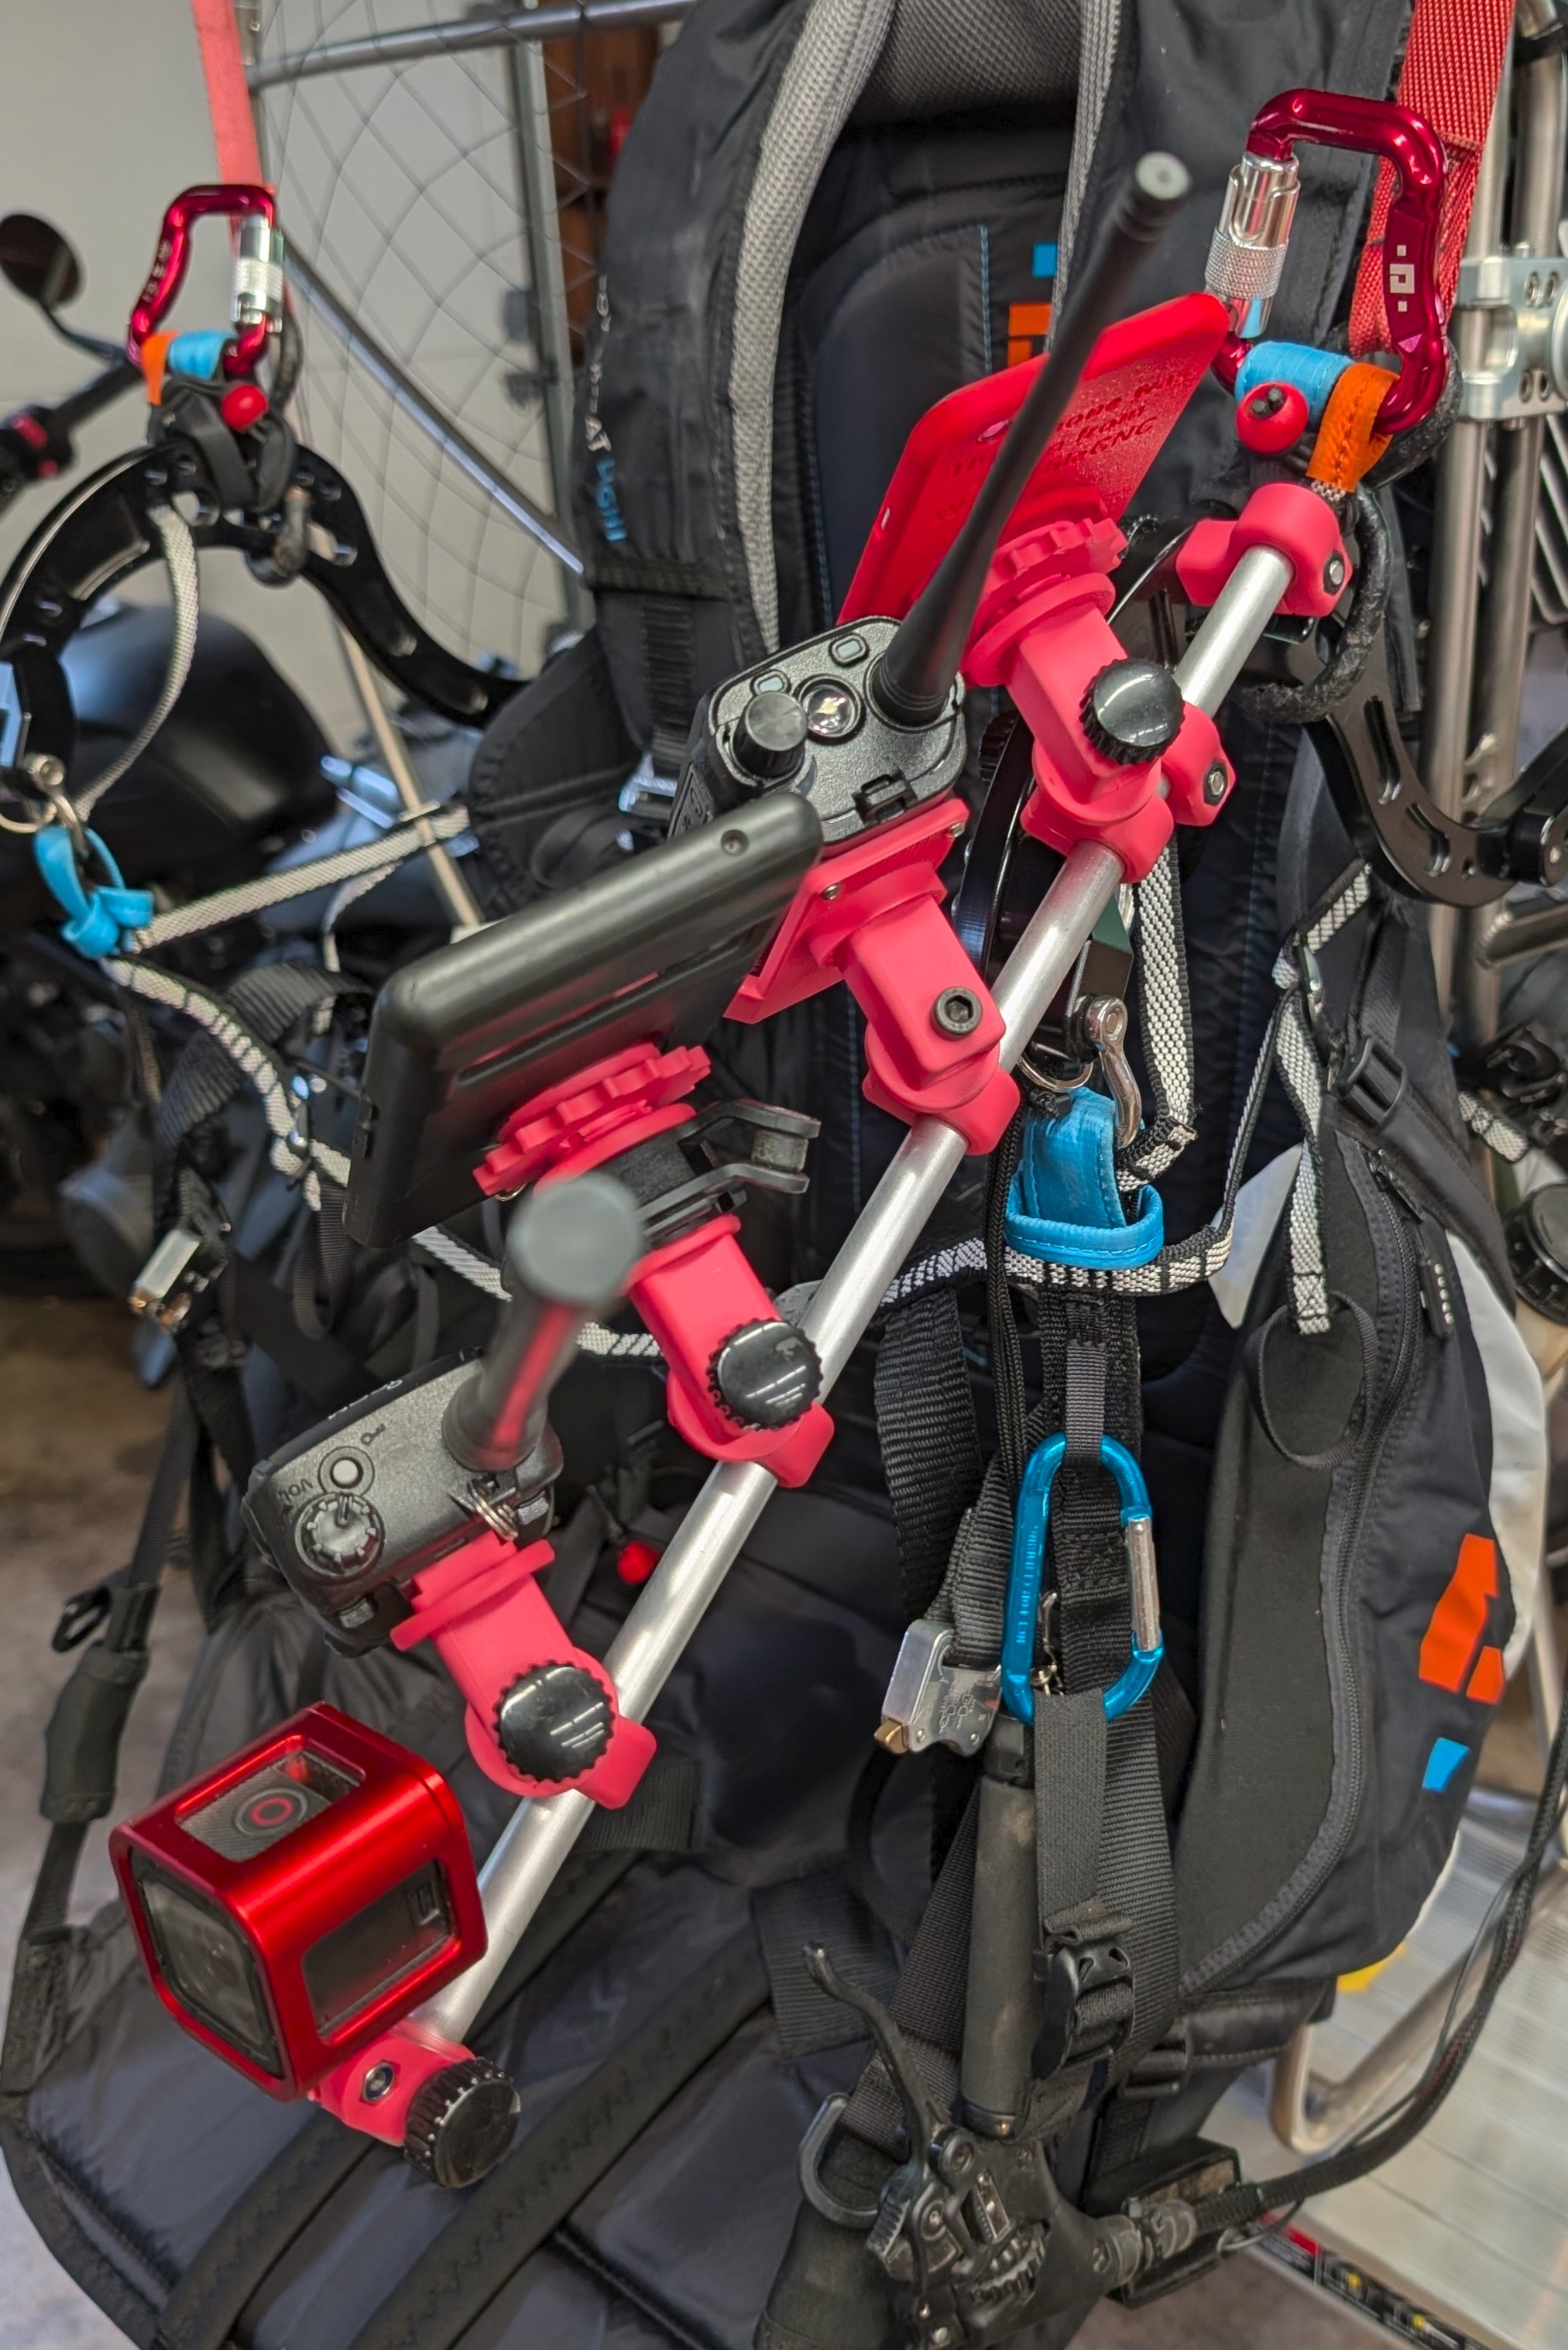
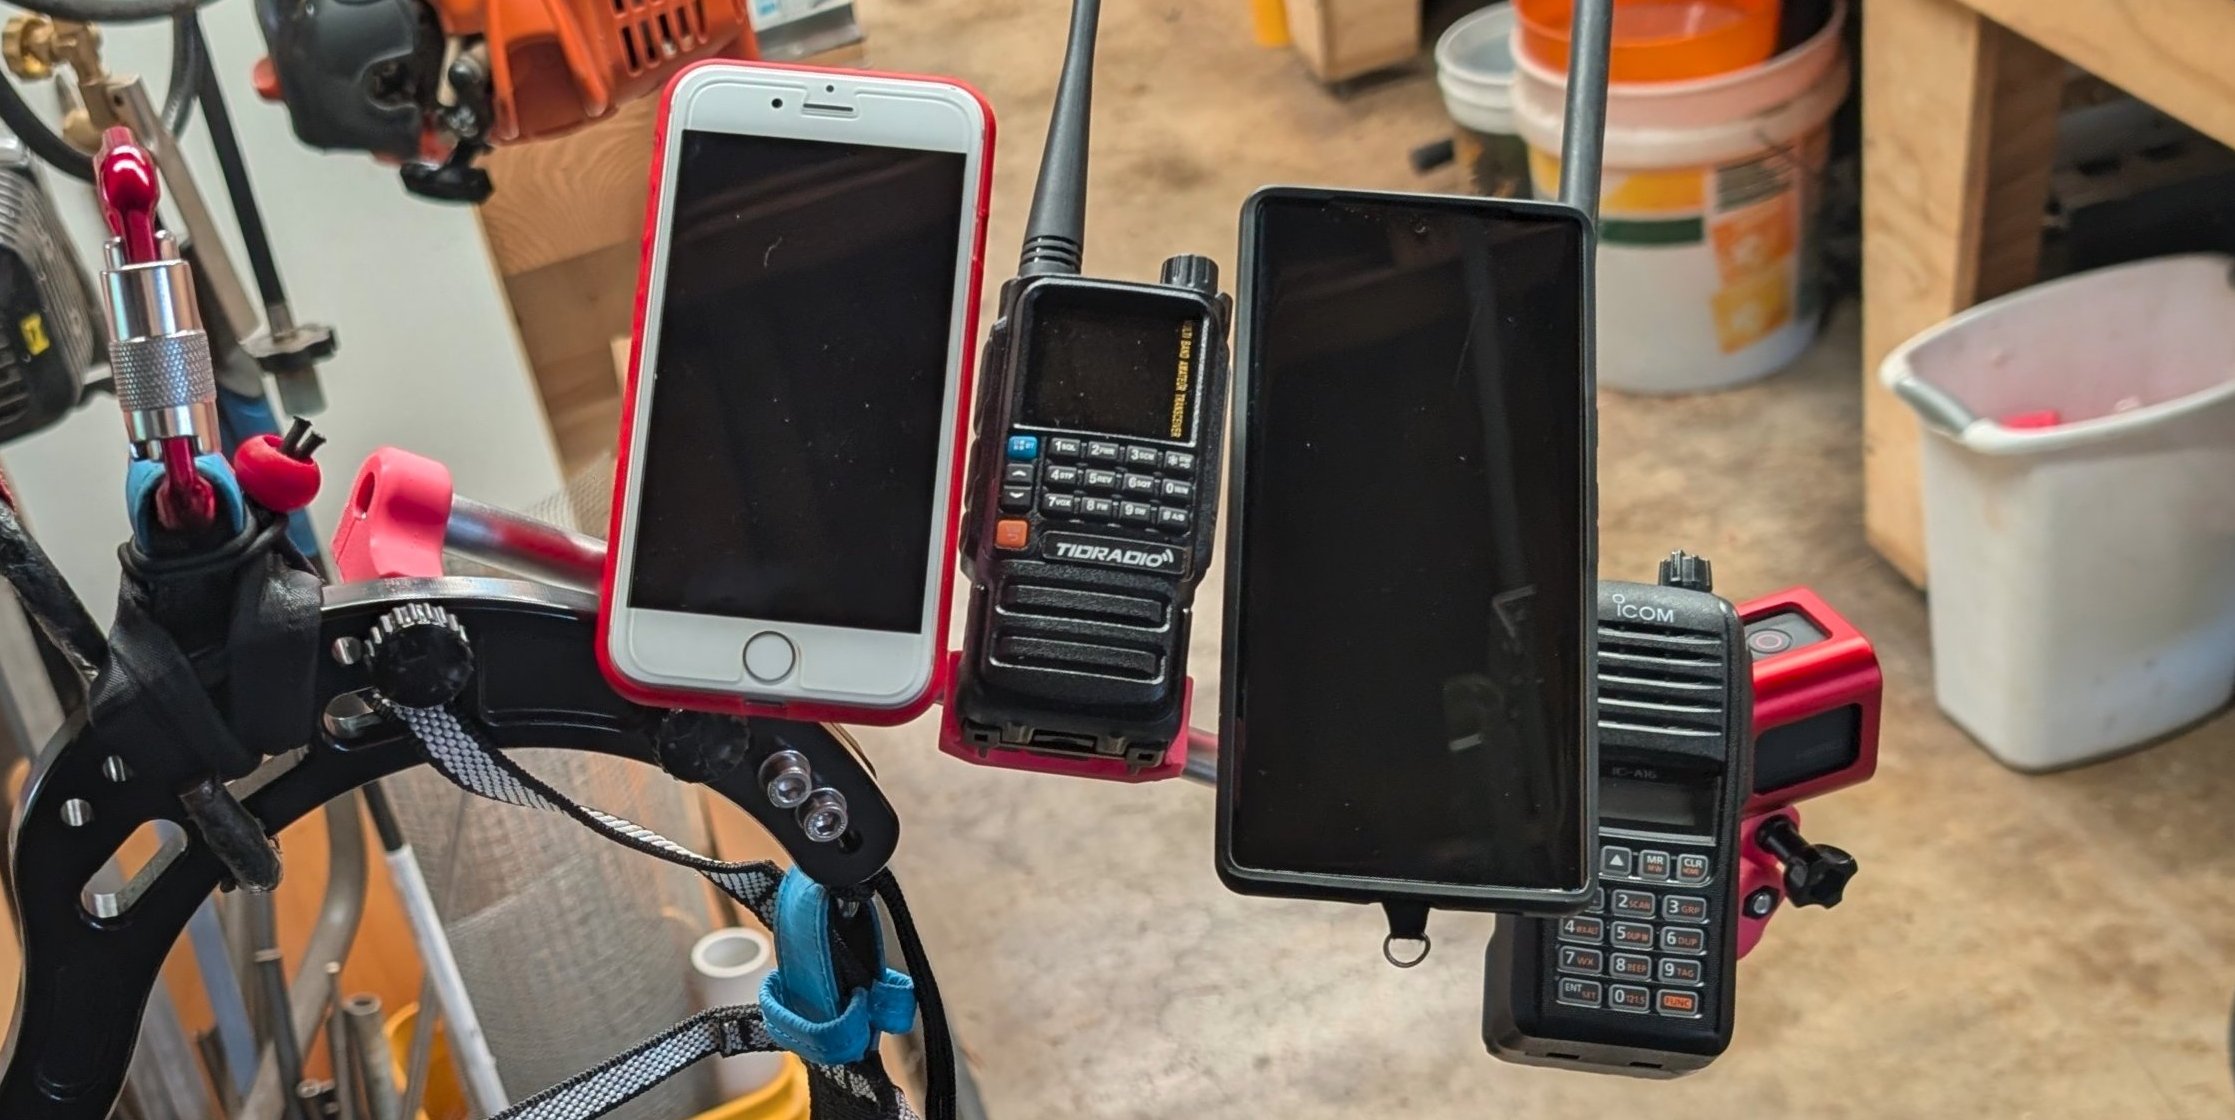
The rail length in the photos above is 300 mm. The one I currently have mounted is shorter. It is just long enough without any extra. That is the goal. If I need more or less, I can always replace the tube.
Remote Mounting the Radio Antenna
In the images above you might notice that the radio antennas are in your business! I have flown with a radio mounted this way, but you do have to work around them a bit. It is a bother mostly when you are getting the engine started and hooking in. After that, they are not an issue. But I can do better.
So I remote mounted the radio antenna. This moves it up and out of your way, but also orients the antenna vertically like it is supposed to be. This was a simple affair of making an extension cable (RG58, one female, and one male SMA connector), a mounting bracket, and a handful of zip ties.
Here is that mounting bracket:
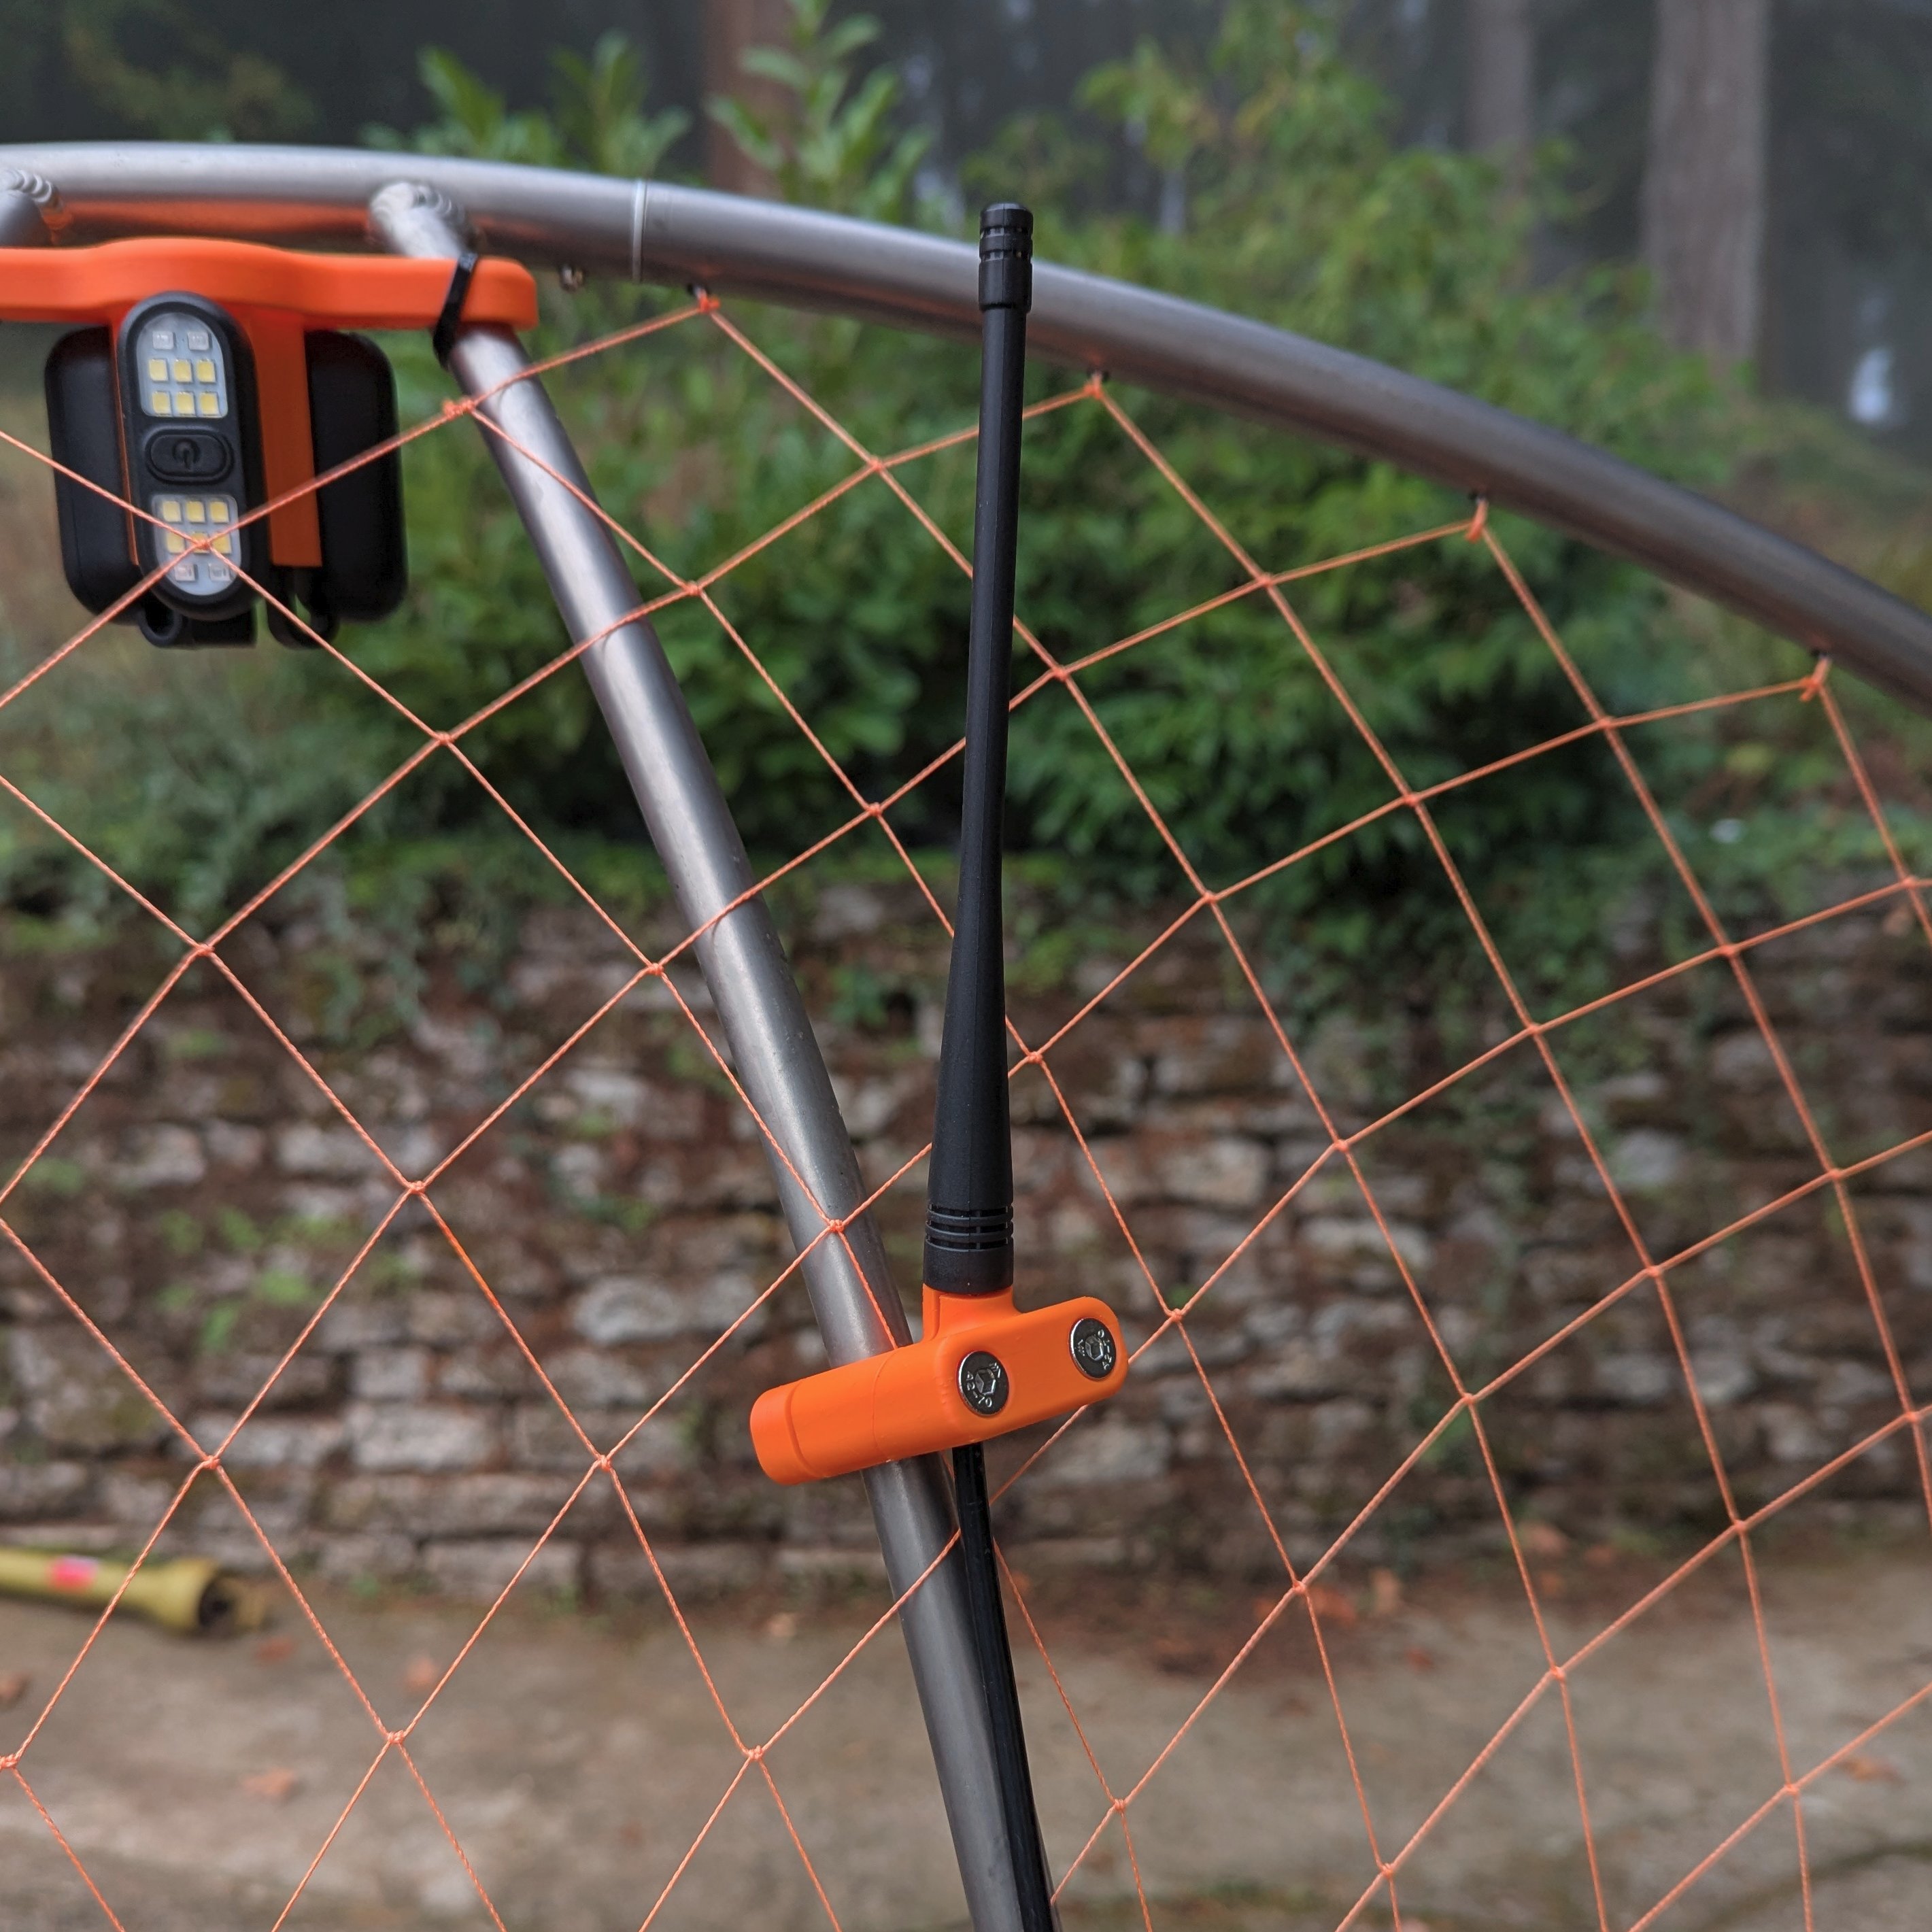
(Never mind that strobe using clip-on jogging LED flashers. It shall be upgraded!)
Finally!
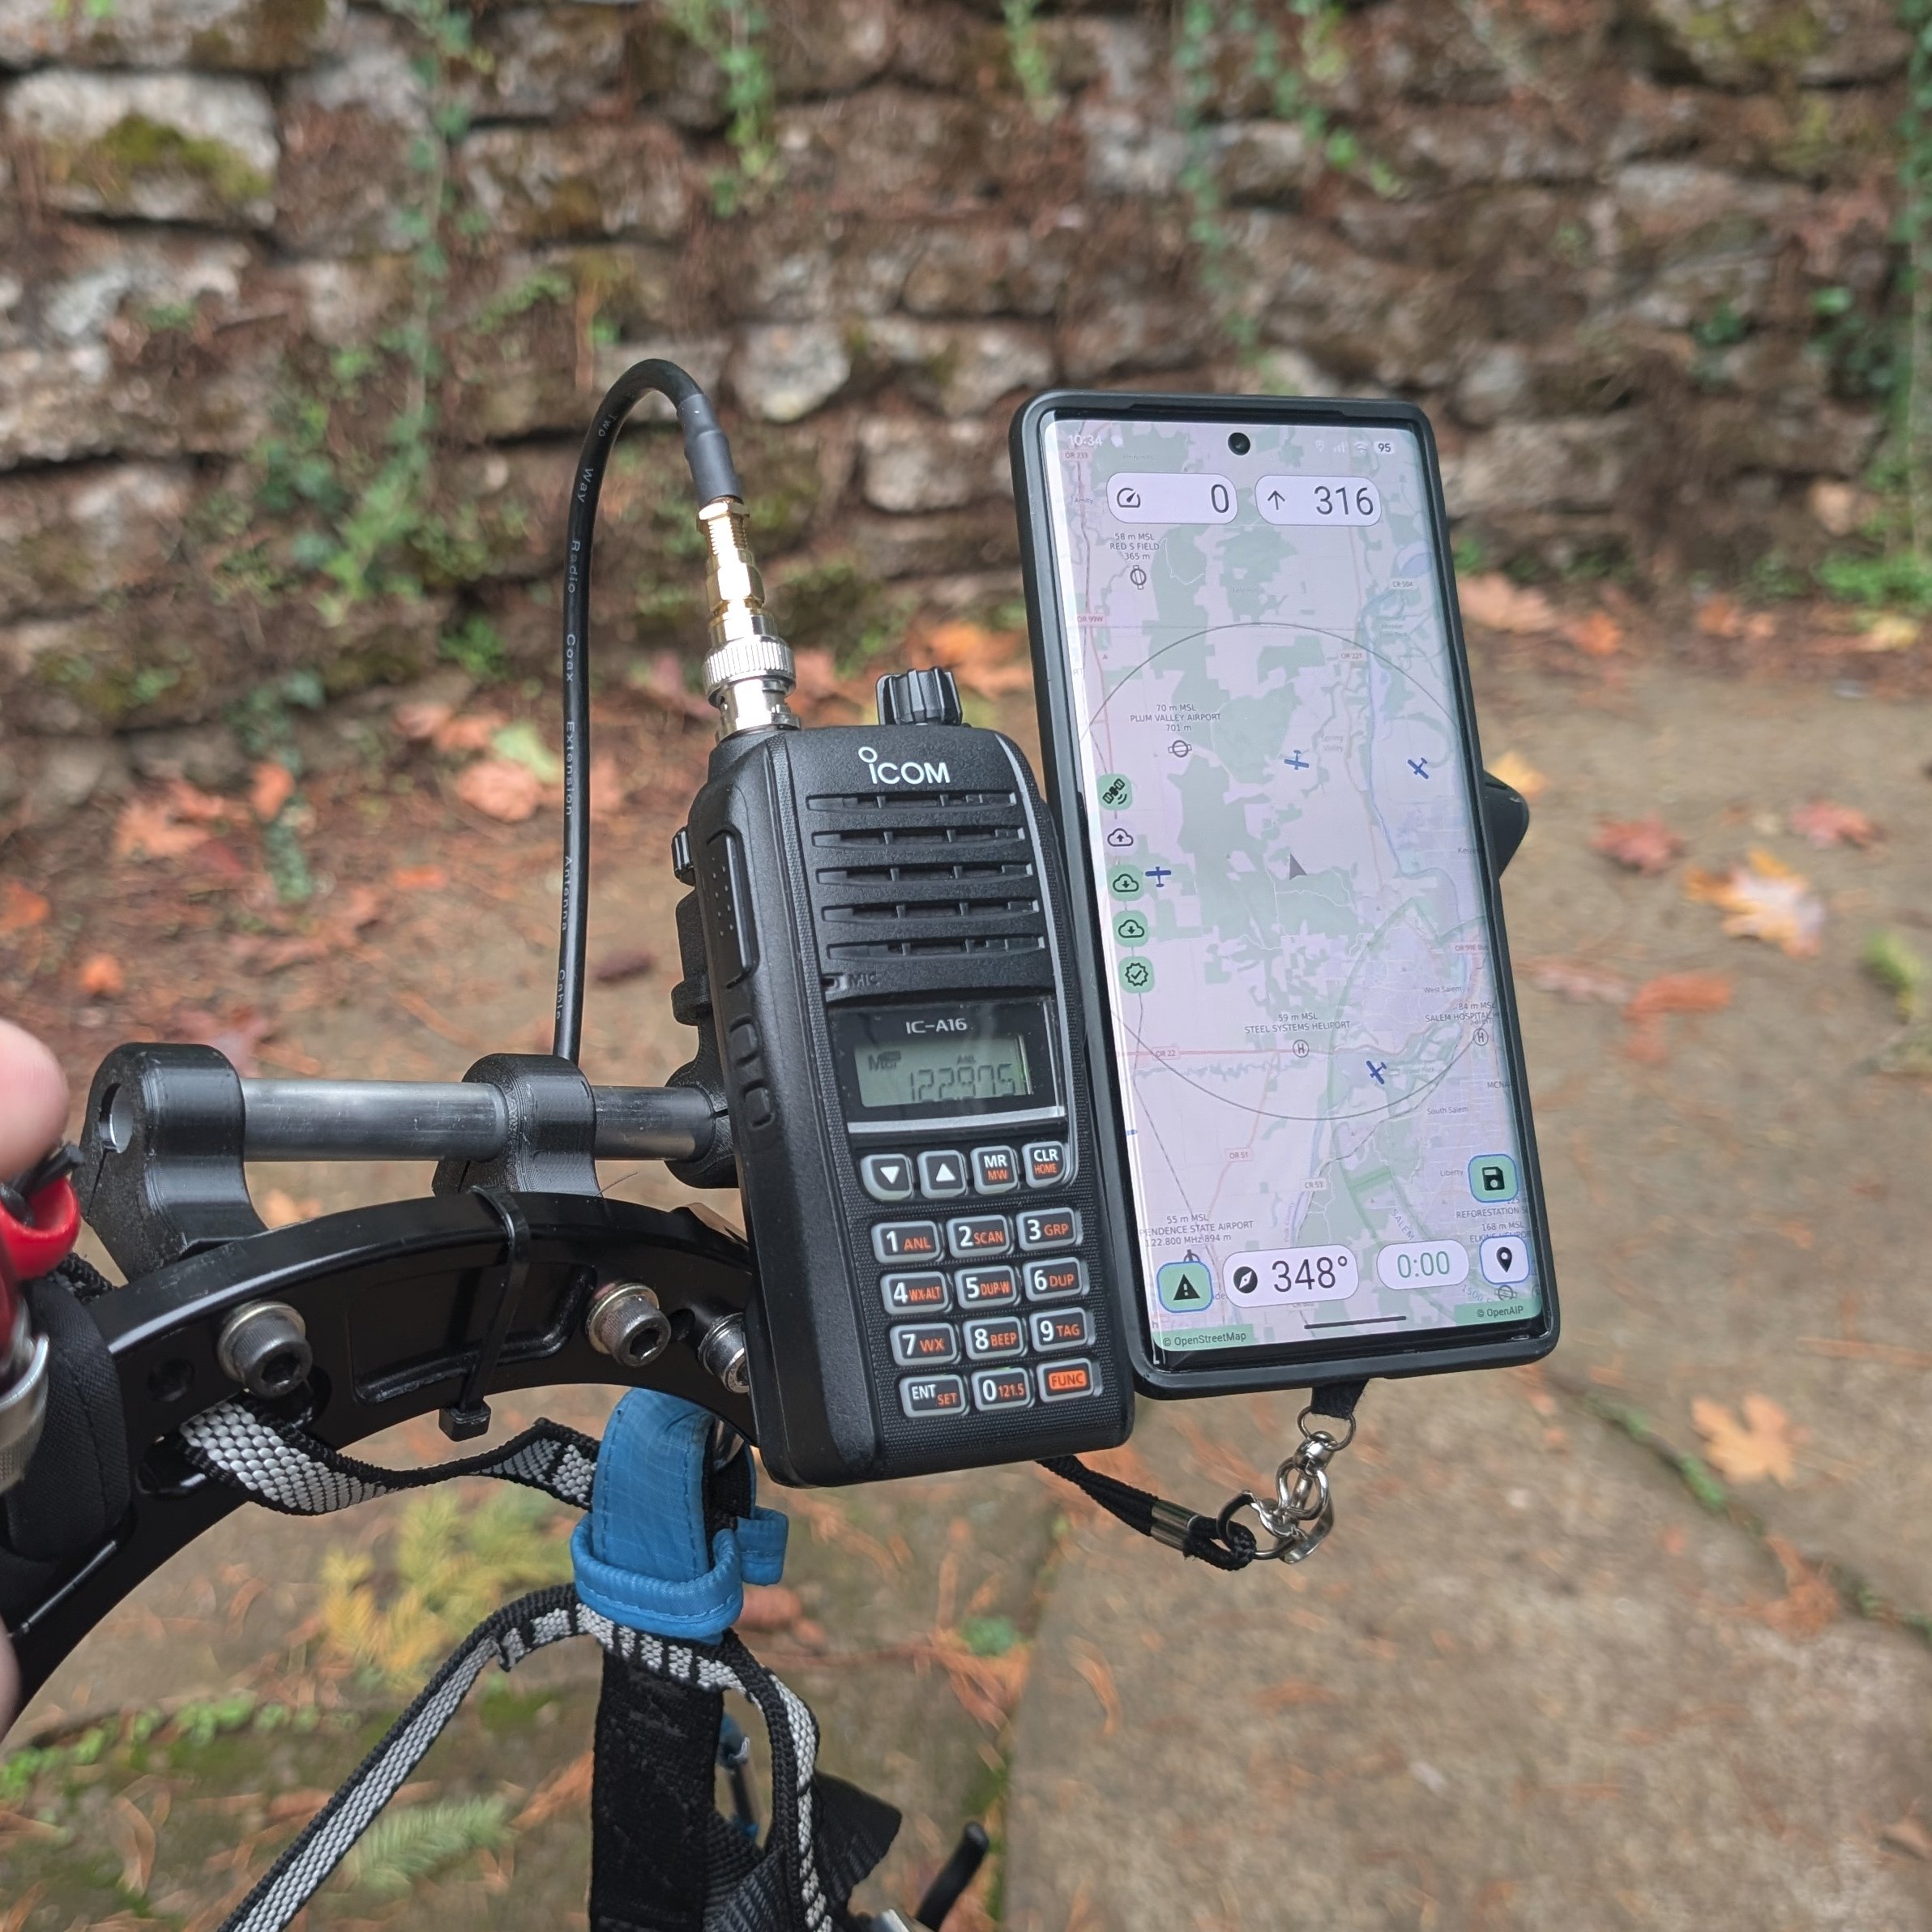
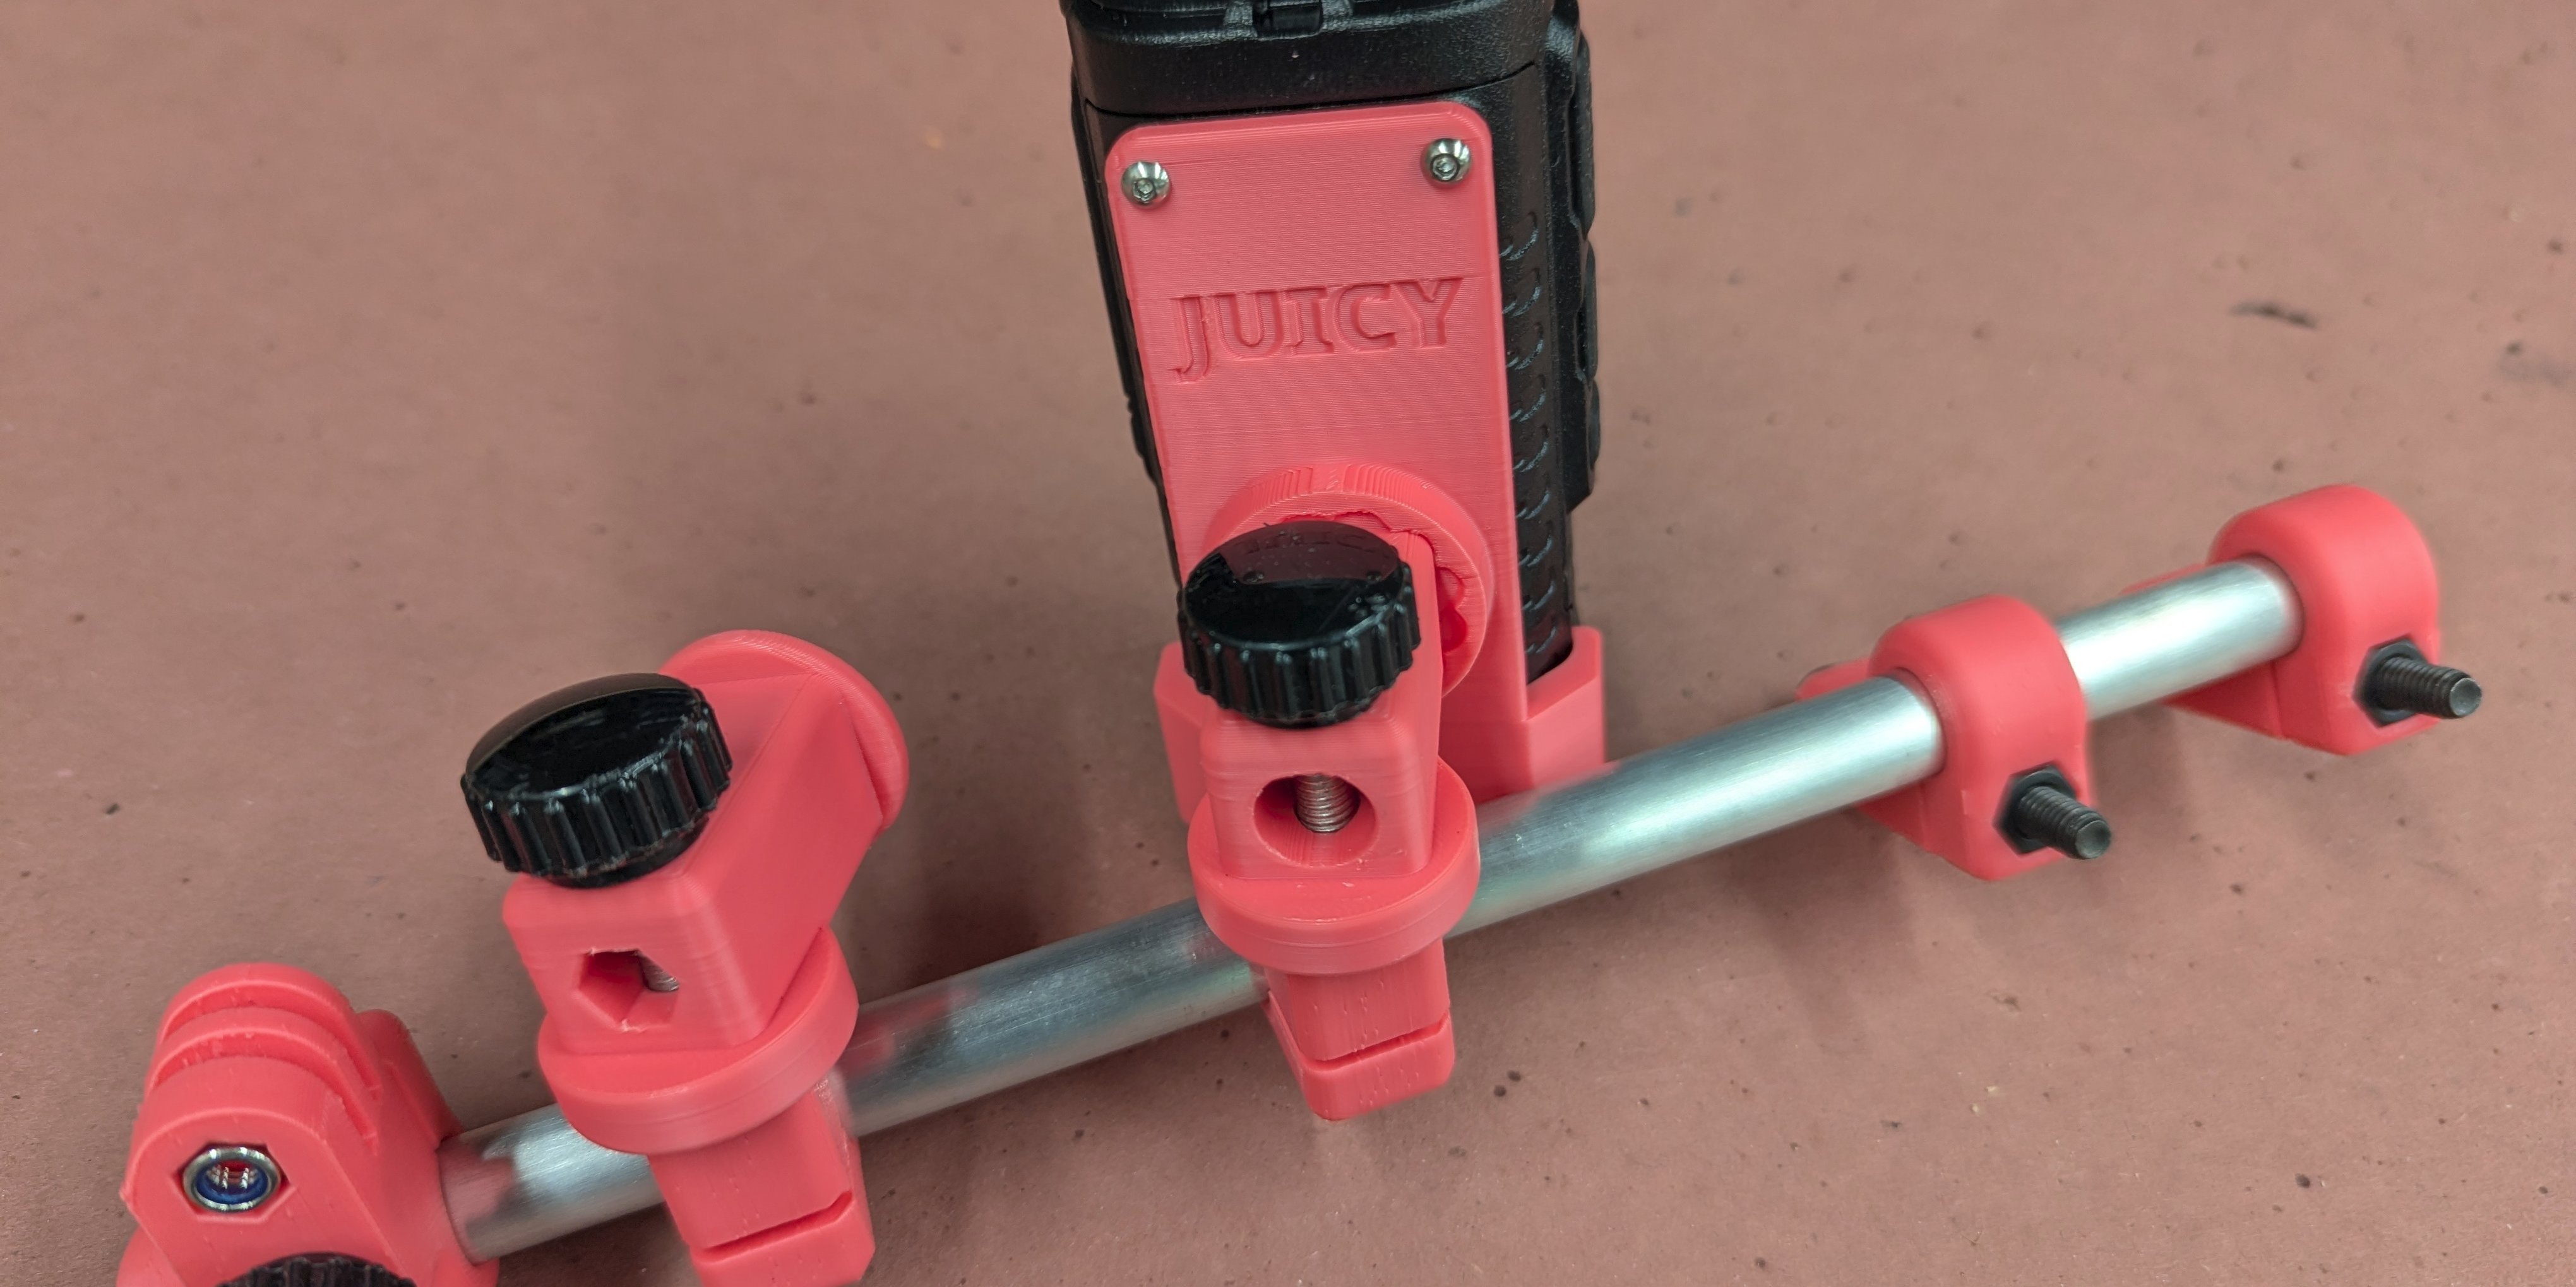
In the images above I used colored PLA filament for prototyping. When I need something tougher I use PETG. This I keep in black. For my final system I printed the whole thing in PETG.
I prefer my radio to the left of my phone. In this fashion the radio PTT button is exposed and it is easy to press with a finger on the left hand. And the phone's volume buttons are on its right and so they are exposed and easy to get to.
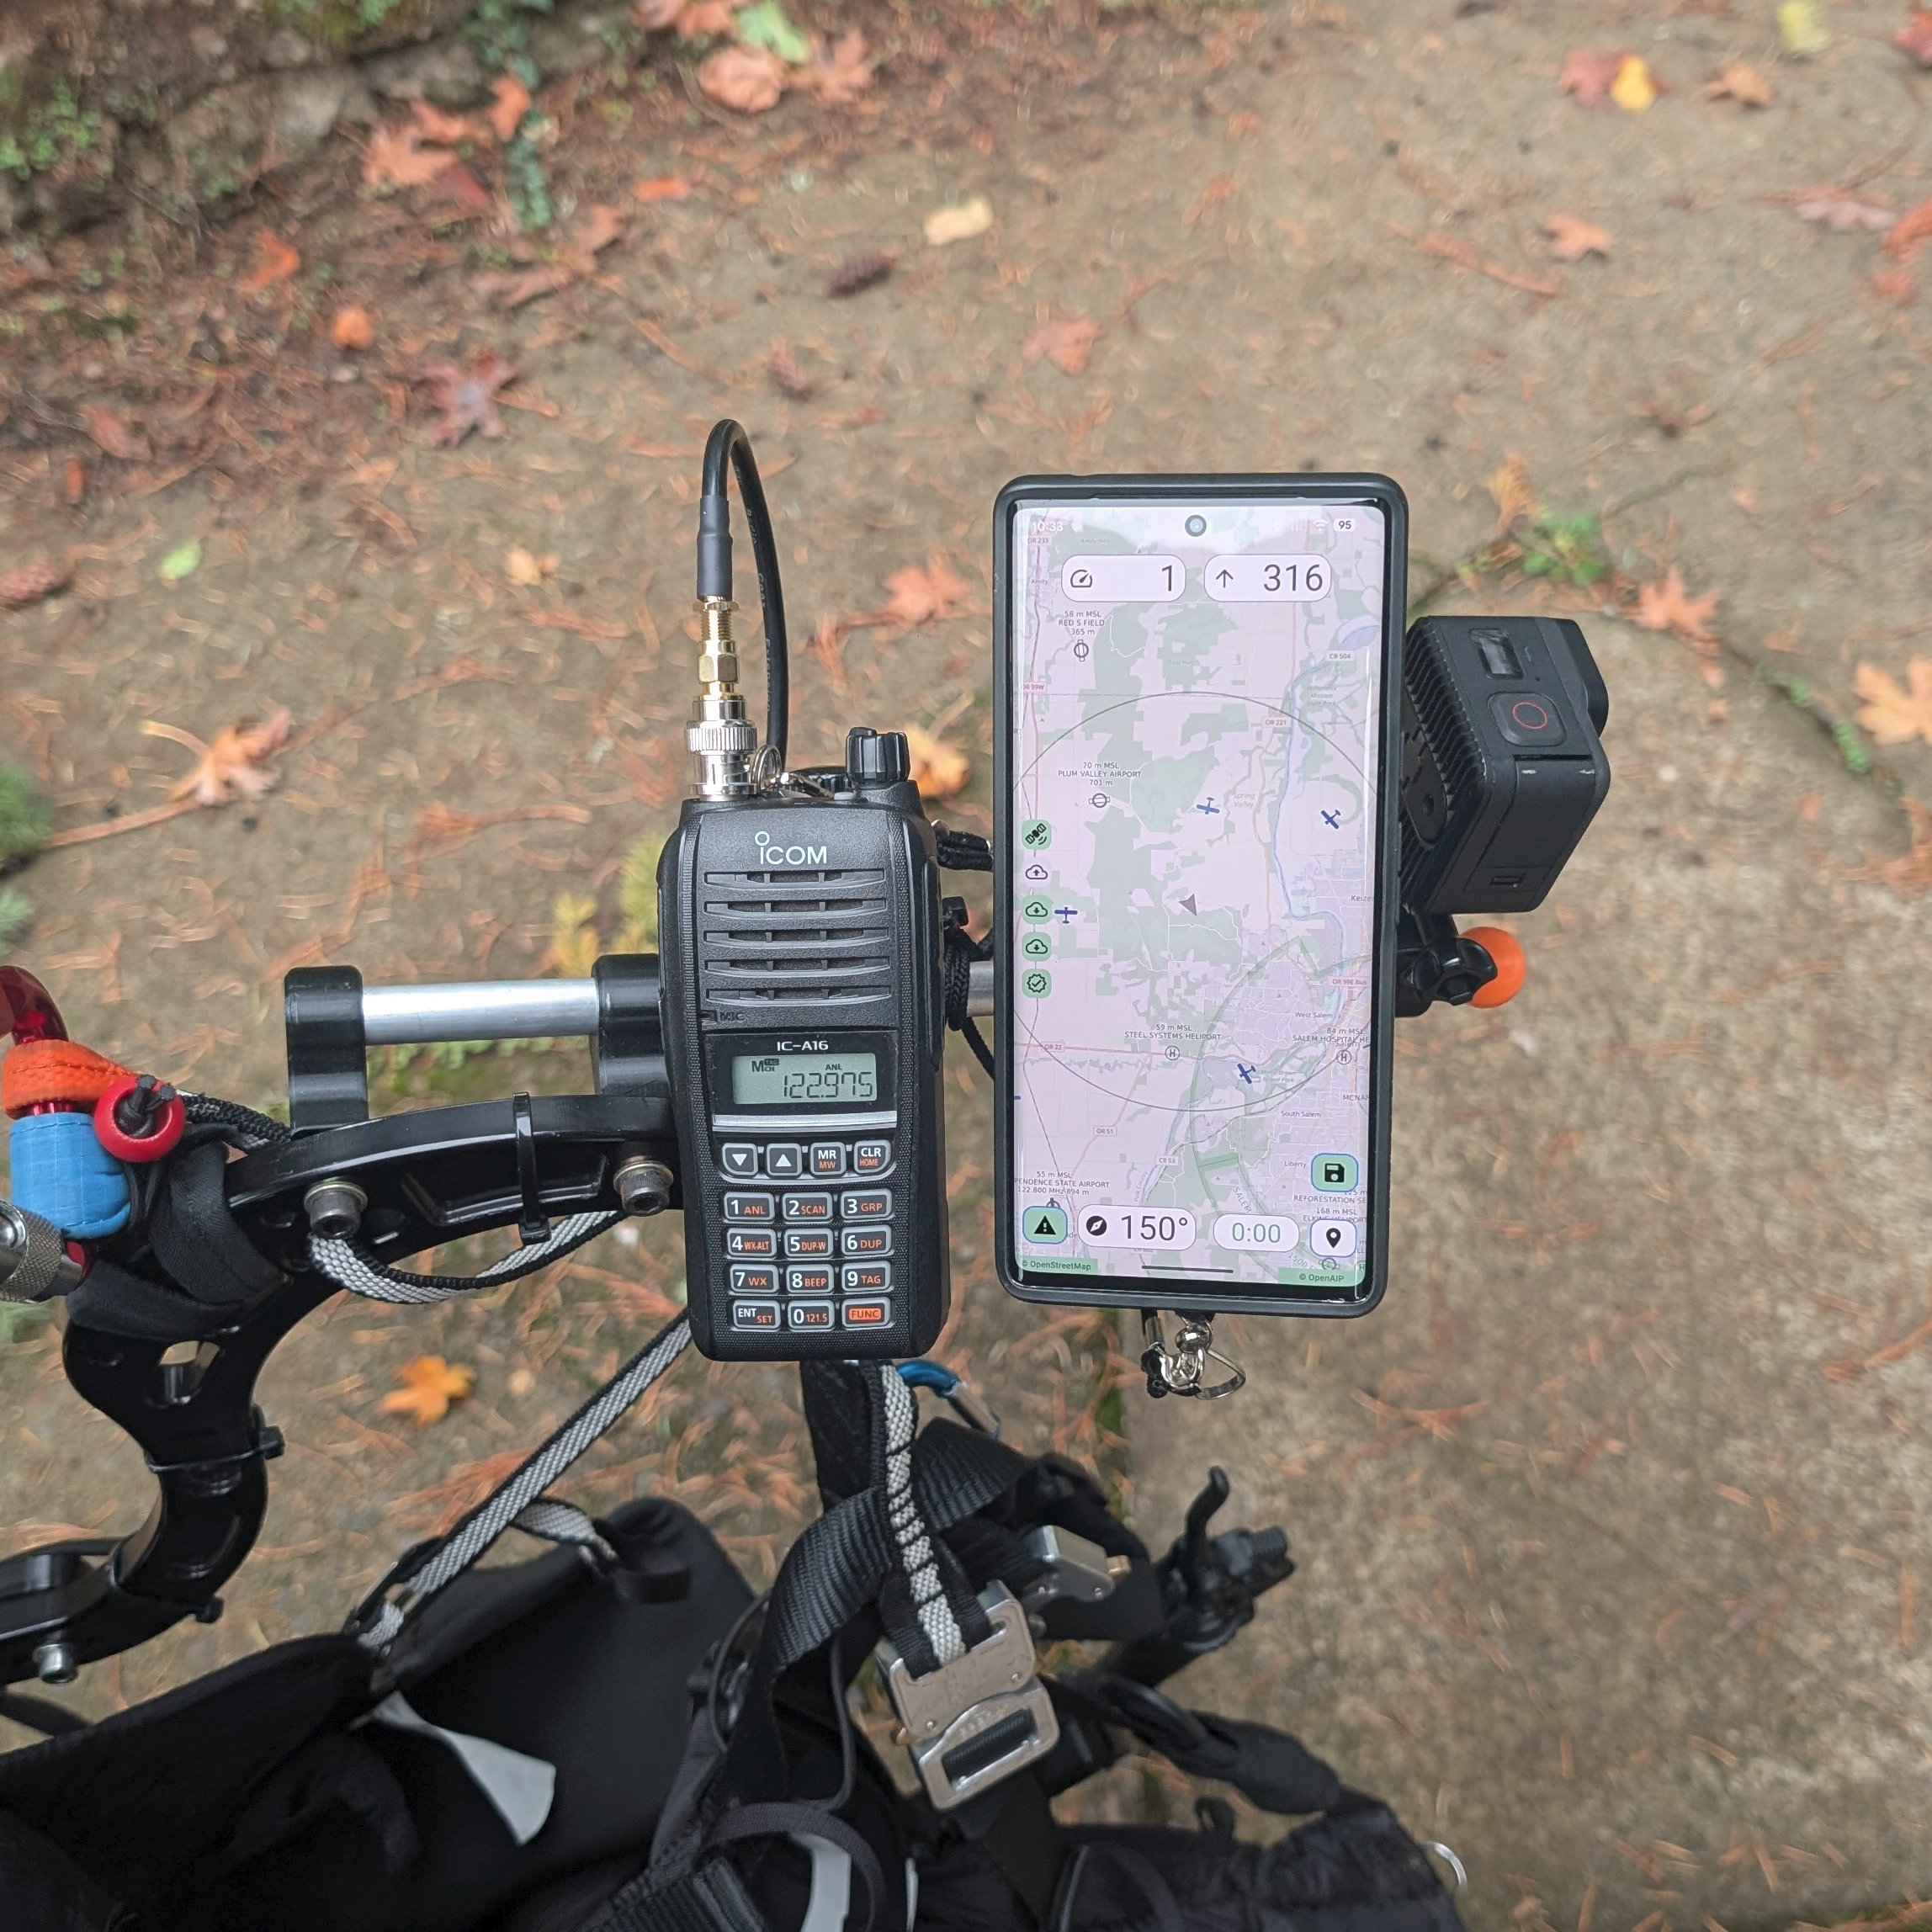
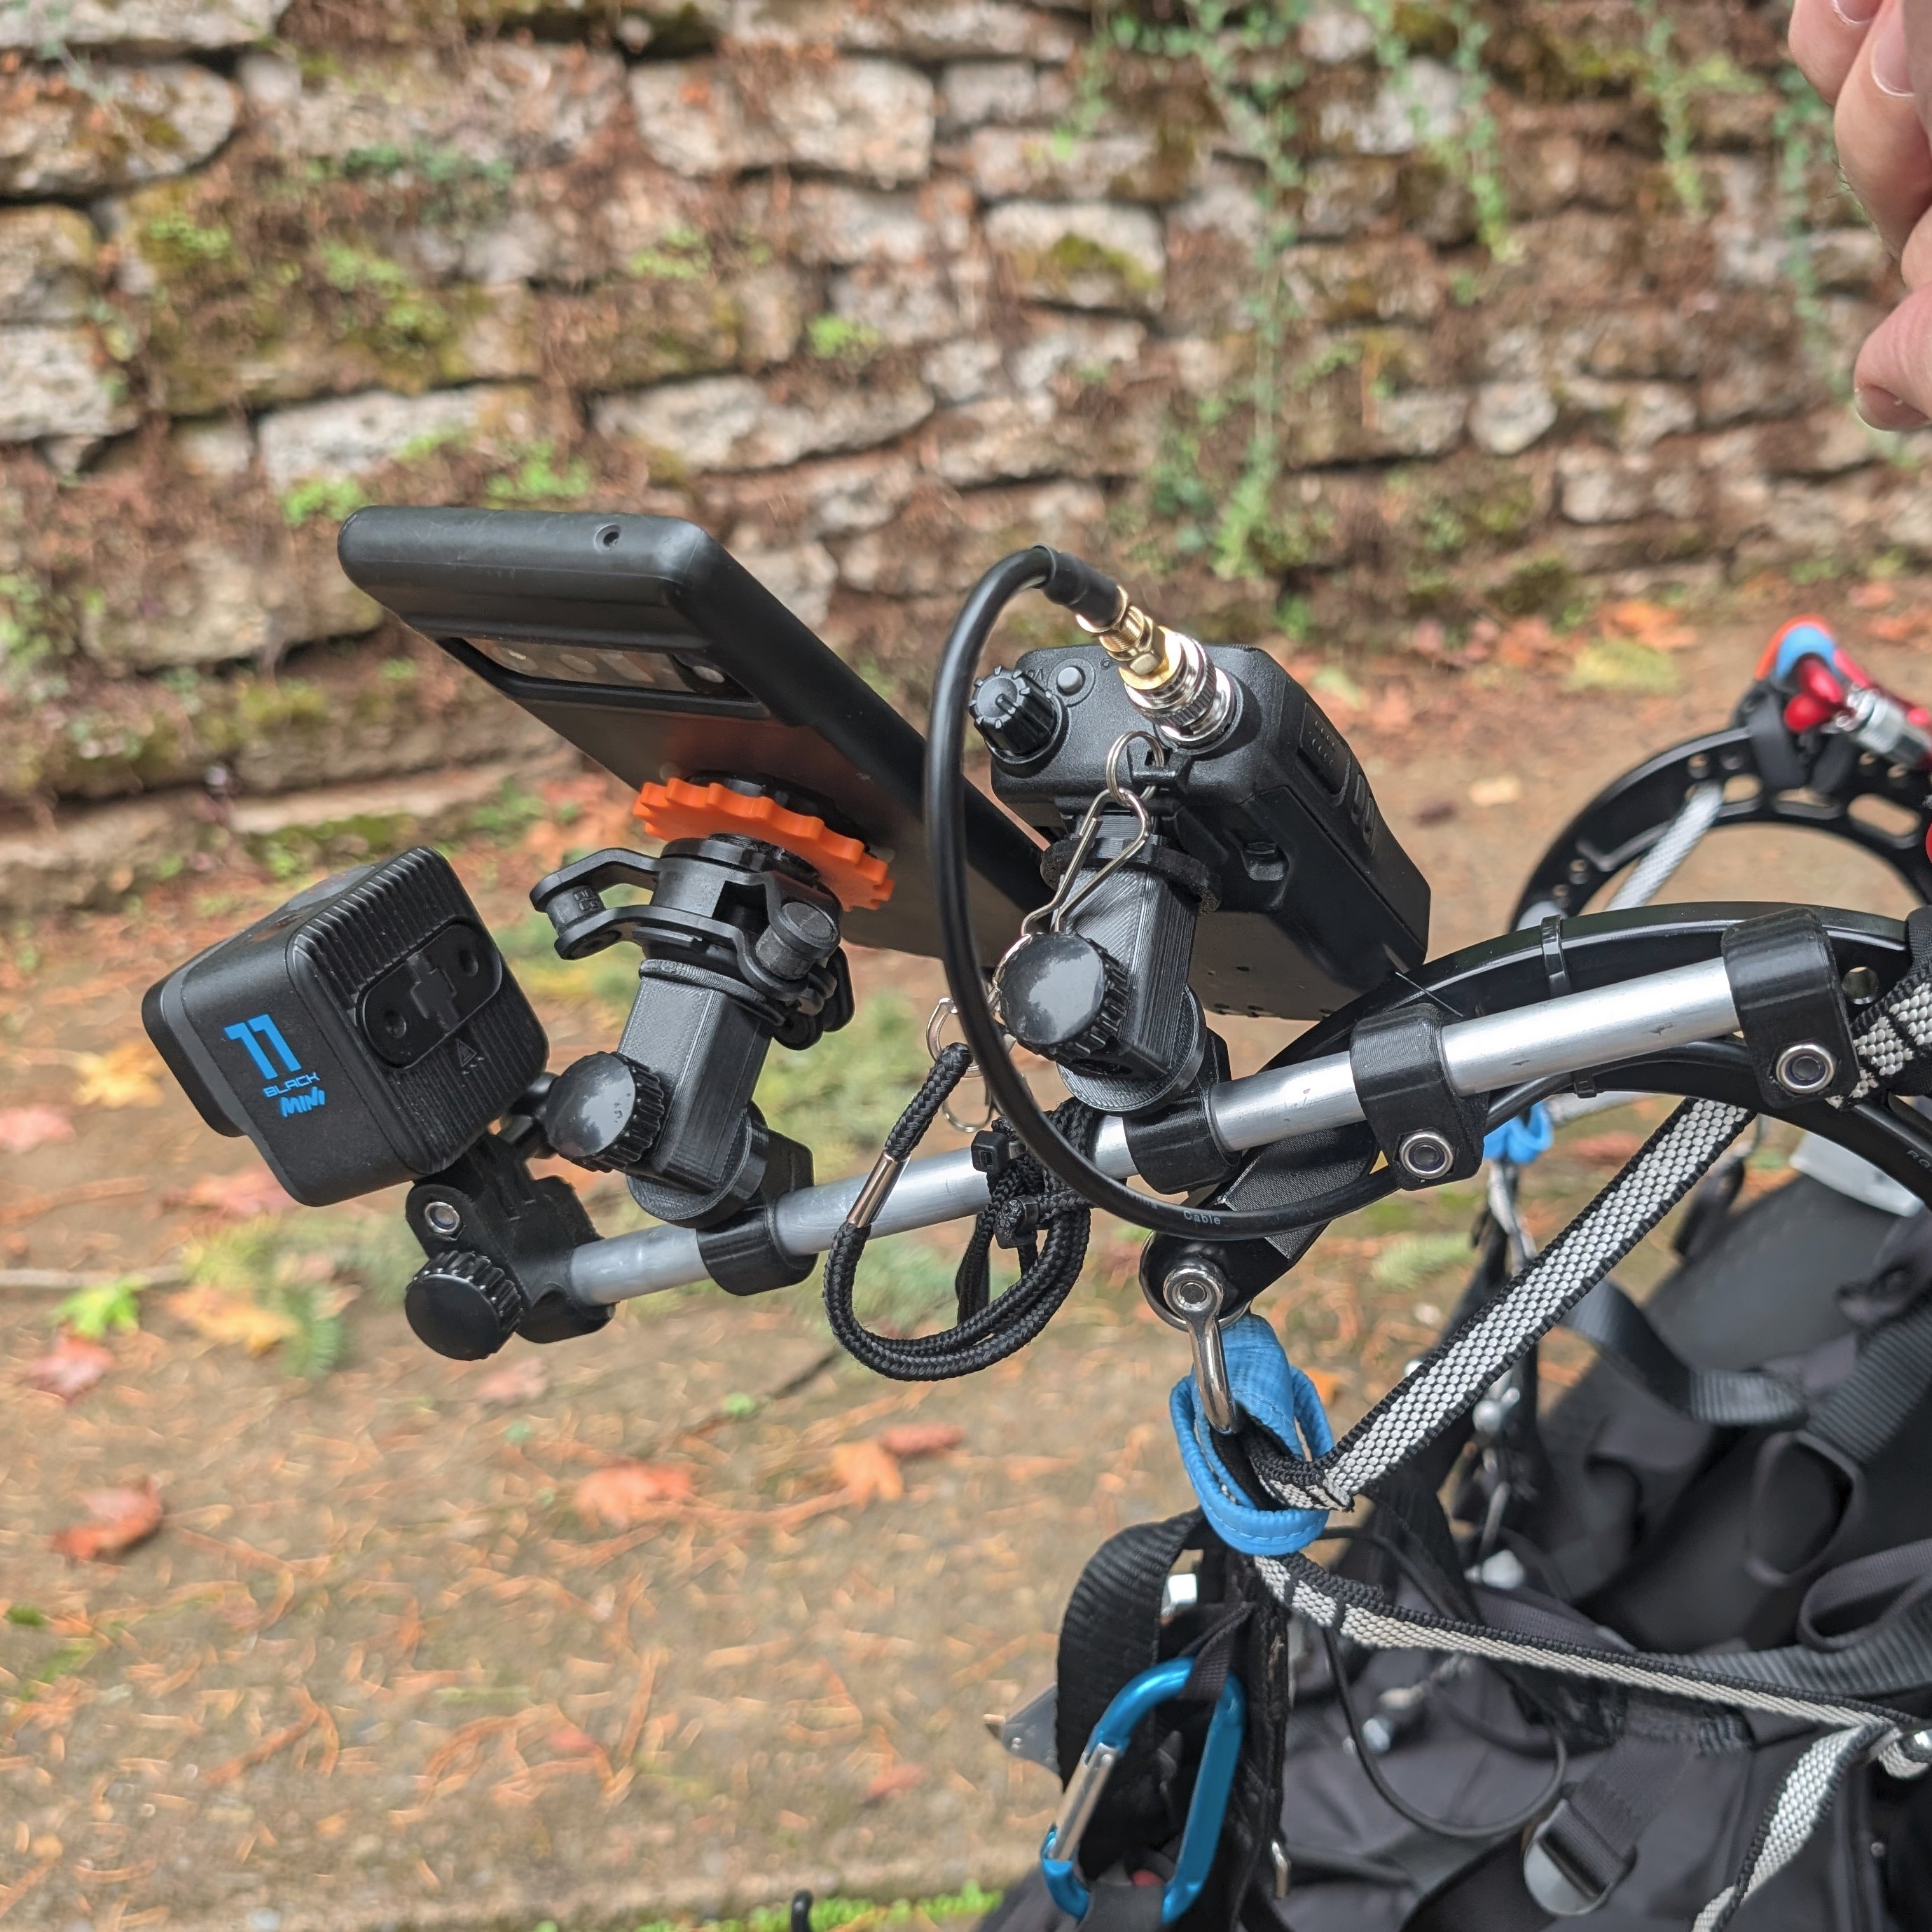
When I mount the phone, GoPro, and the Icom A16B radio I need a tube 260 mm long. This is because of the way the Icom needs to be positioned. If I swap out the Icom for a smaller FRS/GRPS radio, I use a 220 mm tube. If it were just the phone, it could be shorter.
Levi Likes Pink
You want a pink one?! OK Levi, here you go:

Assembly Instructions for my Buddies
"Robert, it's toooooo long. I didn't read it!"
Fine, here is your assembly instructions in video form:
If you have any questions or are interested in the 3D models, just let me know:
https://worktablecnc.us/company/ontactcay.html