
3D Printed Phone Case
This is a brief post on how to design and print a phone case using your 3D printer.
Introduction
In an effort to get to know the capacities of my 3D printer and as a little 3D solid modeling practice, I made a phone case. Really, it is so much easier to just buy one. They make millions of them, and better than you can print. So just buy a case. But if you are a glutton for punishment, then keep going...
Here is how it started:
-
I normally use an Android phone, and I have one with really nice cameras.
-
I fly ultralights and ride motorcycles. Having your phone mounted where you can see it is convenient. However, it is known that engine vibration destroys the cameras of mounted phones.
-
I Also wrote some phone apps that I needed to compile for both Android and IOS. I have an Android, so I needed a physical IPhone.
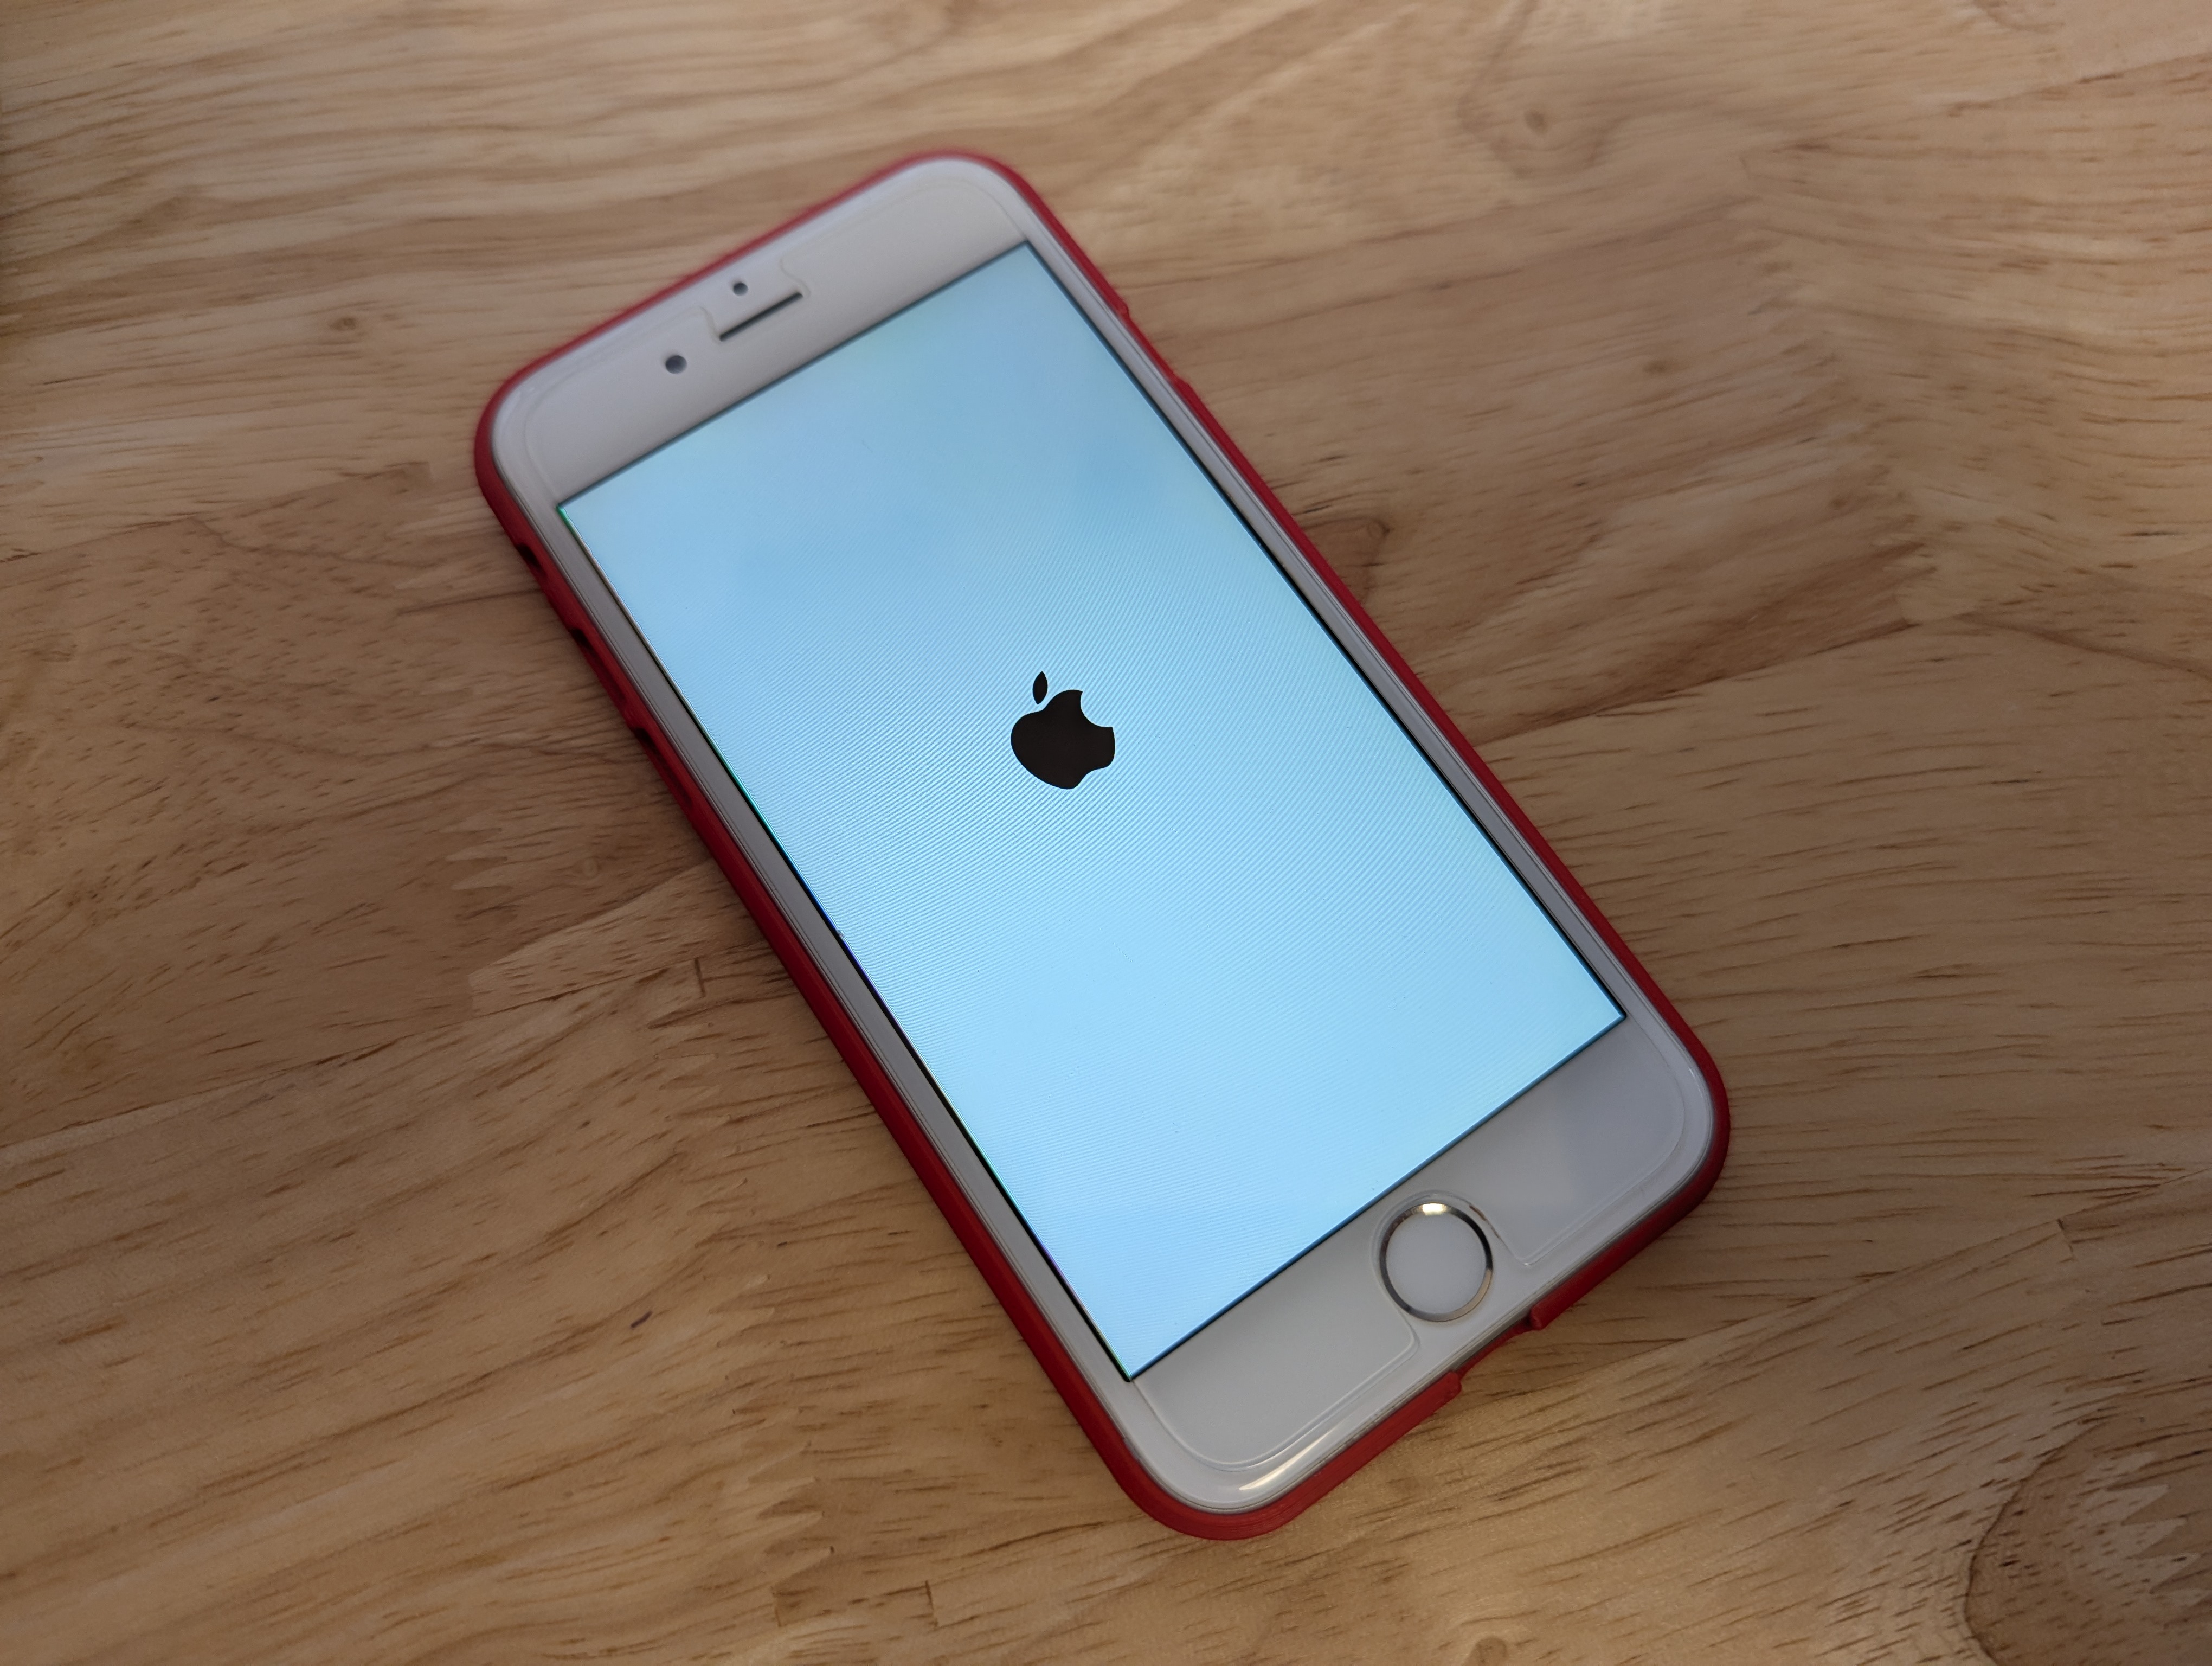
So I asked around and a neighbor gave me her hold IPhone 6. It was unused just sitting in a drawer. This will be my sacrificial phone! I can use it as a test bed when writing phone apps, and mount it to my toys, and if it gets torn up I will not care.
My motorcycle phone mount is a Quad Lock system. Quad Lock makes really nice mounting systems, and they make phone cases with an integral mounting point on the back. I have a Quad Lock case for my Android and it is a really well thought-out and constructed product.
Seriously, check Quad Lock out: https://www.quadlockcase.com
I could have ordered an official Quad Lock case for this free IPhone, it was less than $20 plus shipping, but not me... I had to build one.
Redraw the phone
The first step is to draw the phone in 3D:
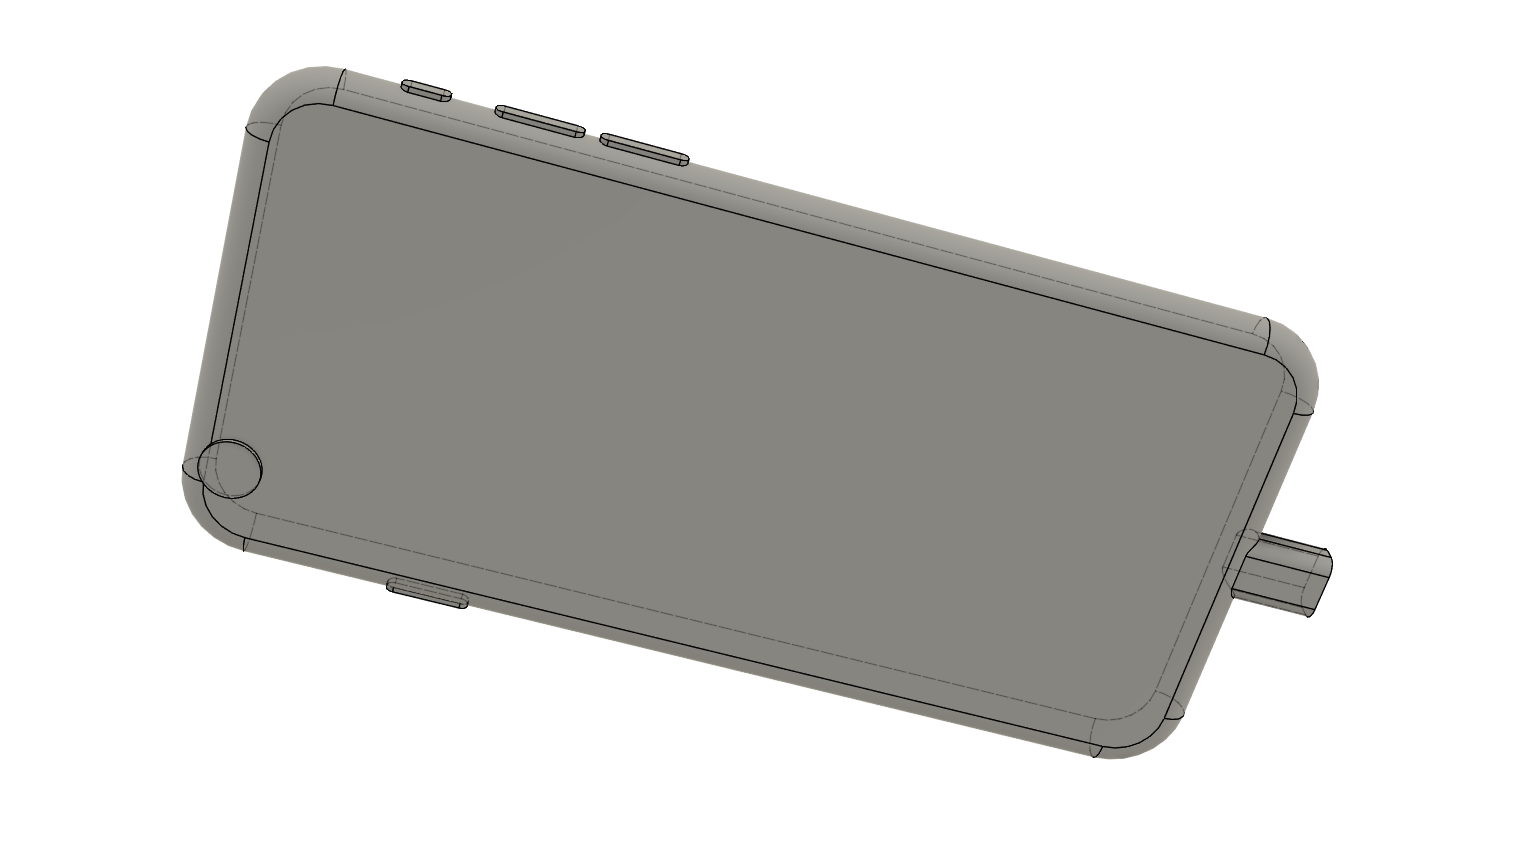
Actually, you do not necessarily need an exact representation of the phone, you are drawing a cutting tool. You will use this to subtract from a solid block to create the interior space of the phone case. So make the buttons oversized and draw the phone with the charging plug connected. Yes, but do draw the phone body exactly as possible
With the phone body, you can draw the phone case around it:
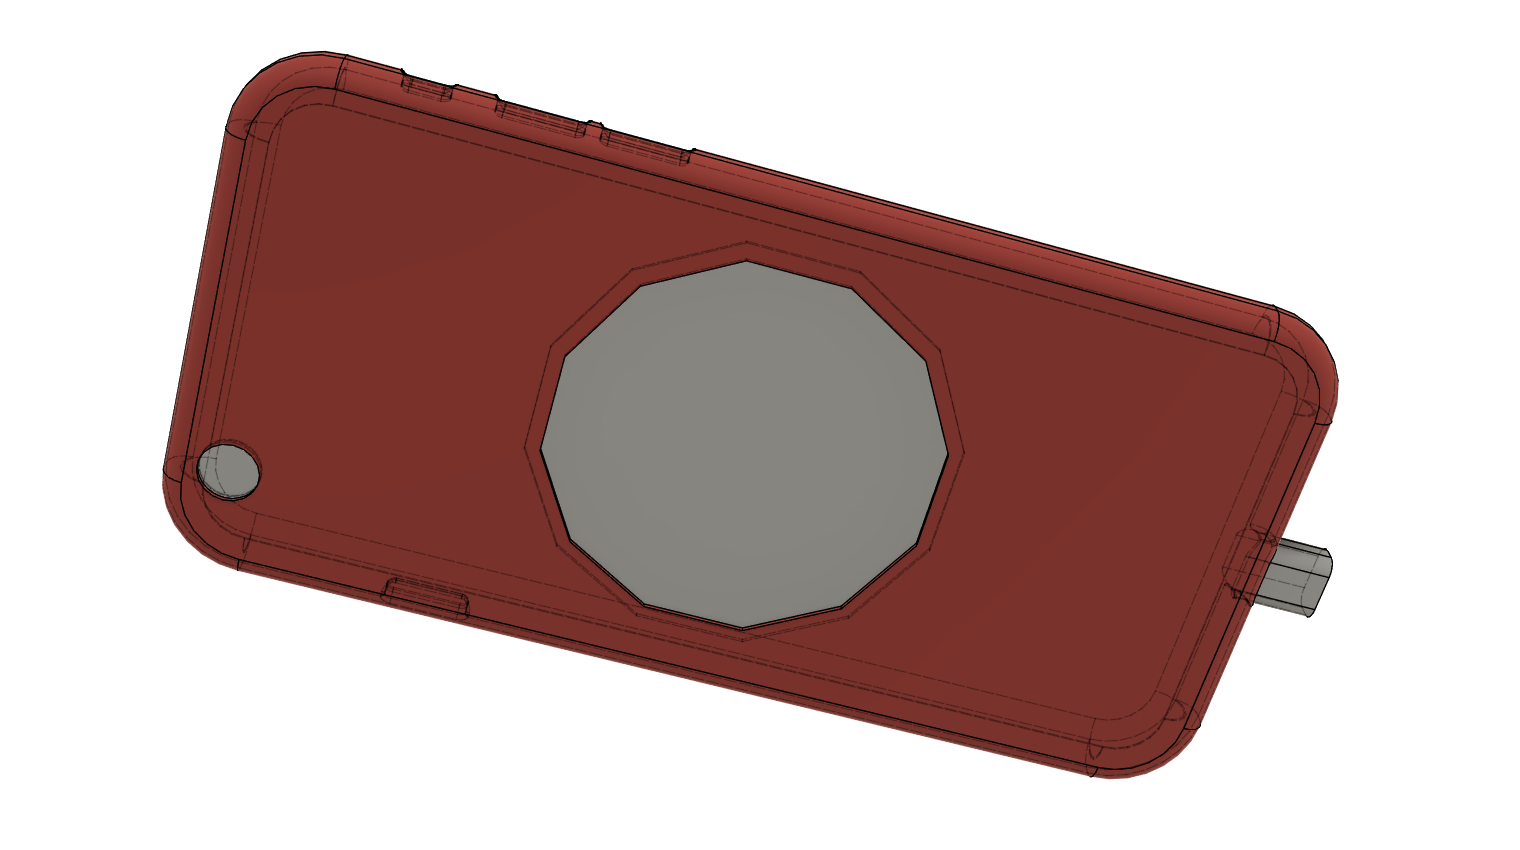
Now I have a phone case model.
When printing on a 3D printer, you print on a flat bed and build up from there. That means that one surface must be flat. The Quad Lock style mount on the back of the case is proud of the back surface, so printing the whole thing at once will not work.
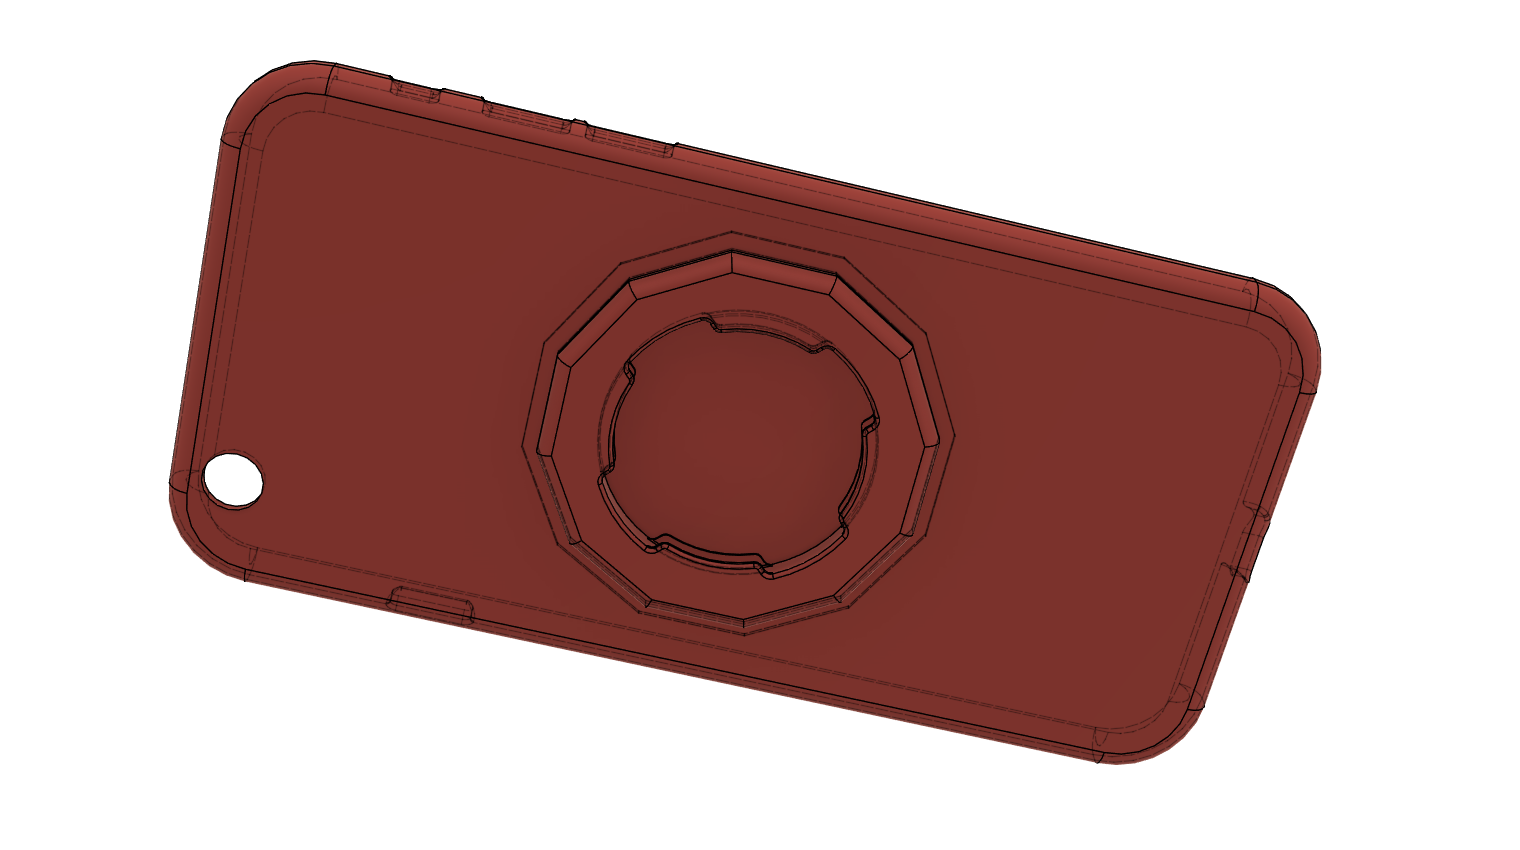
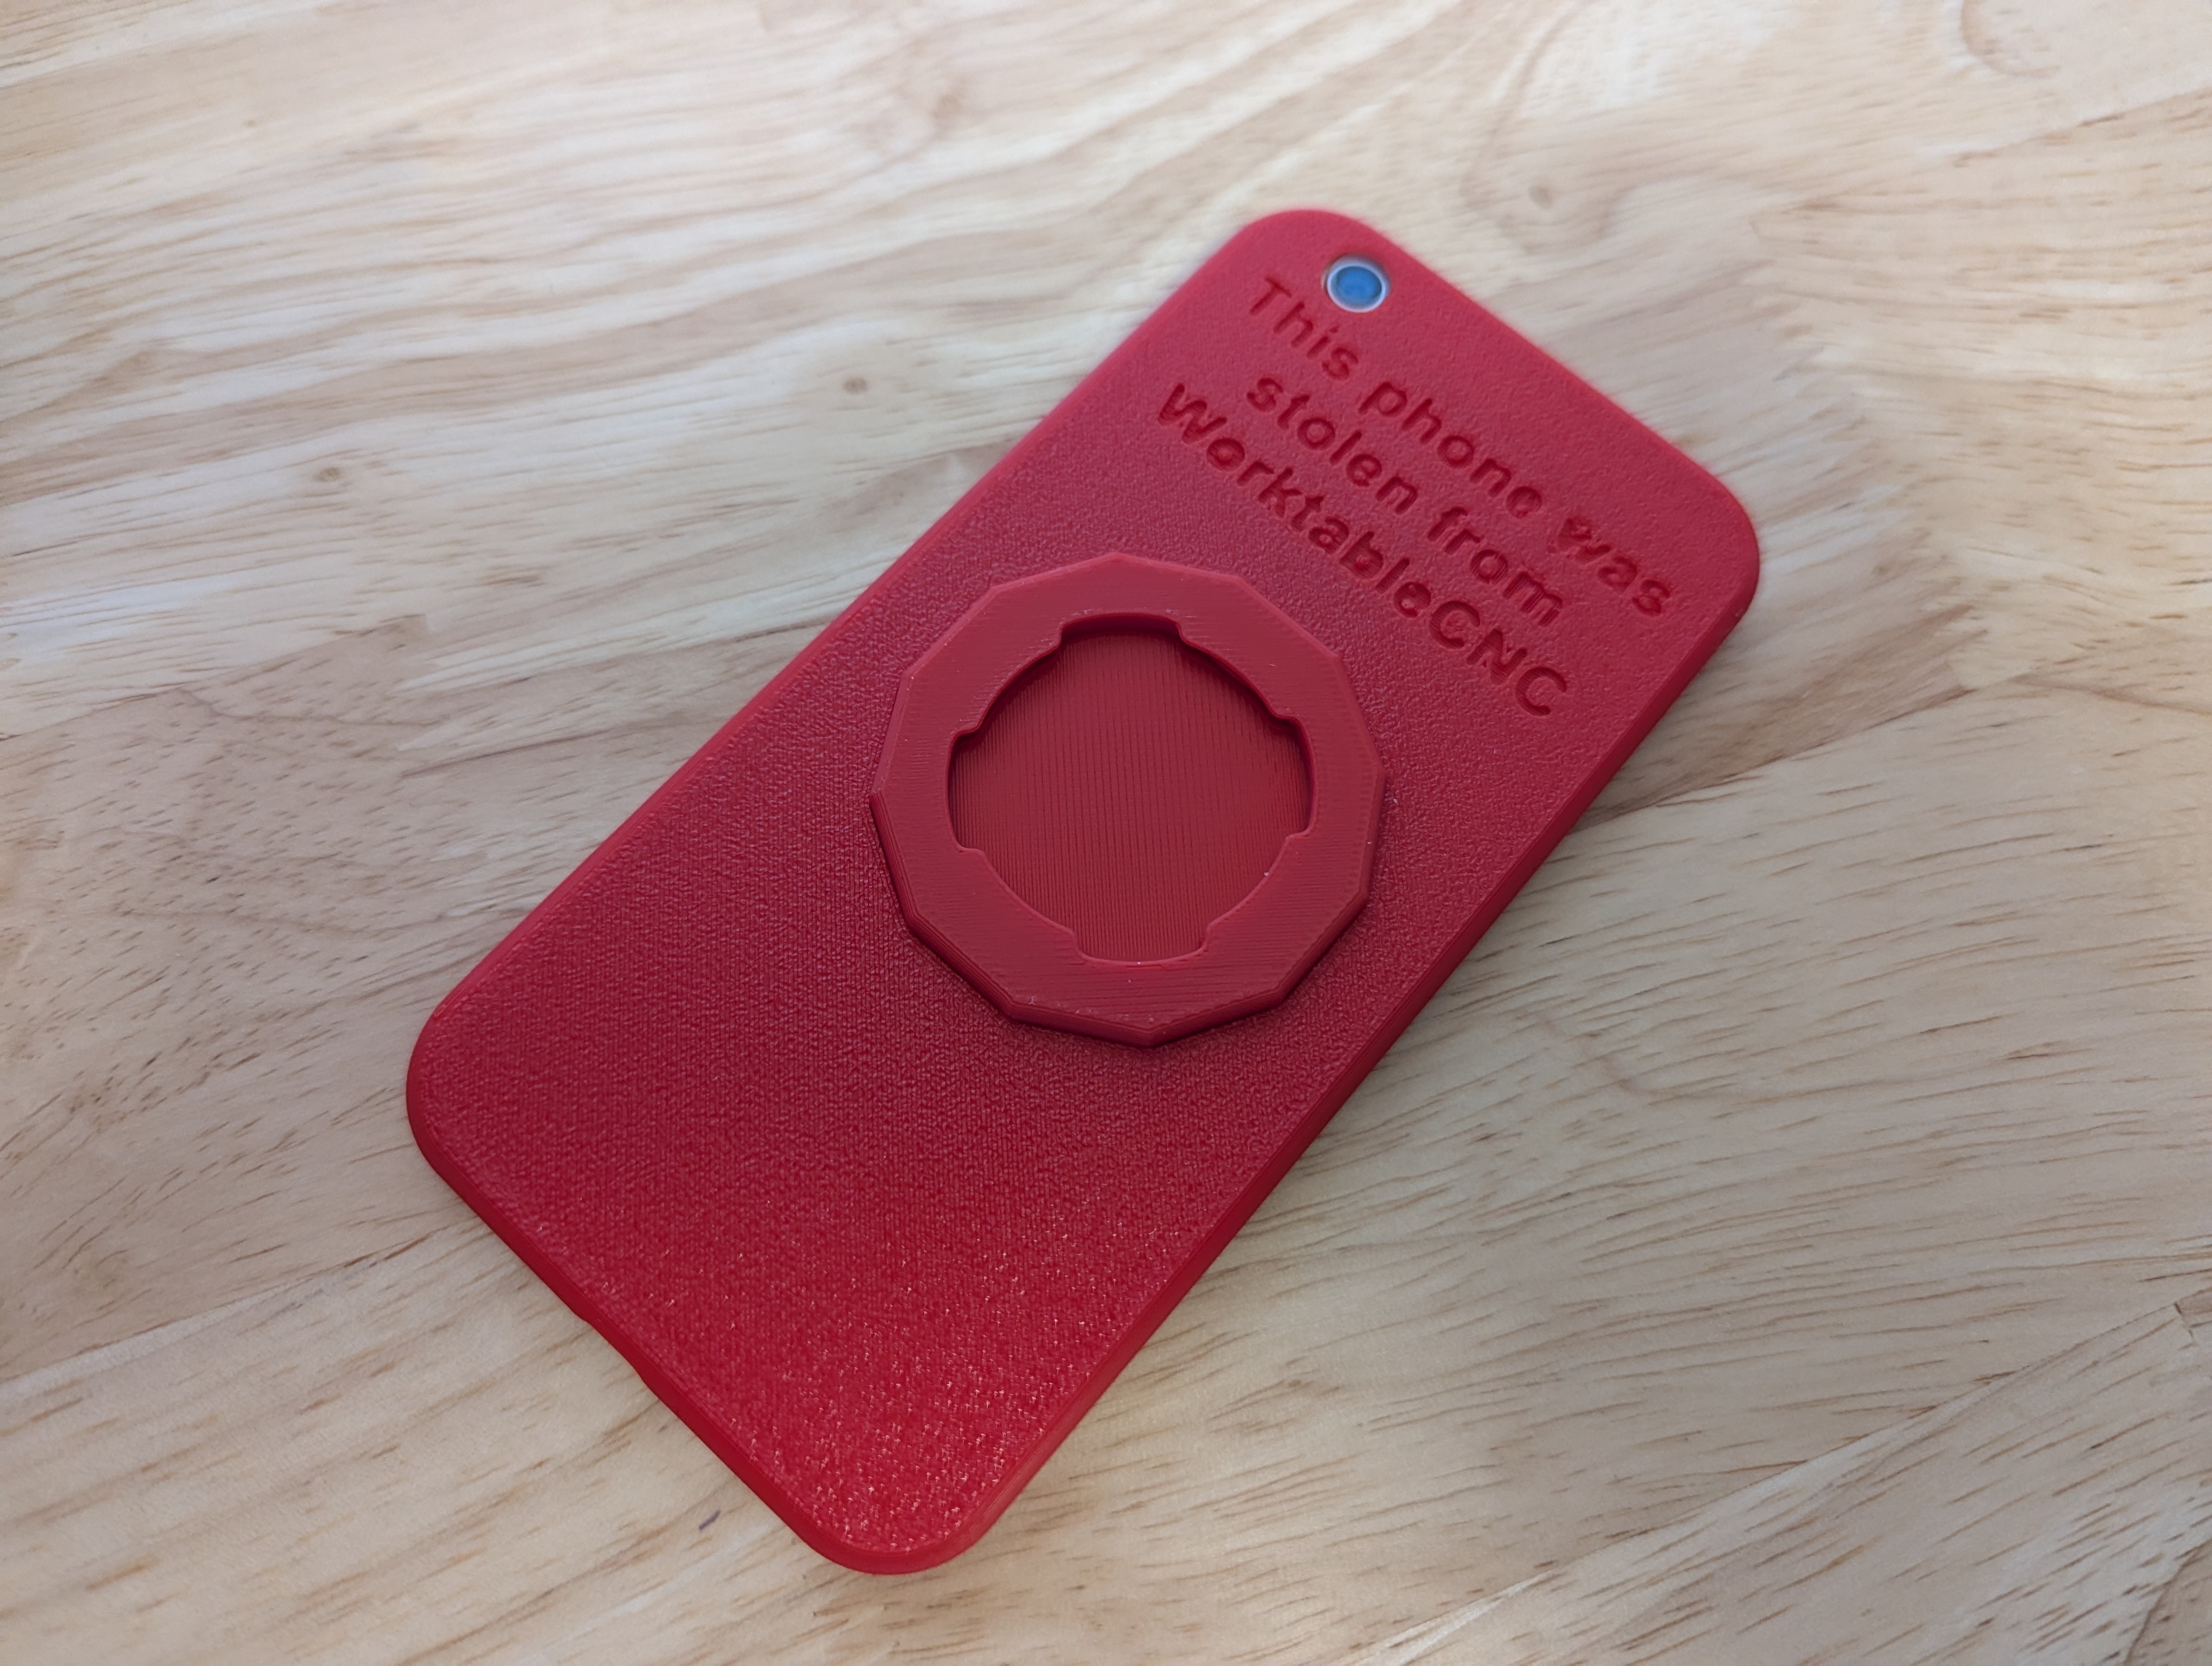
The solution is to break the case into two parts. The mount is now an insert and fits into a flanged hole on the back of the case:
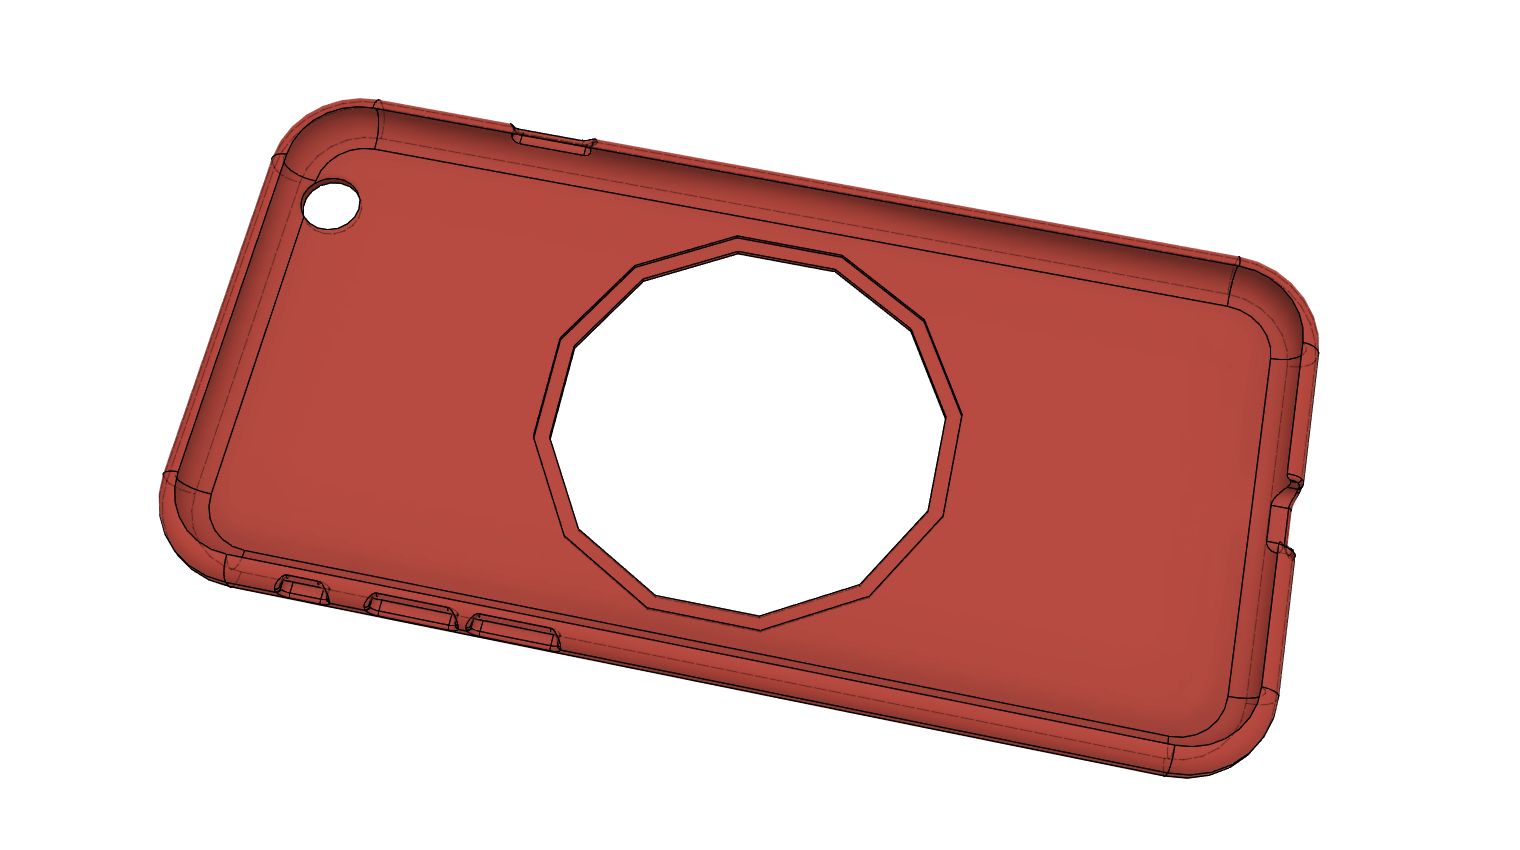
I used a dodecagon (a 12 sided polygon) and if I was so inclined I could install the insert either normally, or 30, 45, or 60 degrees rotated. Big time nerd stuff!
Printing the Case
Not much to say here. Send file to printer, hit print. Here is the case hot off of the printer:
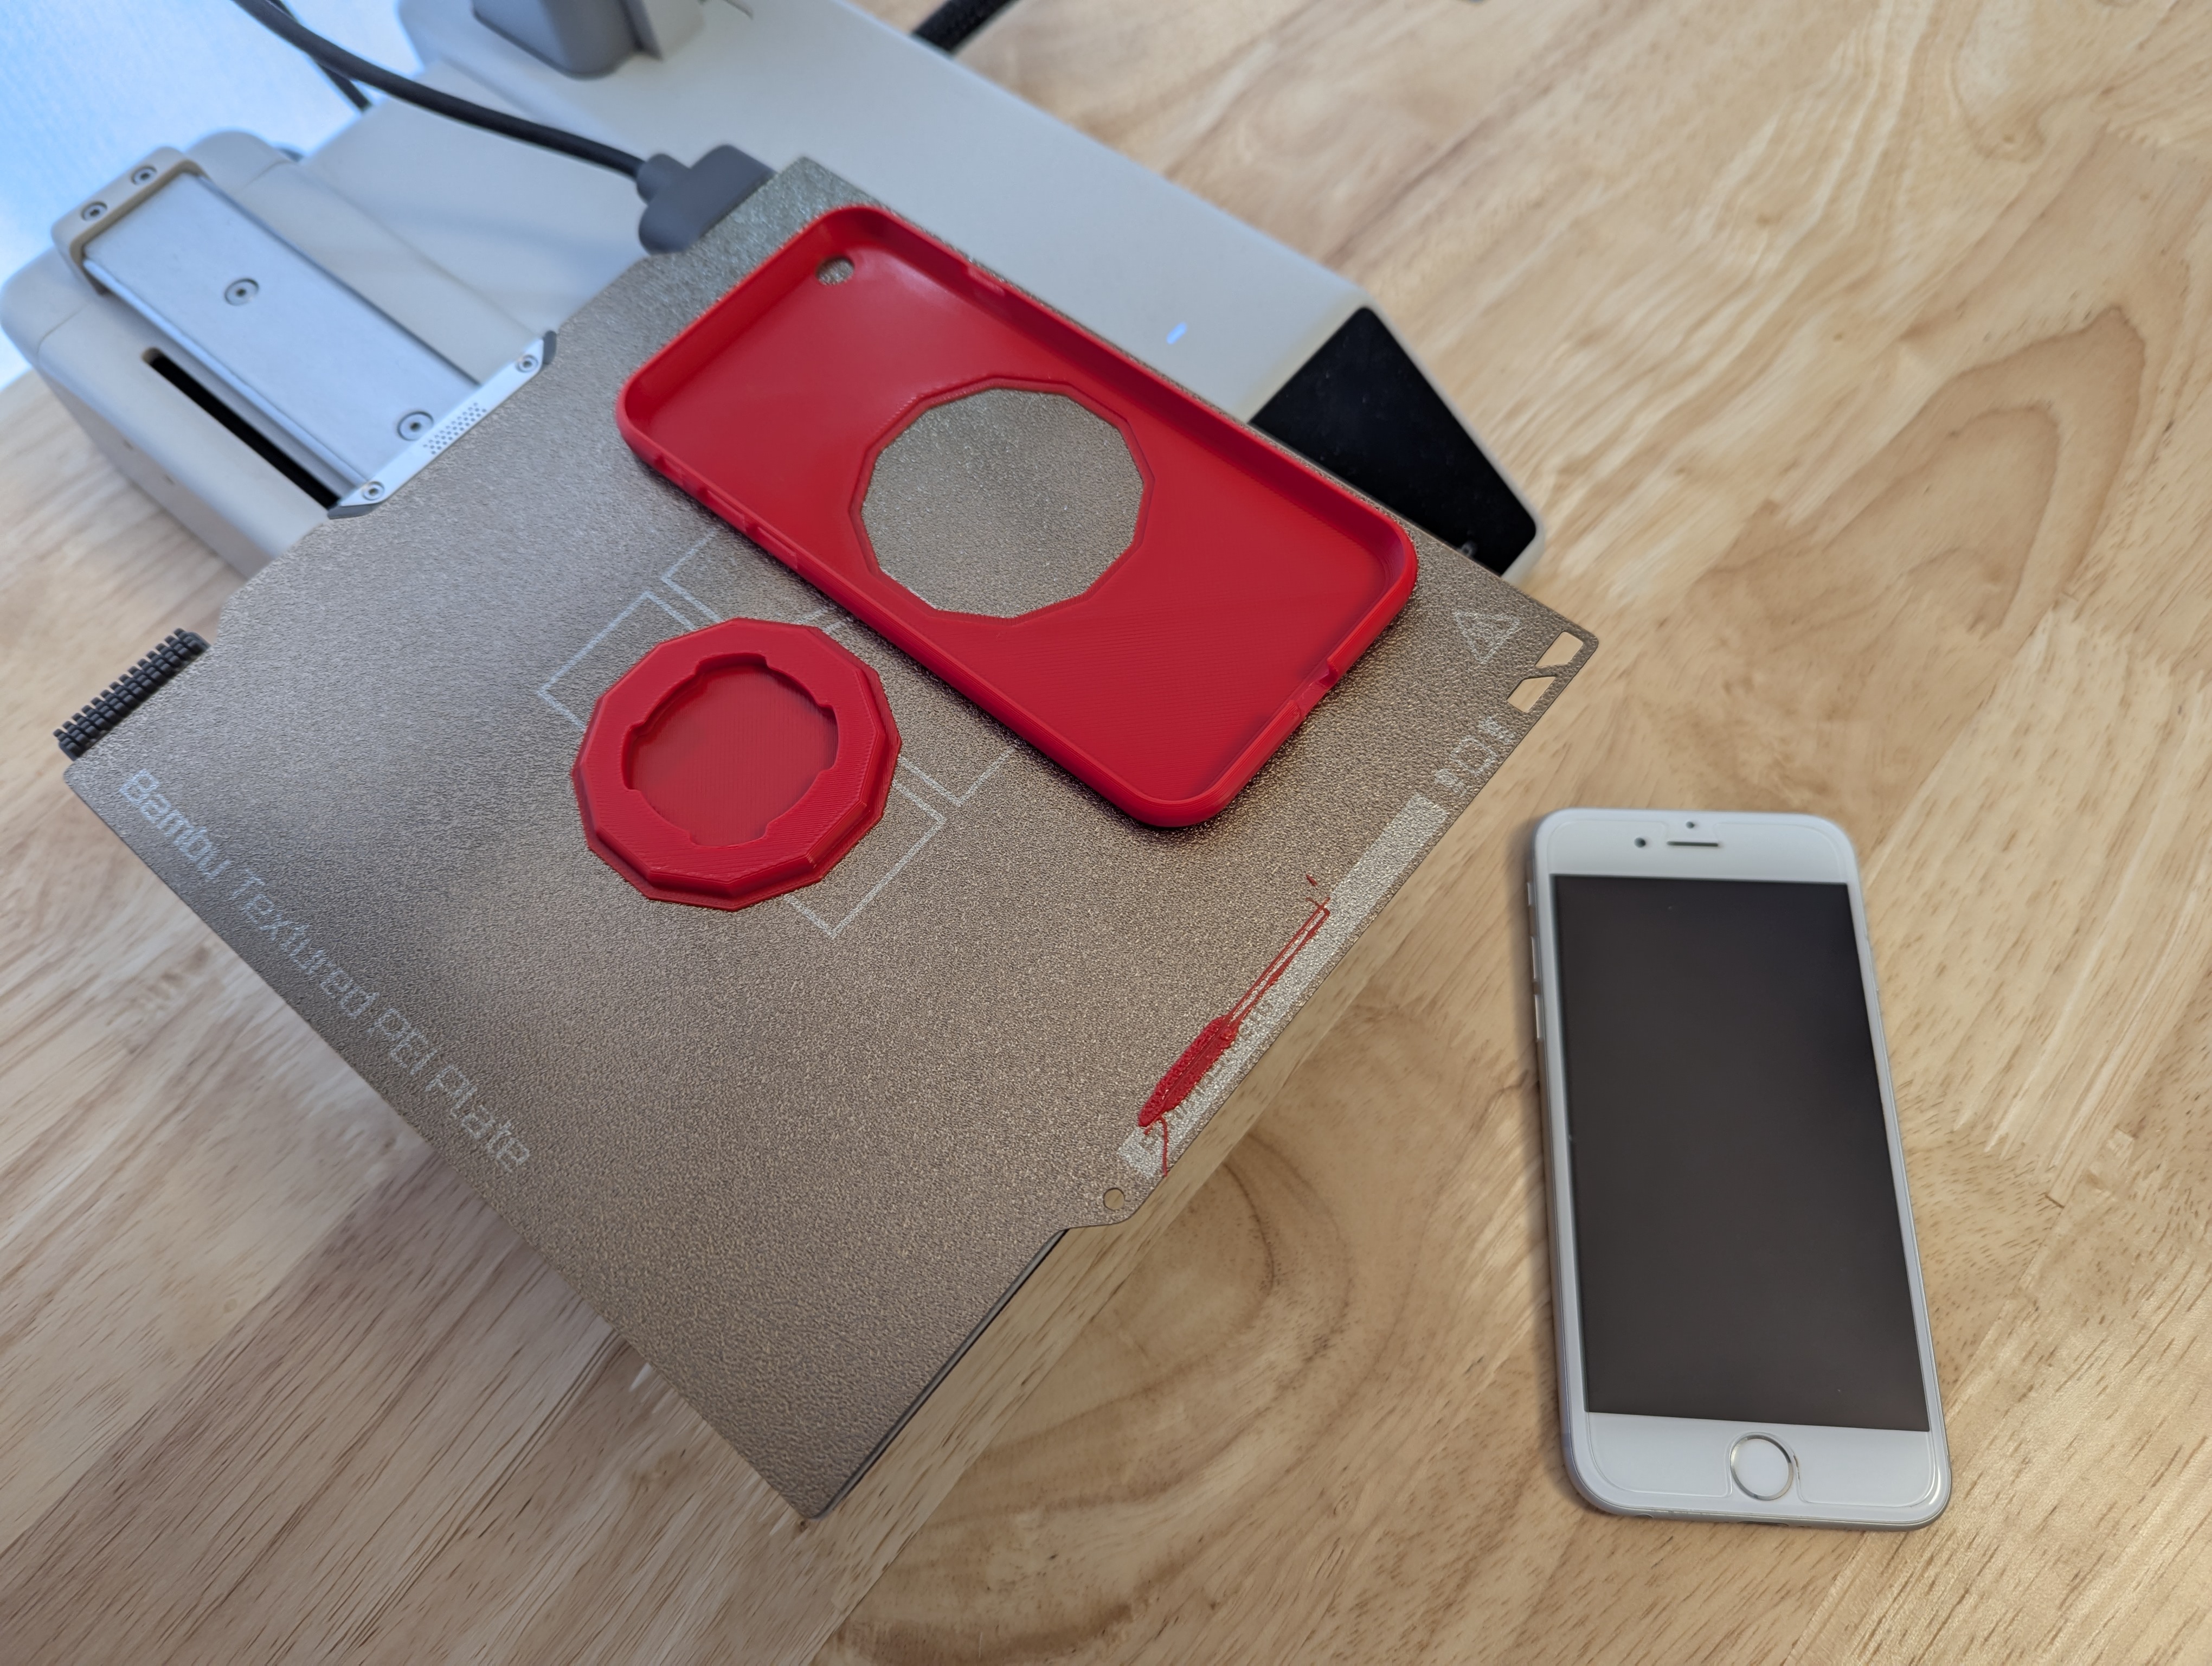
After a couple of prototypes, the case fits perfectly. Well, not perfectly... the buttons are a bit hard to get to without fingernails, and the camera flash and speaker ports are still covered. Who cares, I am not going to use those anyway.
And the insert installed.
Actually, the above is the most valuable lesson of this post: Sometimes you need to break your part up into pieces just to be able to make it. It is part of the Design for Manufacturing process. If you are an inspiring designer please always keep in mind that whatever you design, someone has to make it.
Keep building!