Thatcher CX4 Construction Log 2012-2017
The following is the construction log for my scratch-built Thatcher CX4 experimental airplane.
I'm using my personal CNC router to do most of the drilling and cutting, and this requires me to do things a little differently than a typical scratch-builder. Most notably, all of the parts will need to be redrawn in CAD, and this process requires that everything is to be dimensionally accurate... there should be no trim-to-fit type of construction which is typical to scratch-building. So, the Thatcher CX4 plans are then used as a reference, and my parts will be close but not exactly the same, and so my airplane won't be exactly the same.
- Thatcher CX4 Construction Log 2012-2017
- Wing Ribs
- Wing Spars
- Right Wing
- Left Wing
- CAD Work
- Pre-Drilled Skins and Flanges
- Center Section
- Fuselage Bulkheads
- Back to the Center Section
- Forward Fuselage
- Landing Gear
- Forward Fuselage Skins
- Rear Fuselage
- Fuel Tank
- Engine Mount
- Rudder Pedals
- Panel
- Project Continuation
- ECU and Electrical
- Fuel Injection
Wing Ribs
August 2012
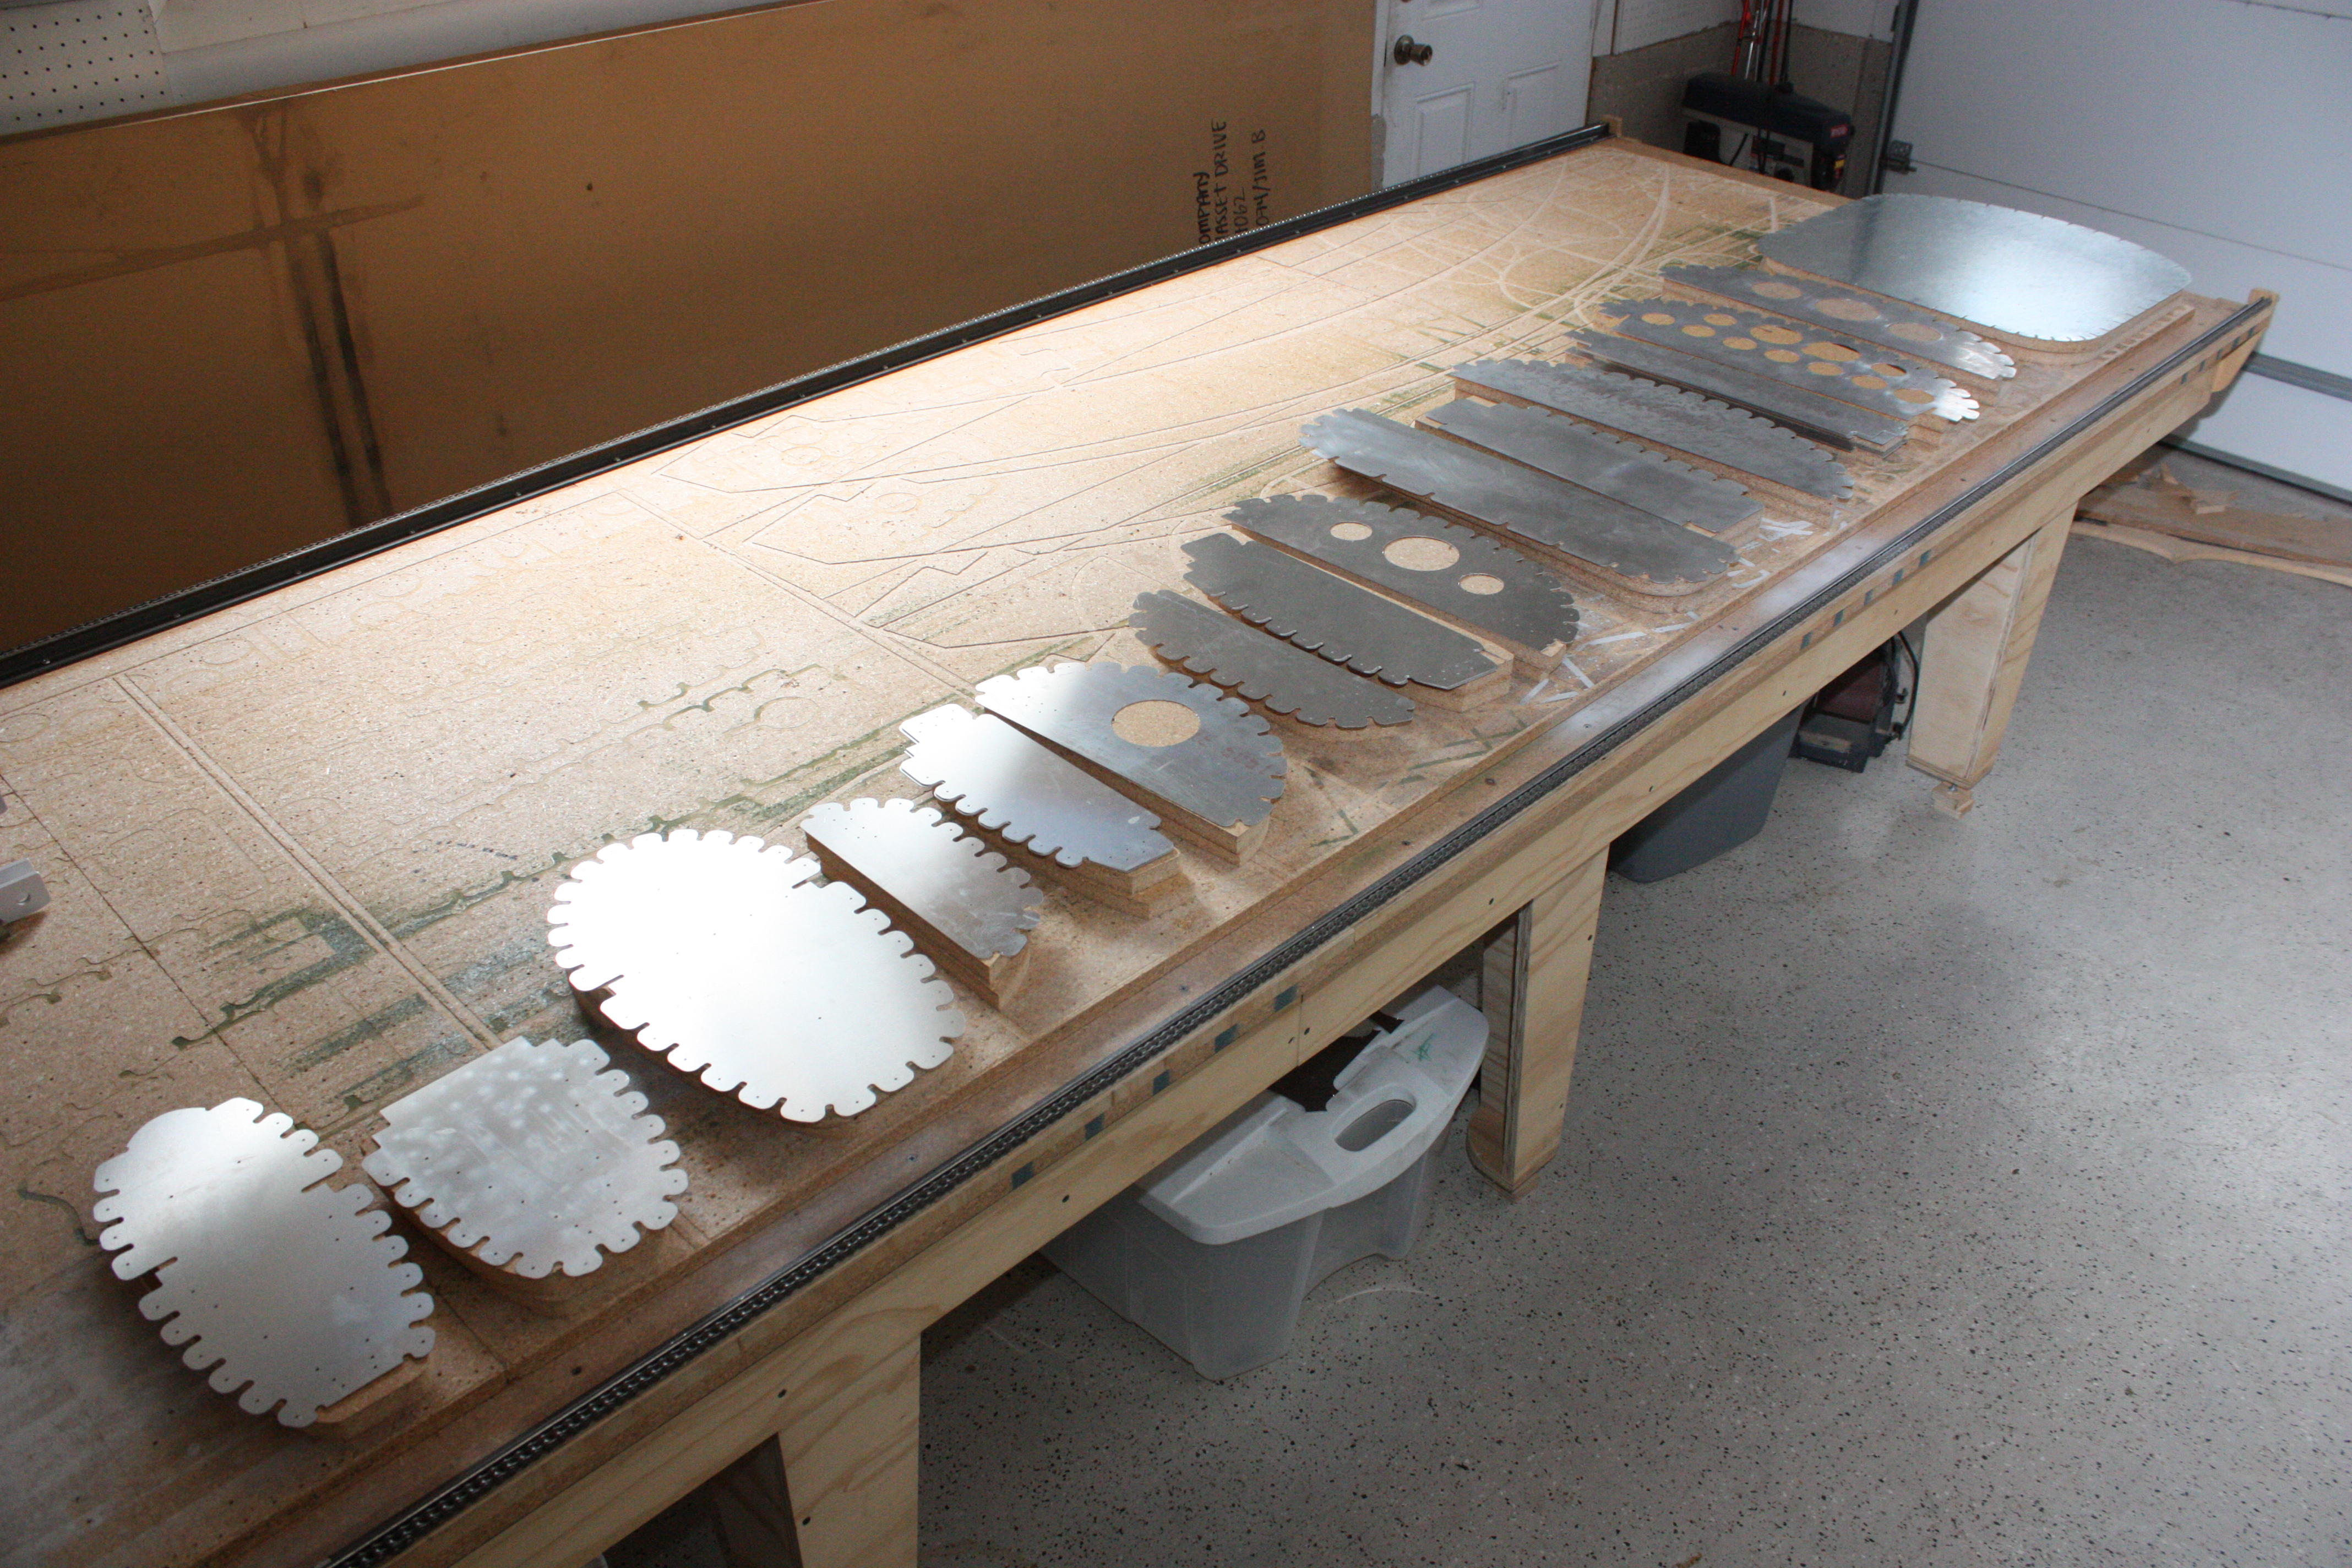
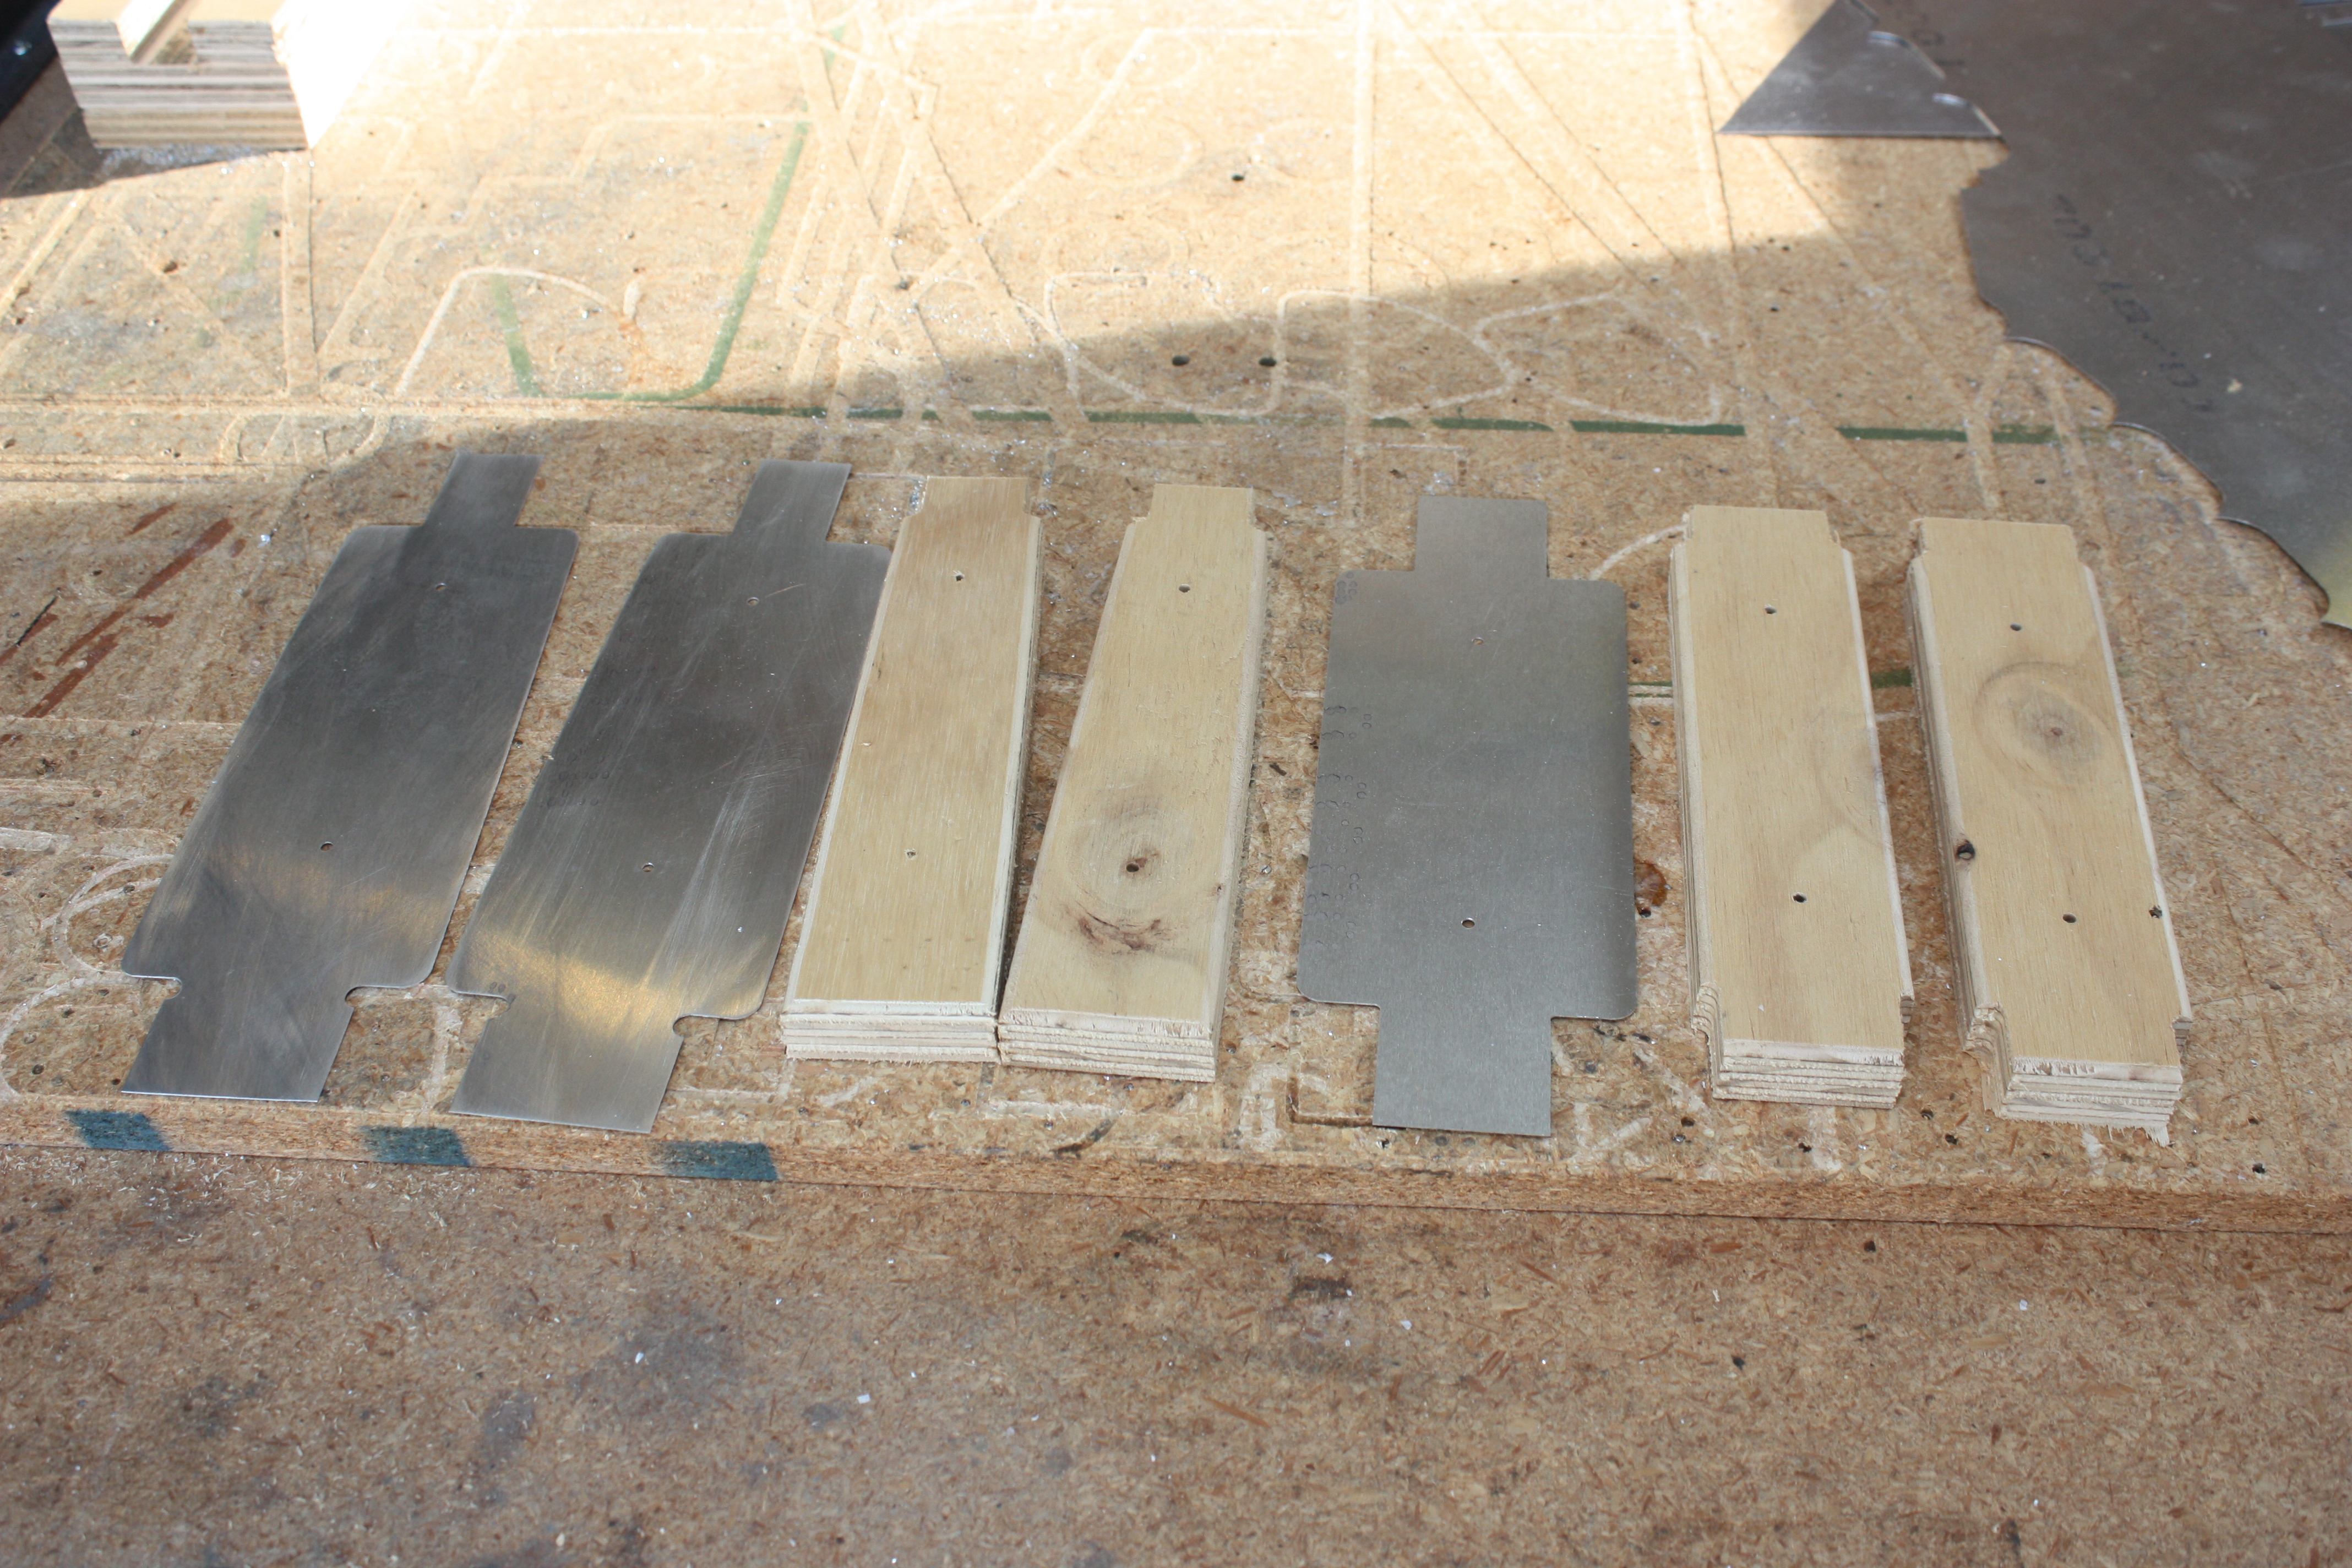
Unlike the Thatcher plans, my wing ribs are not all identical. So each will need it's own bending form. My CNC makes short work of cutting the rib forms:
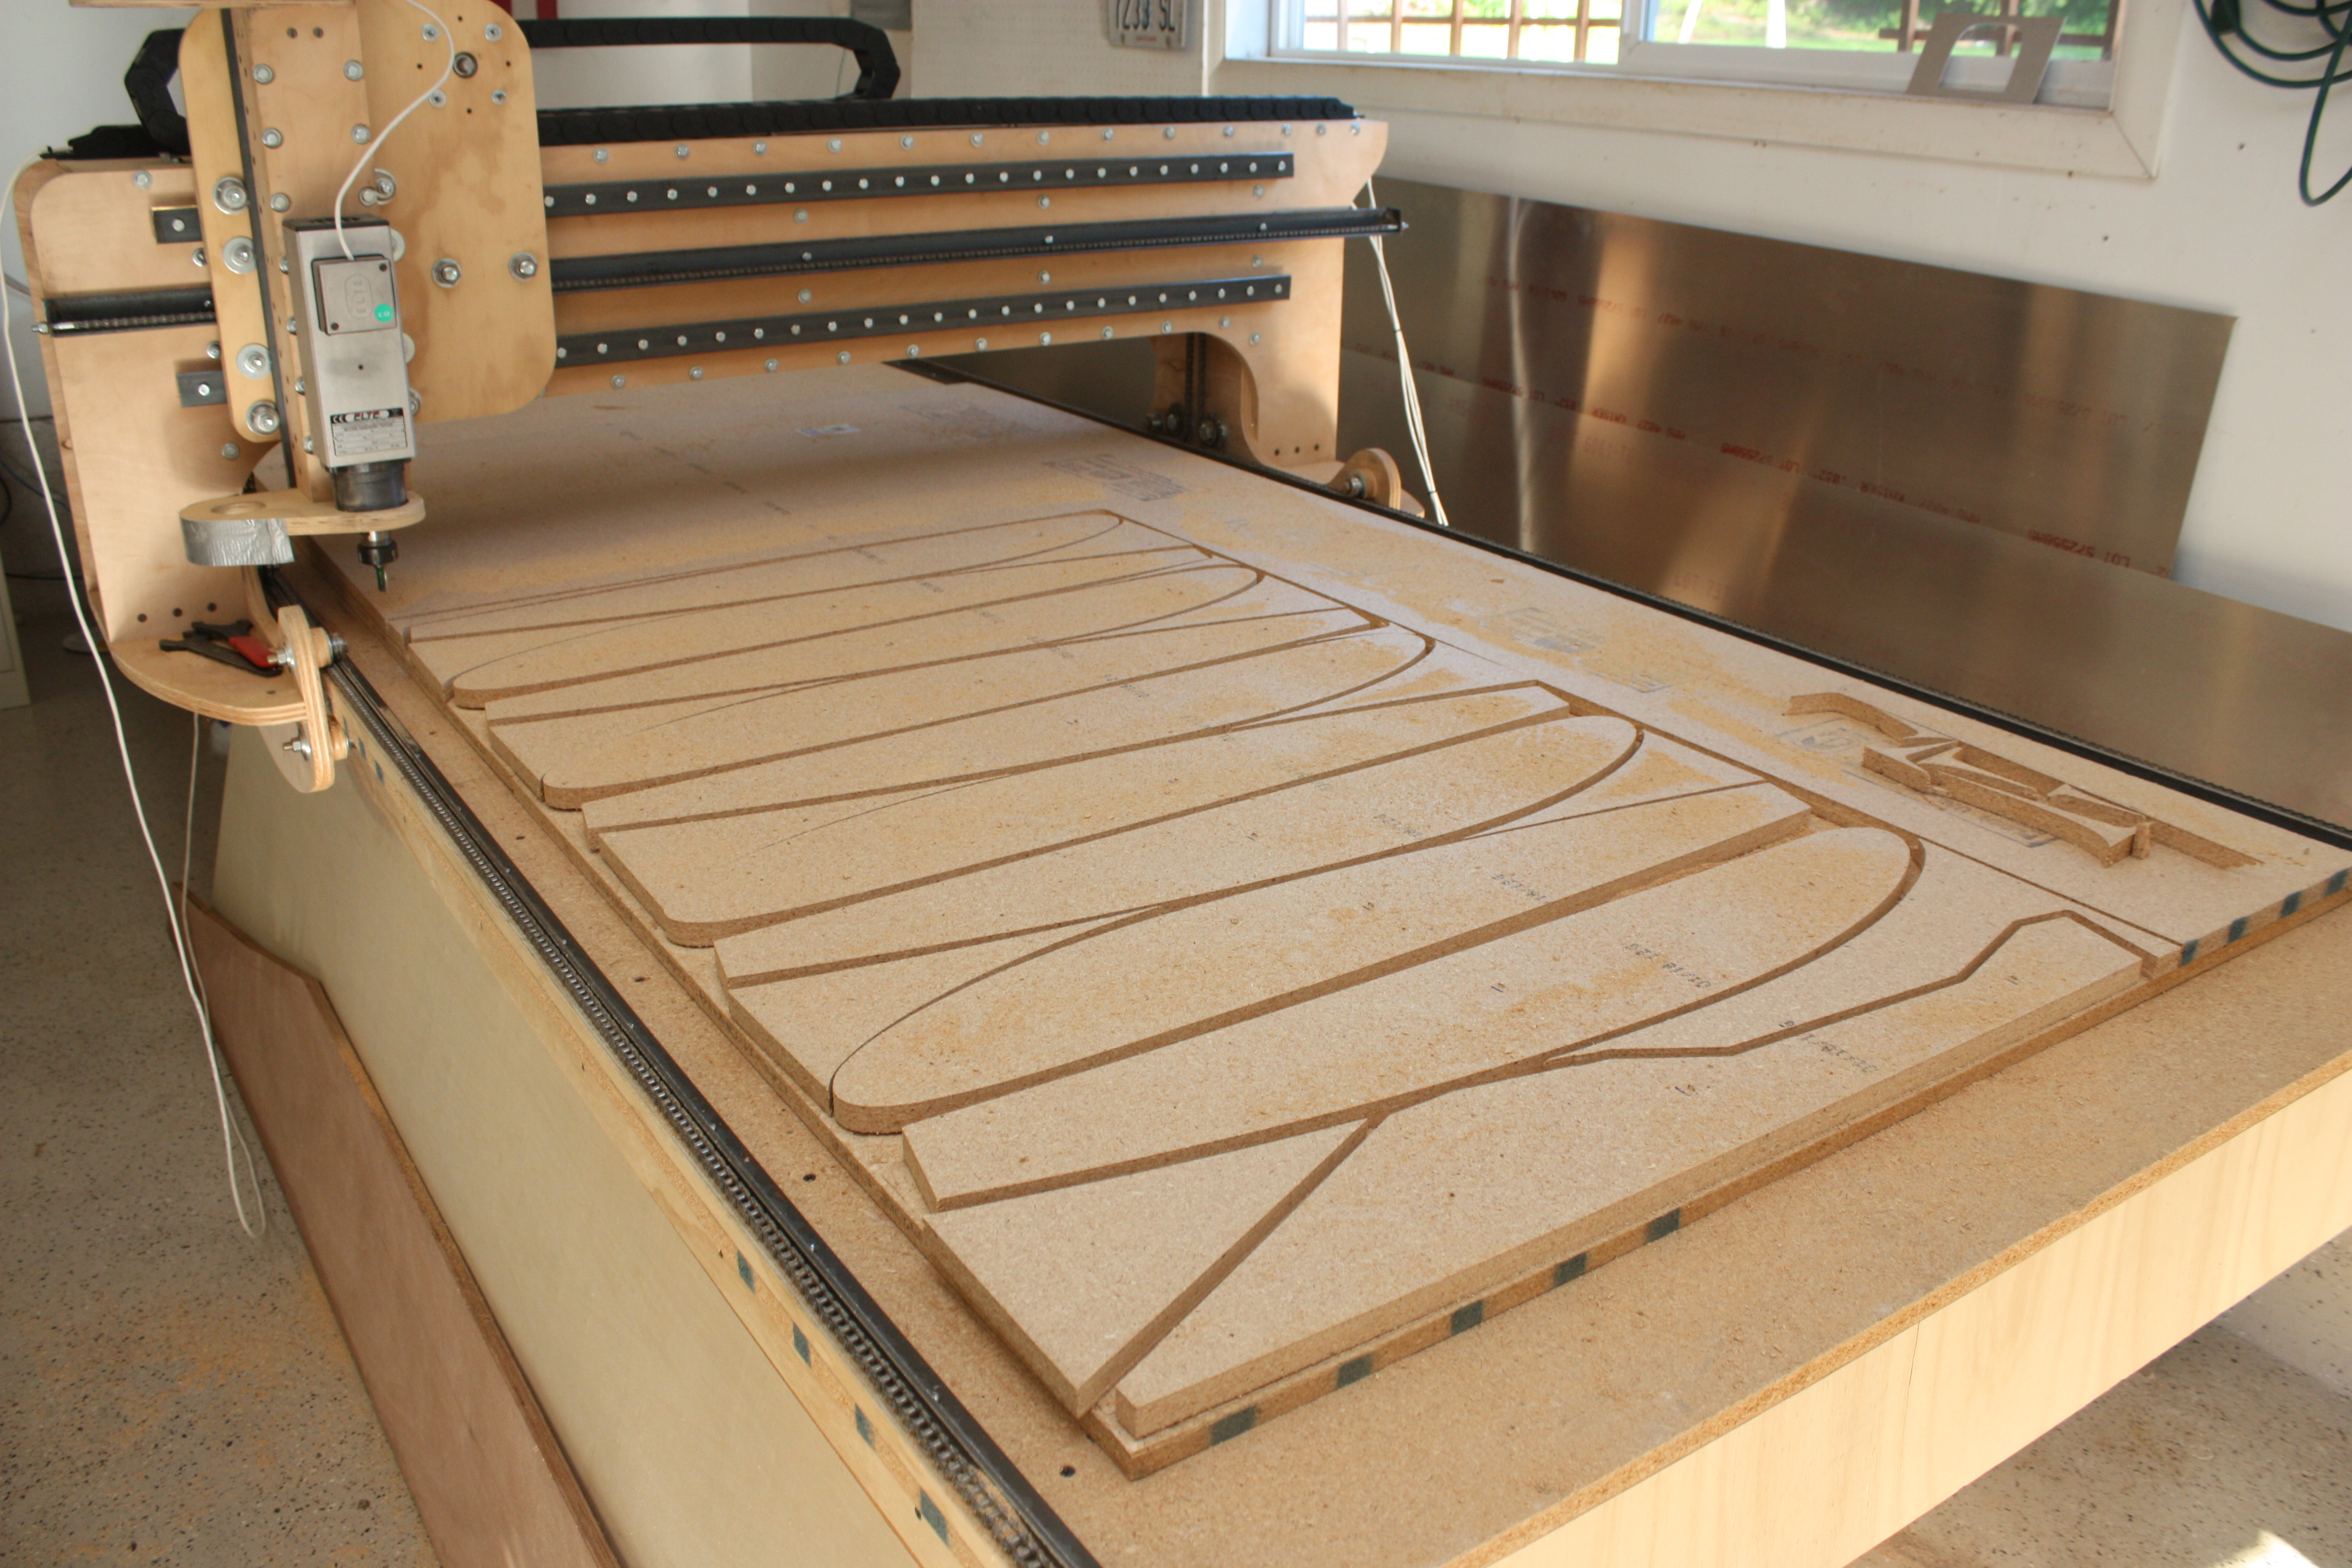
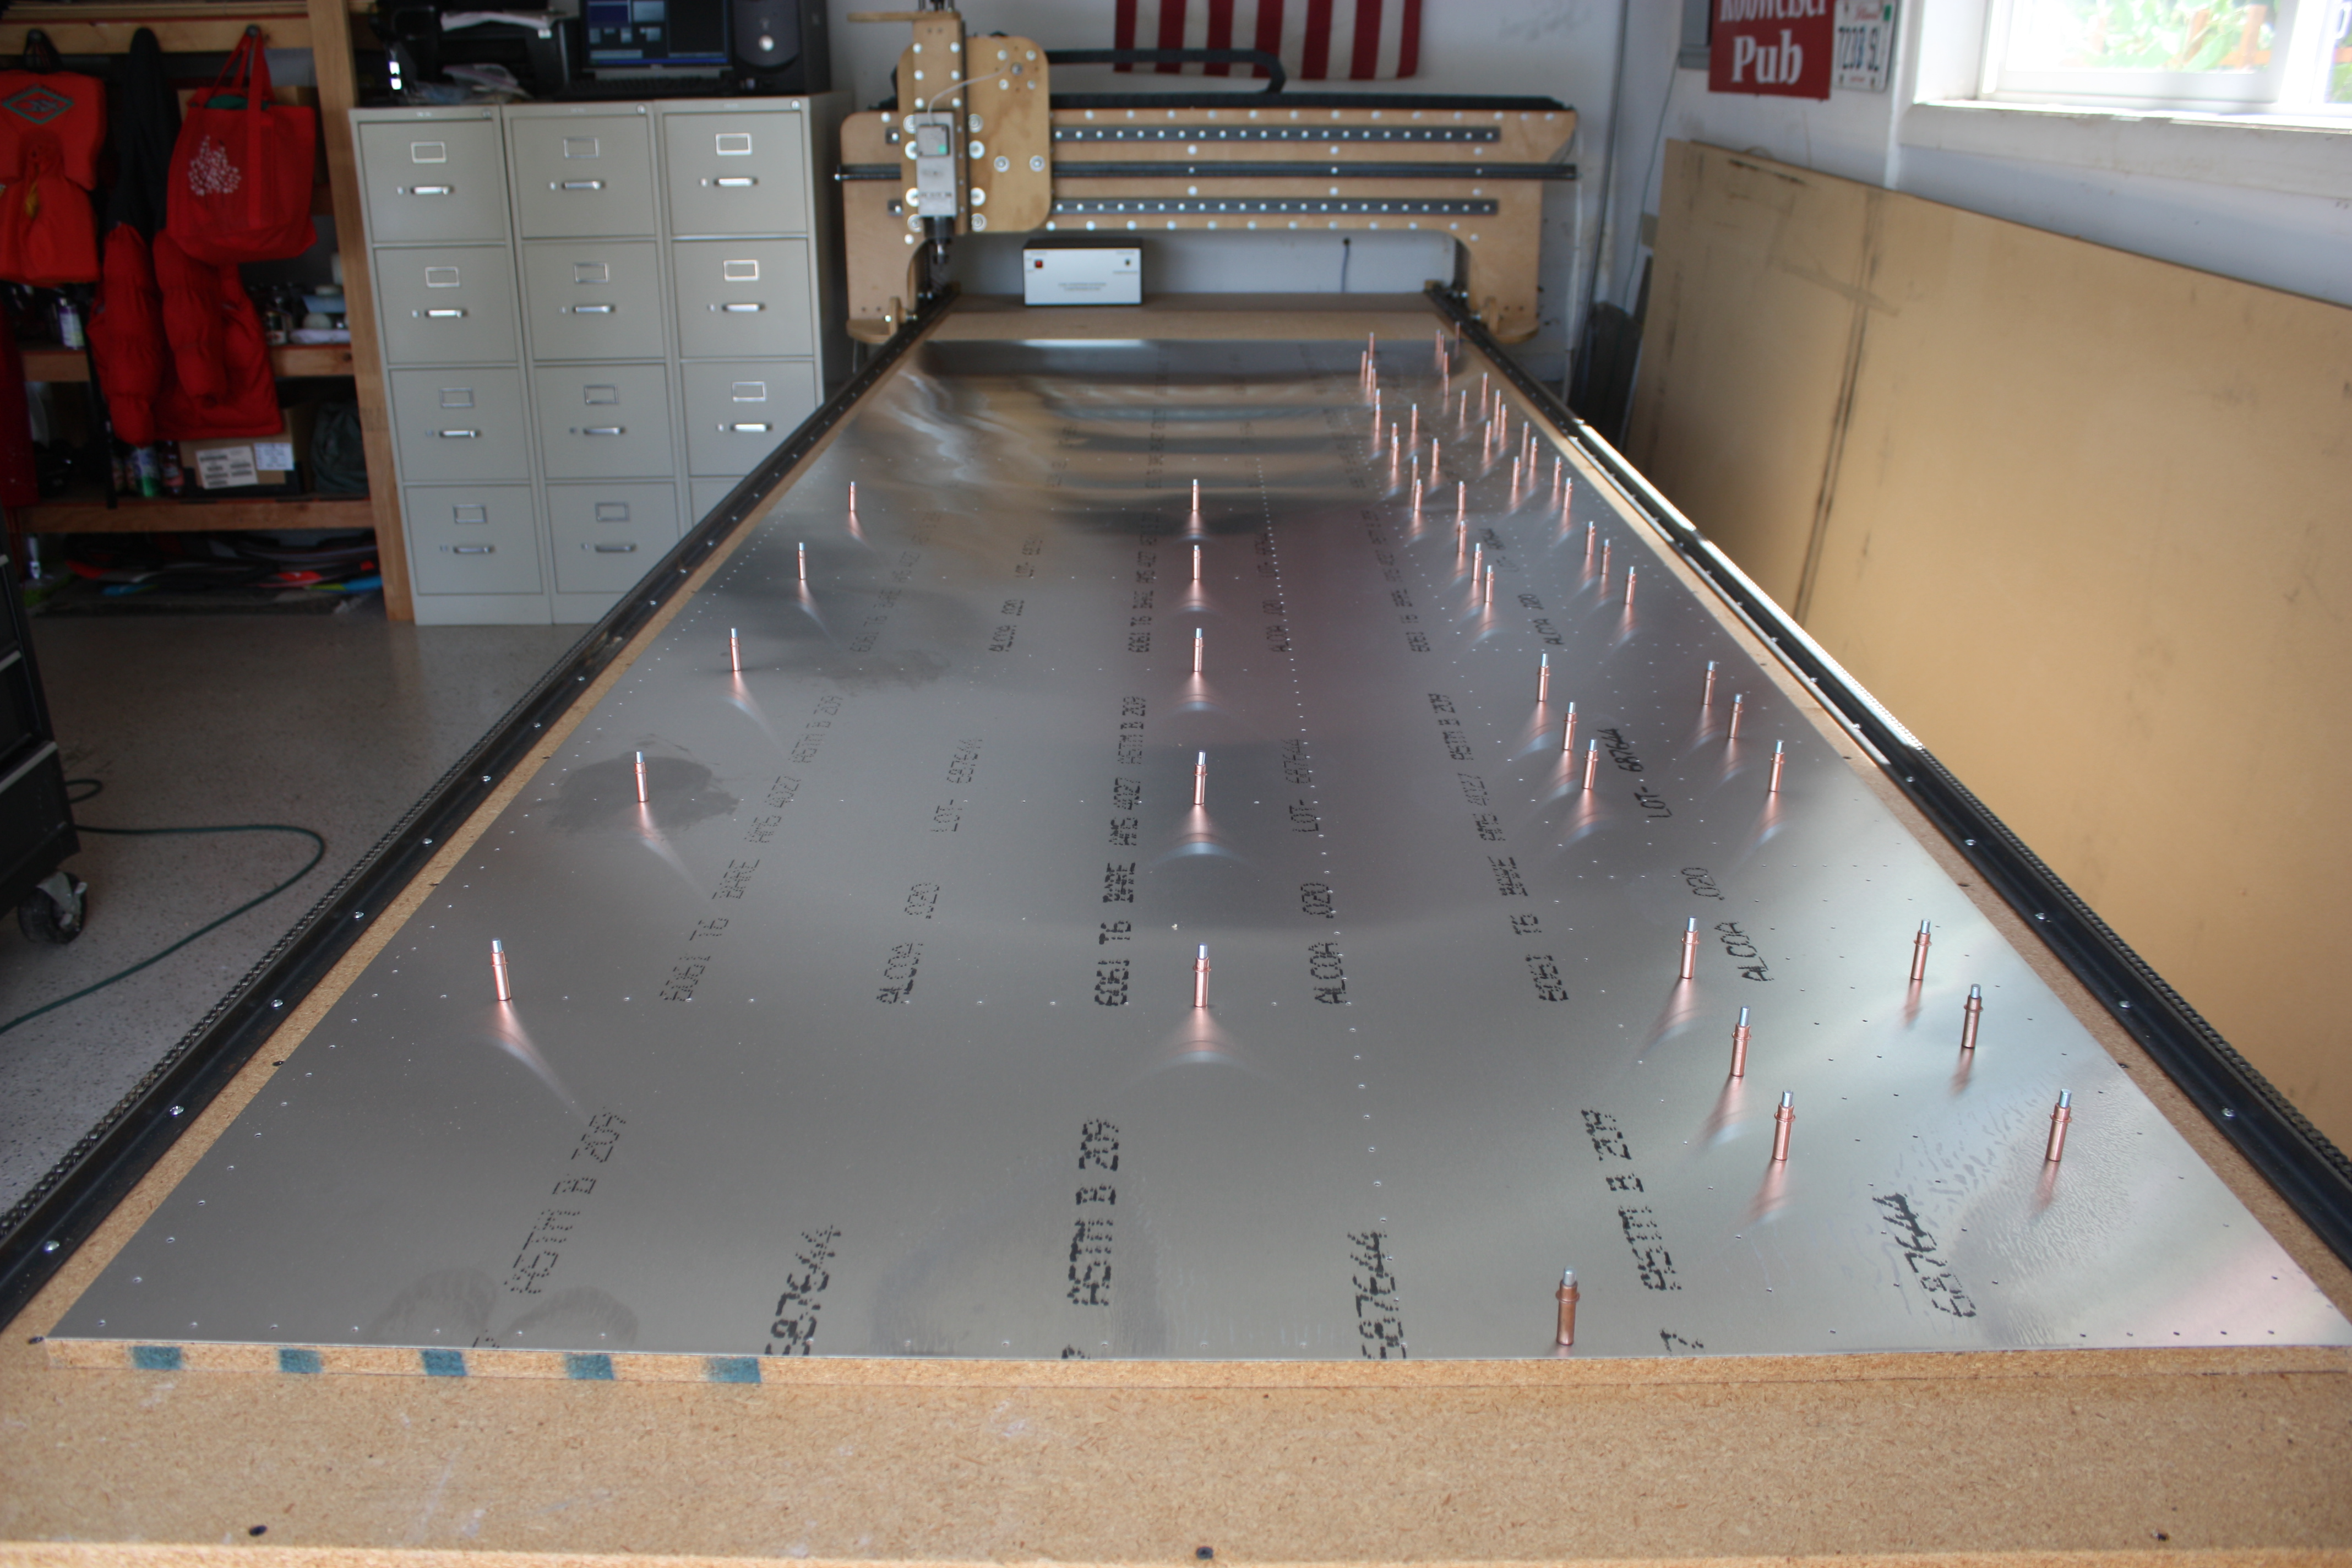
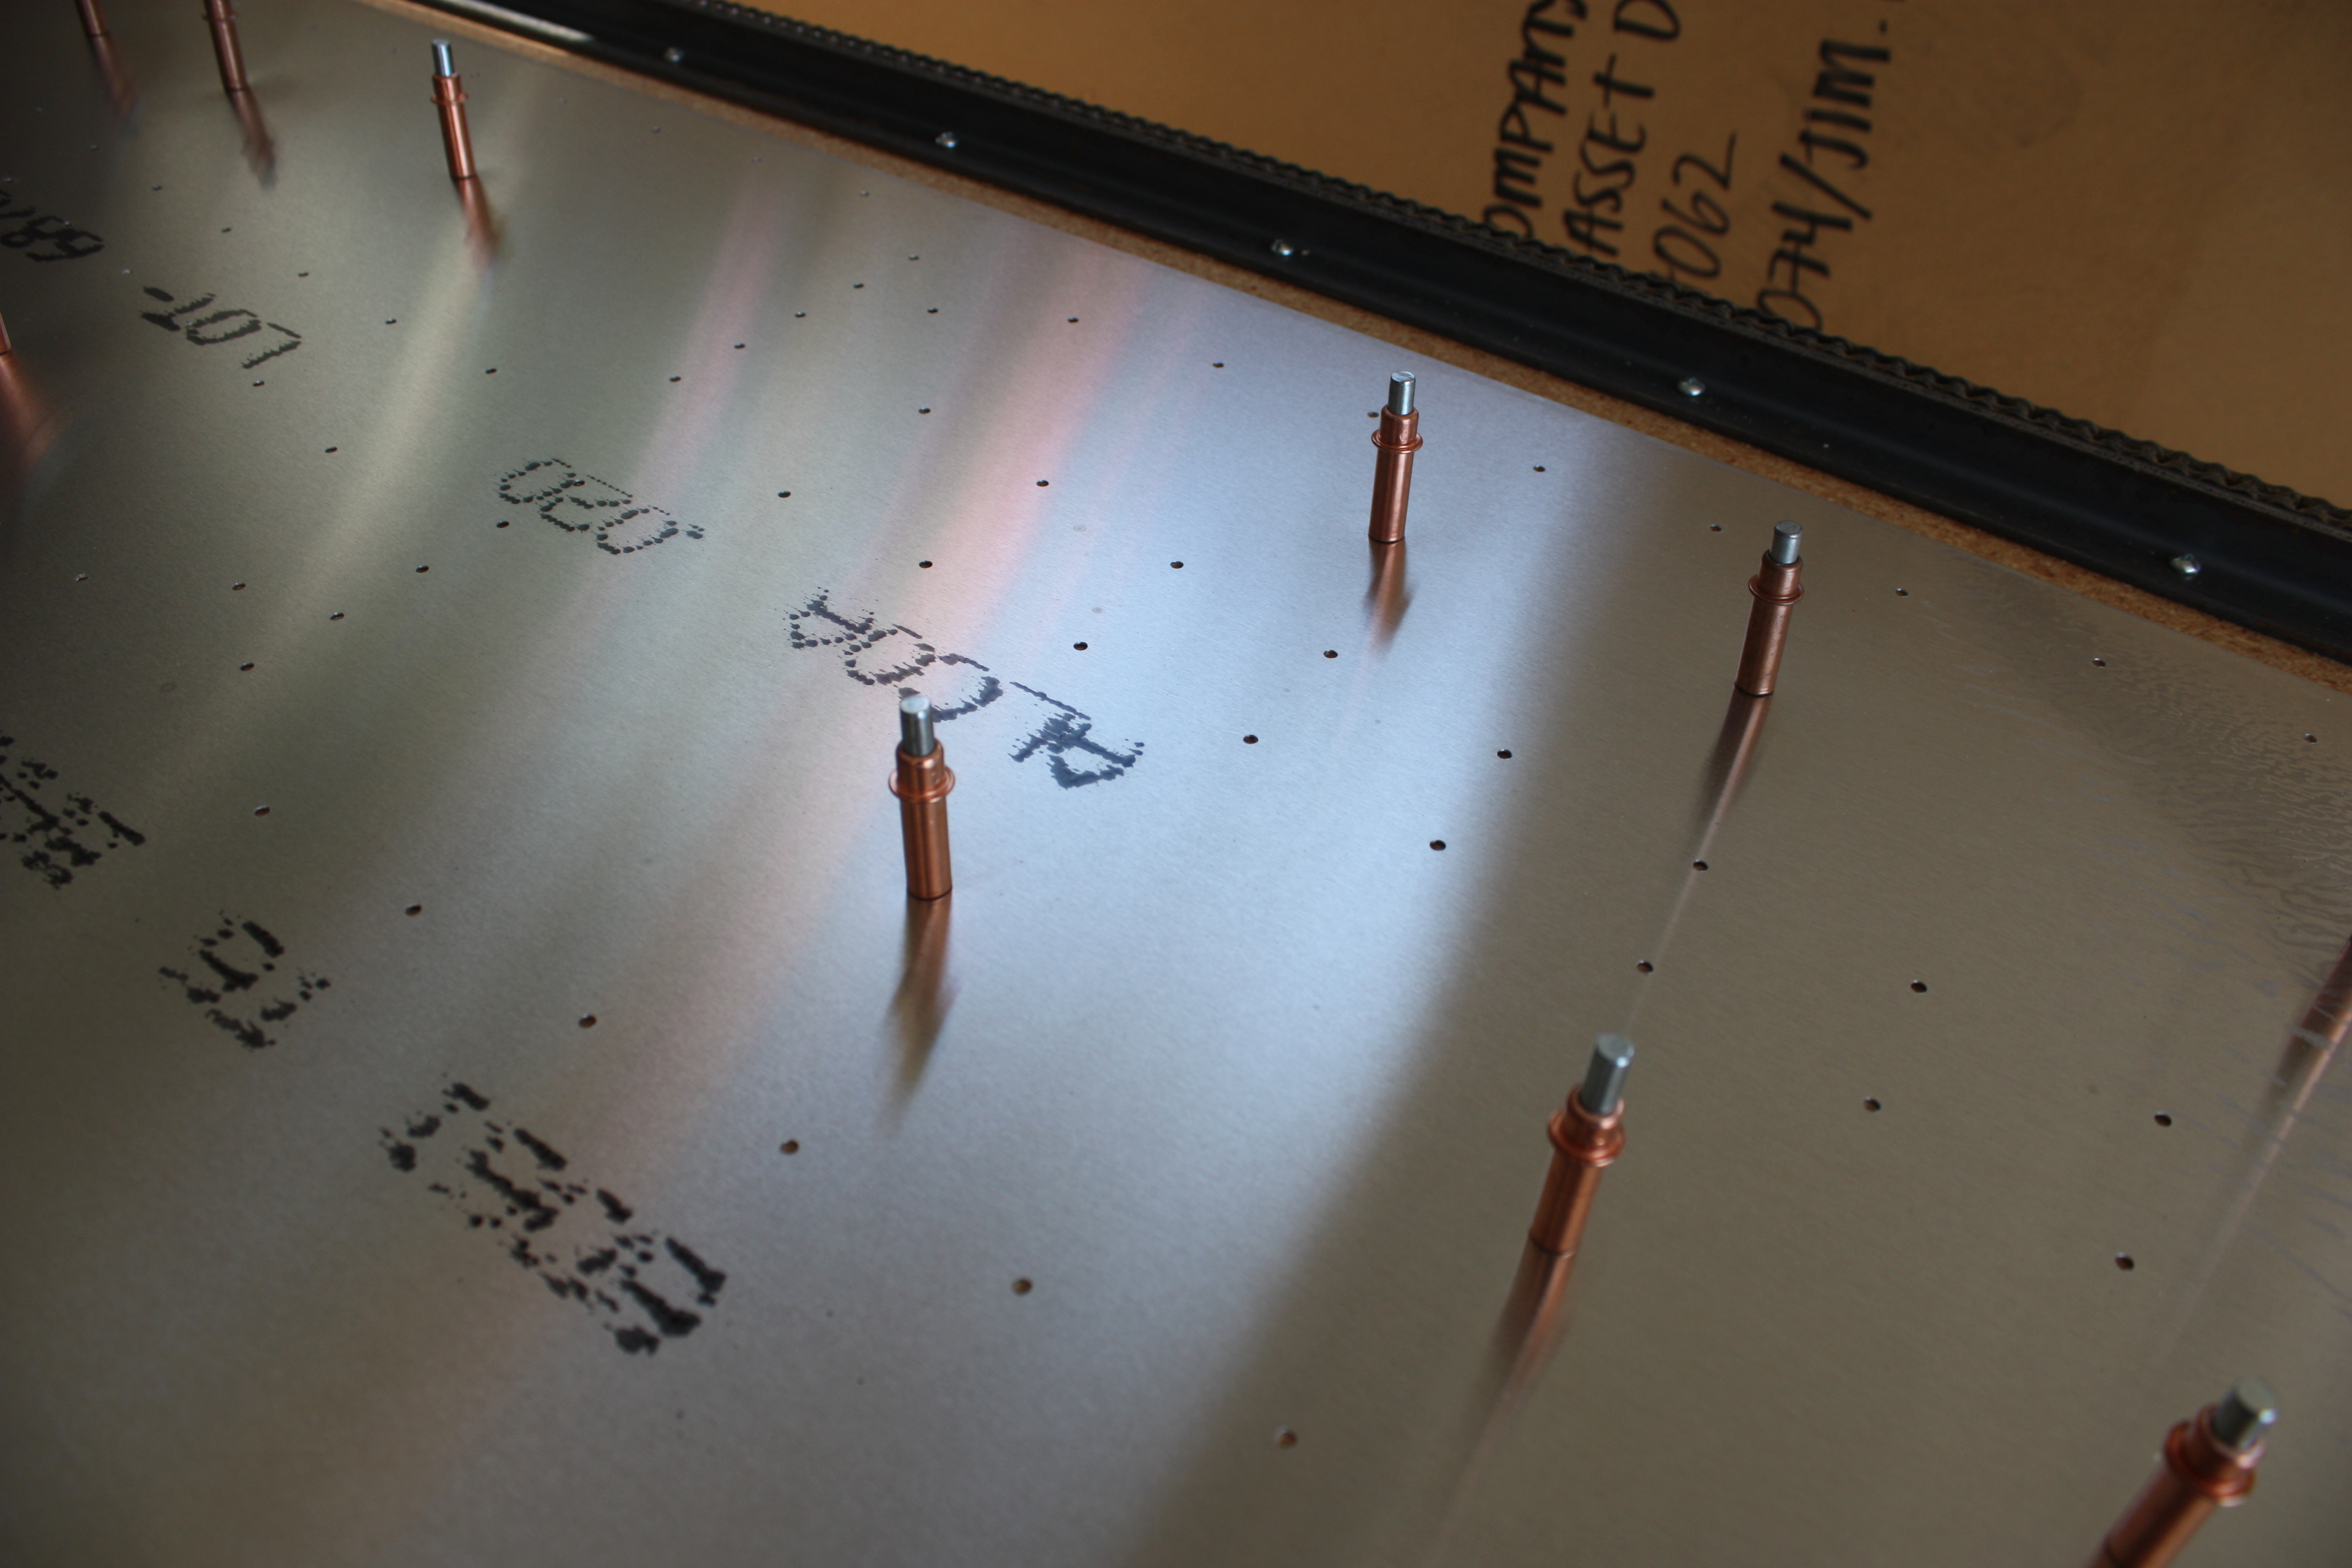
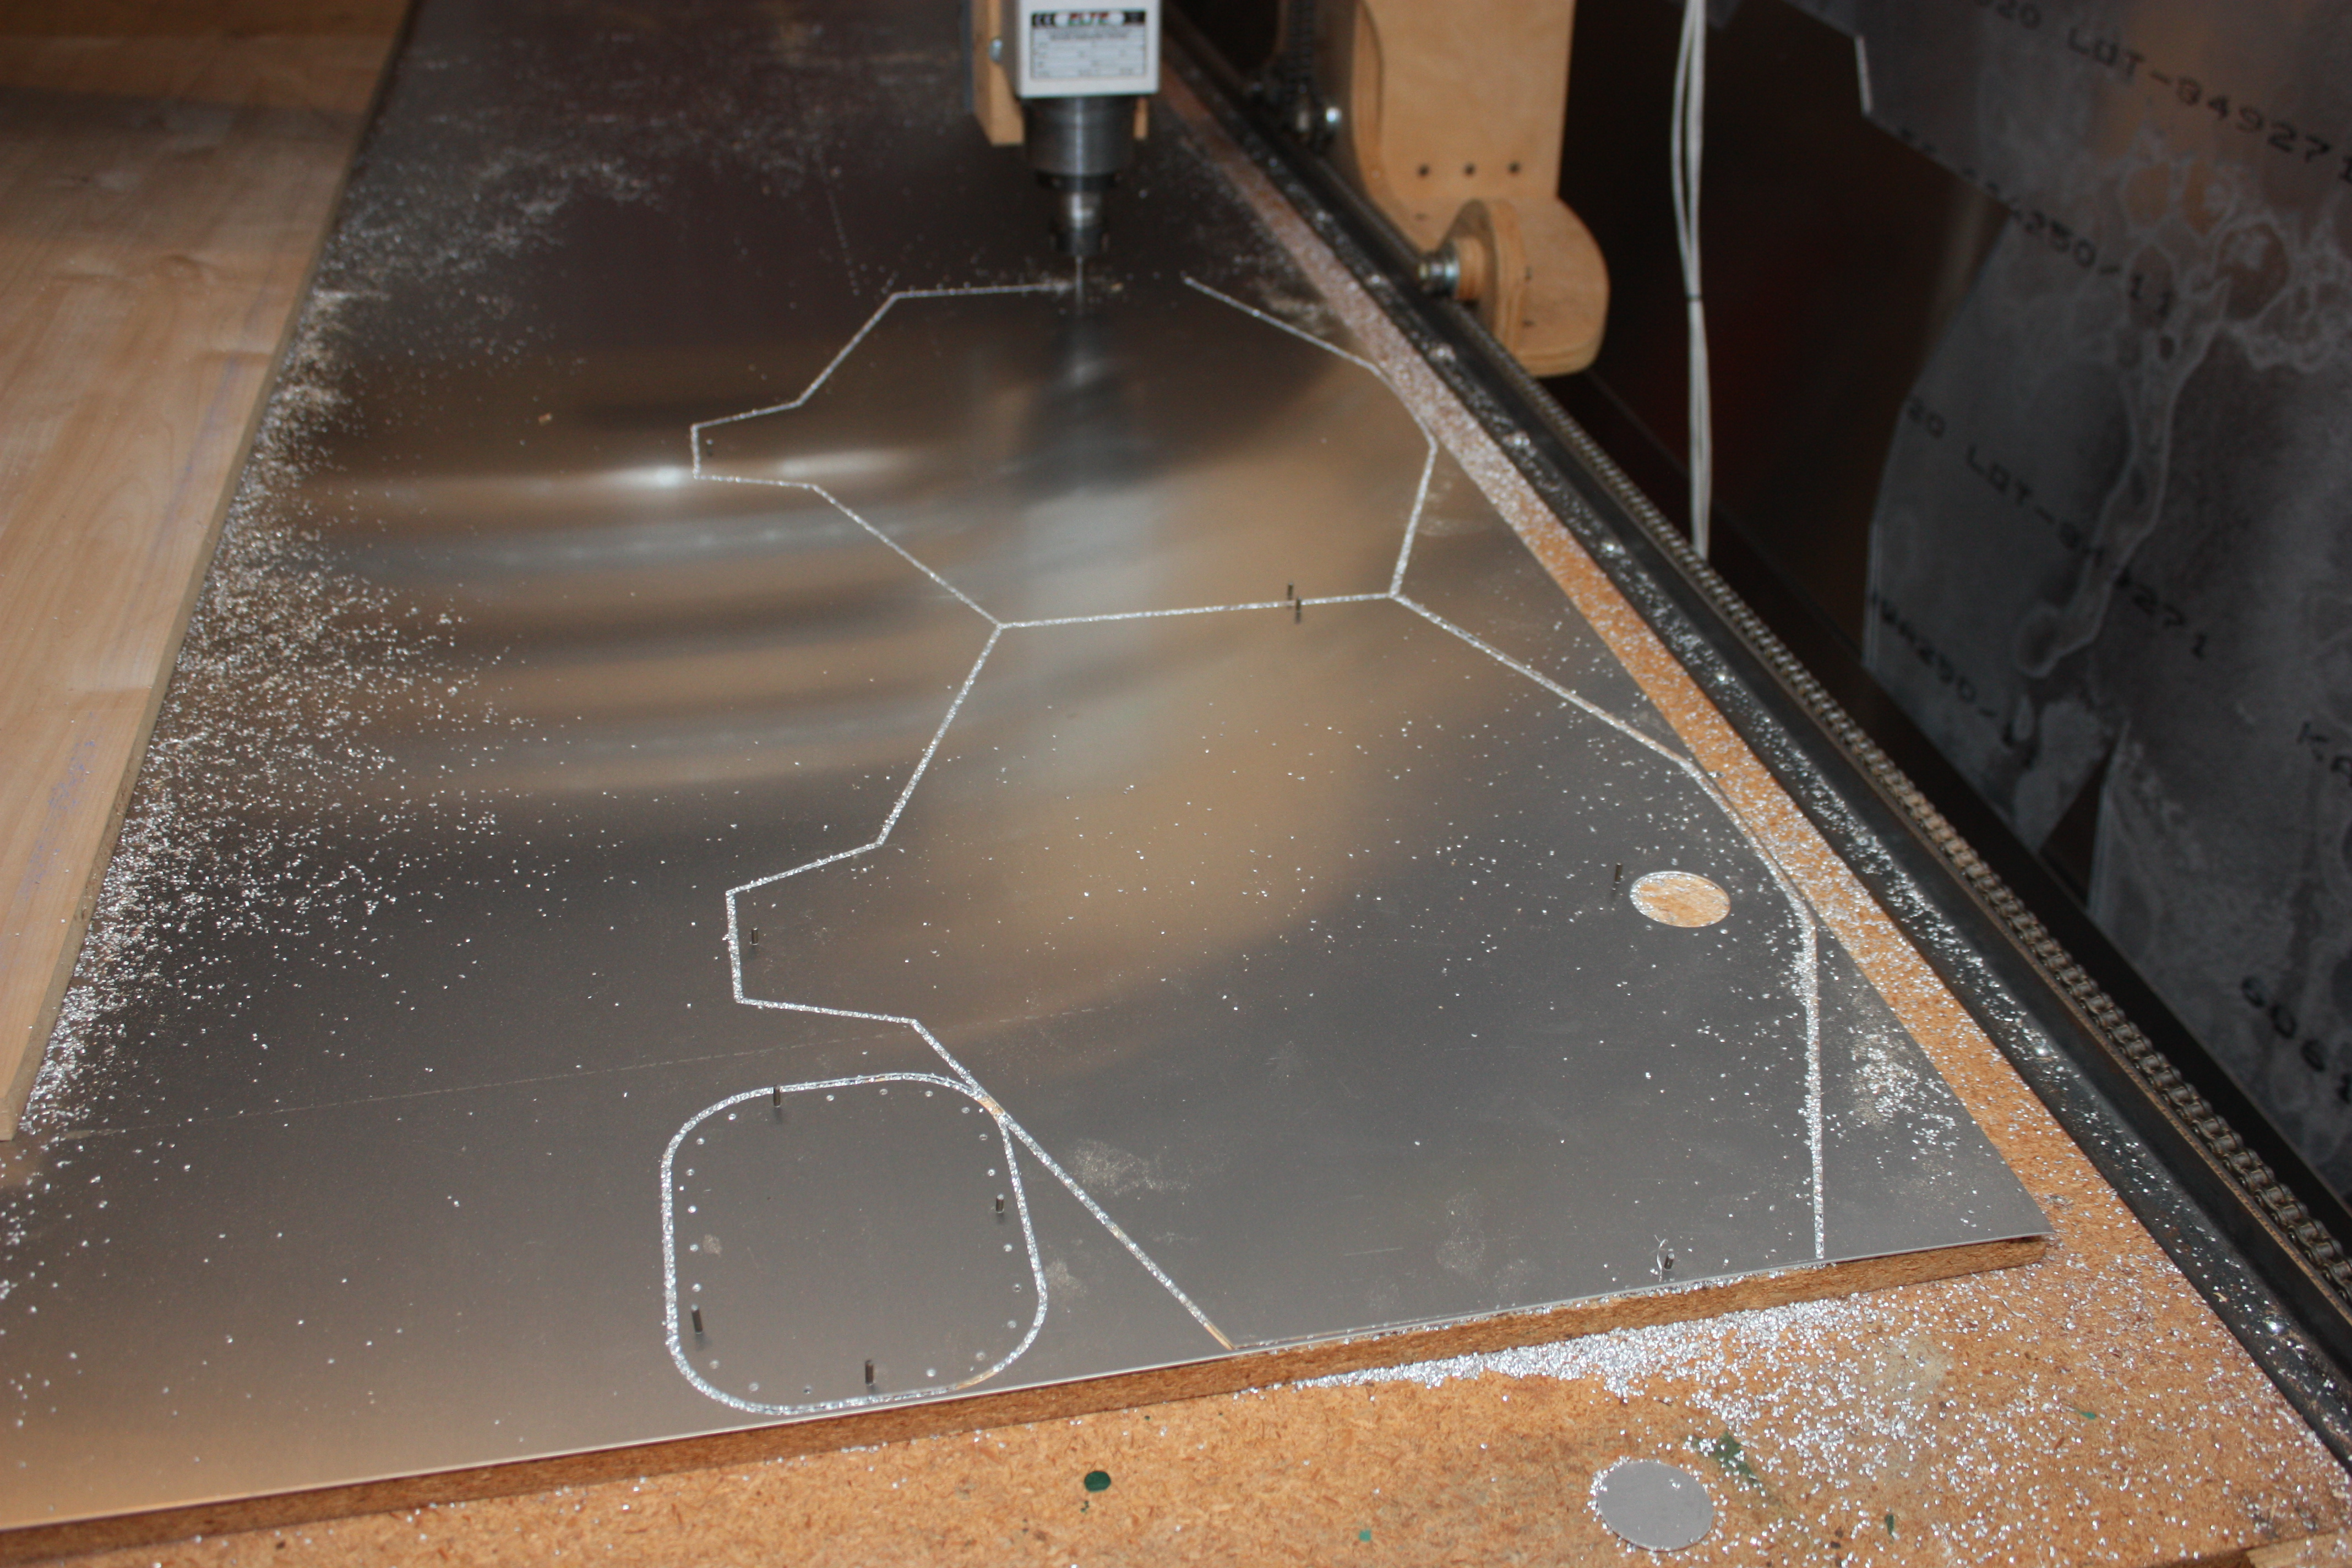
Typically when I cut aluminum sheet parts, I like to get the full sheet used all at once to minimize handling the fragile thin aluminum sheets. This usually has two steps: The first is to do all of the drilling, and then do all of the cutting. I predrill with 3/32". I then cut using a 1/4" O-flute downcut bit. Predrilling using 3/32" allows me to assemble finished parts using small Clecos and then drill to final size once everything is lined up.
Once drilled (actually during drilling), I hold the sheet in place with Clecos installed in the holes drilled deep into the worktable (the Clecos hold themselves in by friction, but not really well):
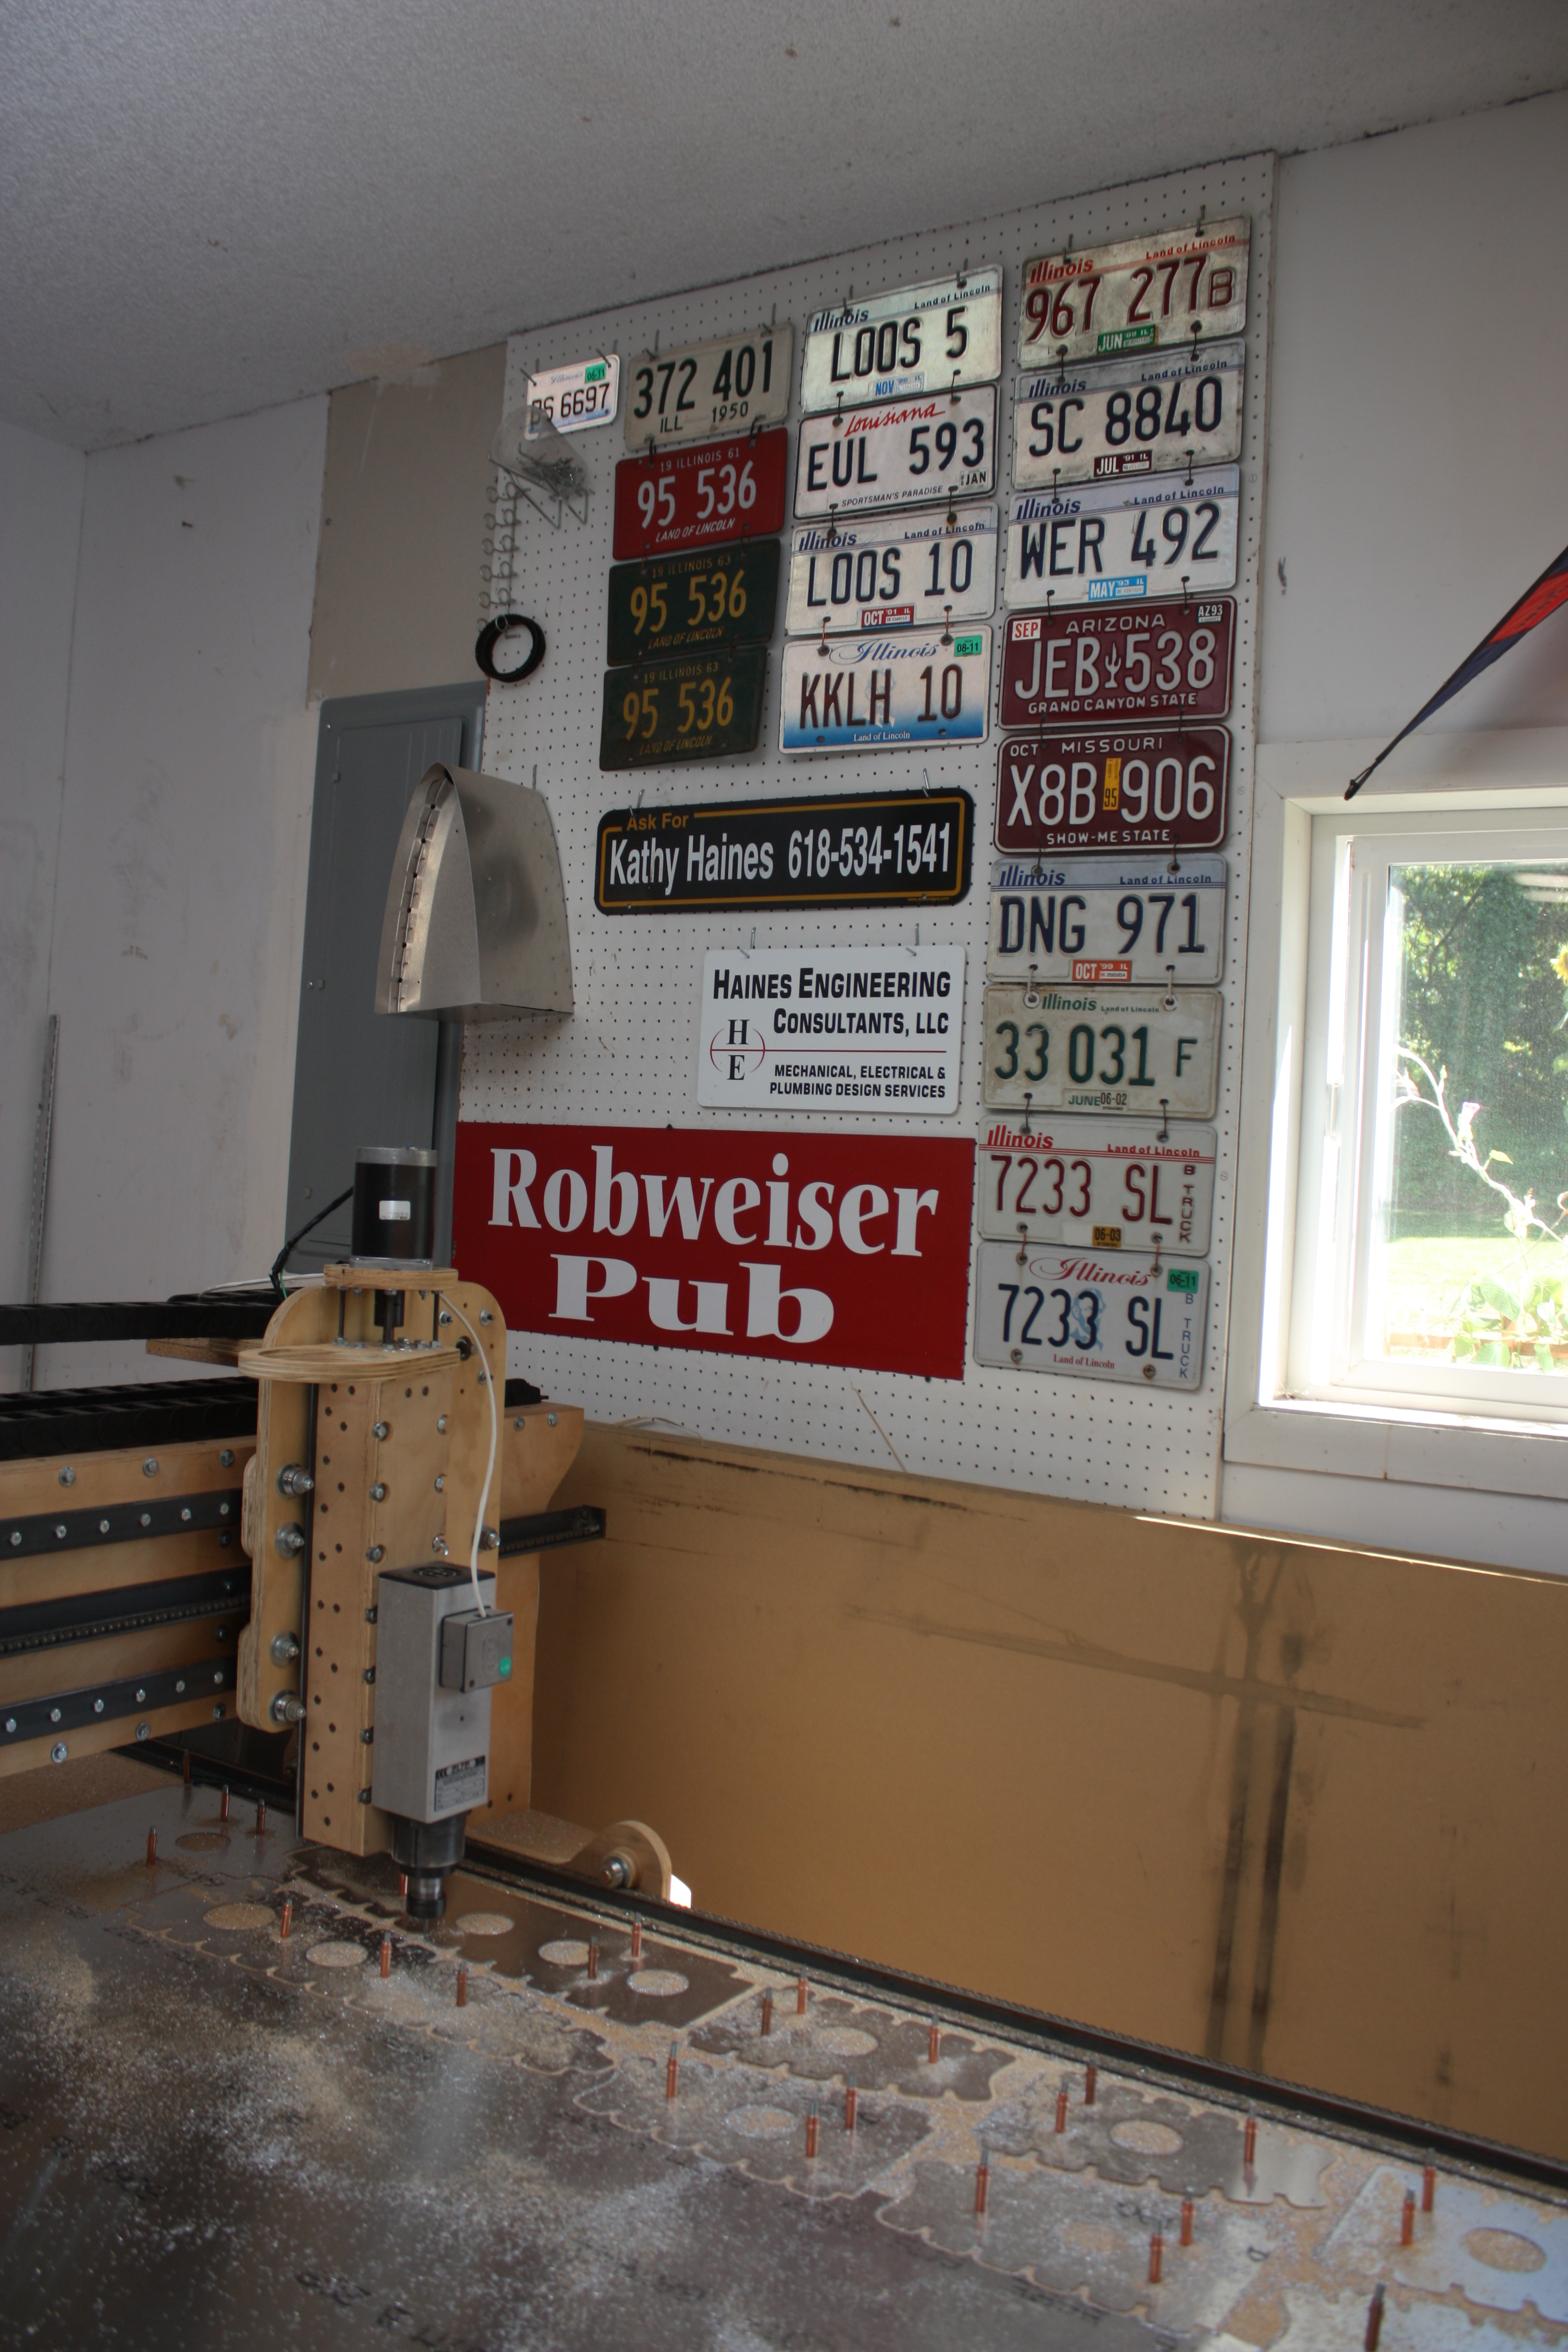
Then the parts are cut:
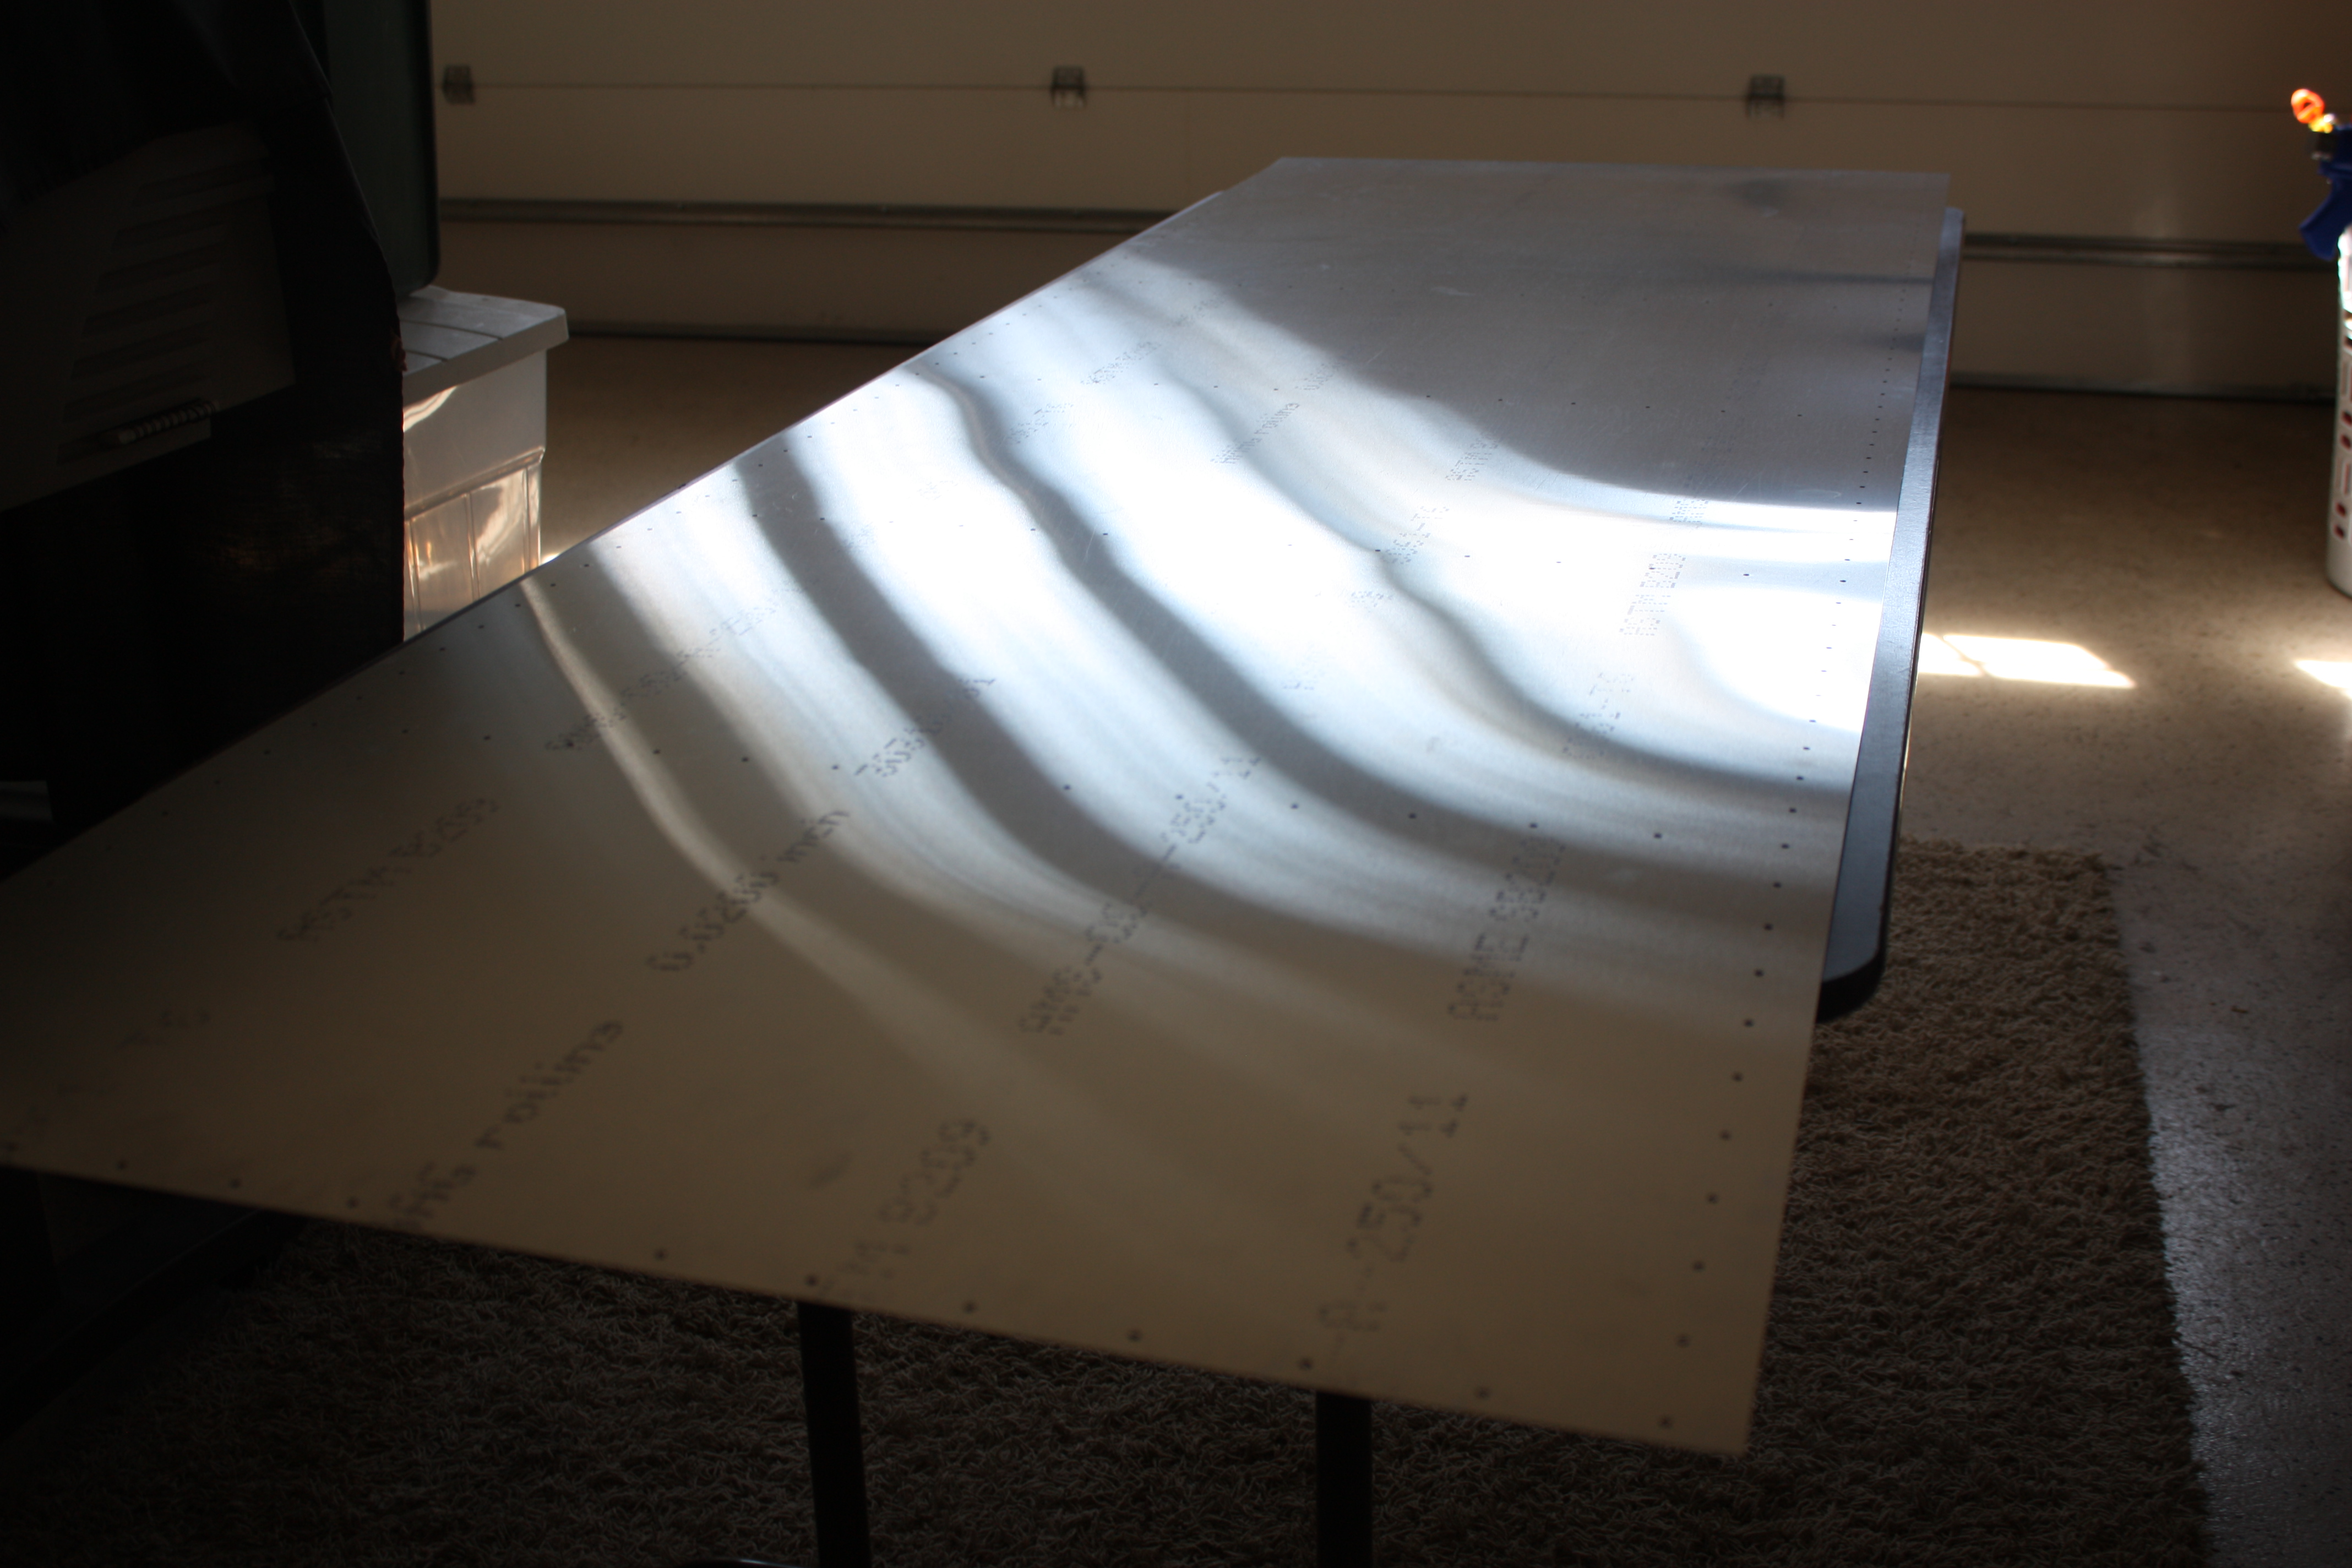
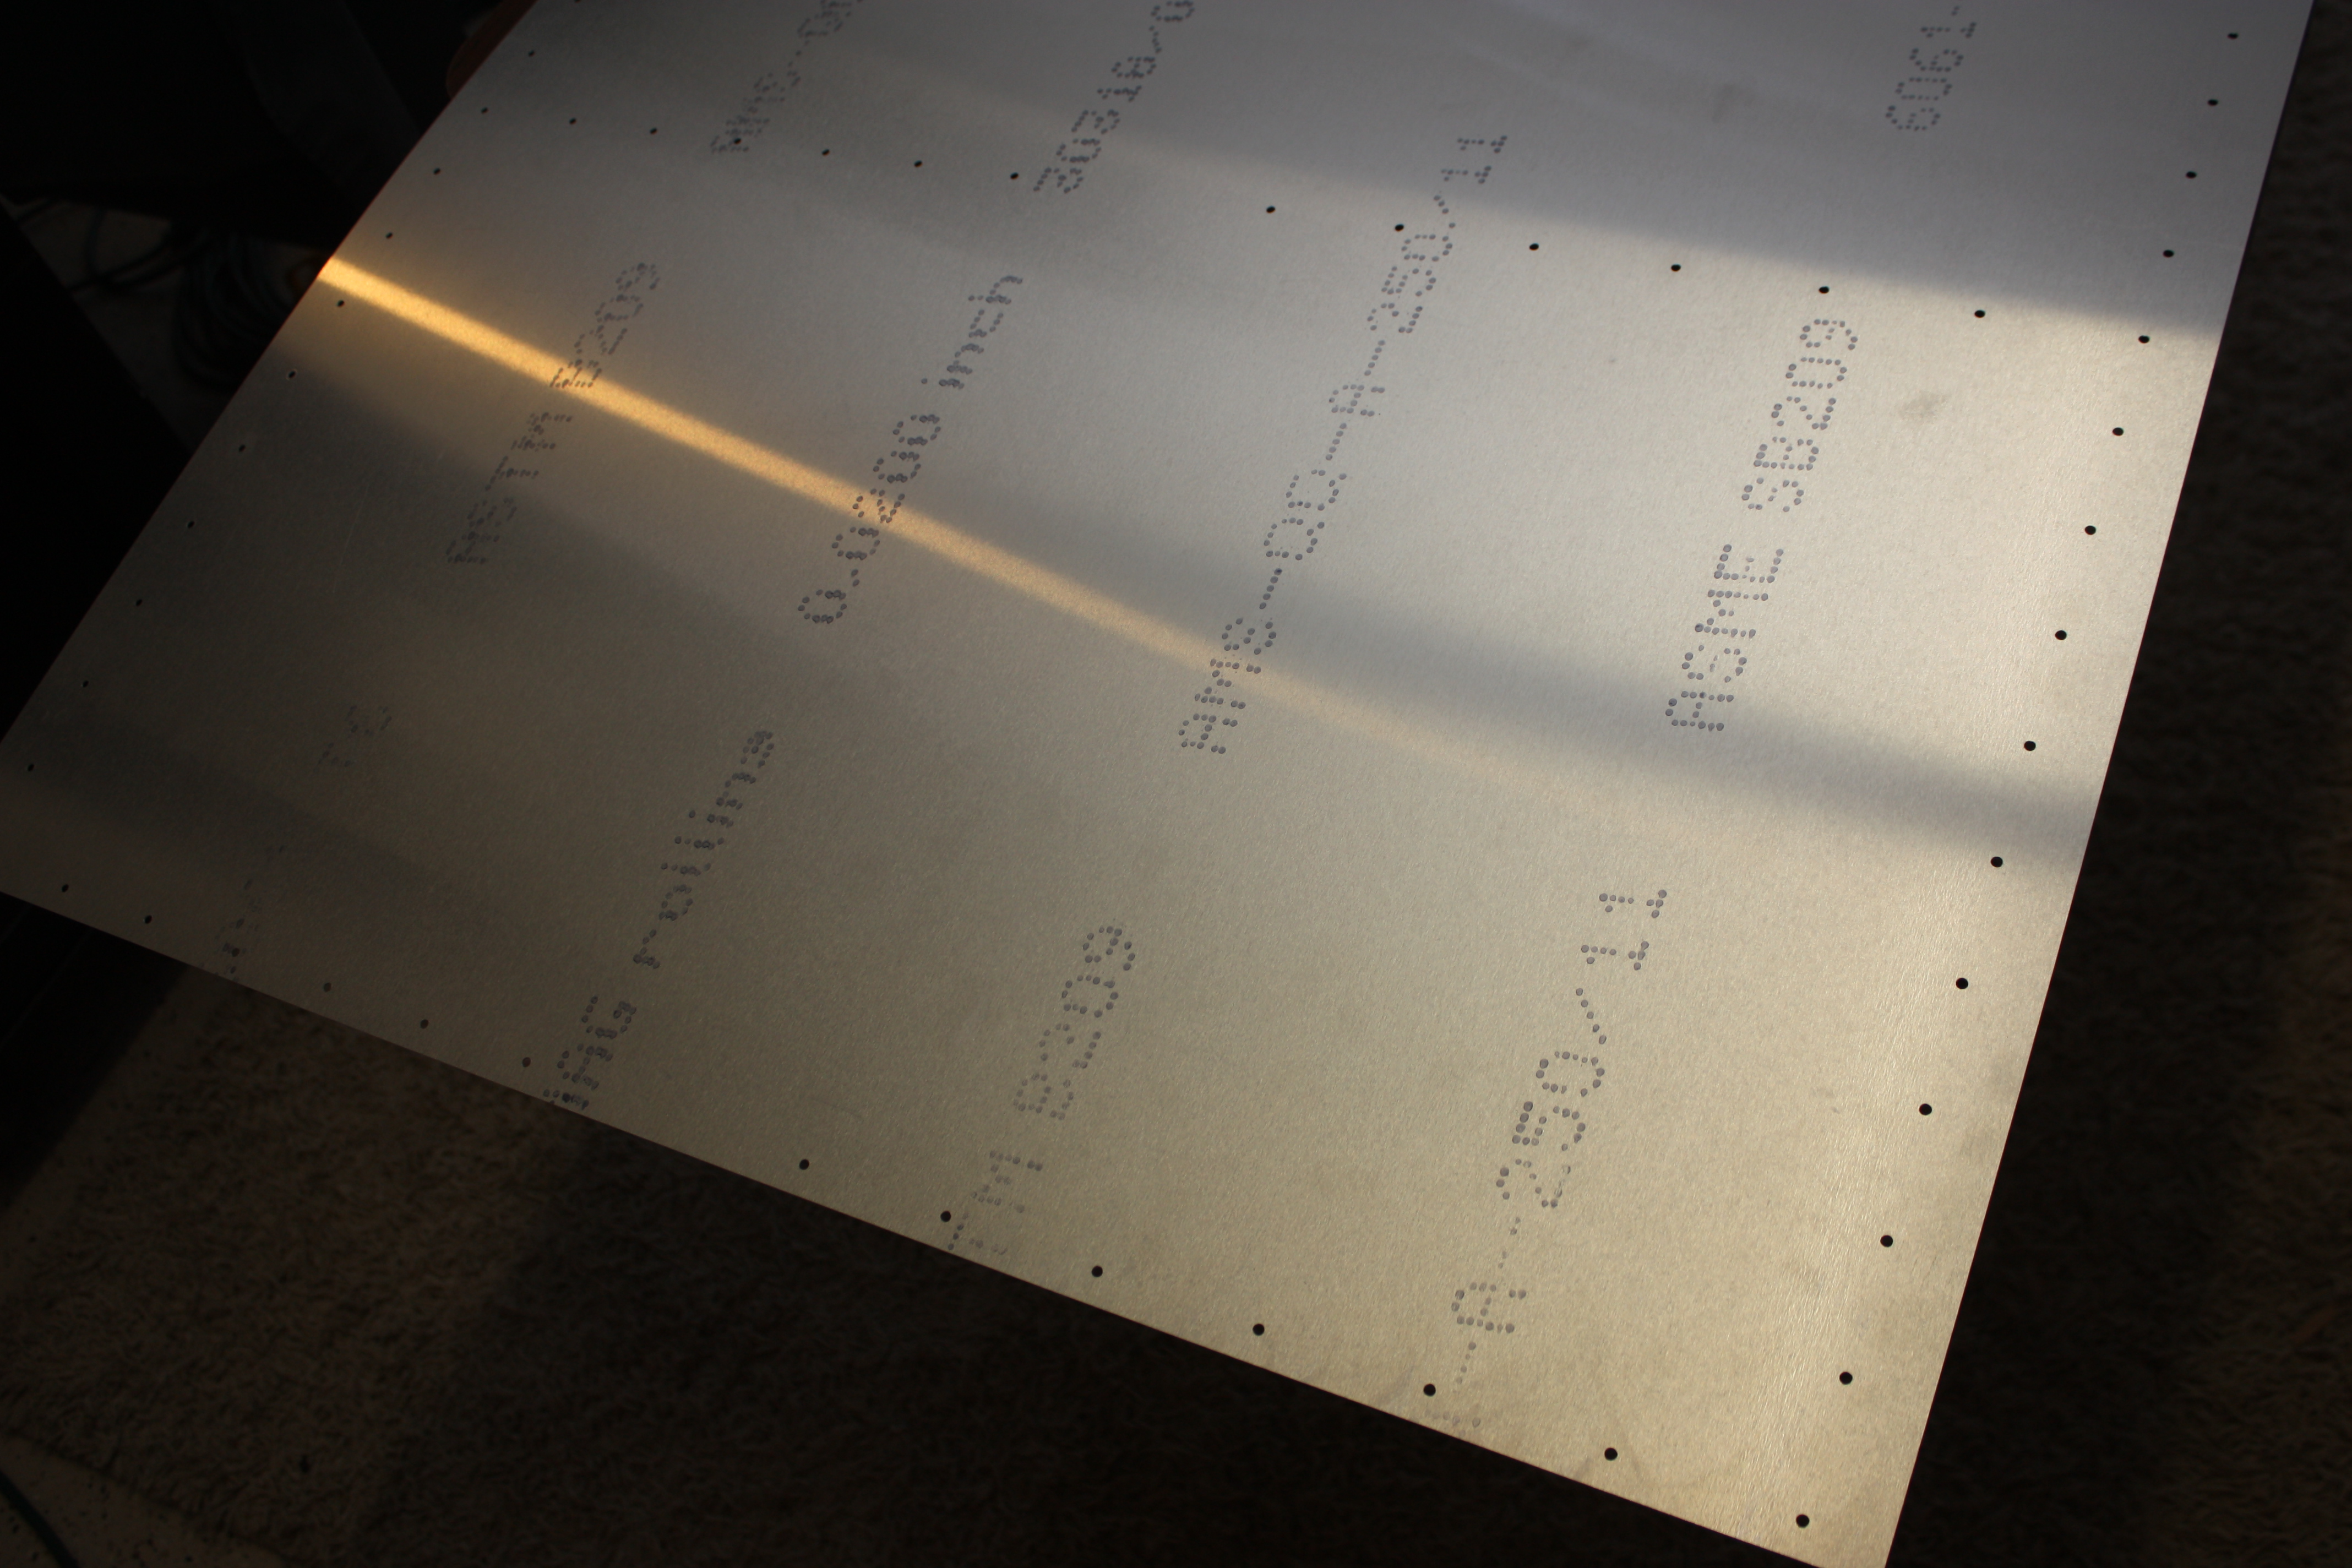
The wing skin was cut at the same time and set aside:
Cut parts are deburred with fine sandpaper:
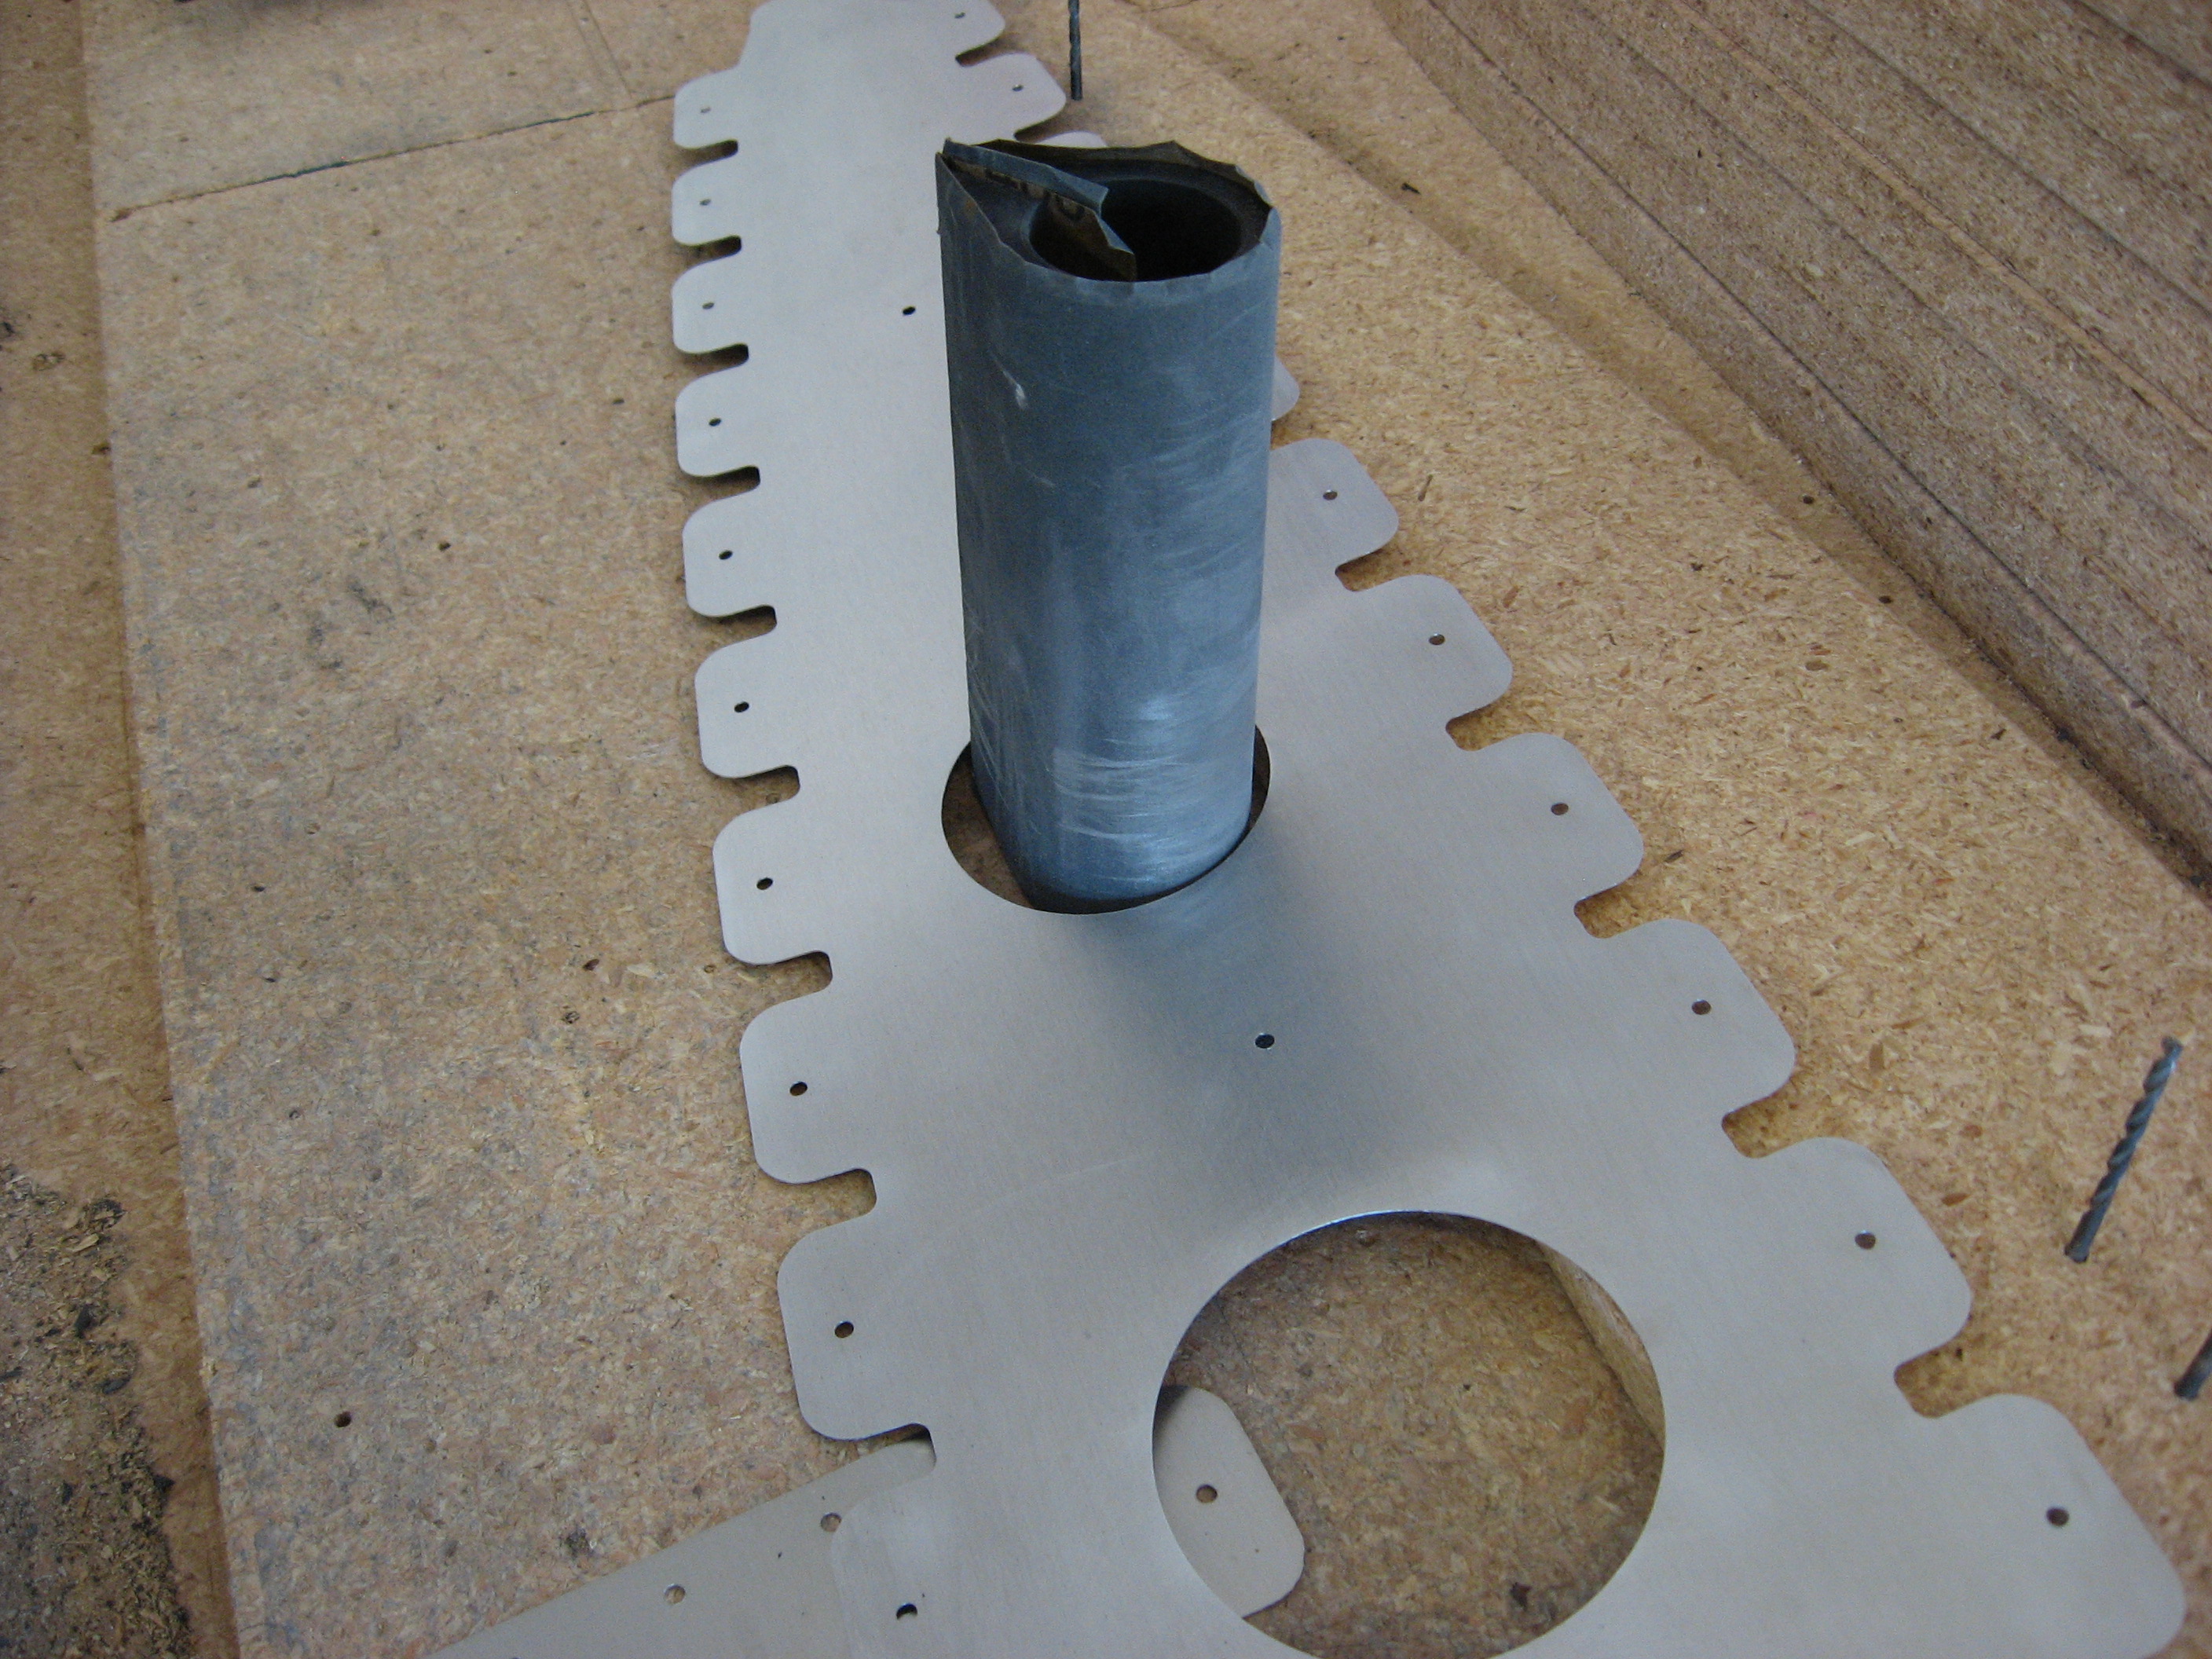
You'll notice that instead of a continuous flange around the outside edge of the rib, I have cut tabs. This would normally be a lot of work by hand, but the CNC does not complain.
The upside is that the flange is easier to bend since you only have to do one tab at a time. The rib also does not require fluting to flatten it back out which is necessary with a solid flange. The downside is that the rib itself is not as rigid as one with a solid flange. However, once it is riveted in place the aluminum skin becomes part of the rib flange and the assembly is quite rigid.
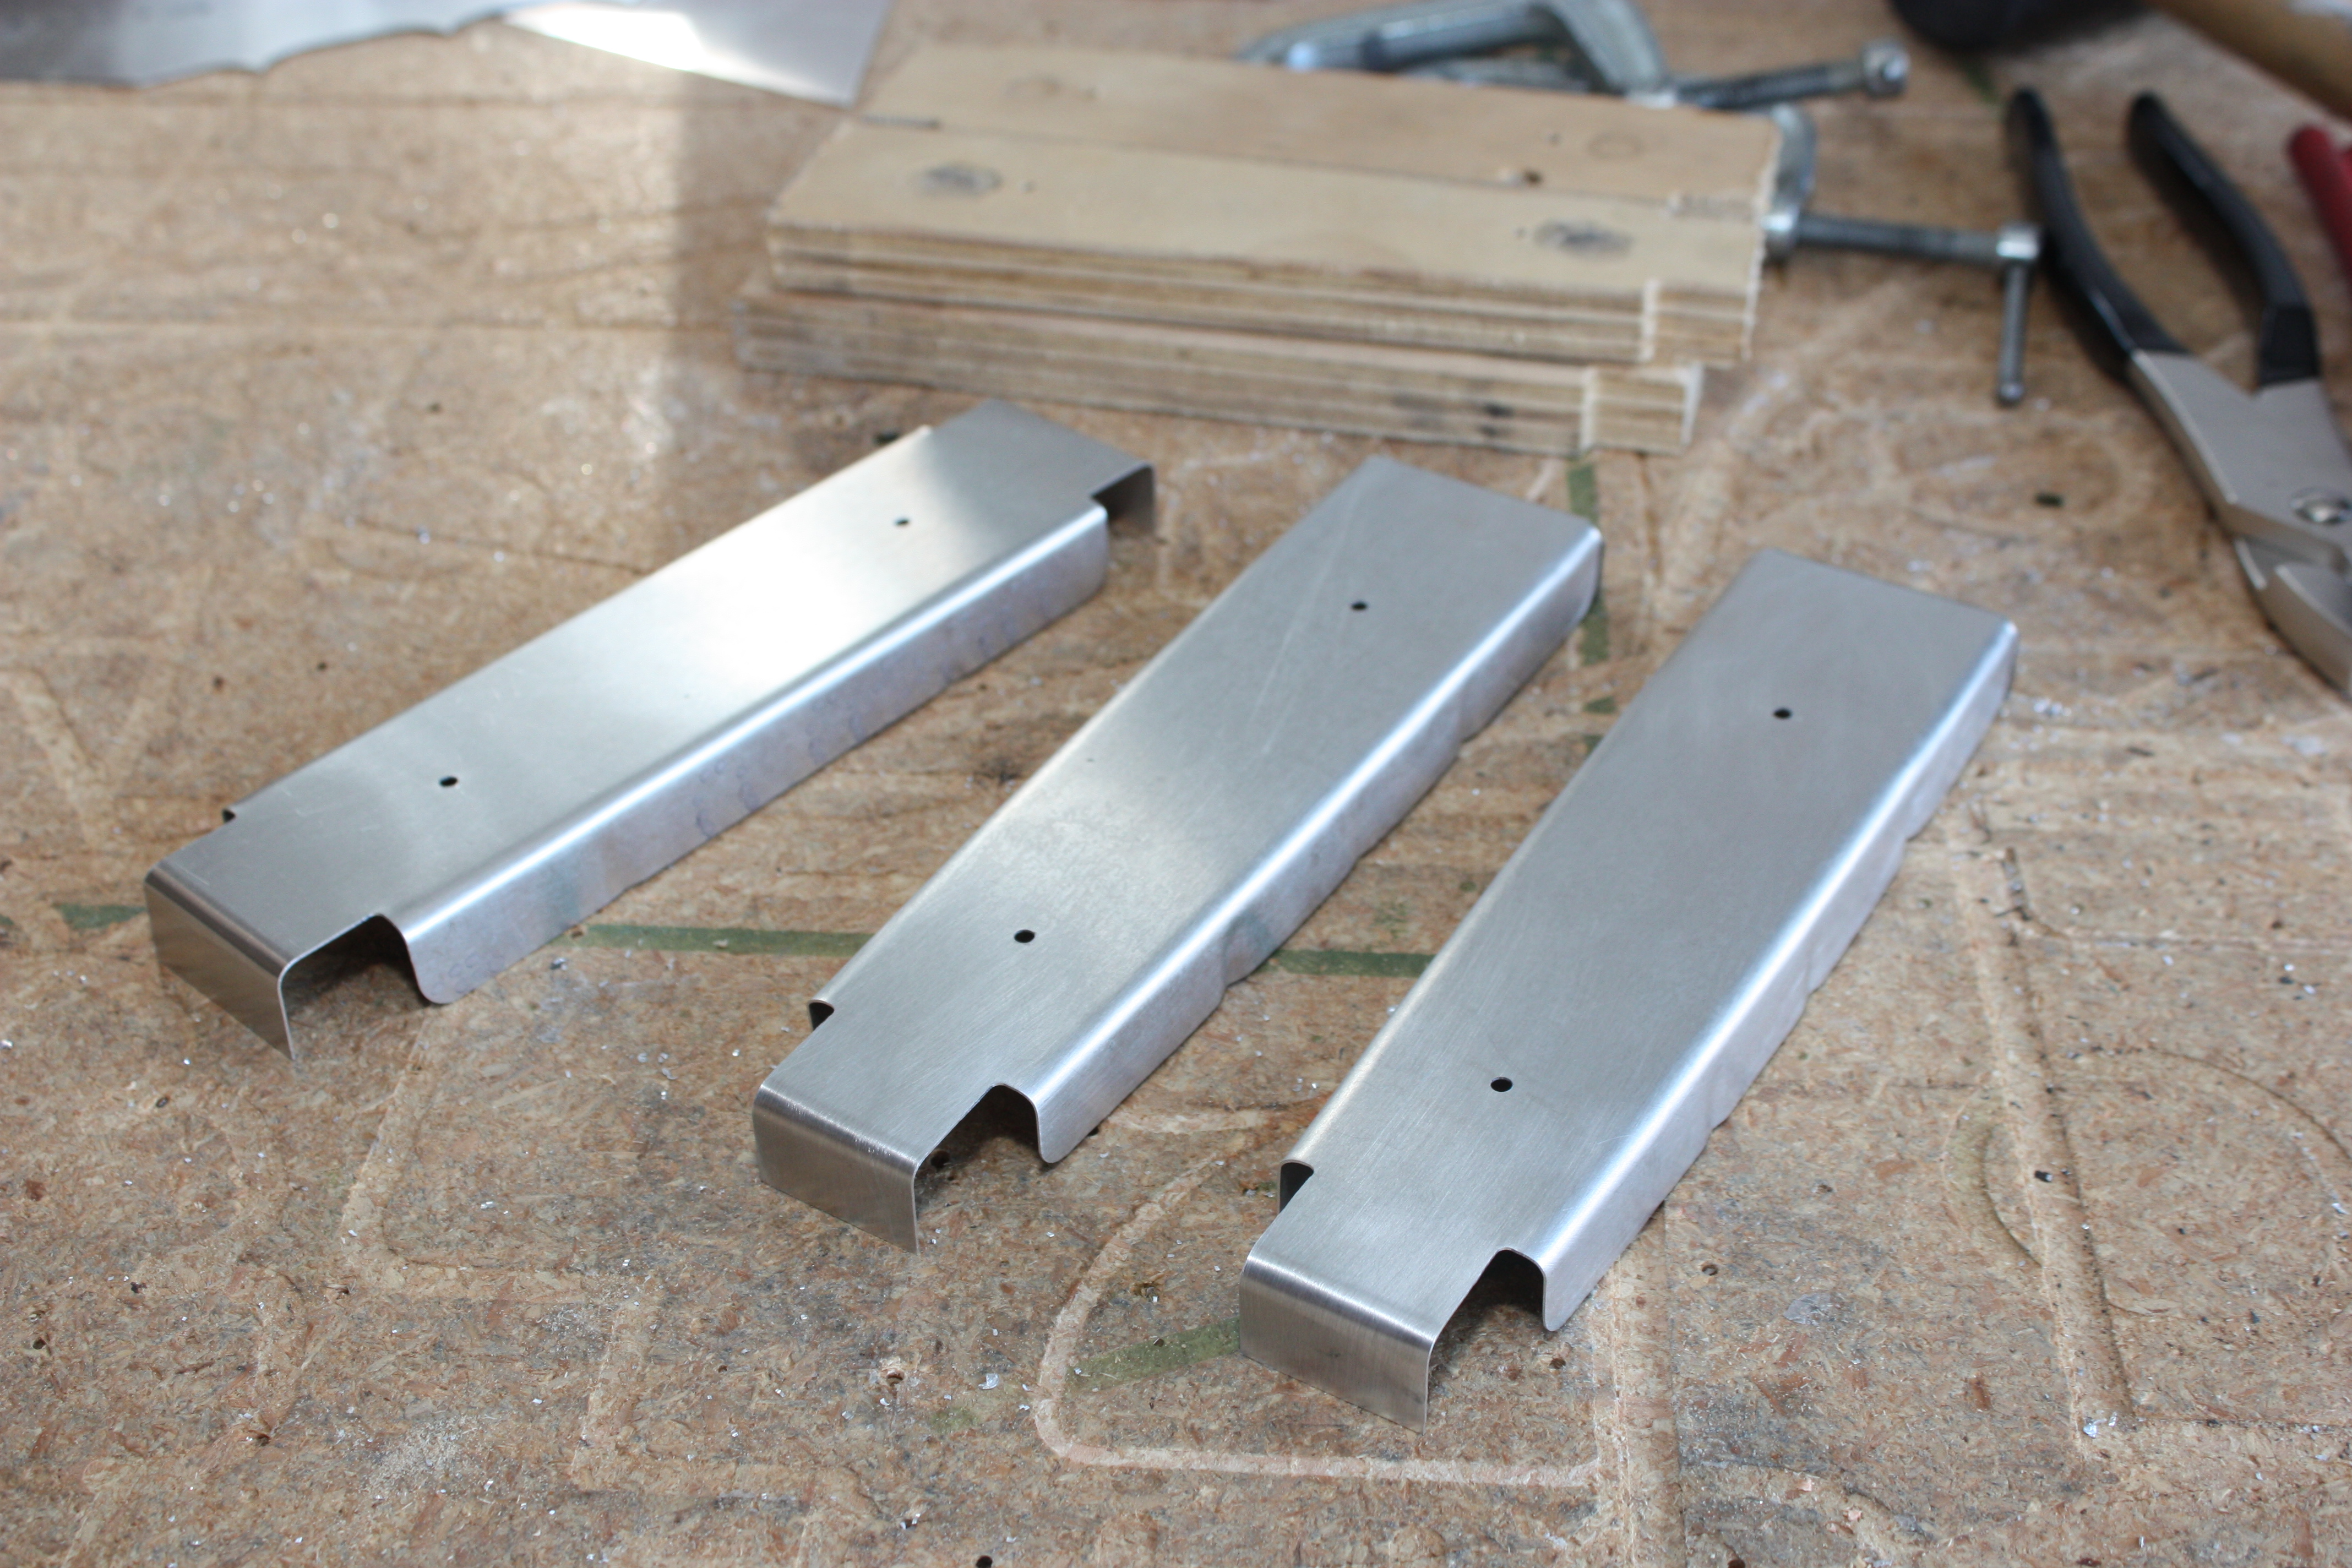
The ribs were then placed in between forming blocks. Tooling alignment holes were part of the originally part design, and here I'm using drill bits as alignment pins:
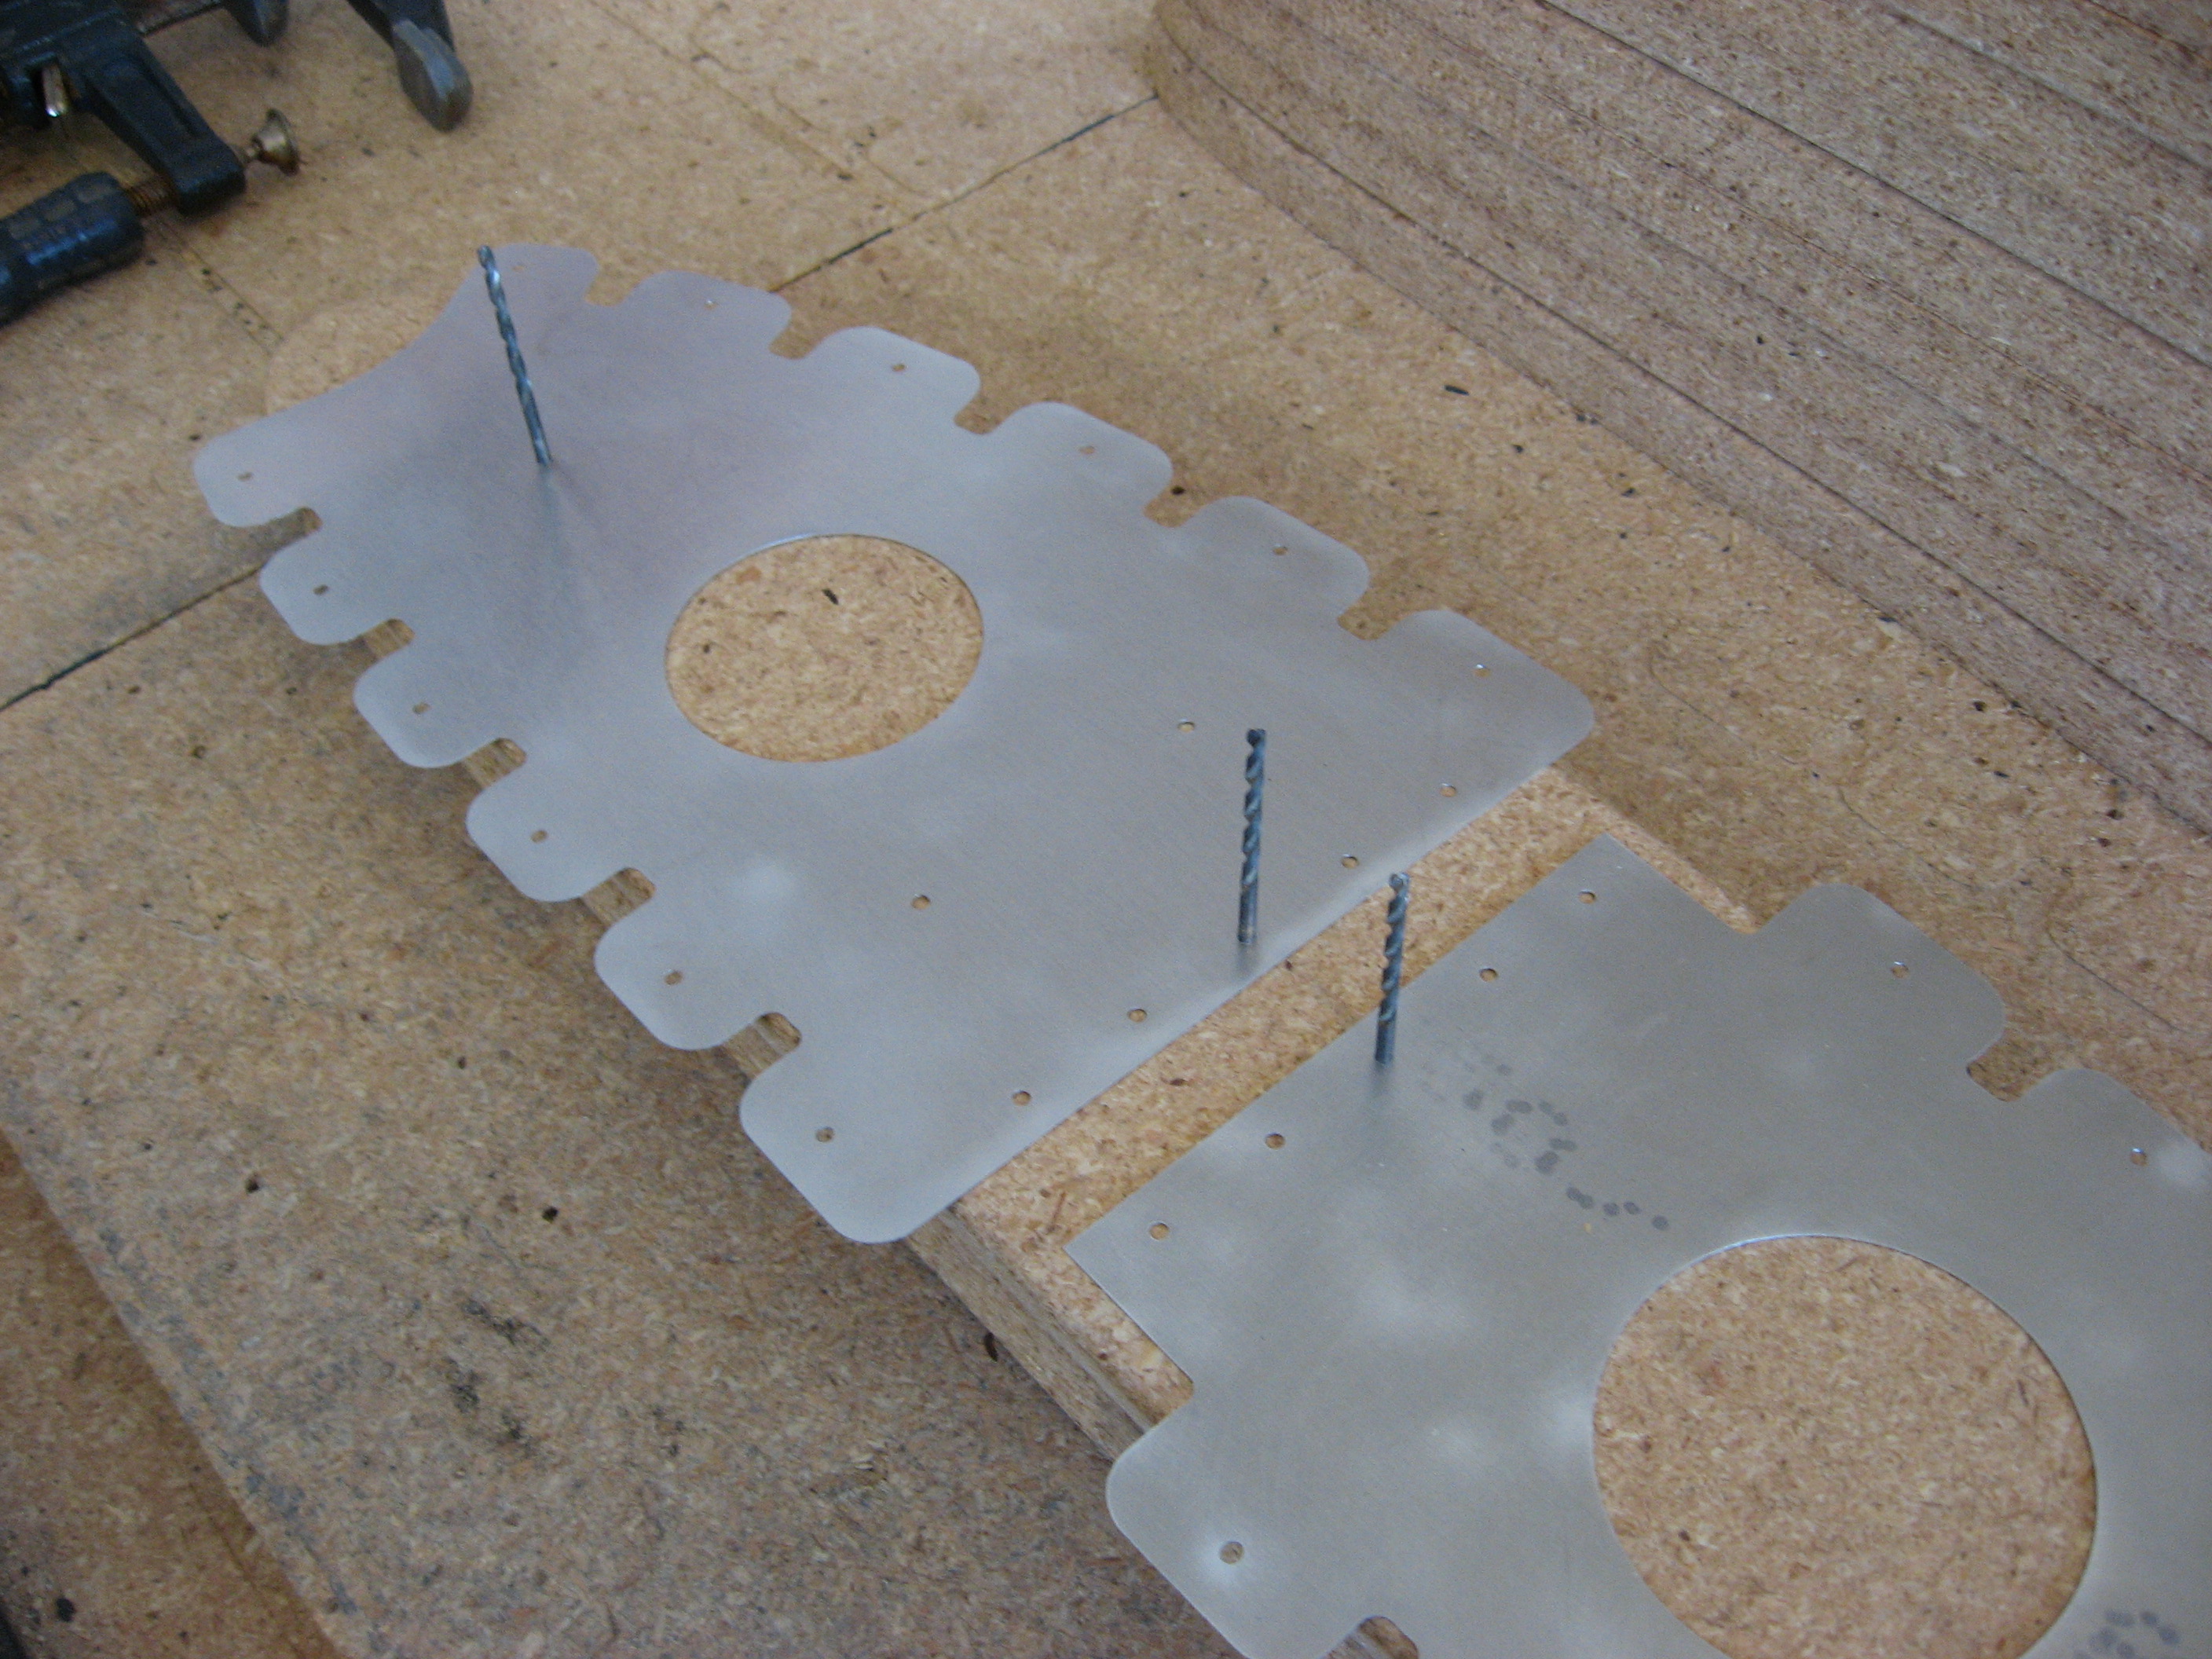
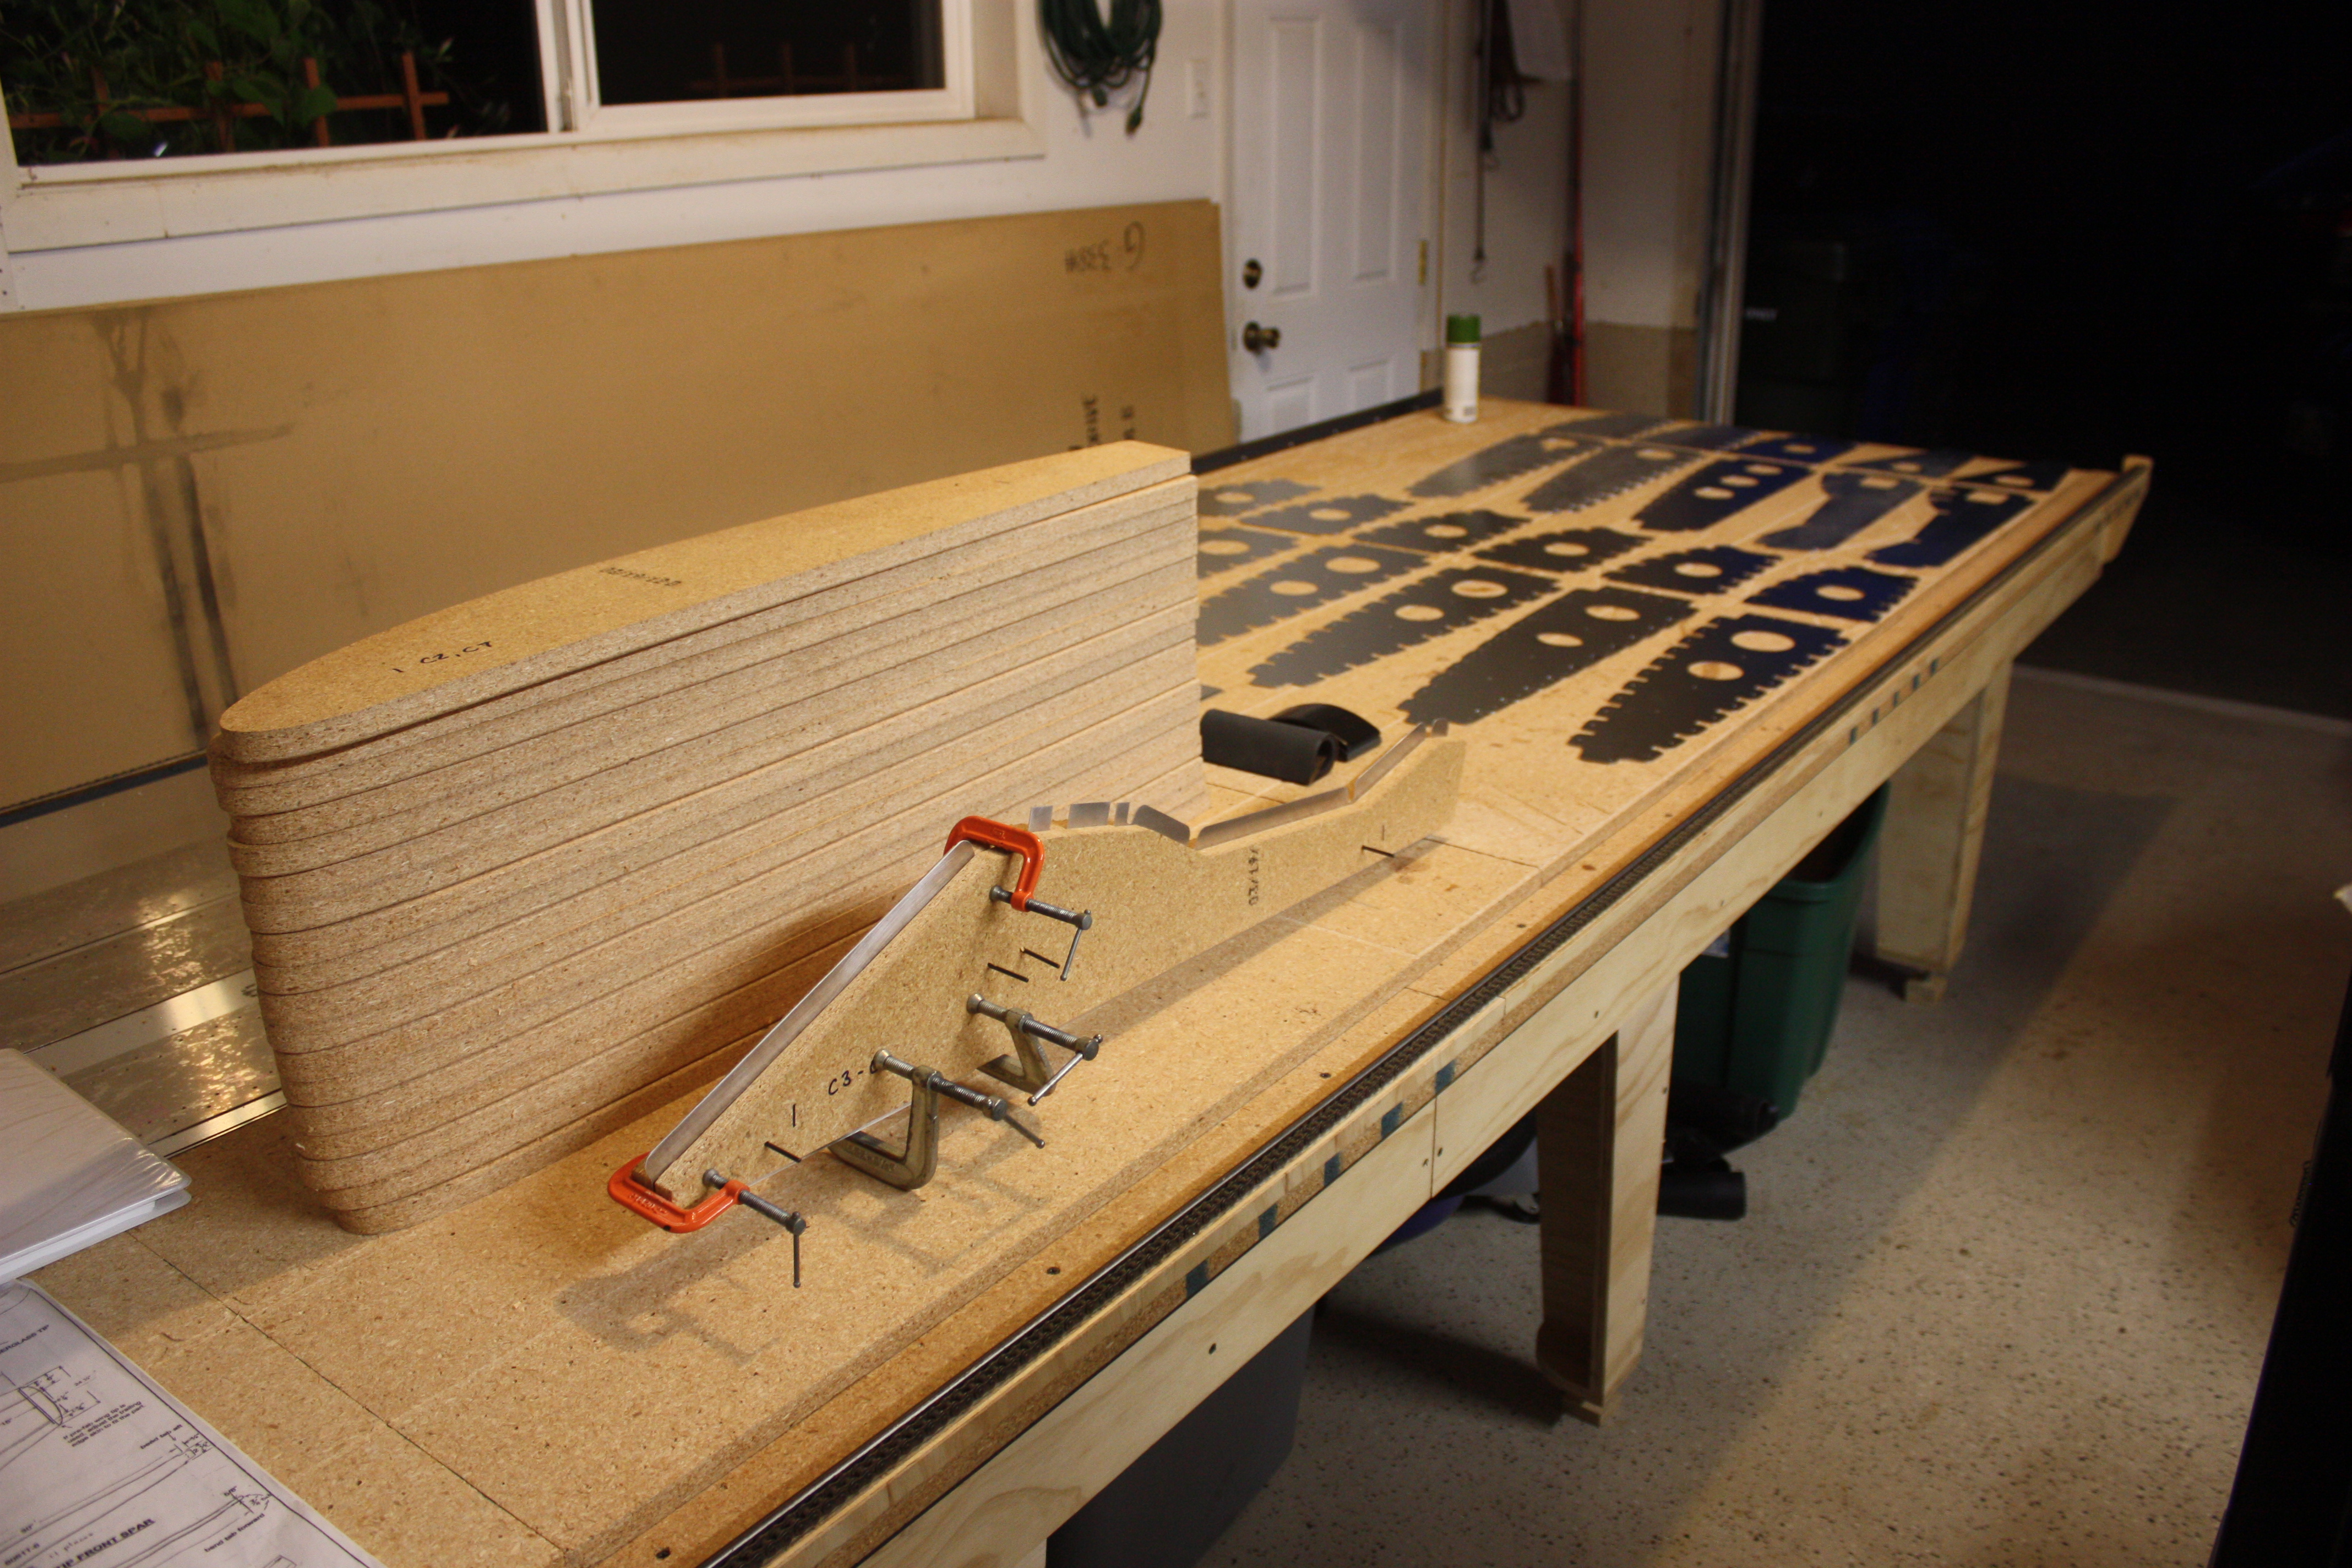
The forming blocks were routered prior to use. The first was to cut a 10 degree bevel to allow for springback. This router bit, which has a bearing on it, is normally used for sink cut-outs in solid surface countertops. The second bit was a 1/8" radius roundover bit. The result can be seen below:
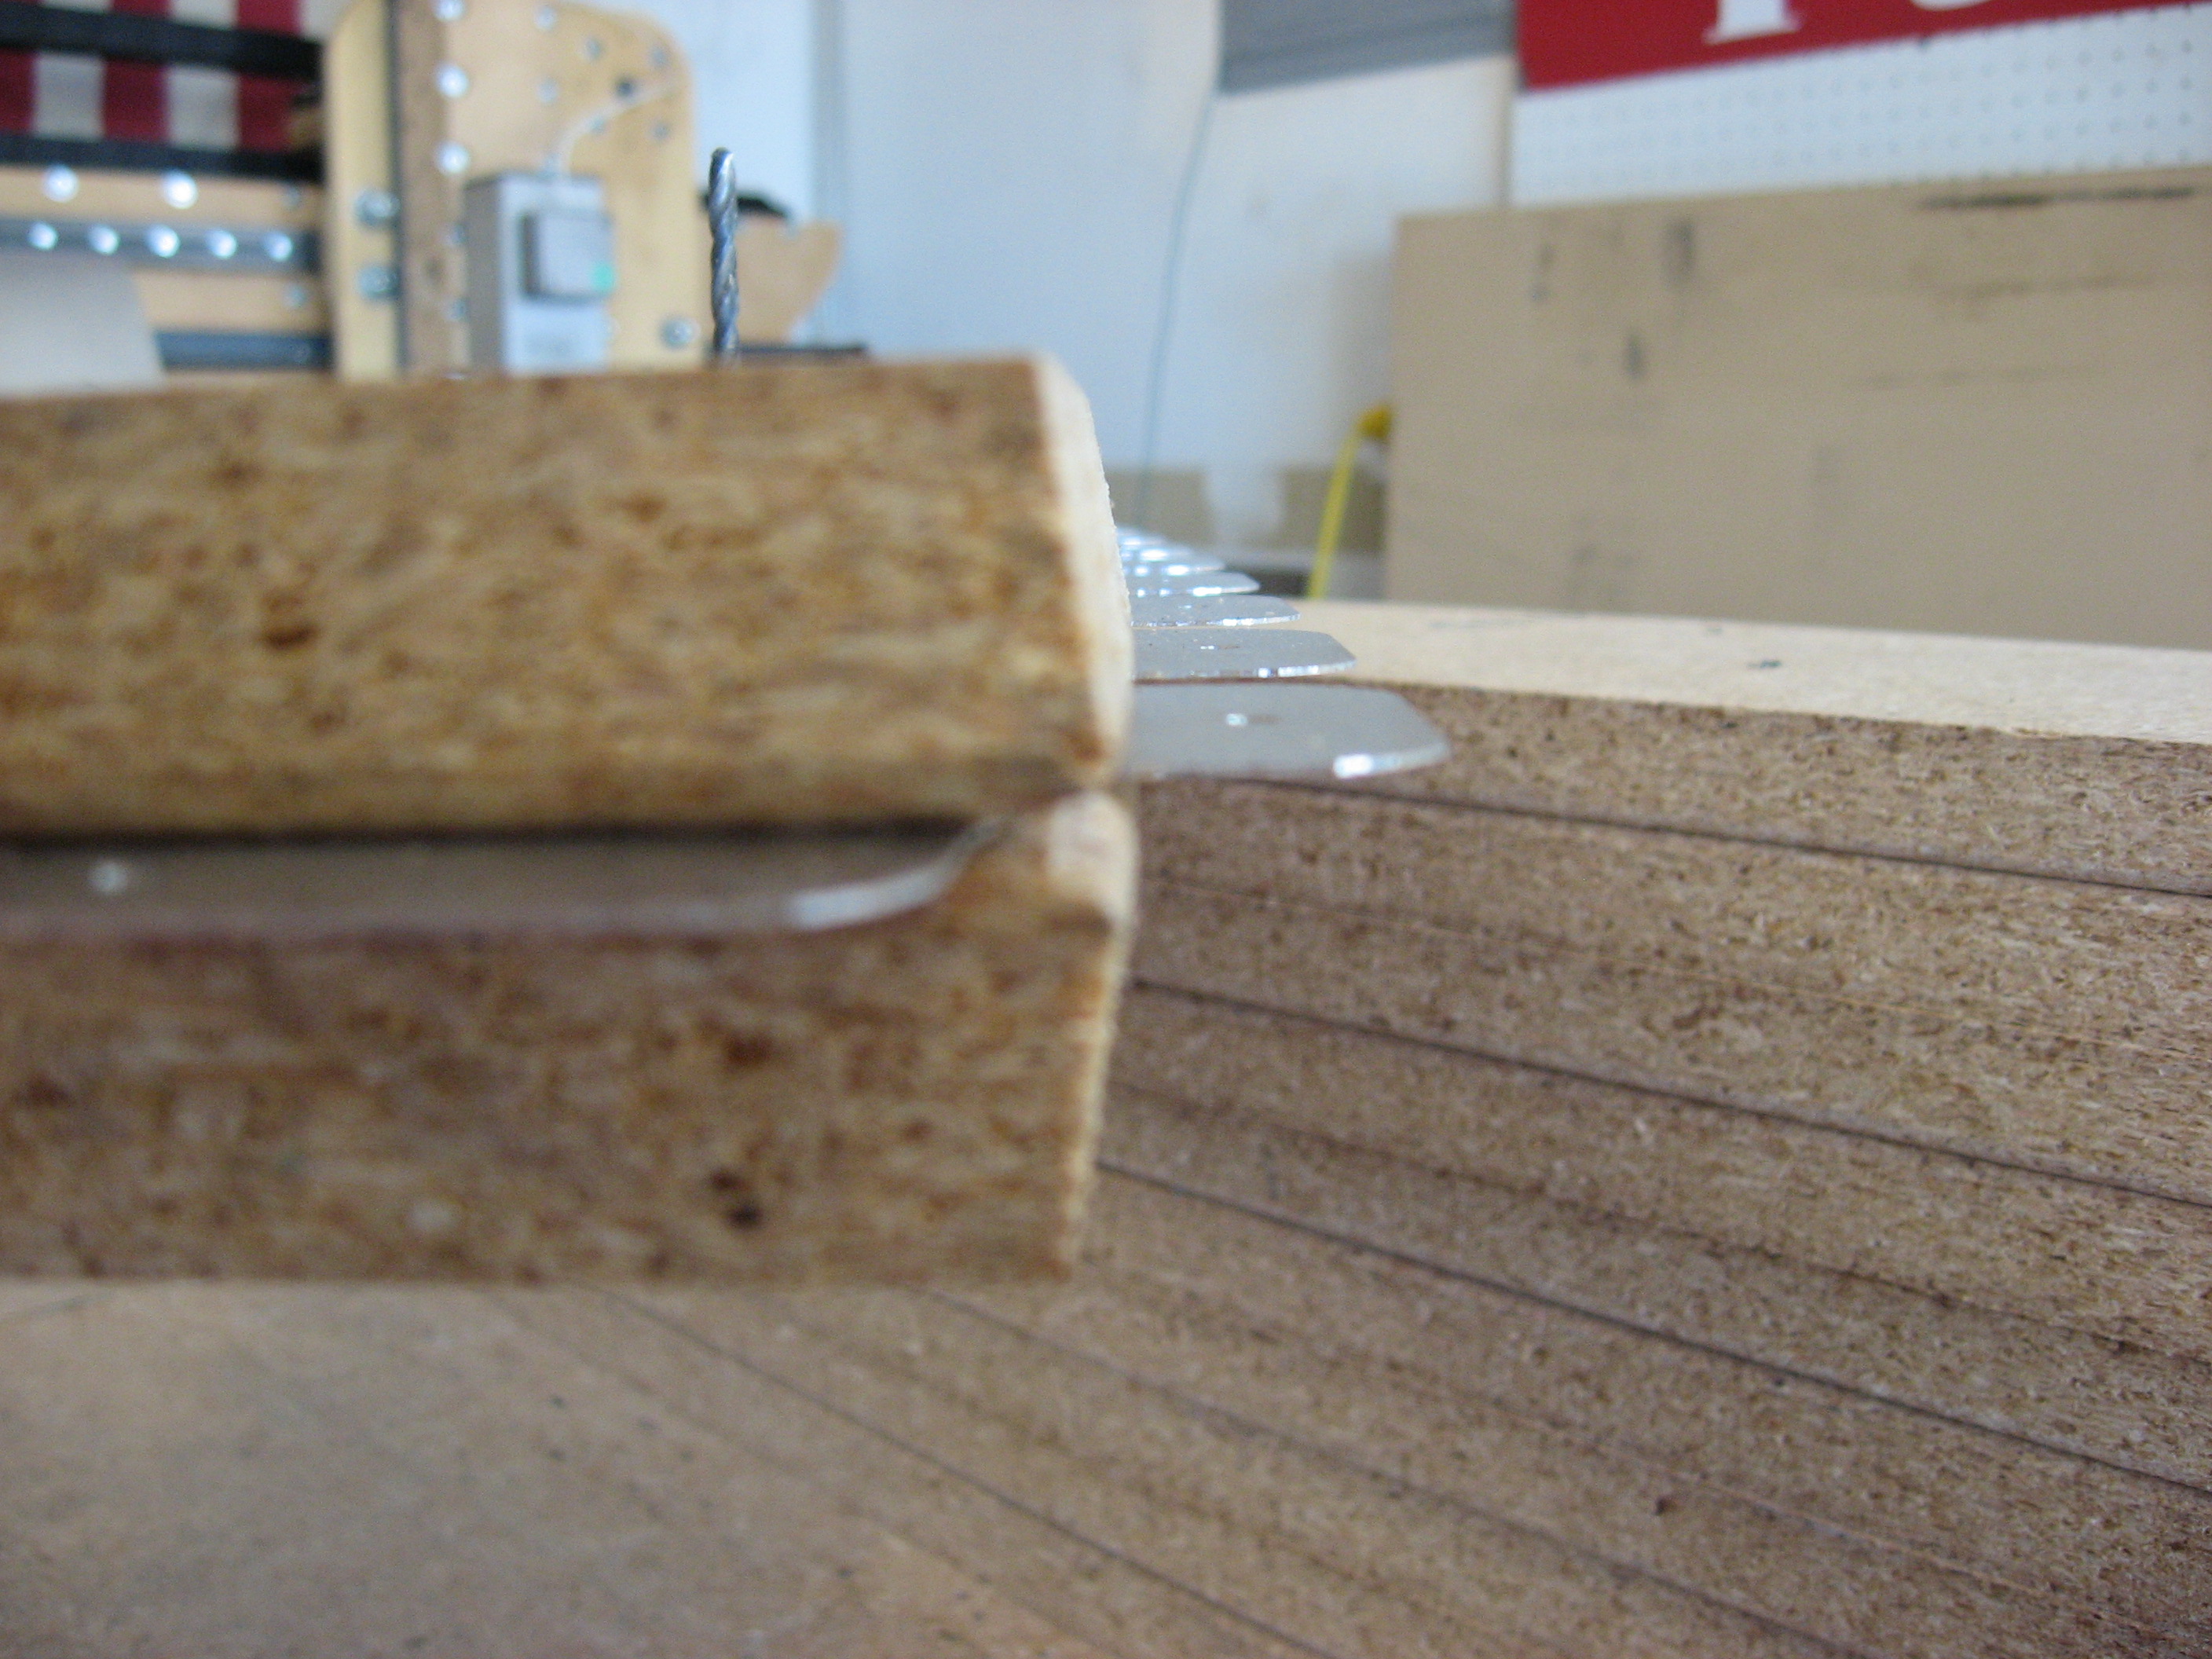
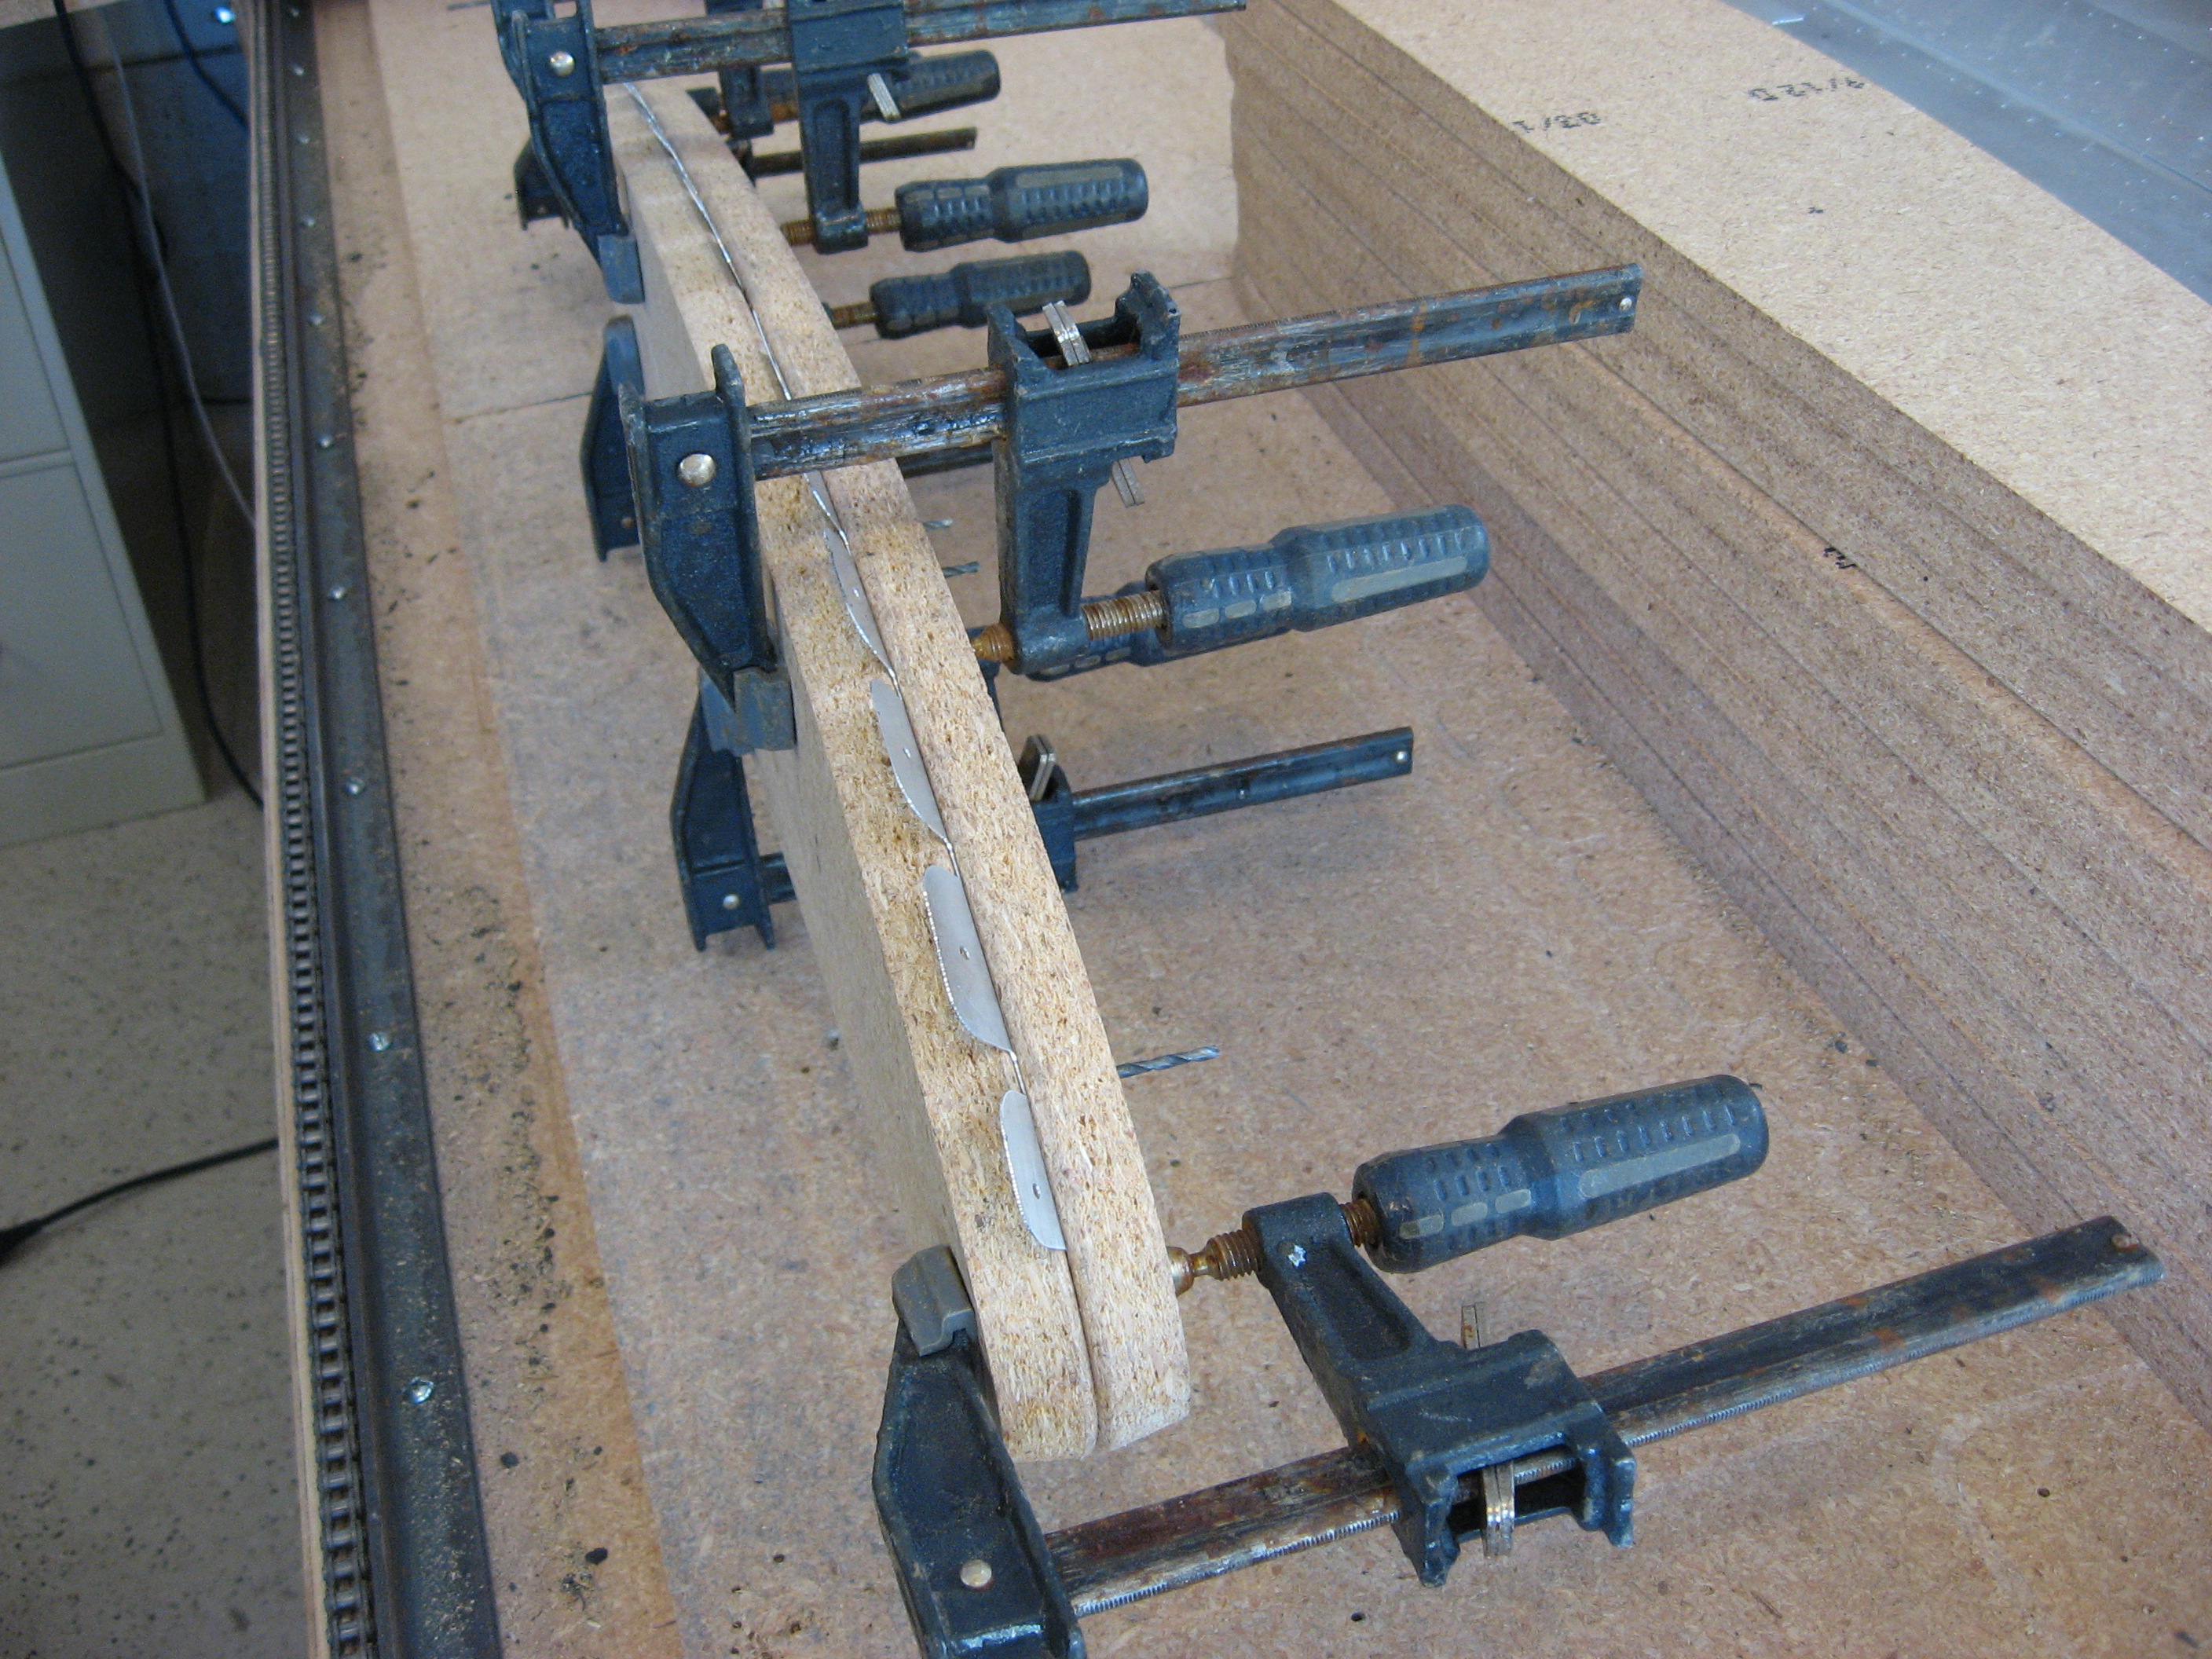
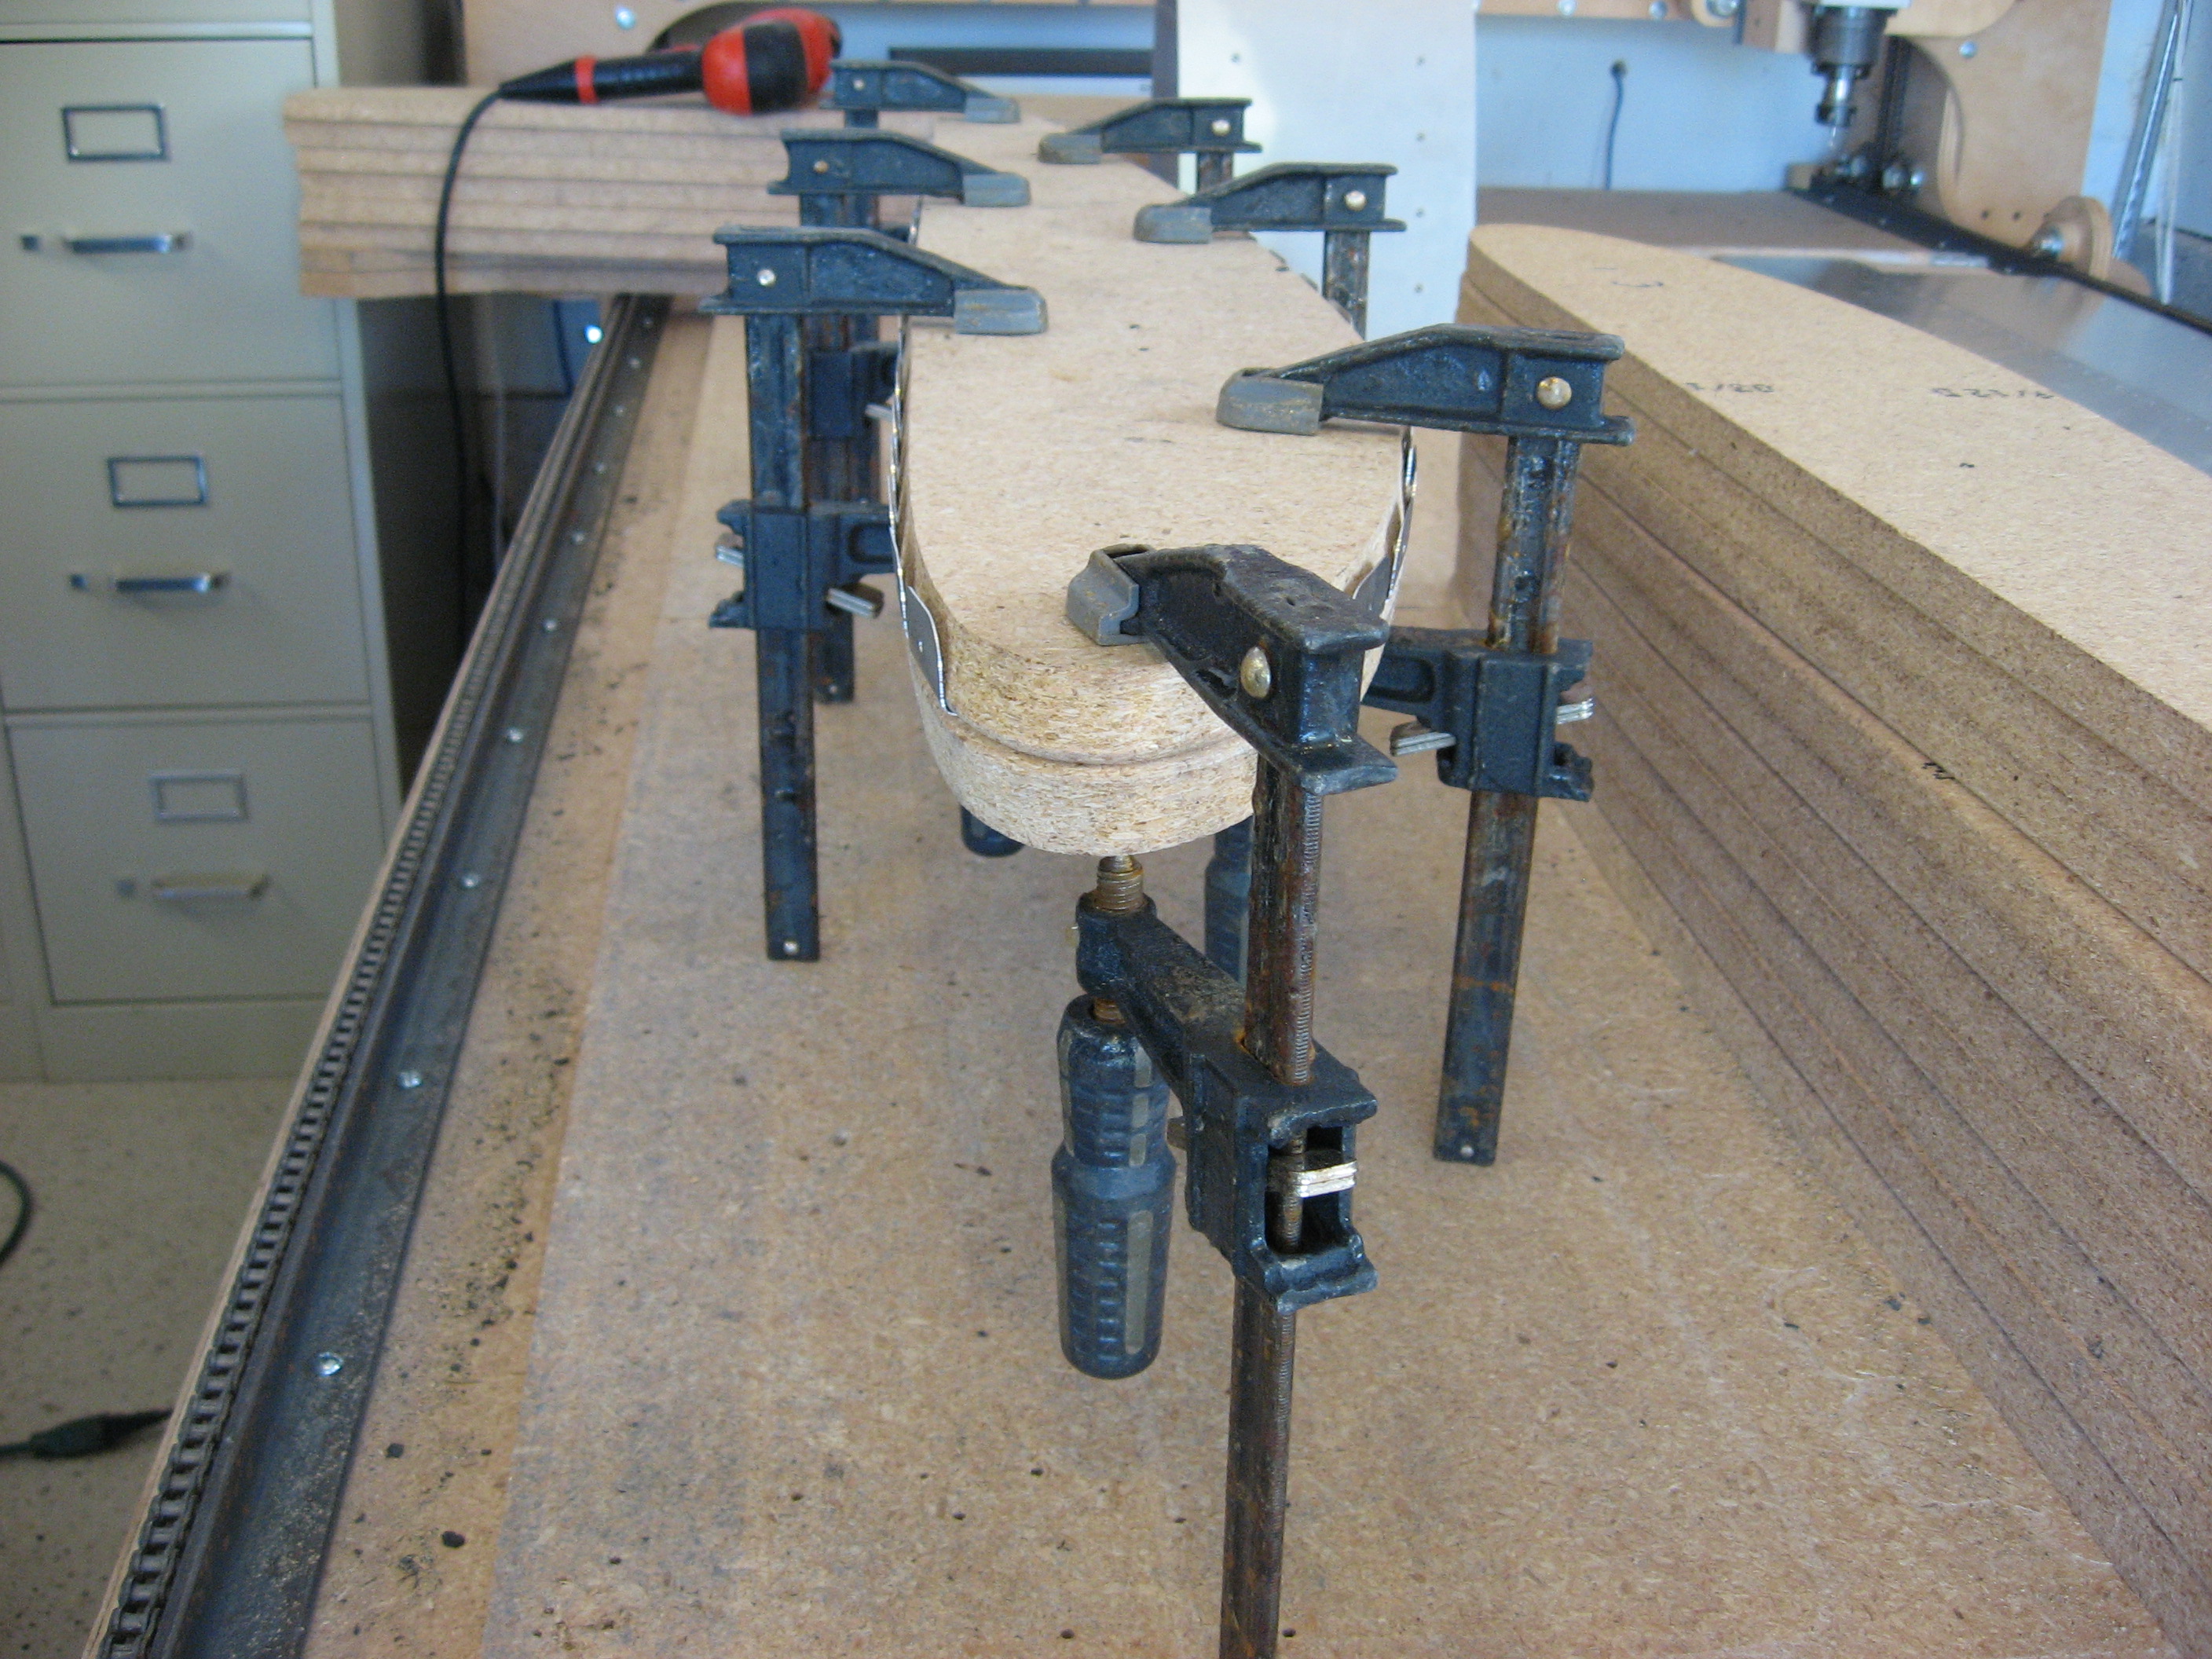
Using lots of clamps, the flange tabs can be bent over by hand and then finished up with a soft mallet:
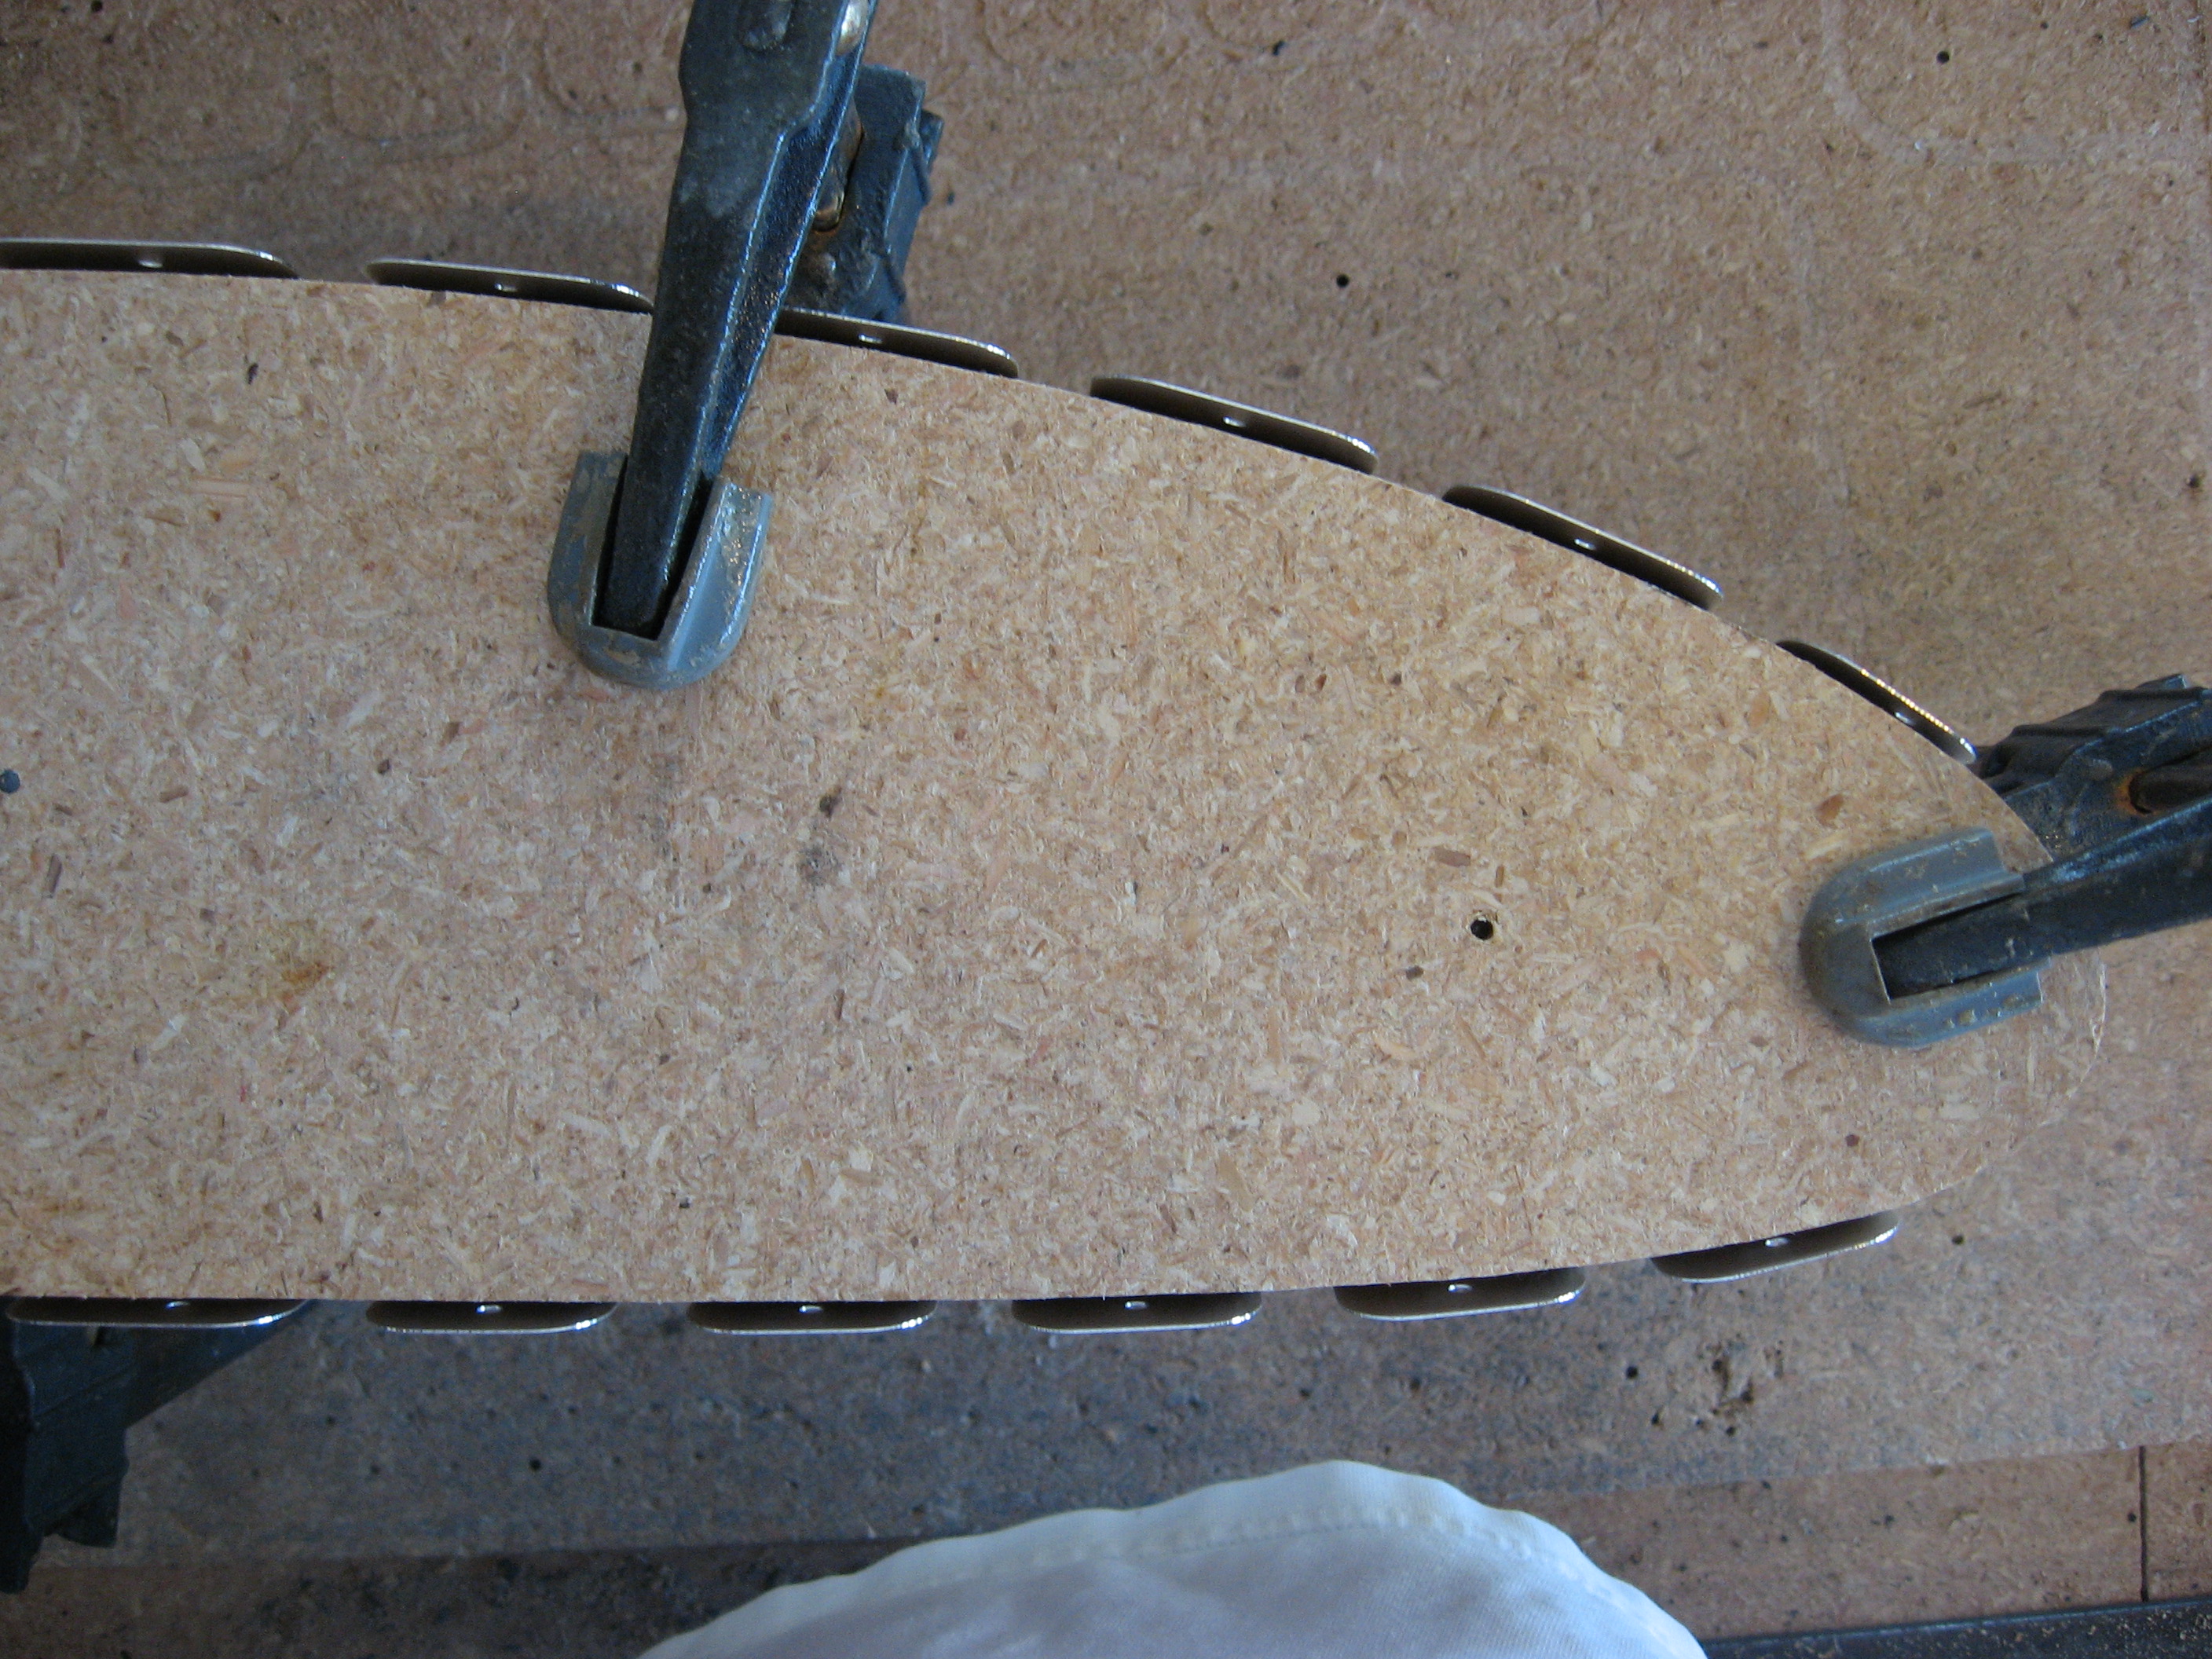
More sanding and deburring:
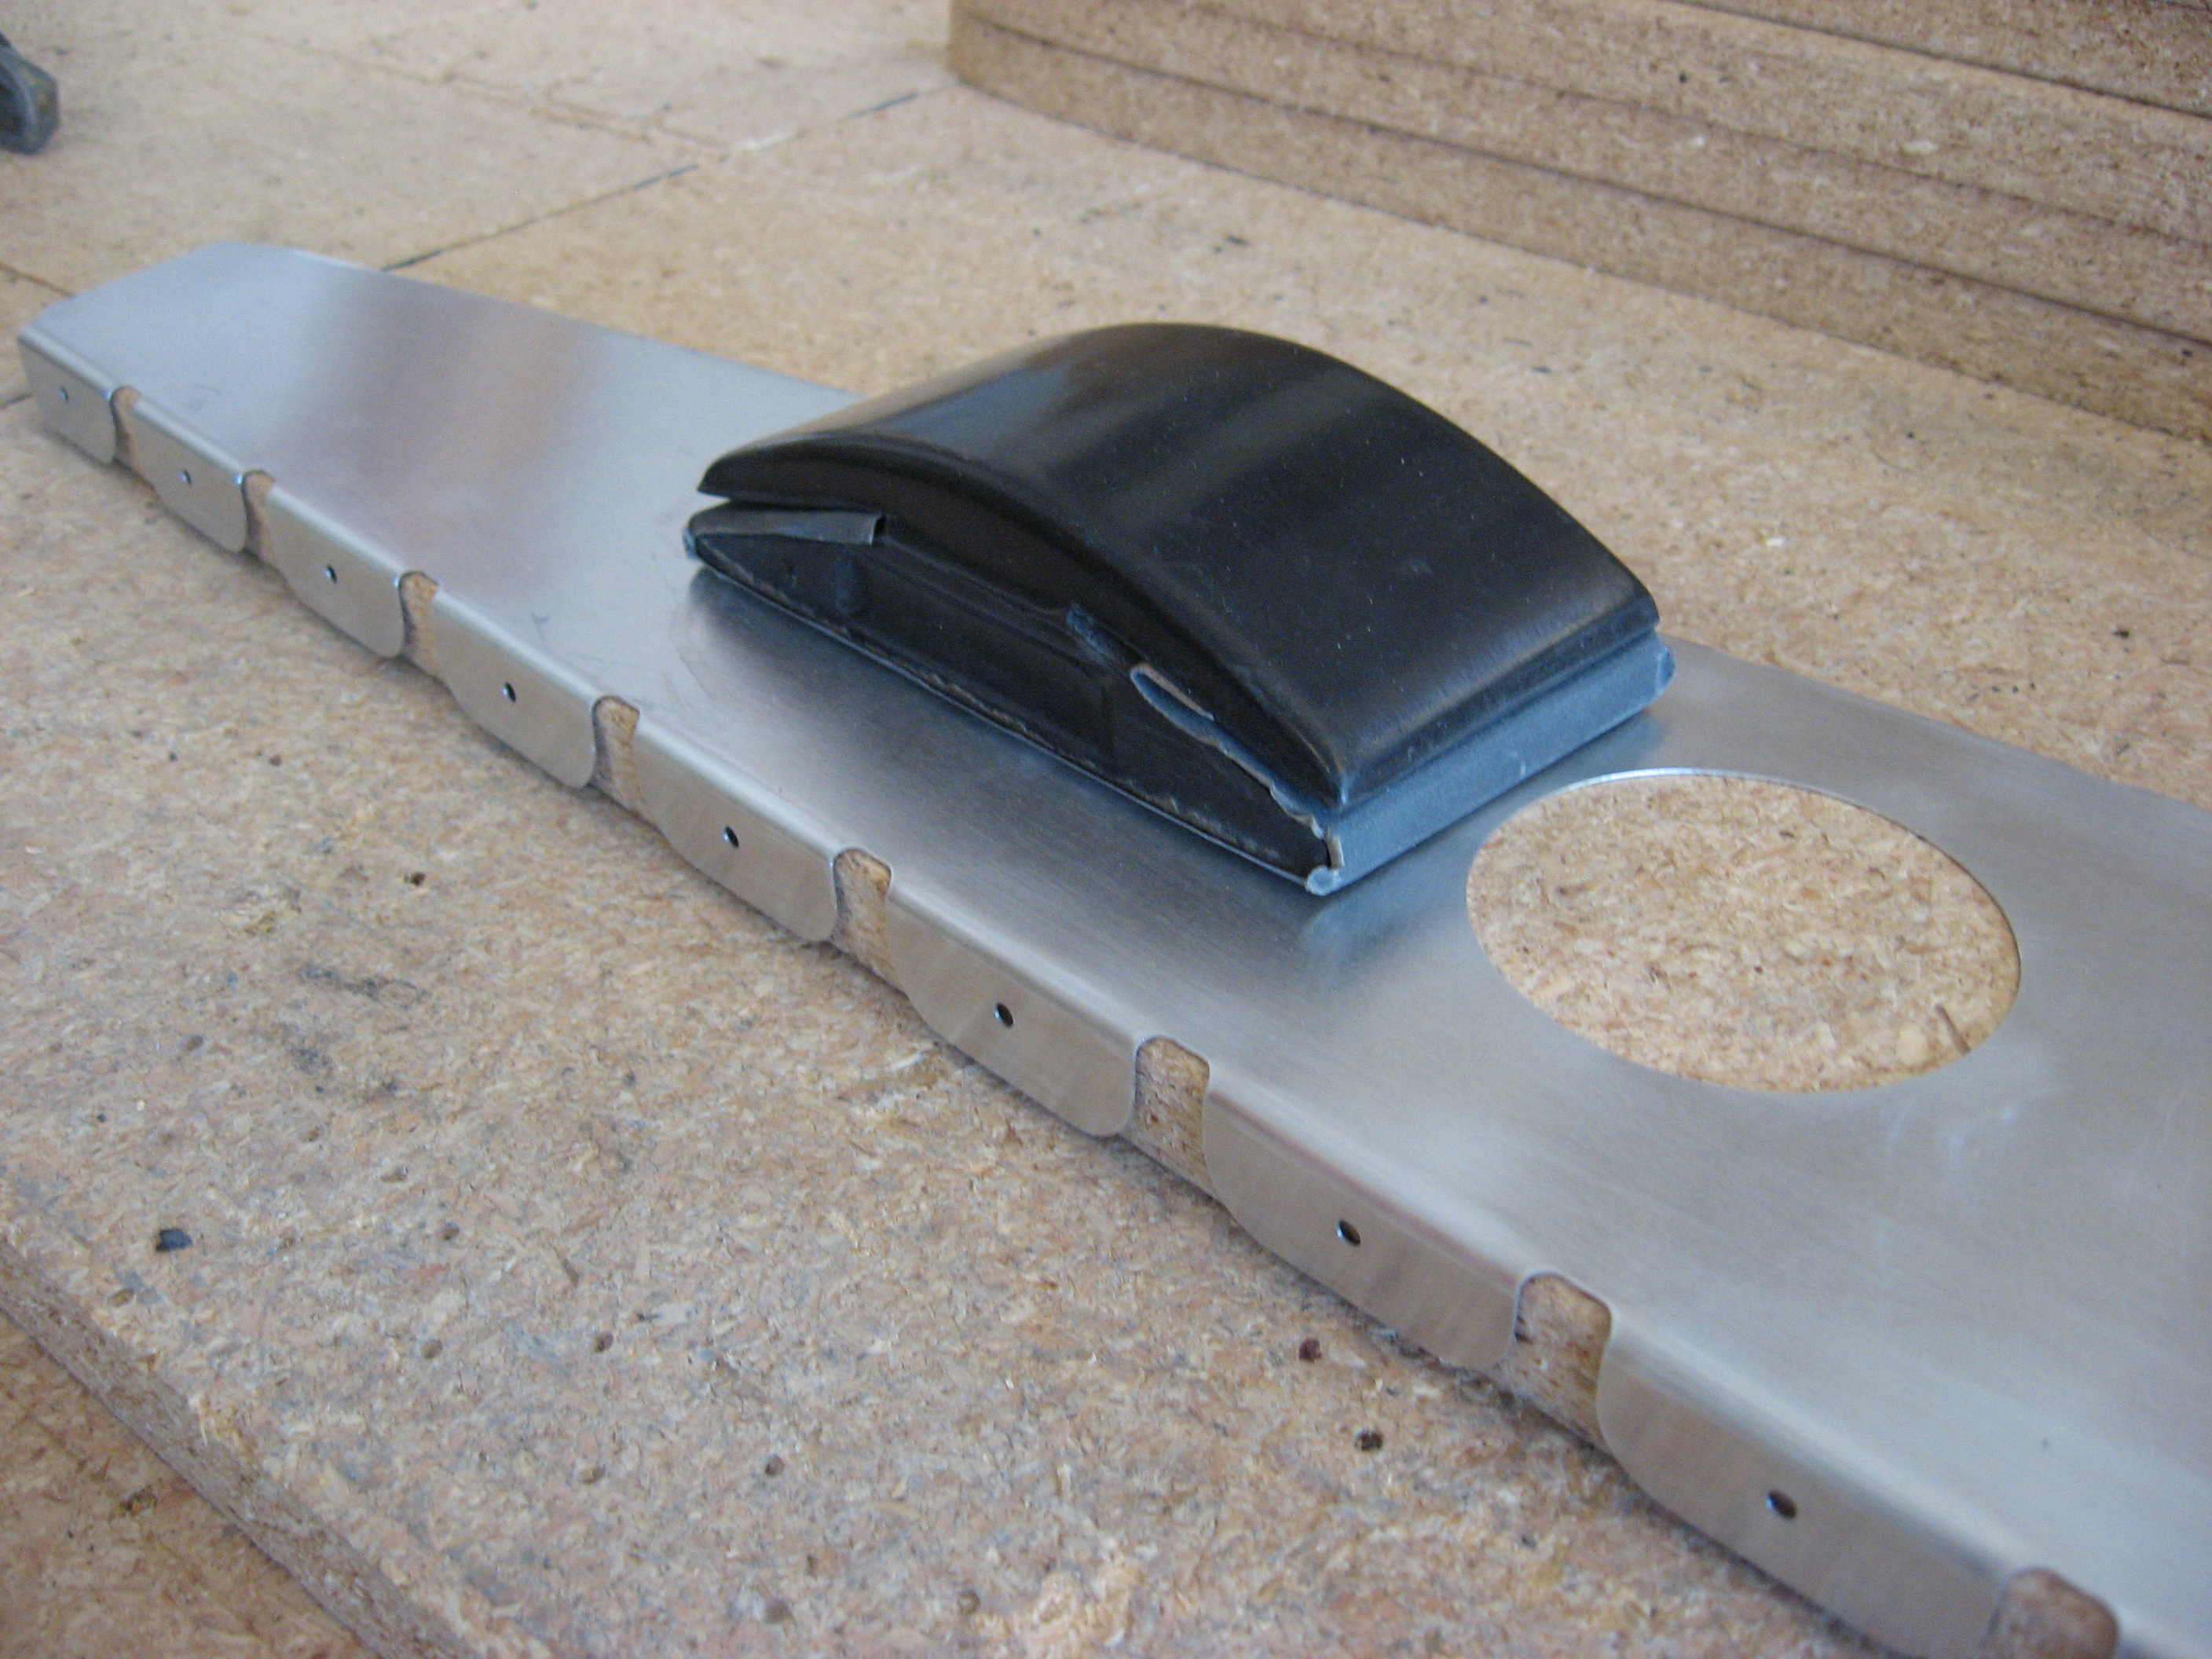
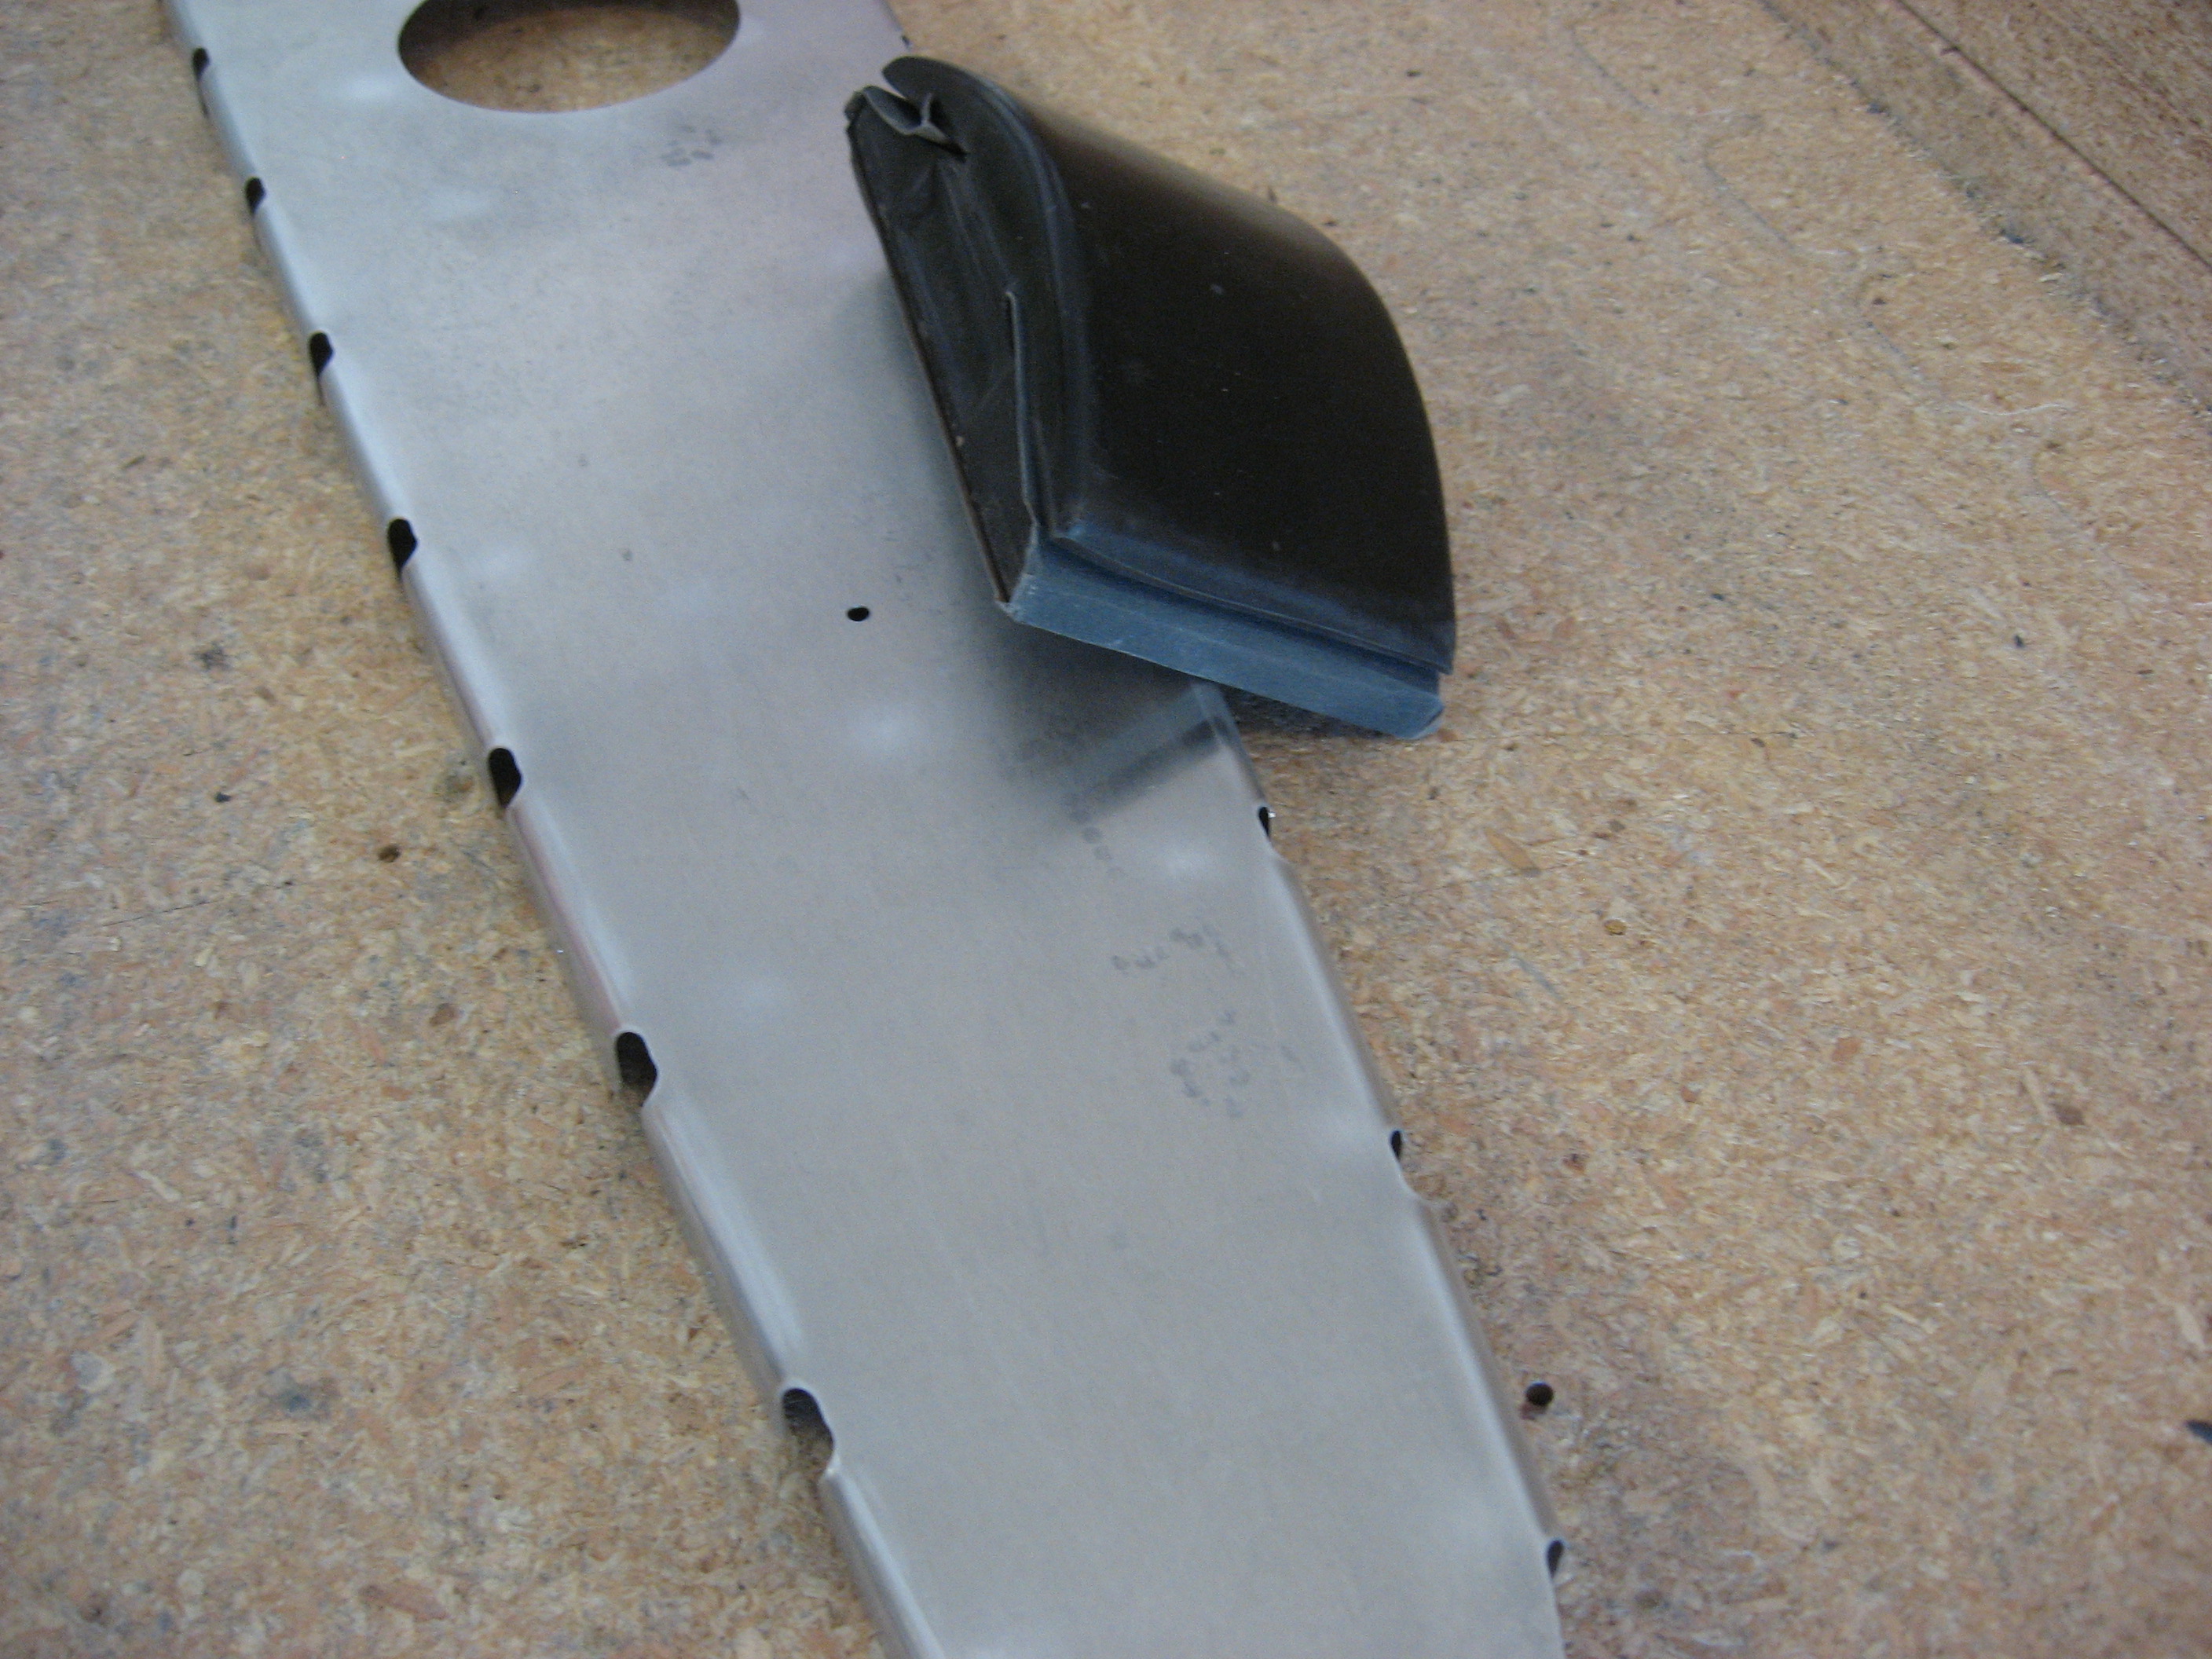
Remember... one goes left and one goes right! (It's a real pain to make two of one side.)
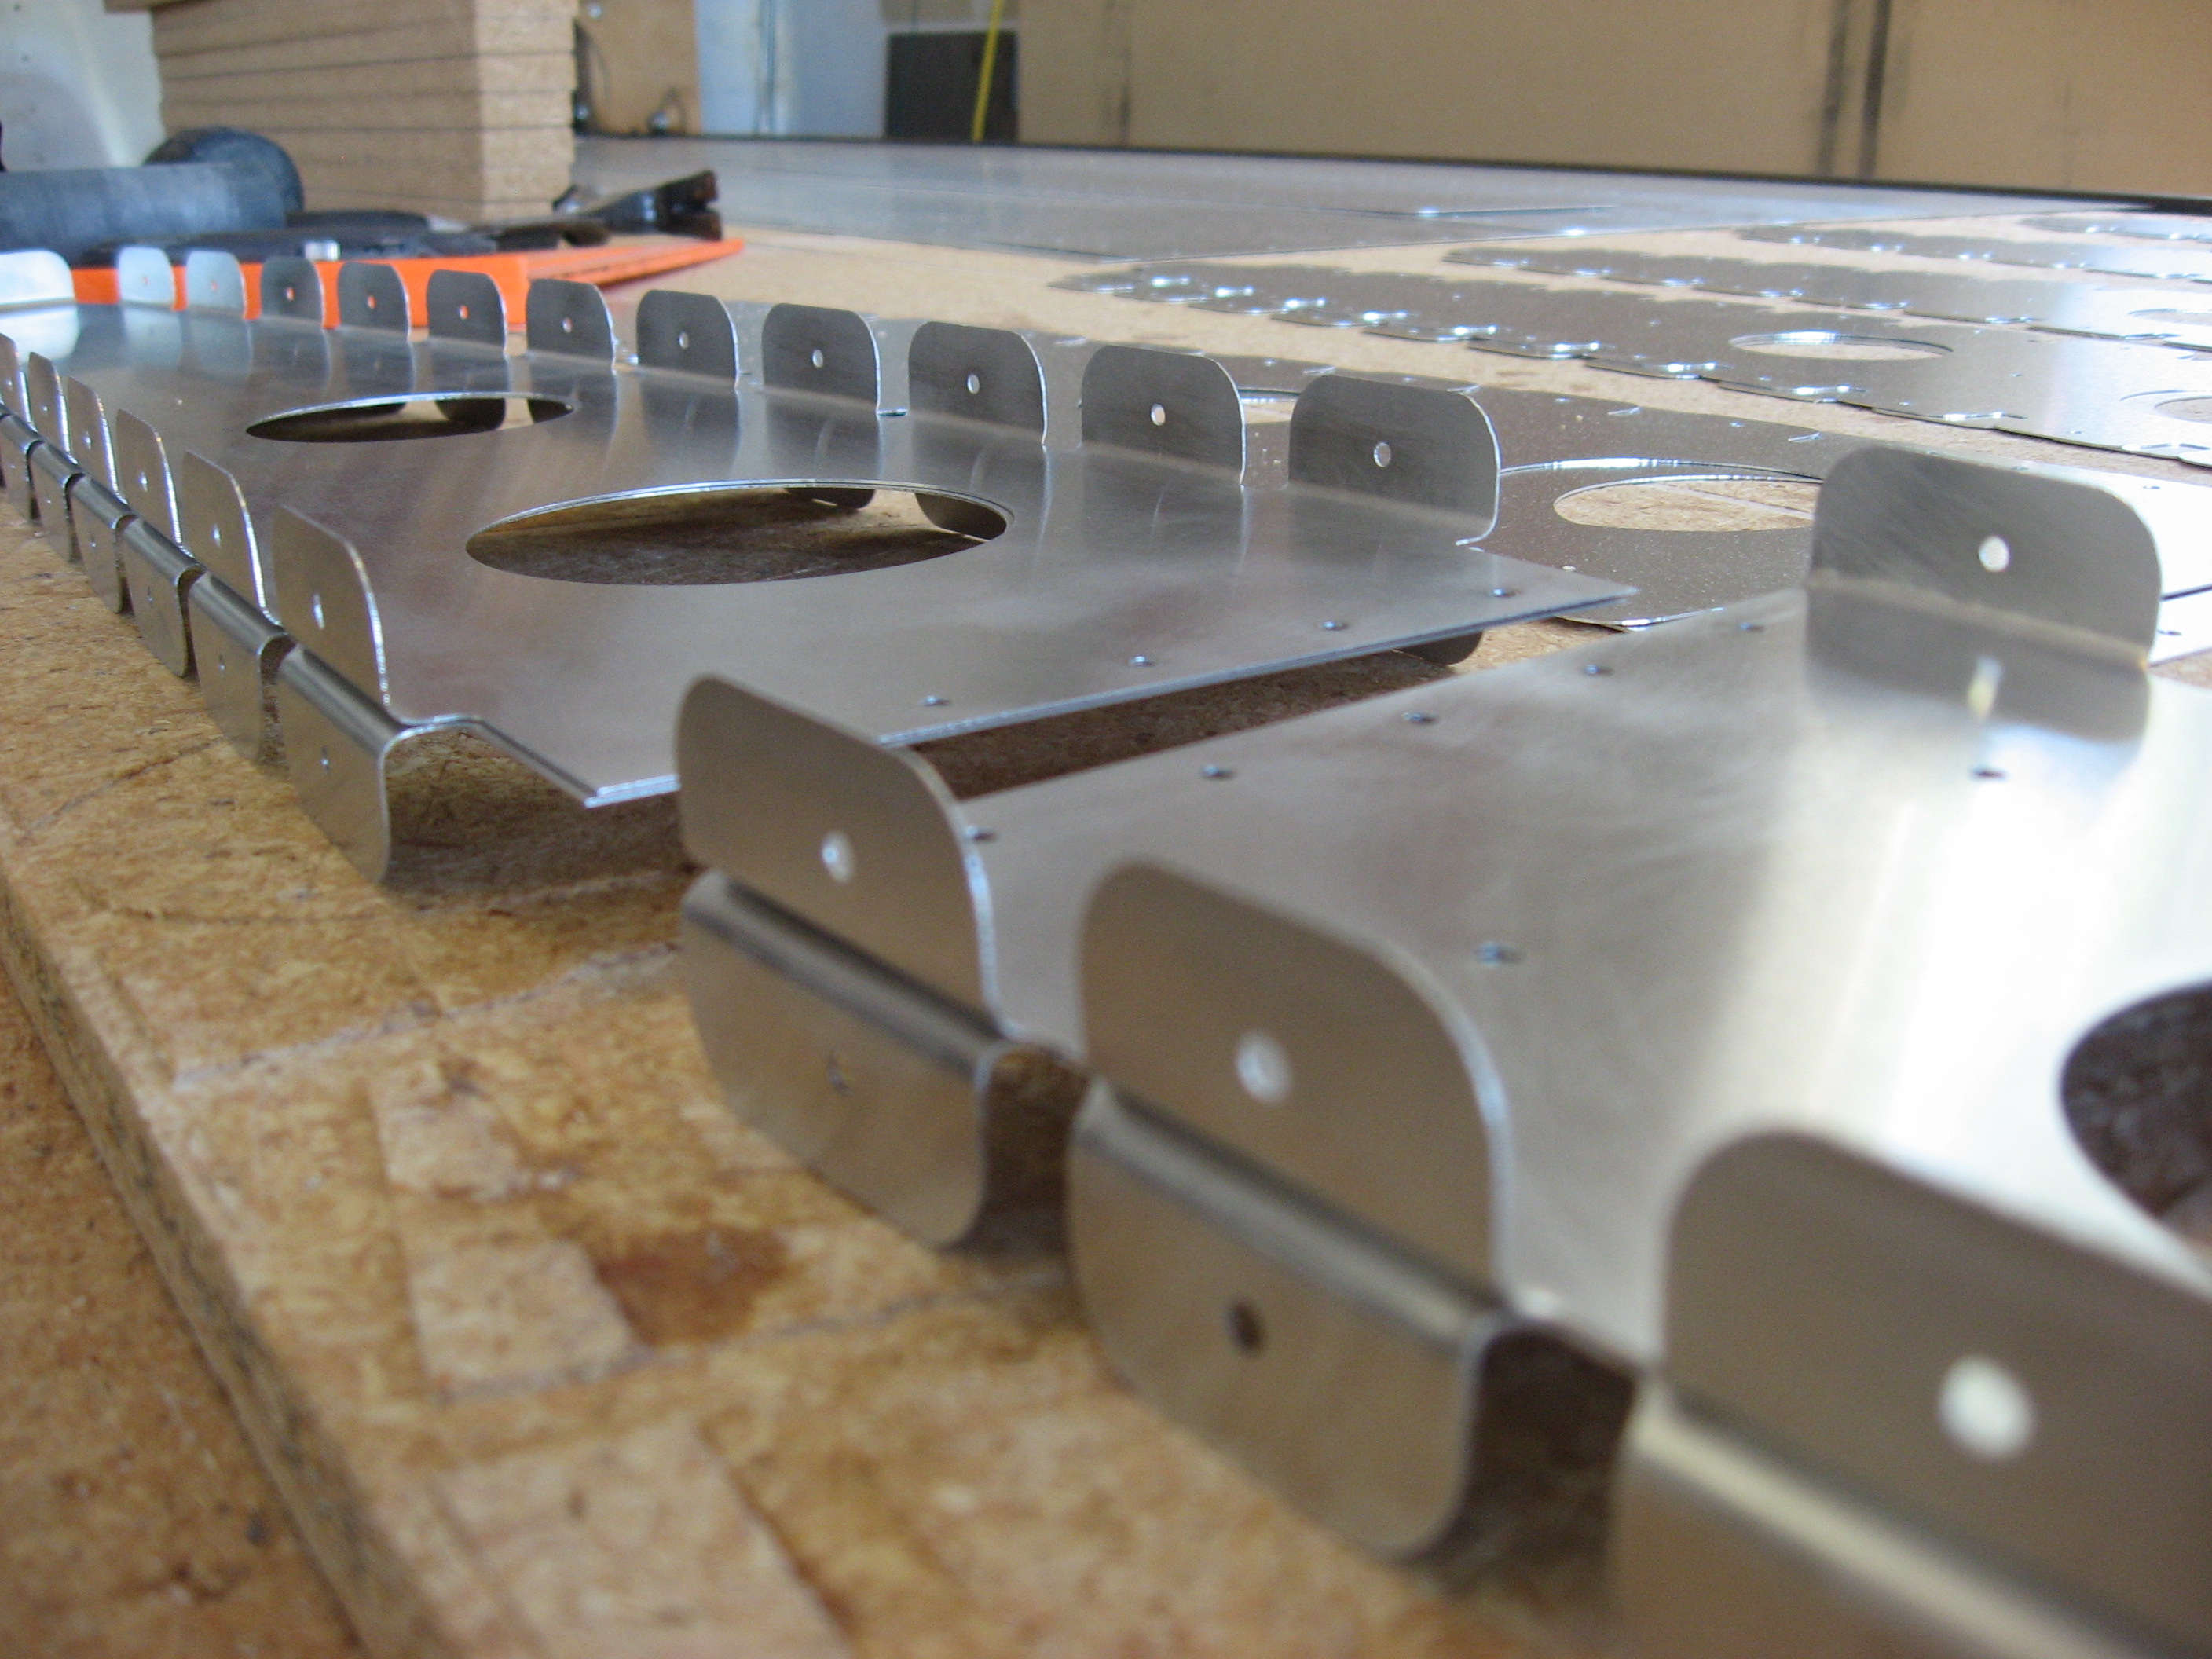
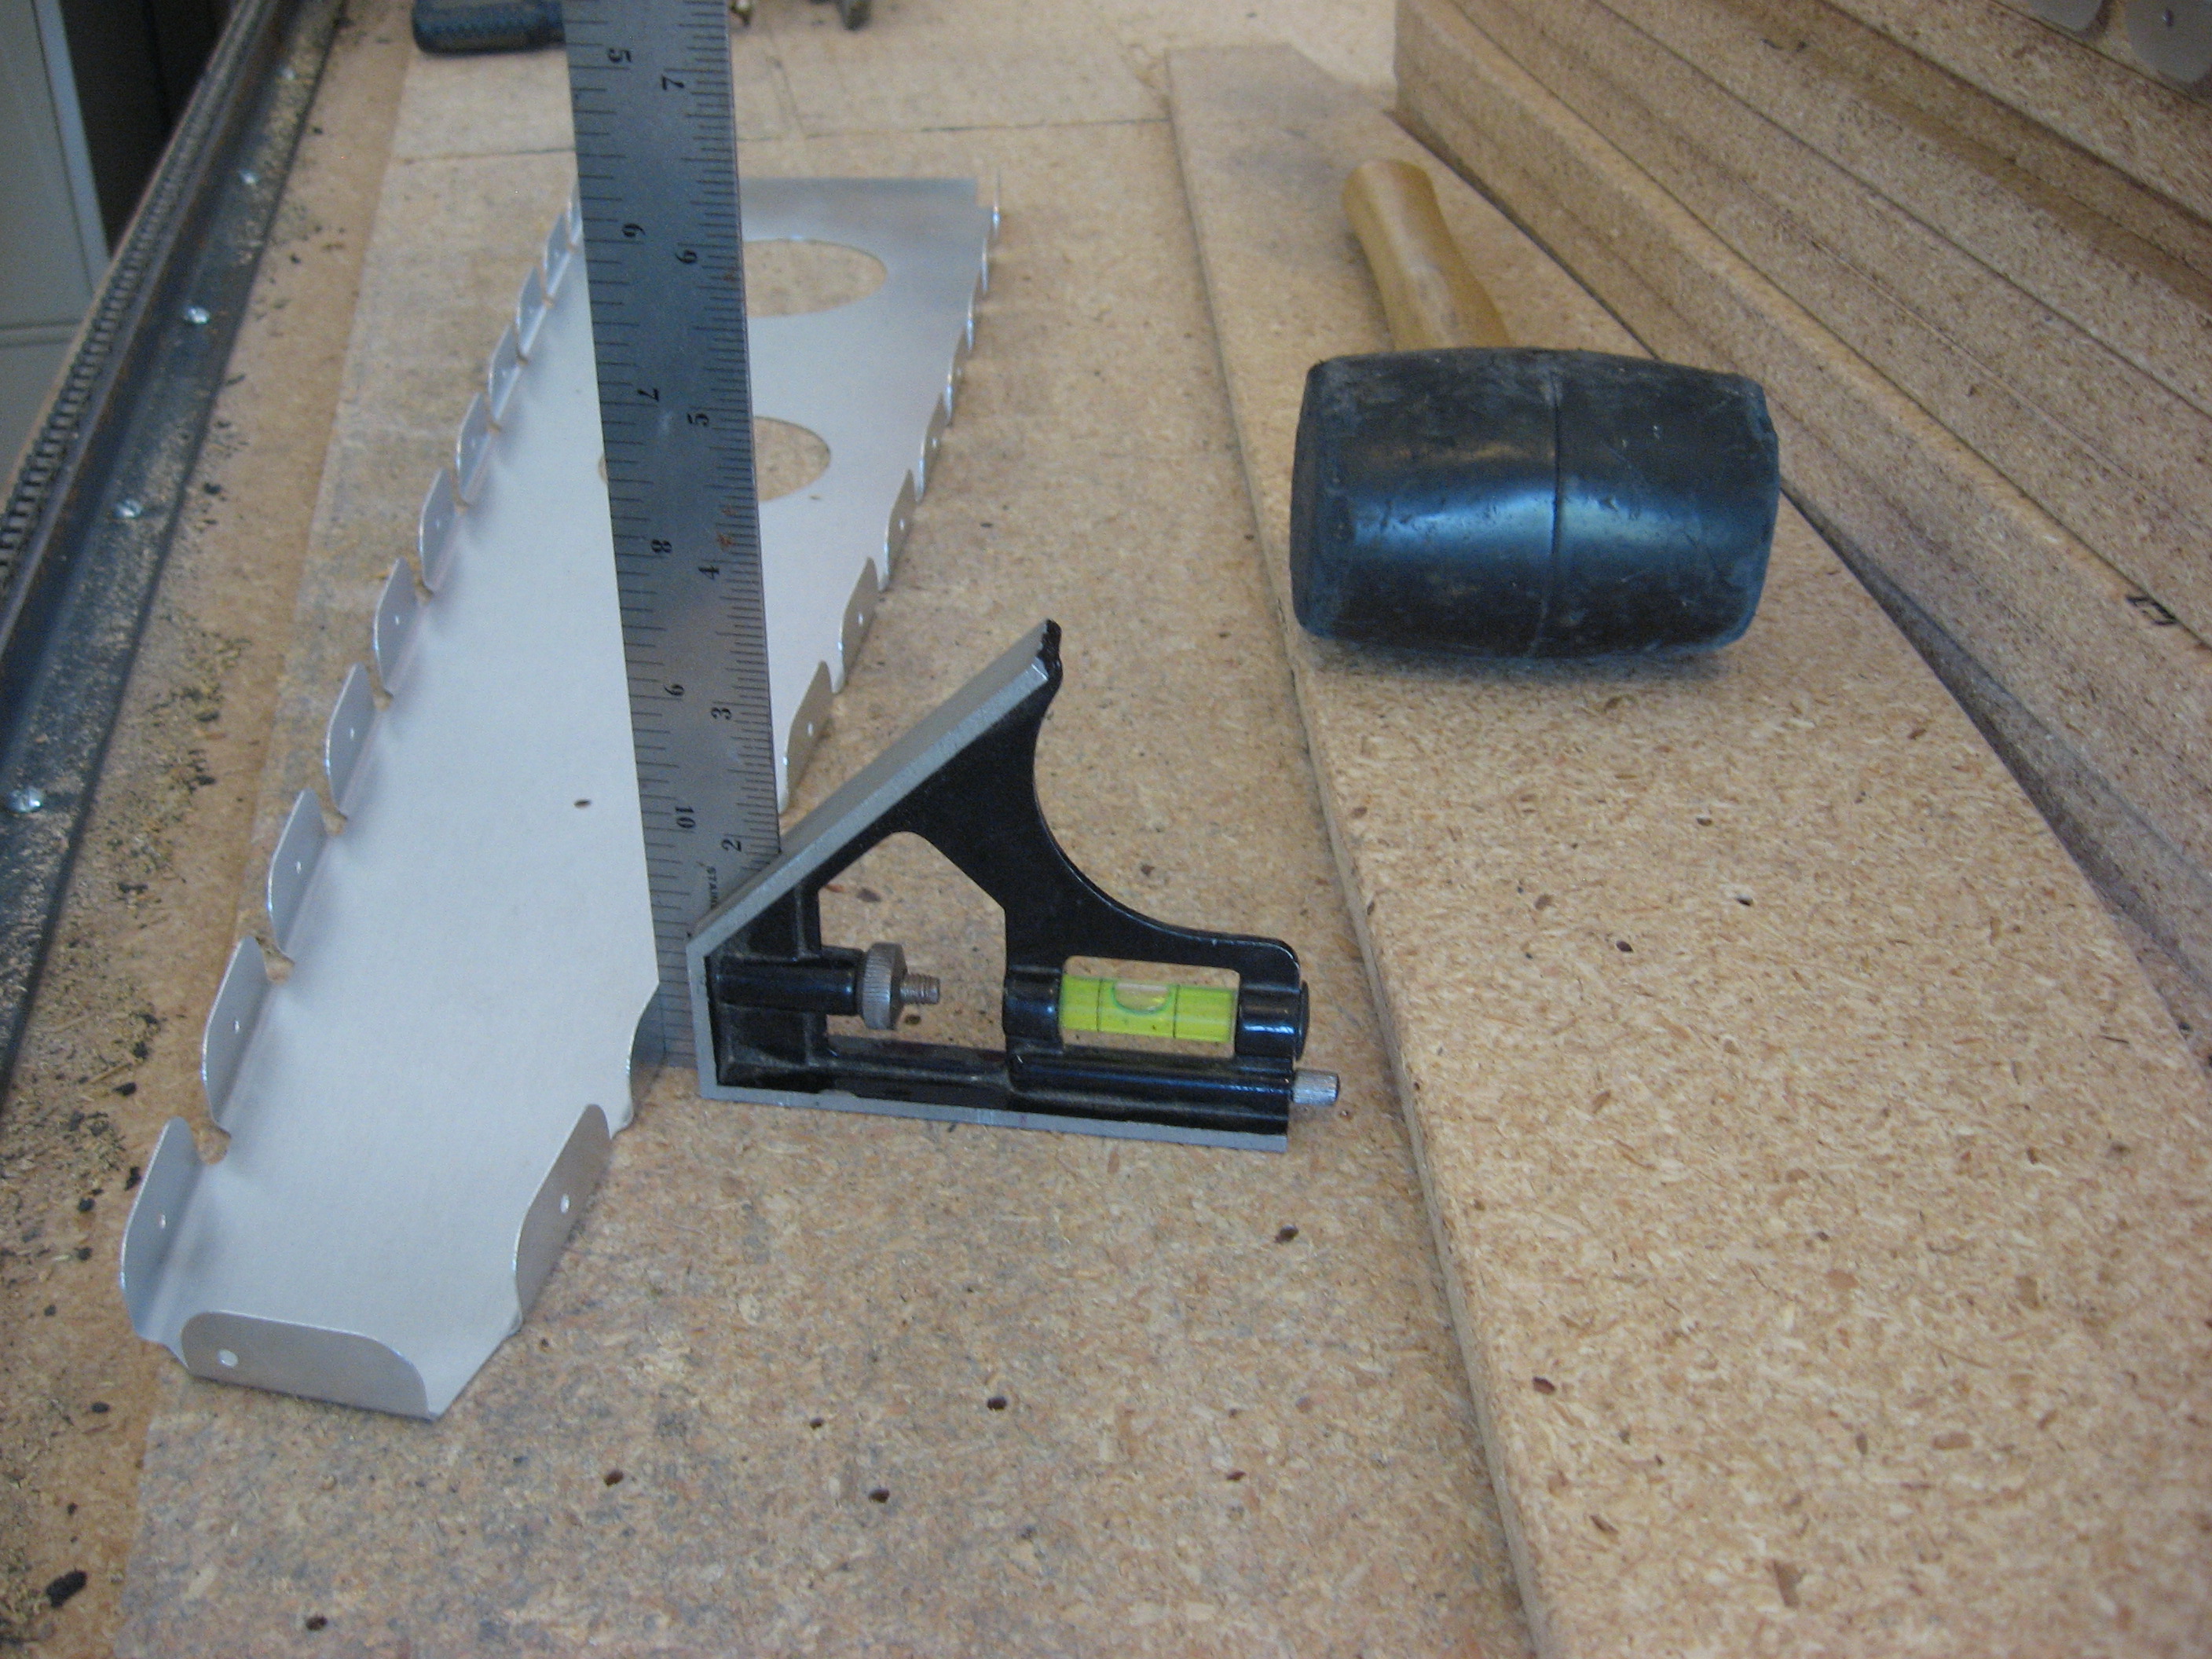
Flanges were checked and adjusted if needed. Very few were not at right angles:
Lightening holes need to be flanged on the ribs, and I have done this with both aluminum dies and softer dies...
Anything softer than aluminum produces a rounded flange and one with more internal stress. This is not a "problem" with traditional full flange ribs, but a tabbed flange rib will really warp and bend from the internal stress. Most builders don't notice and it probably does not account for much; their ribs are straightened with fluting pliers. But I noticed on mine.
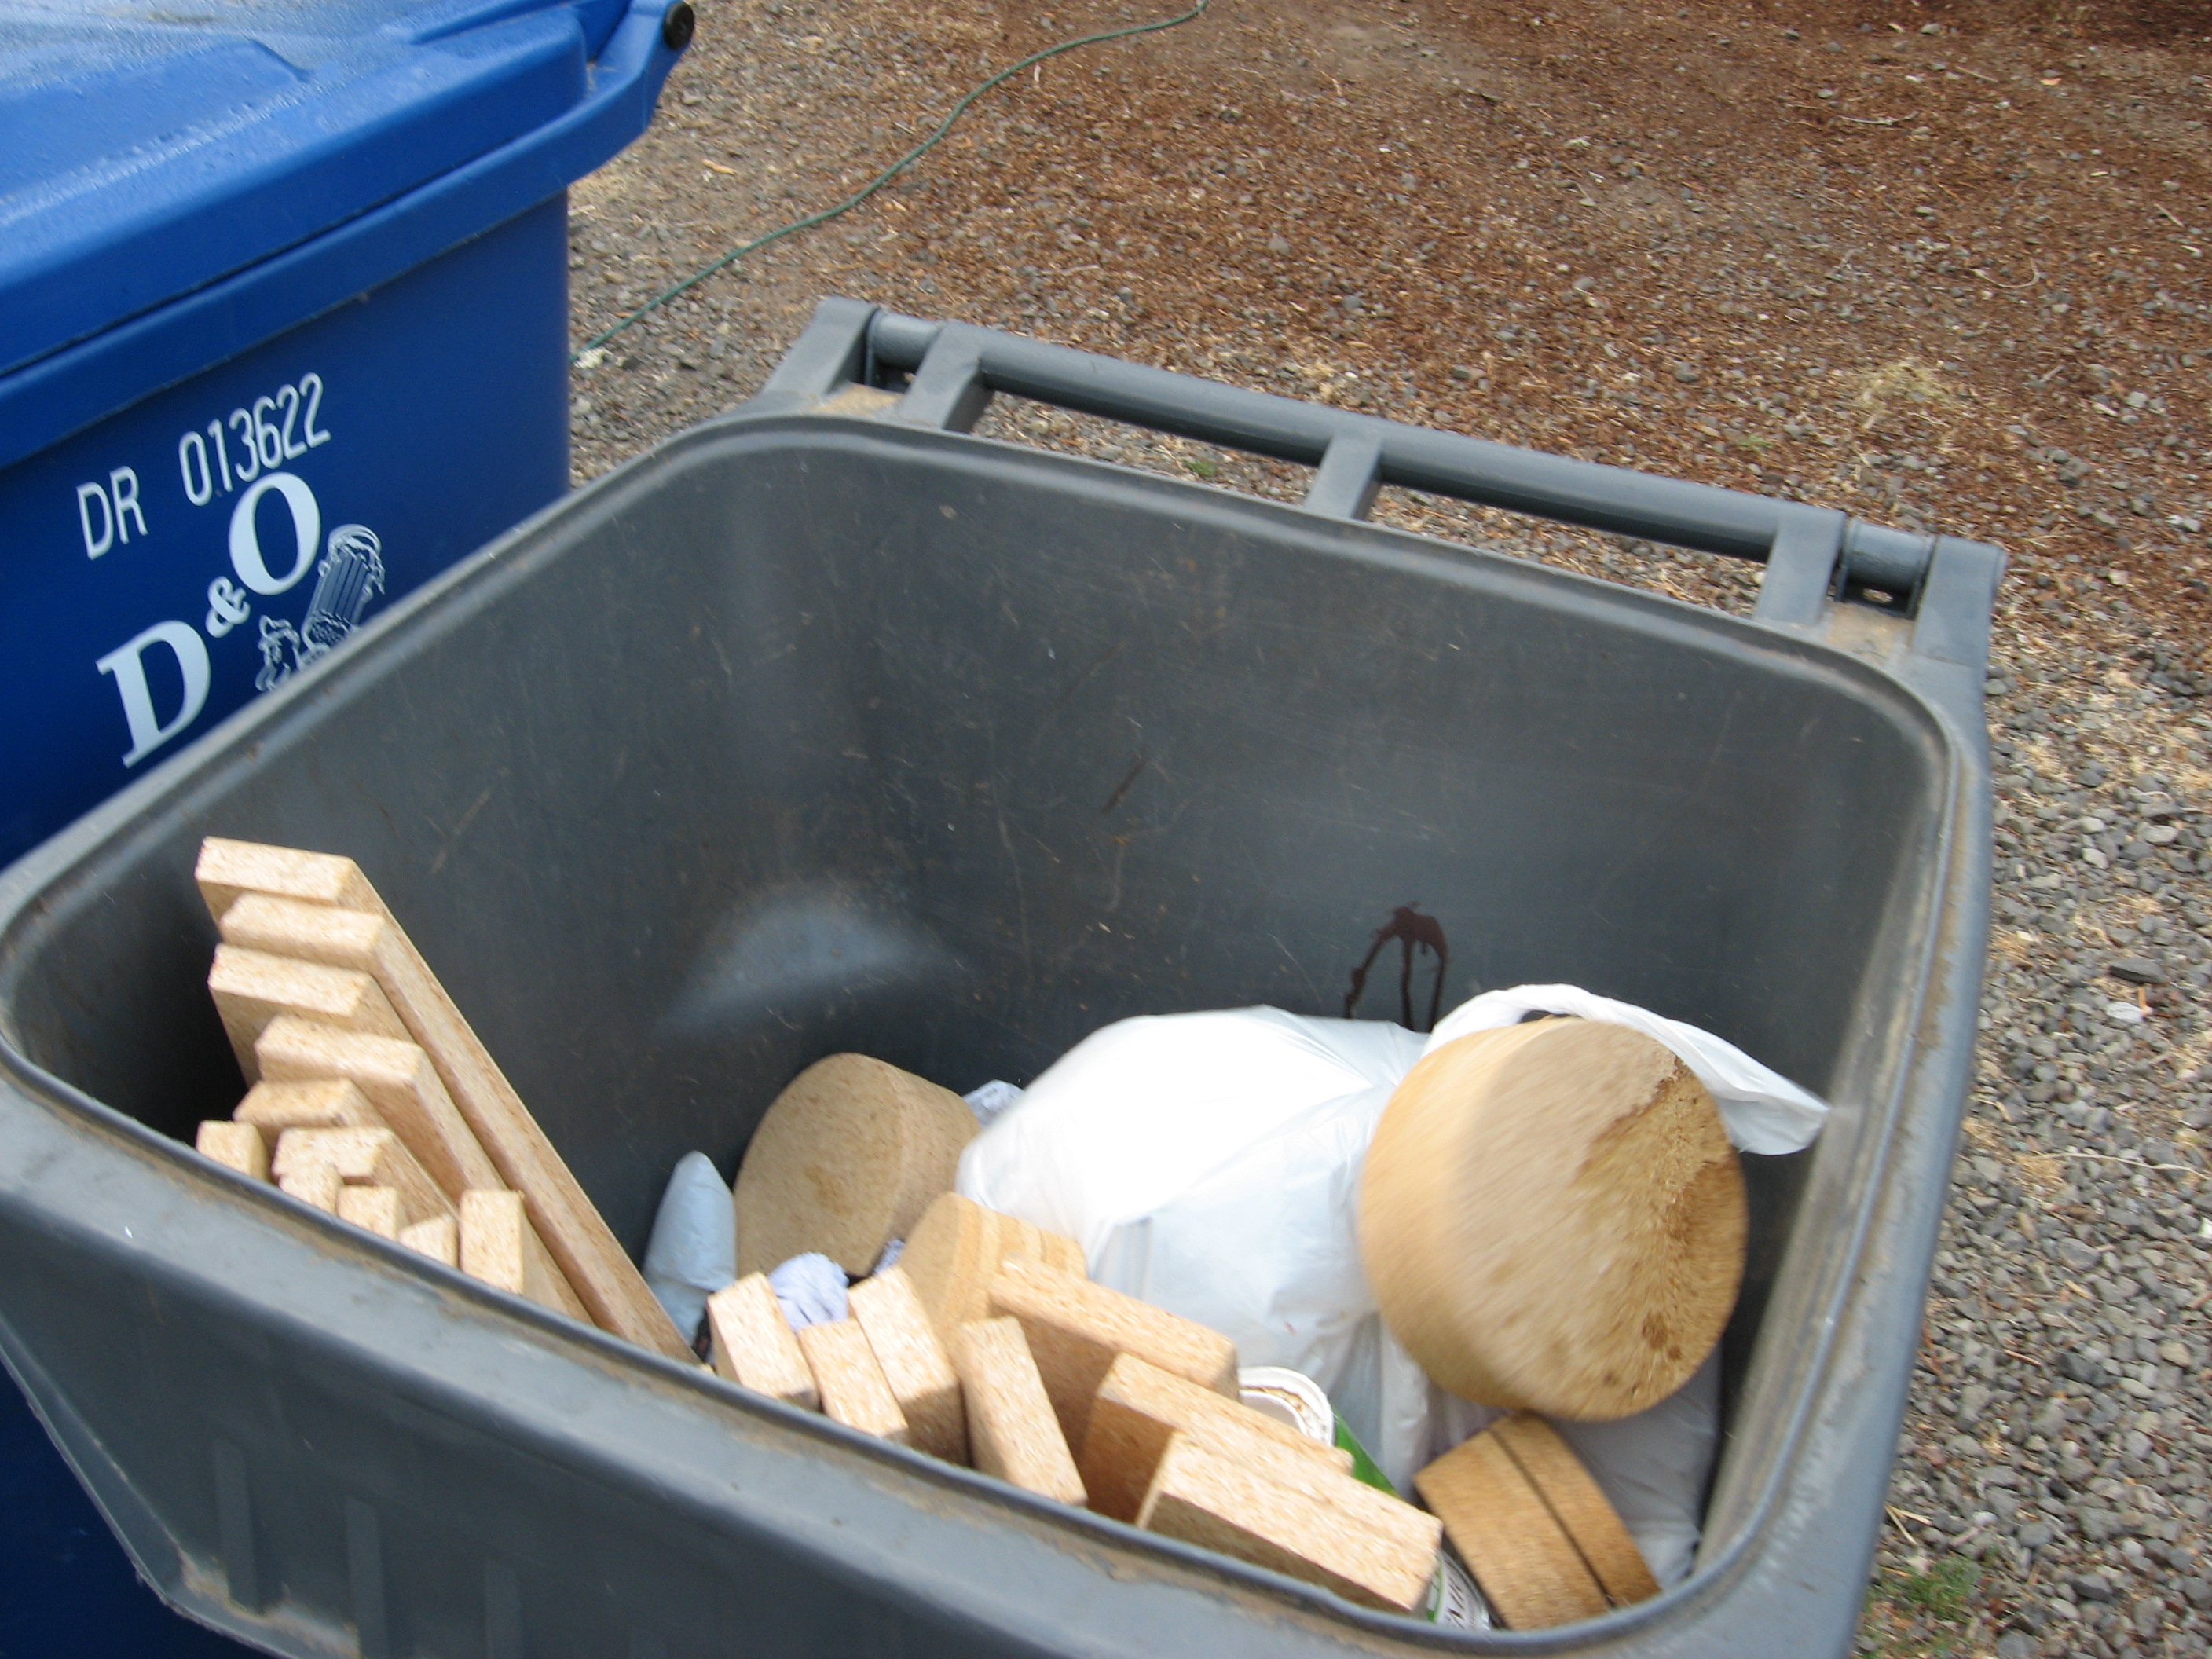
I made and used these dies made from 3/8" MDF:
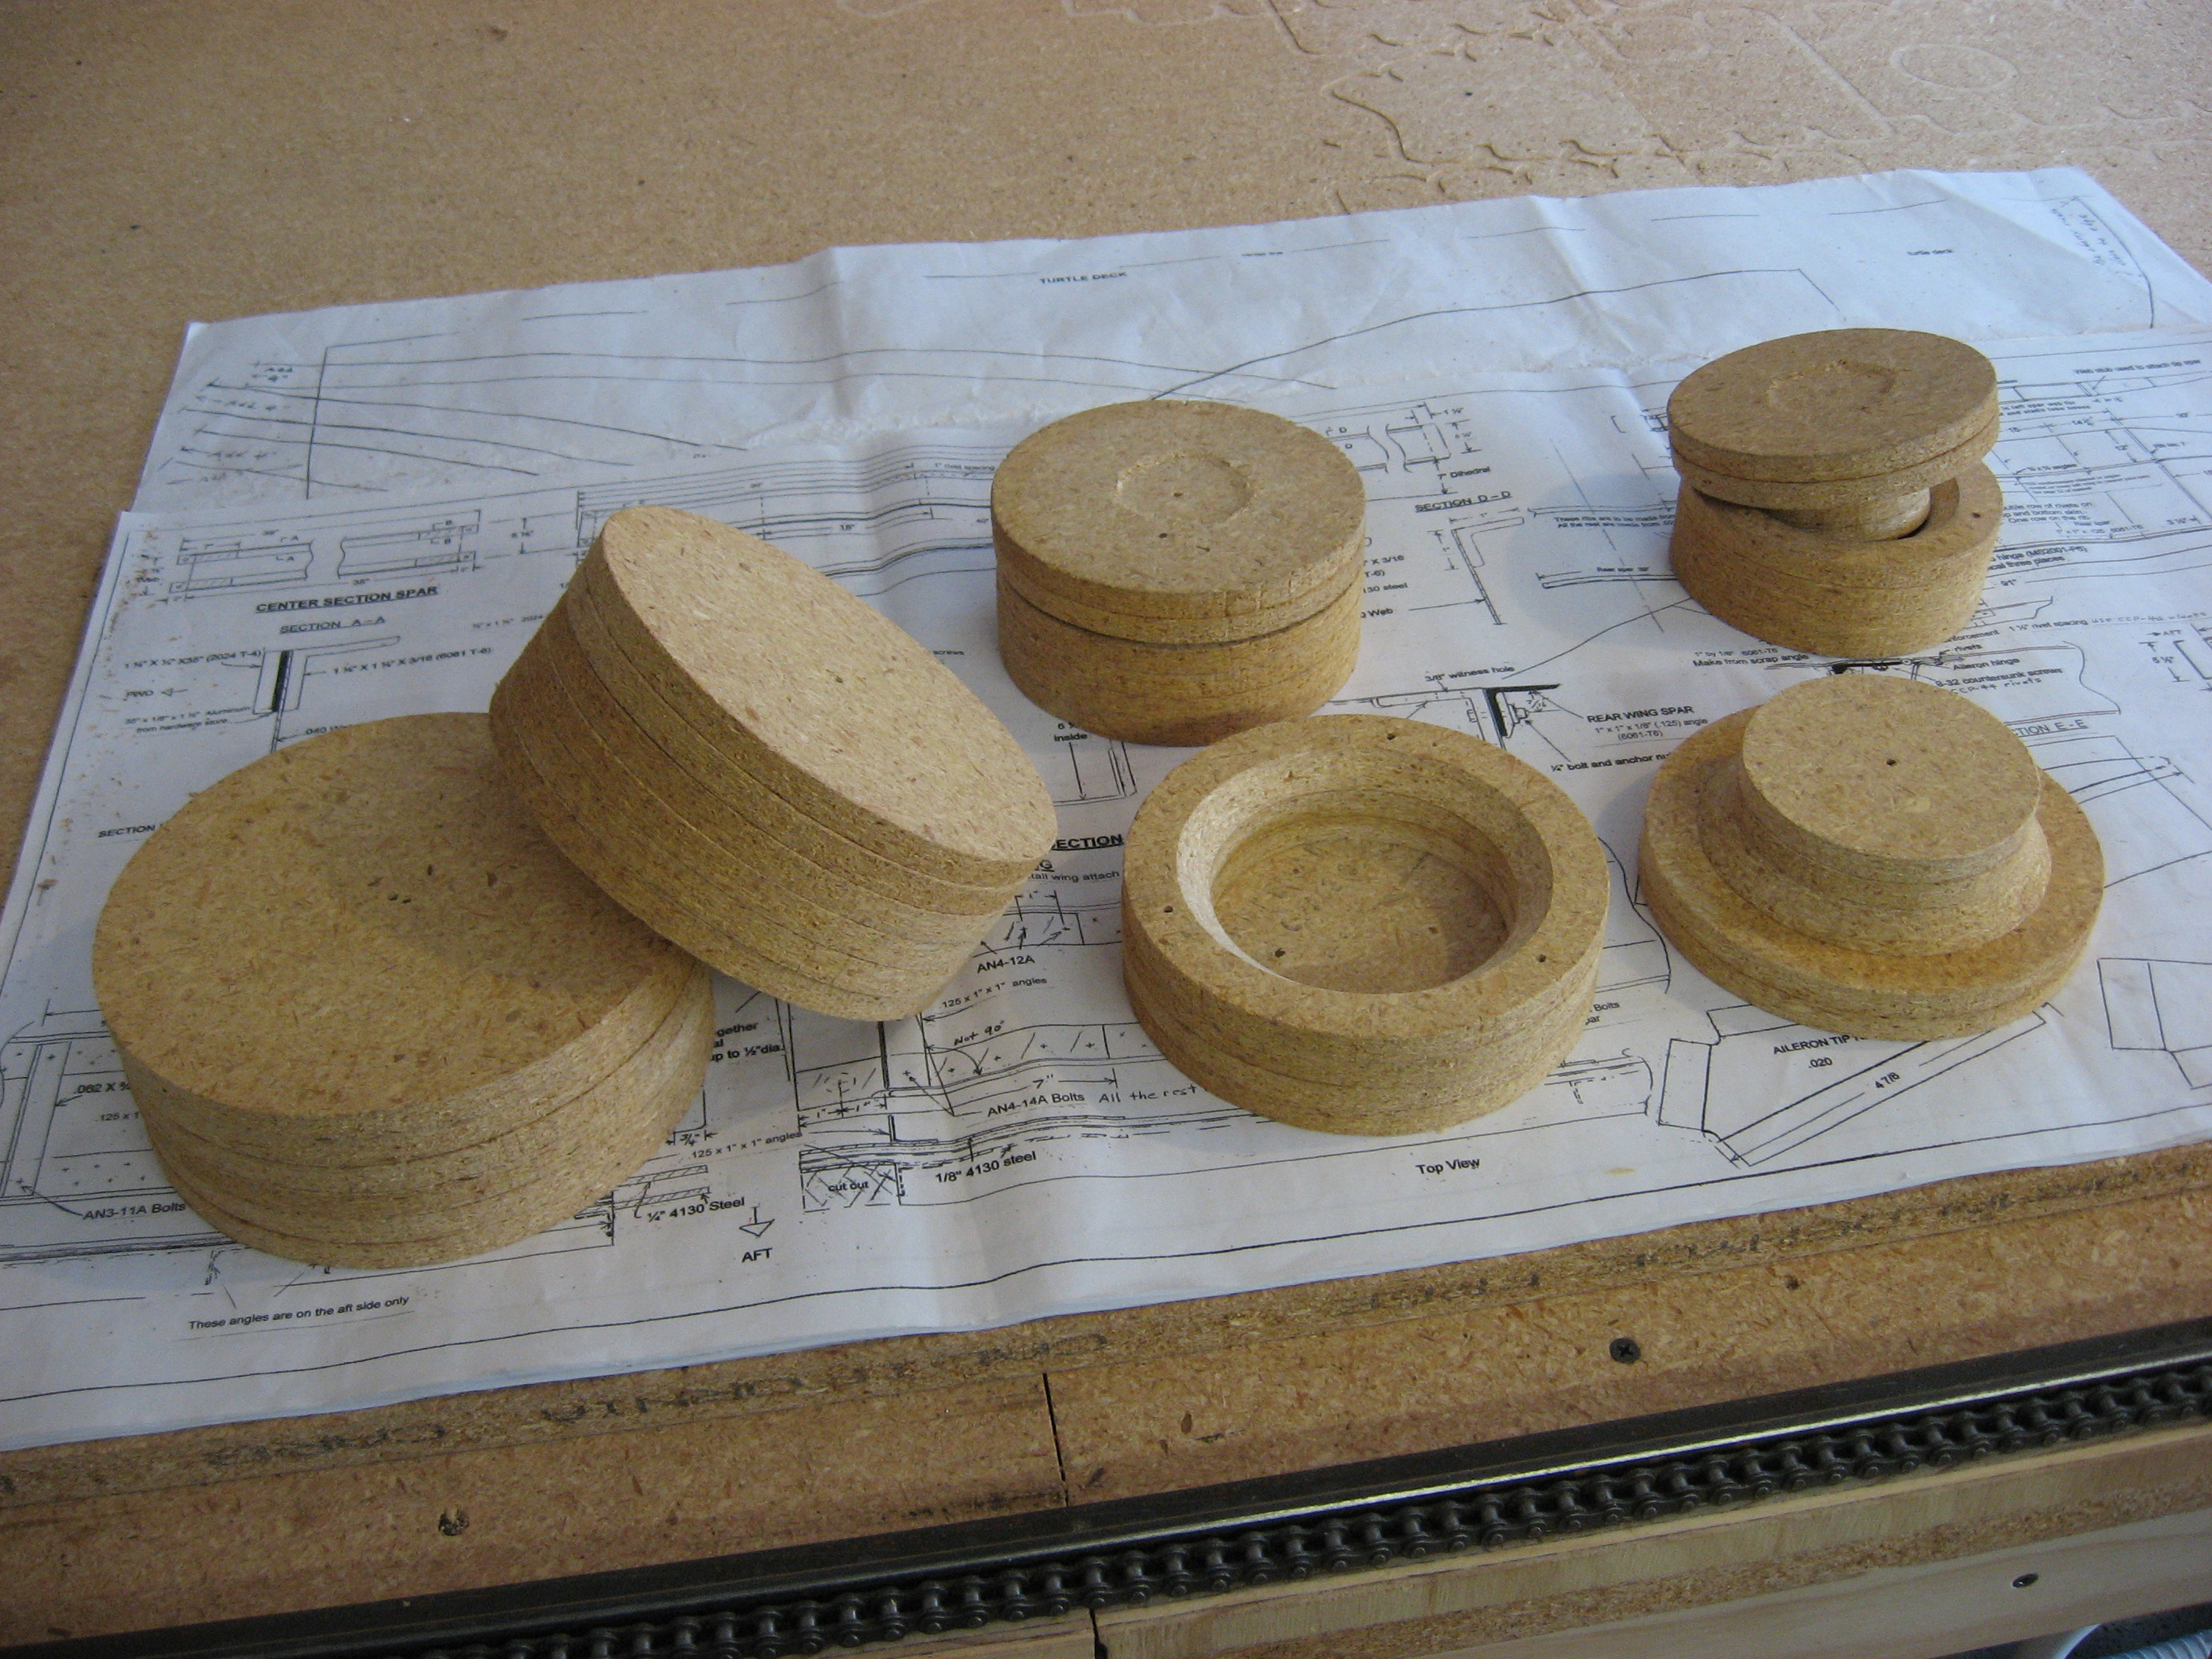
And they didn't do a good enough job:
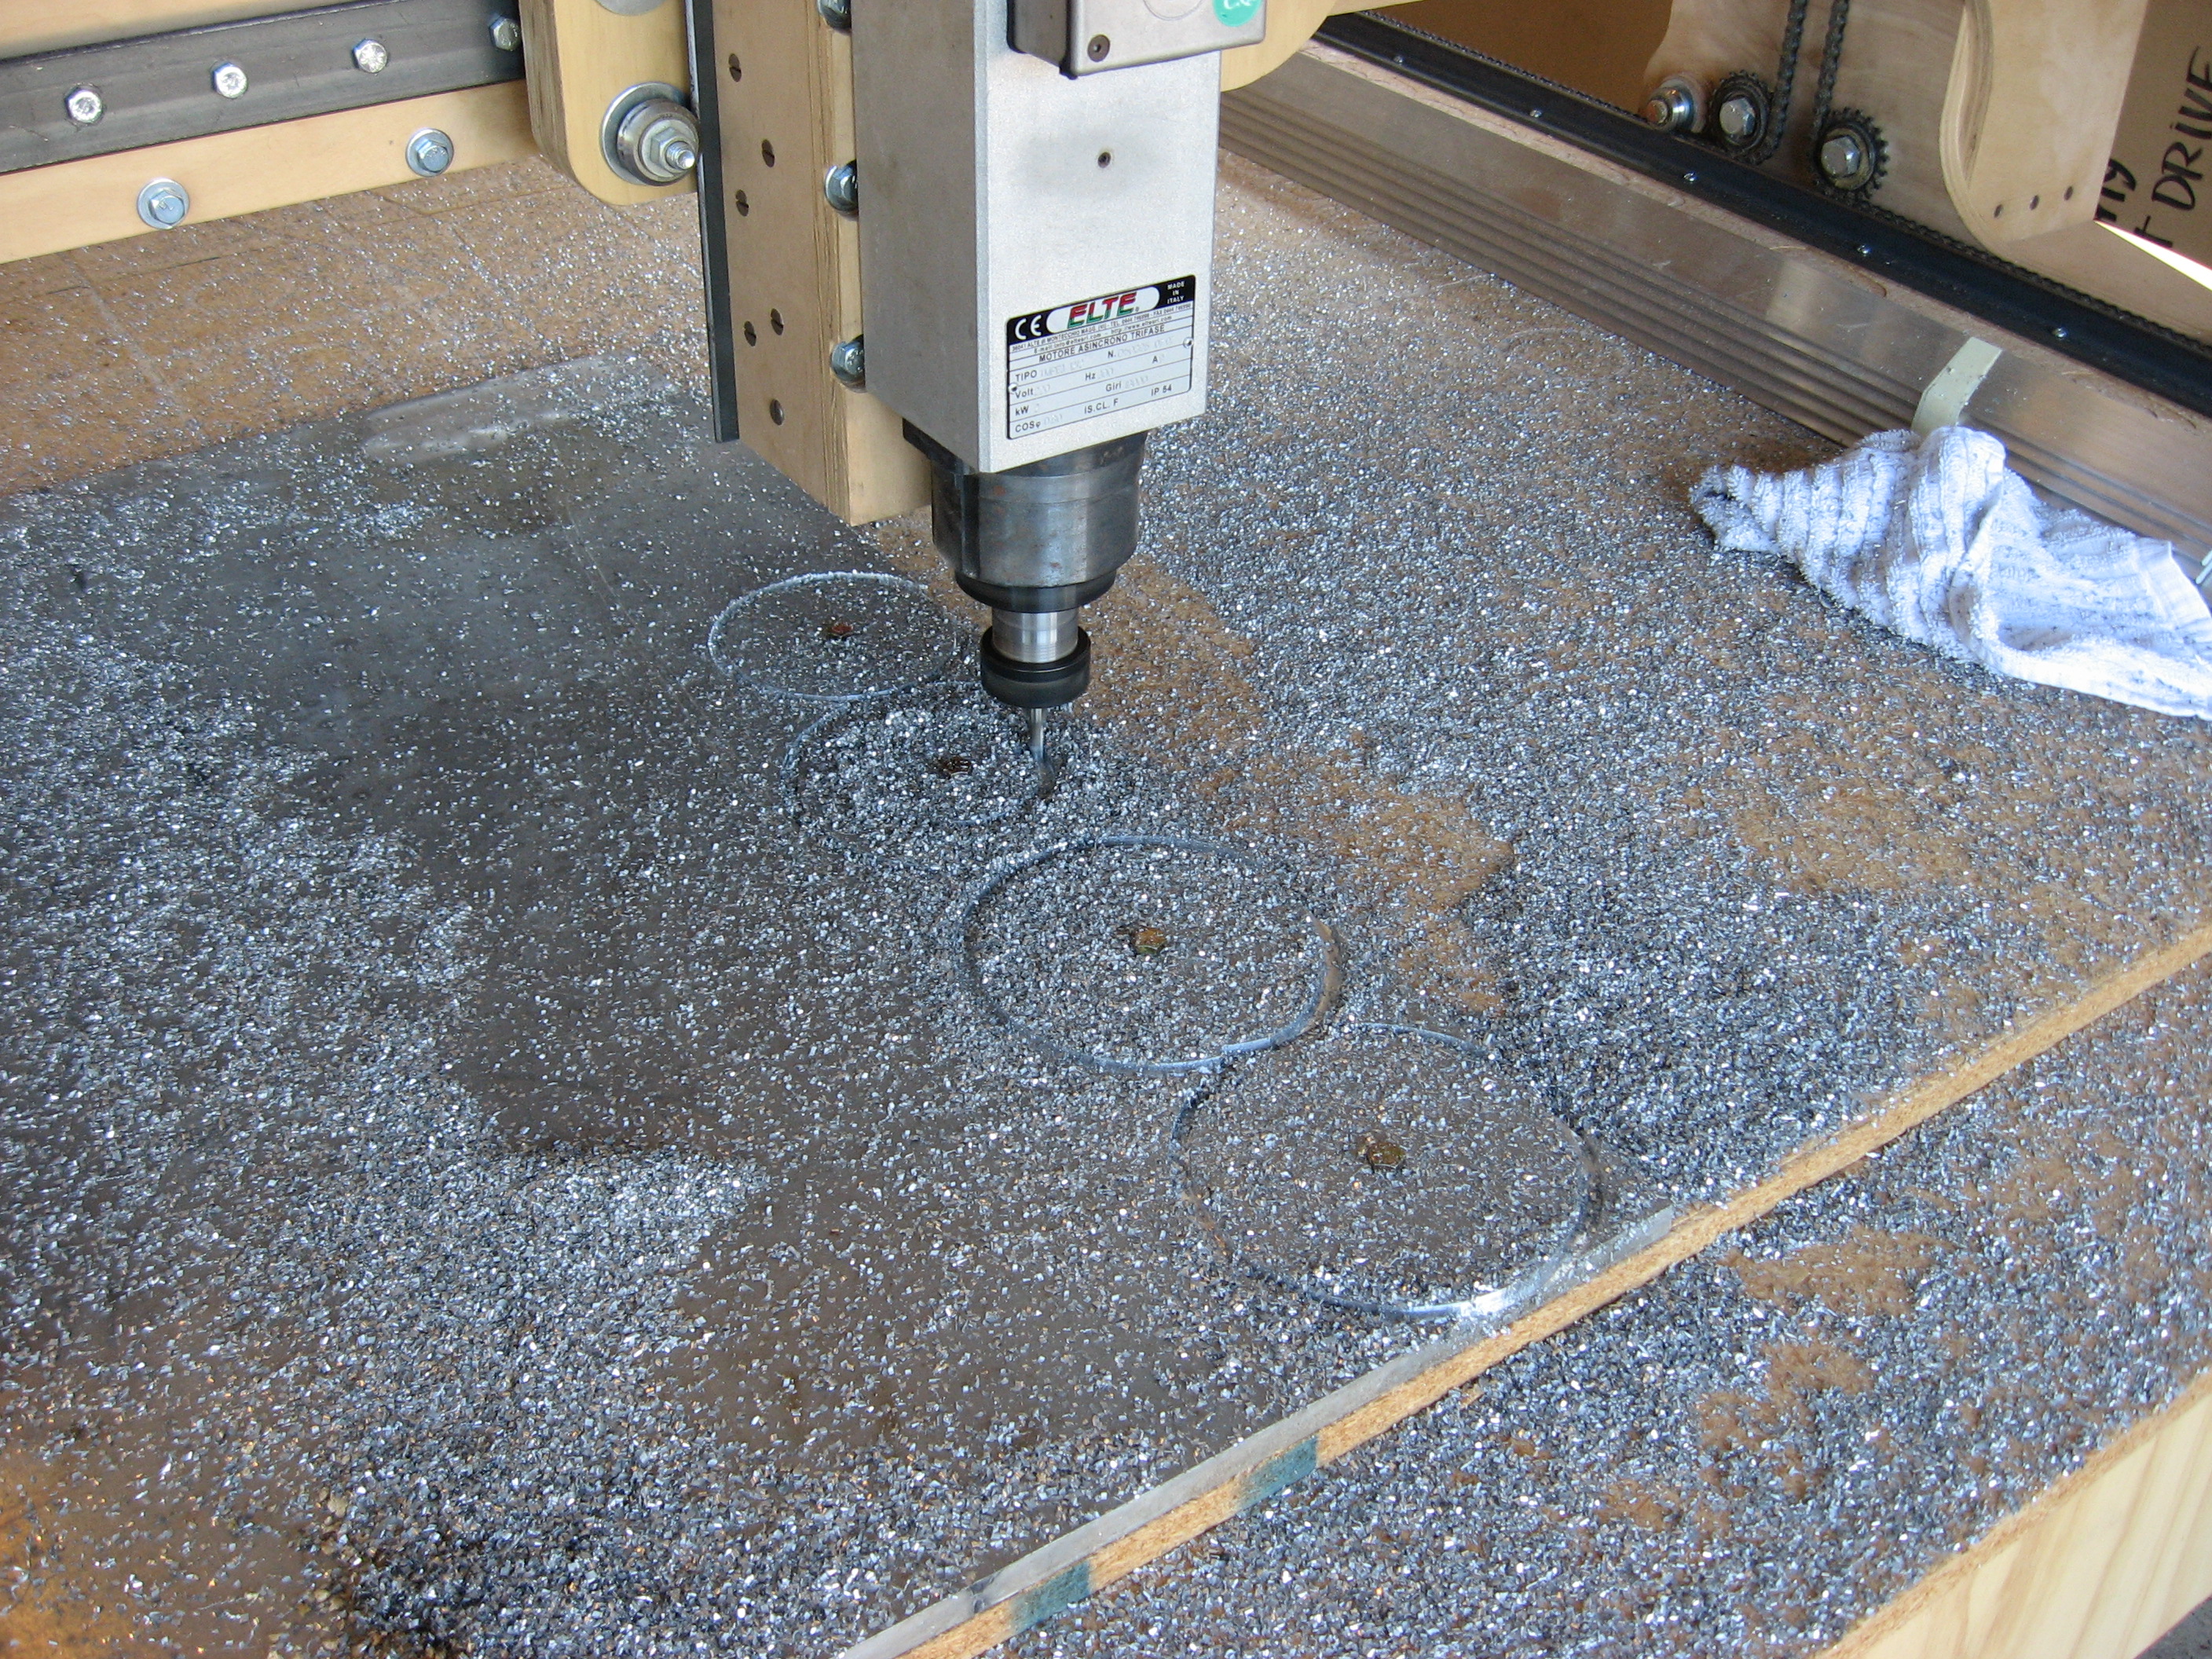
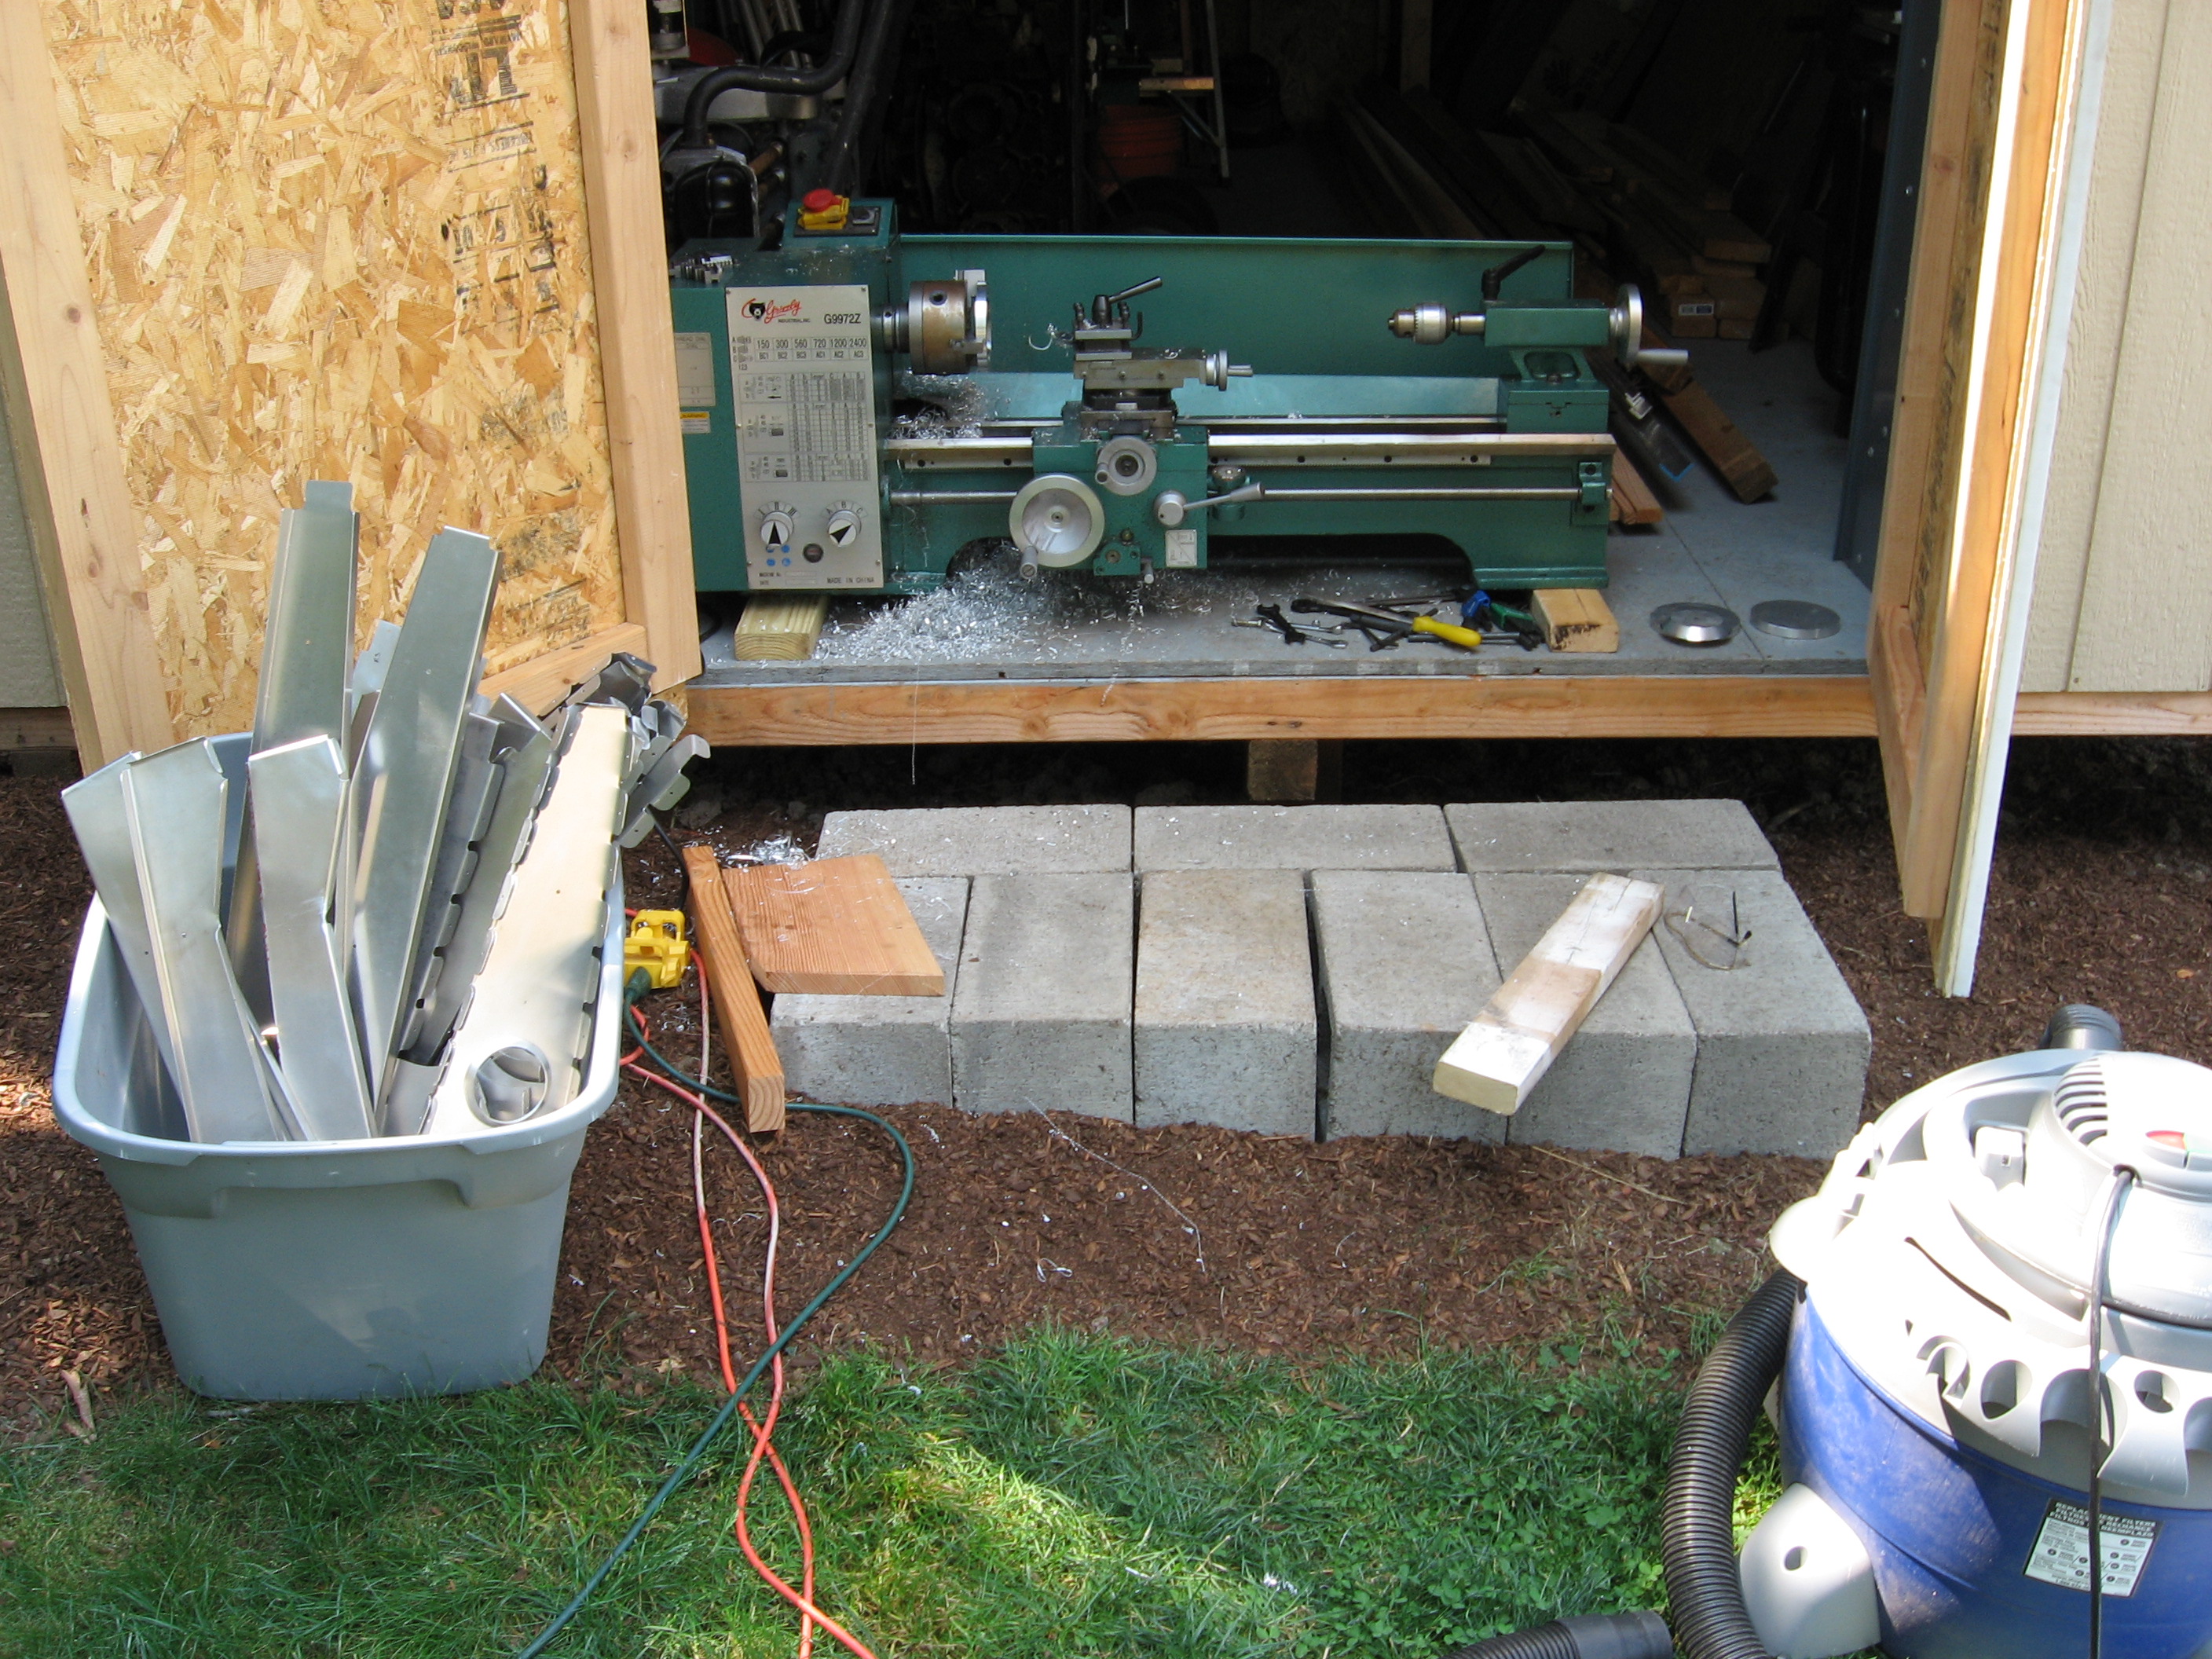
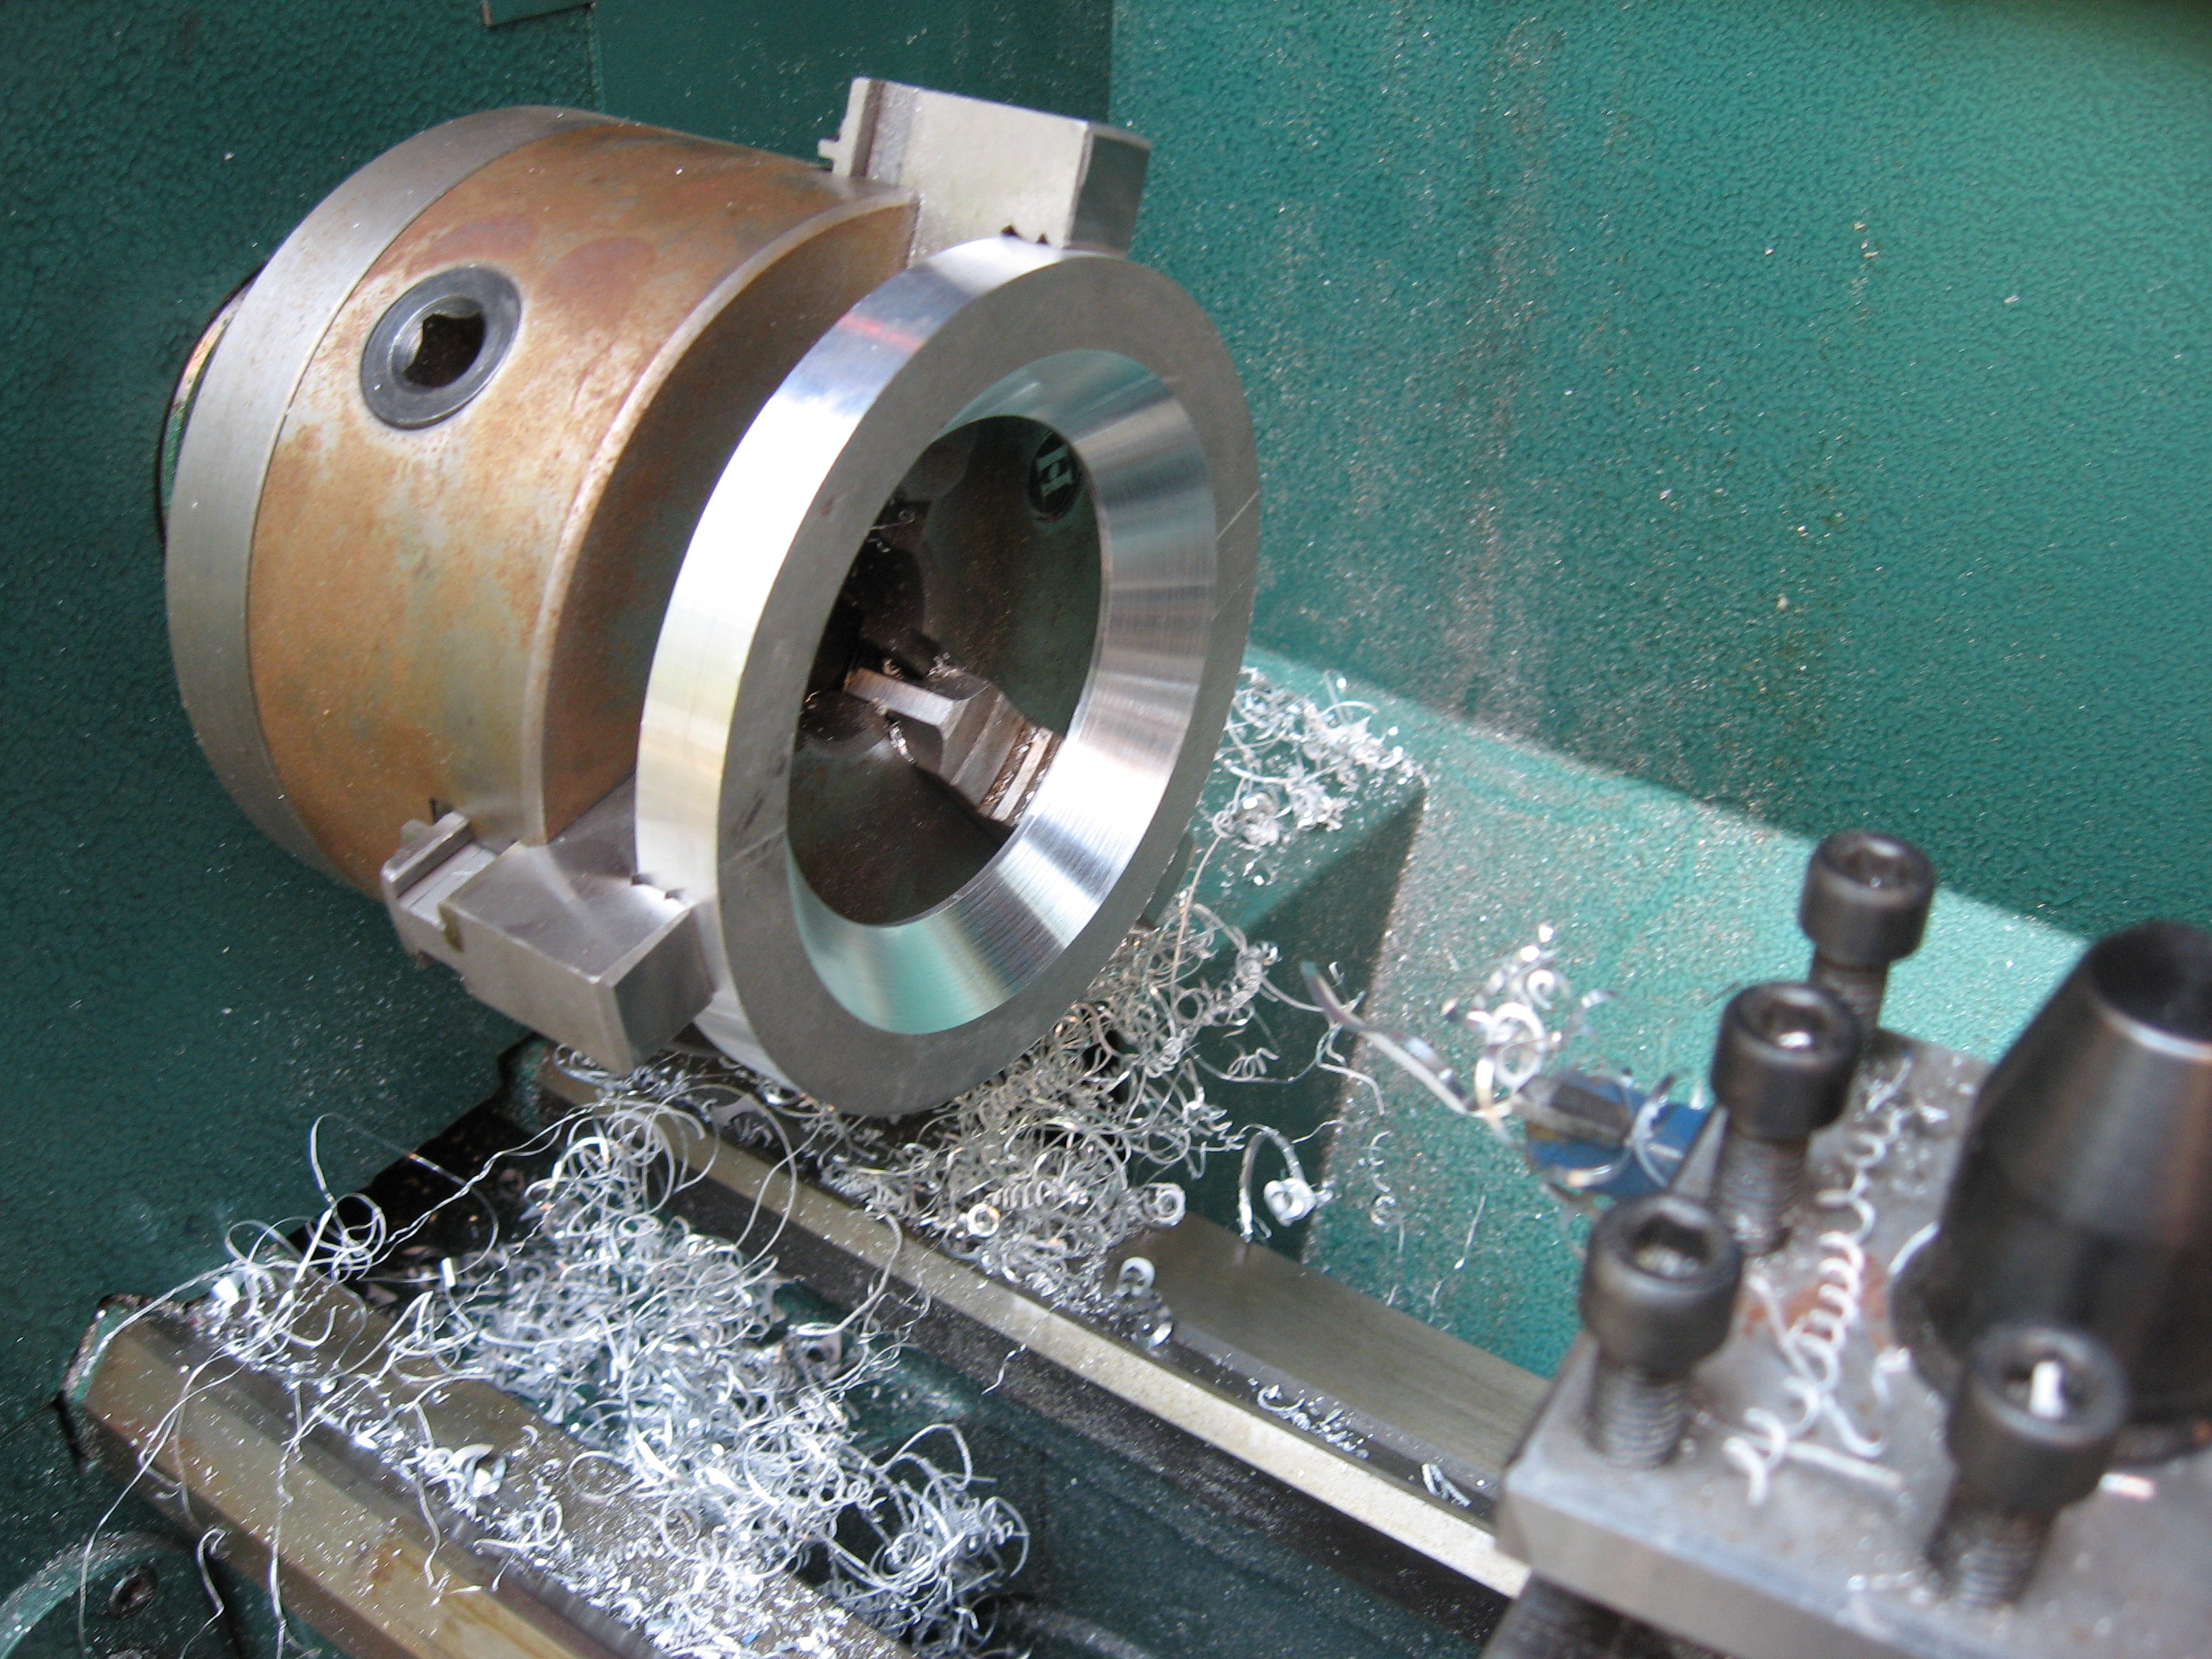
I had aluminum dies from my Zenith 650 project, but was missing one size. I made one more from a 3/8" thick plate of aluminum:
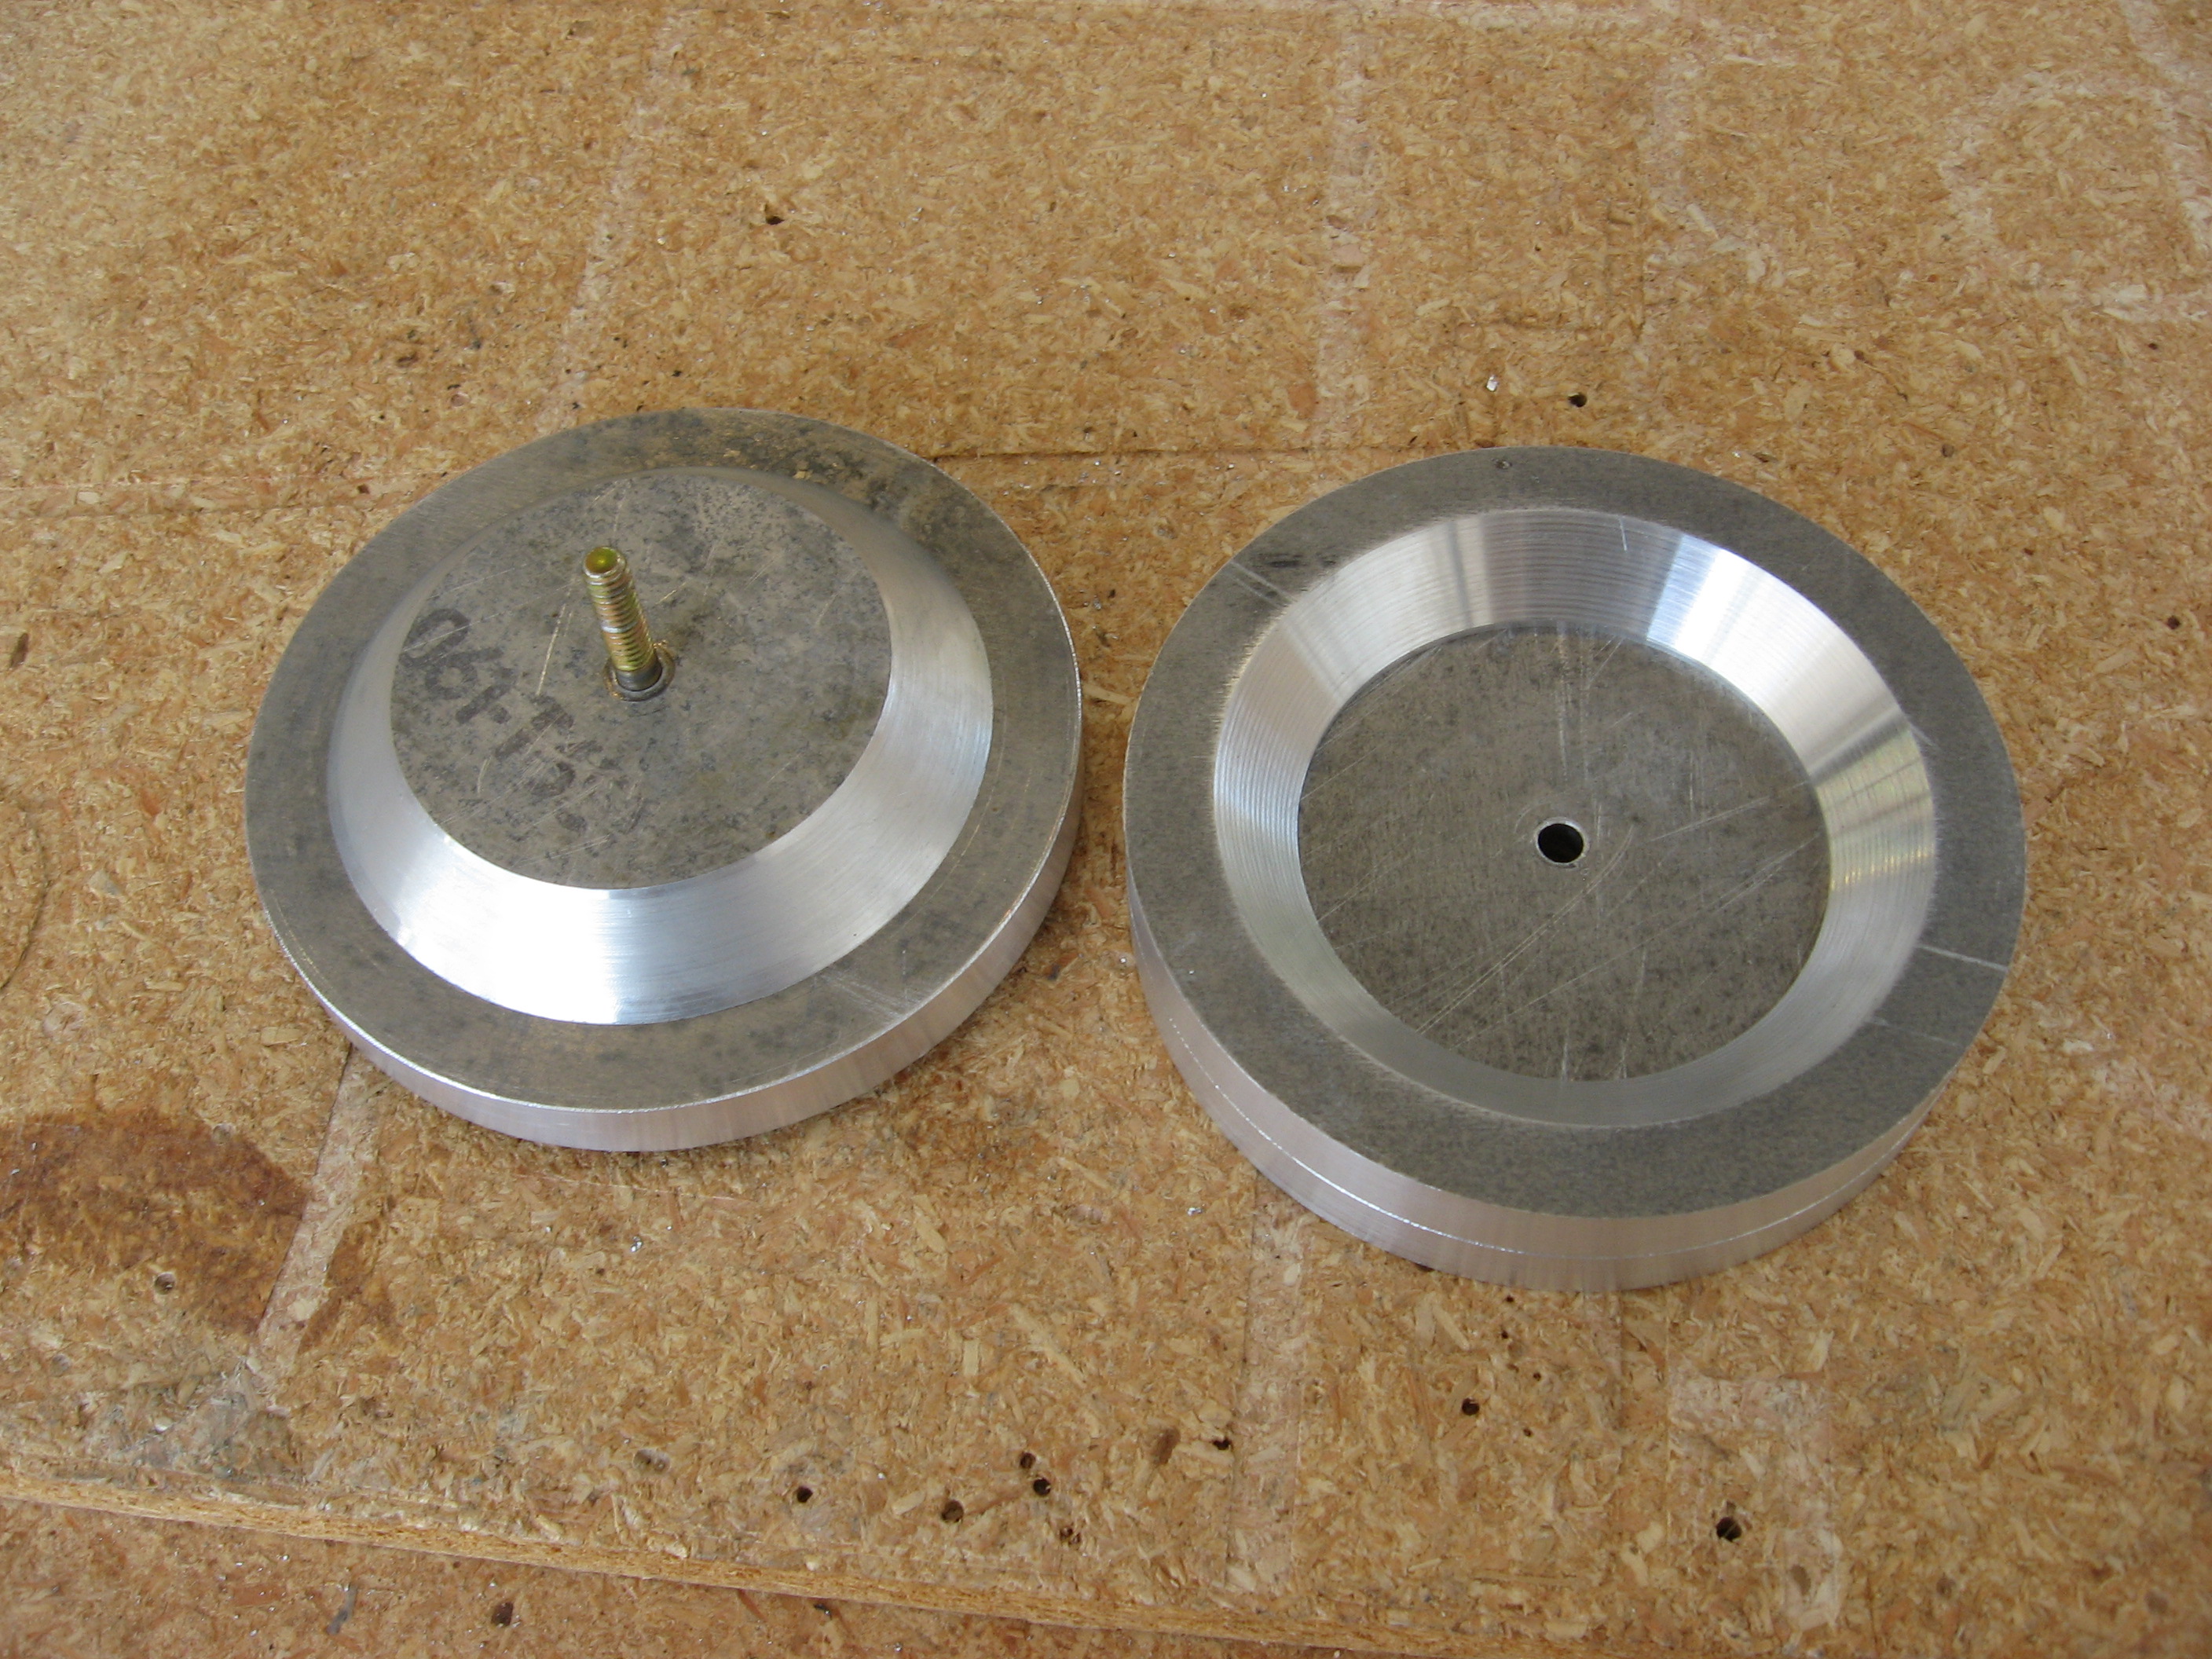
Wing Spars
A notable bit of work on the spars is tapering the spar caps. They start with a wide aluminum angle, but taper as they get closer to the wing tip.
The required taper was marked using a Sharpie:
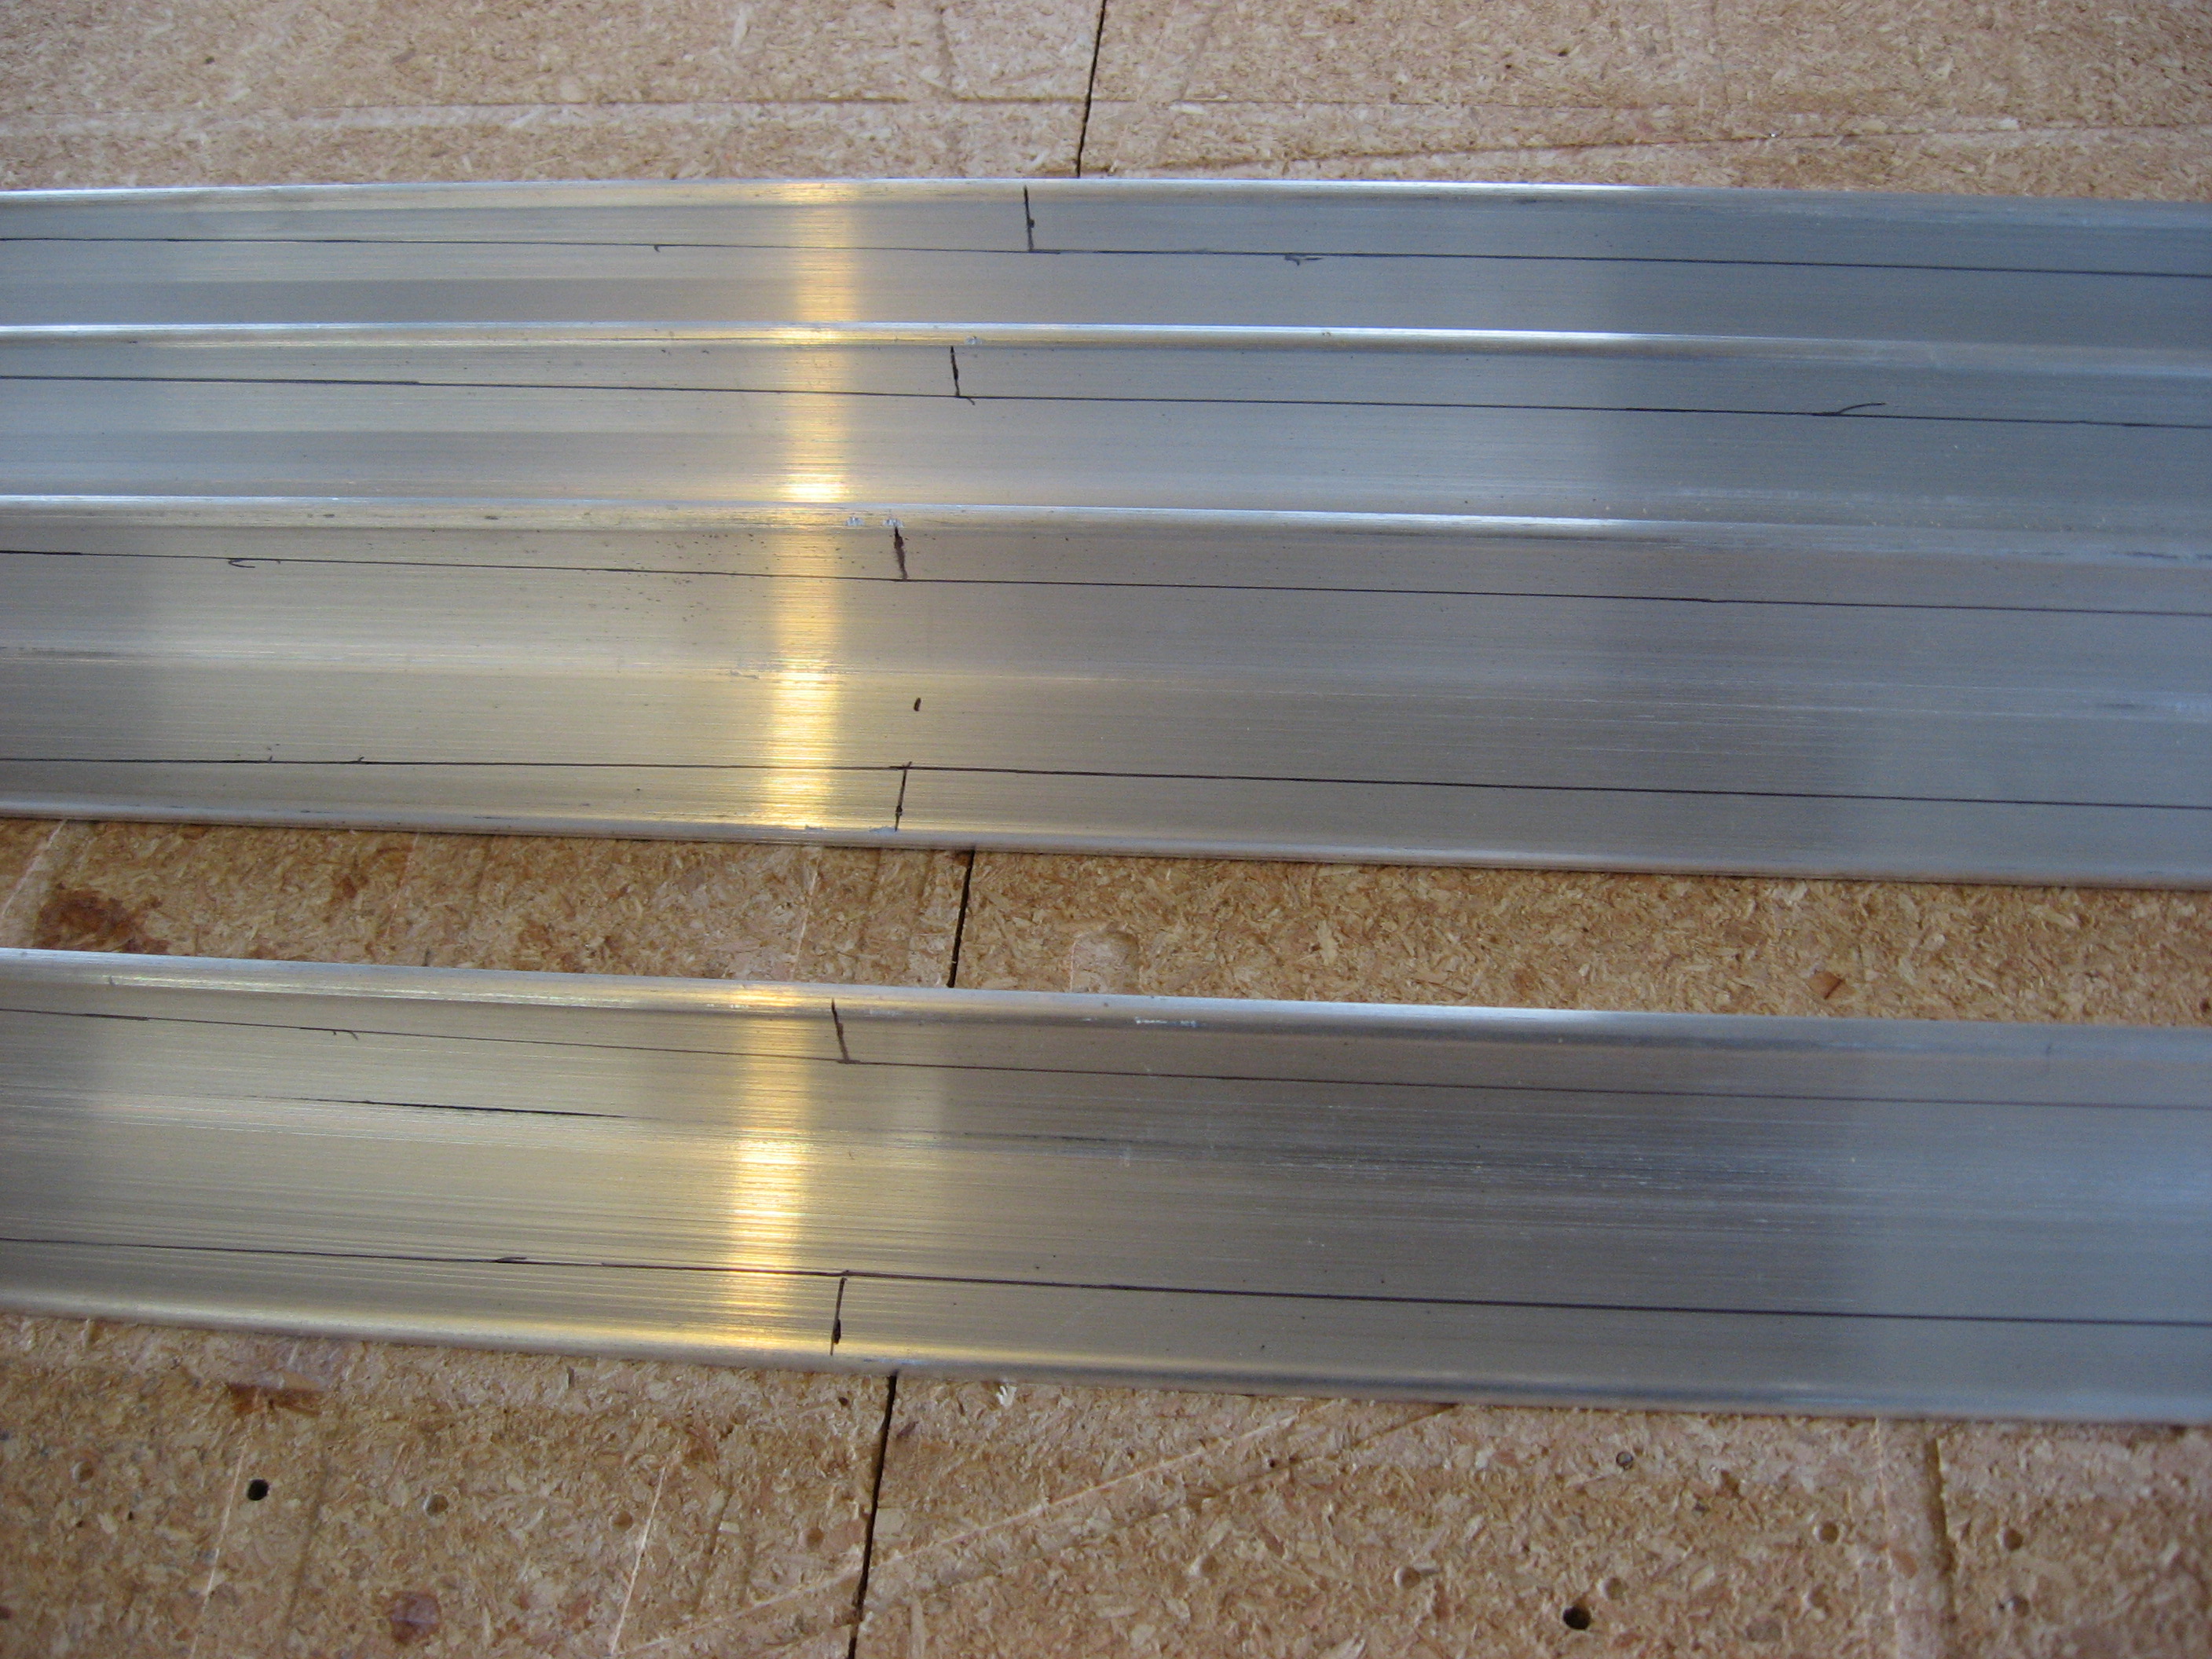
I then cut just outside of the mark with a bandsaw. Using a hand plane set very thin, I was able to whittle down to the line. Yes, this was a lot of work! I was then able to do a final sanding.
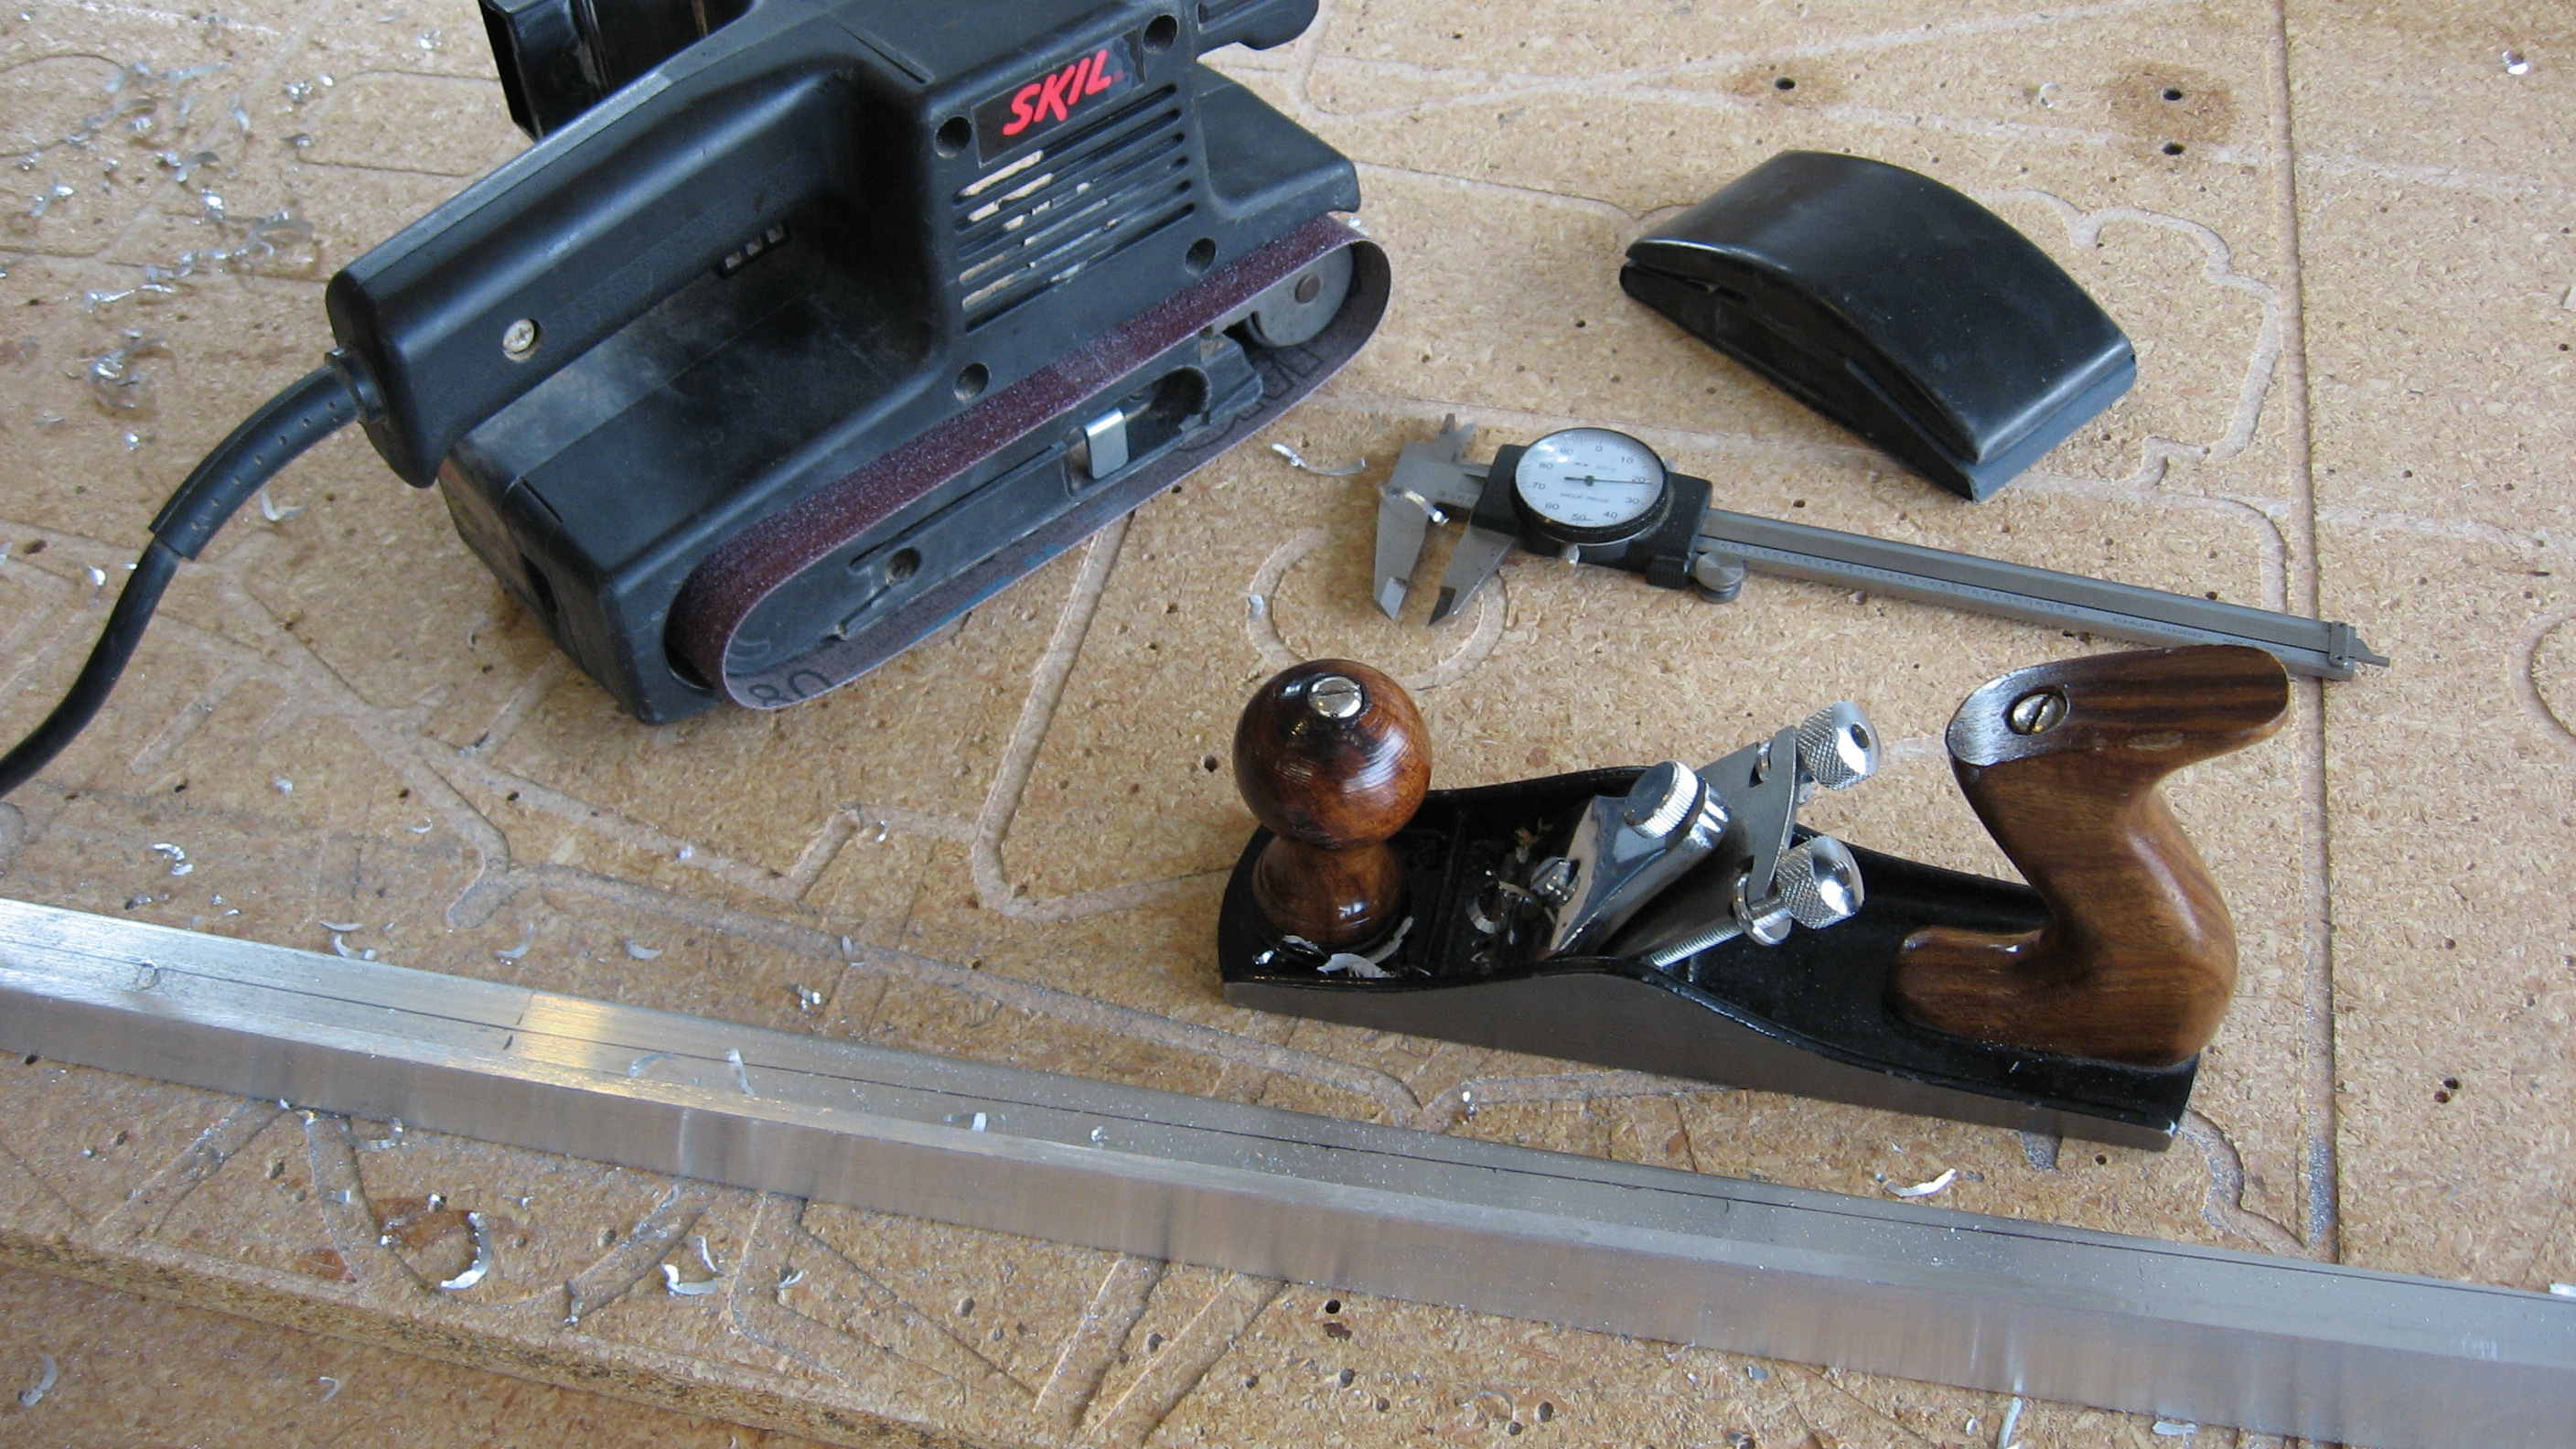
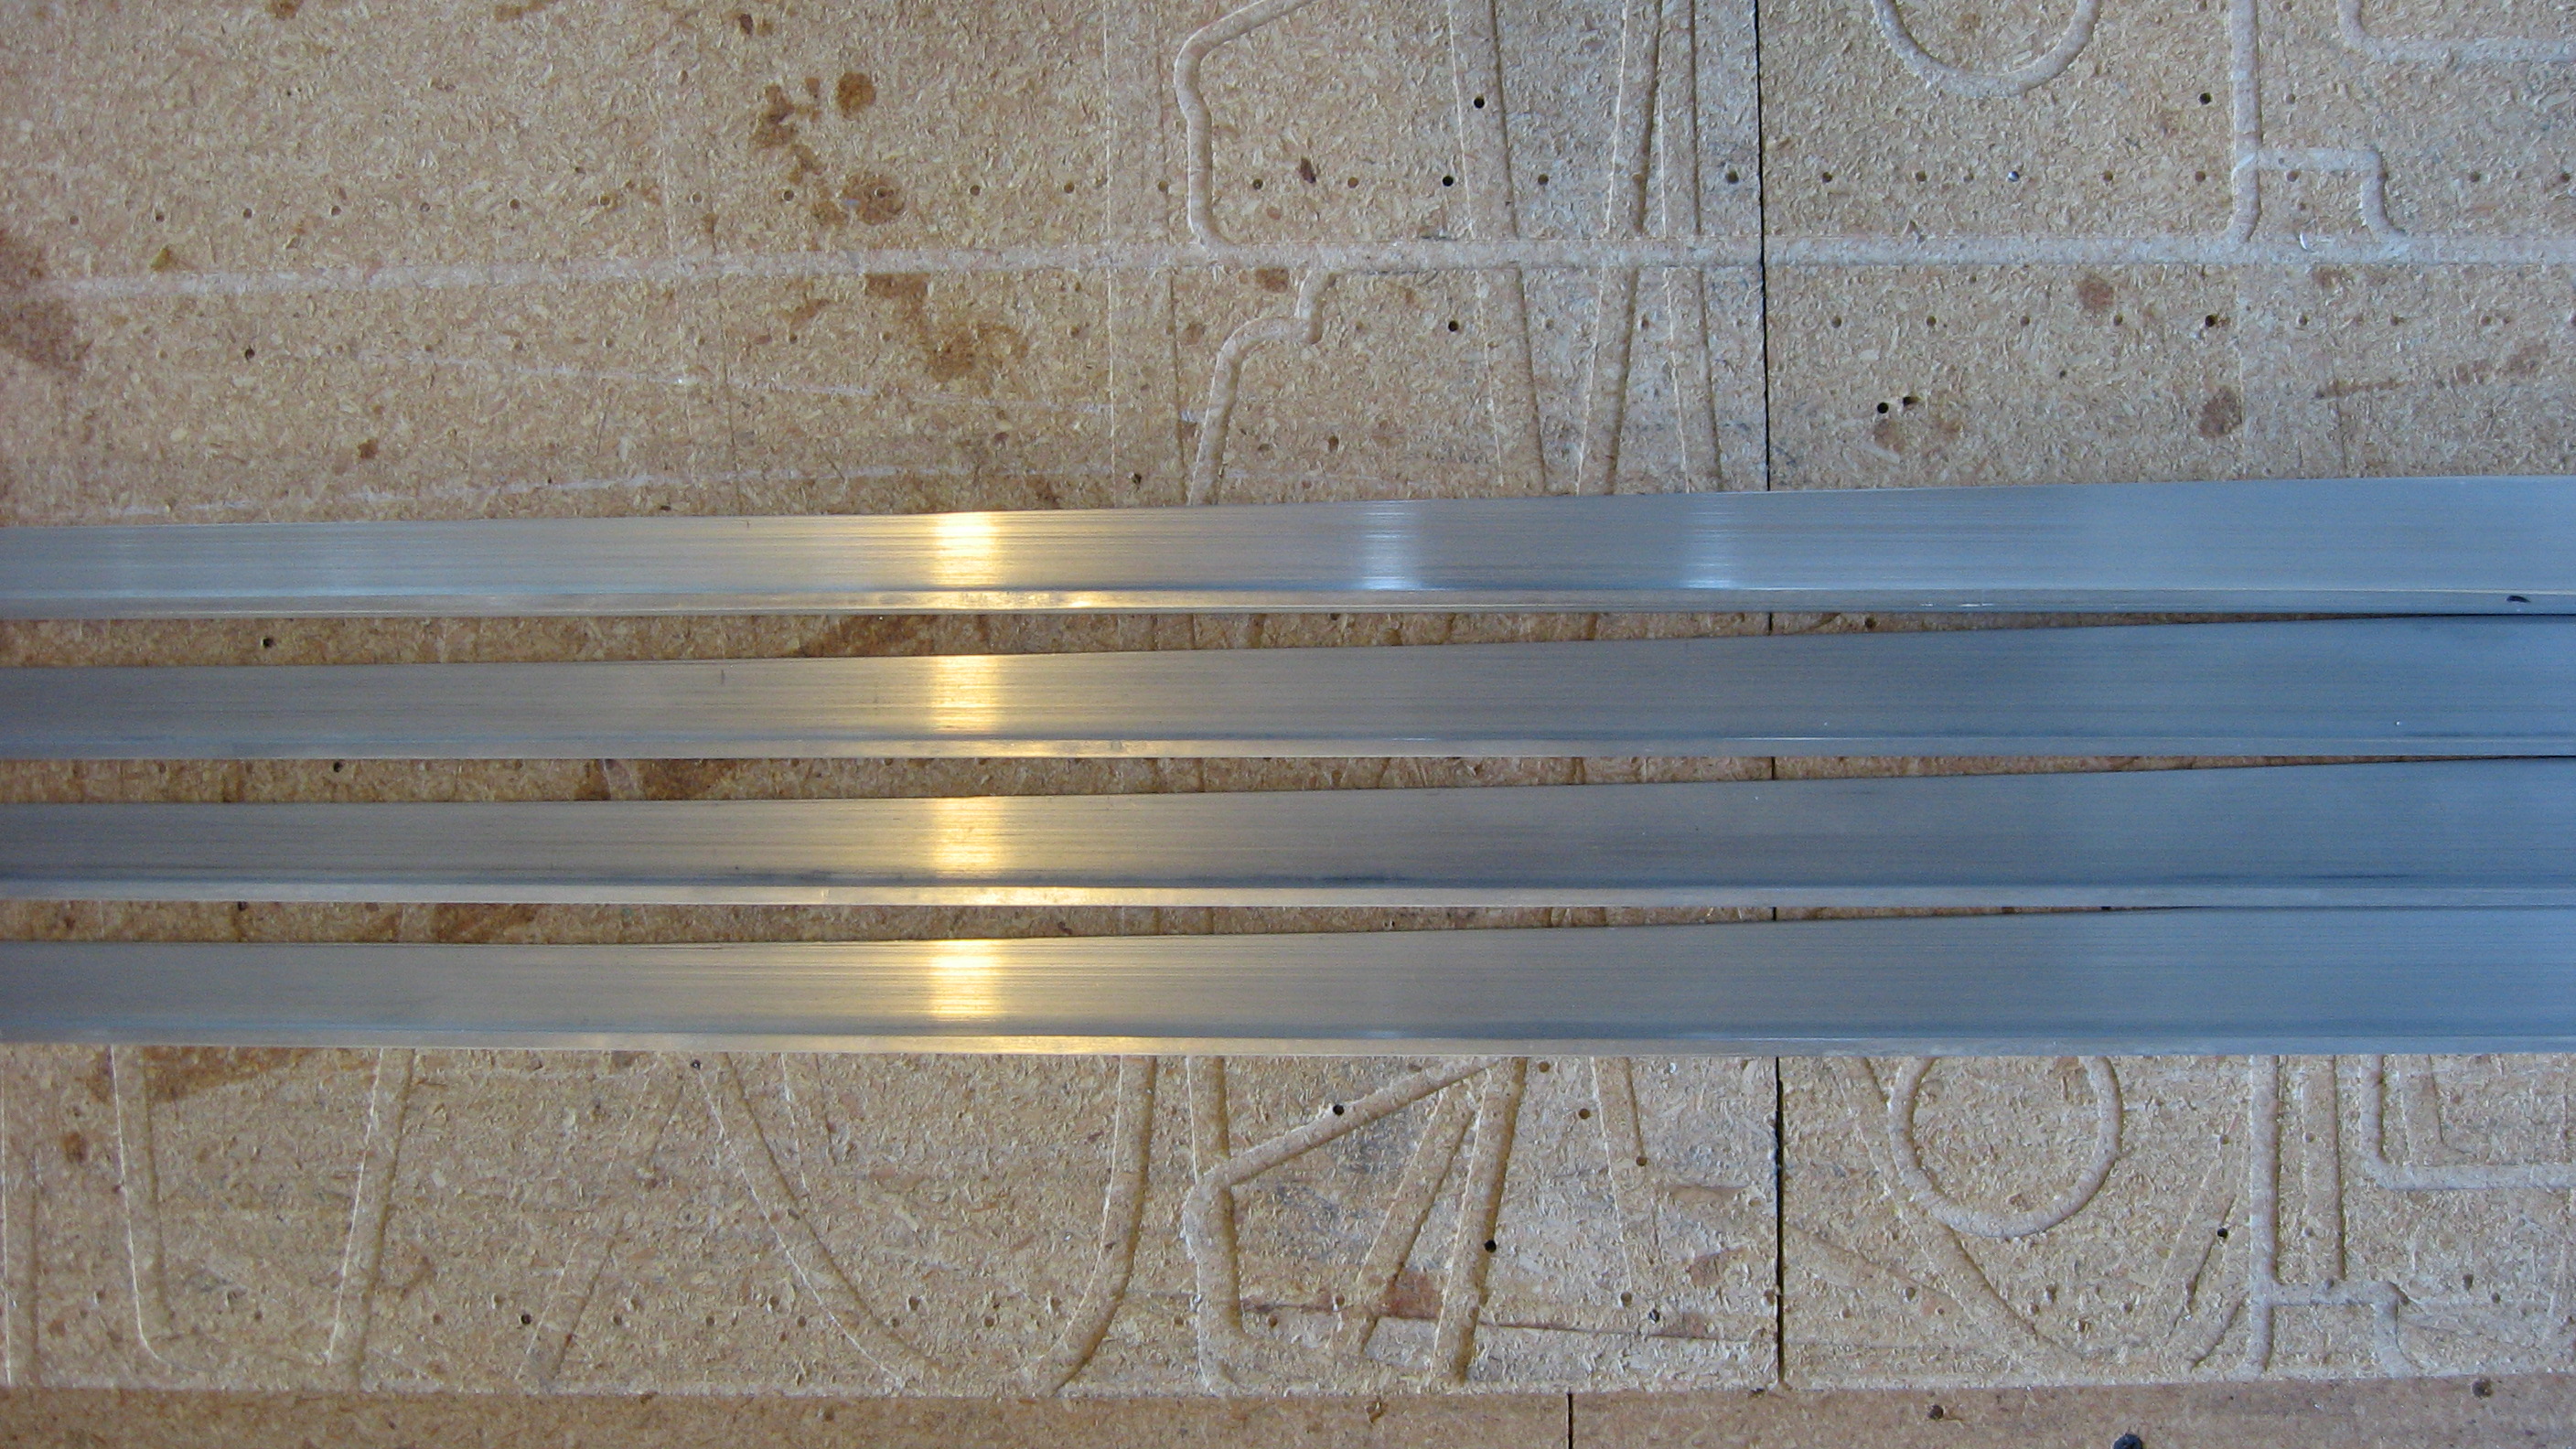
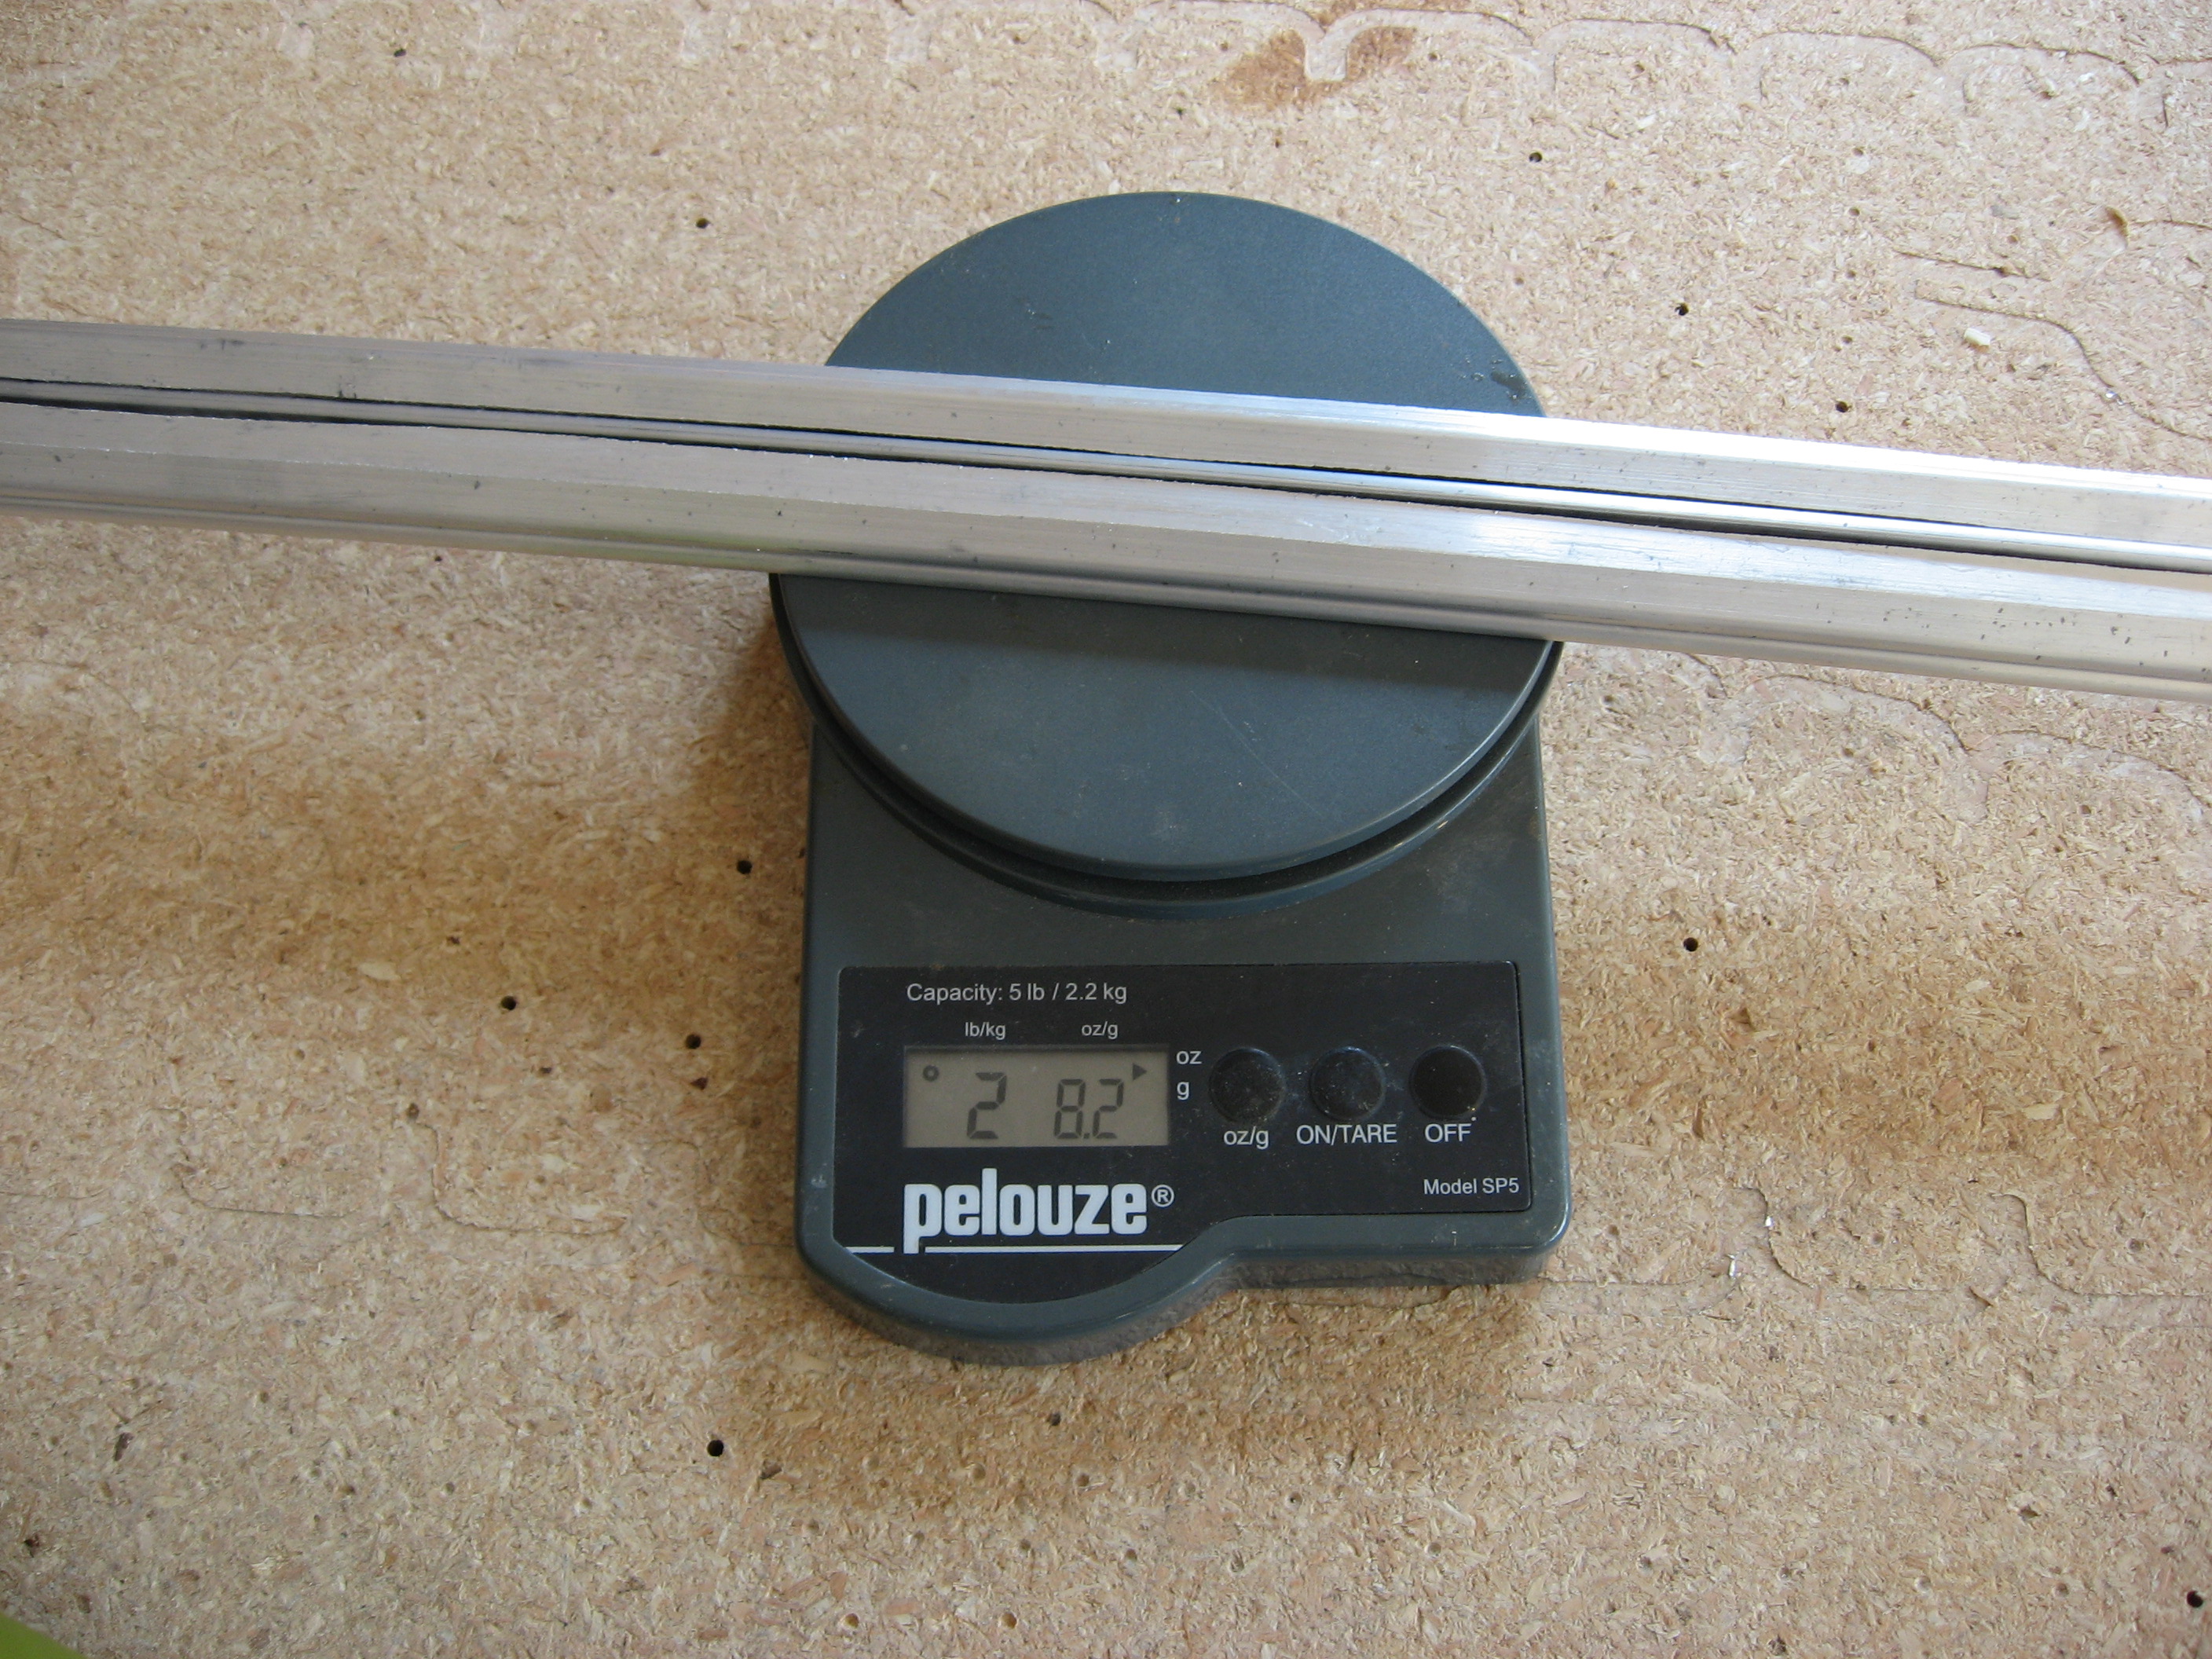
I had thoughts of just leaving the additional material, but if you consider the shavings not included here, you can get close to three pounds out of the airplane by just tapering the spar caps:
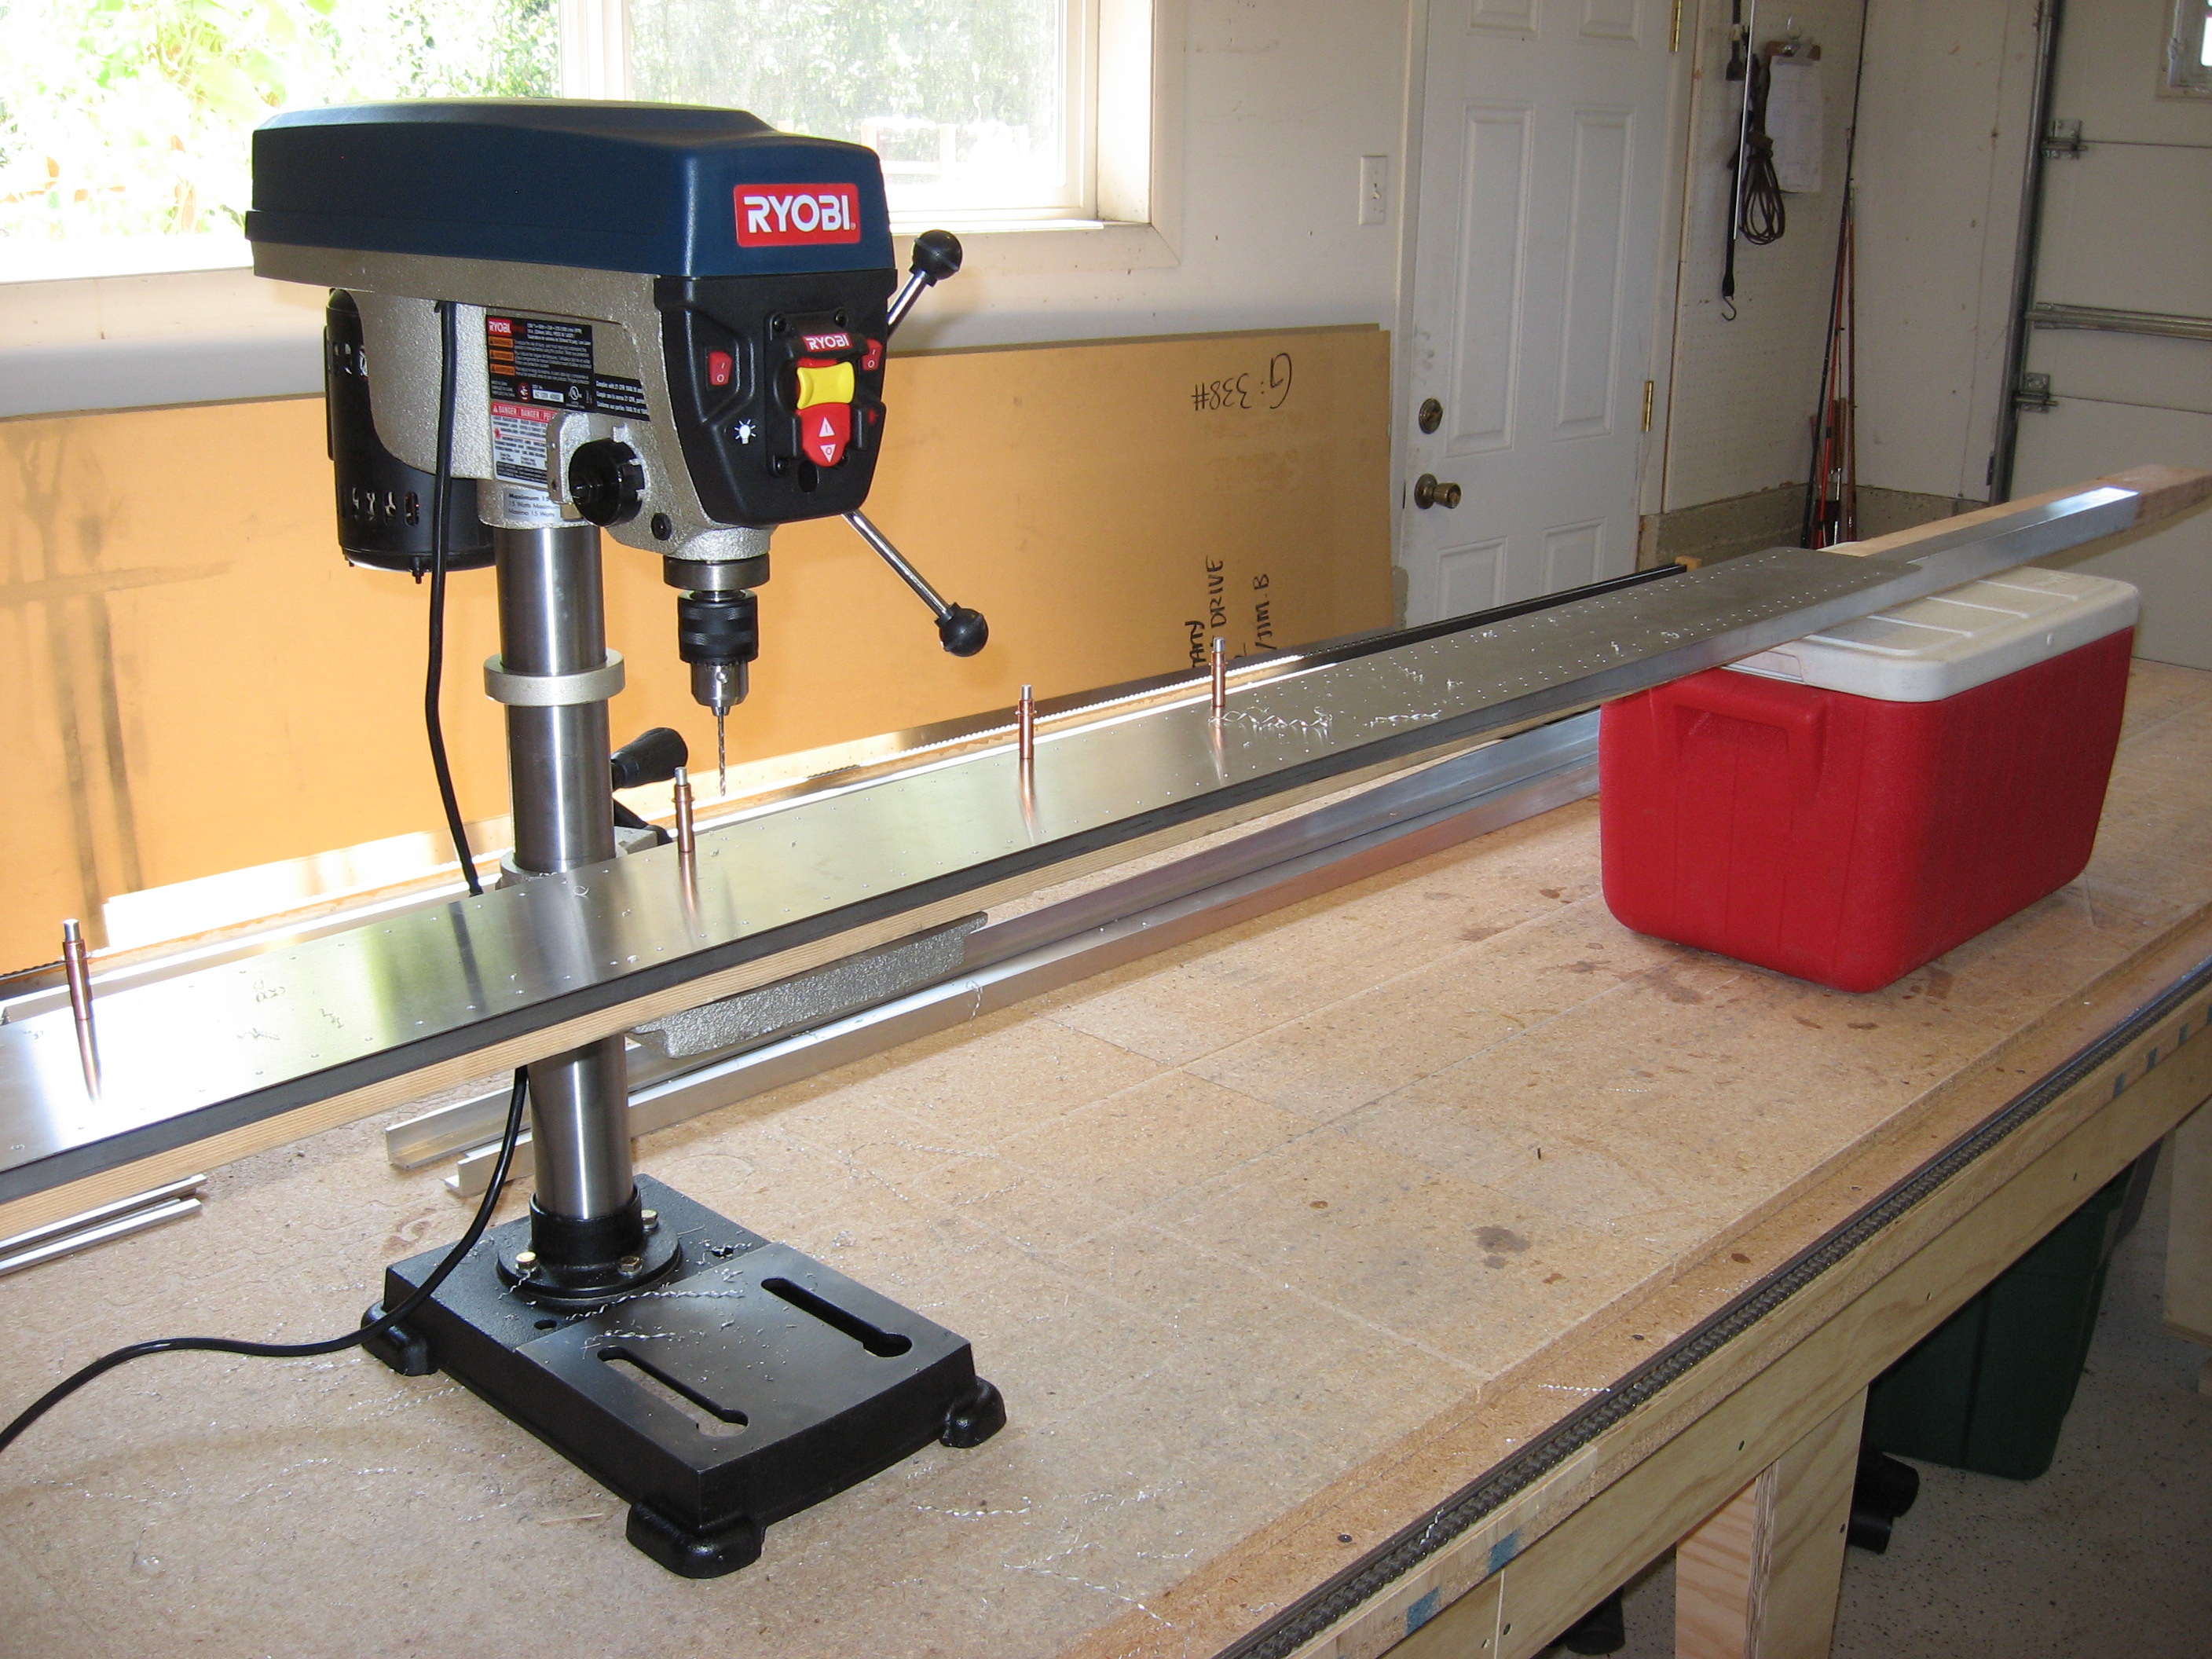
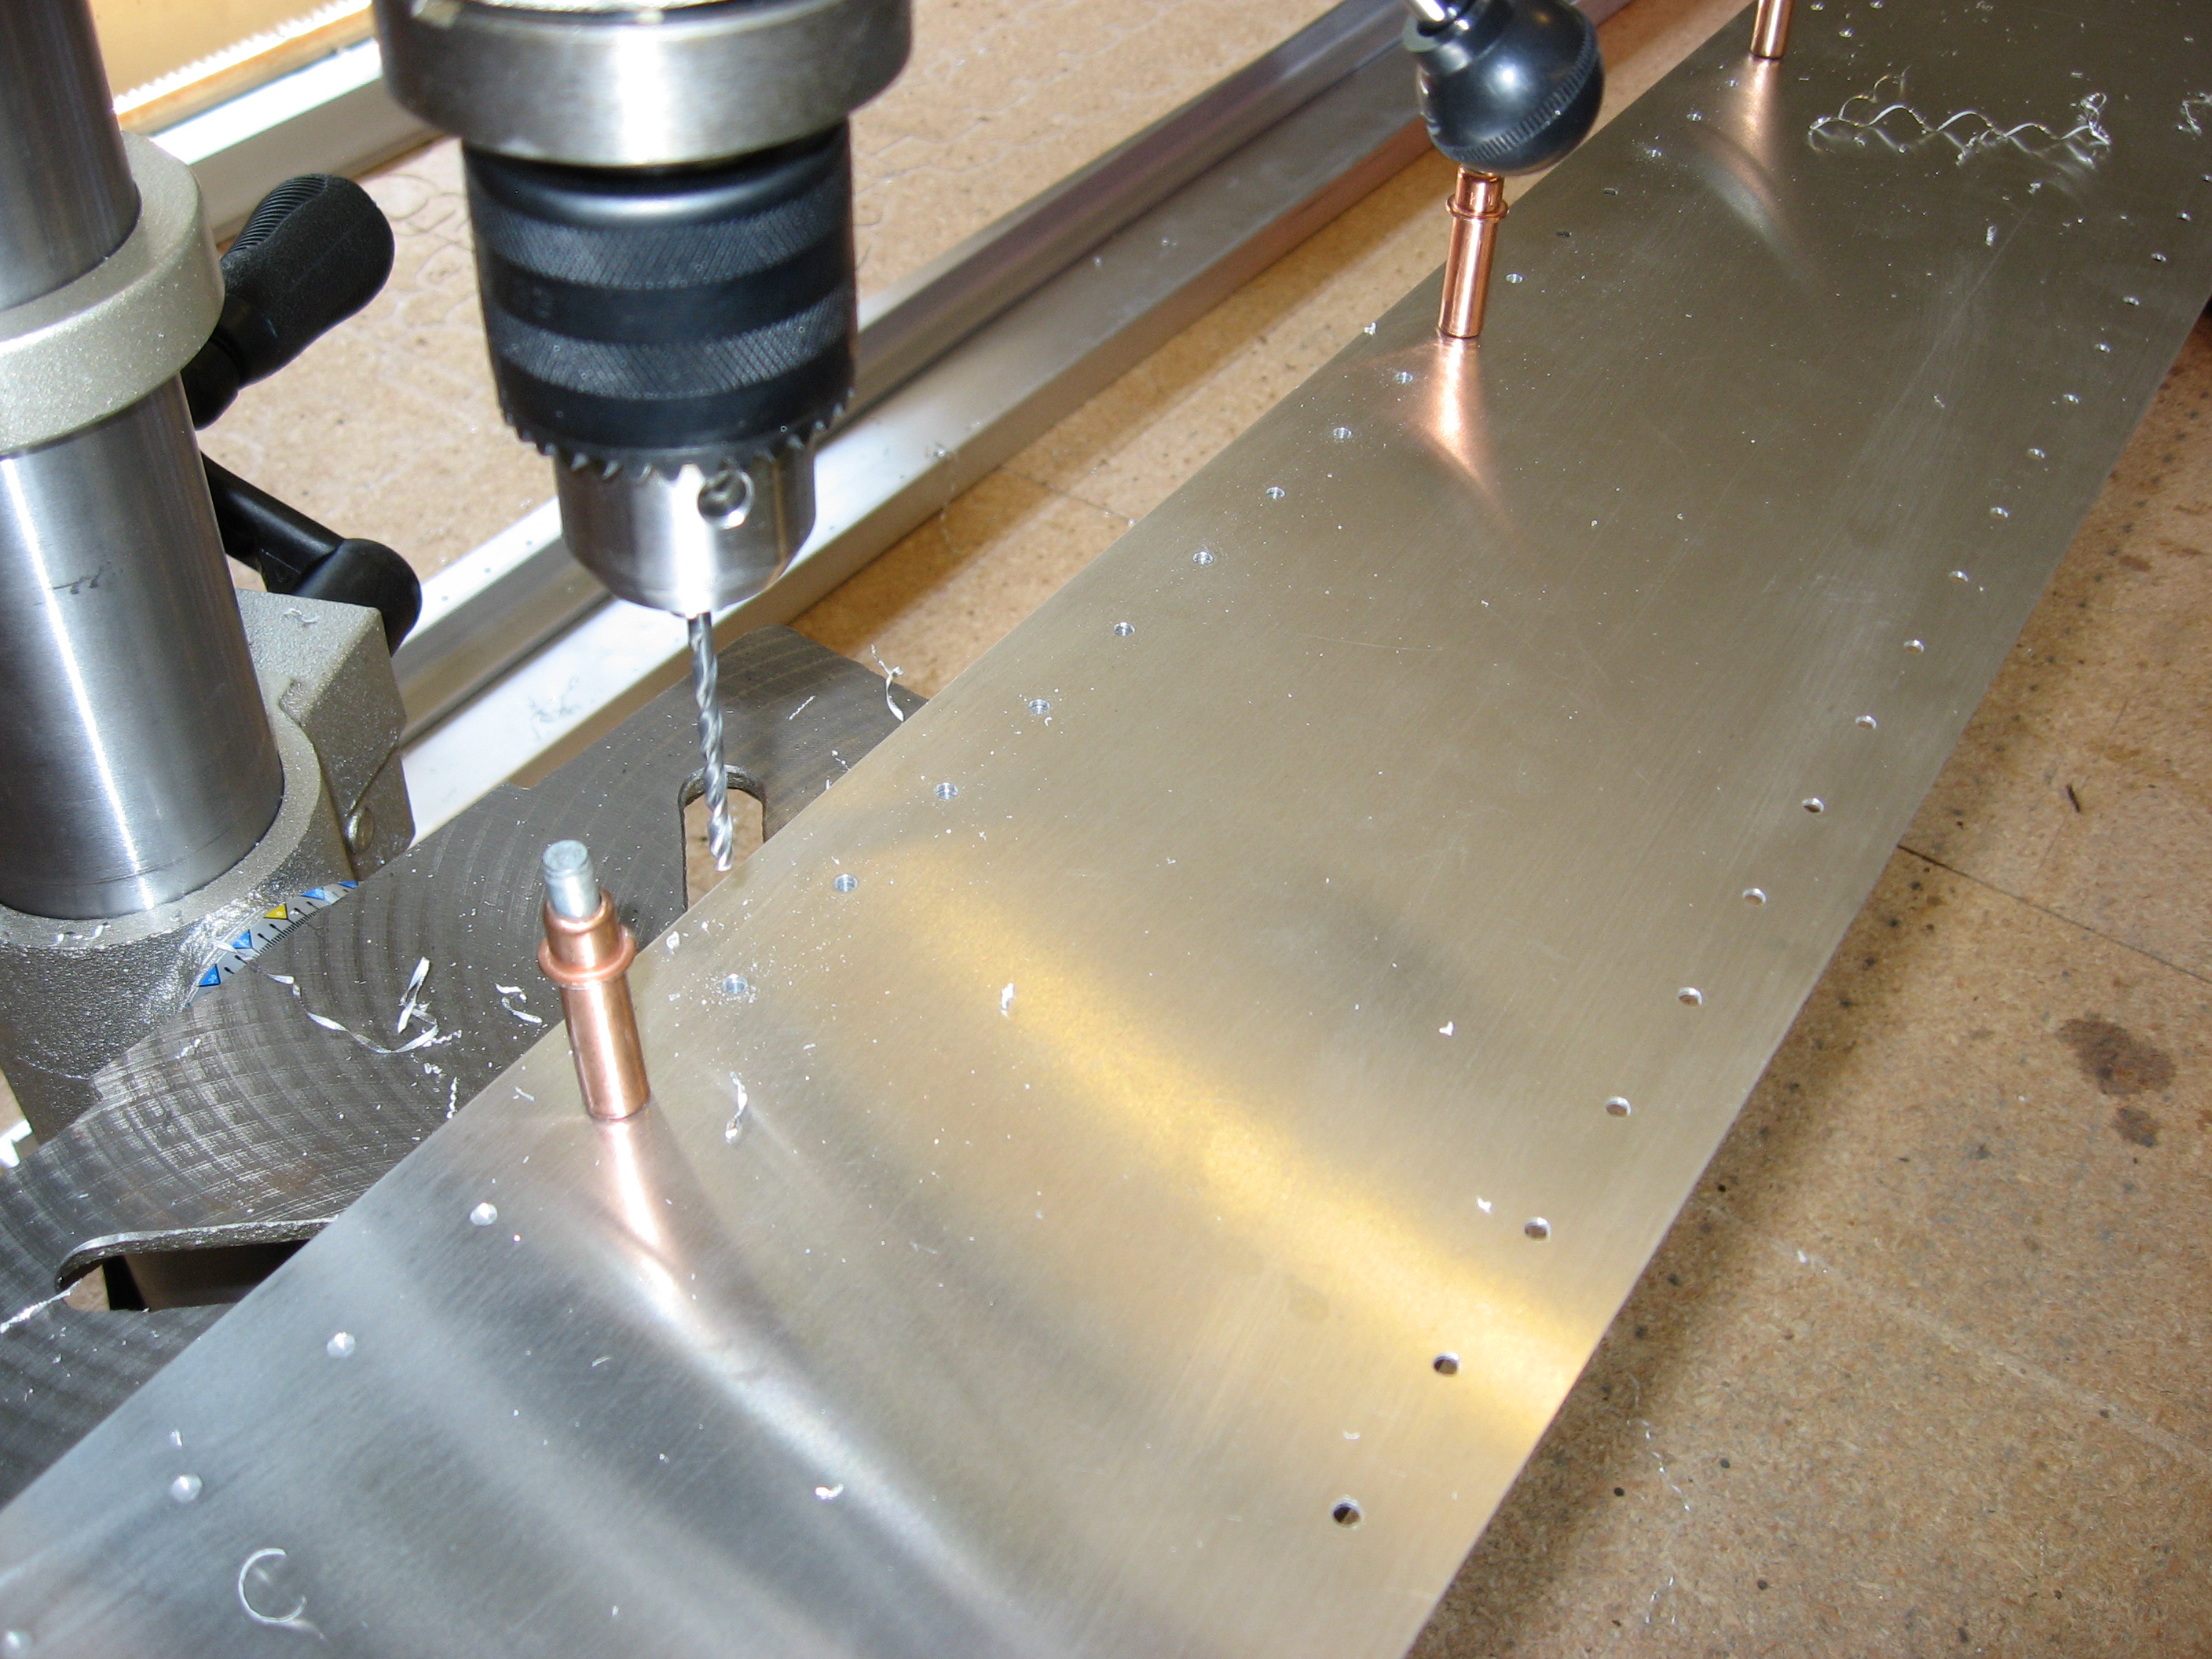
The caps were then match-drilled using a pre-drilled spar web:
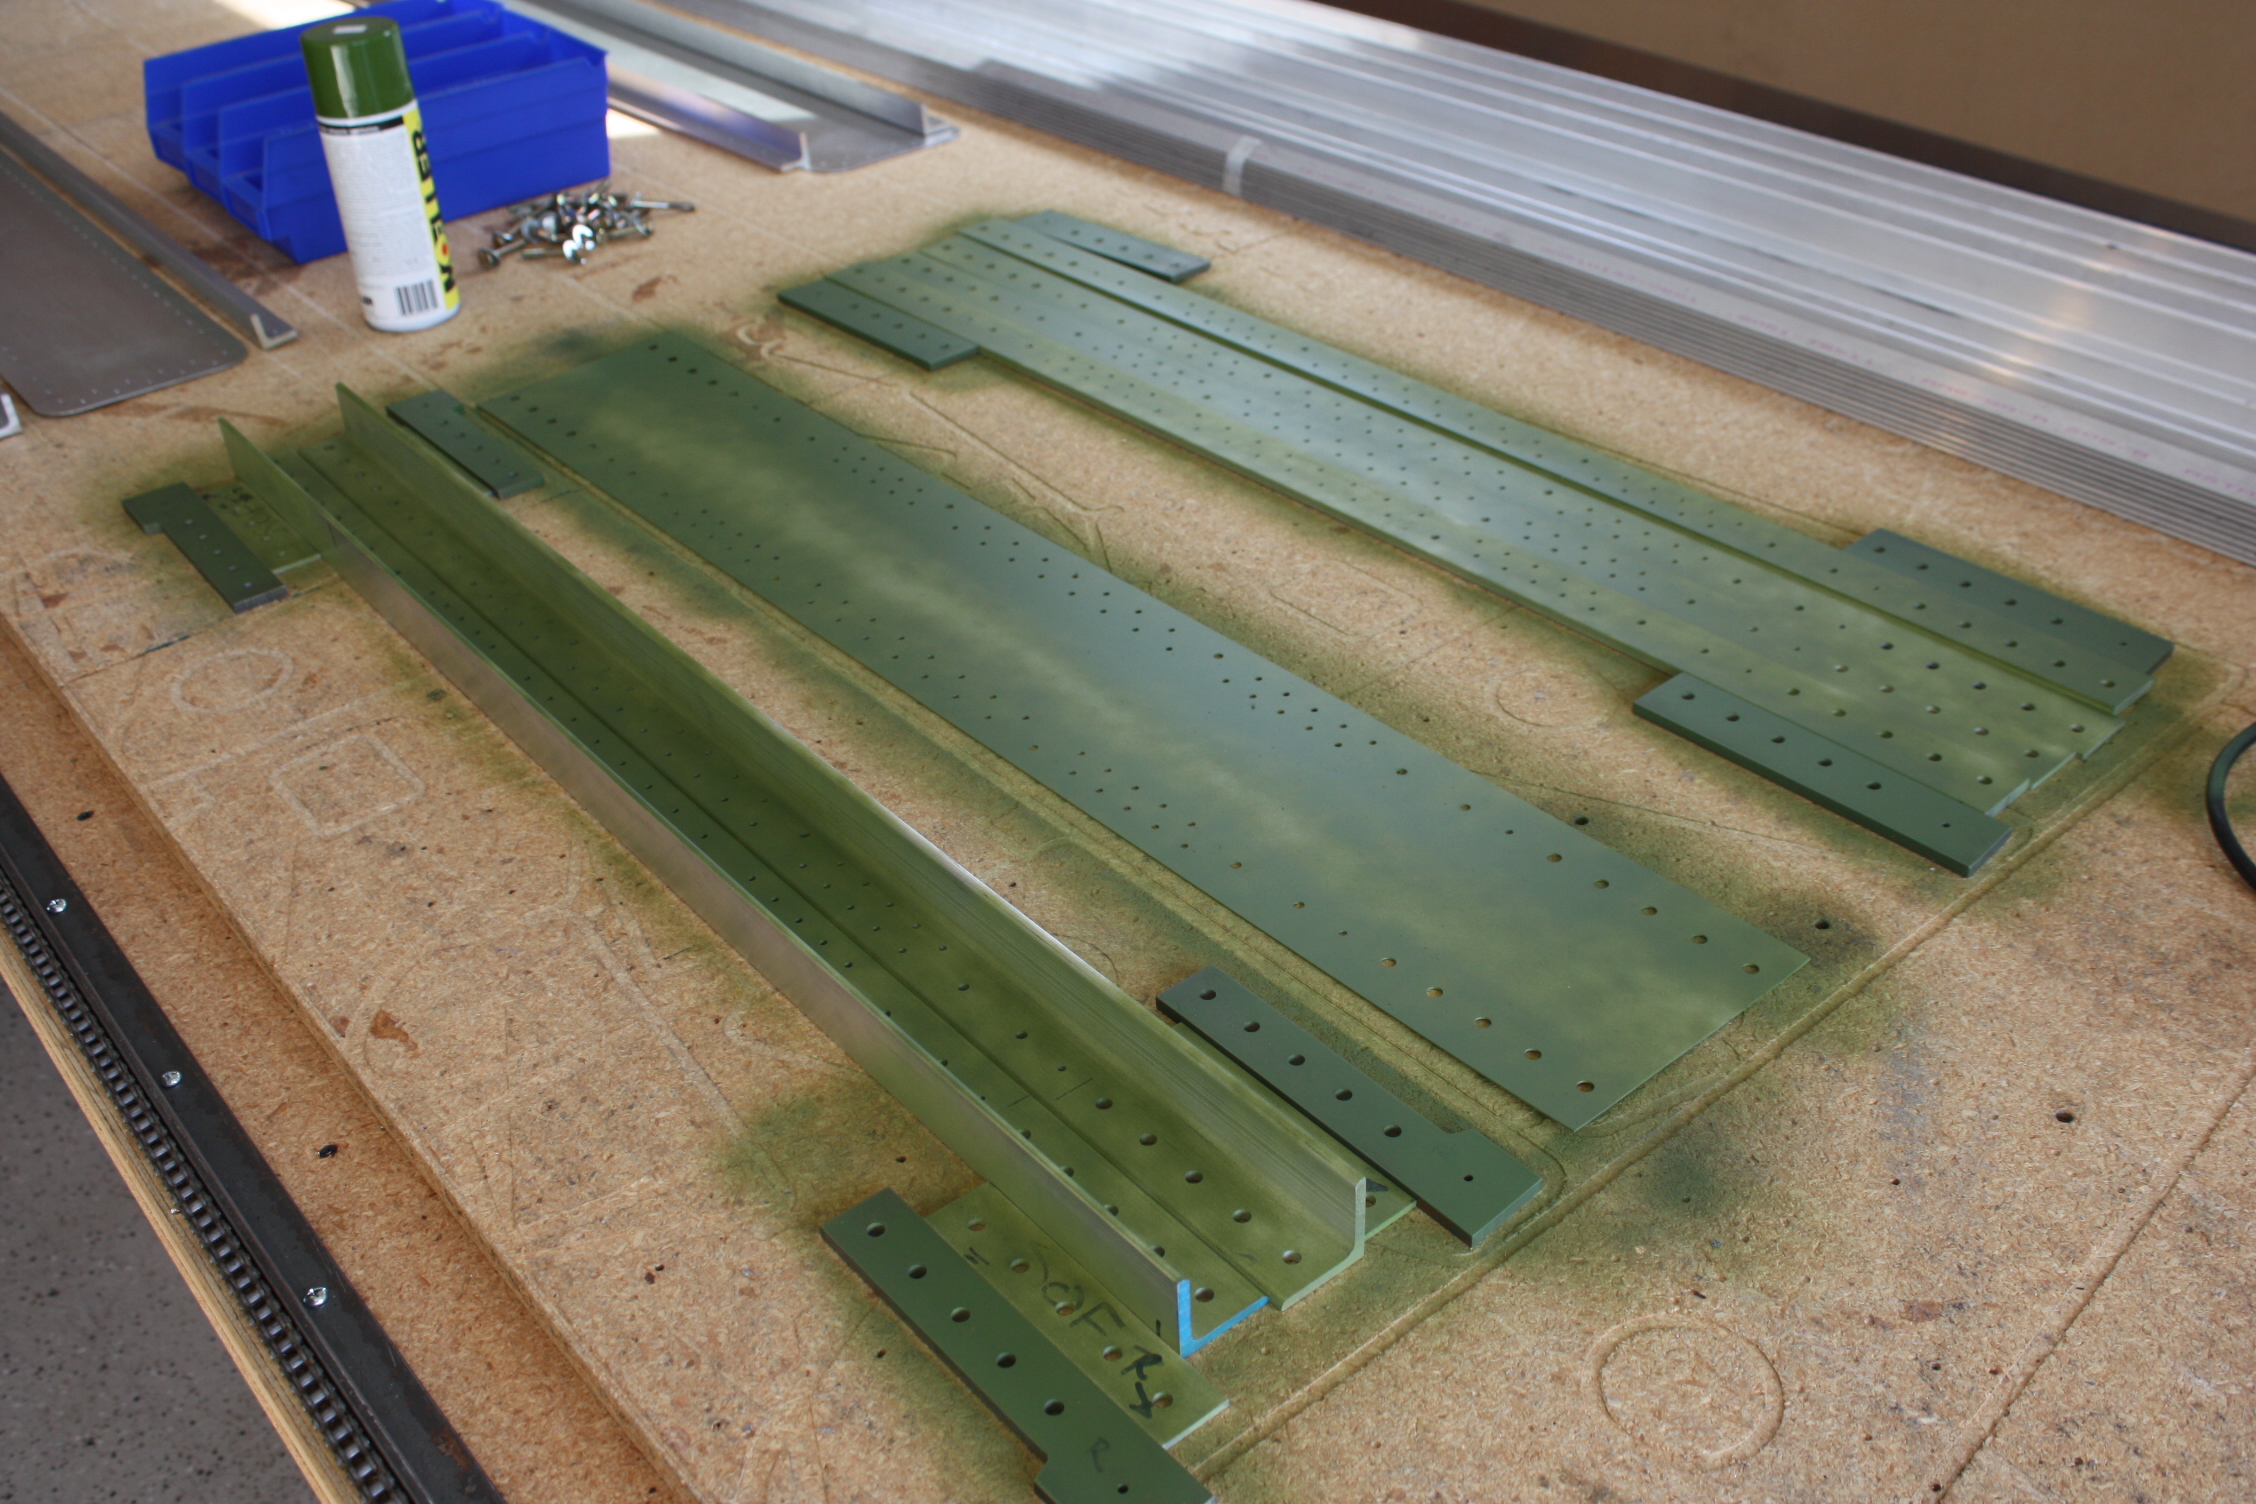
I initially used Zinc Chromate to protect the aluminum. After researching the subject, I find that this subject has two sides... either people argue that no protection is really needed on a 6061 built sportplane, or that you absolutely must use Zinc Chromate. I'm not really fond of the chemicals in Zinc Chromate, but I do think that some sort of coating is cheap insurance, particularly between aluminum surfaces normally in direct contact. Apparently the constant vibration between those surfaces wear away the protective oxide surface which normally forms.
Regardless, the spars were protected with Zinc Chromate. If nothing else, it looked like a proper airplane spar:
October 2012
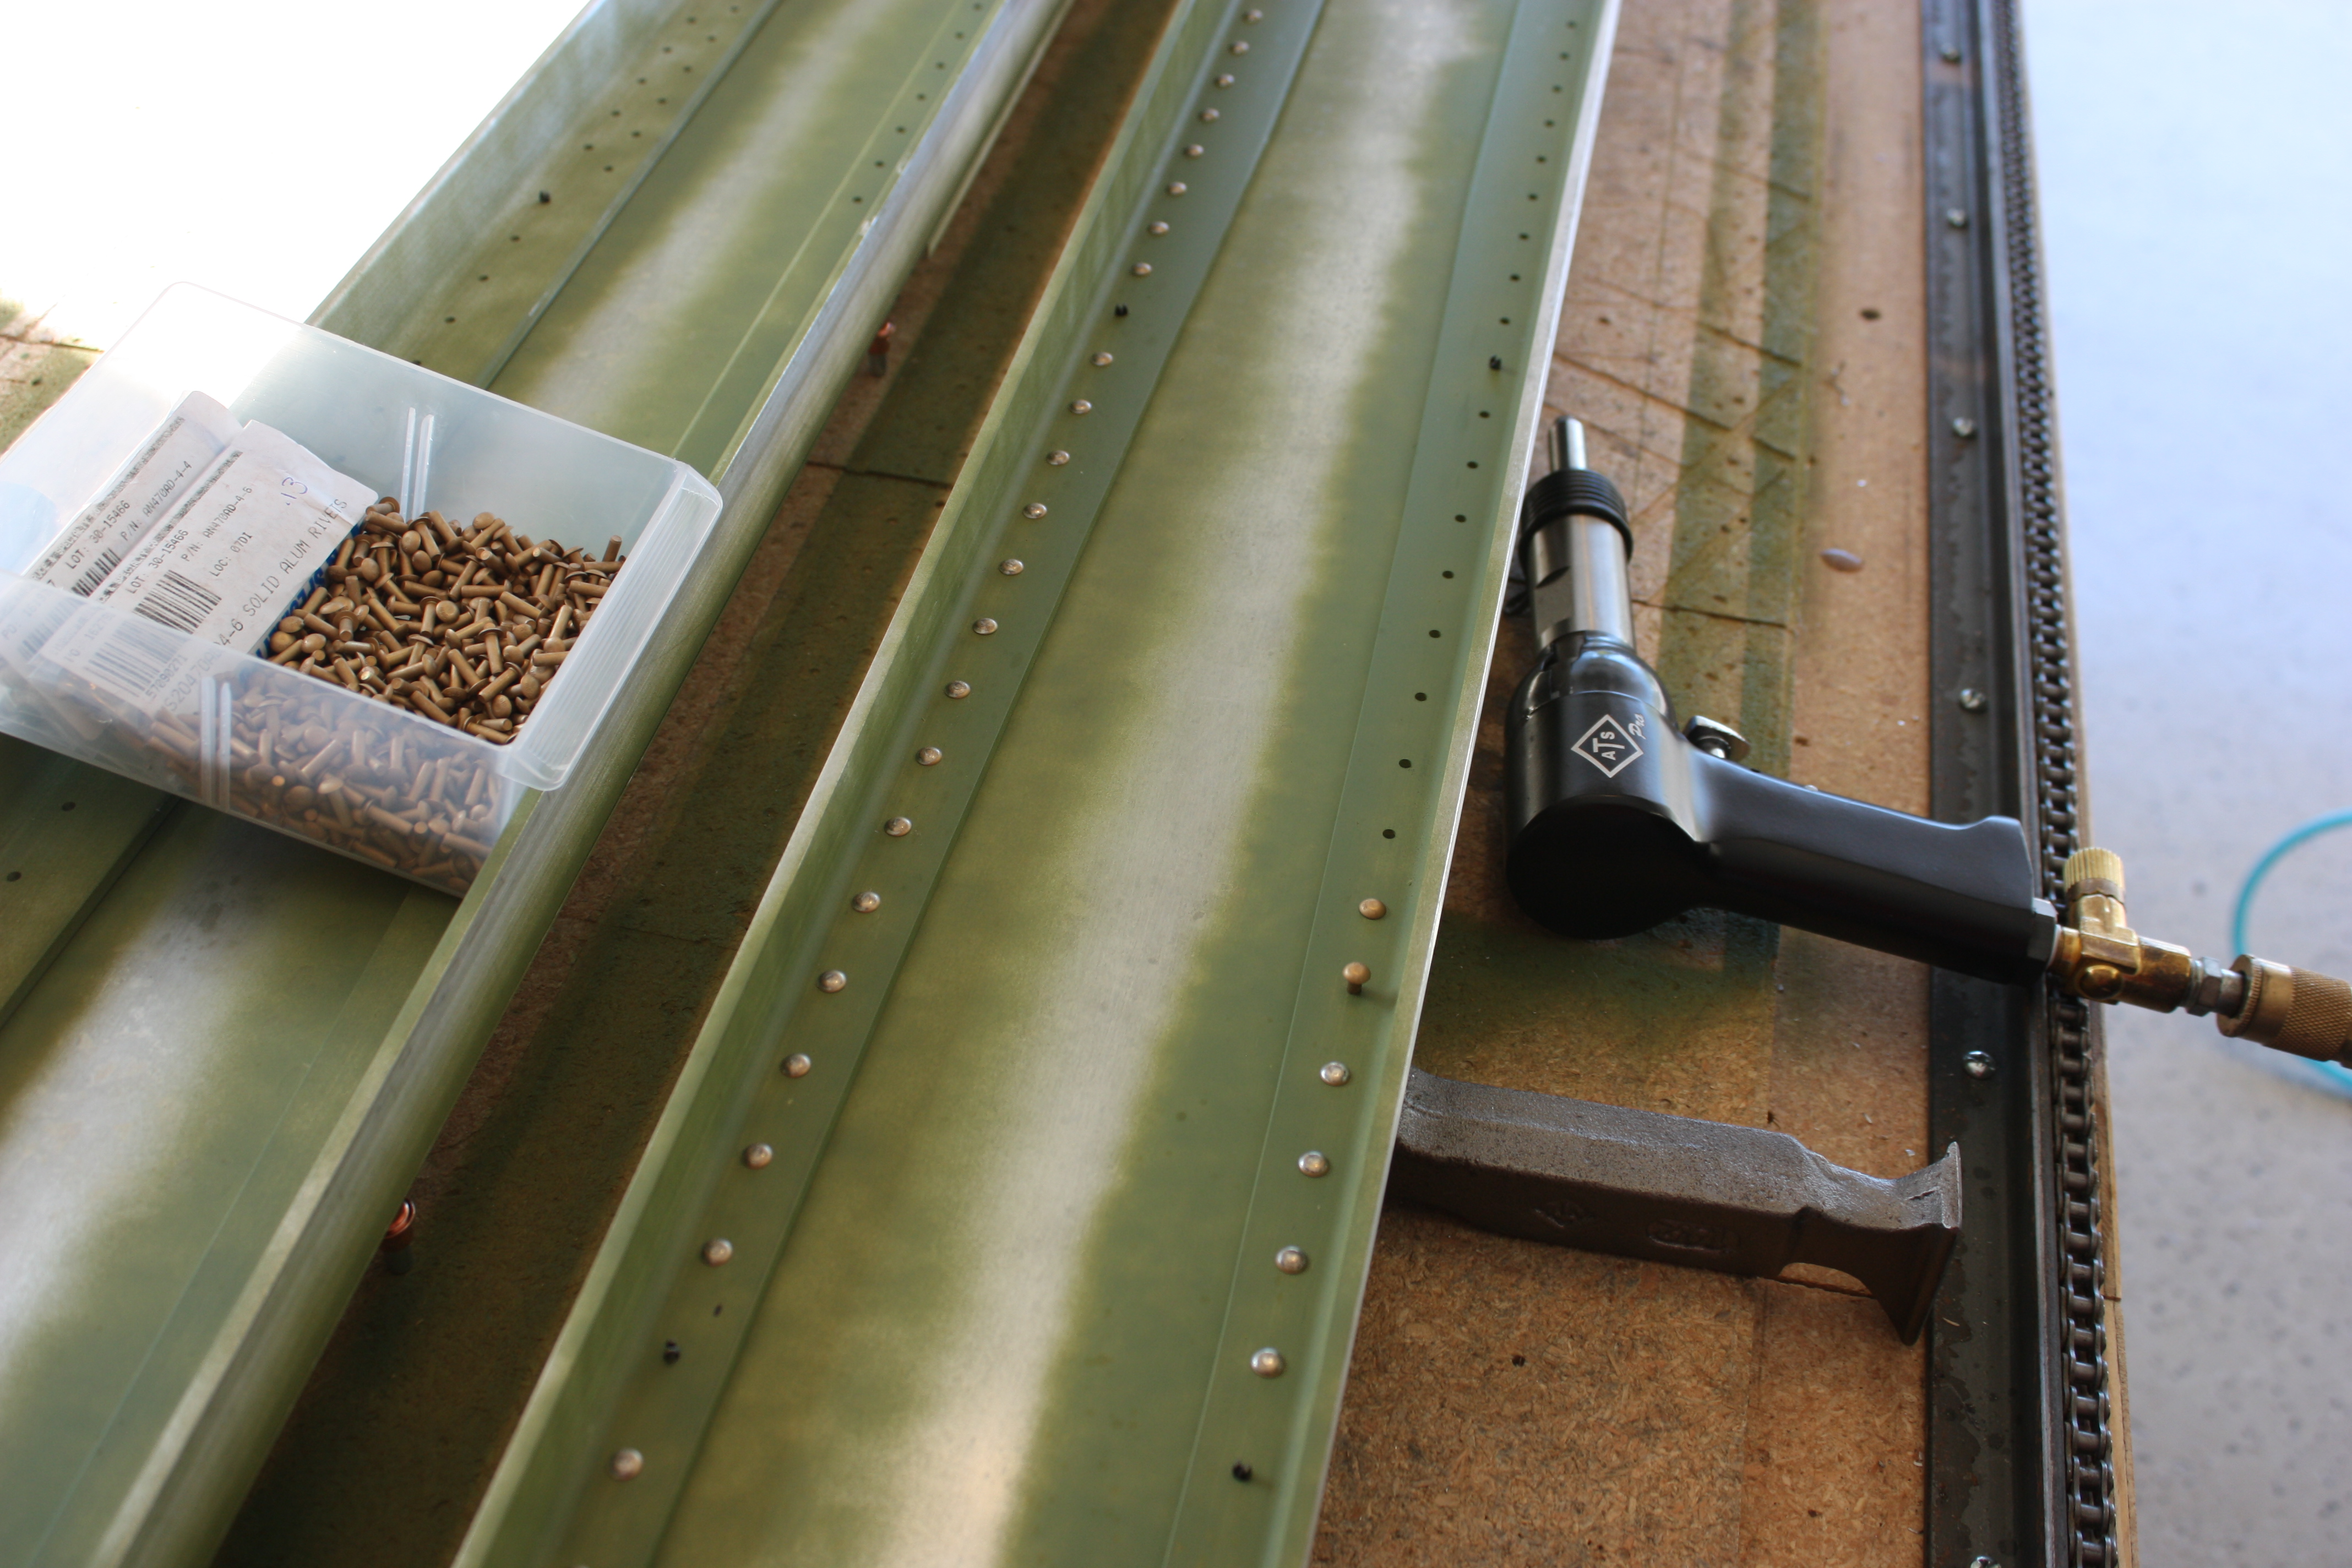
I riveted the spar caps with solid rivets. I placed the rivets in the same direction as I saw in other builders' construction photos. However, after a talk with my tech counselor, I should have placed them the other way shown (with the shop head against the spar cap).
Rivets and bolts should be placed in an aircraft either pointing backwards or down (so they don't fall out if they become loose). Also, forming a shop head will stretch the thin aluminum and this will create a bow in the part. In the Thatcher, both of these concerns would be allayed with the shop head against the cap:
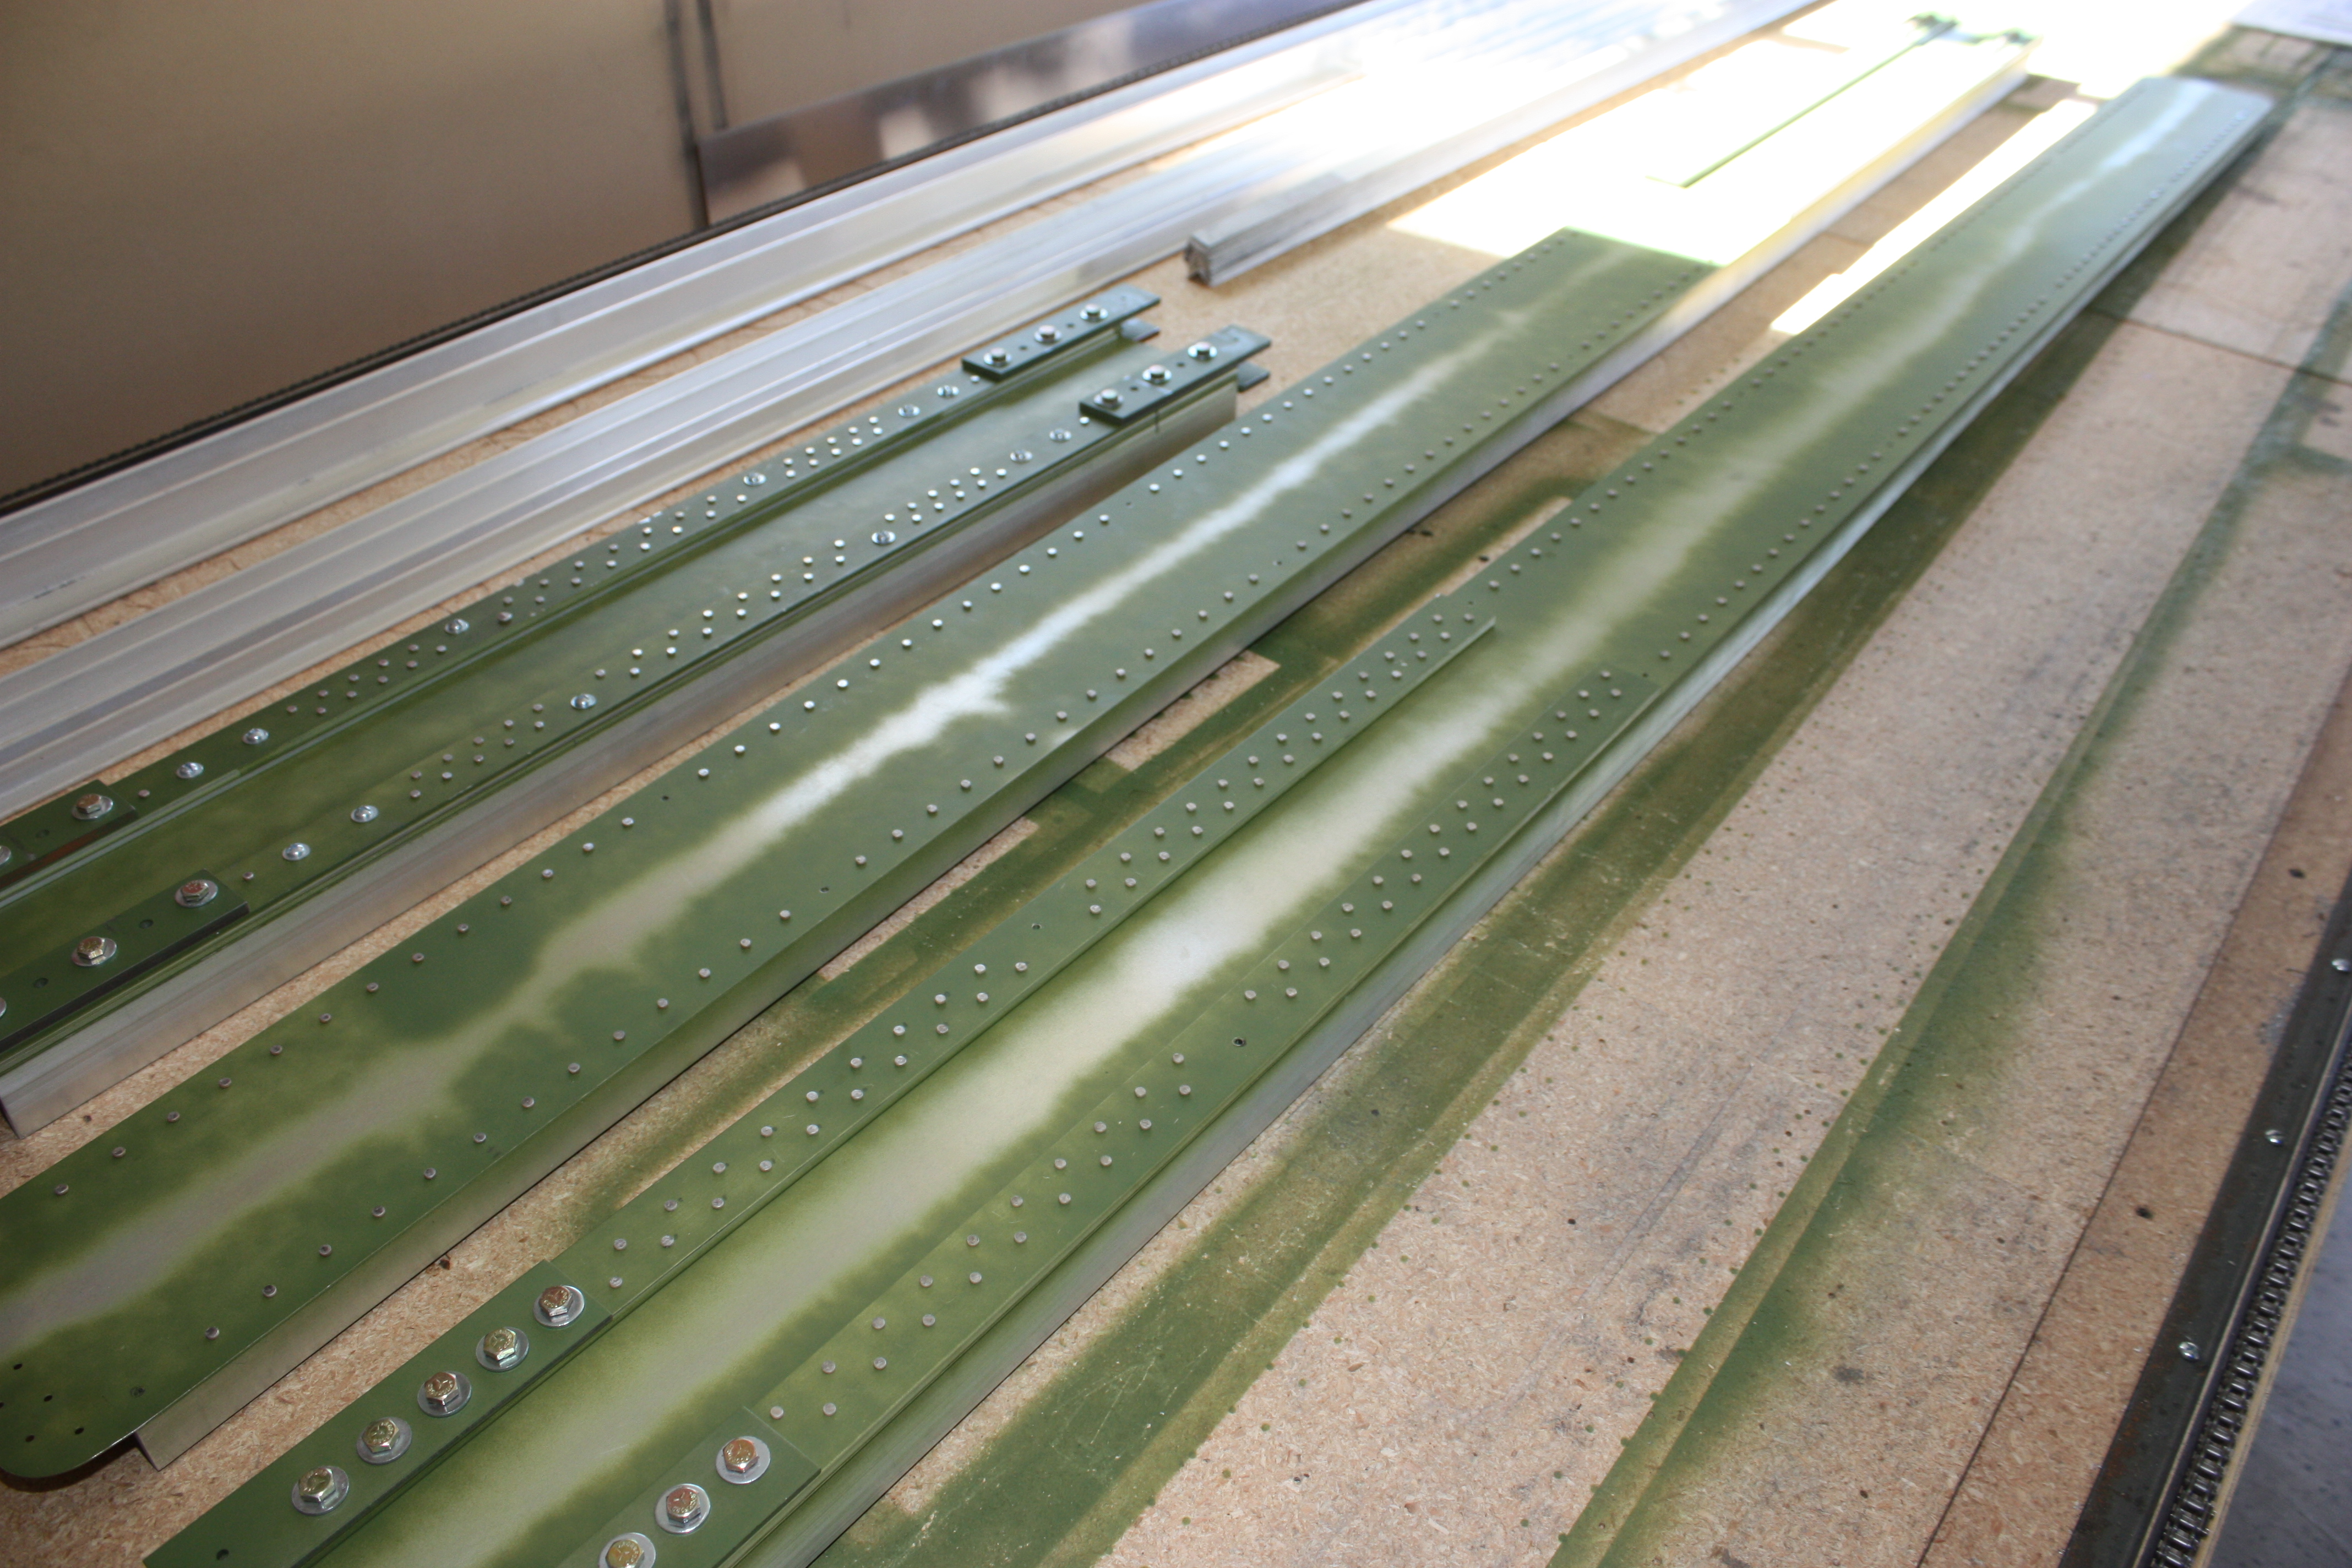
Spars and center section all bolted and riveted:
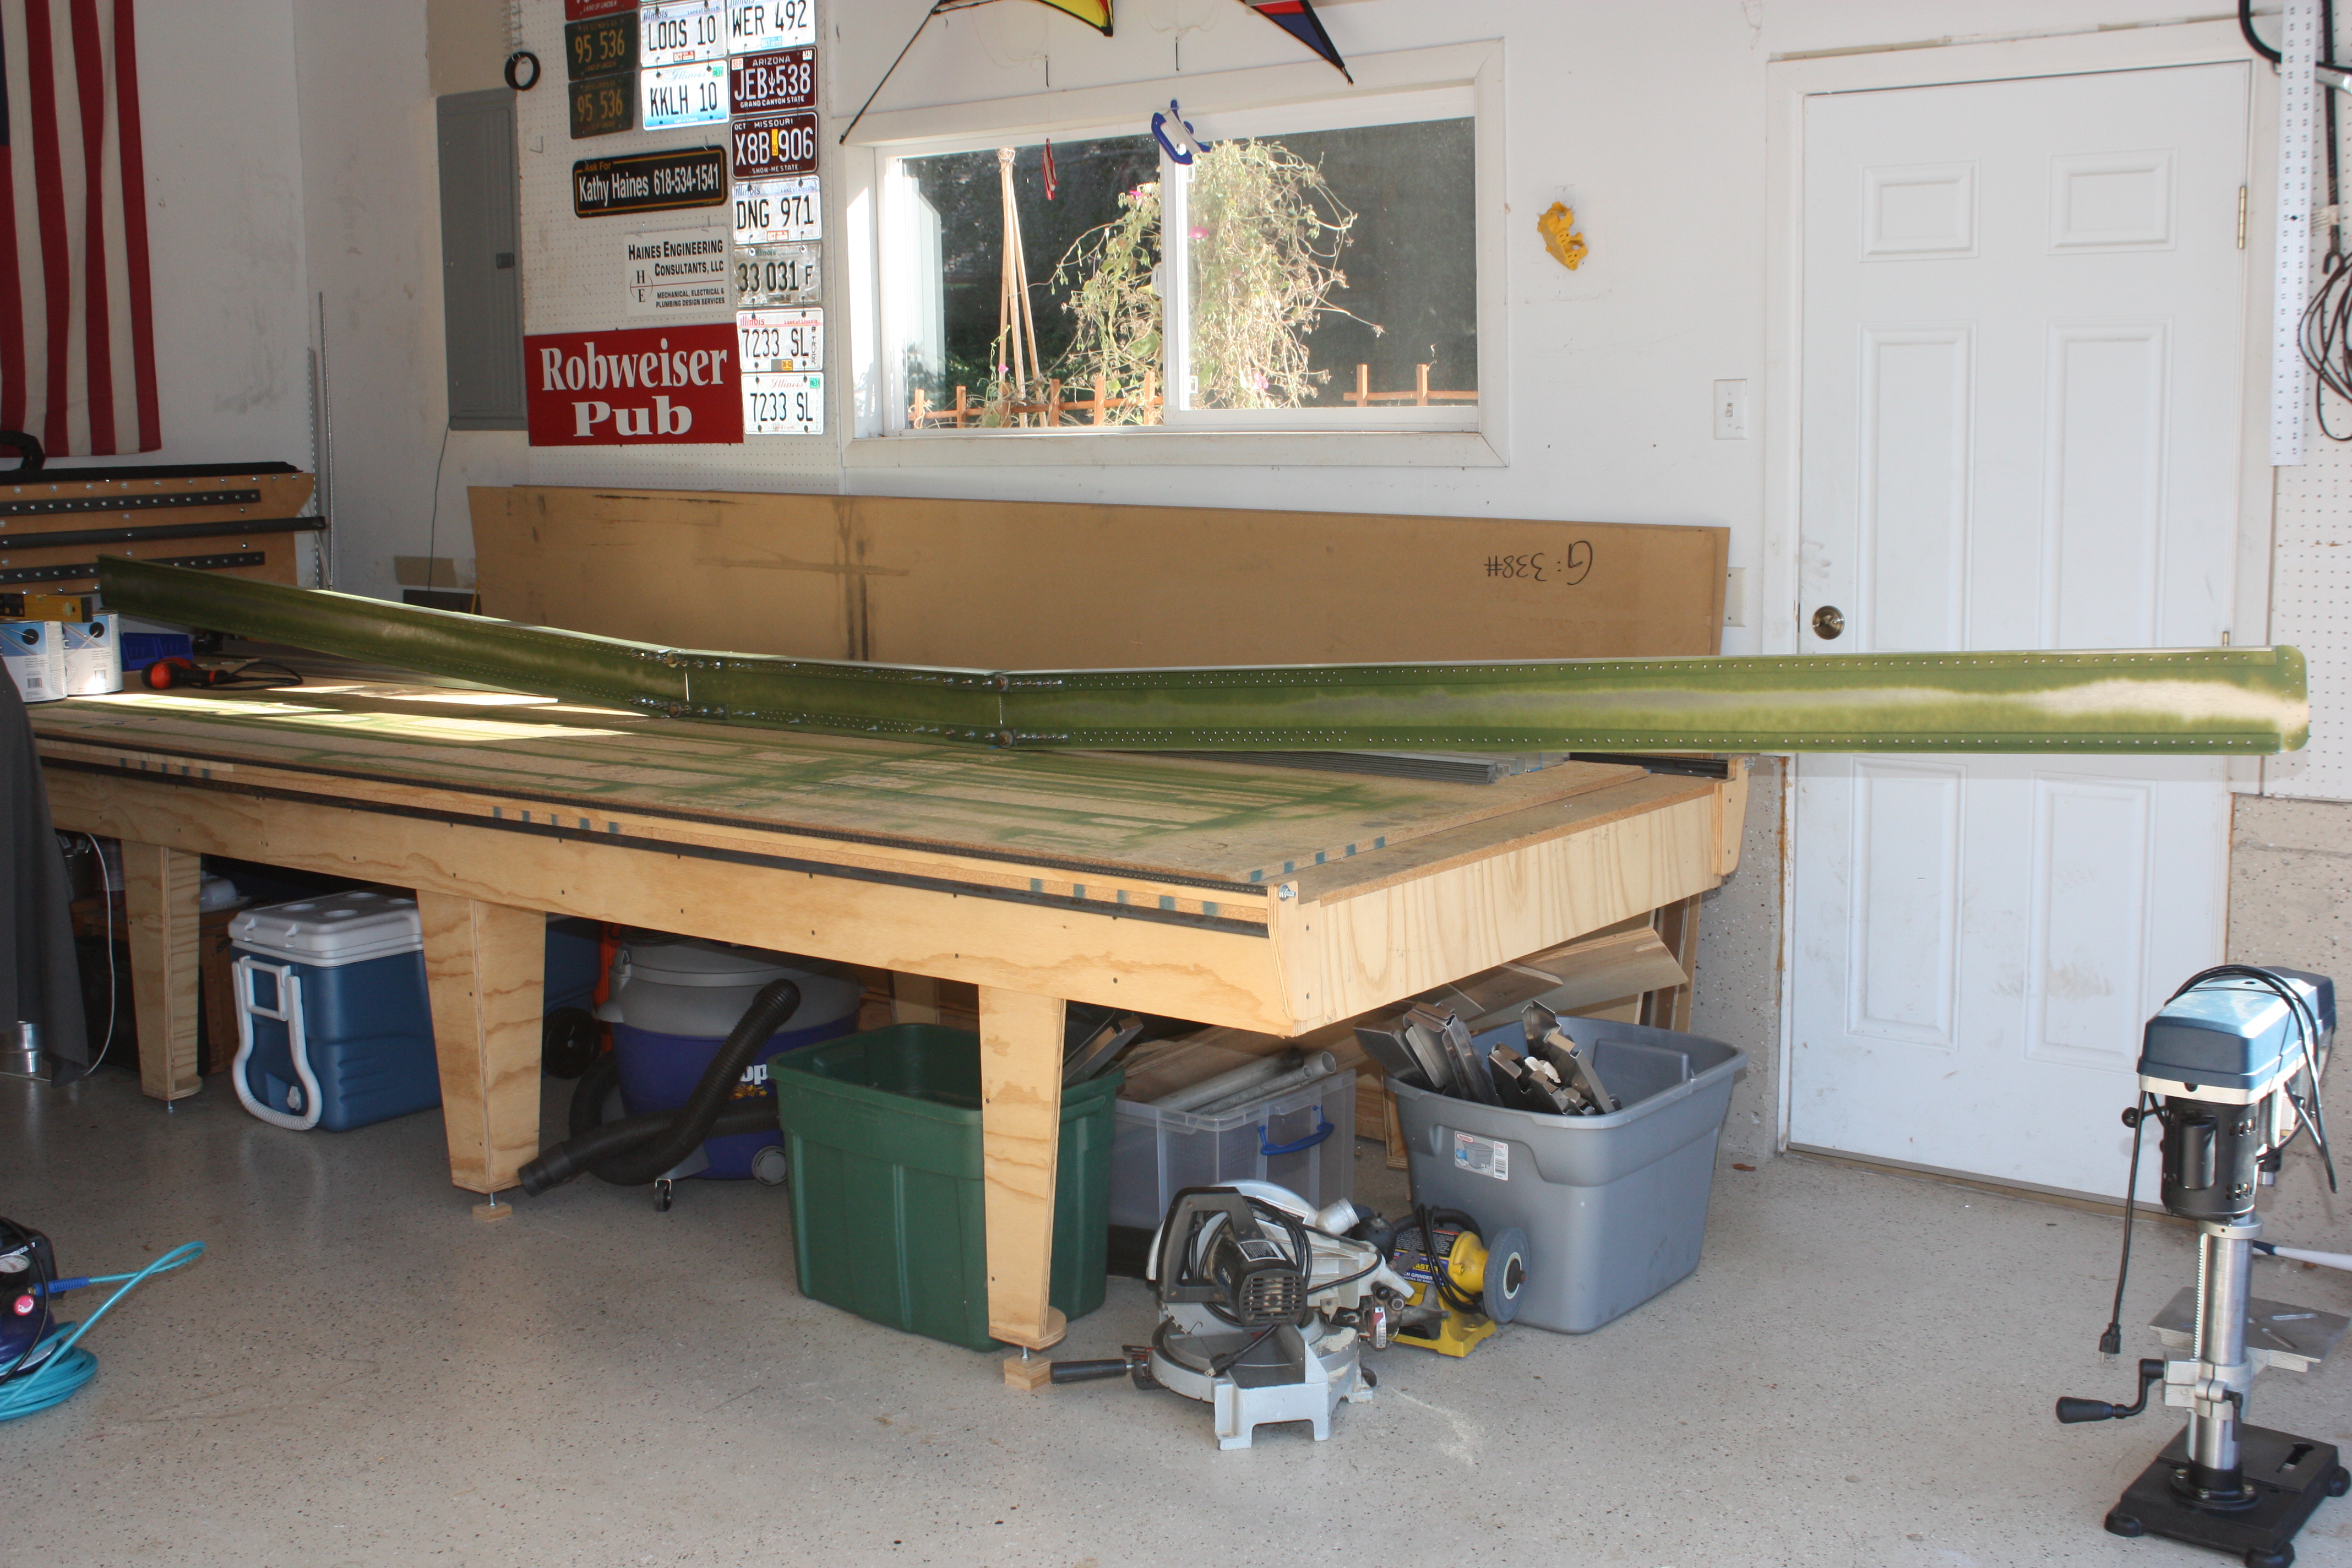
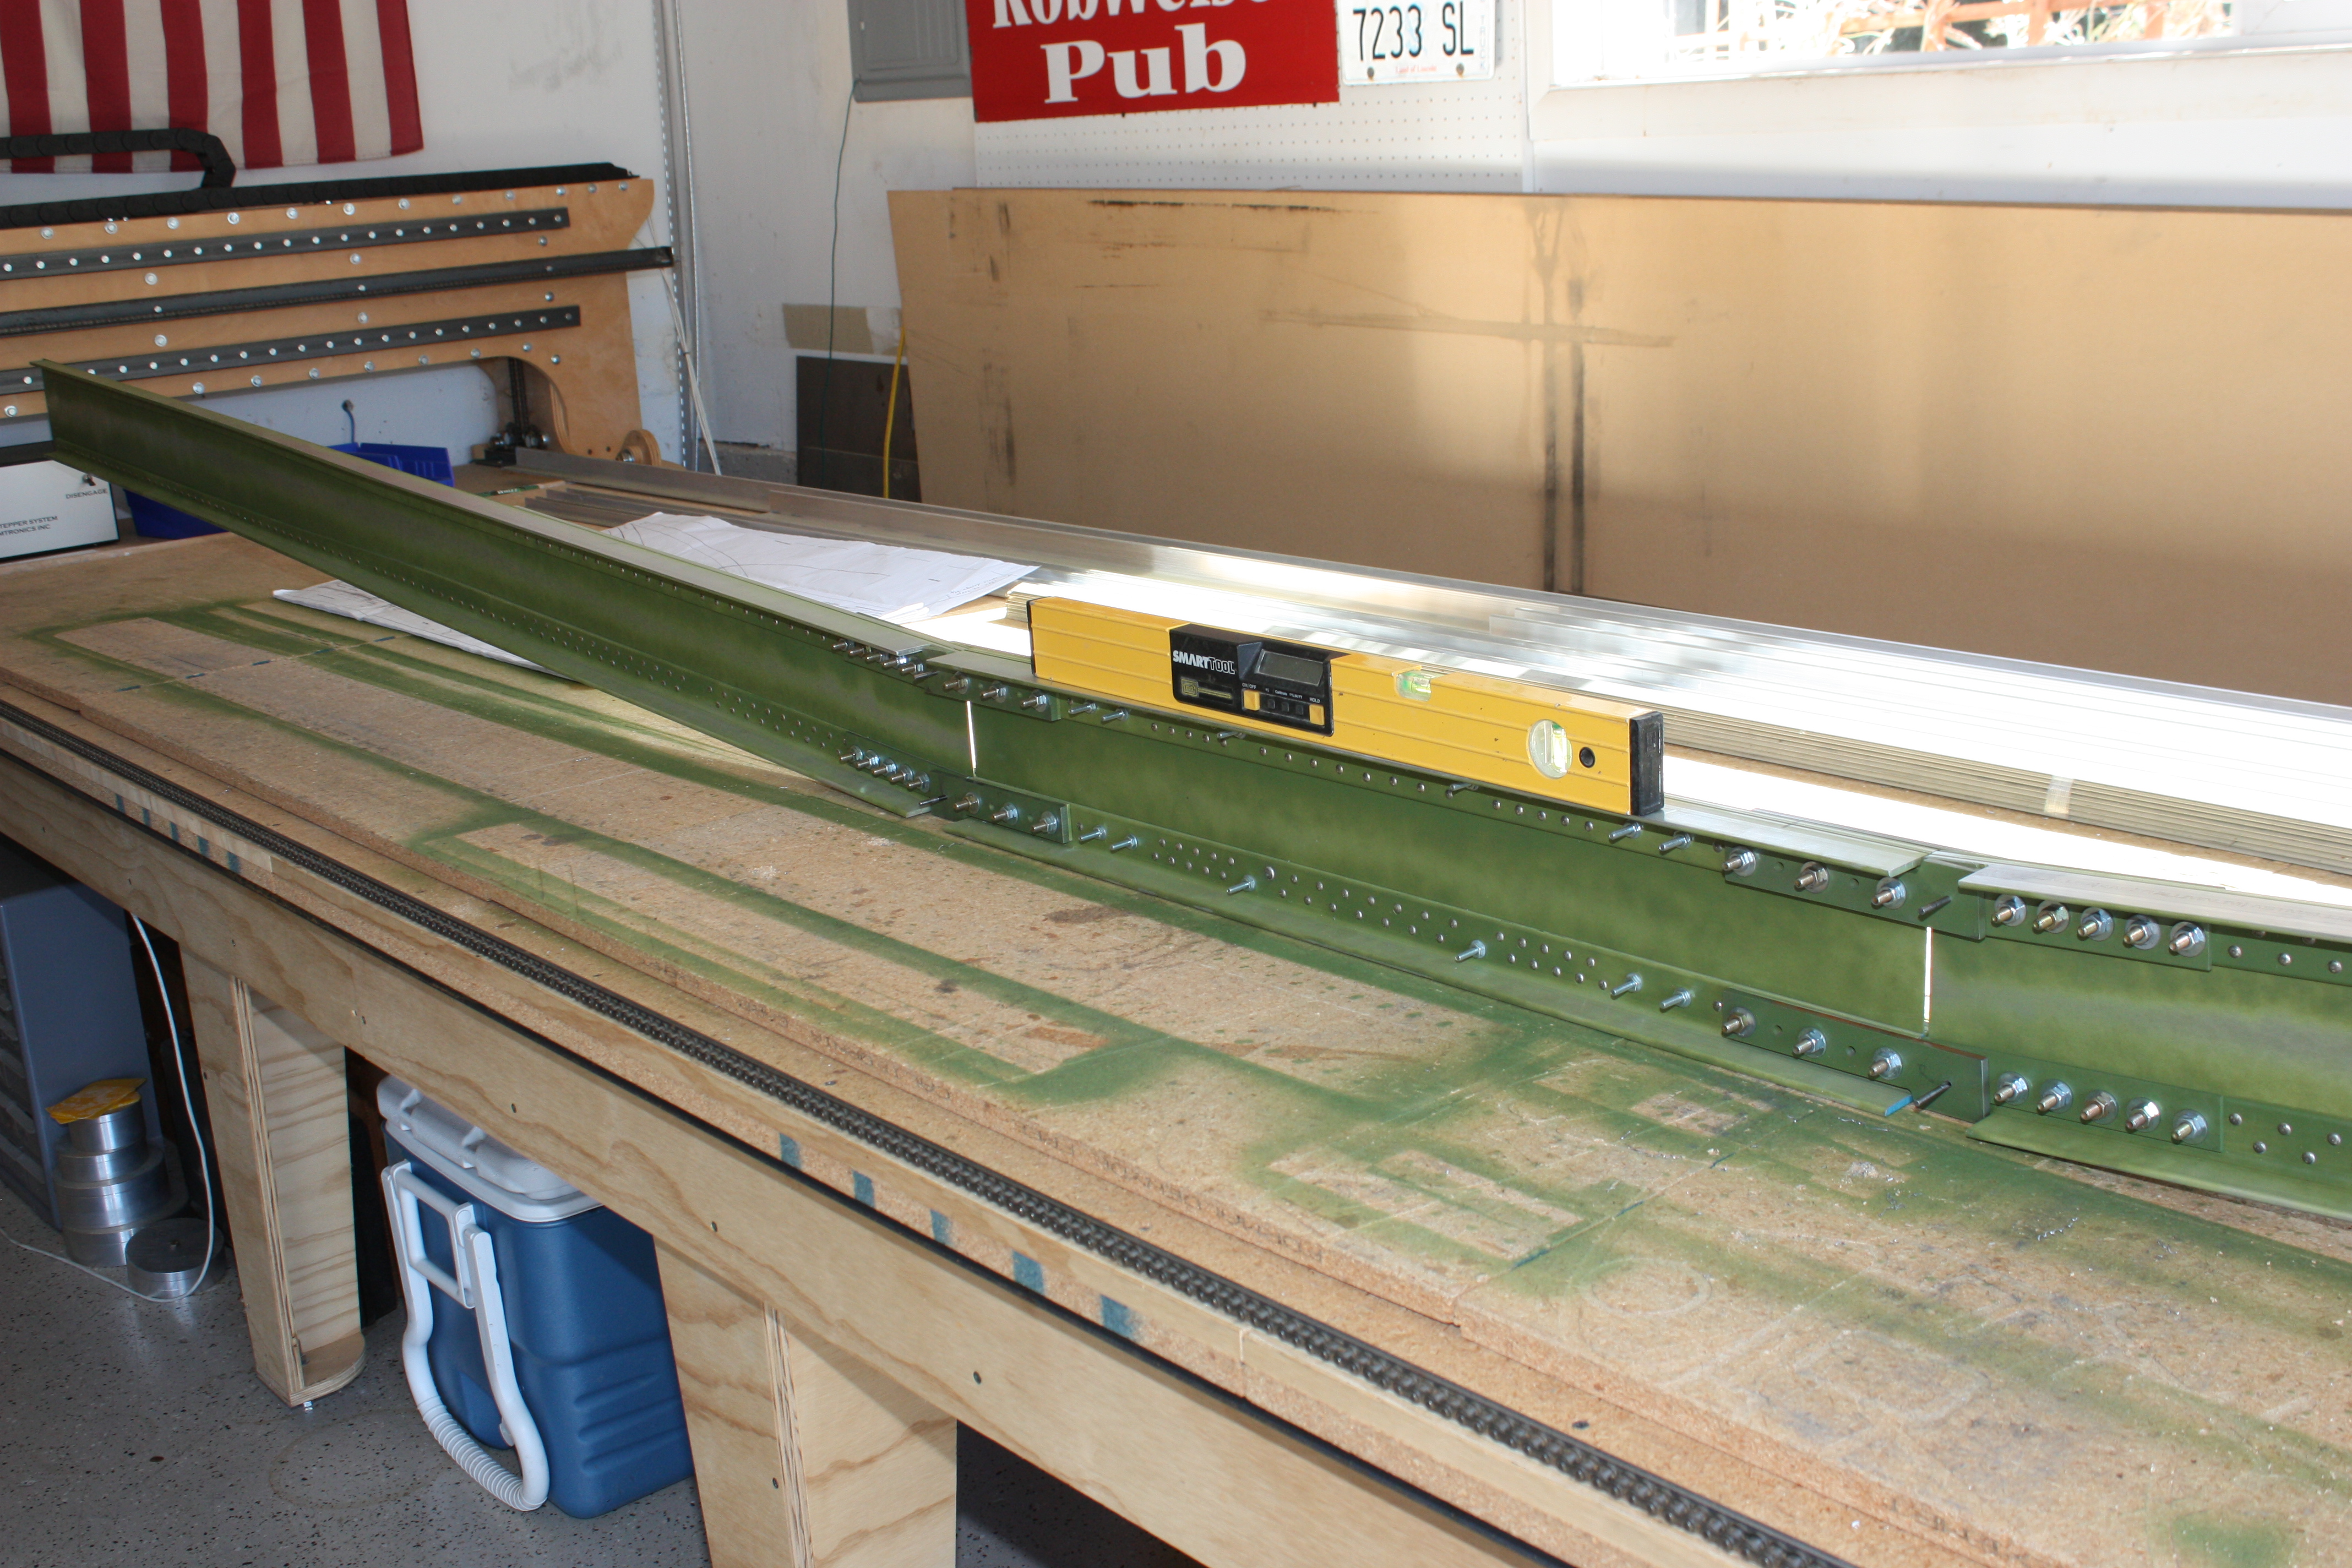
The steel reinforcements at the wing connection aligns with a drill bit used as a pin, and you can see where the bottom will need to be ground down so that it does not protrude:
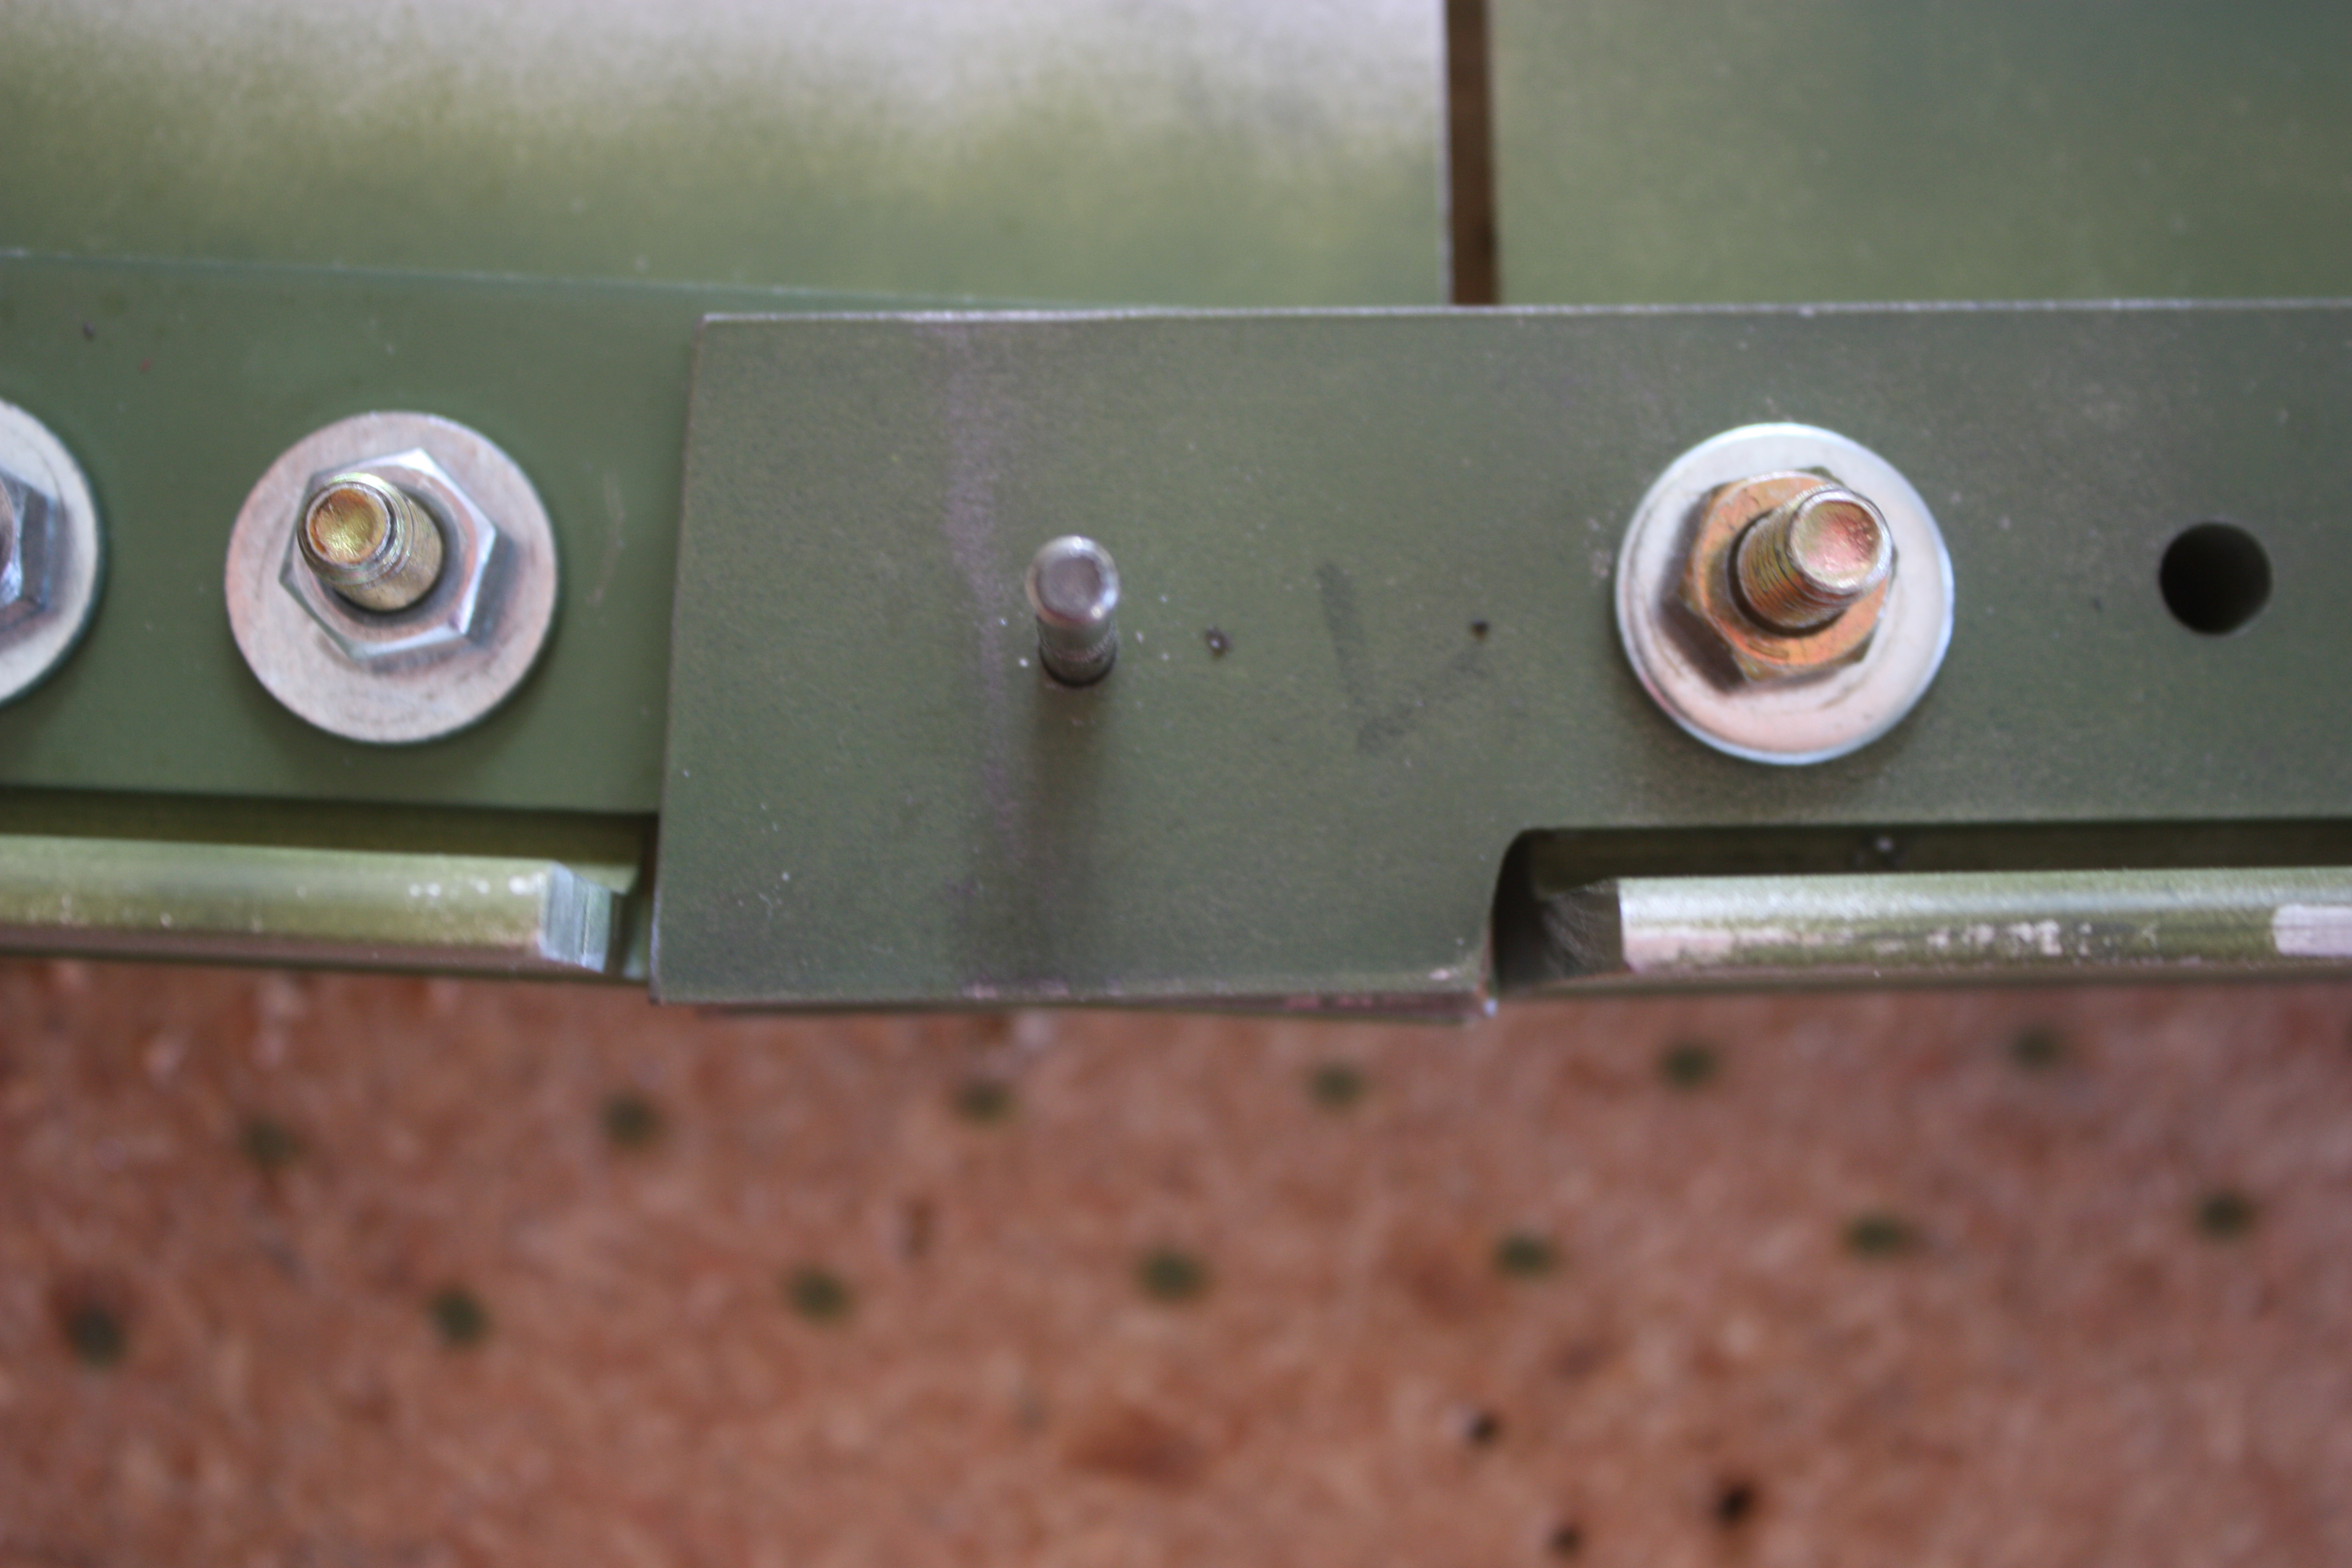
Steel reinforcement ground, sanded, and the main bolt holes reamed to size:
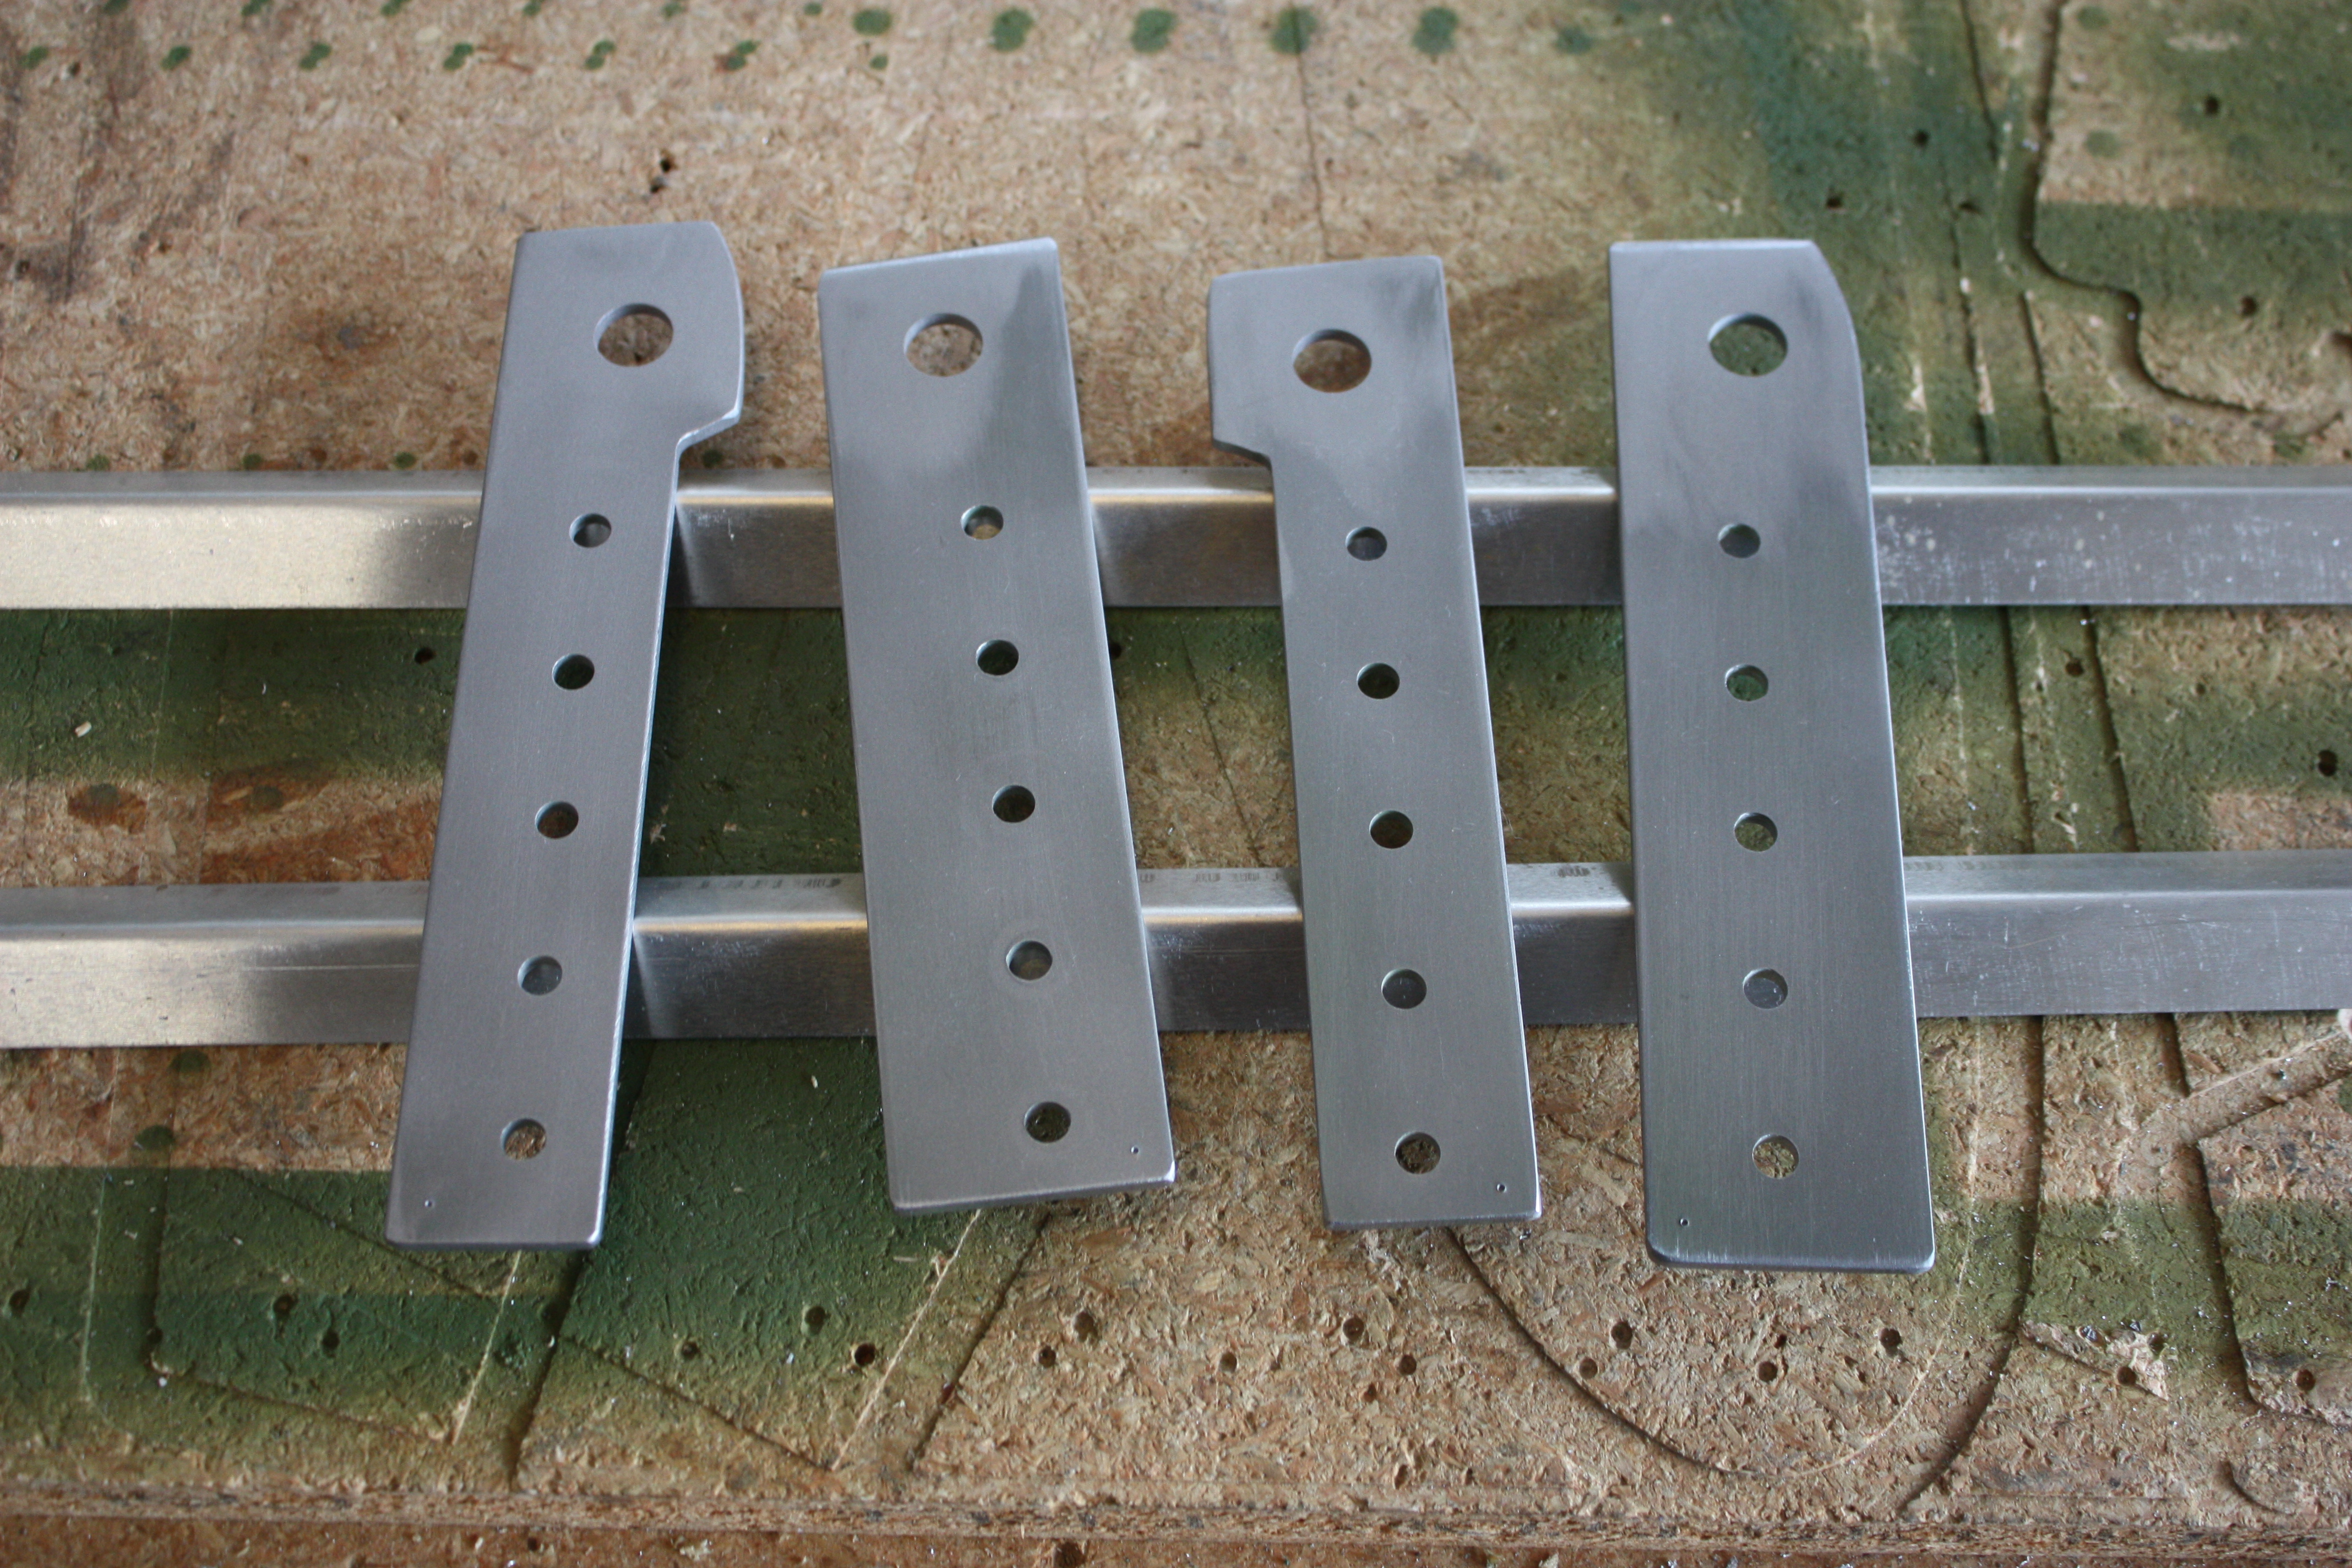
Rib to Spar Connection
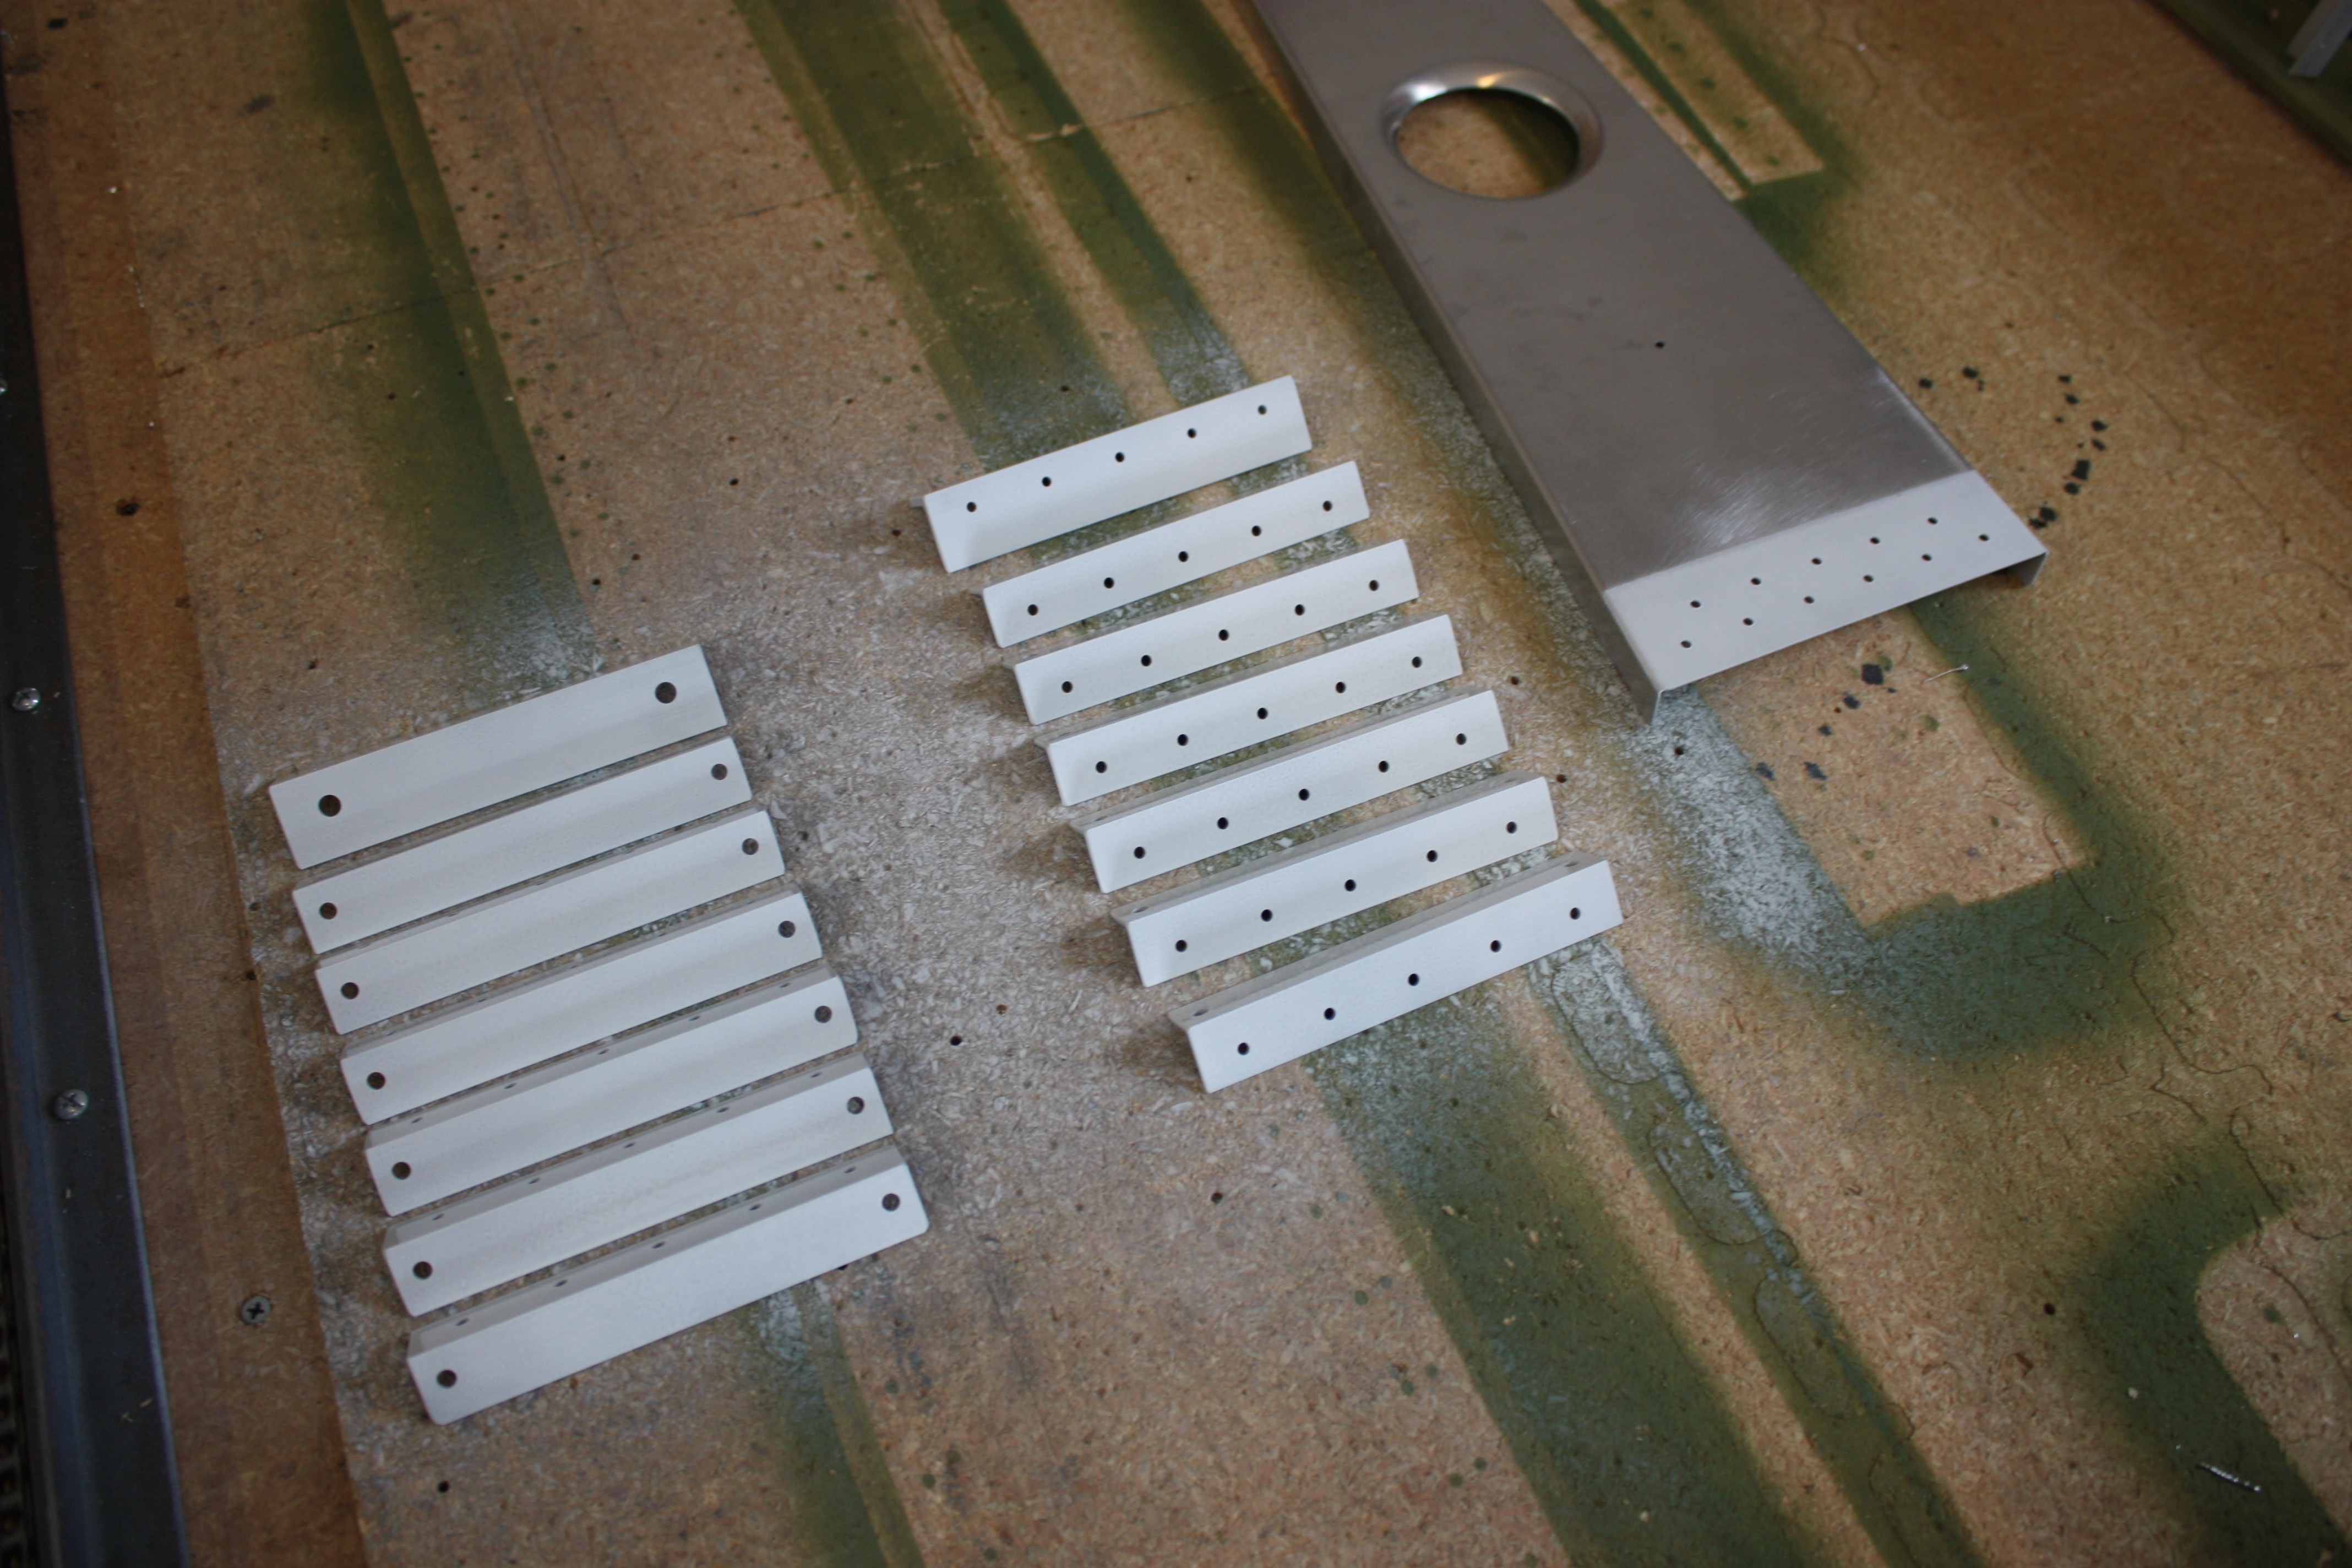
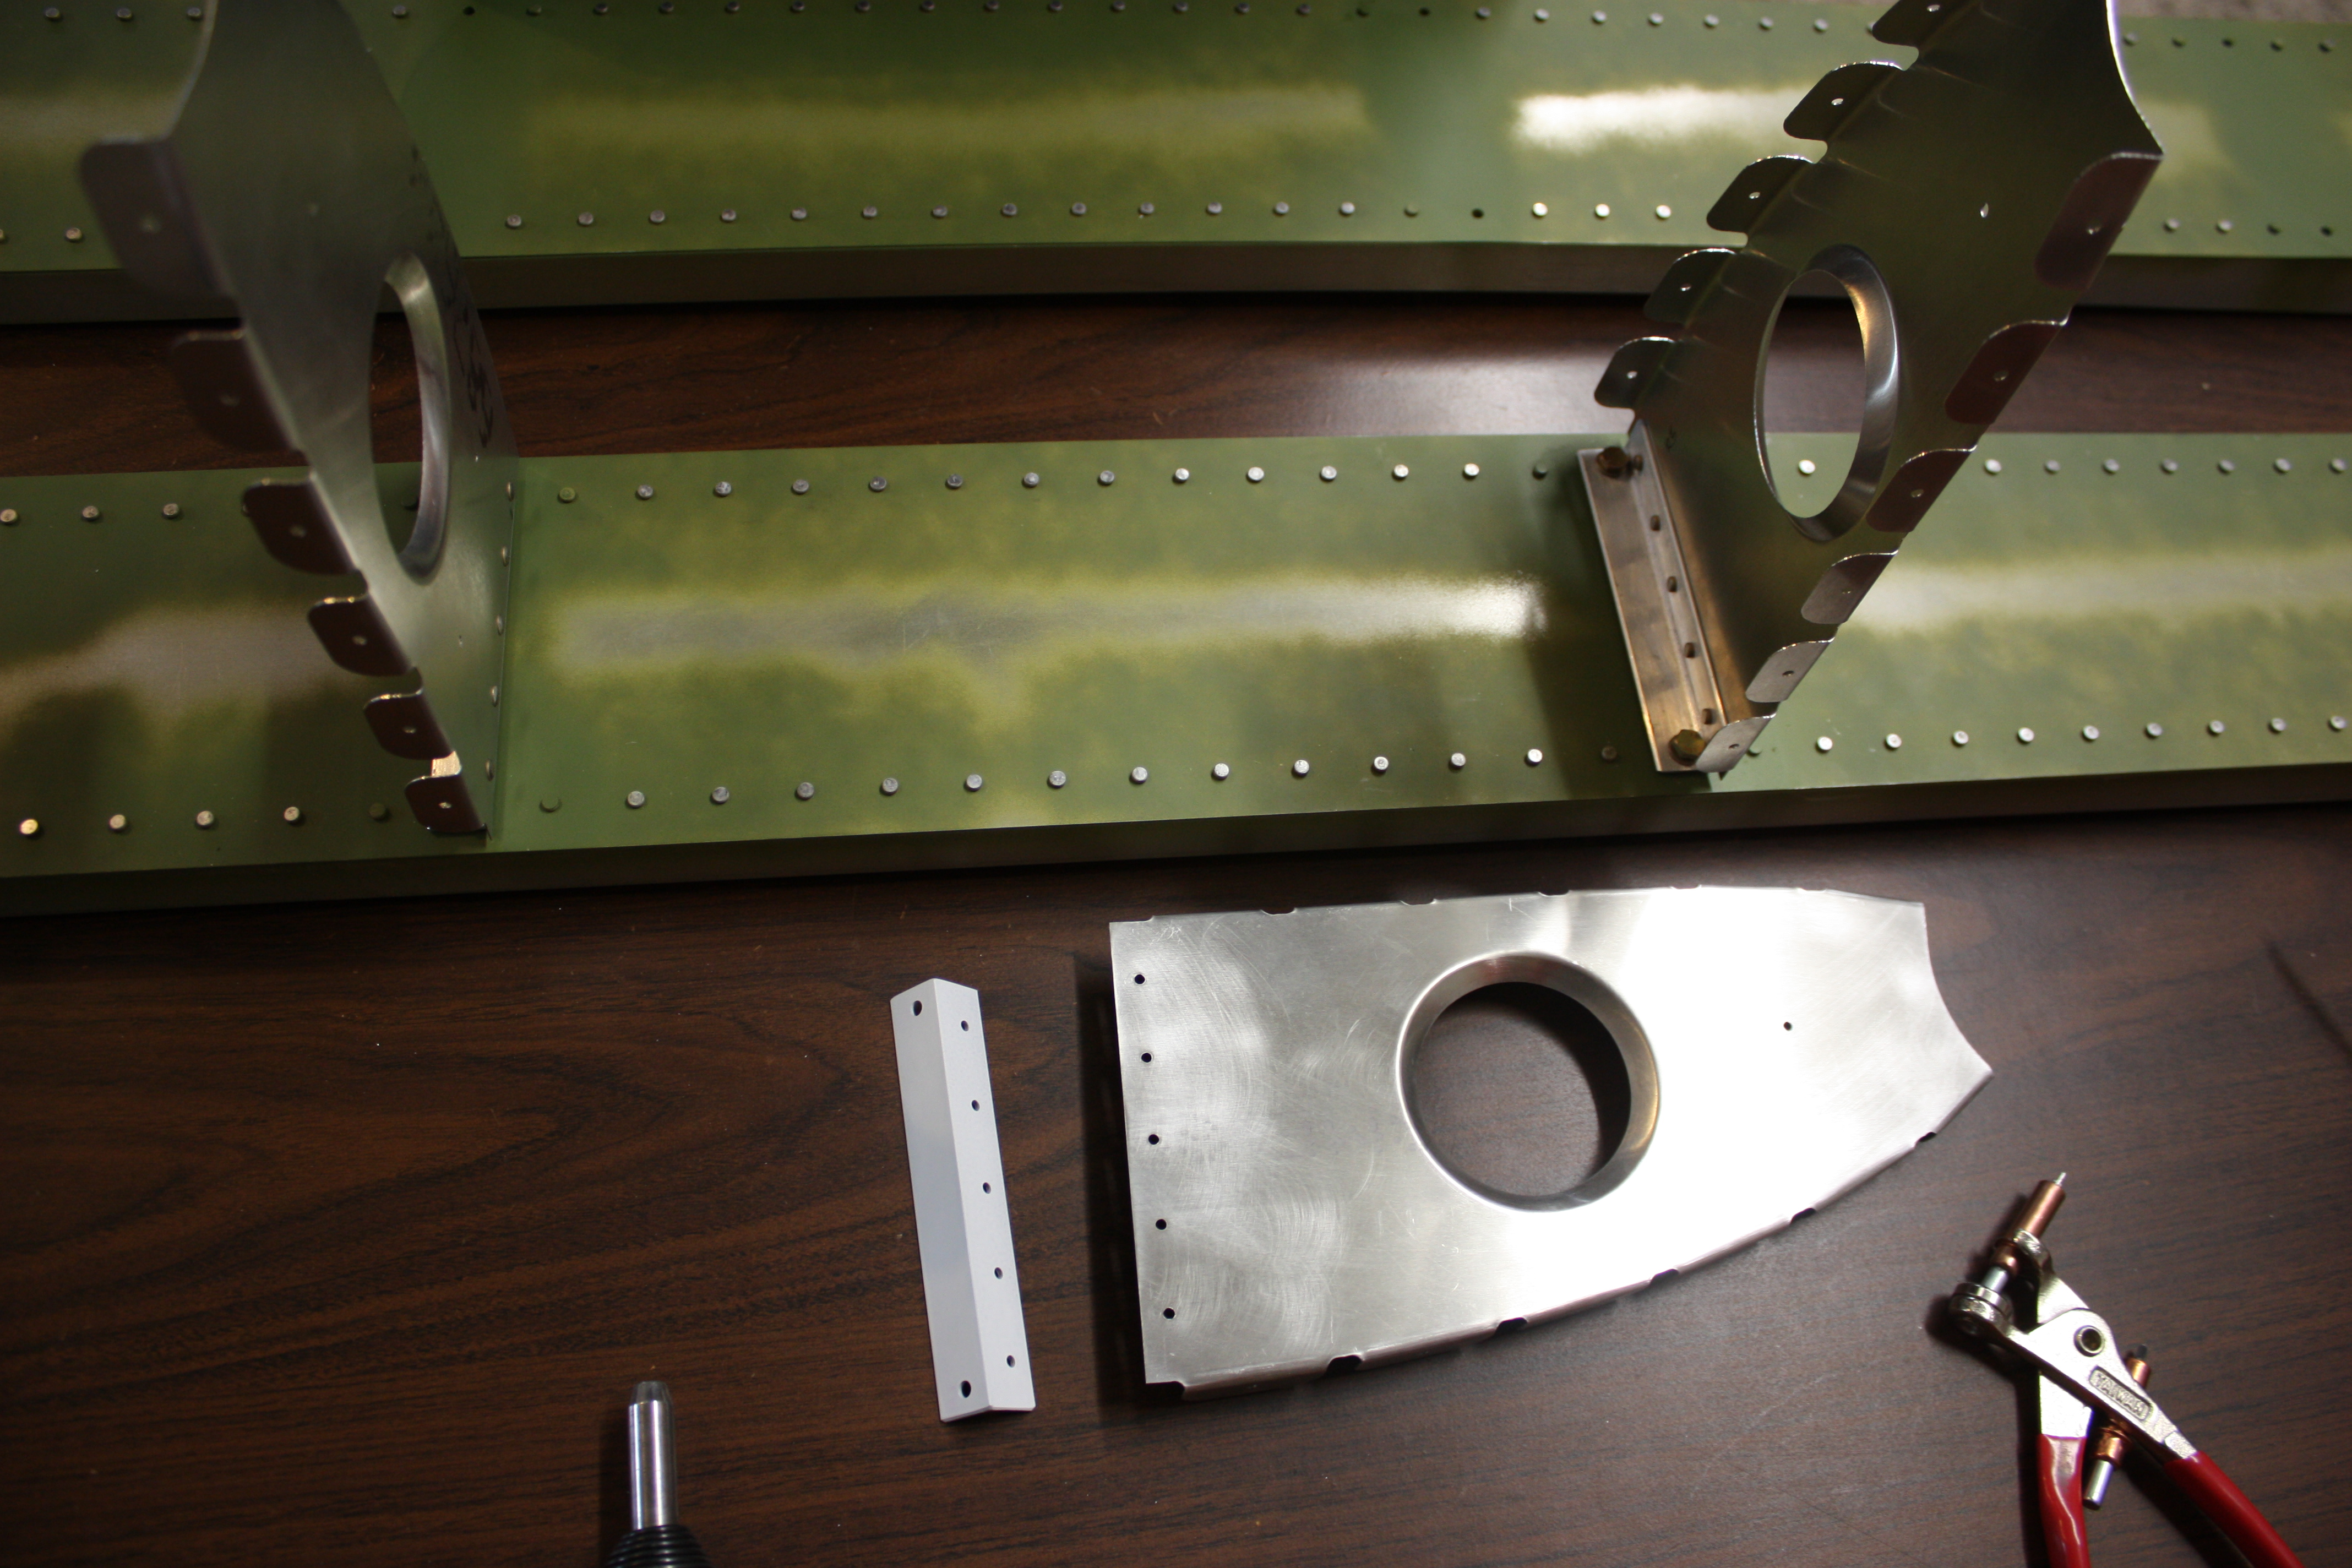
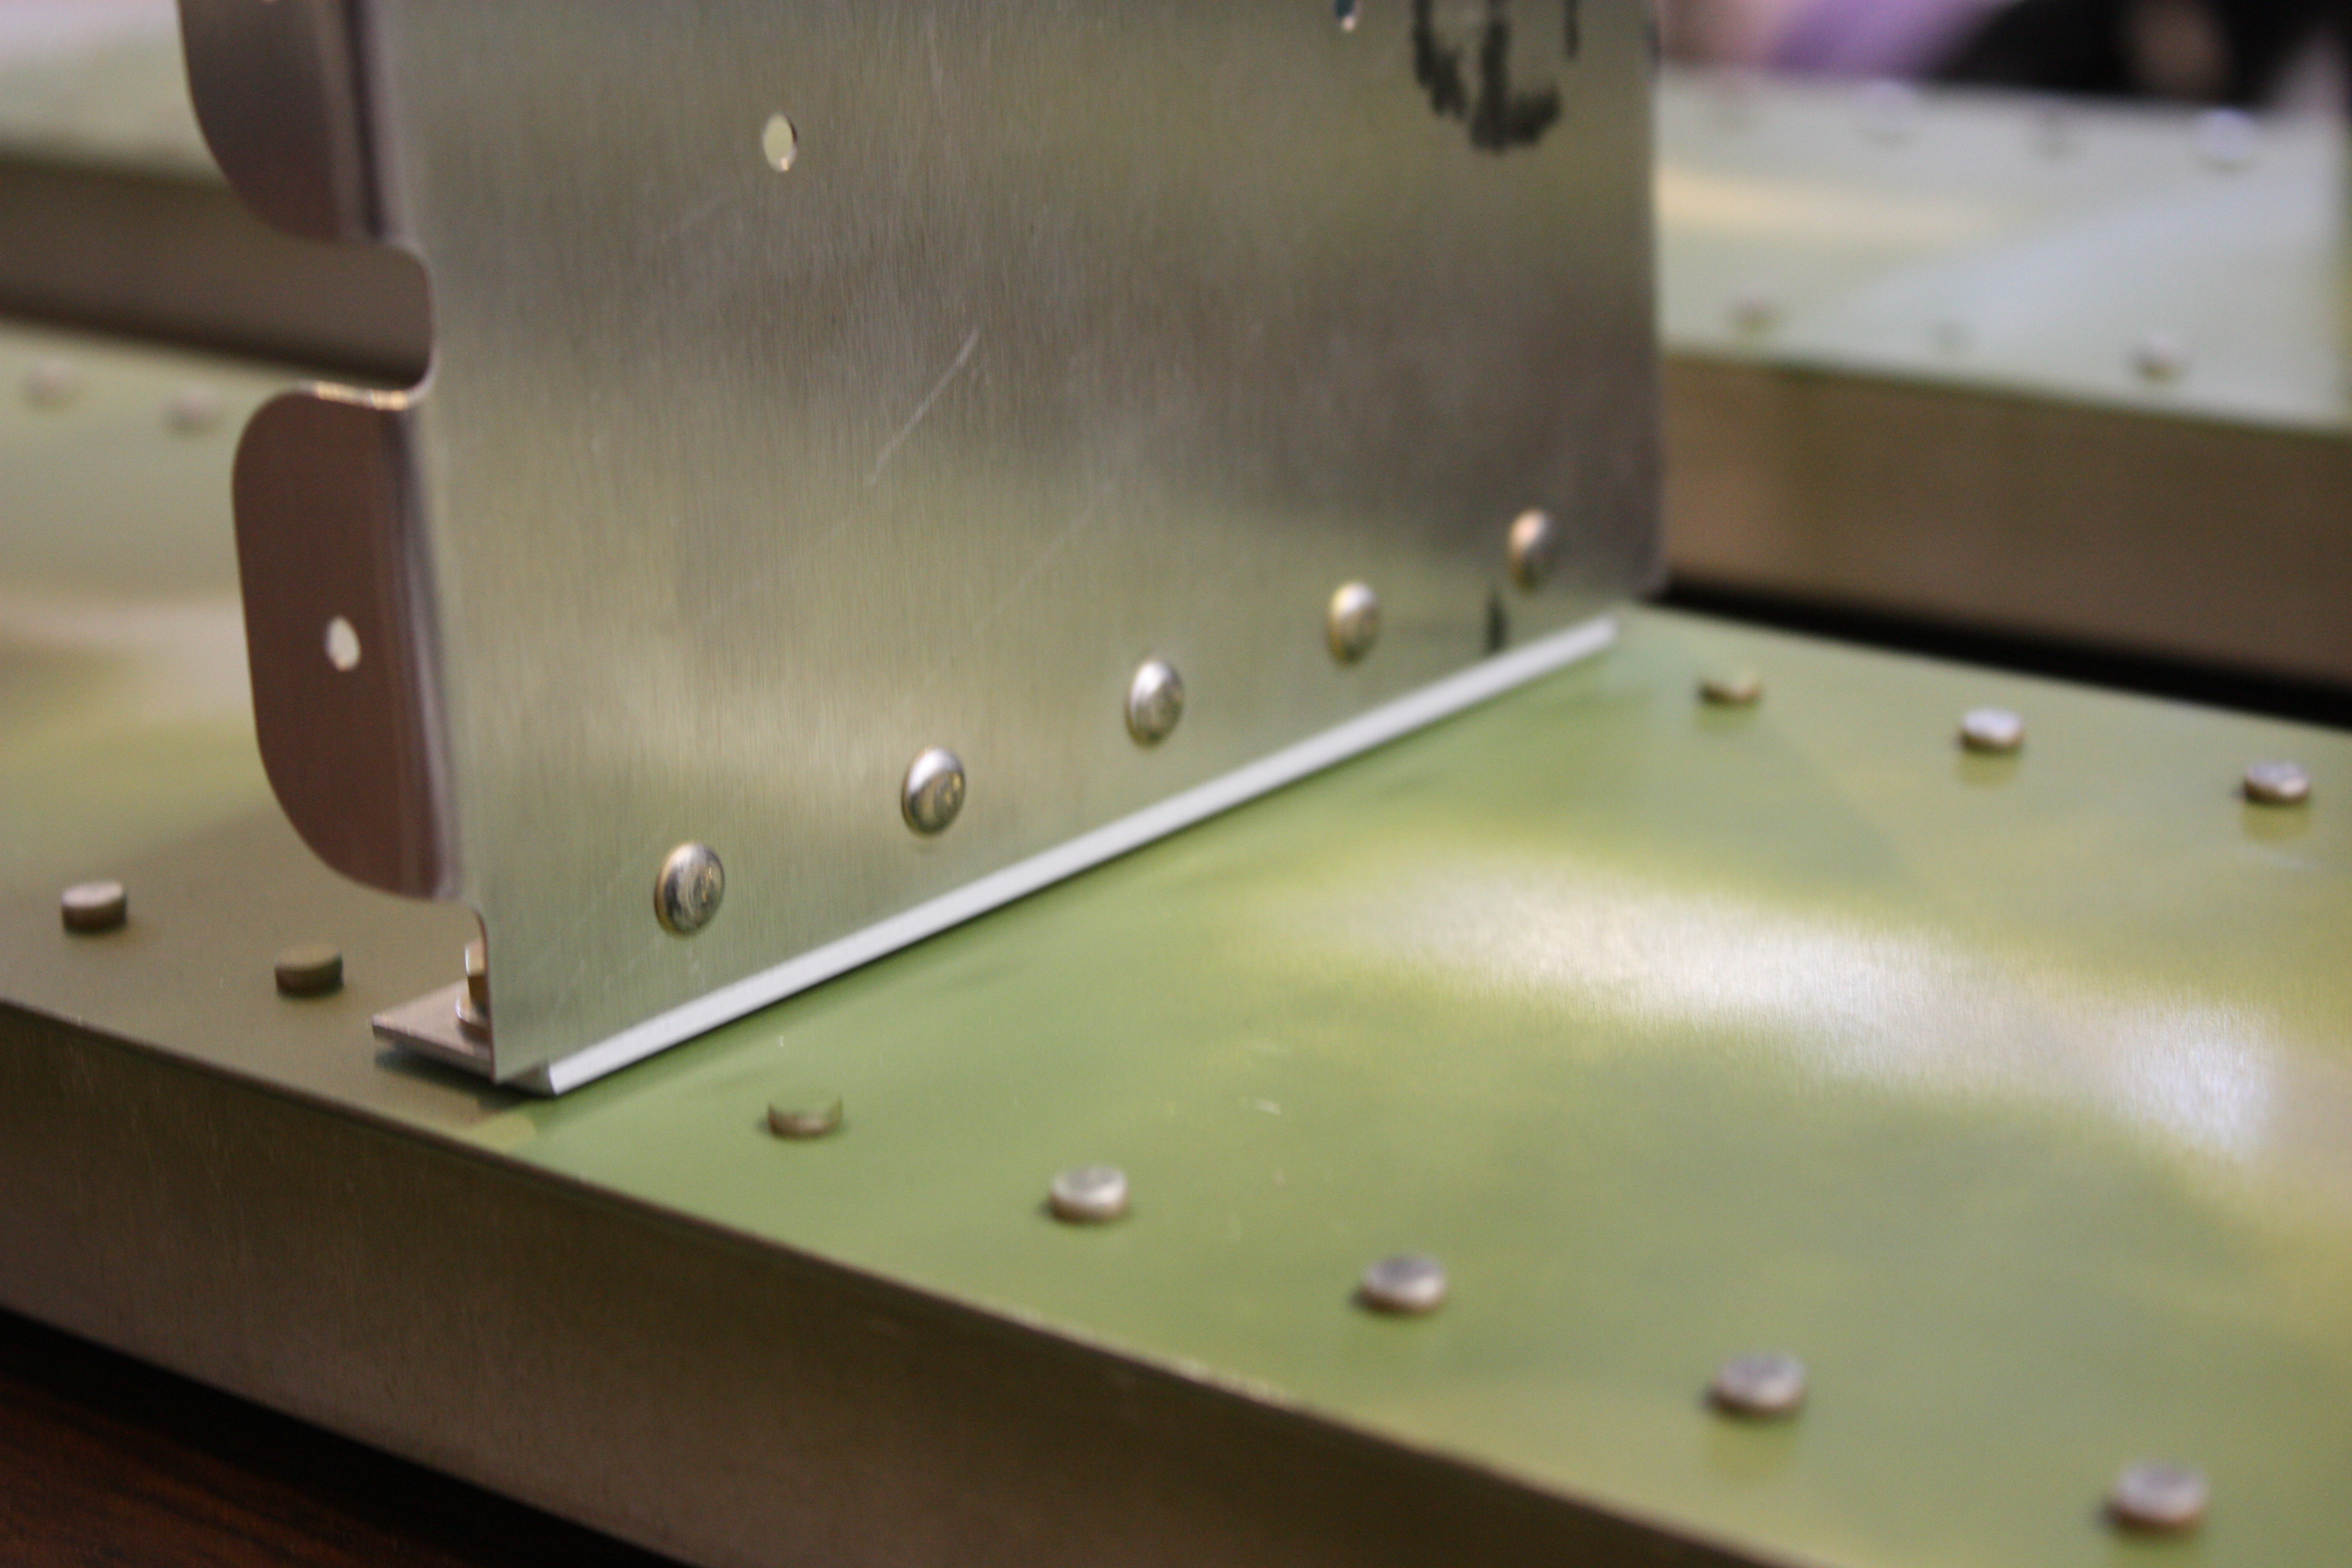
The rib is held to the spar with a thin angle. This strengthens the rib, holds the rib in place, and keeps the spar from folding over under high loads.
I set up a quick jig to get all of the holes drilled. First, I had the five rivet holes drilled for the rib connection:
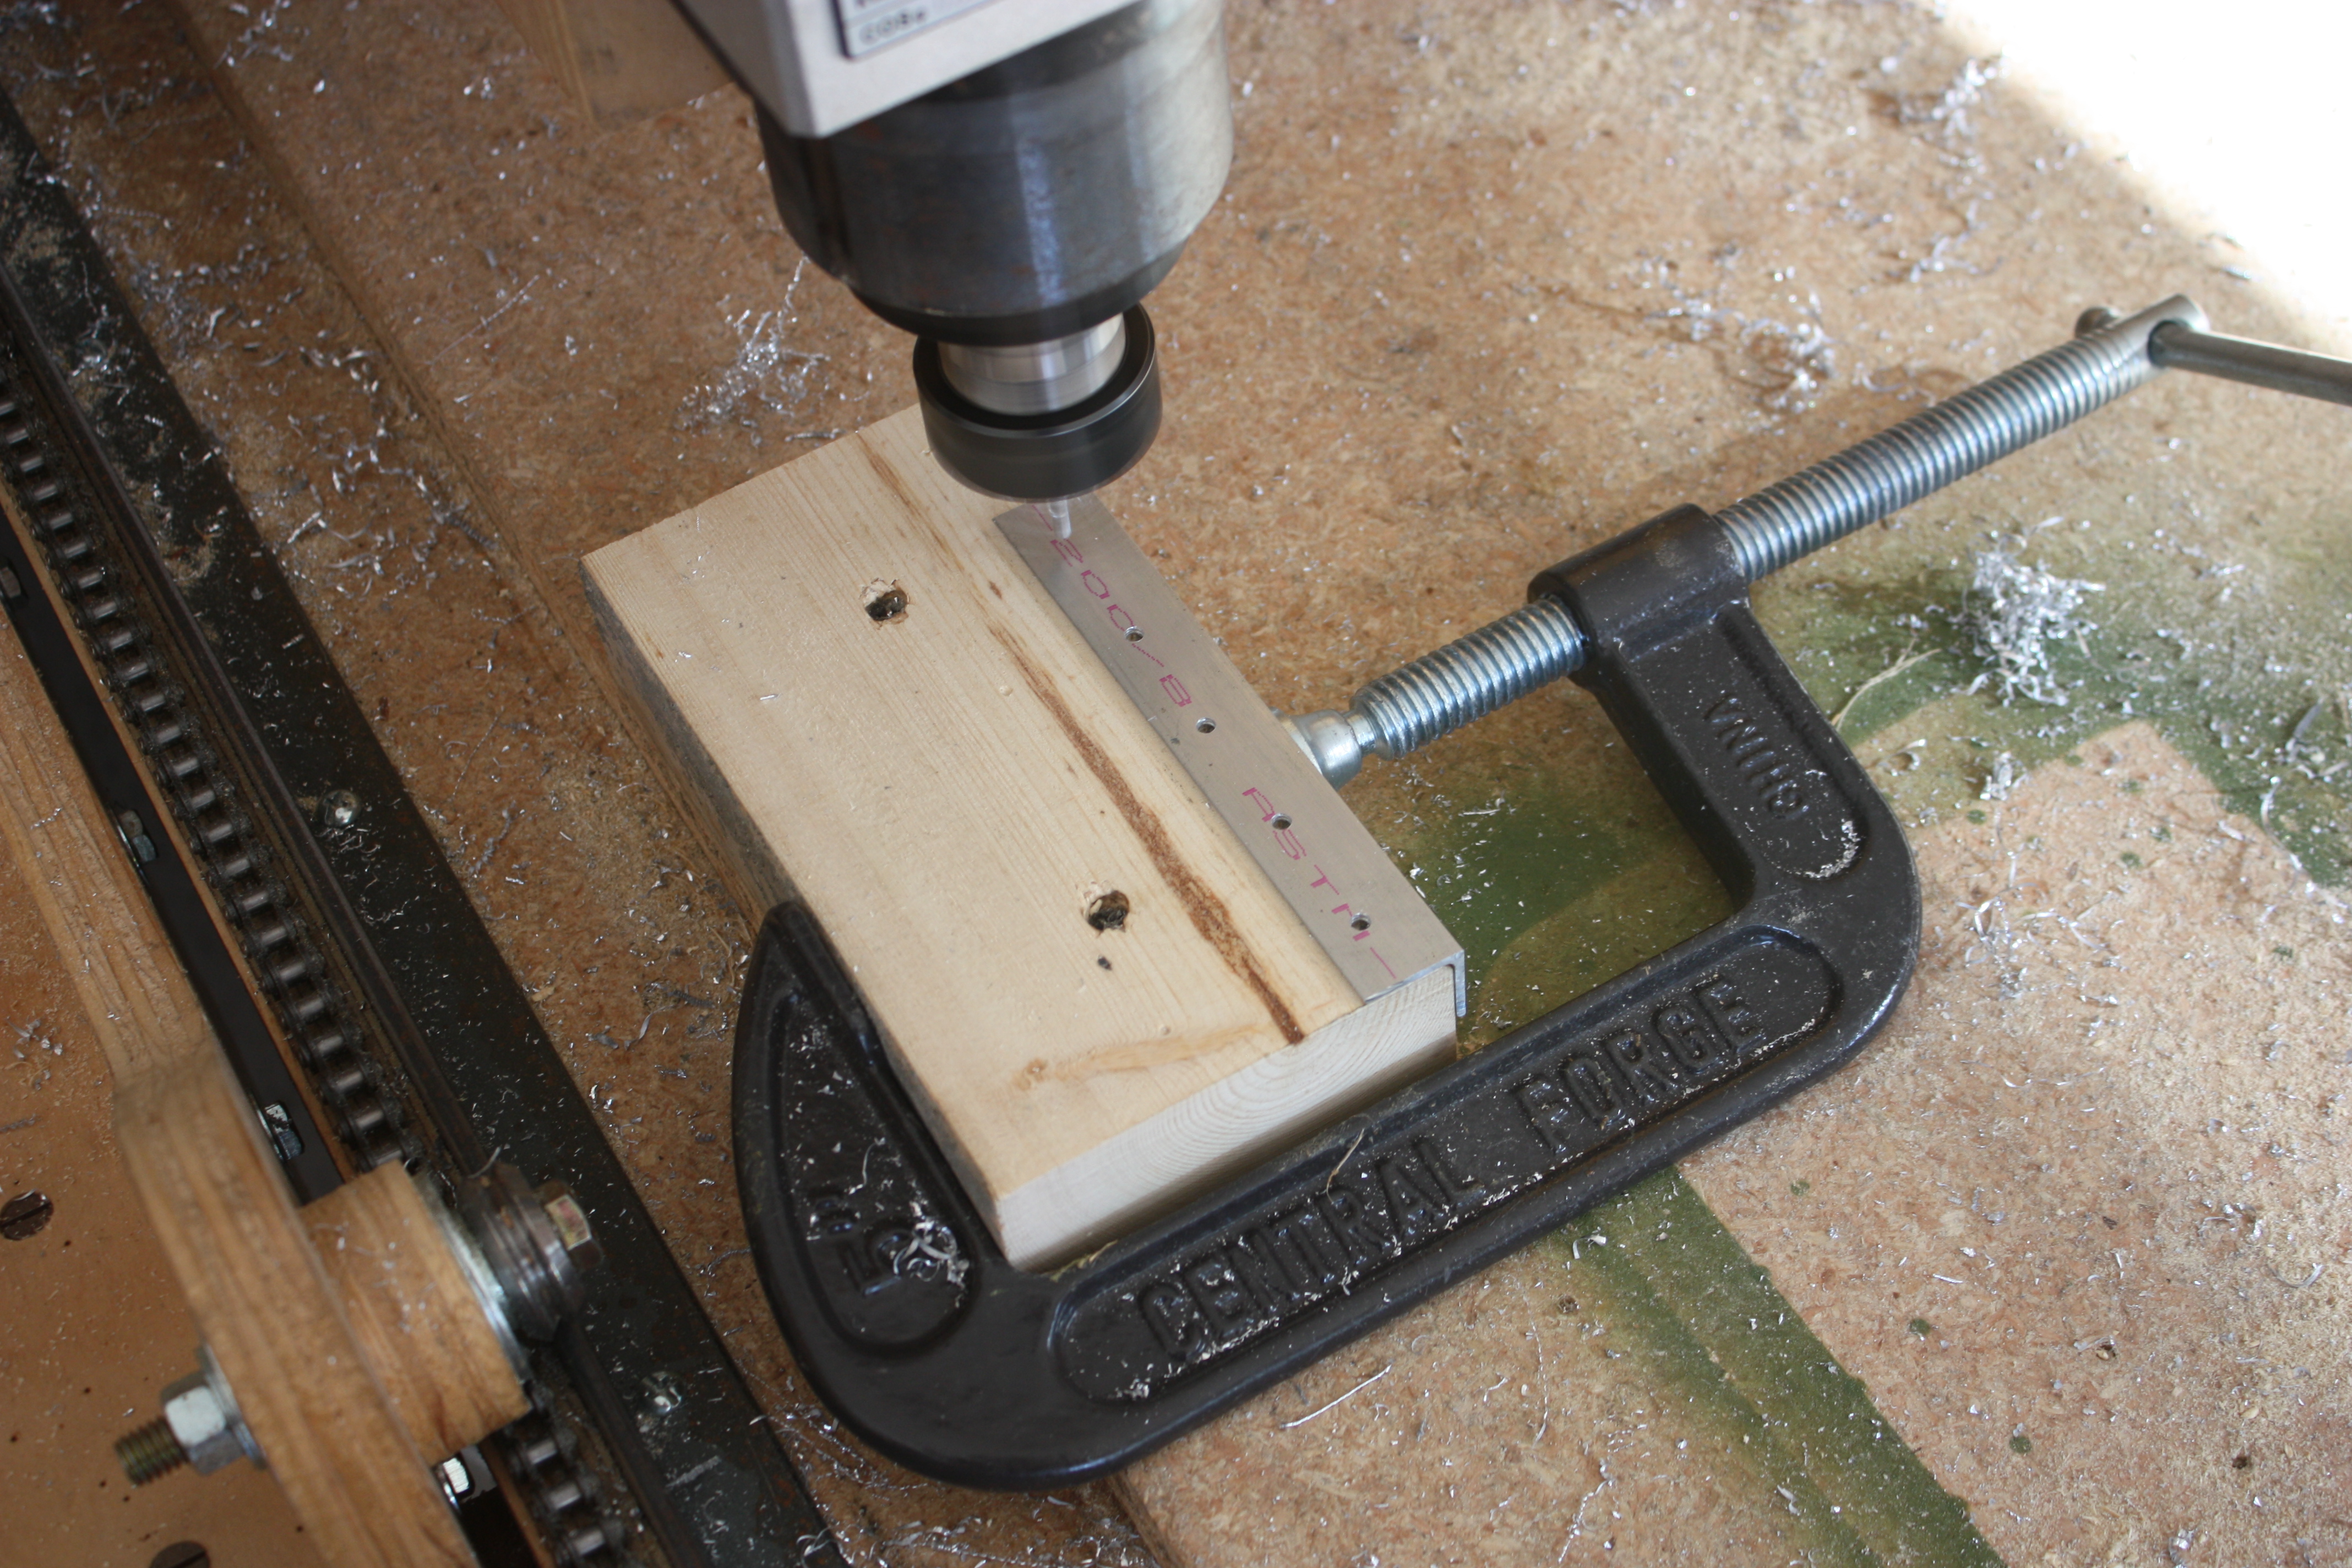
Using the center rib rivet hole and a drill bit as a guide, I could place the angle in a repeatable location and drill the spar bolt holes:
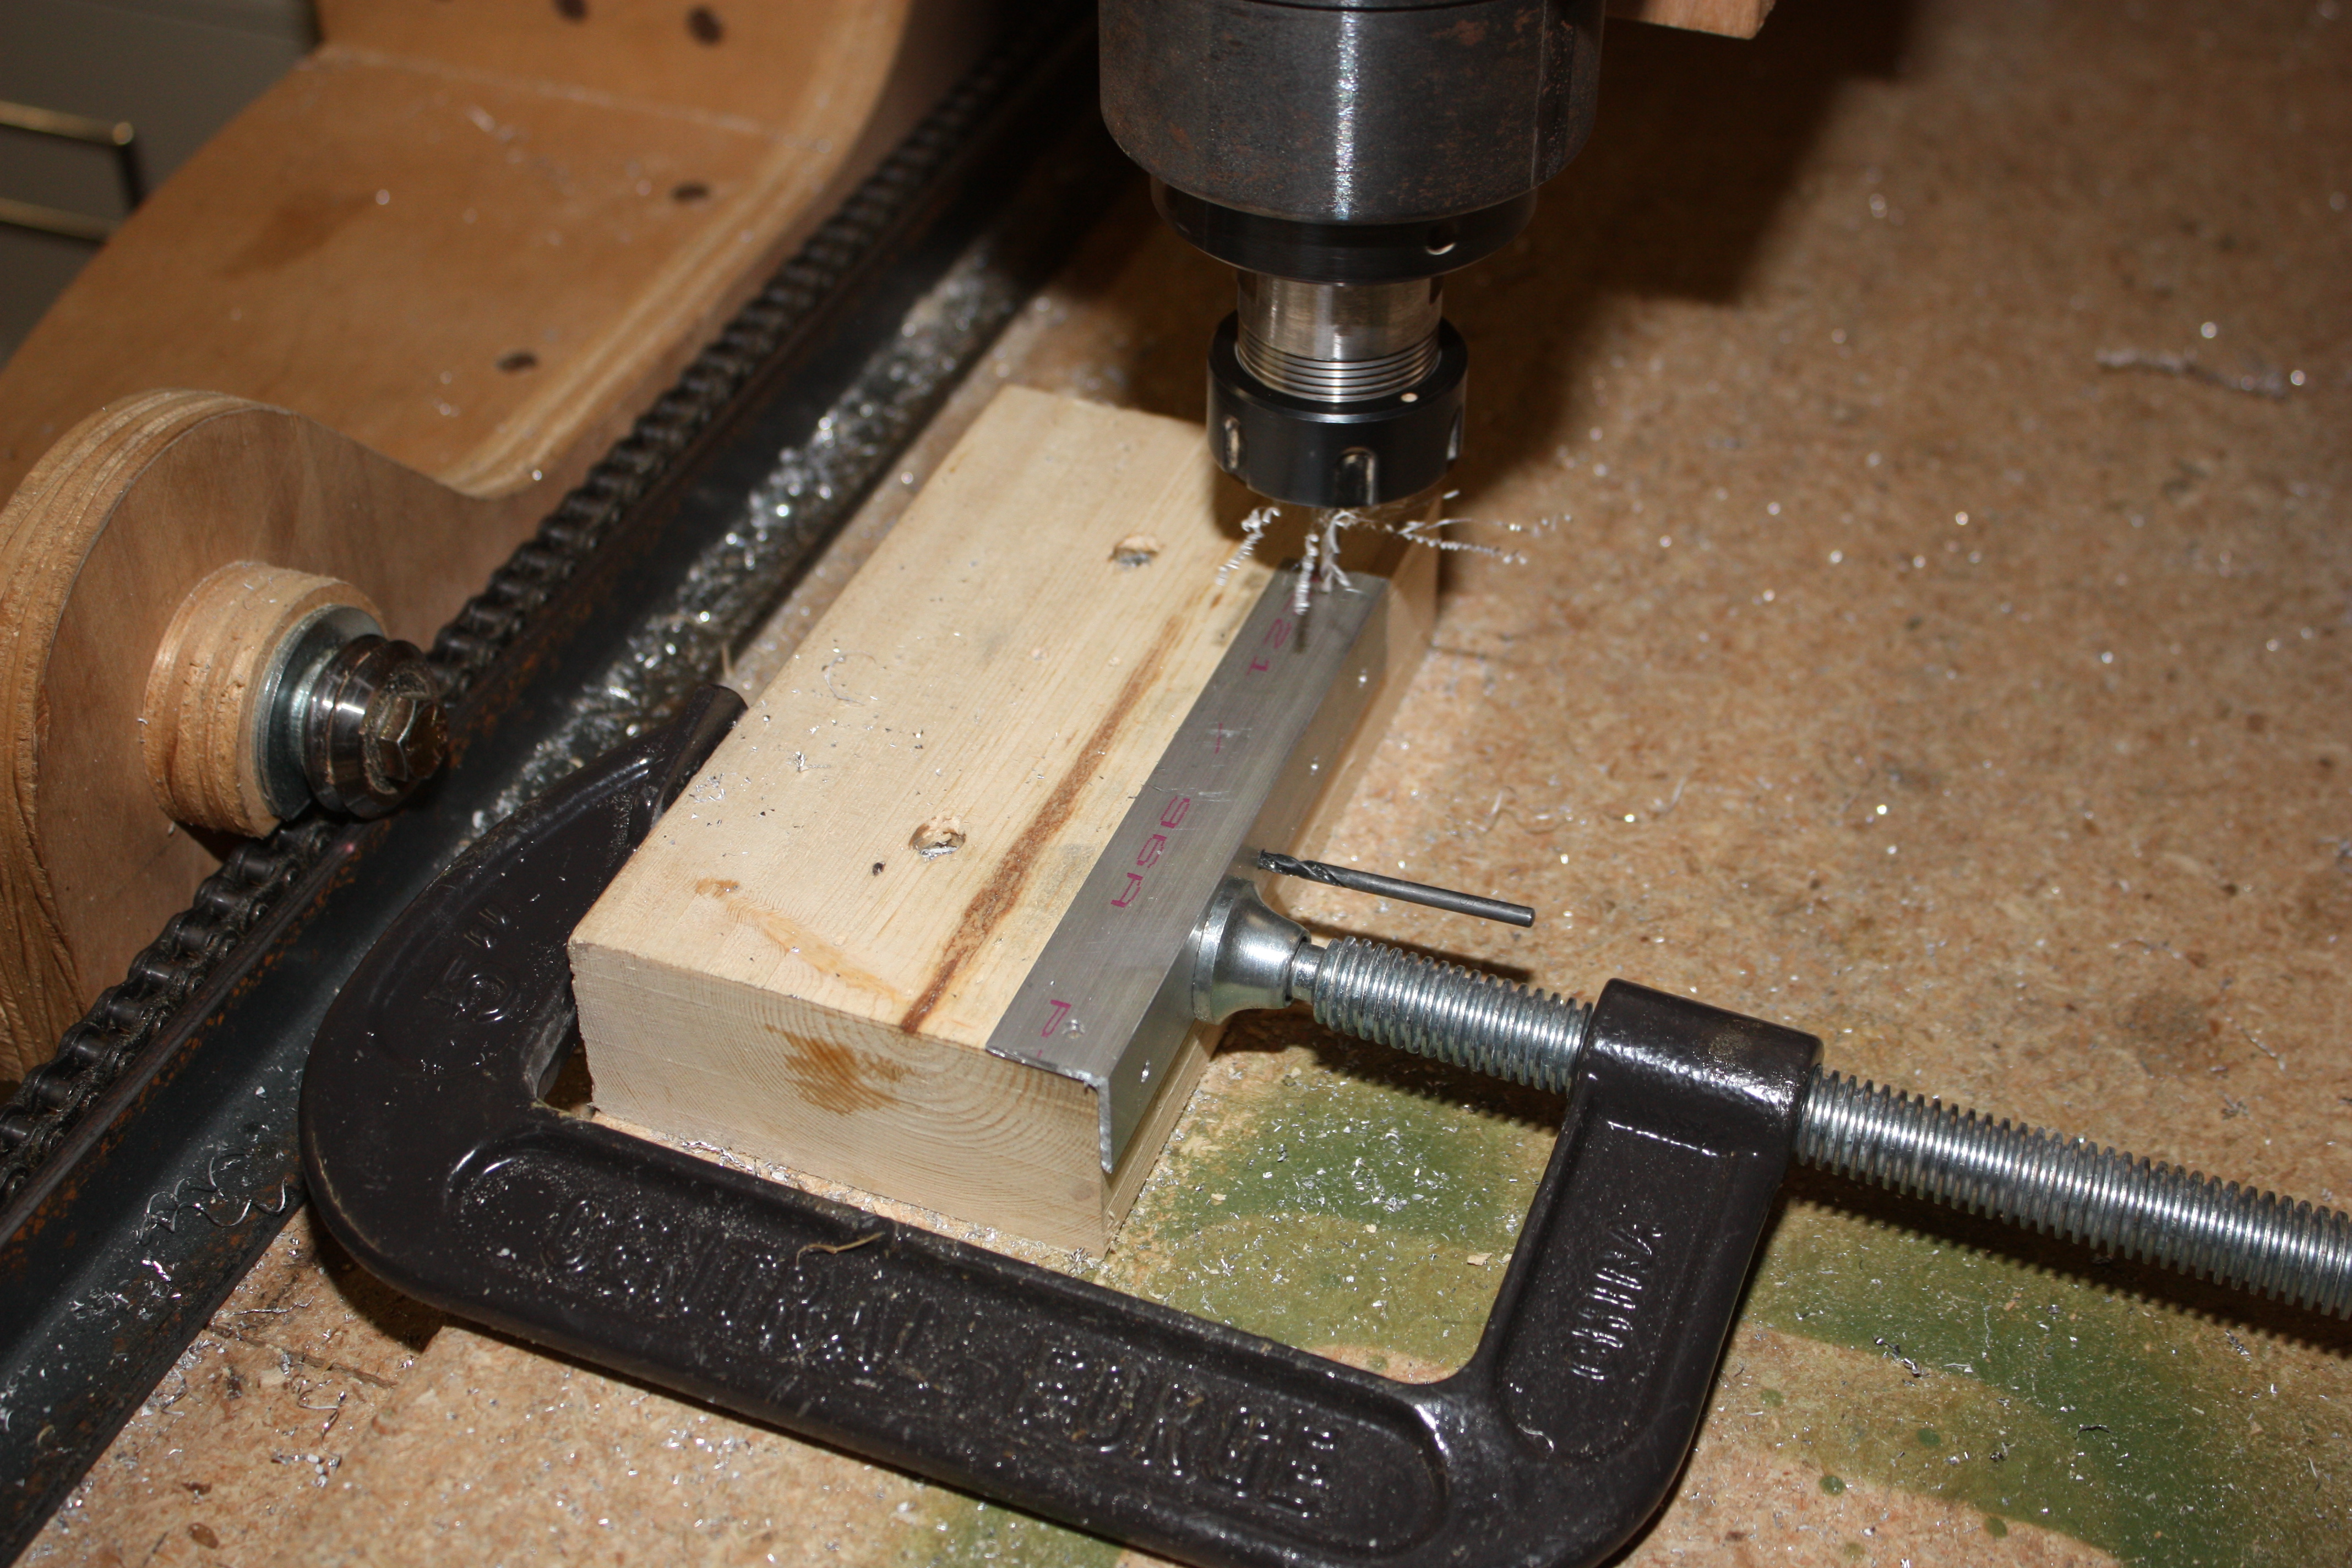
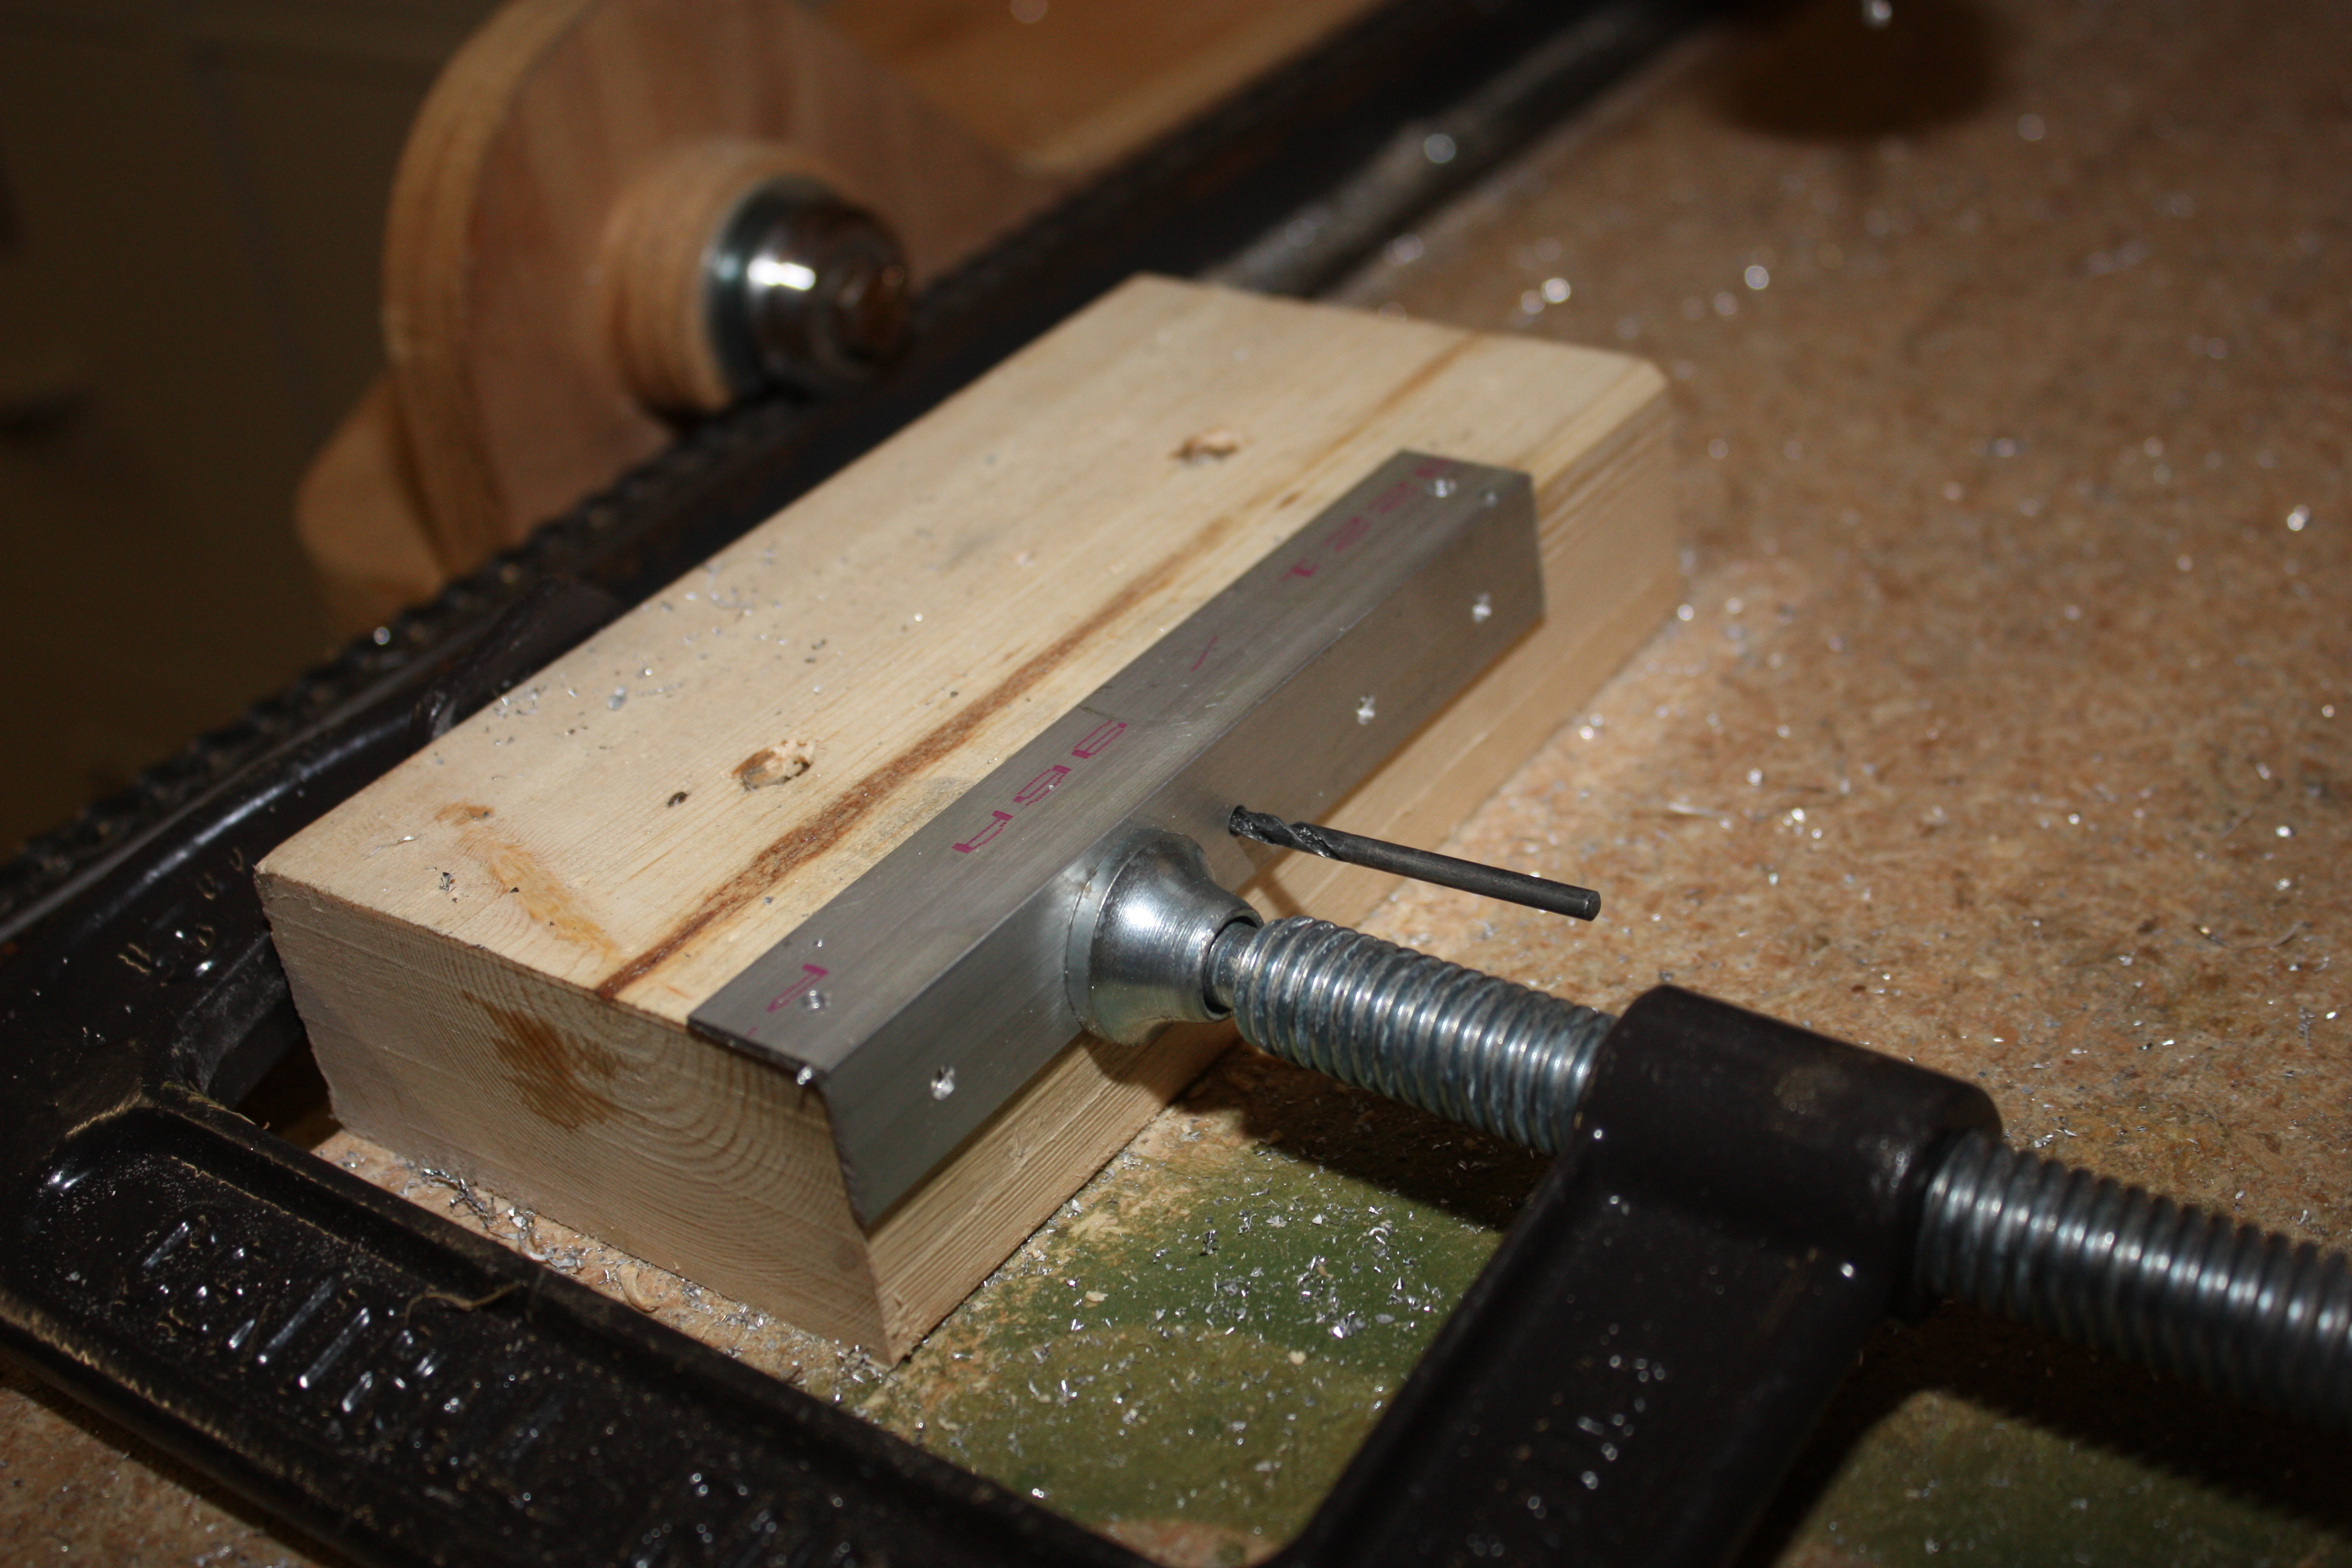
Everything was Clecoed and then final drilled:
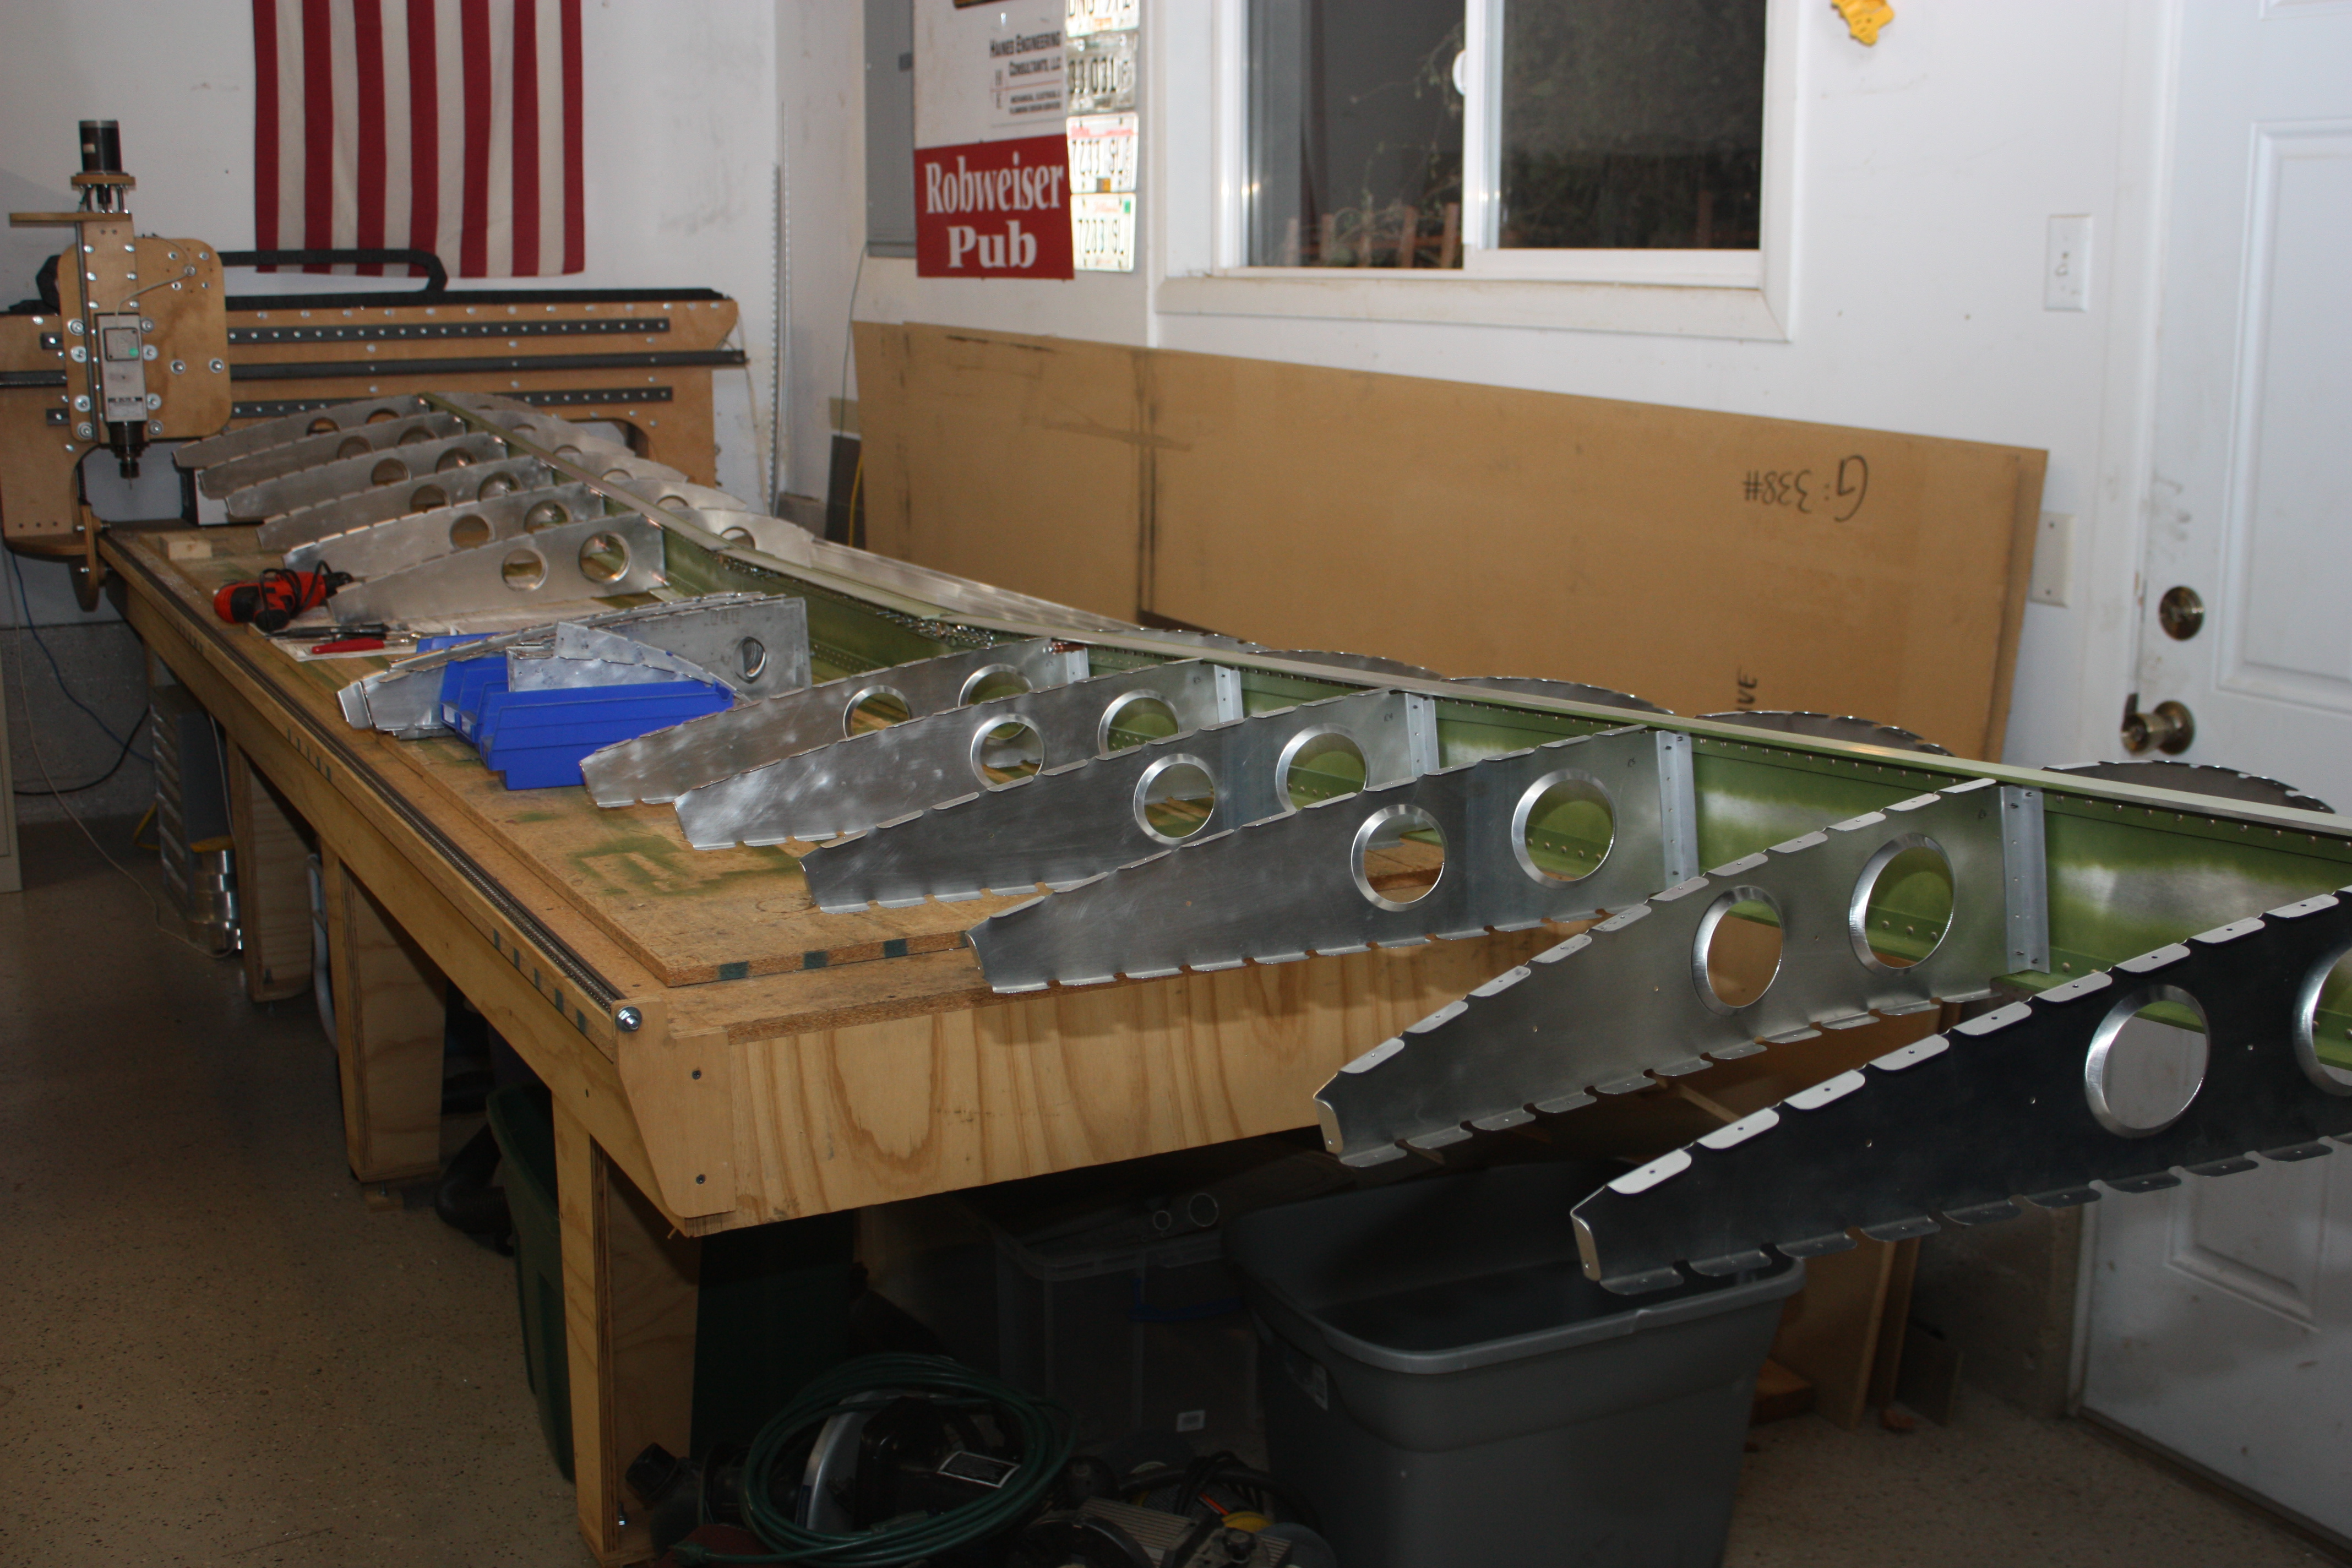
As opposed to using Zinc Chromate, I used standard Rust-Oleum. This was typical for the rest of the construction of the wing:
Right Wing
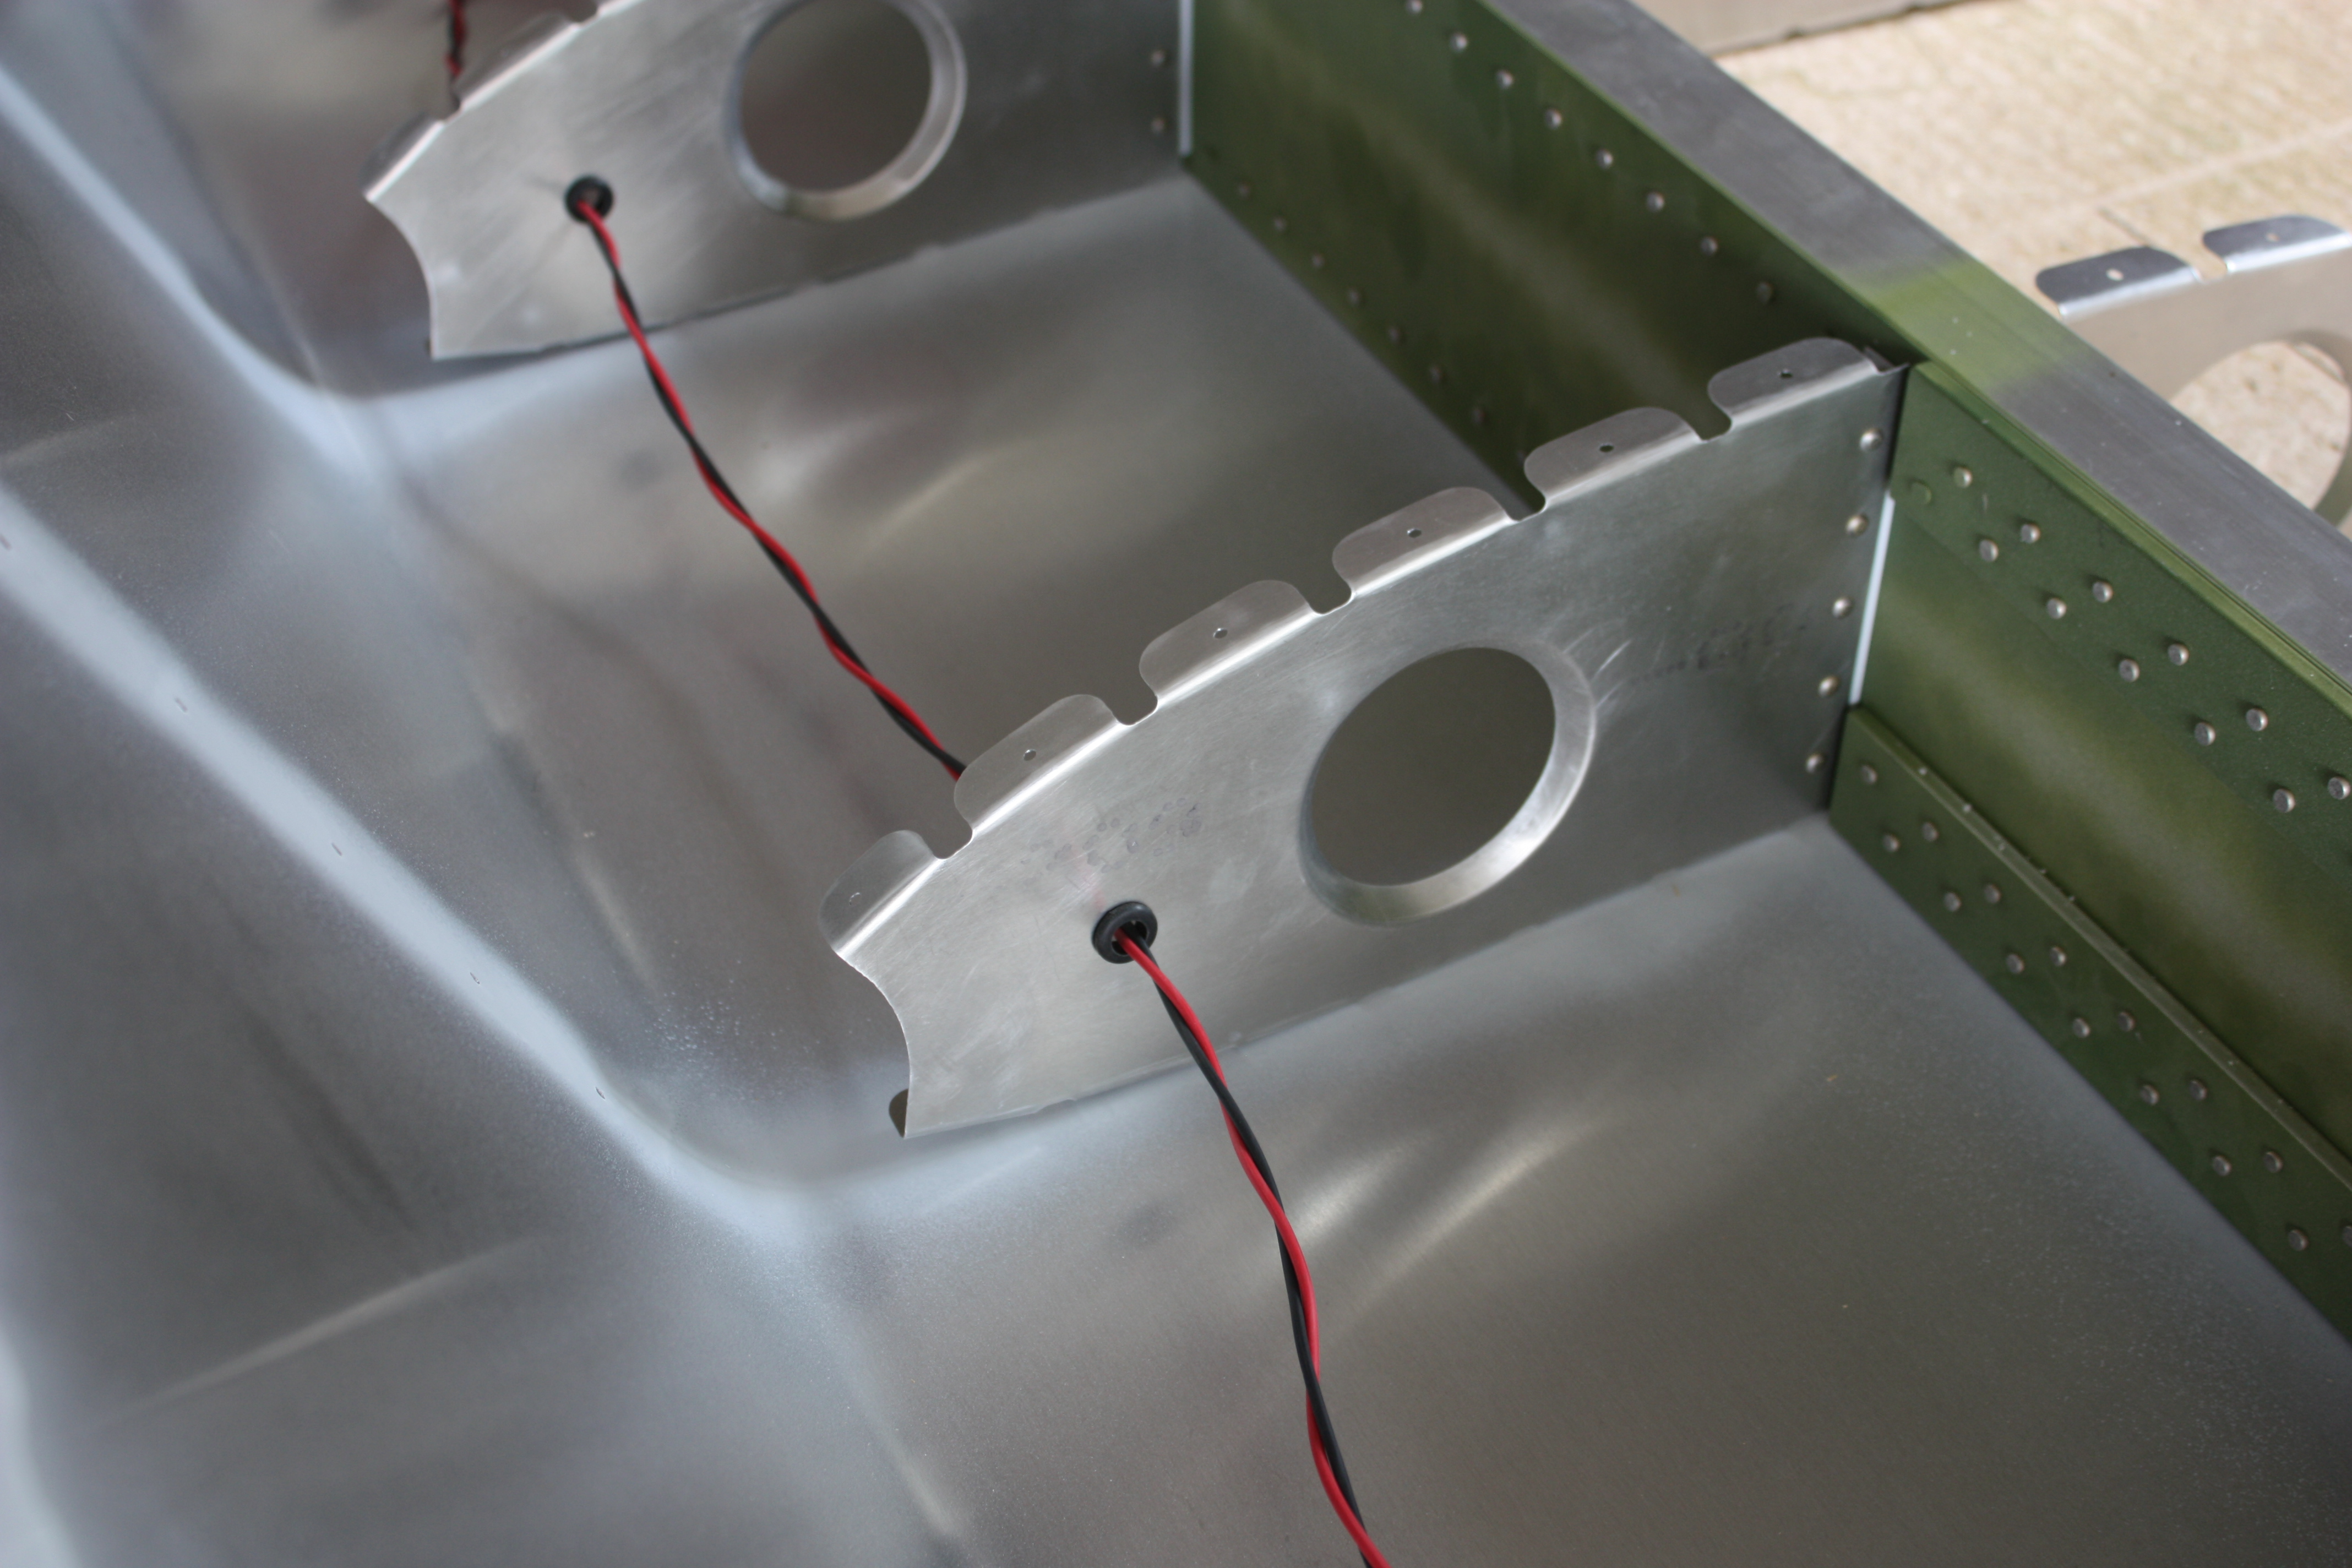
I had not planned on putting lights on this airplane, I don't plan on flying at night. Not at all. I don't think it's smart to fly an experimental aircraft with an experimental engine at night... it would make for a difficult forced landing. But my tech counselor noted that it would make this small aircraft easier to see during the day. Since it only required the addition of wiring at this point, I wired the wing:
The leading edge was formed using a PVC pipe, plastic sheet, duct tape, and a vacuum cleaner. Not a single picture of the whole vacuum process!
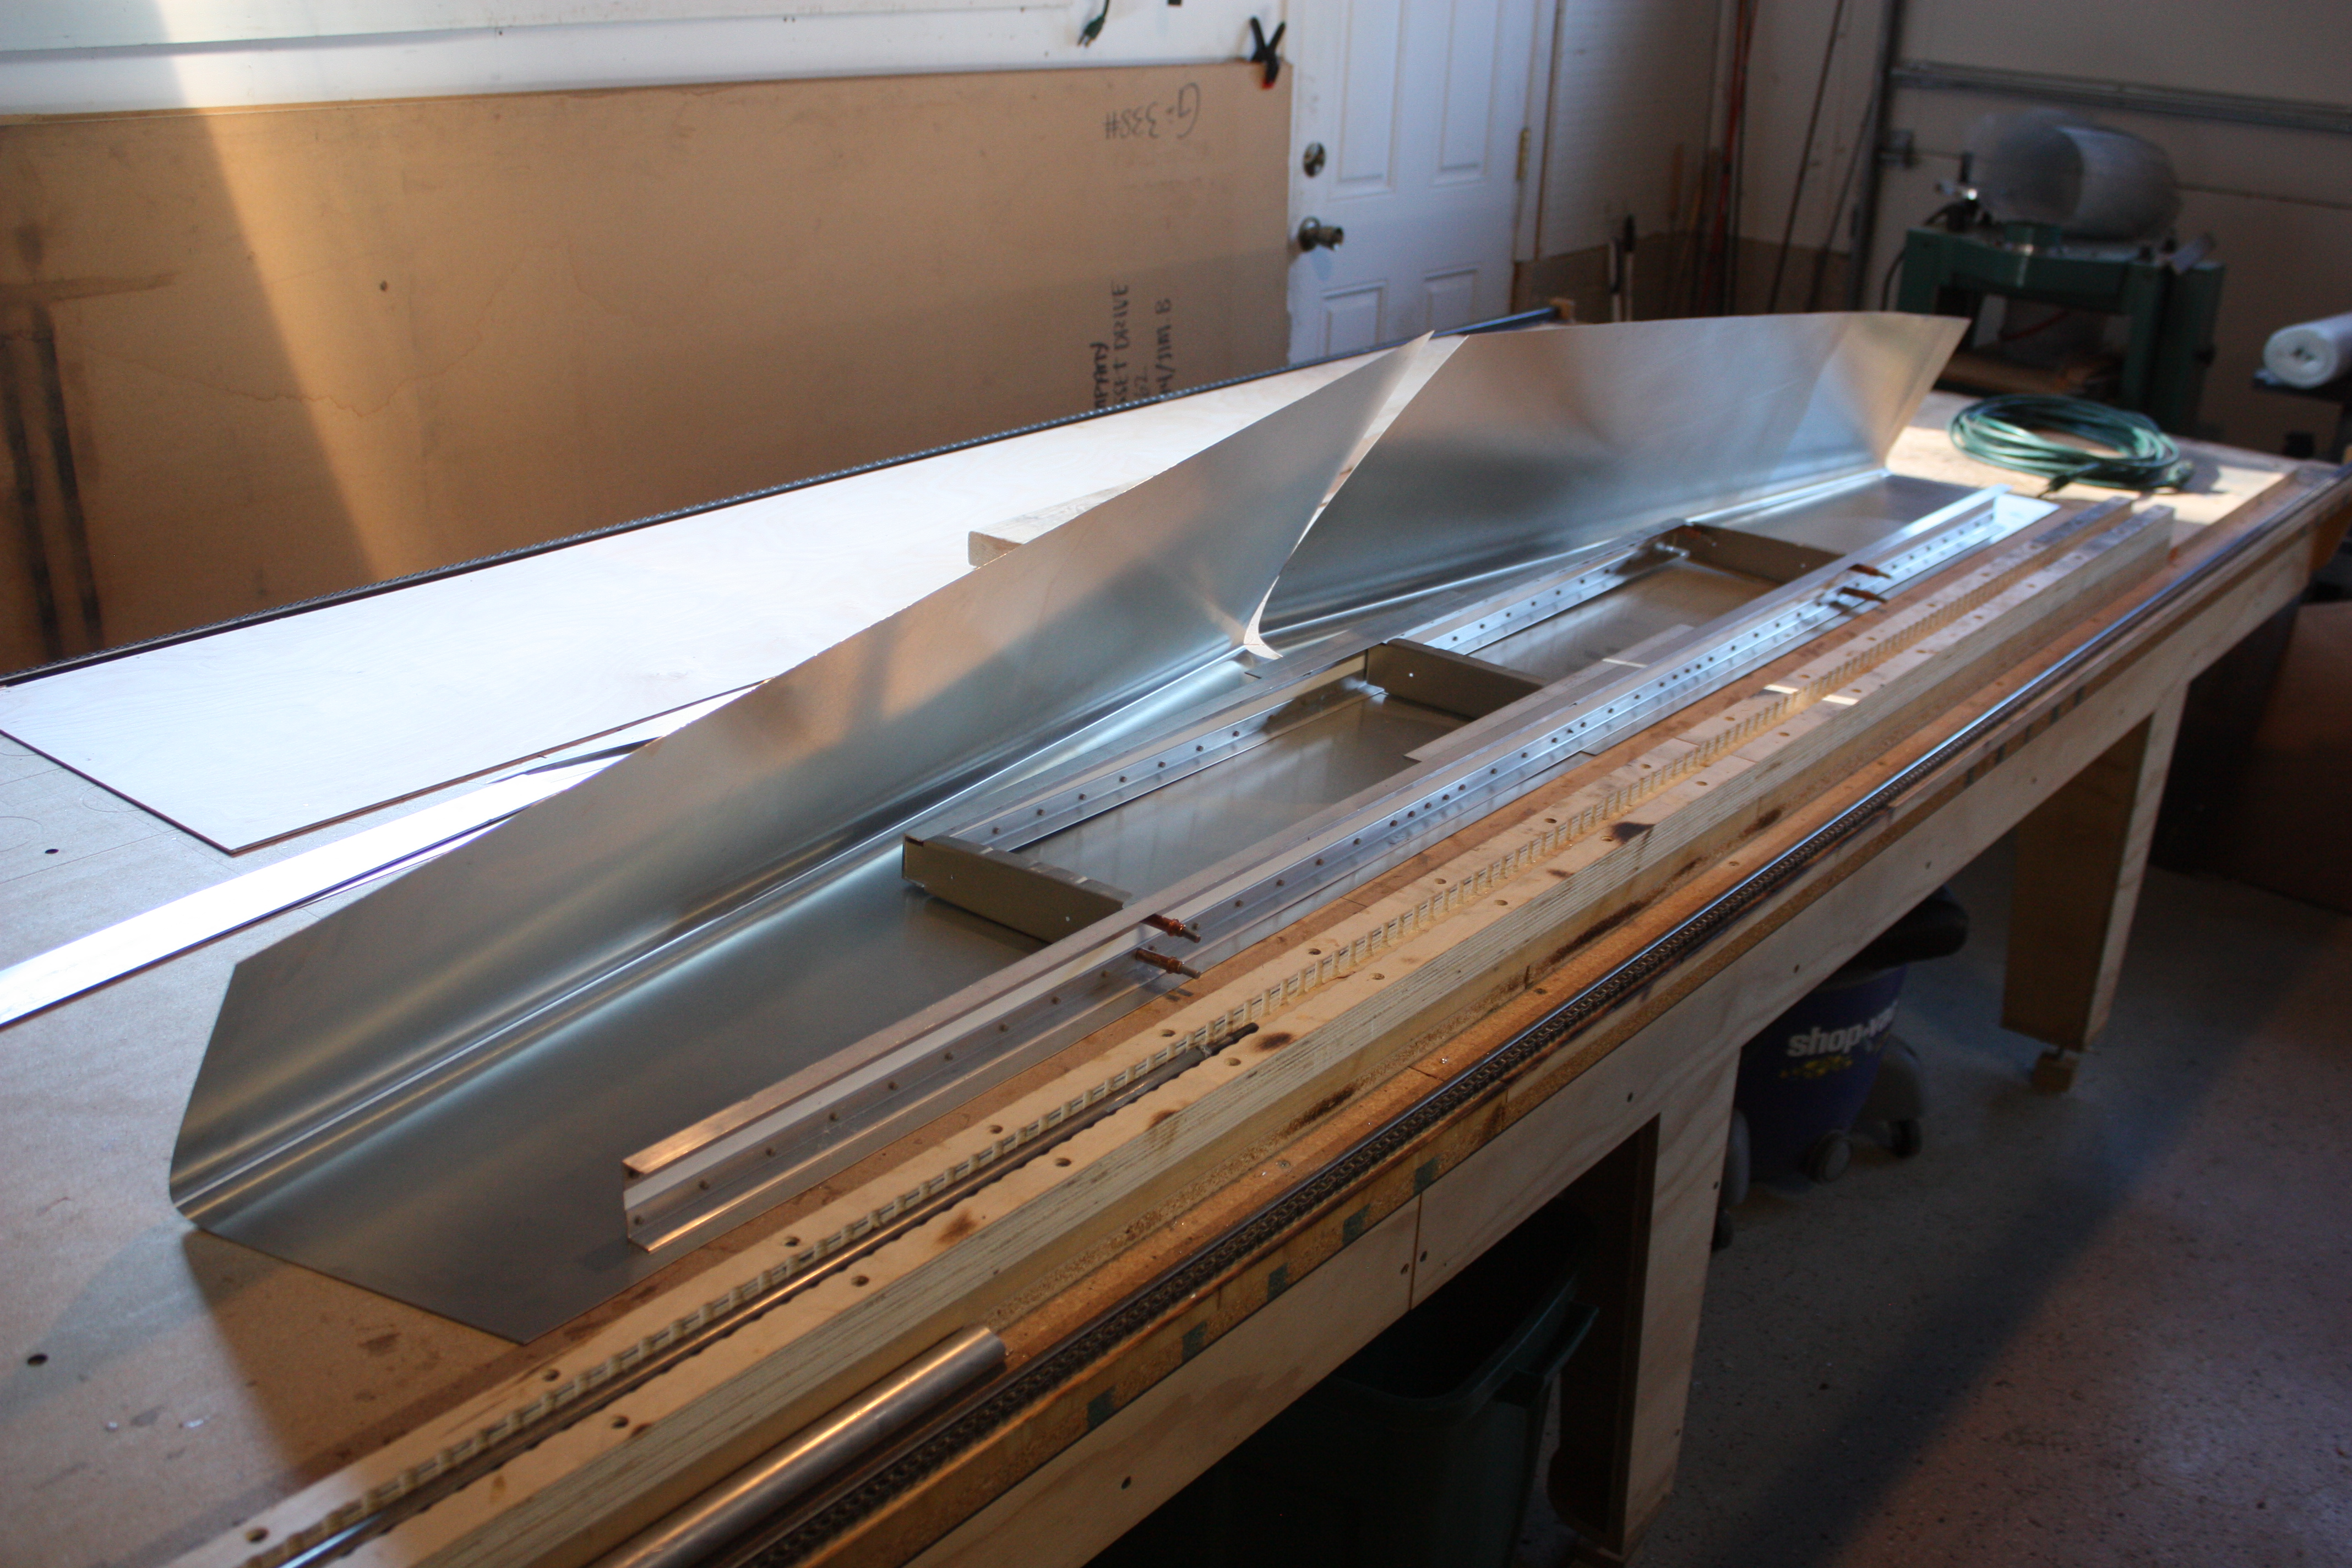
On the right wing, I put on the whole leading edge, bottom skin, rear spar, and top skin in that order.
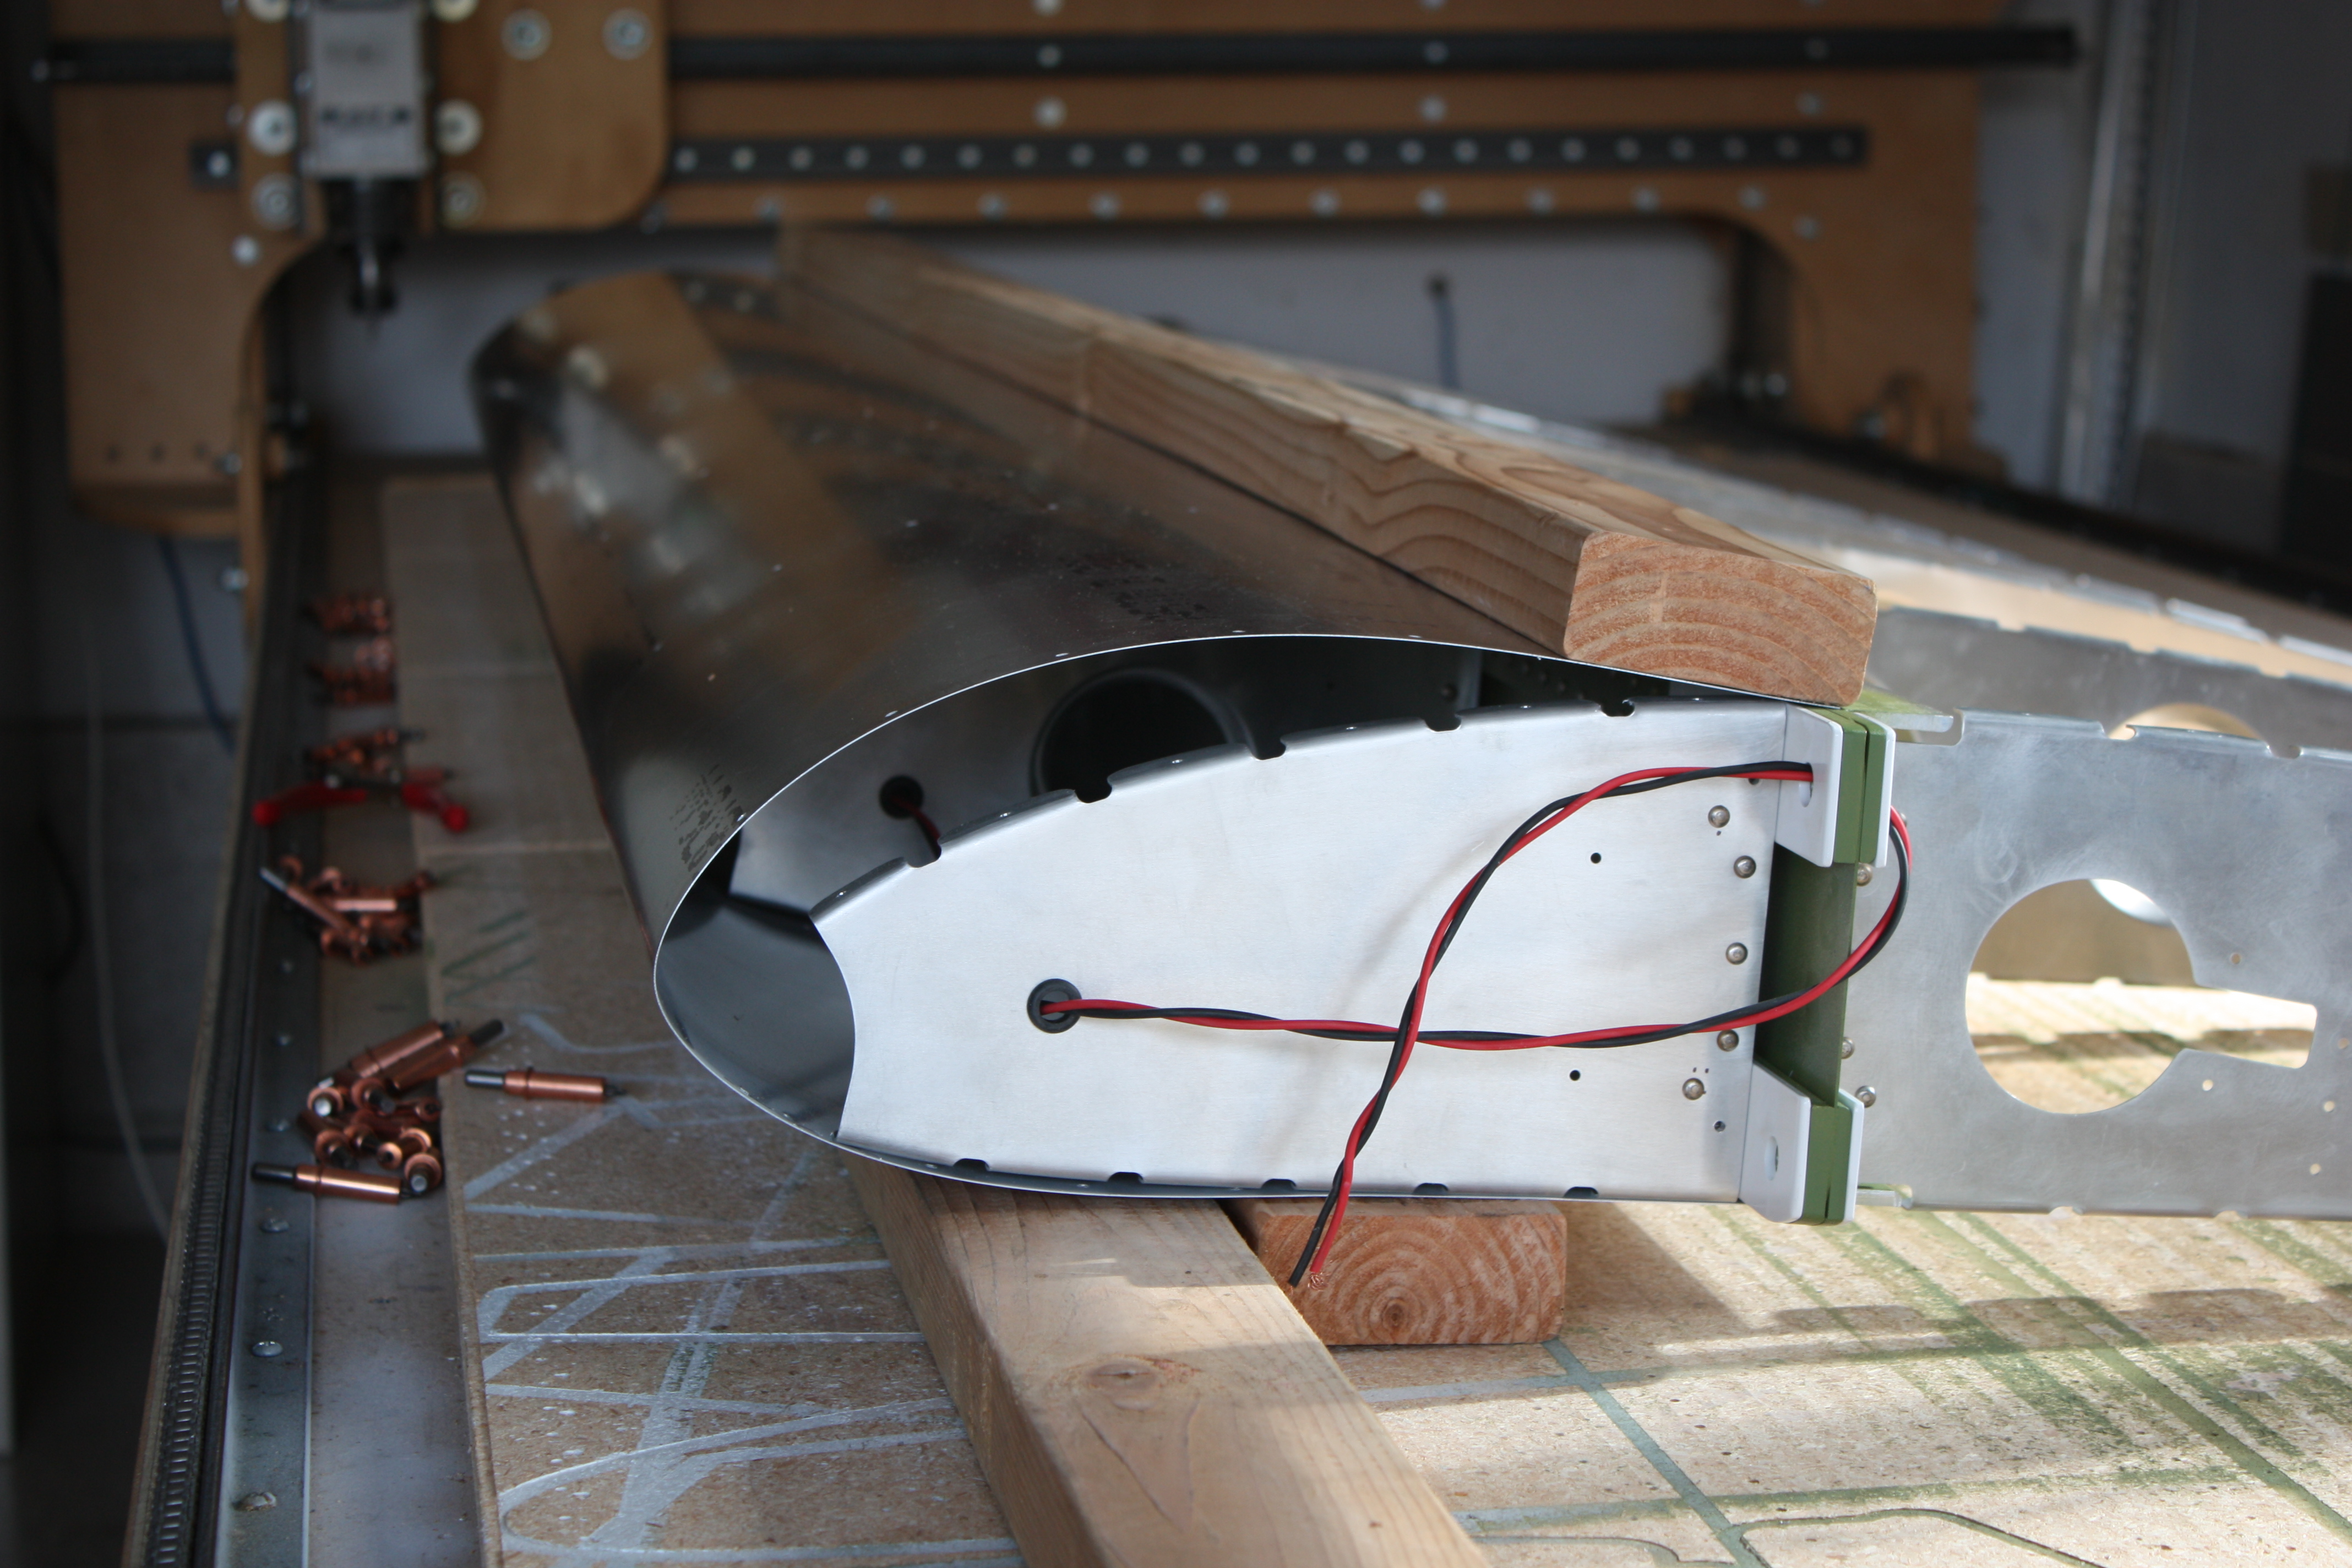
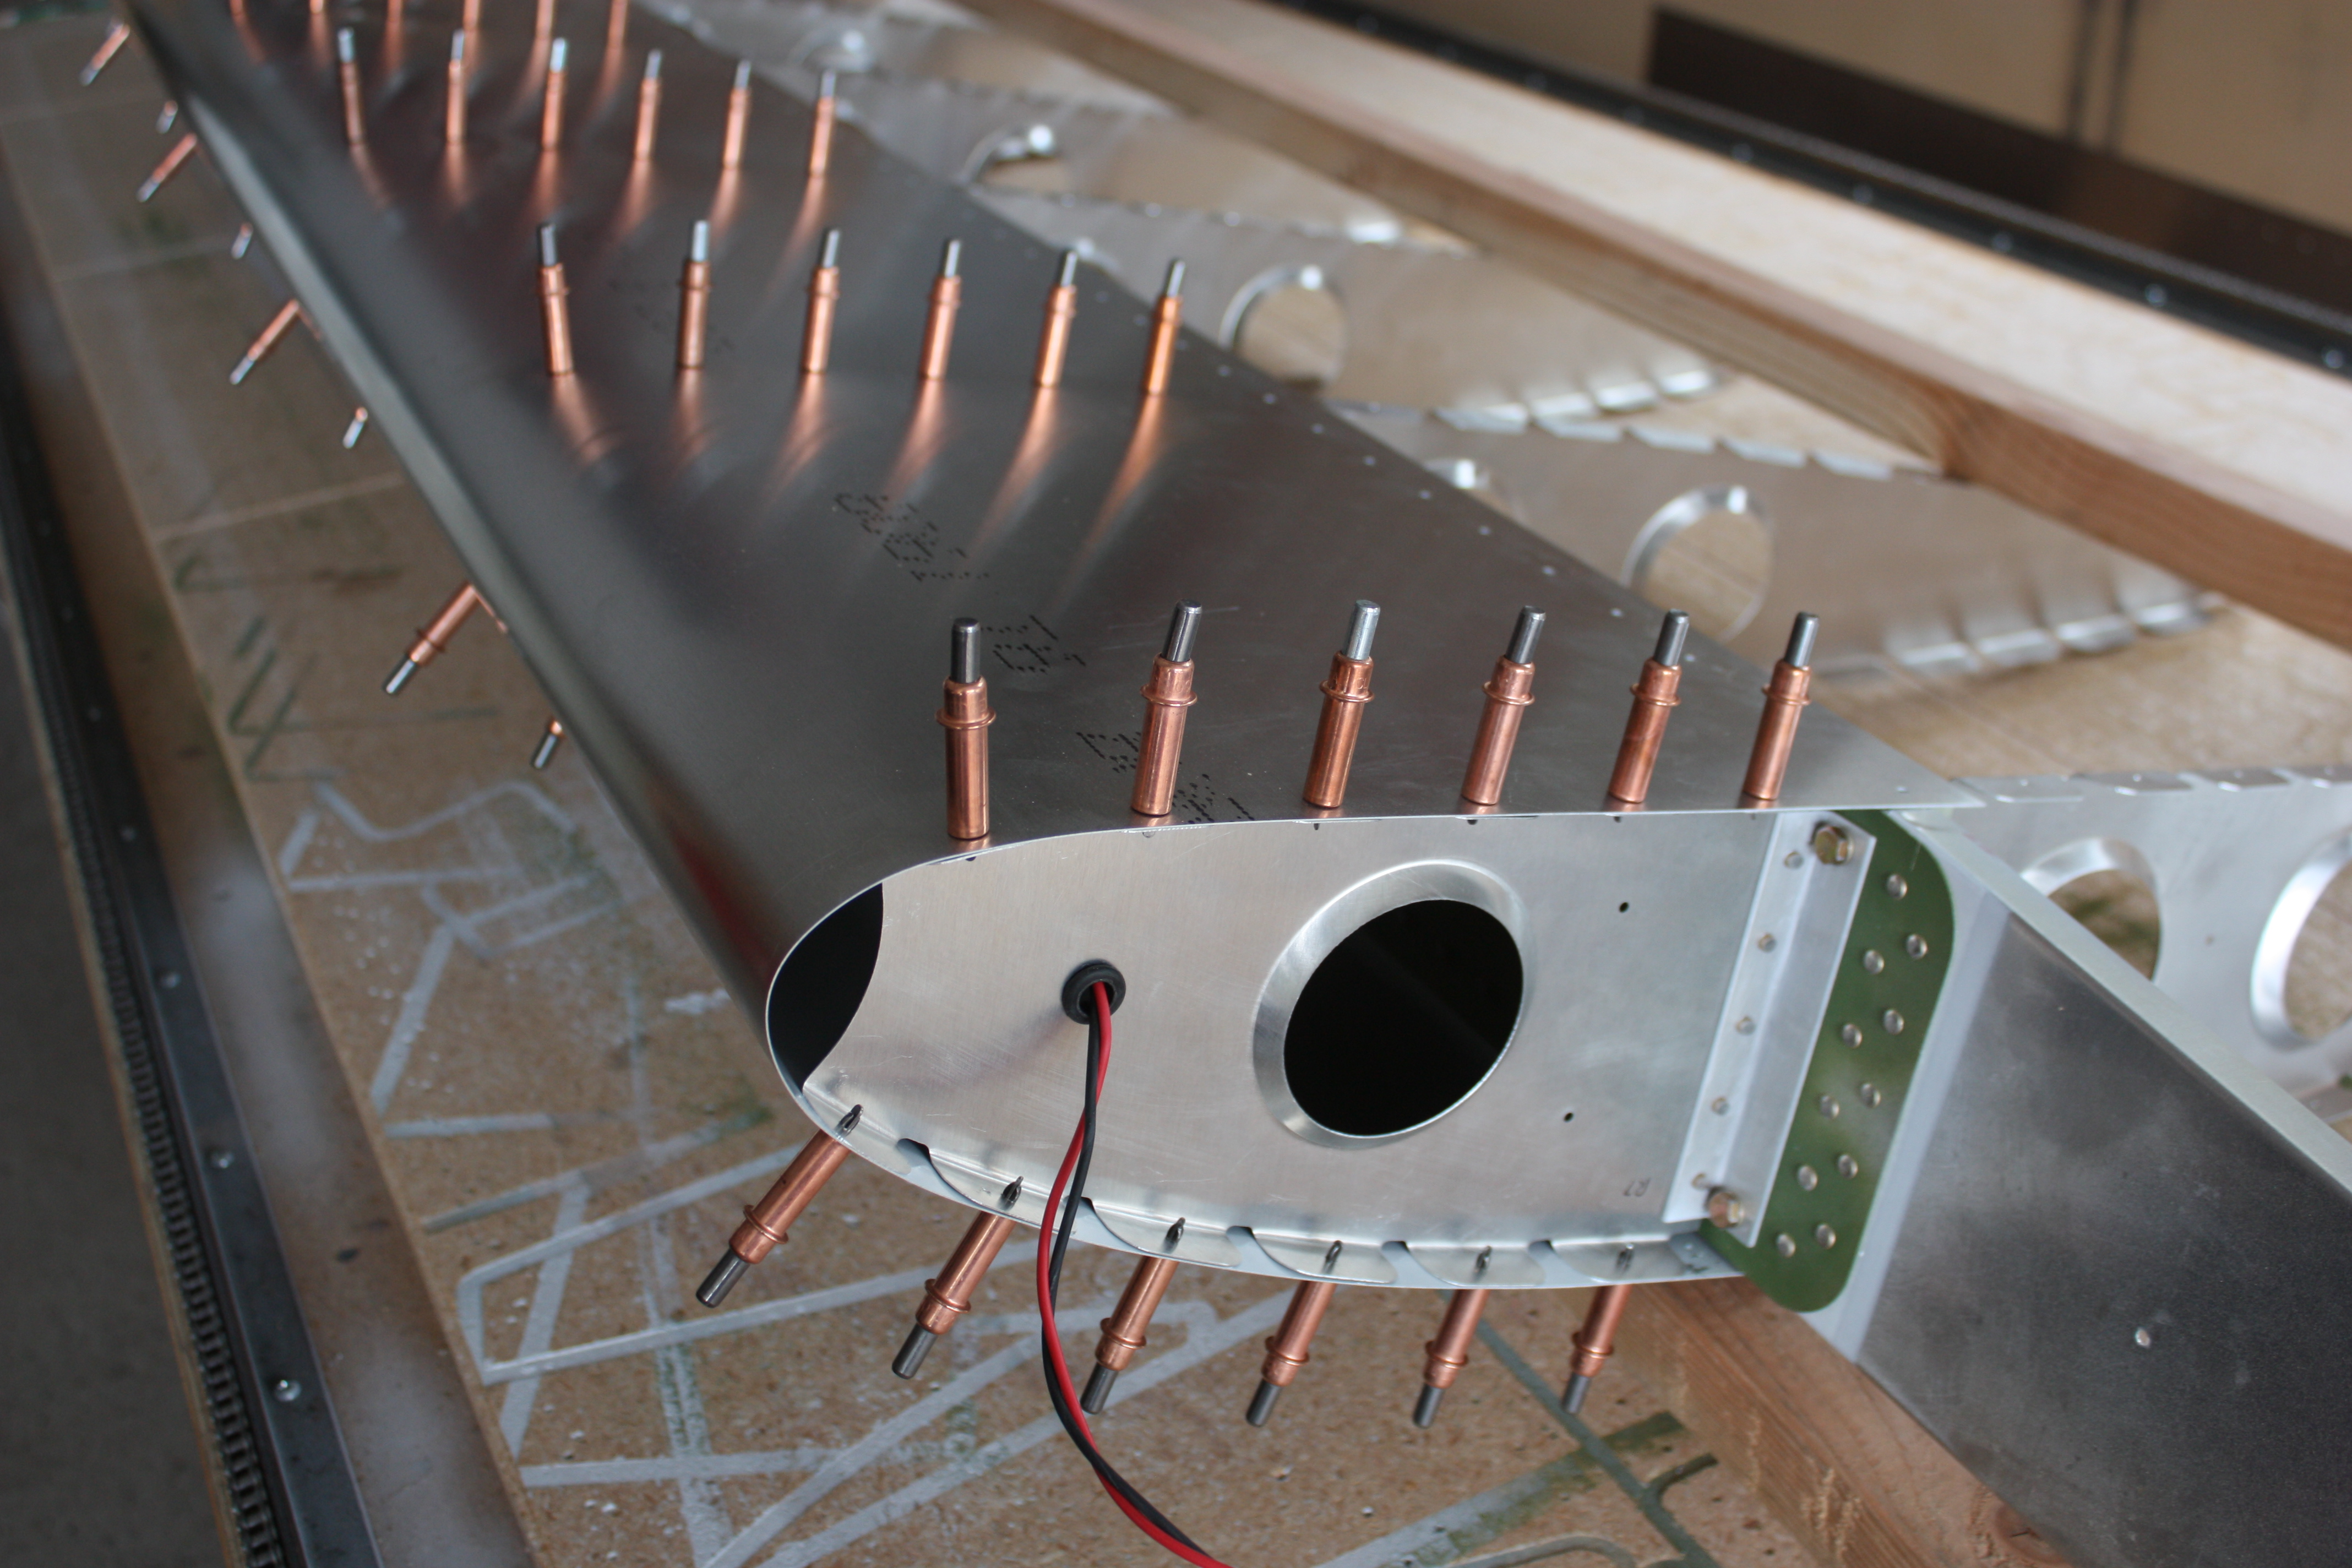
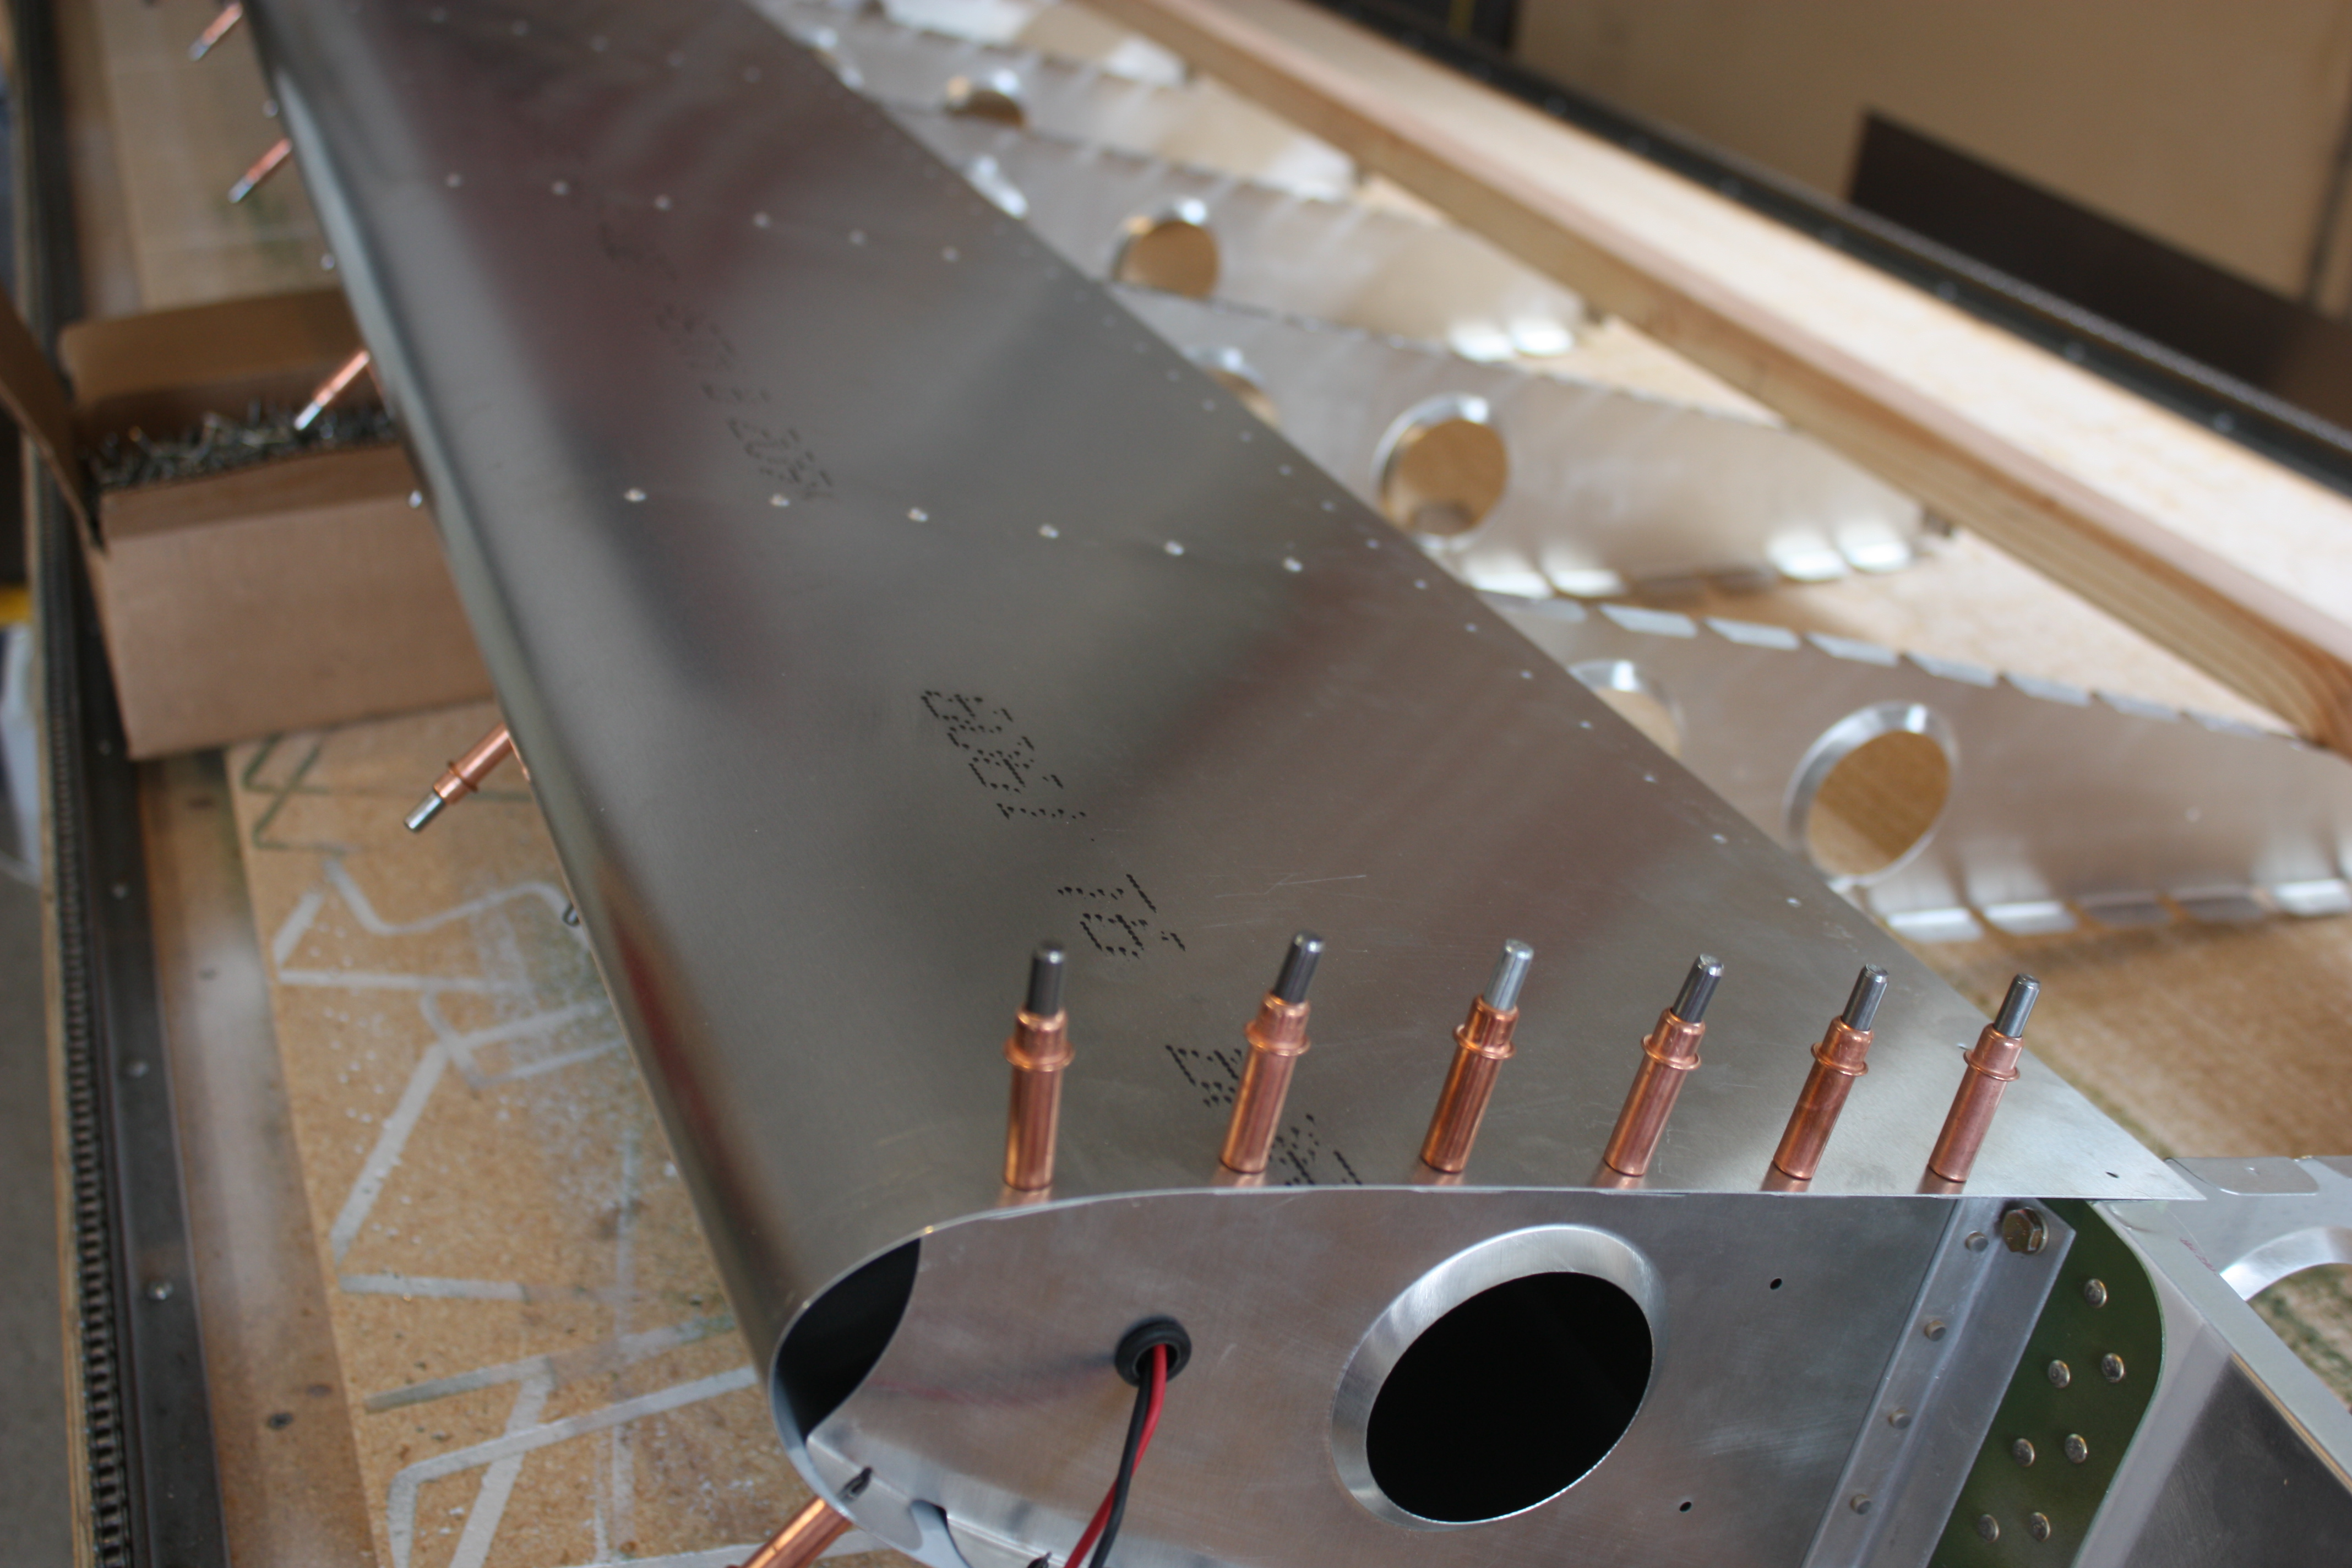
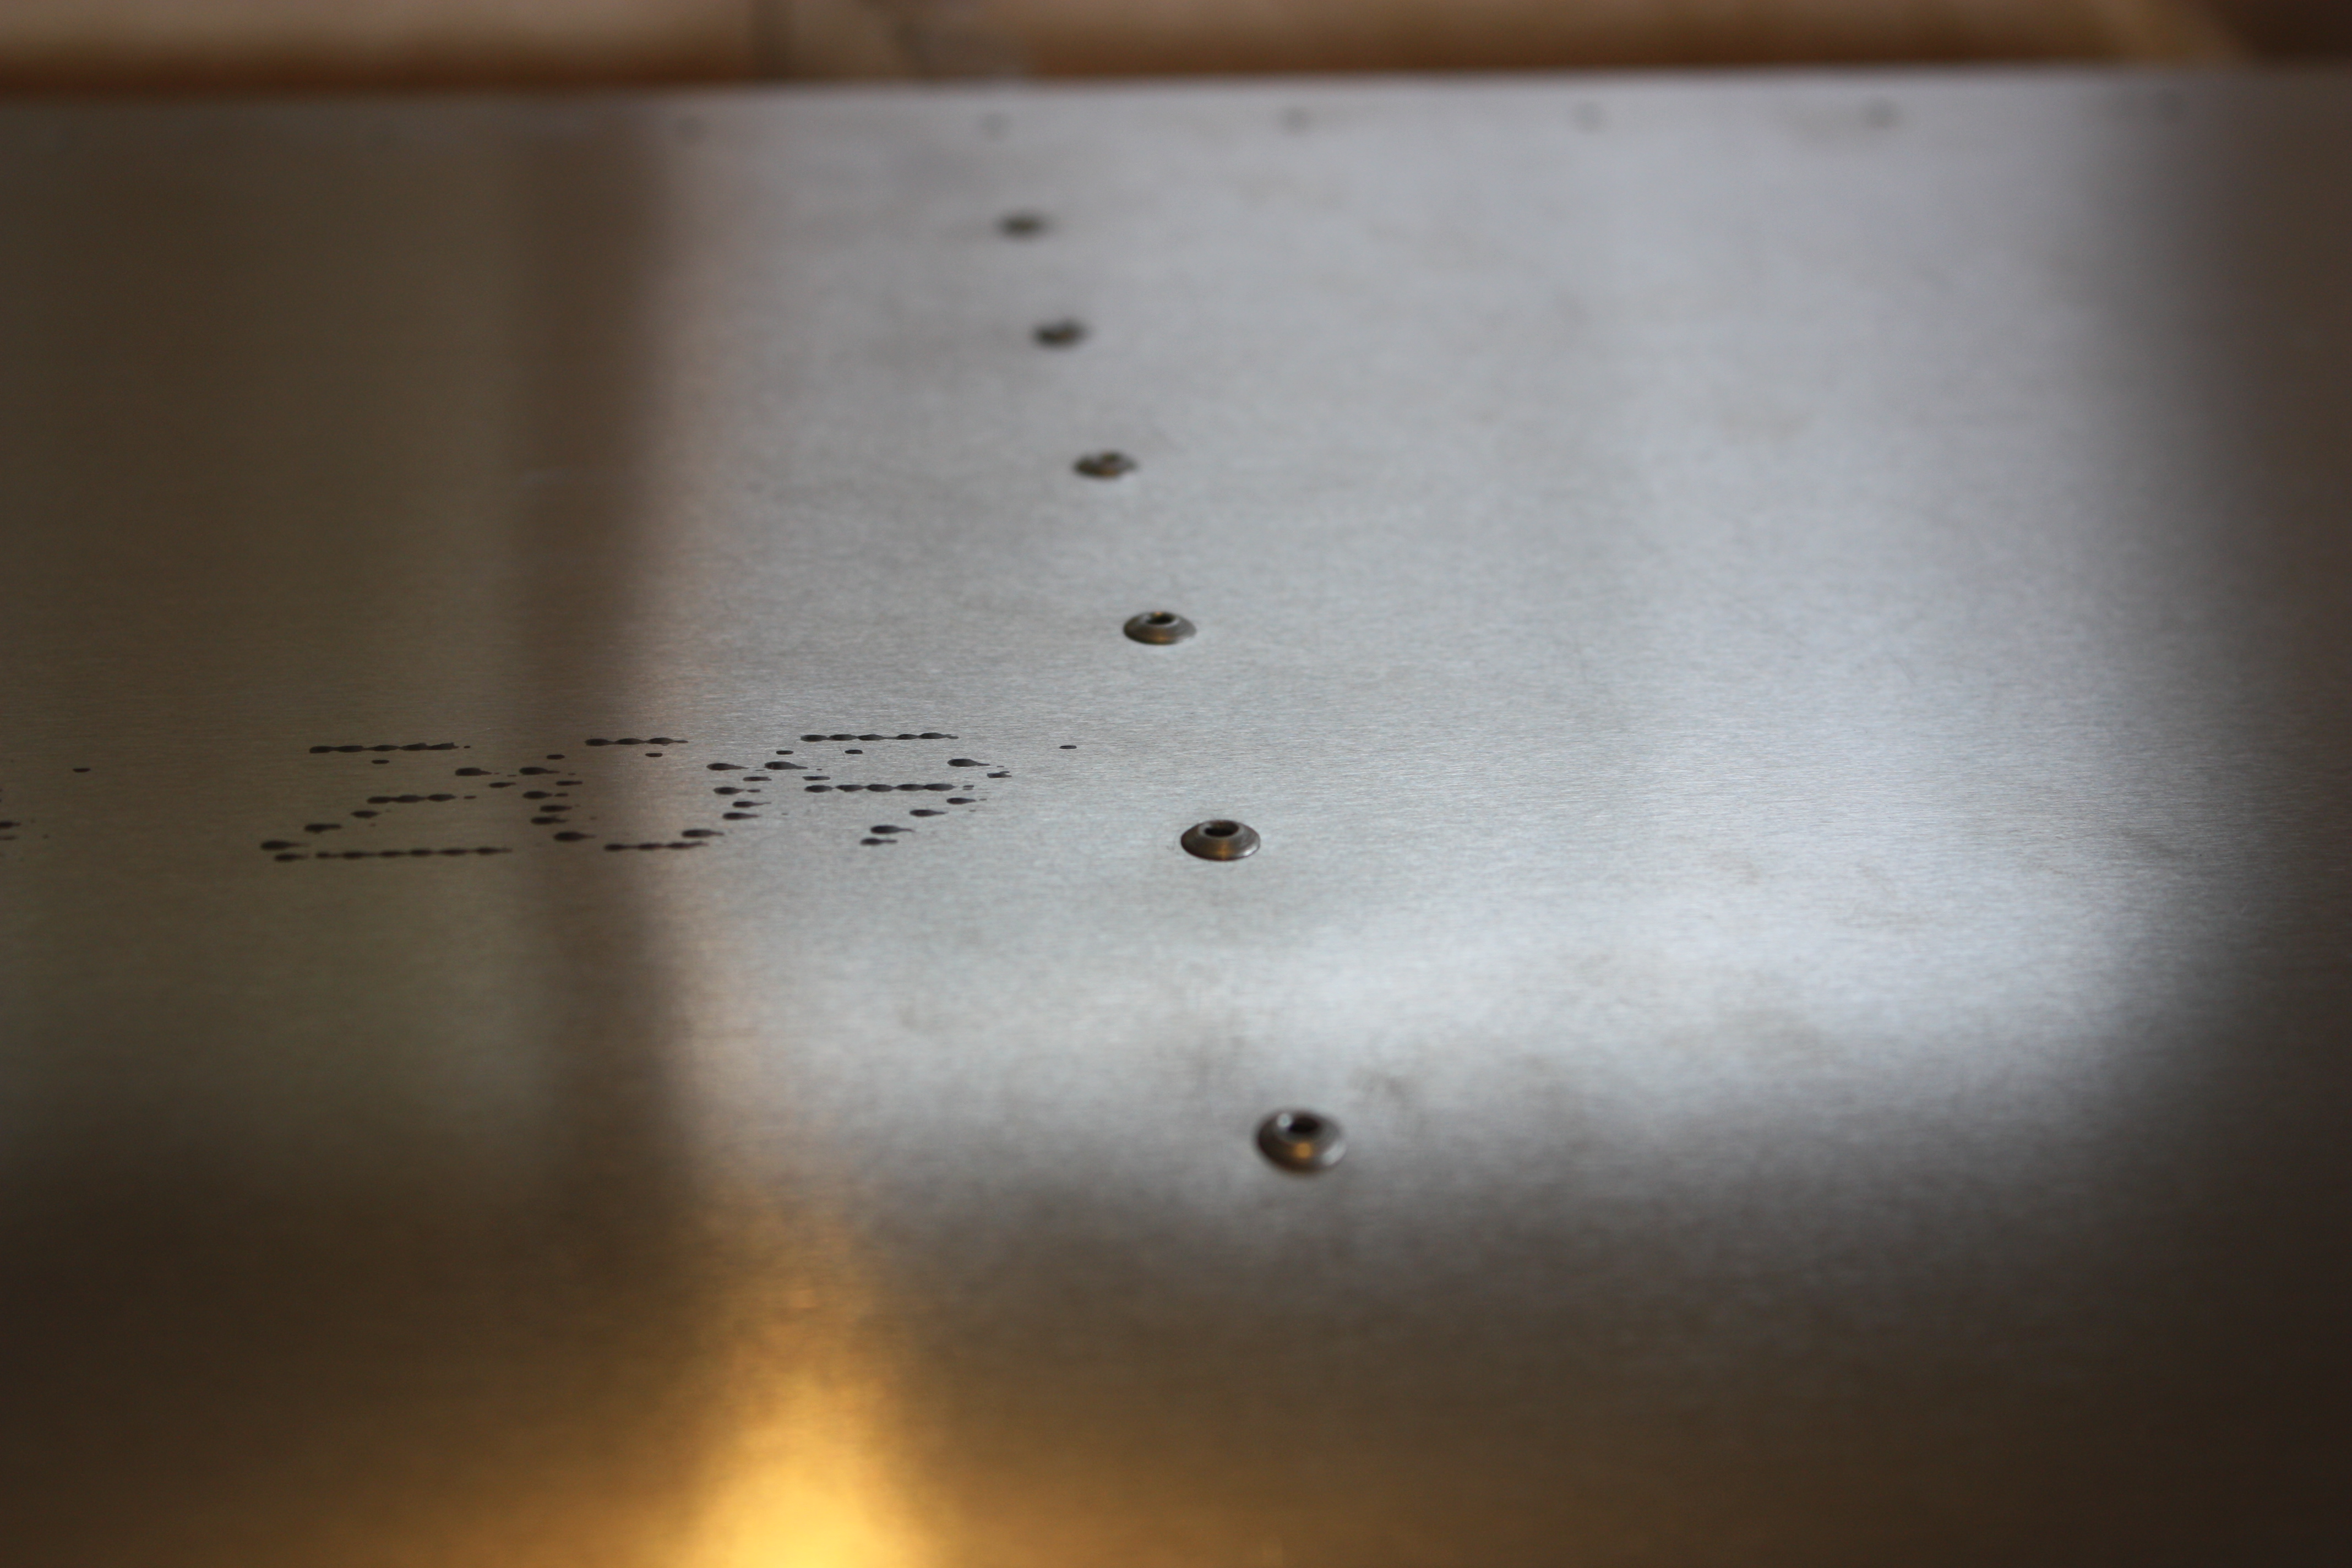
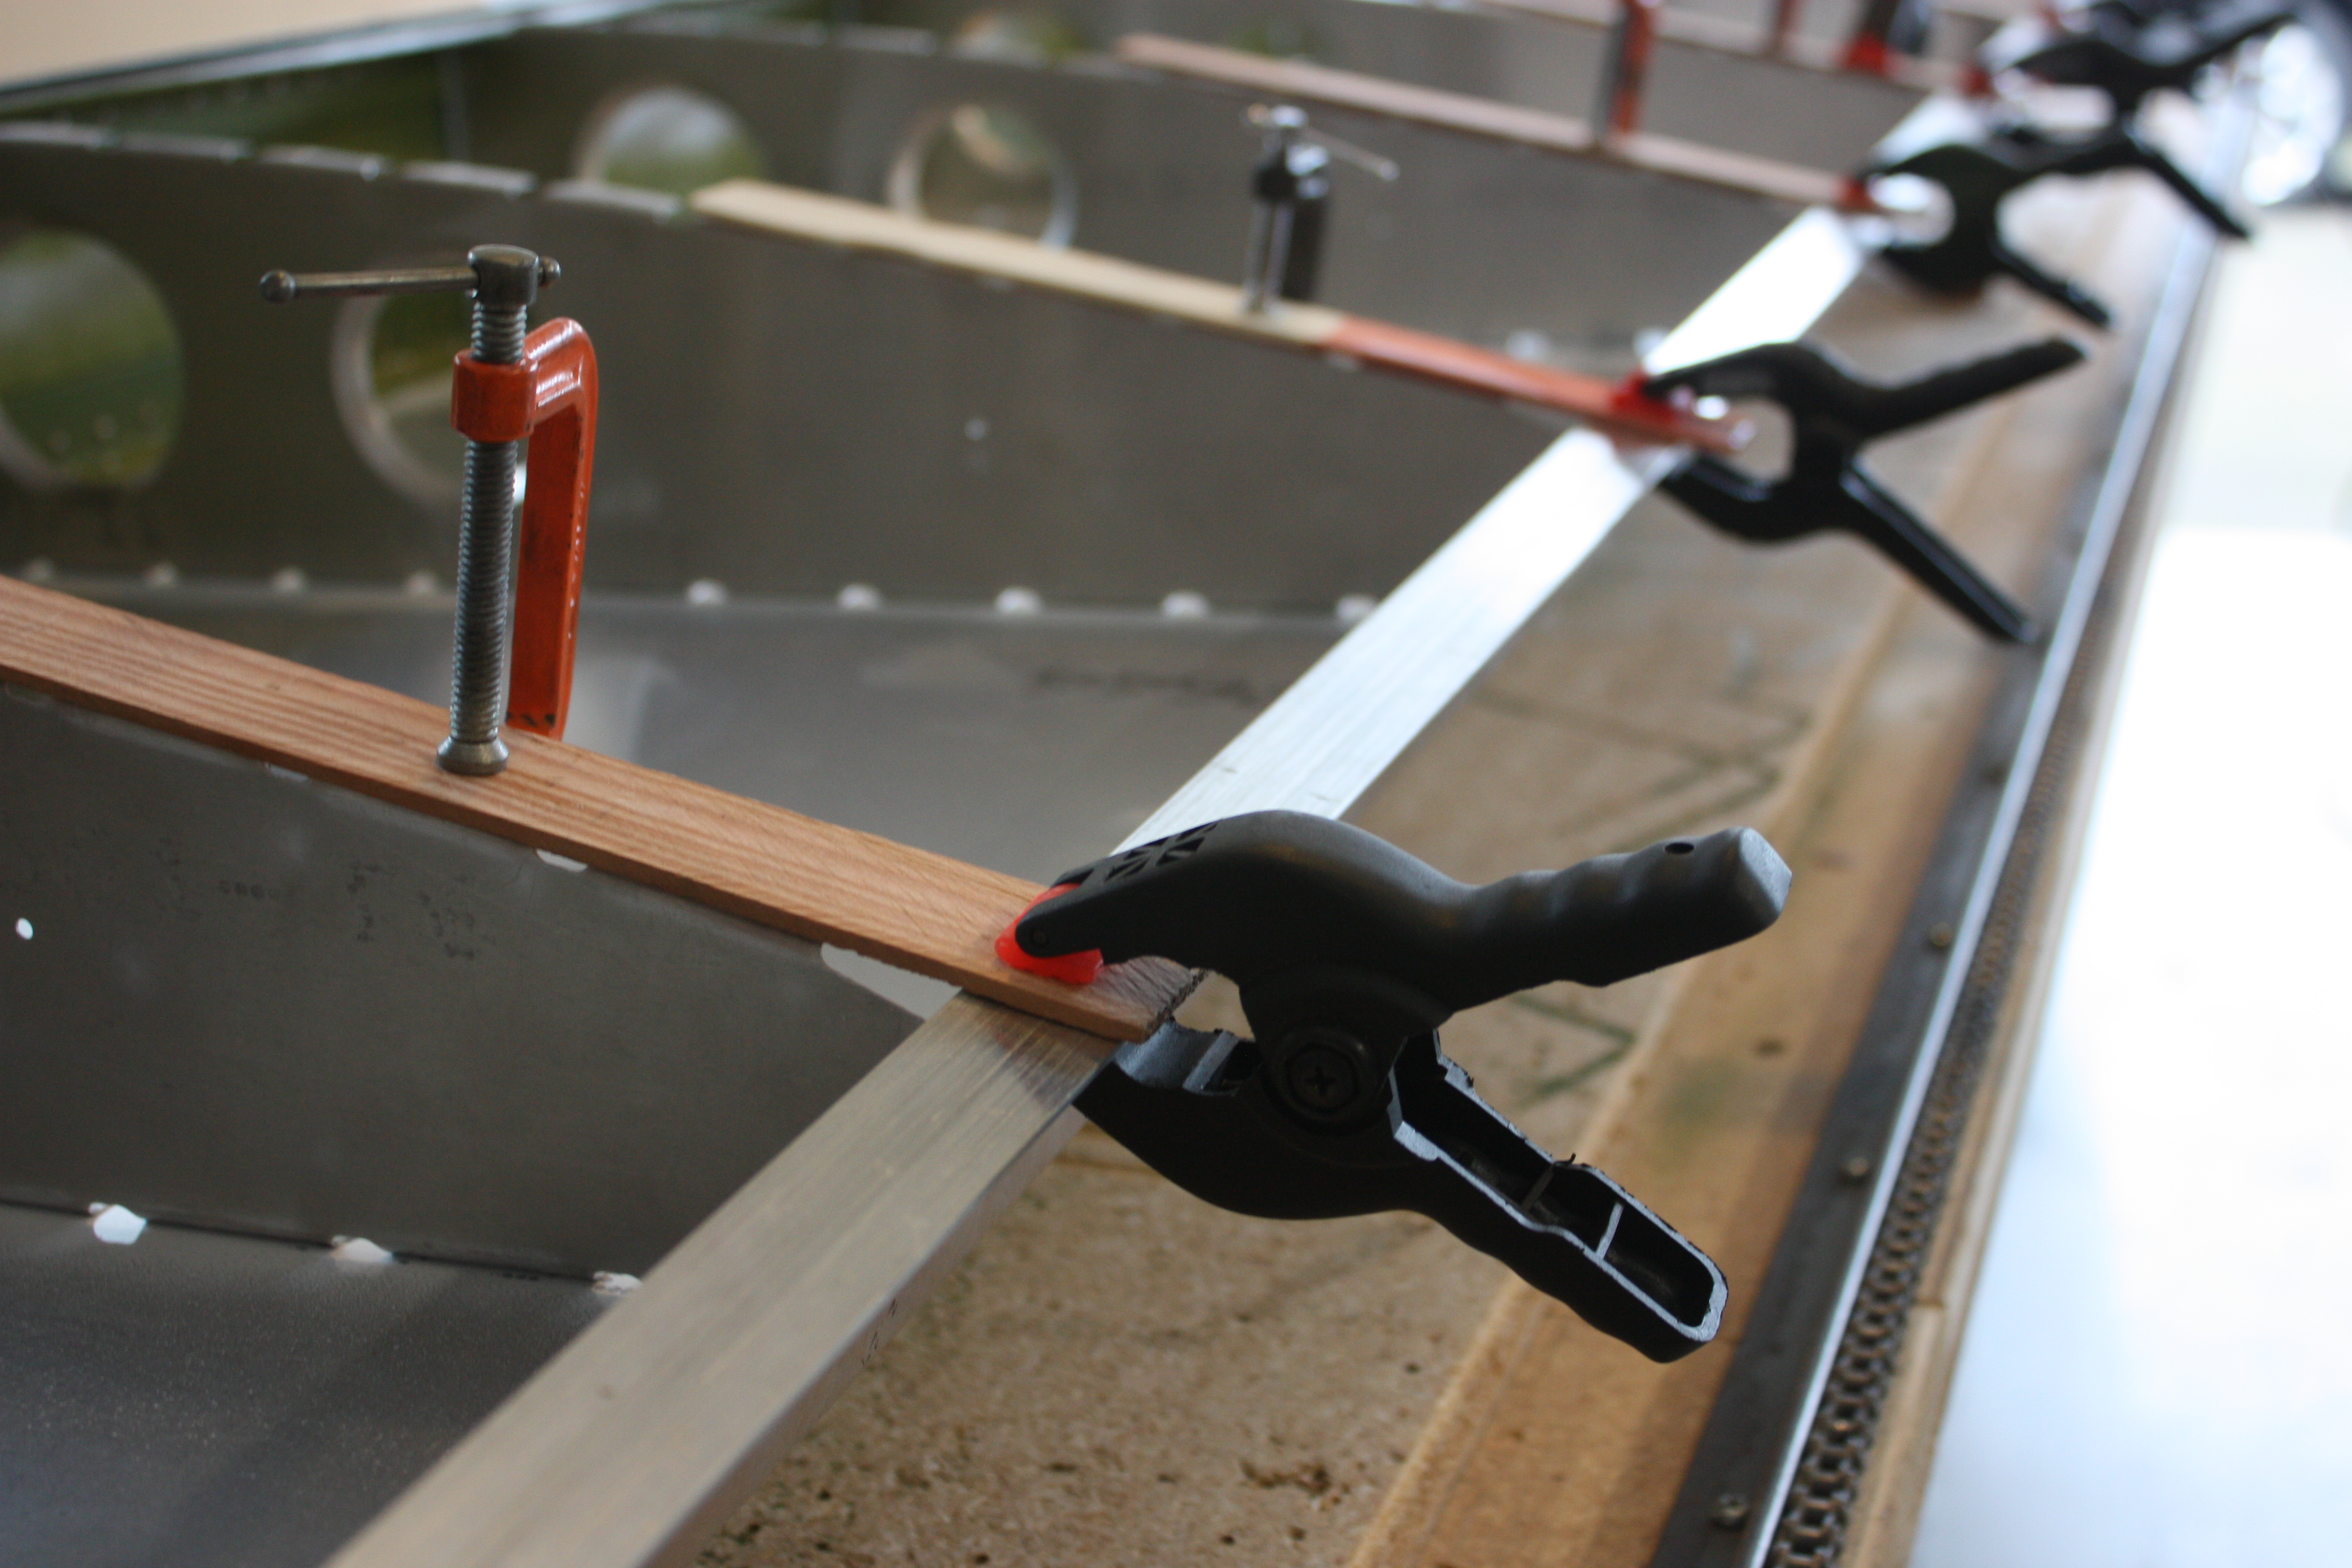
The top of the rear spar is located so that it continues the line created by the top of the ribs. This is necessary to keep the top skin smooth to the rear spar. The spar is then match-drilled to the rear edge created by the fold of the bottom skin.
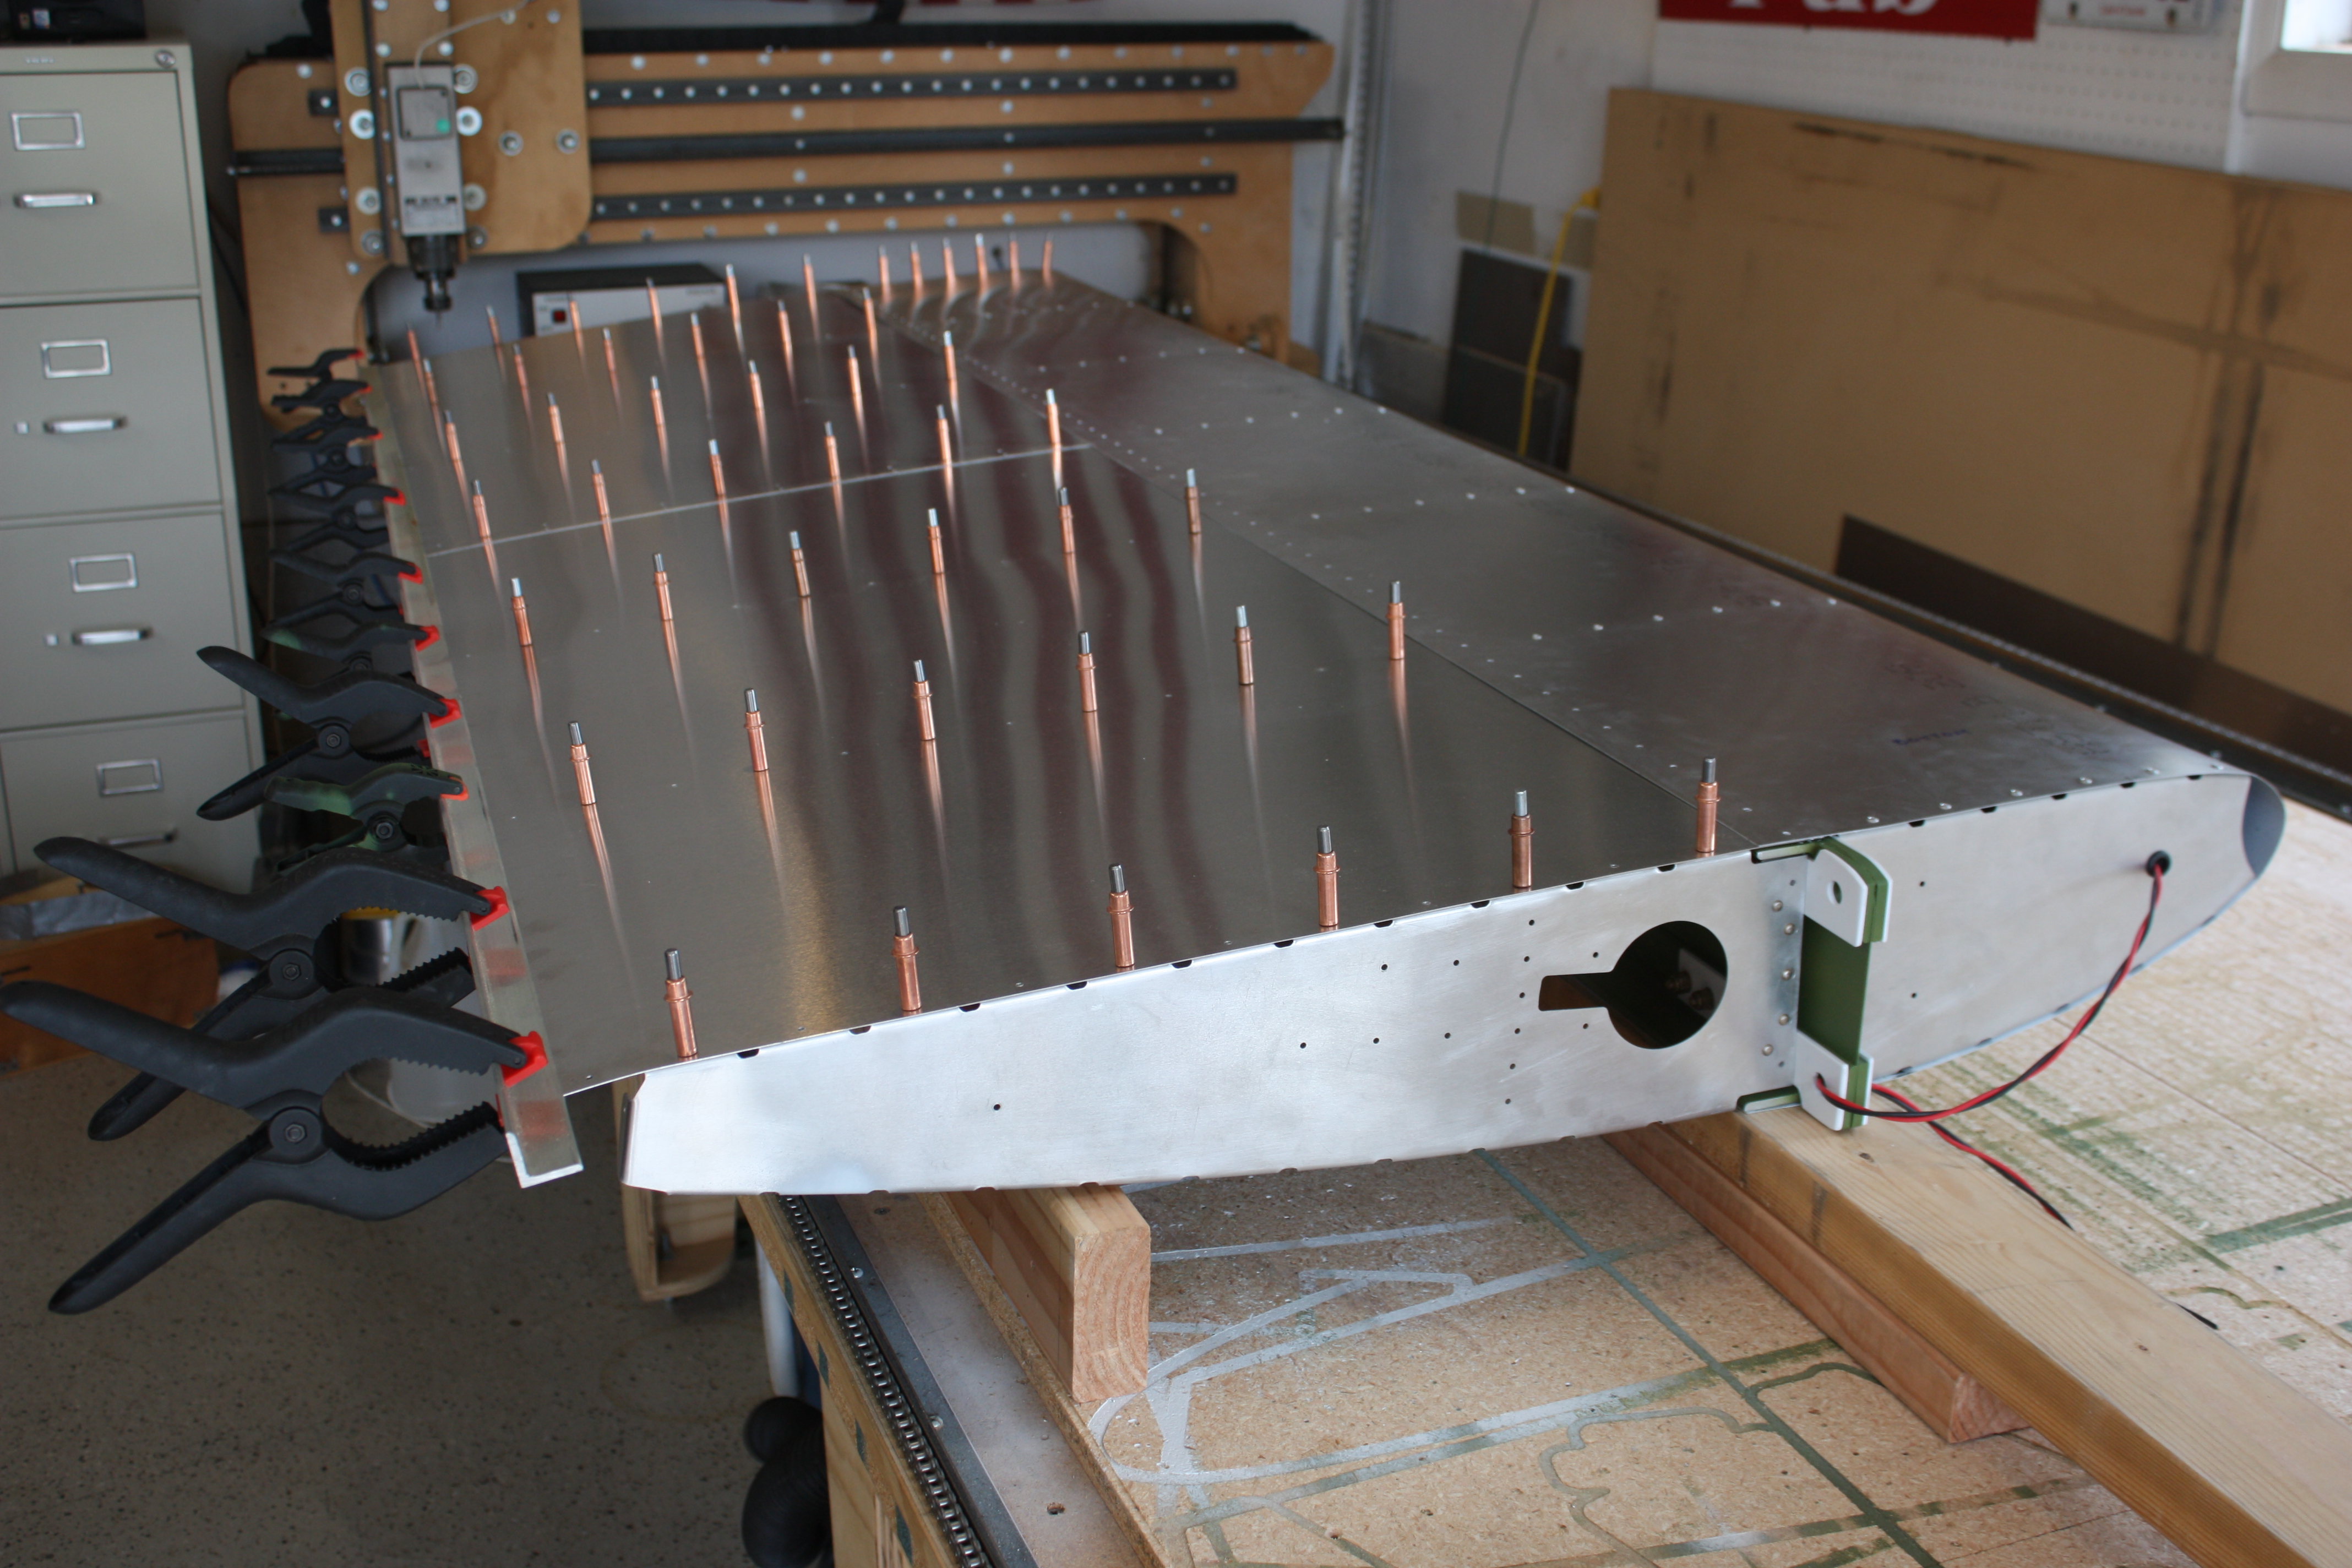
Before the final skin was riveted, the angles for the aileron control and the aileron hinges were installed and the wing was vacuumed clean.
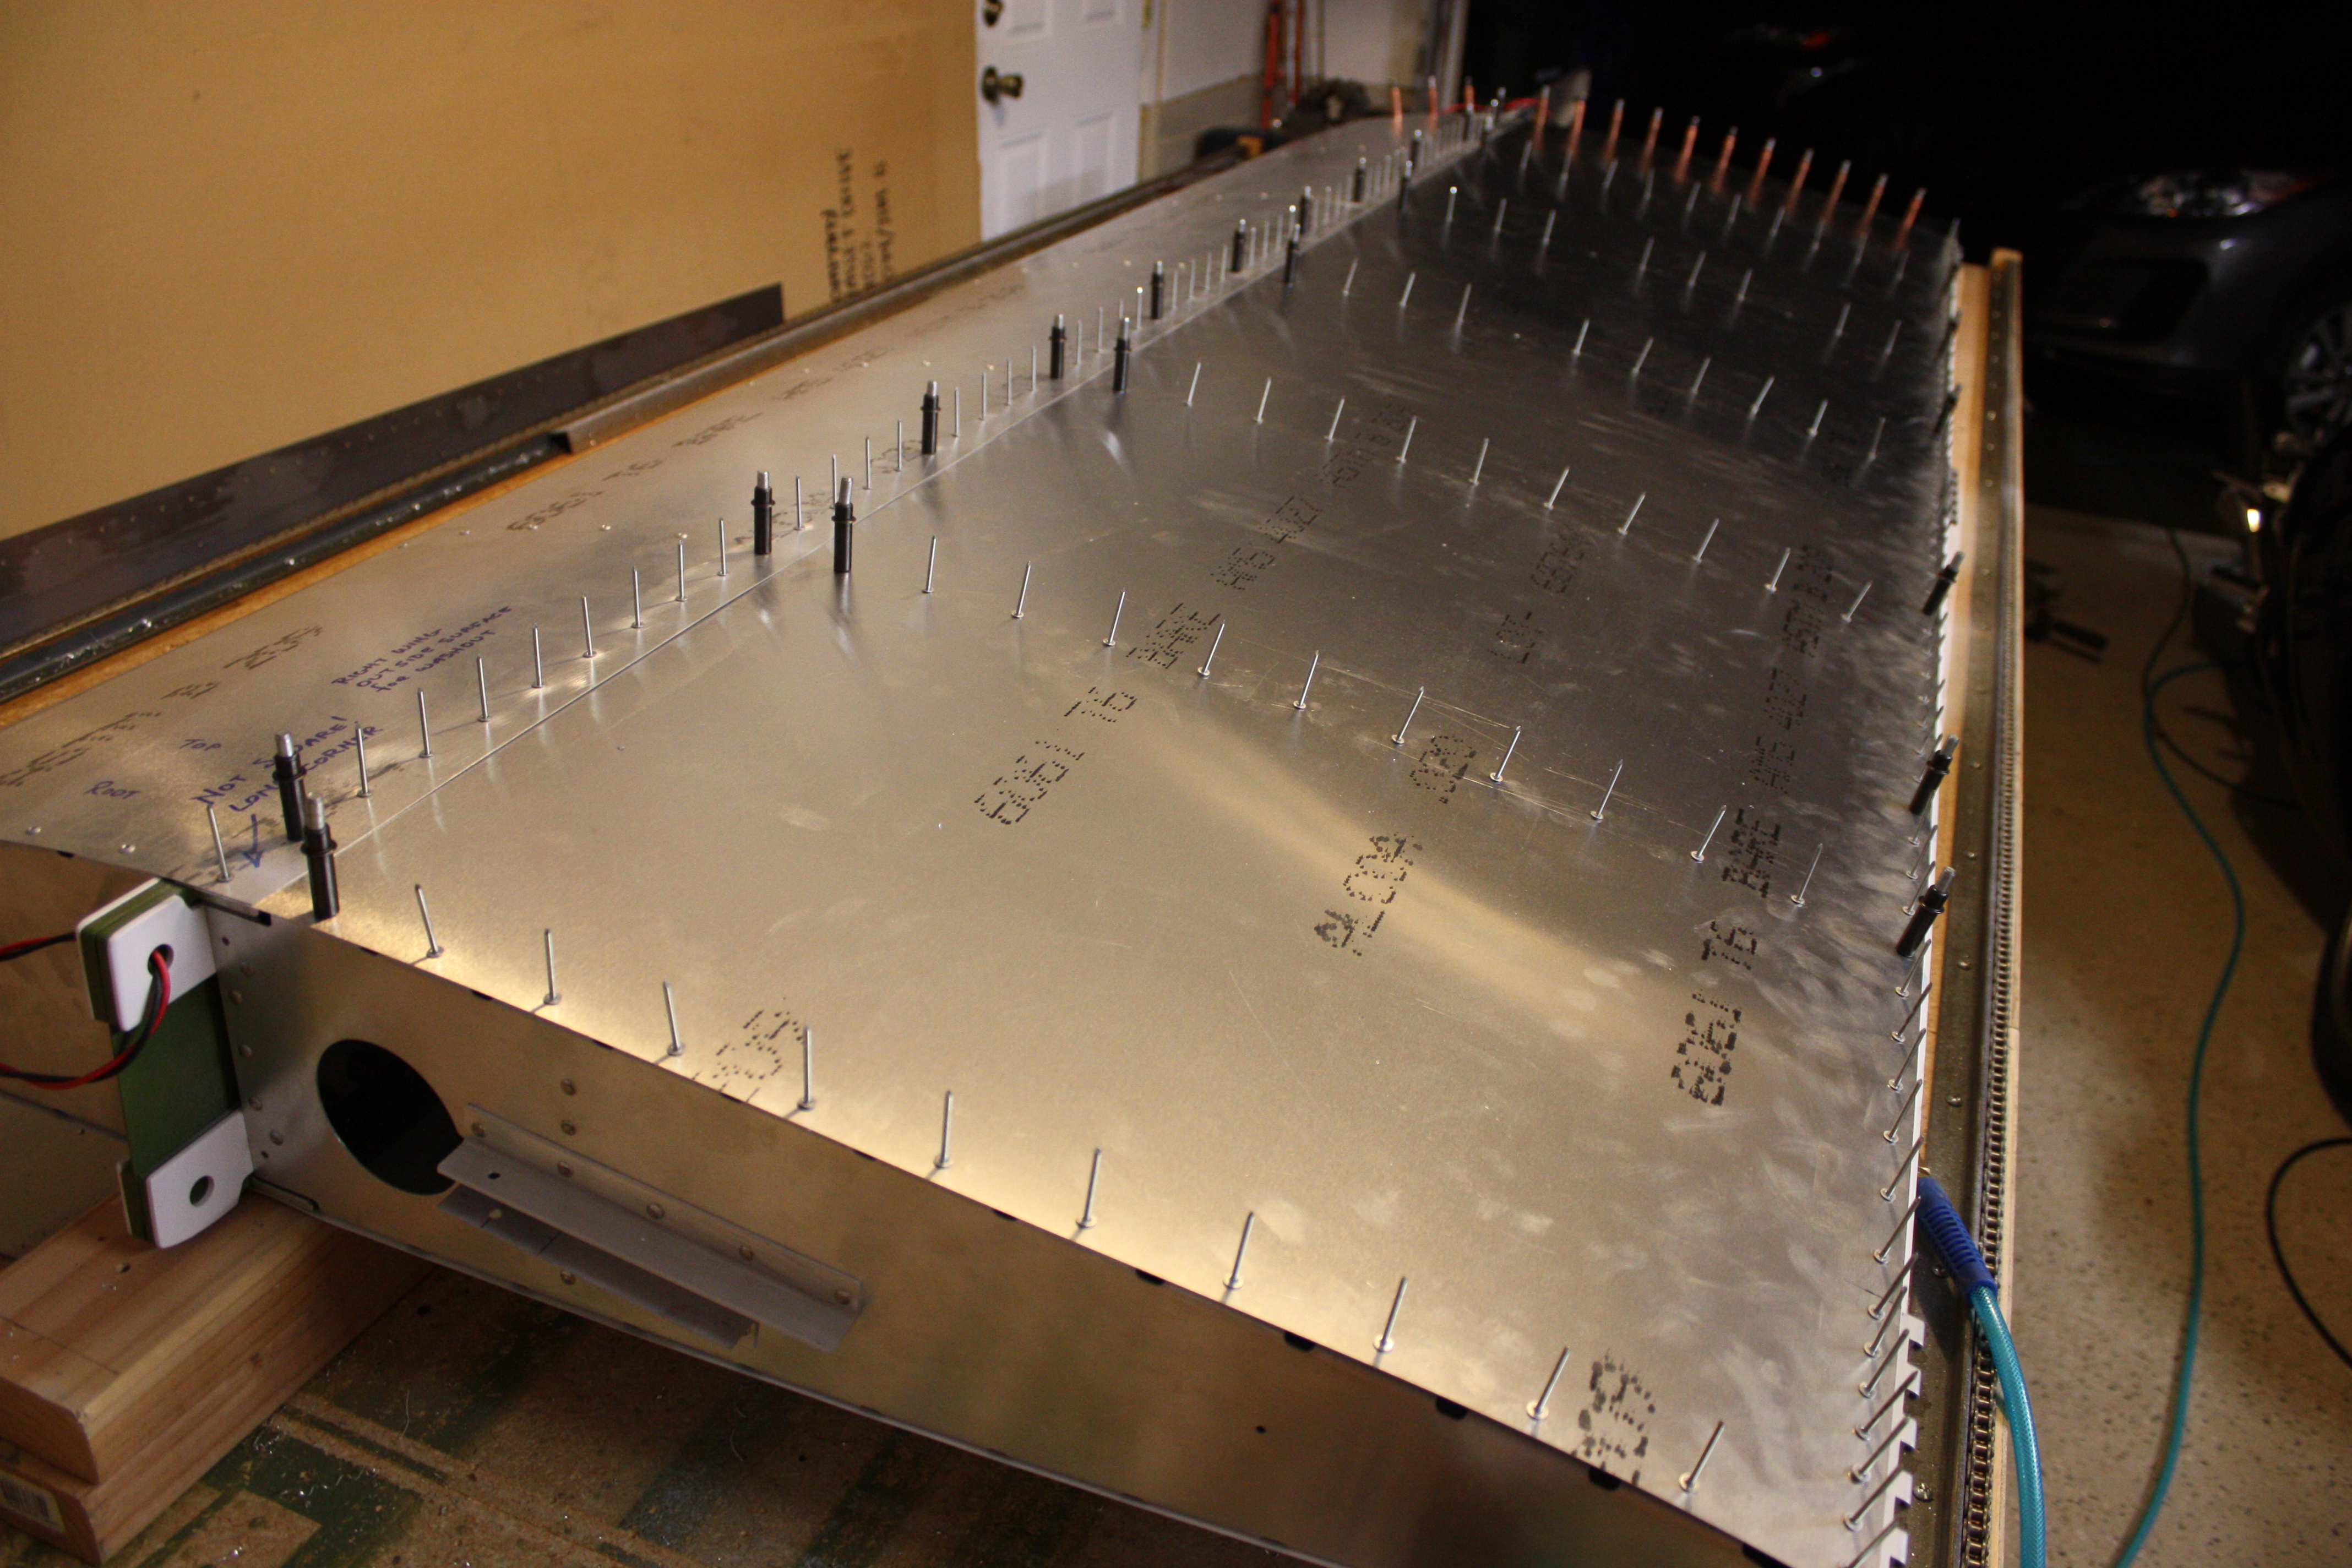
Left Wing
On the left wing I installed the bottom skin, the bottom half of the leading edge, the top half of the leading edge and top skin, and the rear spar in that order. This went a little easier since I only flipped the wing once and at no time had Clecos on the opposite side I was working on
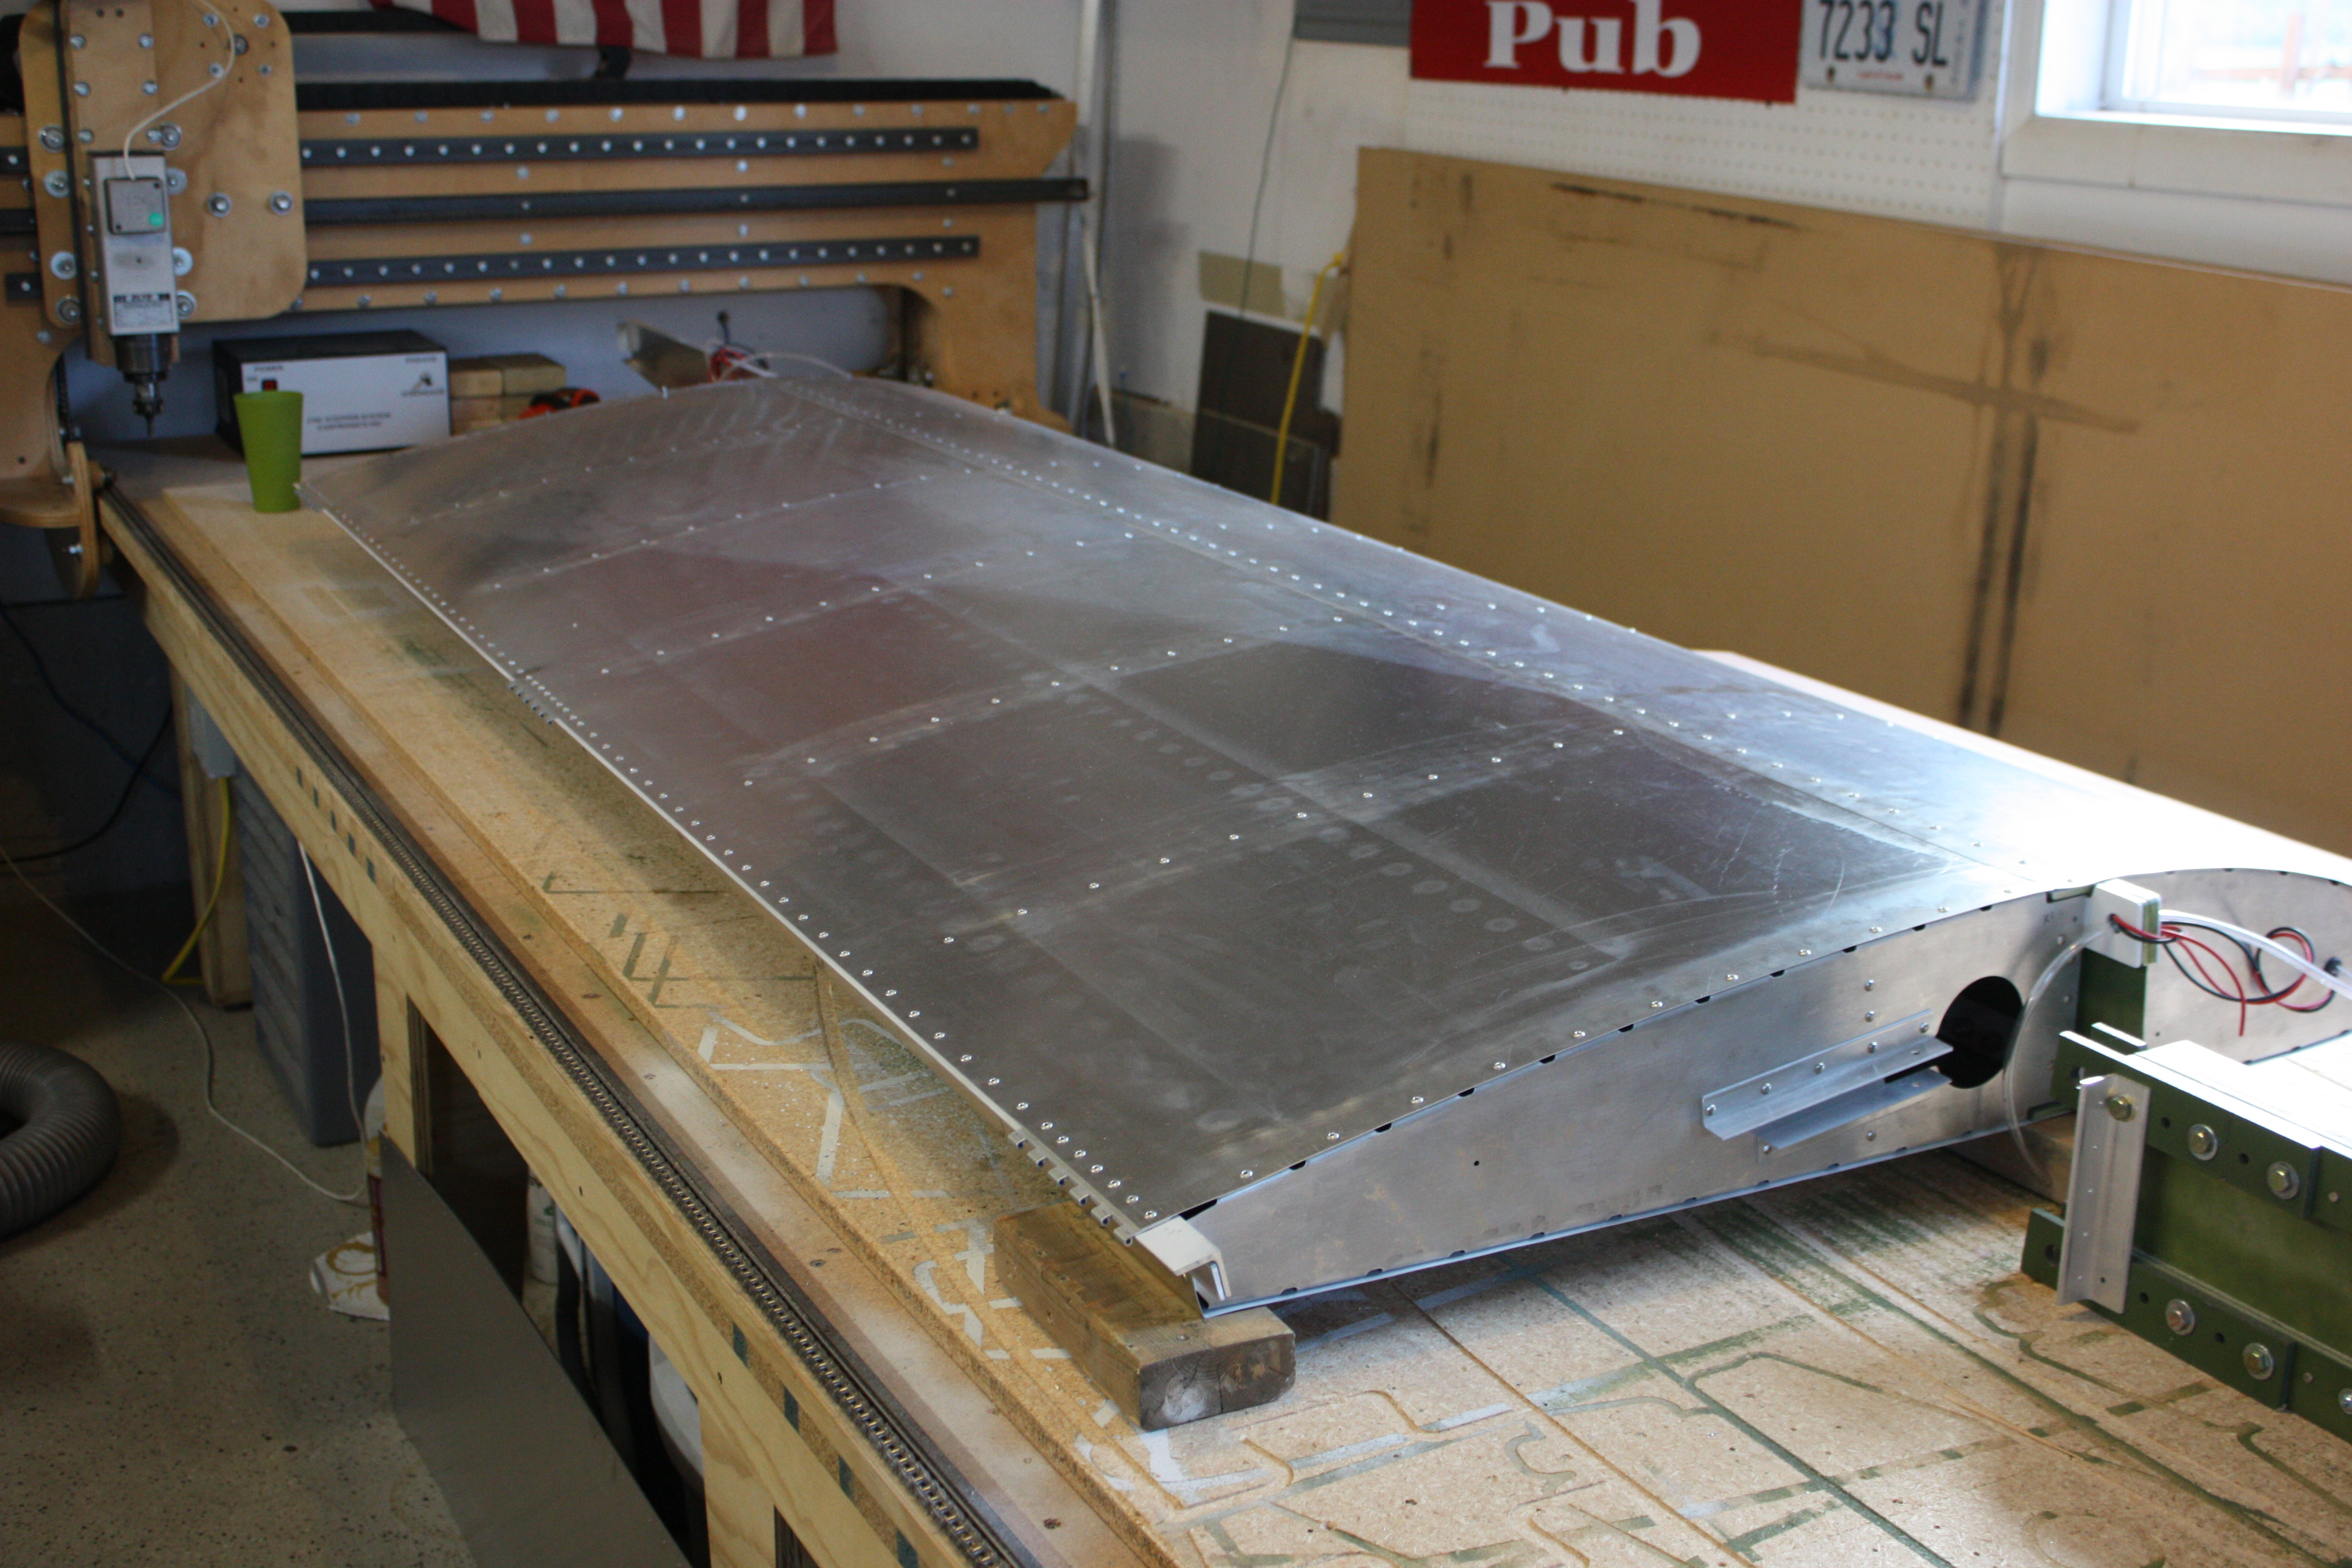
At this point, I'm finishing the leading edge and the top skin:
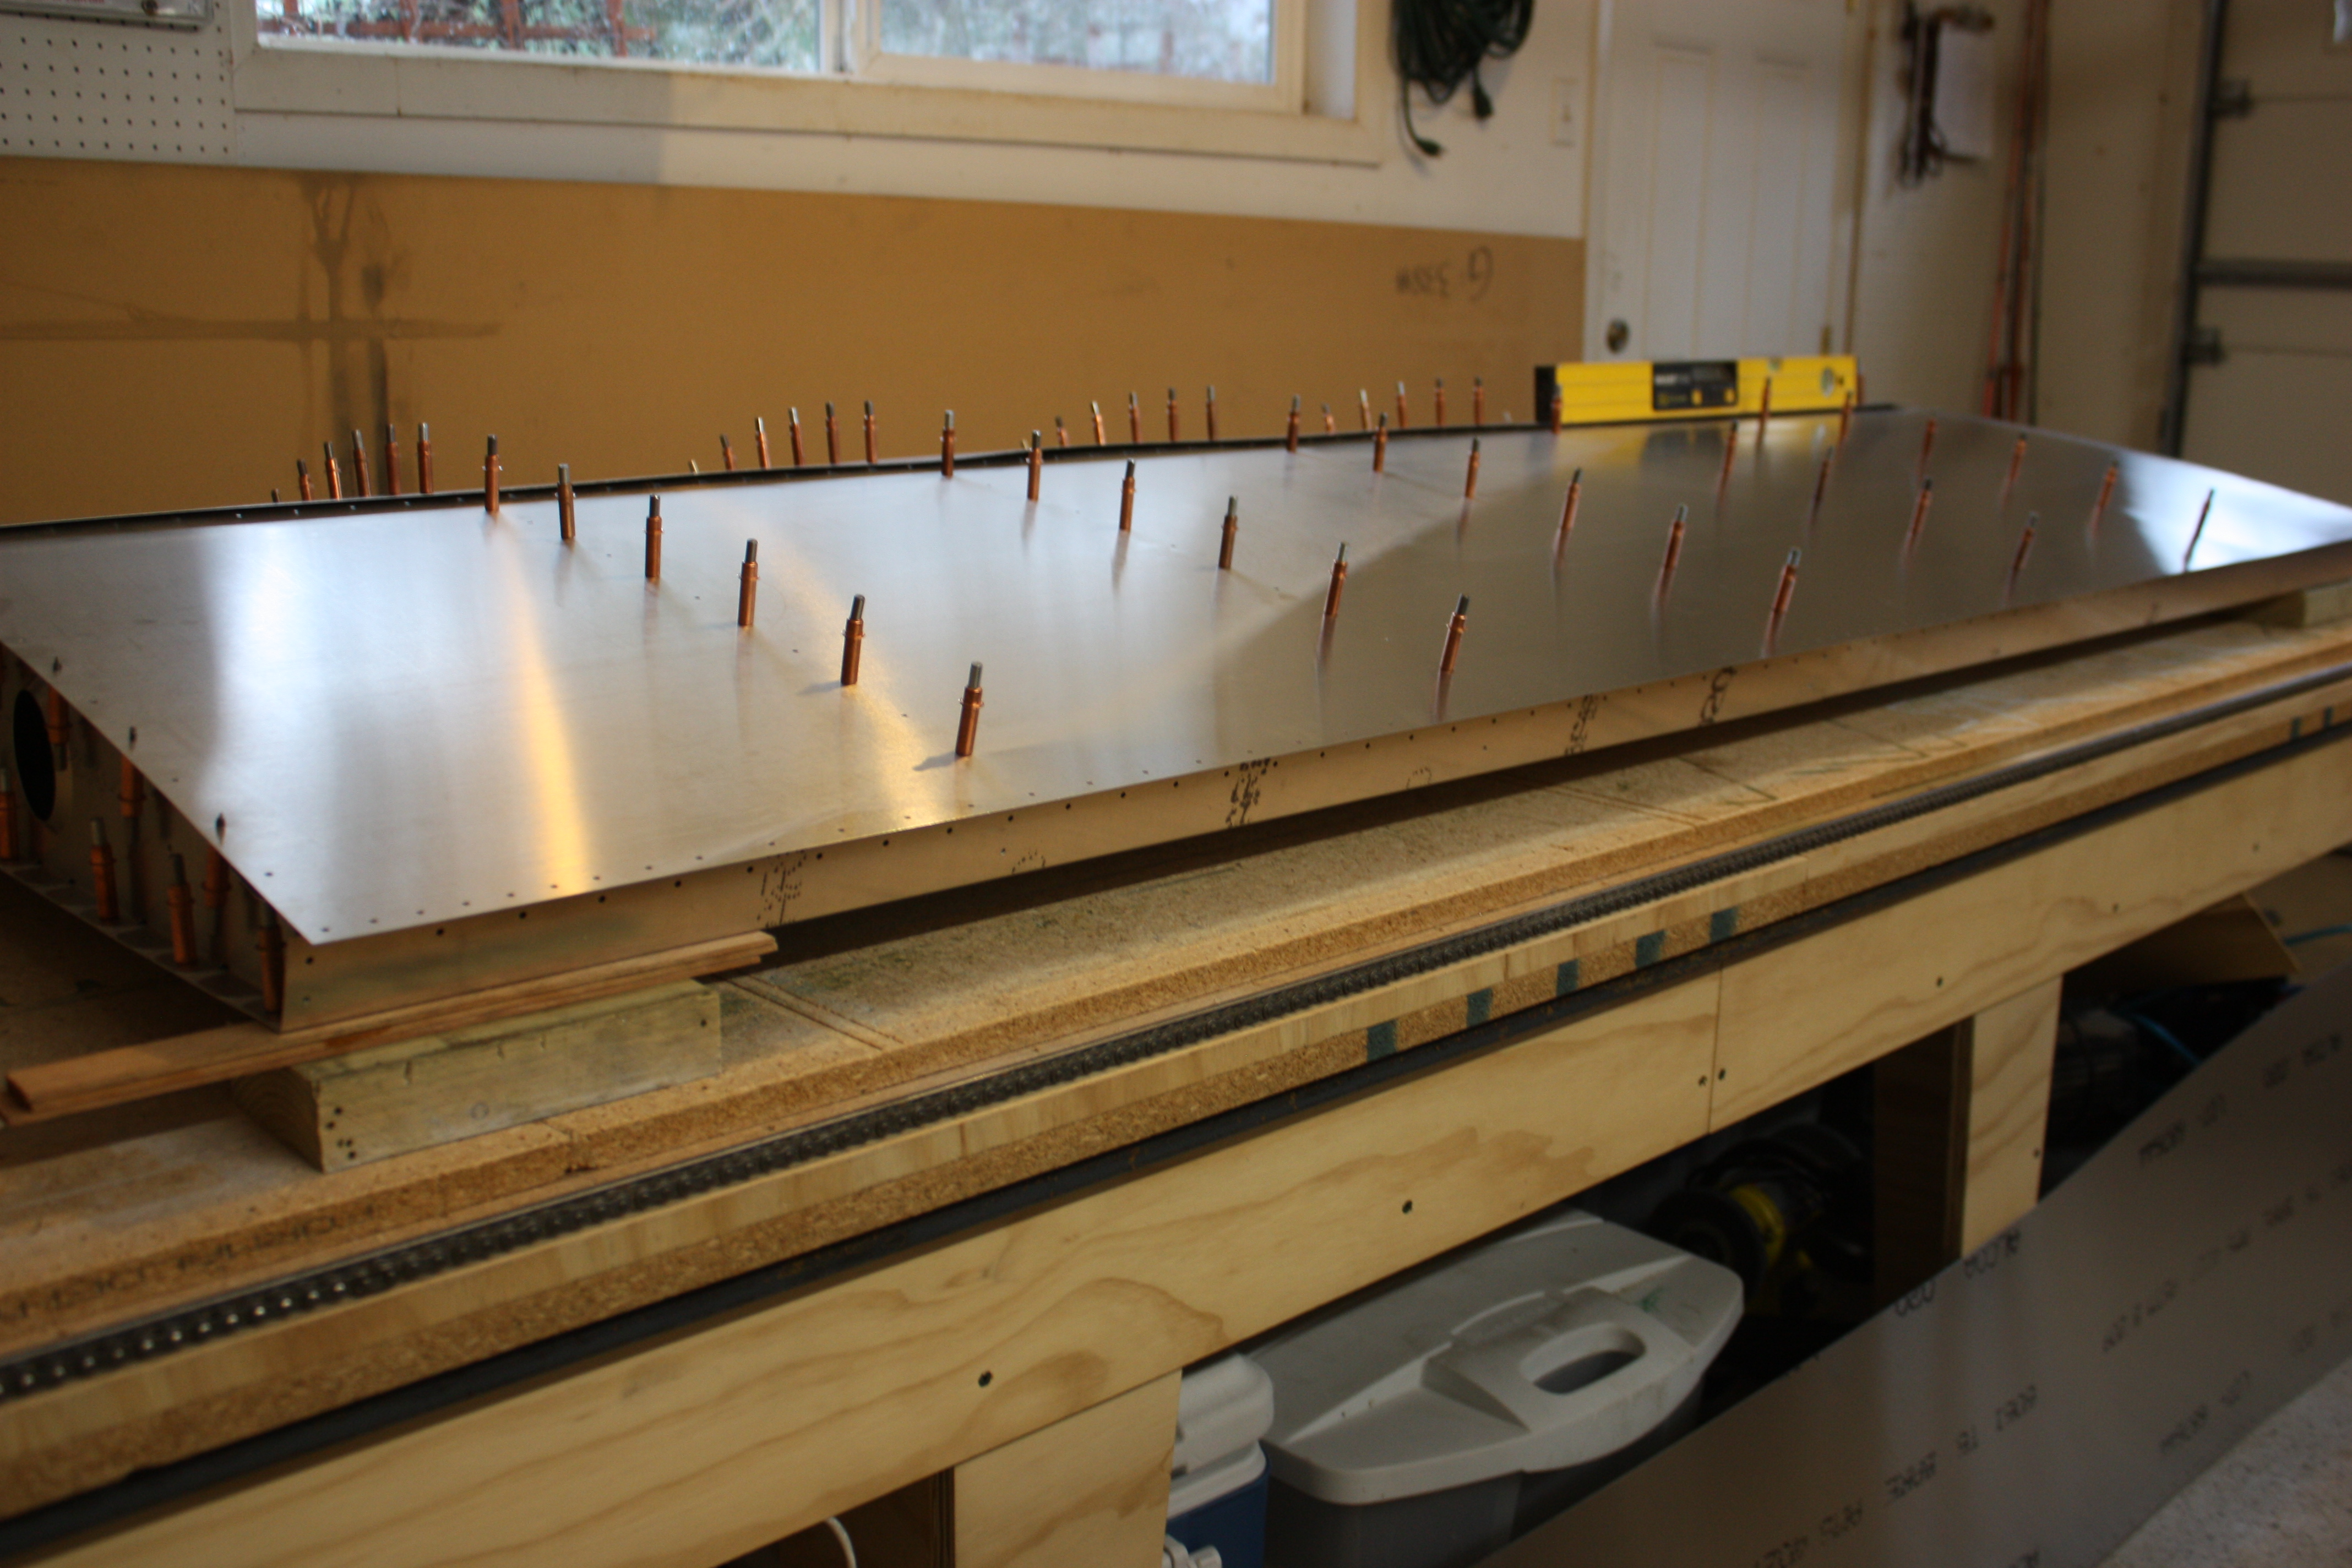
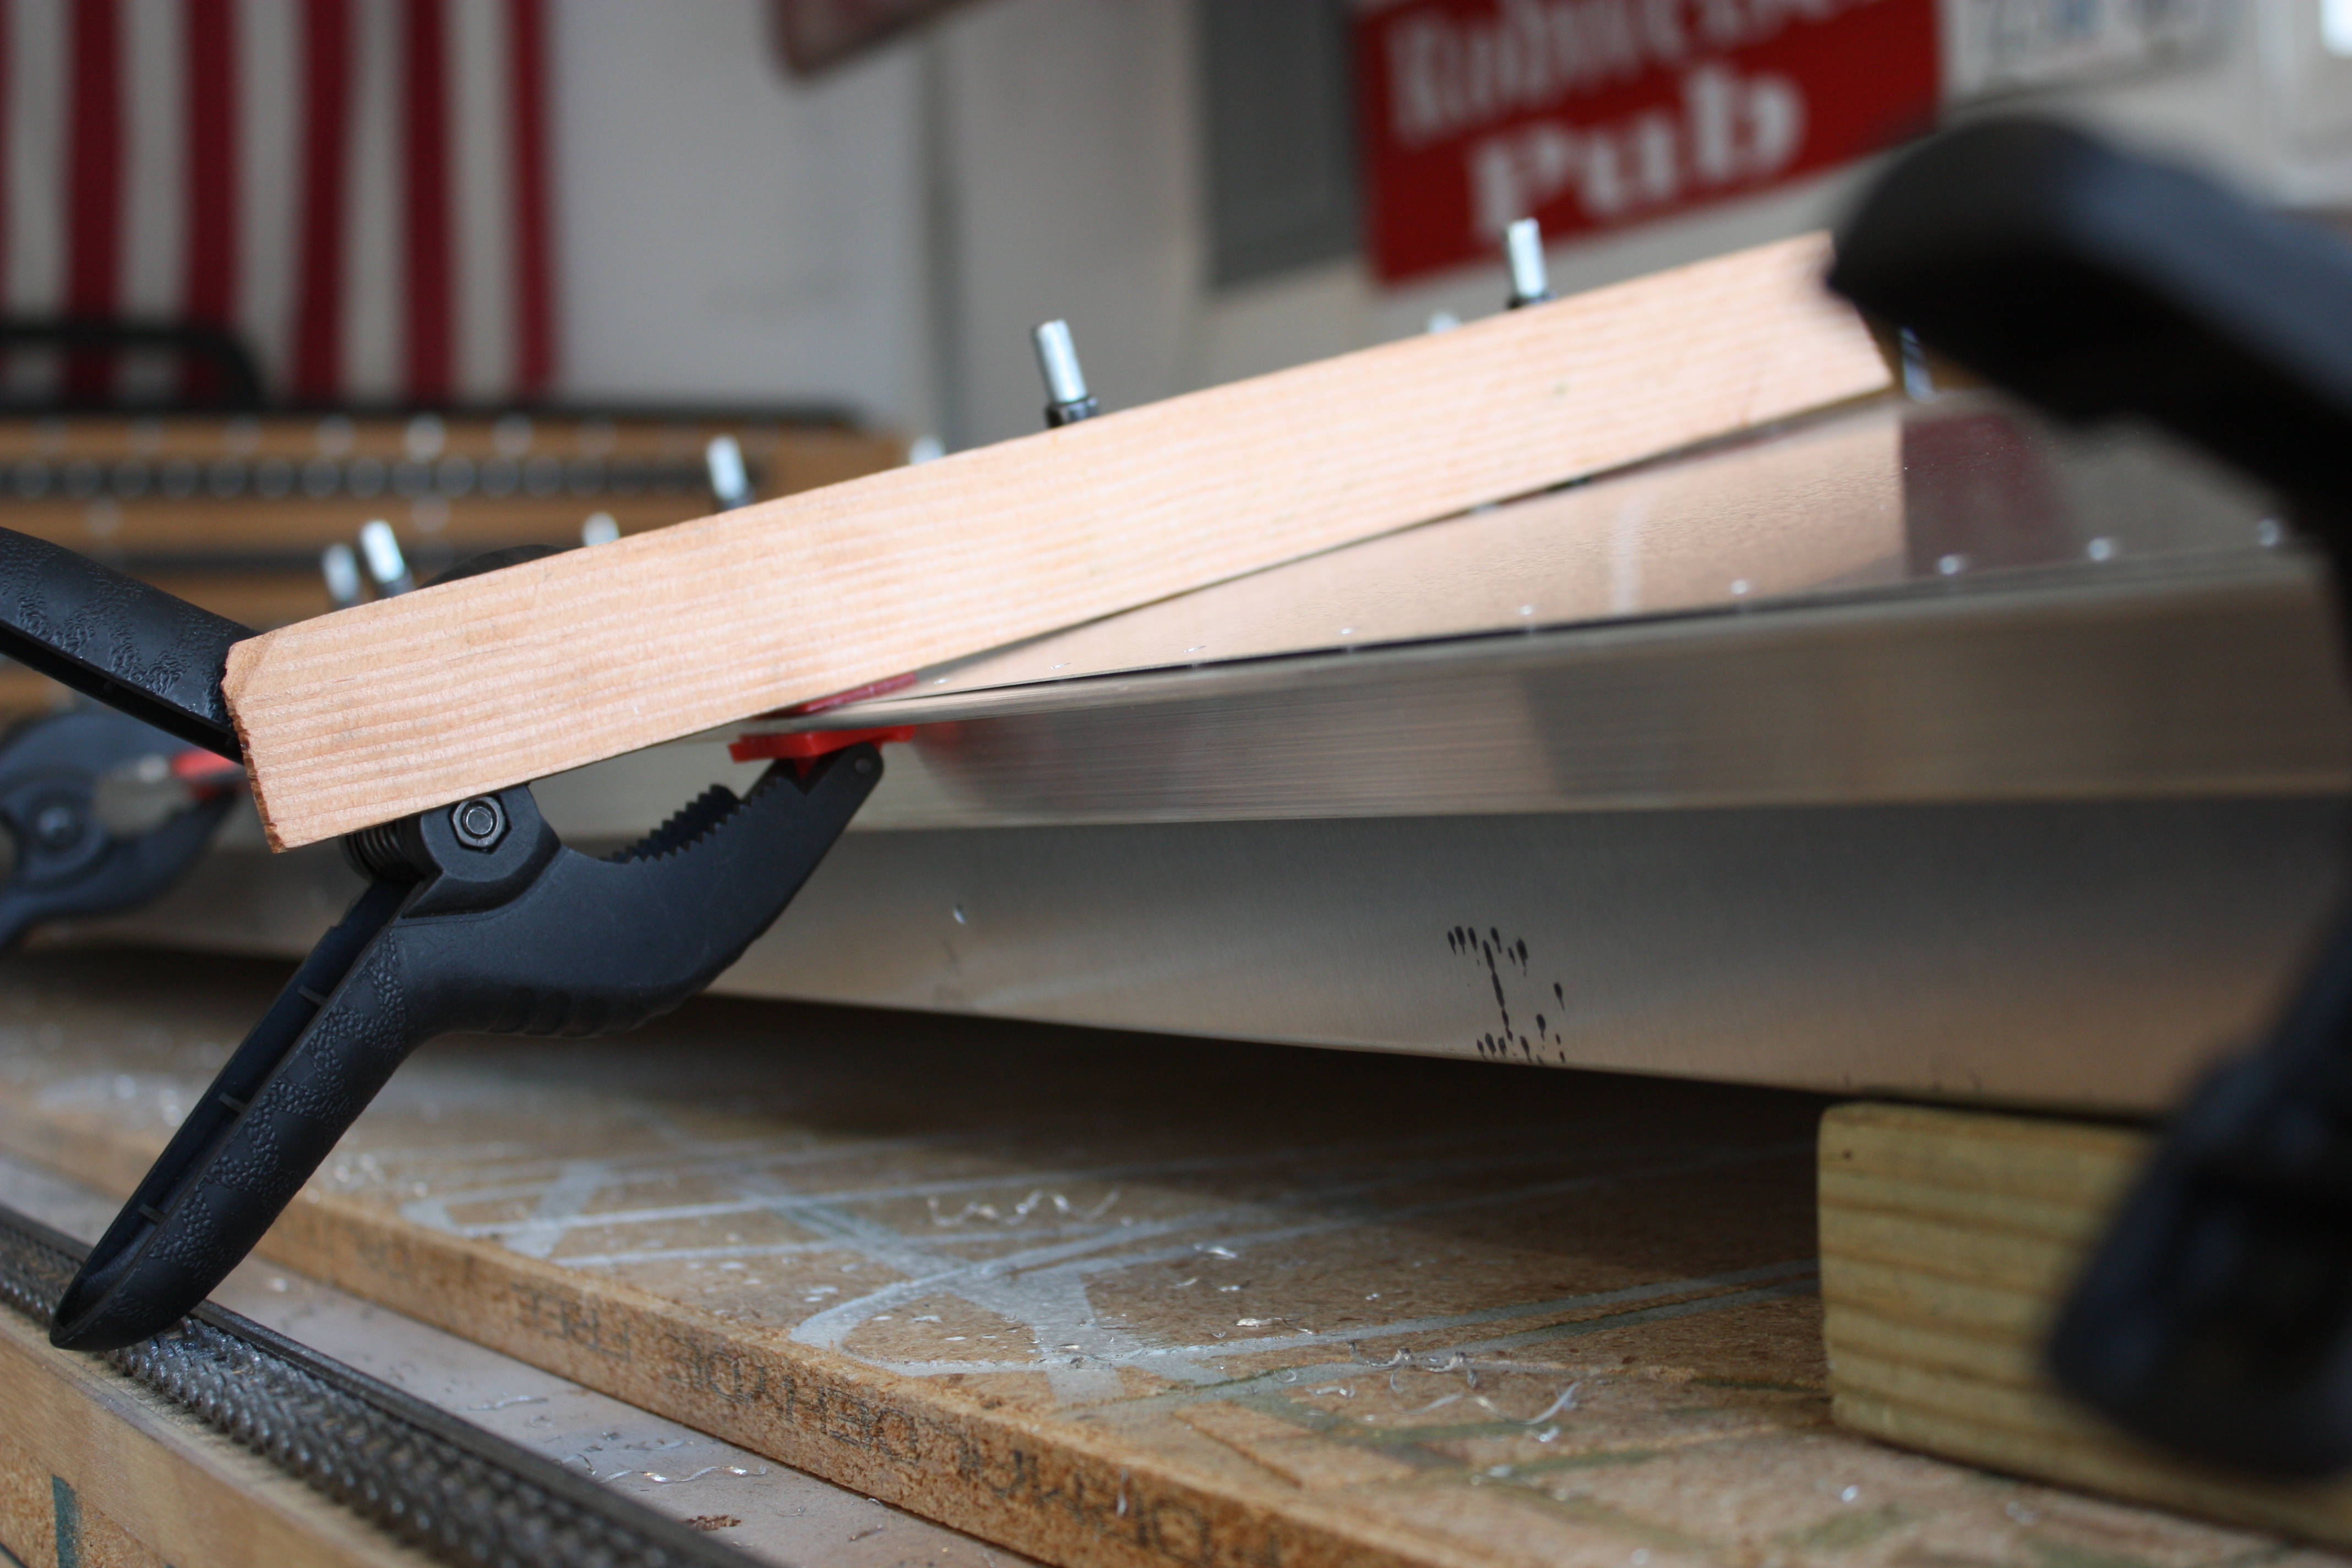
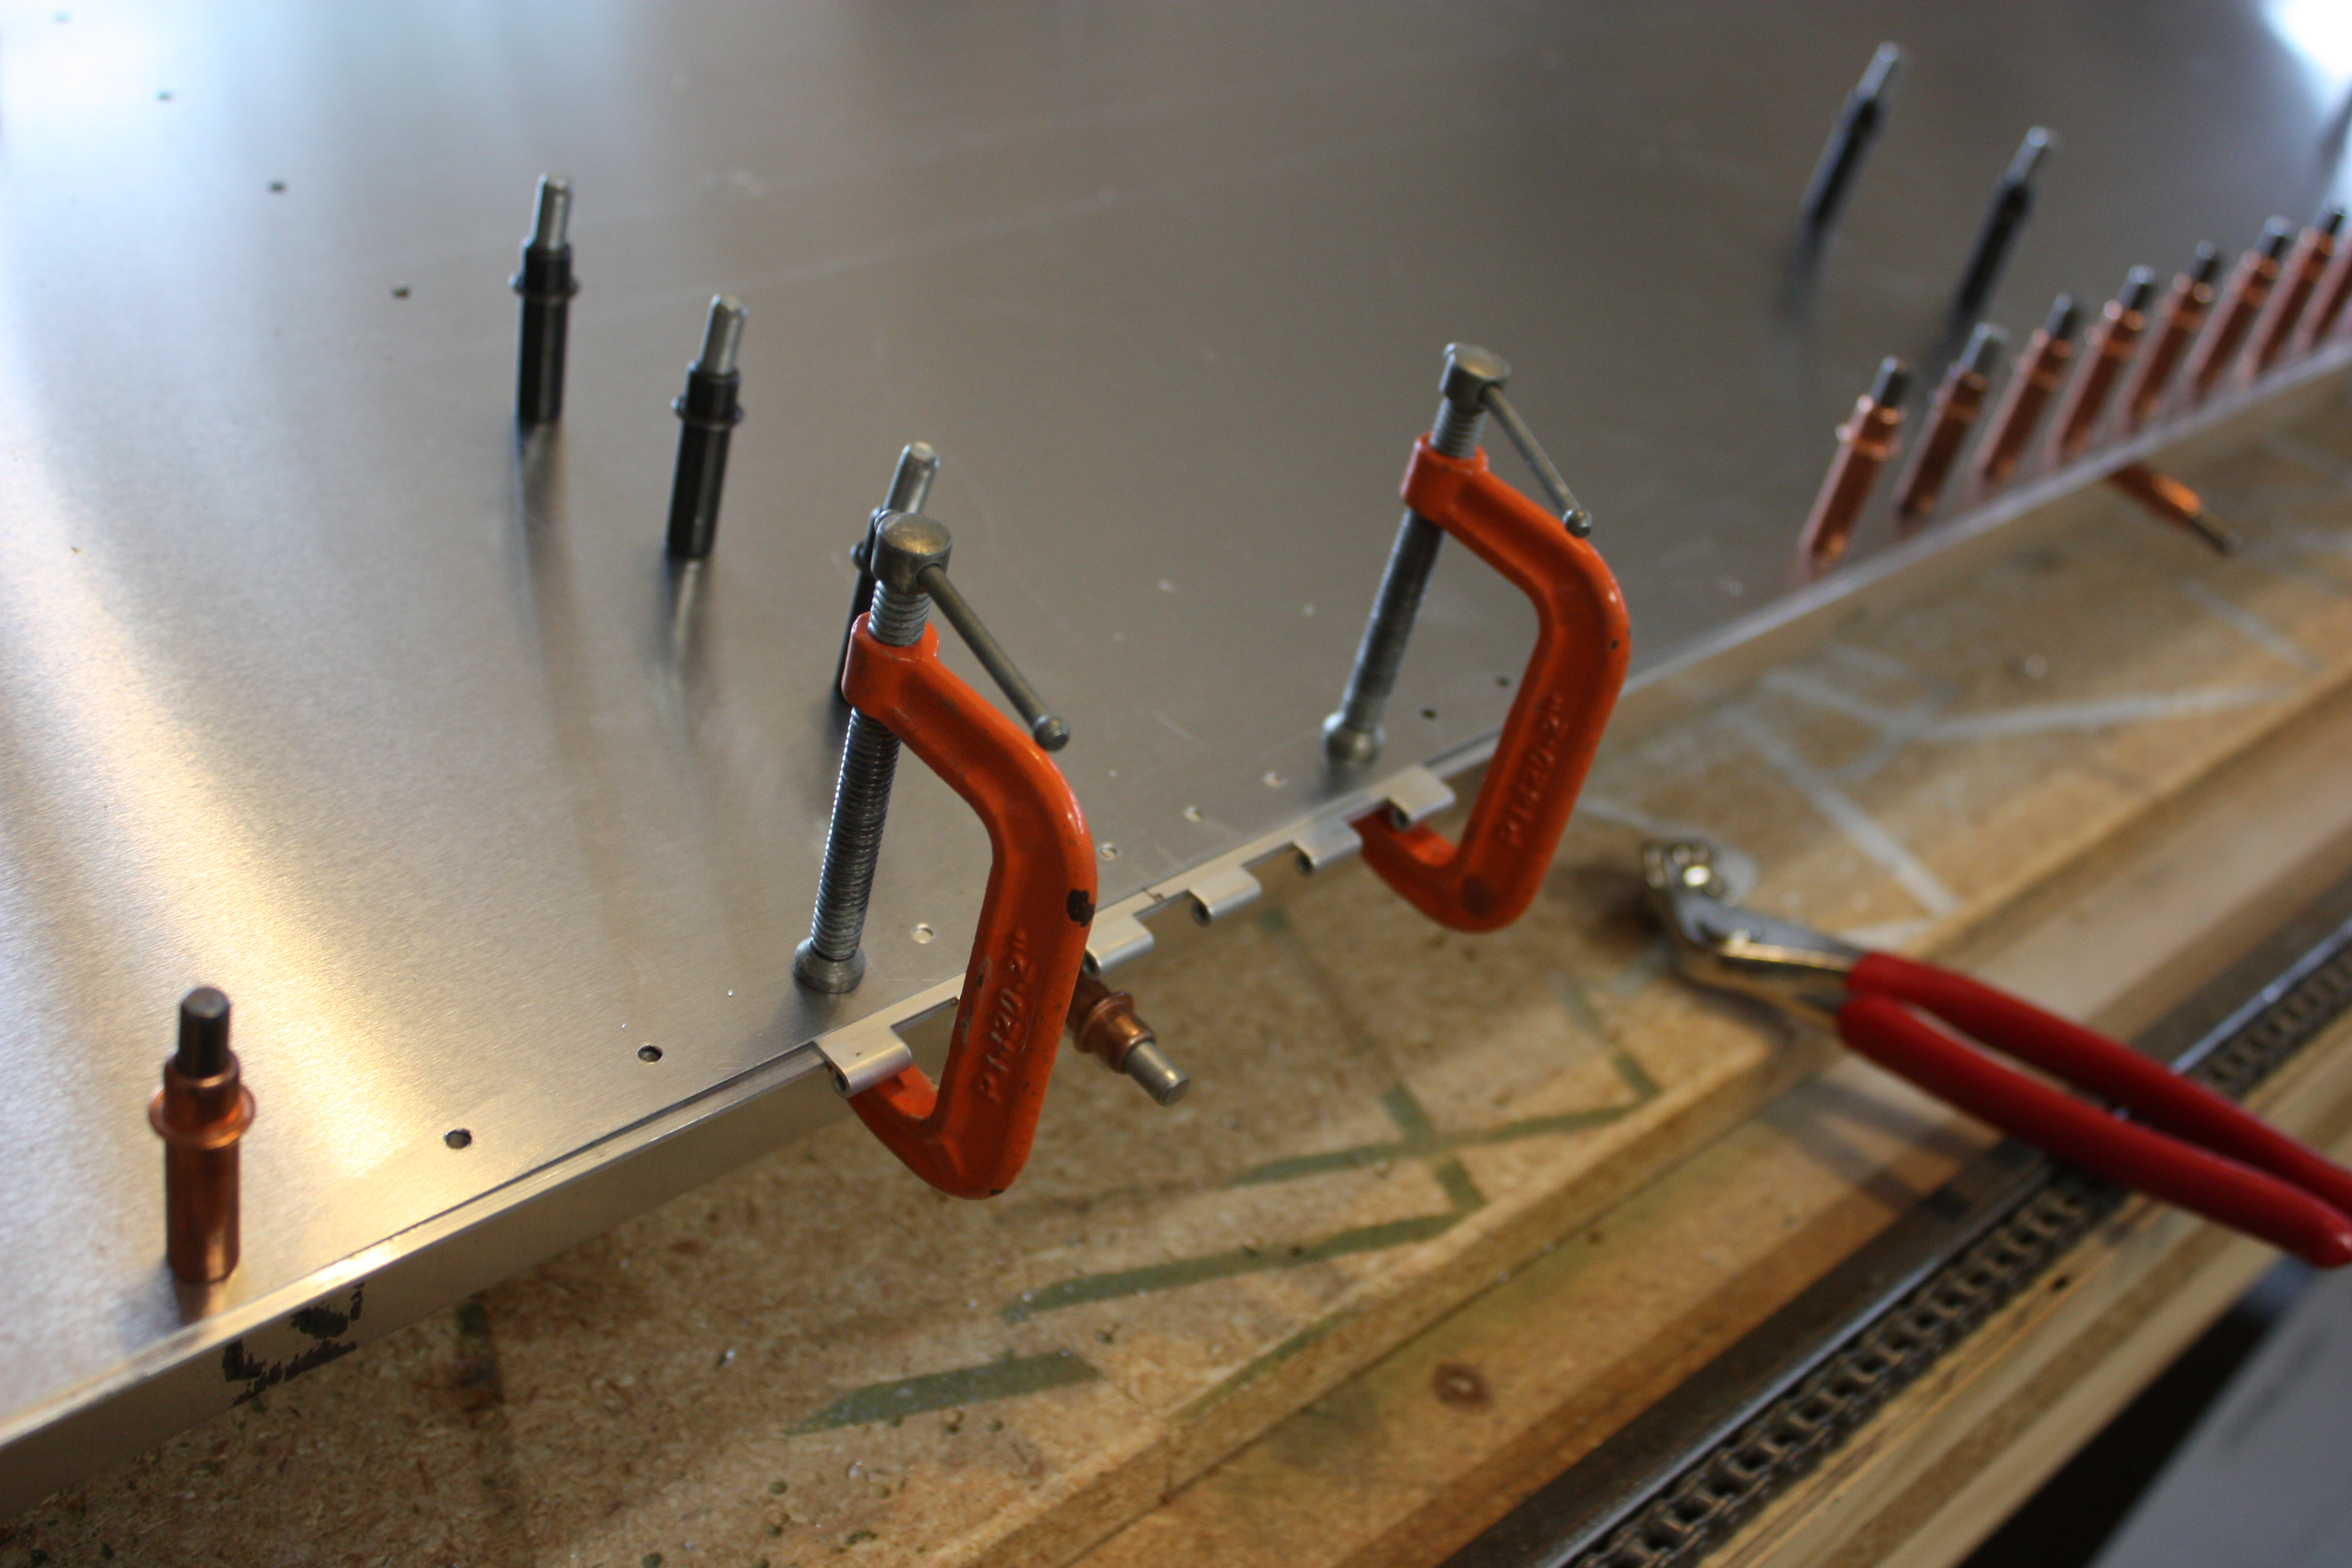
As I wrapped all of the skins, the top skin did not line up with the leading edge. I was able to shift it over before I matched drilled them and the spar, but then this offset transfered to the rear spar. I thought this was acceptable.
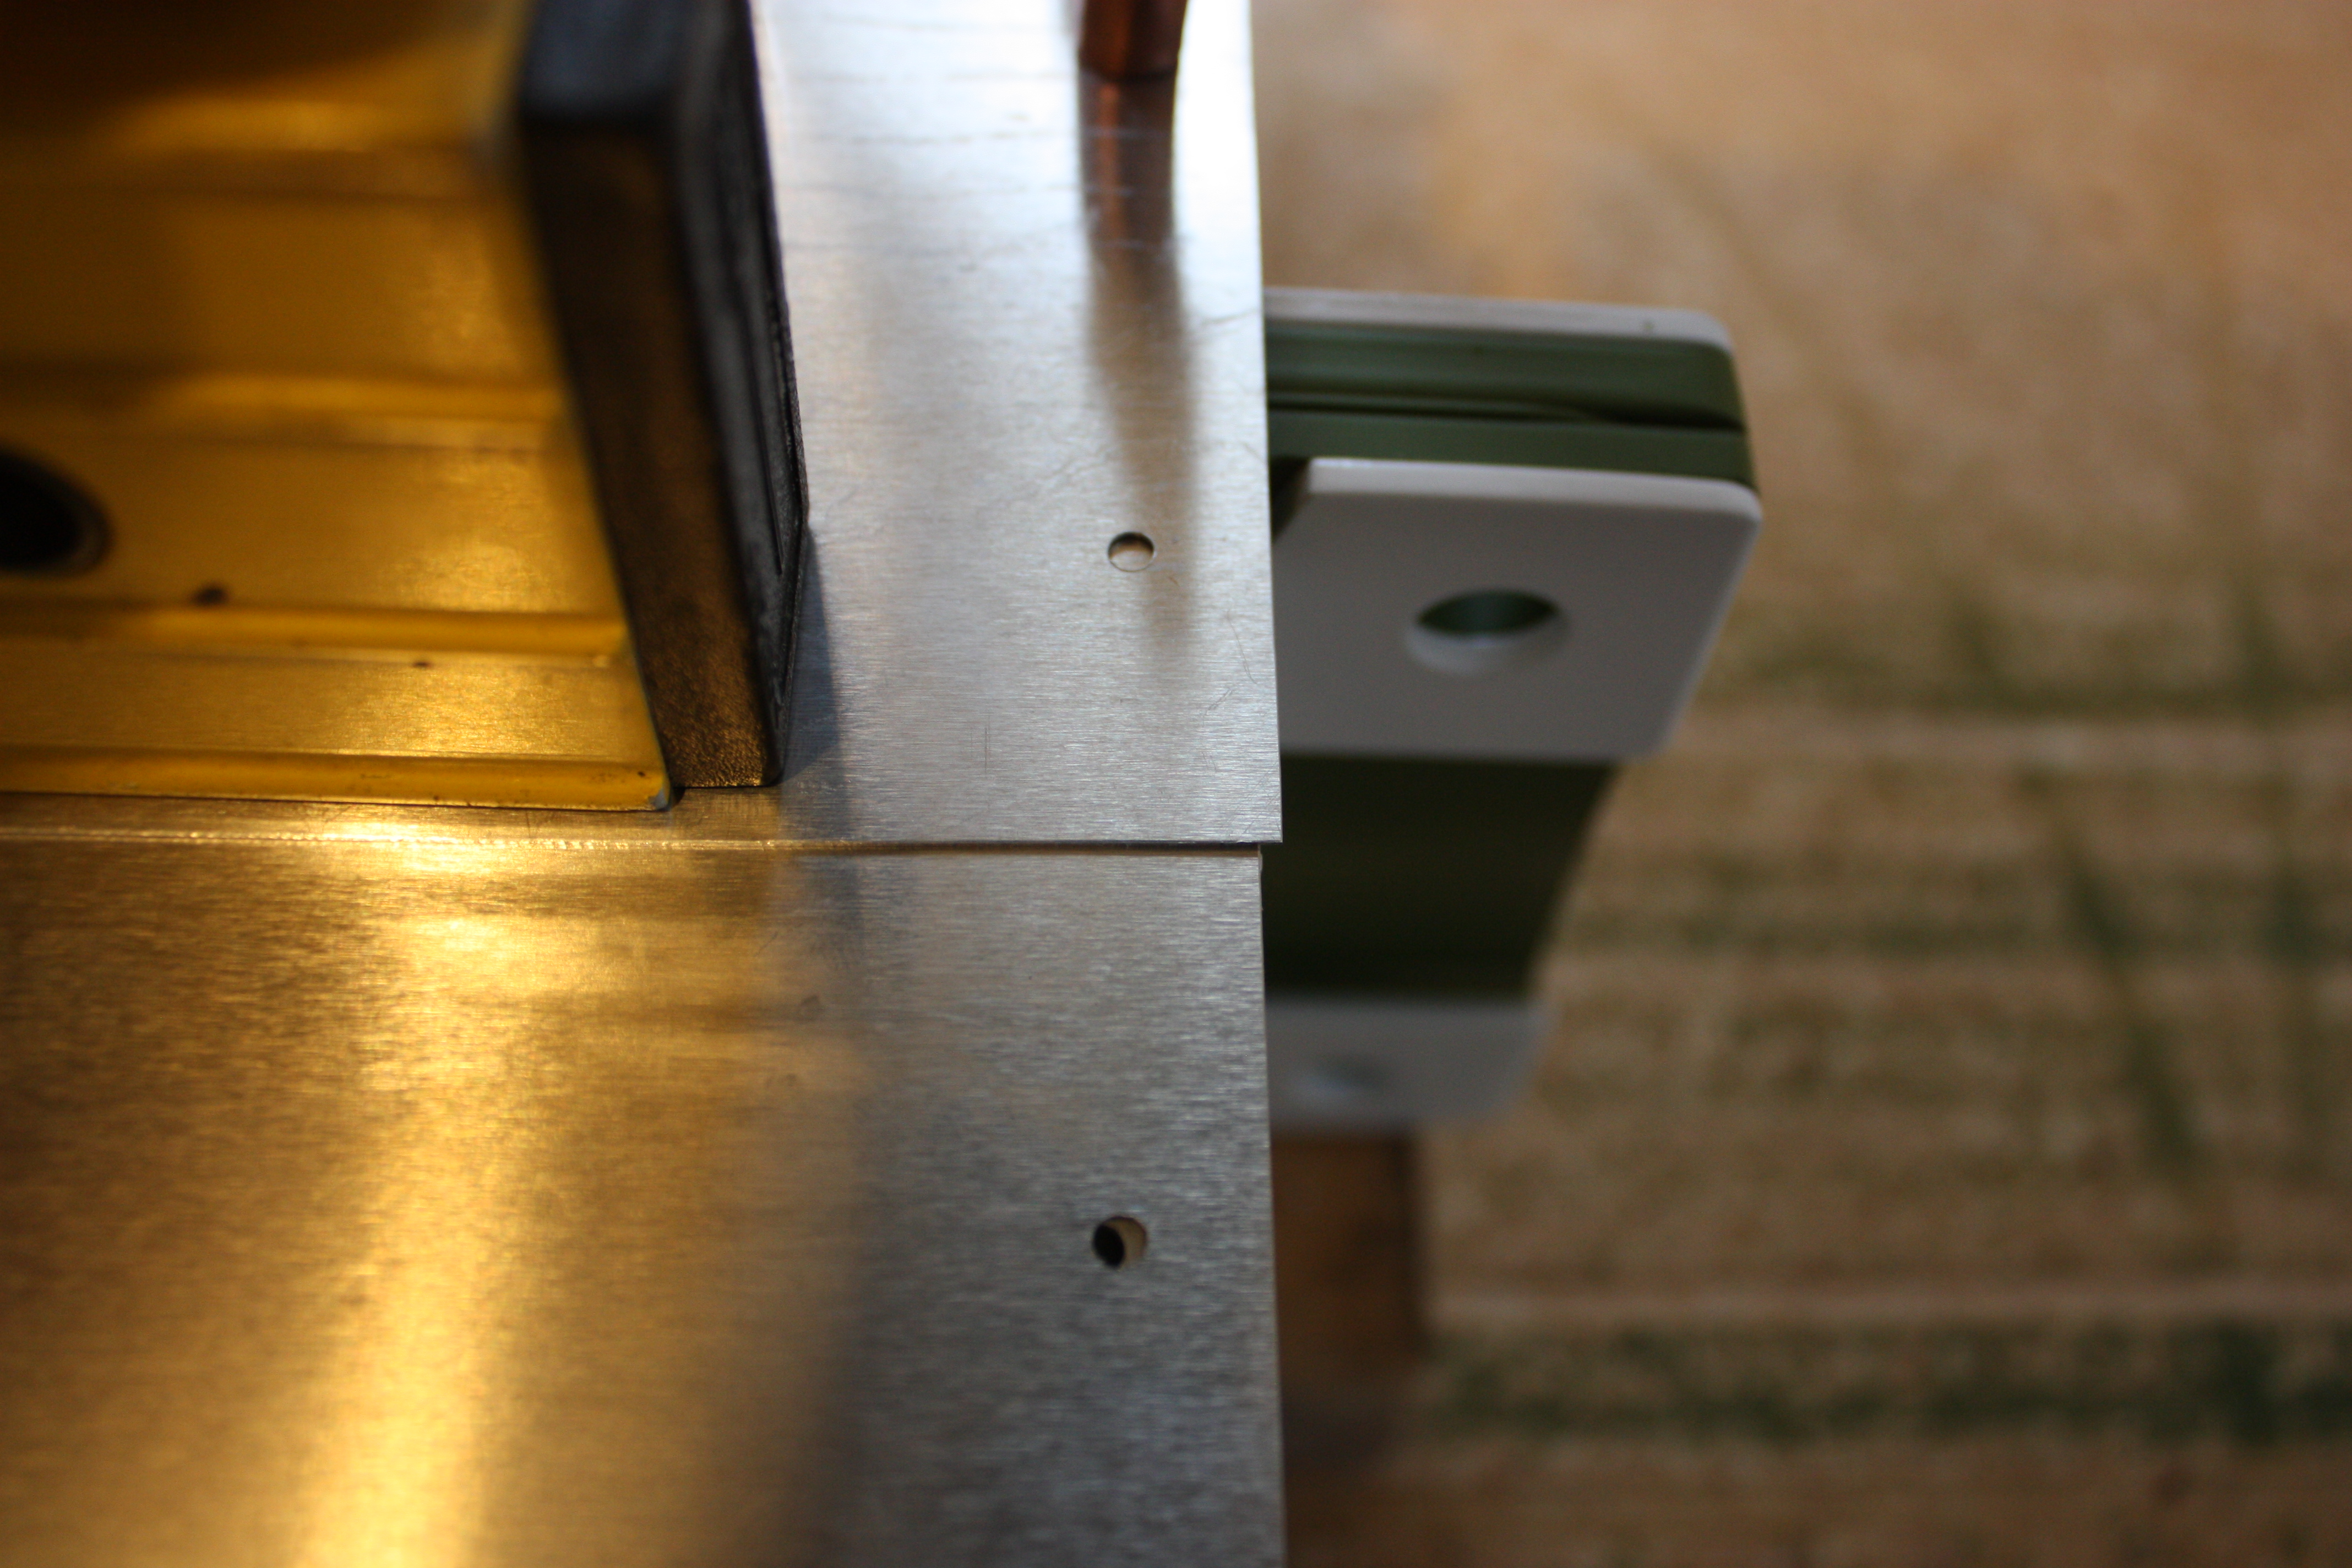
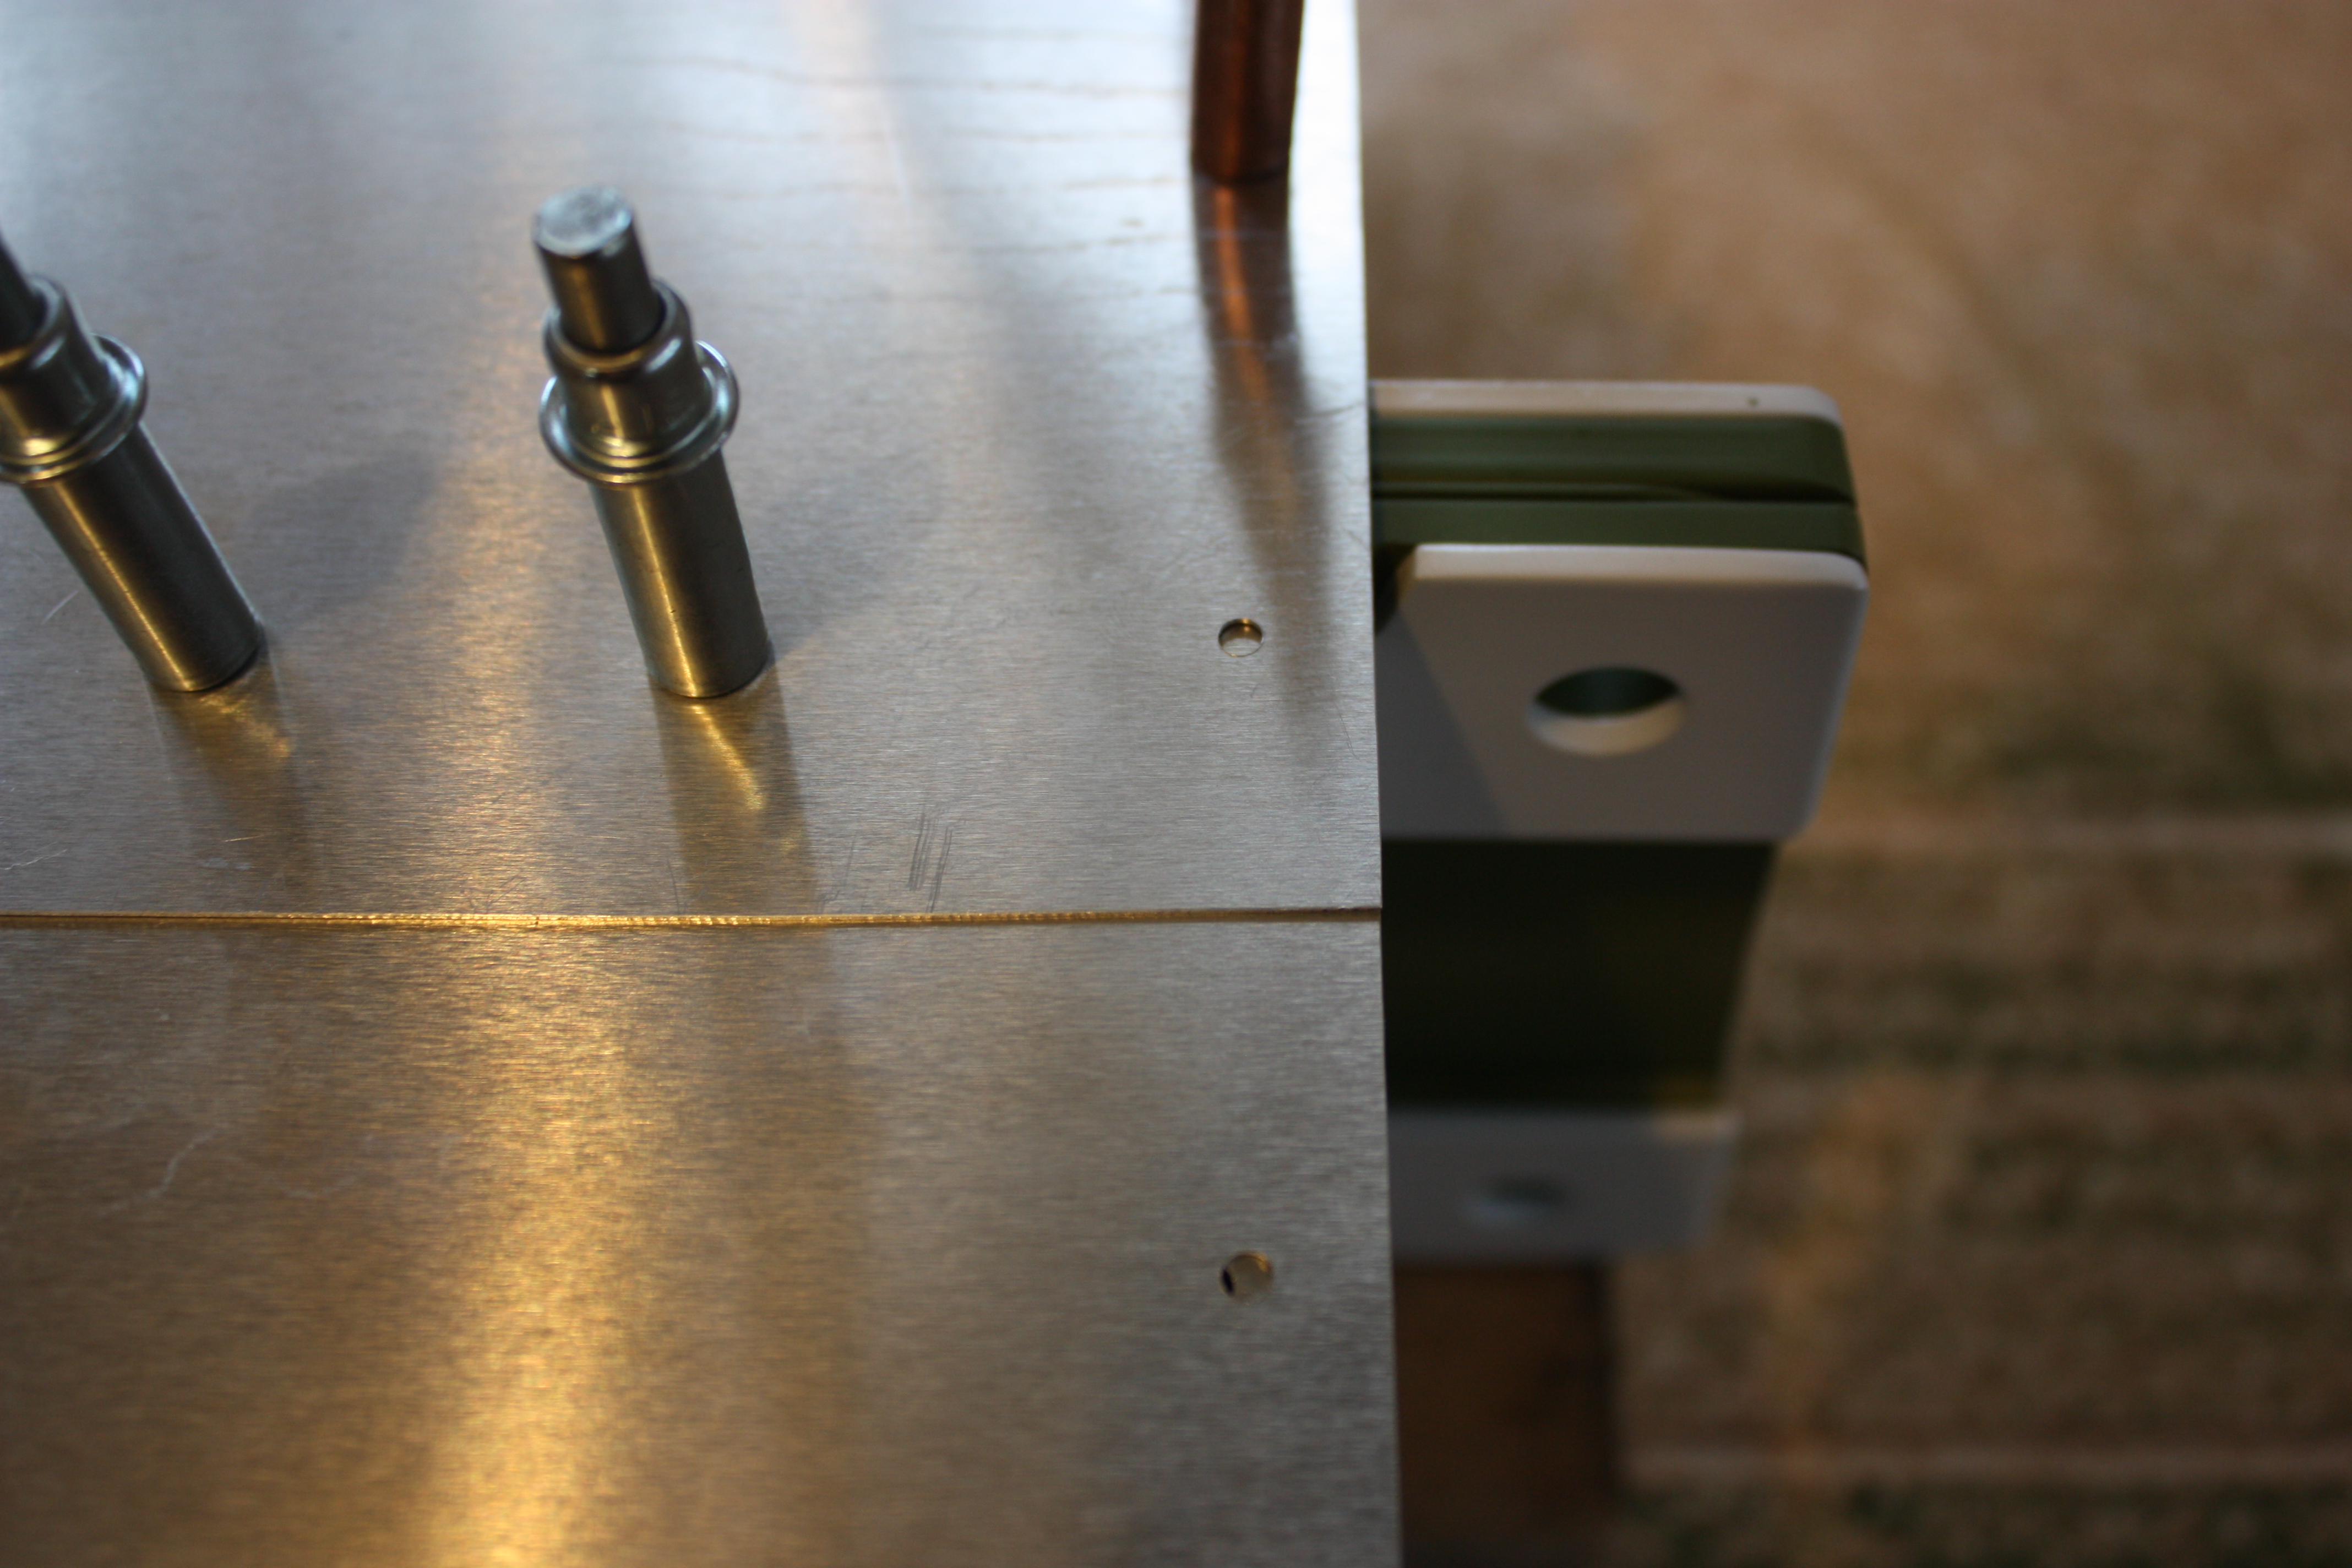
In both pictures below the pre-drilled holes of the ribs were not lined up, but with no effort they were once Clecoed in place:
CAD Work
Before I move on to the center section, I wanted to make a few notes about the CAD work involved to this point. I periodically get emails and phone calls from others working on their airplane projects who are also interested in using a CNC to cut their parts. Hopefully I can provide a better understanding of what's involved with this process.
With no disrespect to Mr. Thatcher, the CX4 plans do not immediately lend themselves for CNC work. Actually, most plan sets do not. The biggest problem is the amount of "cut-to-fit" type of assembly procedures involved with most scratch built plans. In the case of the CX4 plans (and many others), most of the primary parts, such as bulkheads, ribs, etc., are not dimensioned at all... you simply cut the parts to match the full size outlines shown on the plans.
The second biggest problem is that some designs, such as the CX4, have complex curves in the skins. Again, not too much of a problem if your plan is to cut-to-fit and manipulate as necessary to remove skin wrinkles, but this does not work well if you plan to layout everything in CAD and predrill wing skins on a CNC. (Actually, it's the complex curves and graceful lines that make the CX4 such a nice looking airplane.)
So if you plan to use a CNC, you probably know that you need to draw all of the parts in CAD. That is a hell of an understatement. Actually, you will ultimately redesign the whole airplane... here's why:
Once you start drawing parts off of the sheets and into a CAD file, you'll start positioning them in CAD to see how they look together. Then you notice that some parts don't match exactly other parts (this is a good way to find all of the errors in the original drawing sheets). So then you'll start correcting these small errors... an 1/8" here and 1/4" there. Since you plan on predrilling skins, you need to consider the small things, like the thickness of material (yes, even 0.020" here and there will keep 3/32" predrilled holes from matching on an assembly). So you finally realize that if you had simply started from scratch drawing parts with simple curves and straight lines, with even dimensions, and used the plans as general guide only, it would have been much simpler.
The story in the above paragraph sounds simple, but it actually represents weeks of frustration, wasted CAD work, wasted material, and it's a lesson I have learned and re-learned on multiple projects.
In short, to effectively use a CNC on an airplane project, you need to expect to redesign and redraw the entire airplane in CAD first. Otherwise, if you plan to use a CNC to cut non-exact parts and cut-to-fit to make it work, it's actually faster to skip the CNC and simply cut the whole thing out with sheetmetal shears.
The image below is a screenshot of my ongoing CAD file. At the bottom left you can see outline of the seven wing ribs and the four types of center ribs in a vertical row. To the right of that the row of parts include tabs and drill holes. Right of that is a row of forming blocks. To the right of those two rows are the same parts but with the lines offset to compensate for the router bit diameter (this creates a CNC path). Then those paths are arranged on 12'x 4' rectangles as a starting point to create CAM files (cutting files for the CNC). In the center of the screenshot is the wing skins. The top half of the screen is the start of the fuselage work. Actually, the parts in green at the very top are the bulkheads scanned from the Thatcher plans, and those were used as a reference to create the whole fuselage top and side view, and create my bulkhead drawings:
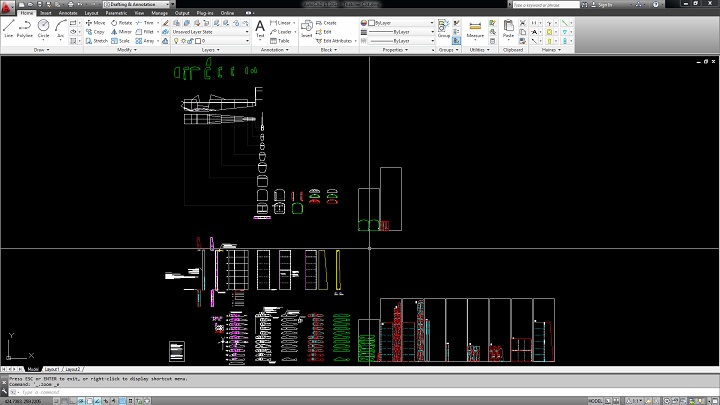
Yes, I understand that this is a small image and it's hard to see. This also does not show the four times I drew the whole fuselage and then erased it. It does not show the two times I drew the turtledeck in Autodesk Inventor as a 3D solid to get the bulkhead plans correct. Actually, the whole reason I'm drawing the whole fuselage at this point is so that I can get formers F5 finalized, so I can get them bolted onto the center section (they share the same bolts with the center section ribs I need in place), so I can assemble the center section, so I can bolt on the wings and finalize the rear spar construction and installation!
Pre-Drilled Skins and Flanges
Another benefit of having the whole airplane drawn in CAD is that you can pre-drill the parts. When you assemble the parts, everything should be lined up. But this is tricky to do. So I wrote a separate page just for this. You can find it here:
Designing Pre-Drilled Skins and Flanges
Check it out!
Center Section
January 2013
I really should not call this work "Center Section" since the story goes off on a tangent. But this part of the story starts like this:
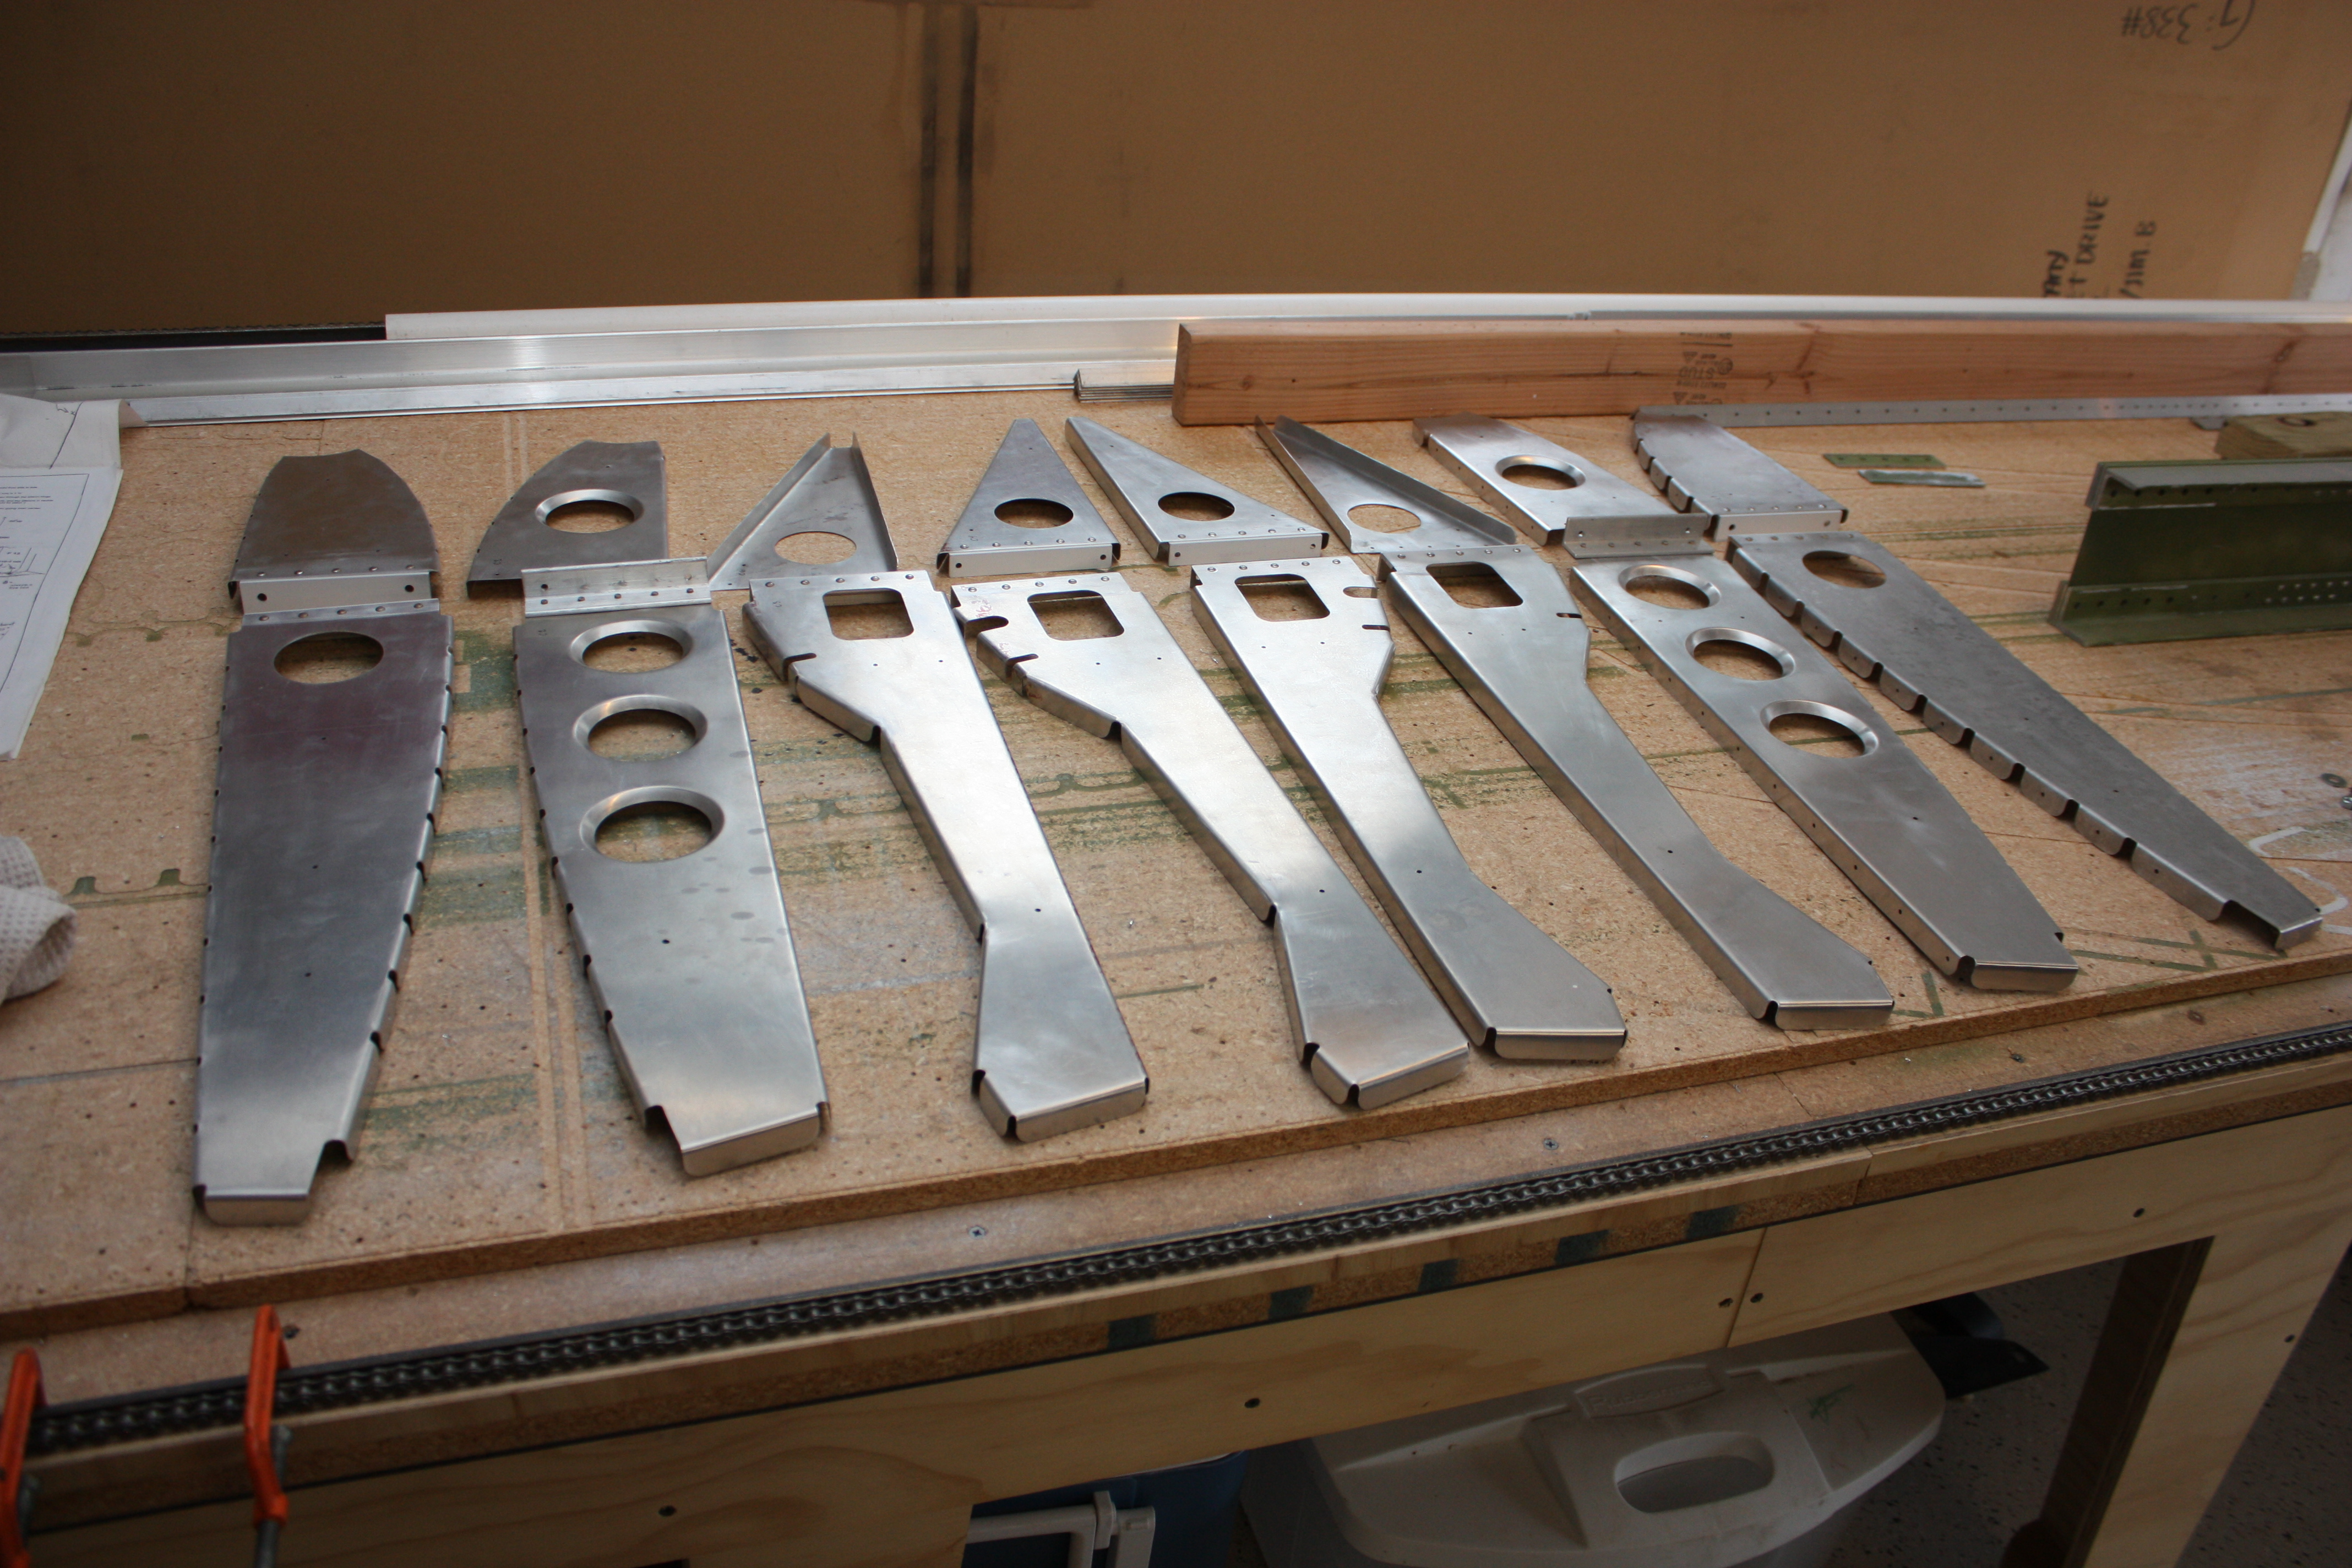
The next bit of work is to build the center section... from there, the rest of the fuselage is built around this critical assembly. I started off with all of my center section ribs finished and ready to go. In the following photograph, I have them laid out with rib "Center #1" to the left and "Center #8" to the right, and #3, #4, #5, and #6 in the wrong places. So let's see... it's #1, #2, #4, #6, #5, #3, #7, and #8 in the photograph below (I think). NO WAIT... #3 and #6 are switched, and #6 should have had the extra notch, not #4. Heck, I'll figure it out later!
(Actually, see the assembled center section pictures further down):
I then started bolting them to the center spar... and this is where the story goes off in the weeds.
I wanted to bolt everything together permanently; there is no sense wasting locknuts or risking using temporary fasteners and forgetting that they are temporary. However, ribs #2 and #3 and ribs #6 and #7 share bolts with formers F5. This means I need to have F5 built. But since I'm drawing everything in CAD and modifying a few things to make it easier to draw in CAD, I could not make F5 until I had the whole fuselage designed. Holy Crap!
So, another few weeks later I have the fuselage all worked out, and this included figuring out my instrument panel (that in itself was a two day affair). And if I'm going to set up the CNC to make formers F5, I might as well get all of the bulkheads built. Heck, I might as well put up a new web page title...
Fuselage Bulkheads
To start in the front... The firewall is made from 0.020" galvanized steel, and that I can not cut with my router. So I used a method that should be a neat trick for anyone scratch building without a CNC: The first step is to plot out the part, to exact scale, on a sheet of paper. Then, use spray adhesive to stick the paper to the material. Use just enough to tack it there; just a light coat... you have to clean it all off later. Here, I have got my plot stuck to a $5.00 galvanized sheet I got from my local HVAC shop:
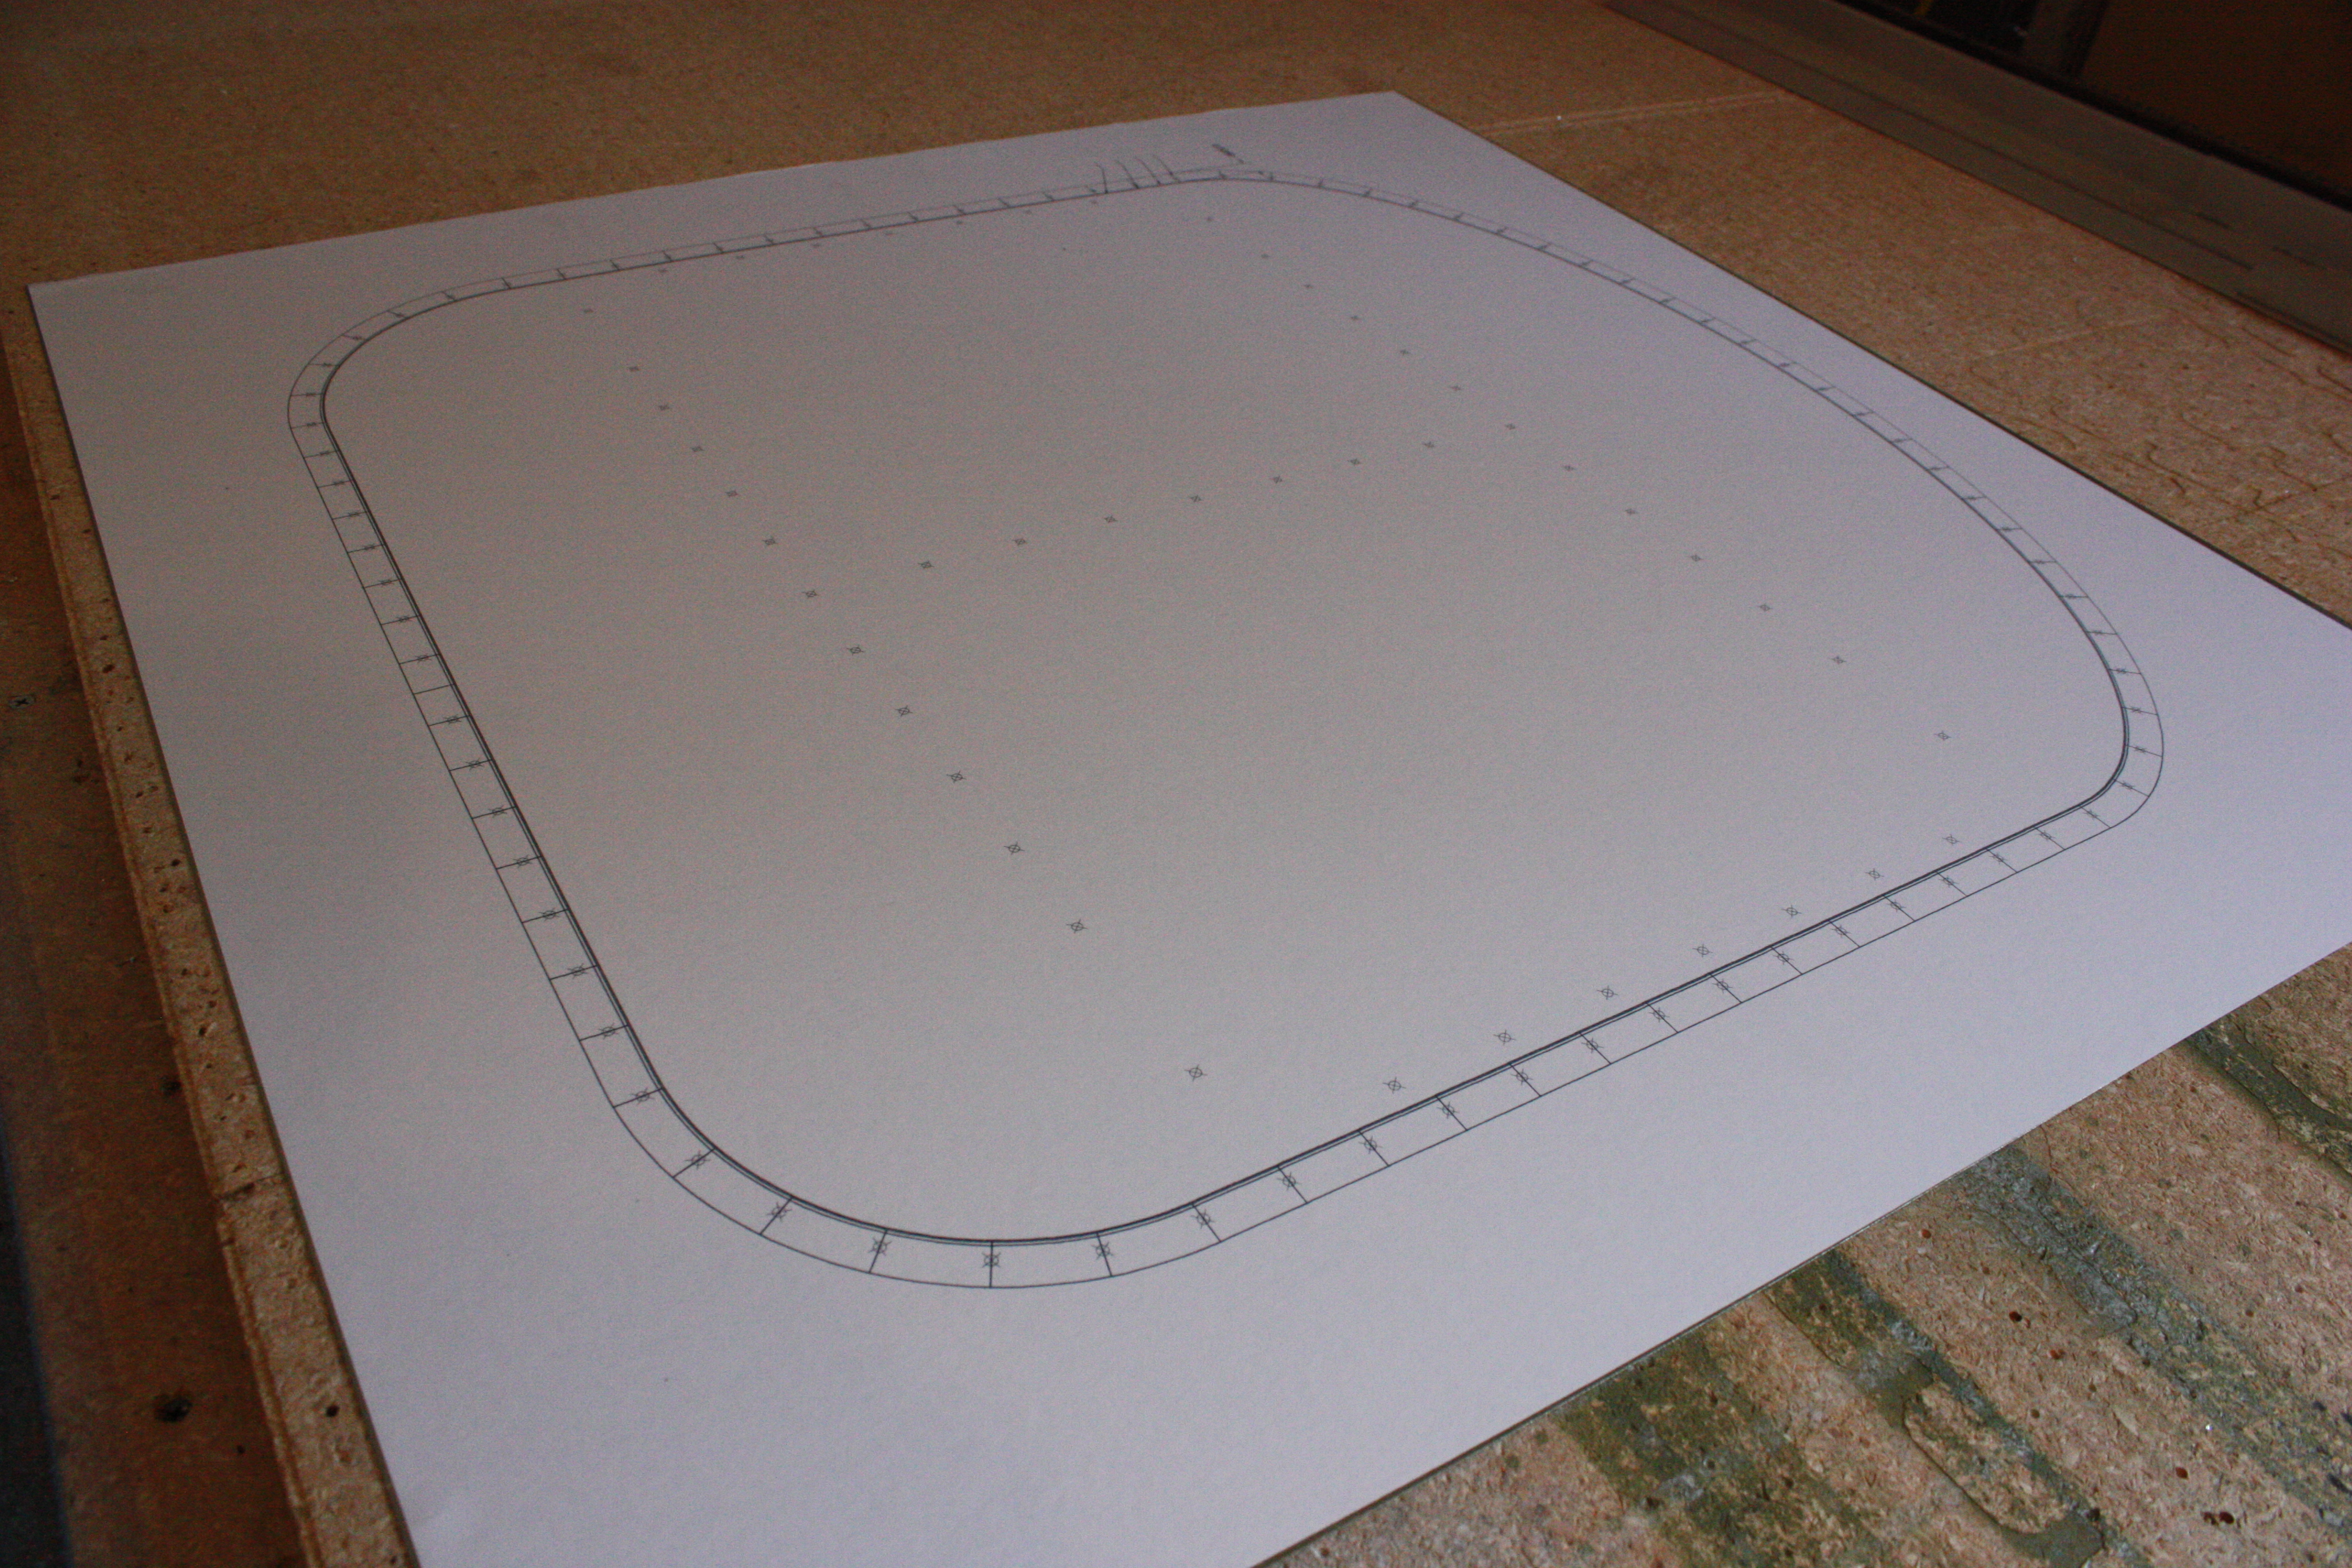
Then you center punch and drill all of the holes and cut out the part:
When cutting out the part, rough cut it out leaving a 1/4 inch of extra material. Then as you cut the final cut, that 1/4 does not interfere with you allowing you to make a nice cut with the shears.
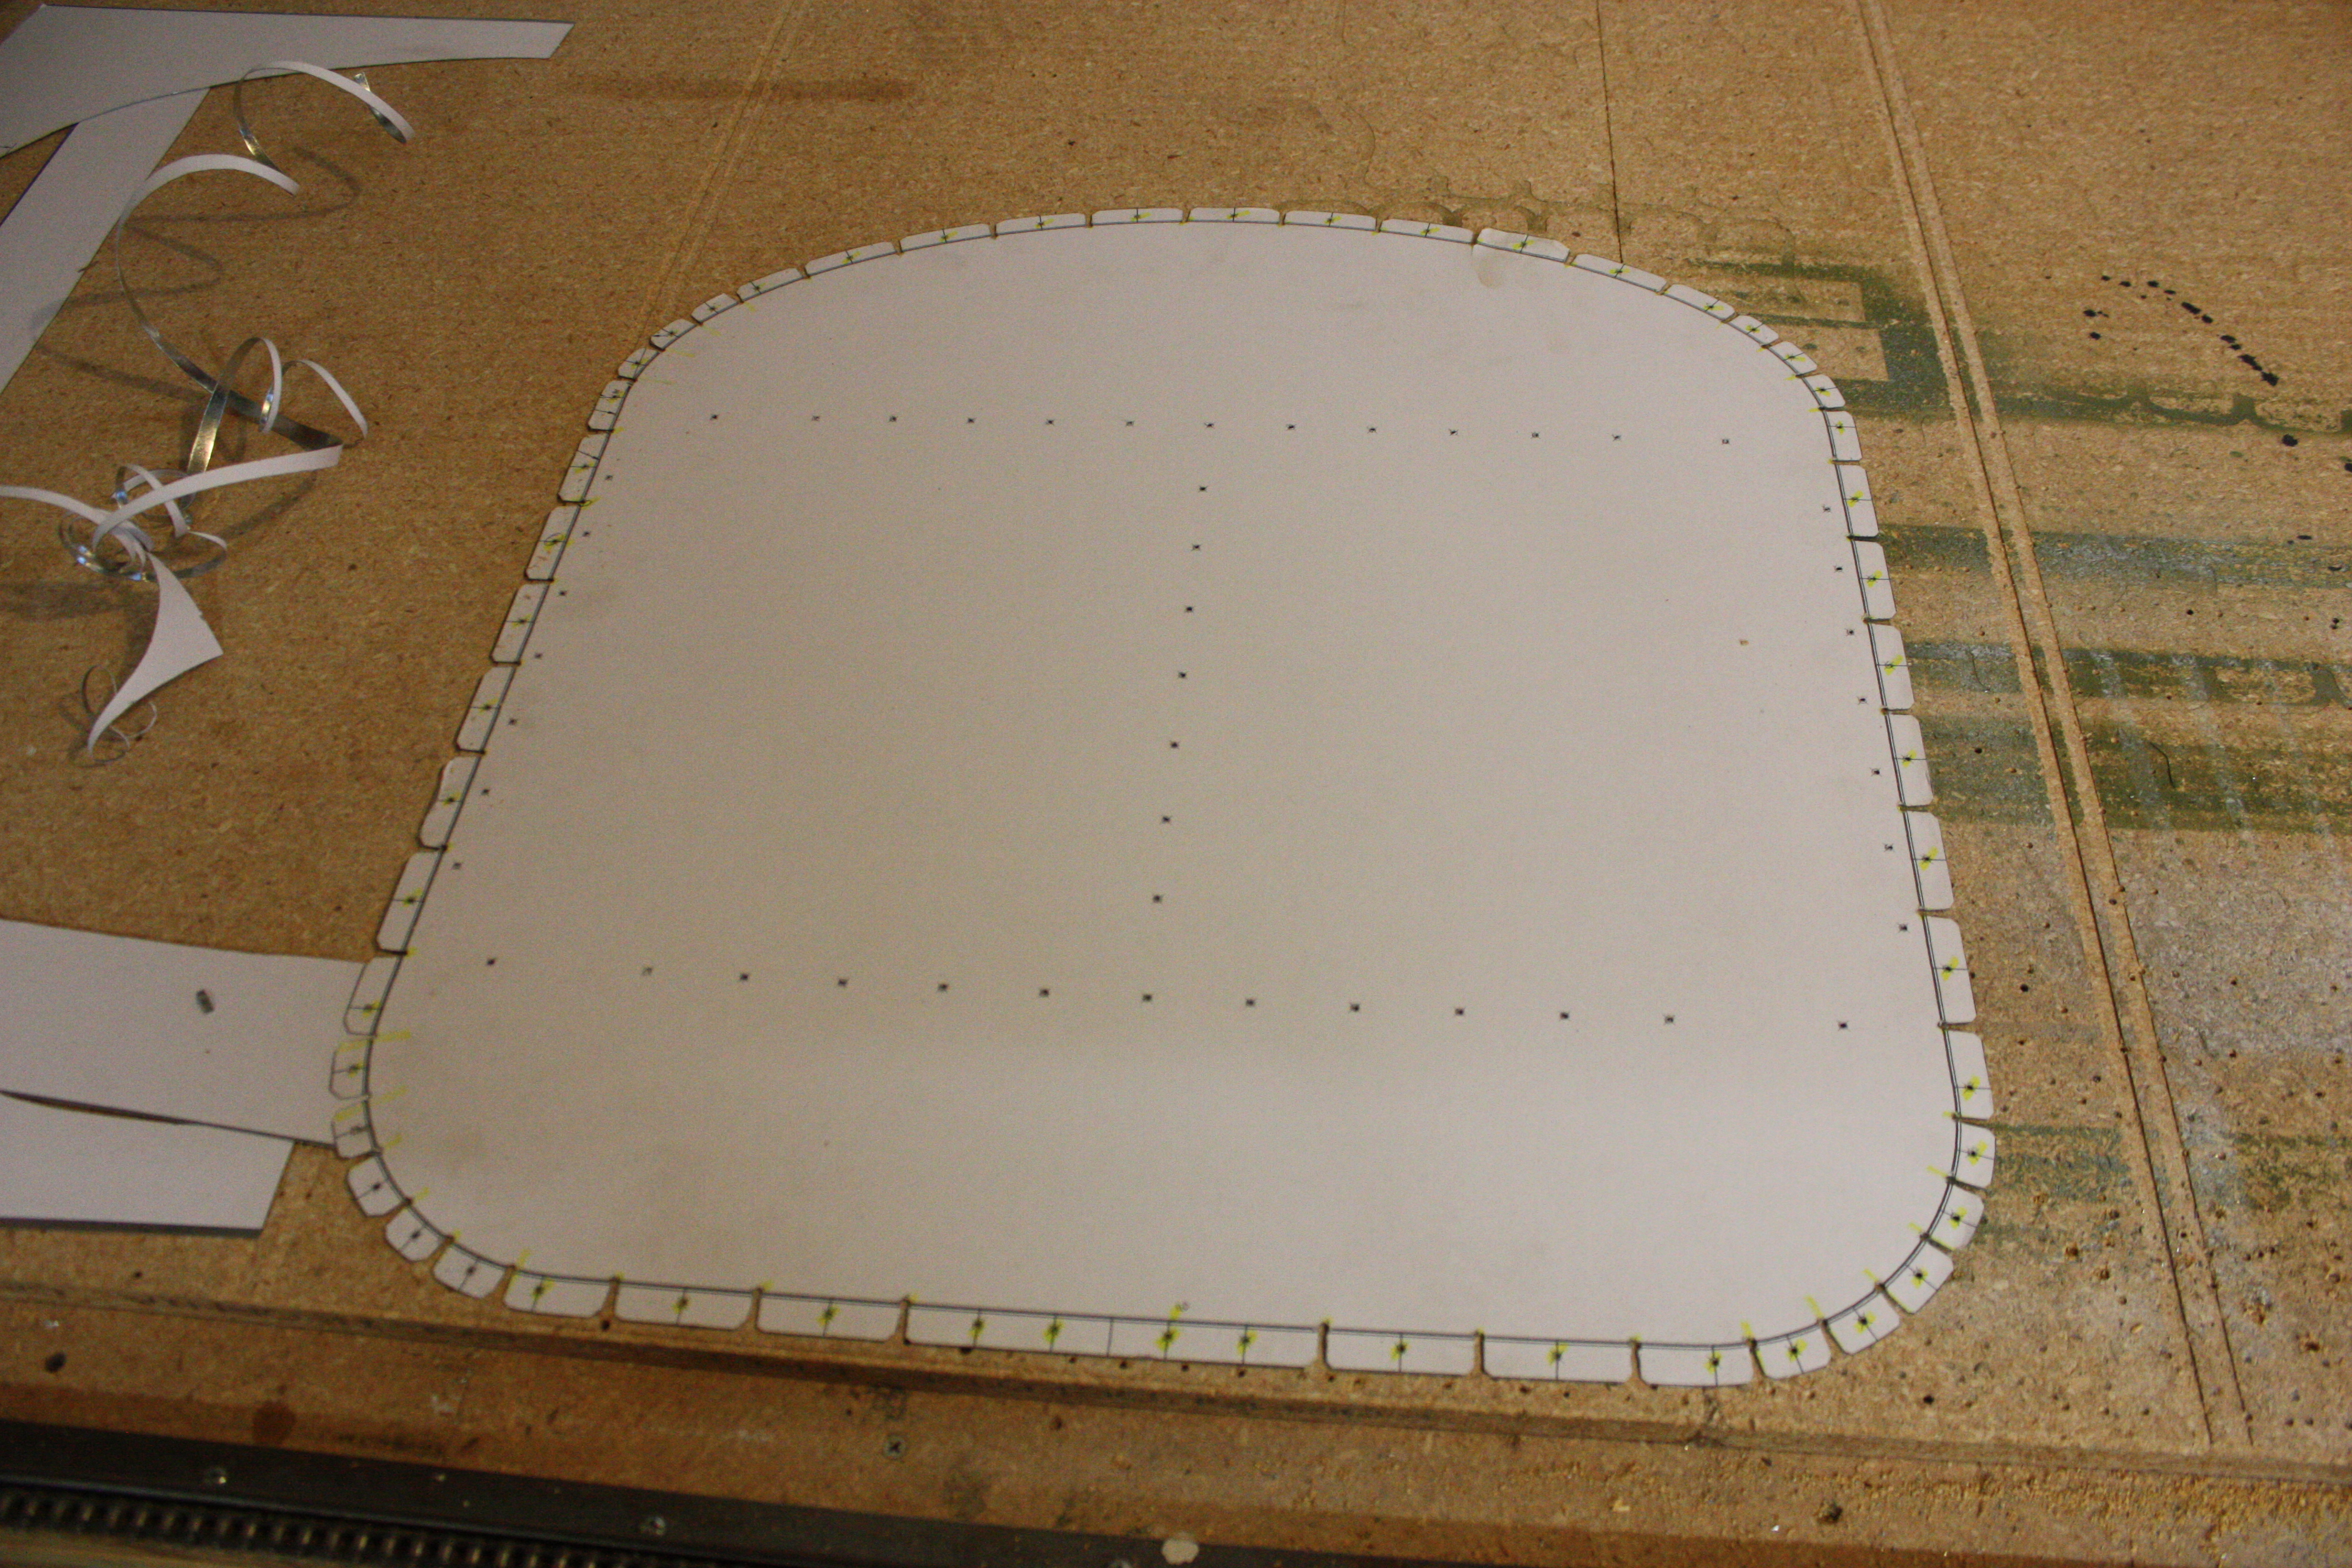
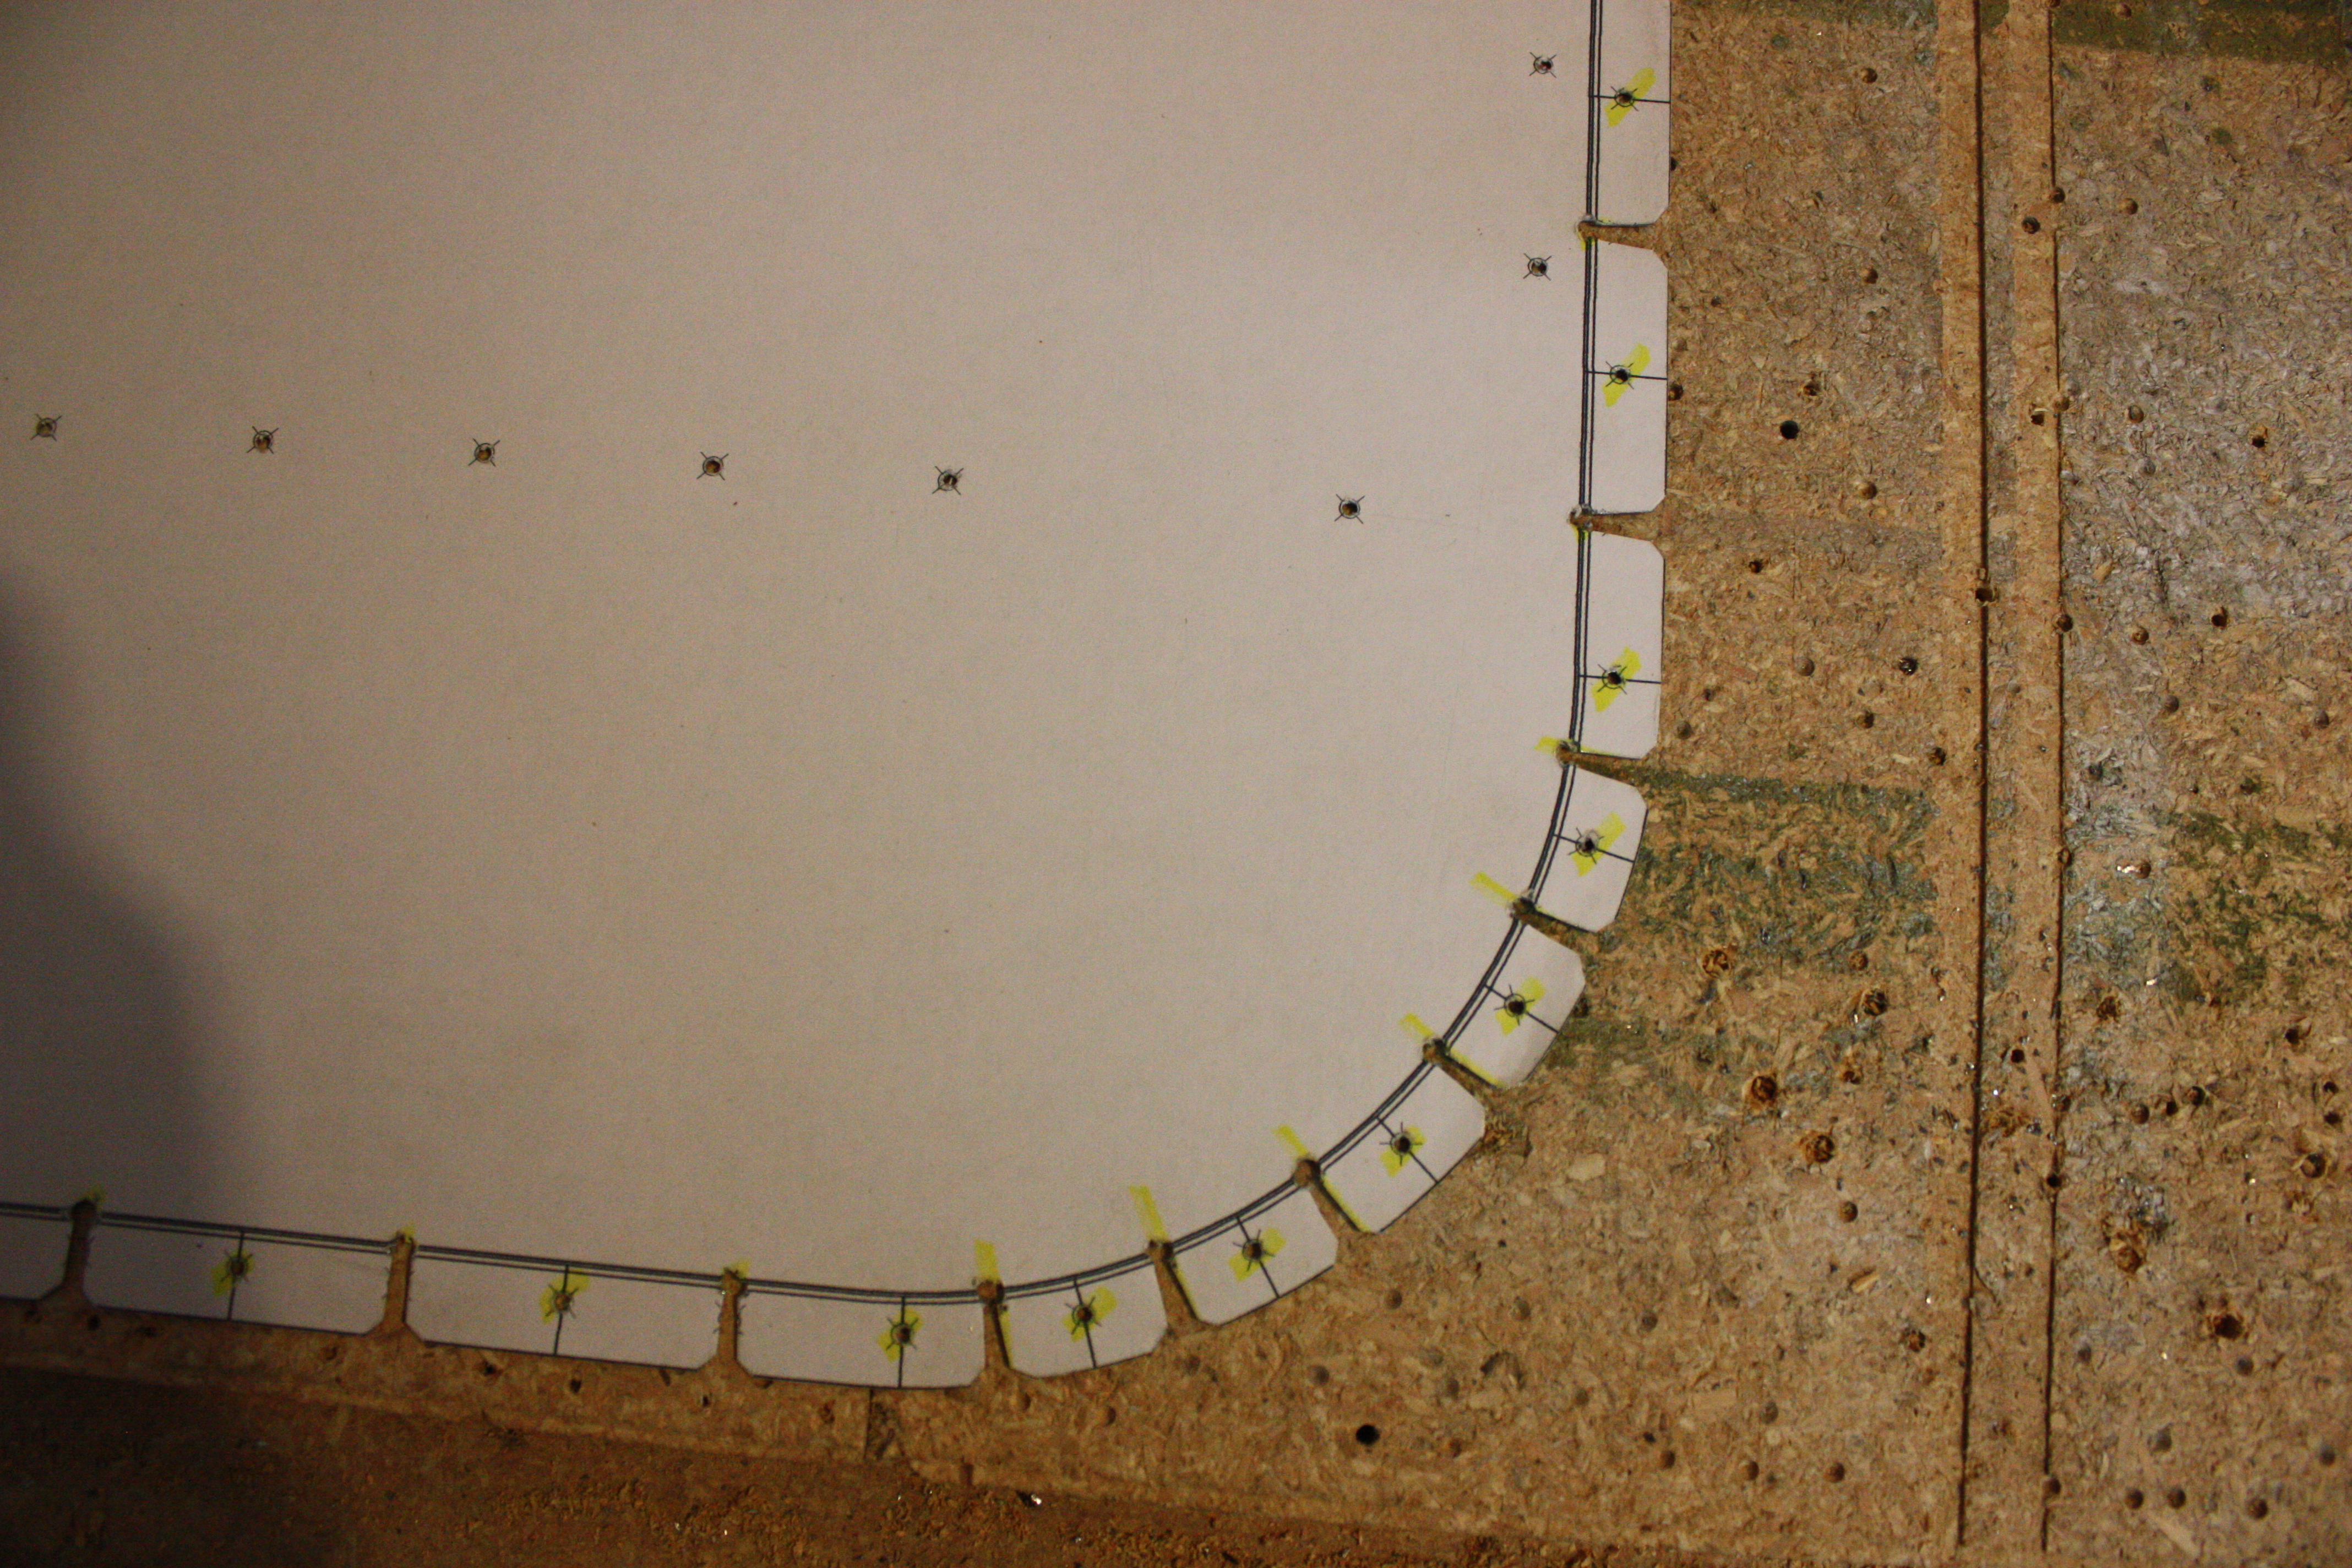
Using the paper and adhesive method is about as fast as the CNC method.
The remaining bulkheads are made from 0.040" aluminum, so for those I used the CNC. After a long weekend, I had all of the parts and forming blocks routered out. In the picture below I have all of the parts laid out with the tail F12 on the left and the firewall to the right (no turtledeck yet):
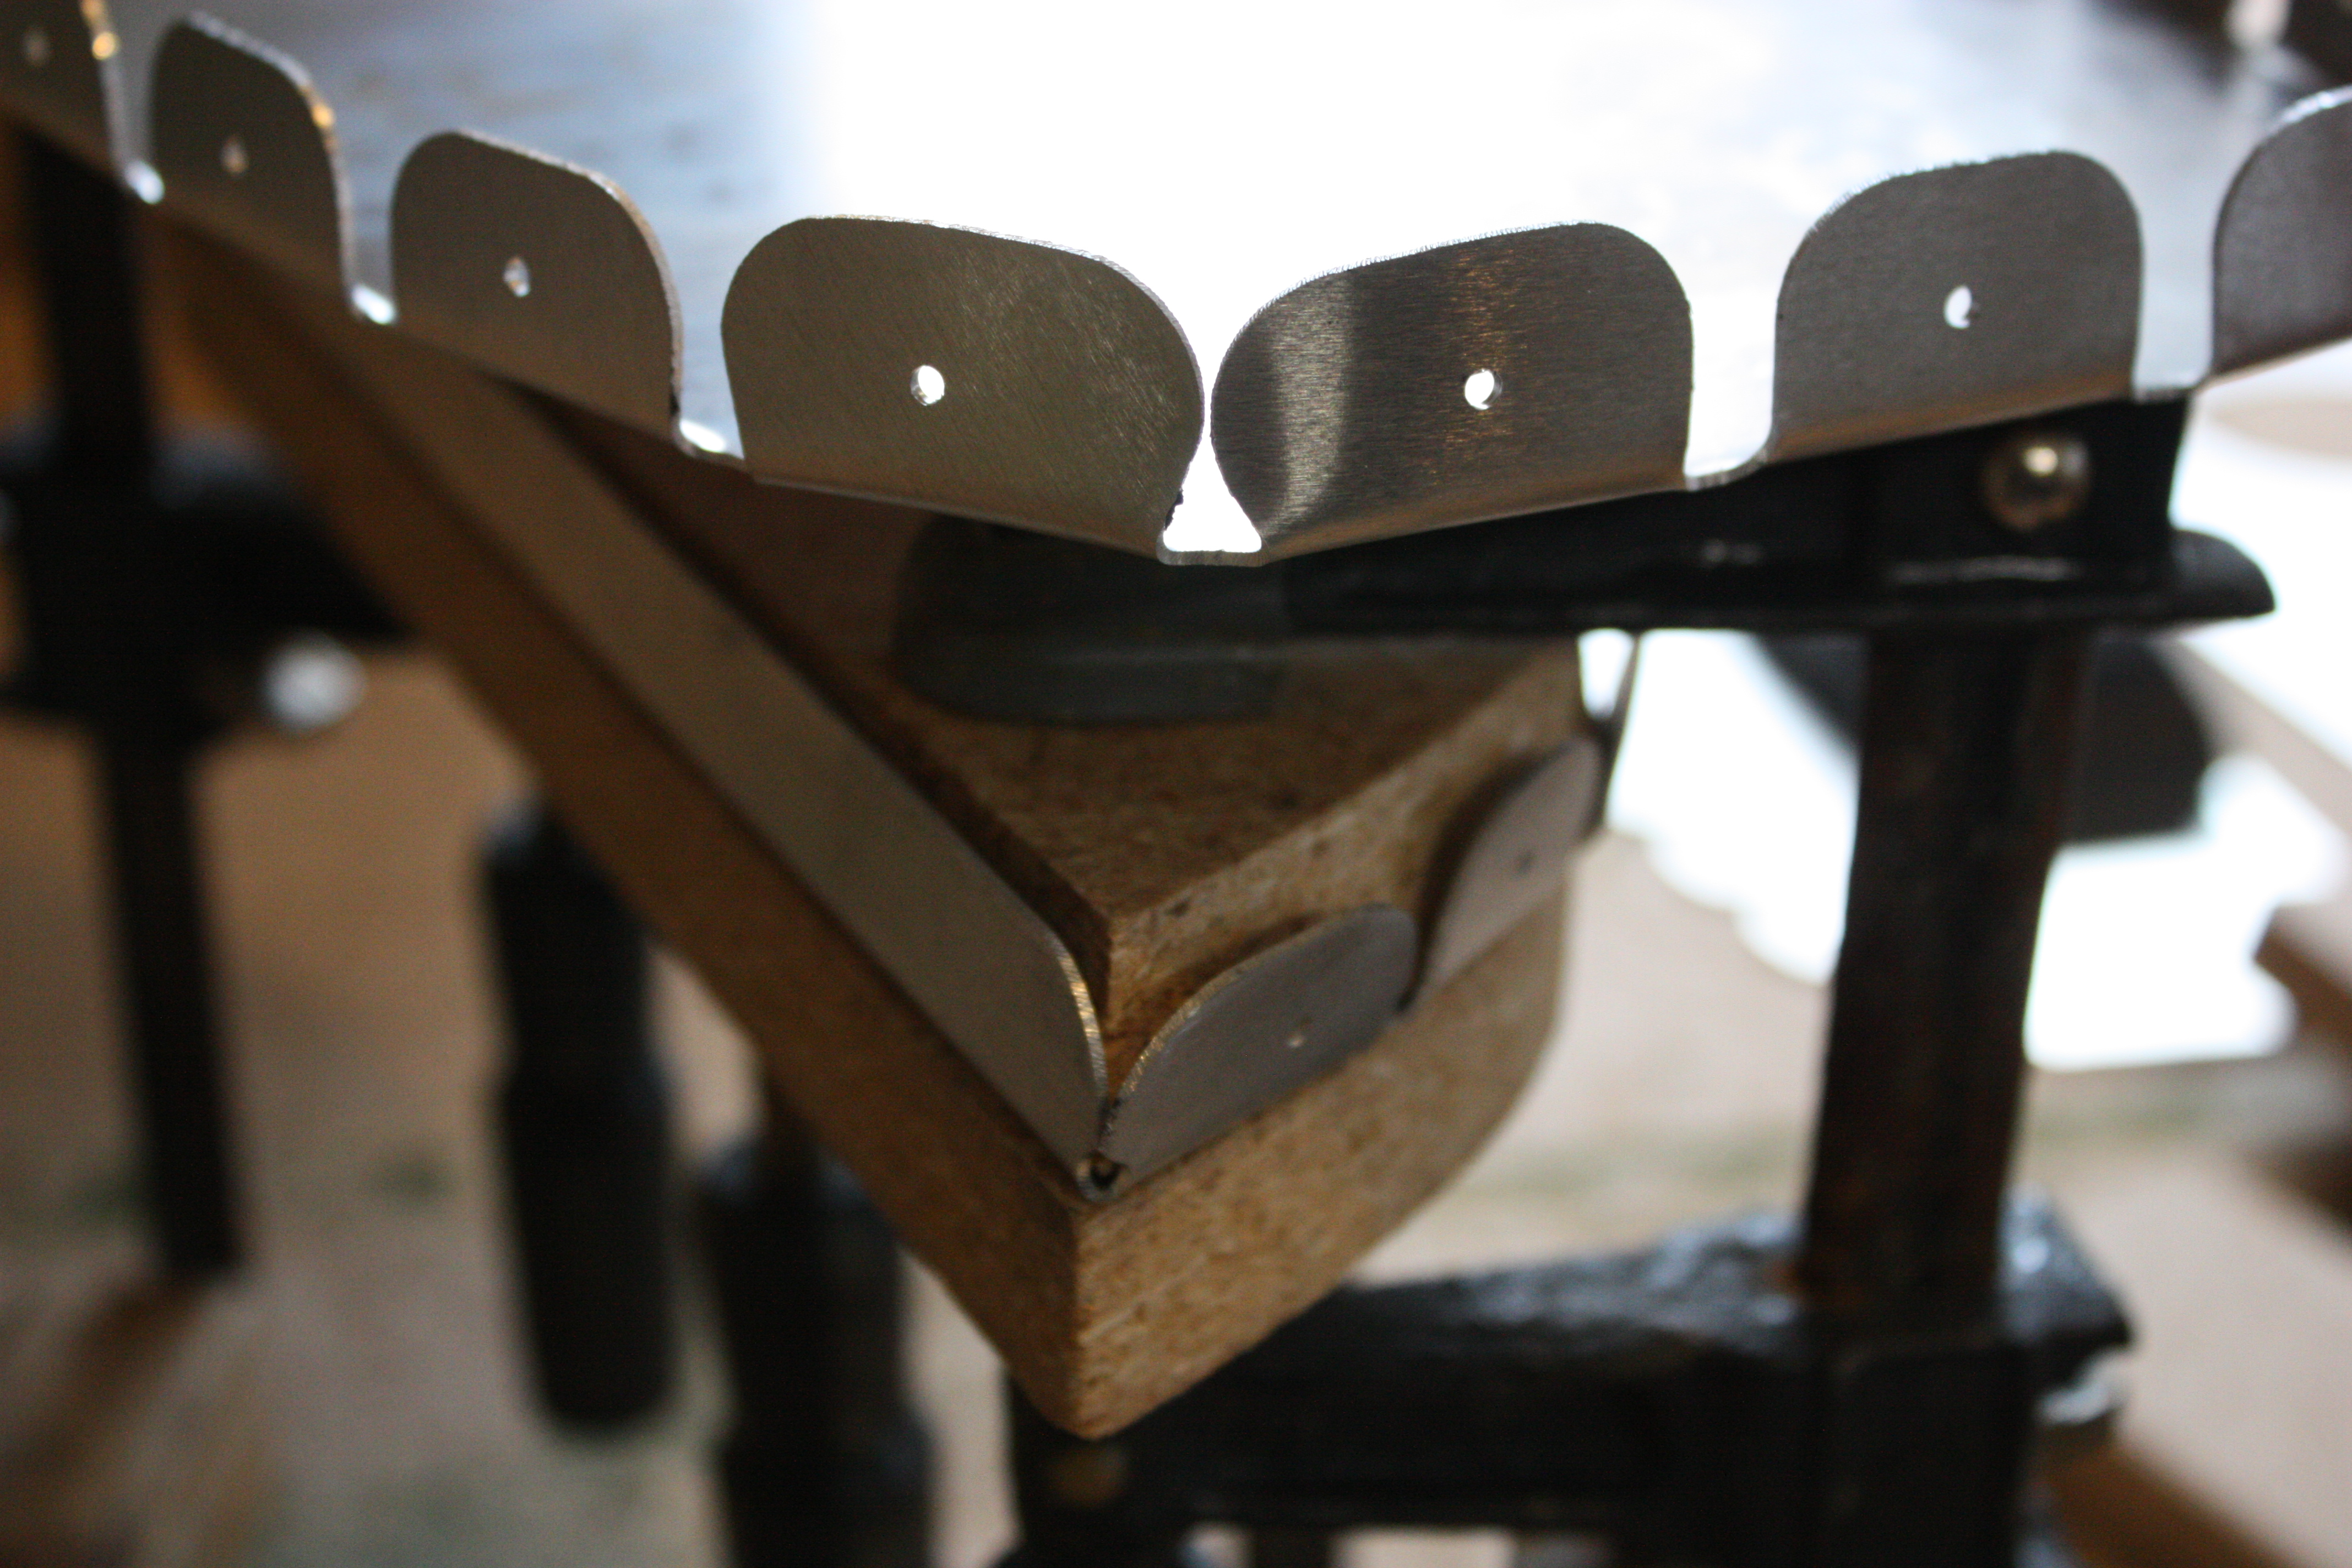
Note to myself: when designing tabs, make sure you account for what happens once you bend them over. A few tabs had to be trimmed so that they wouldn't contact the adjacent one once bent:
Cleco, drill, debur, Cleco, rivet...
Repeat
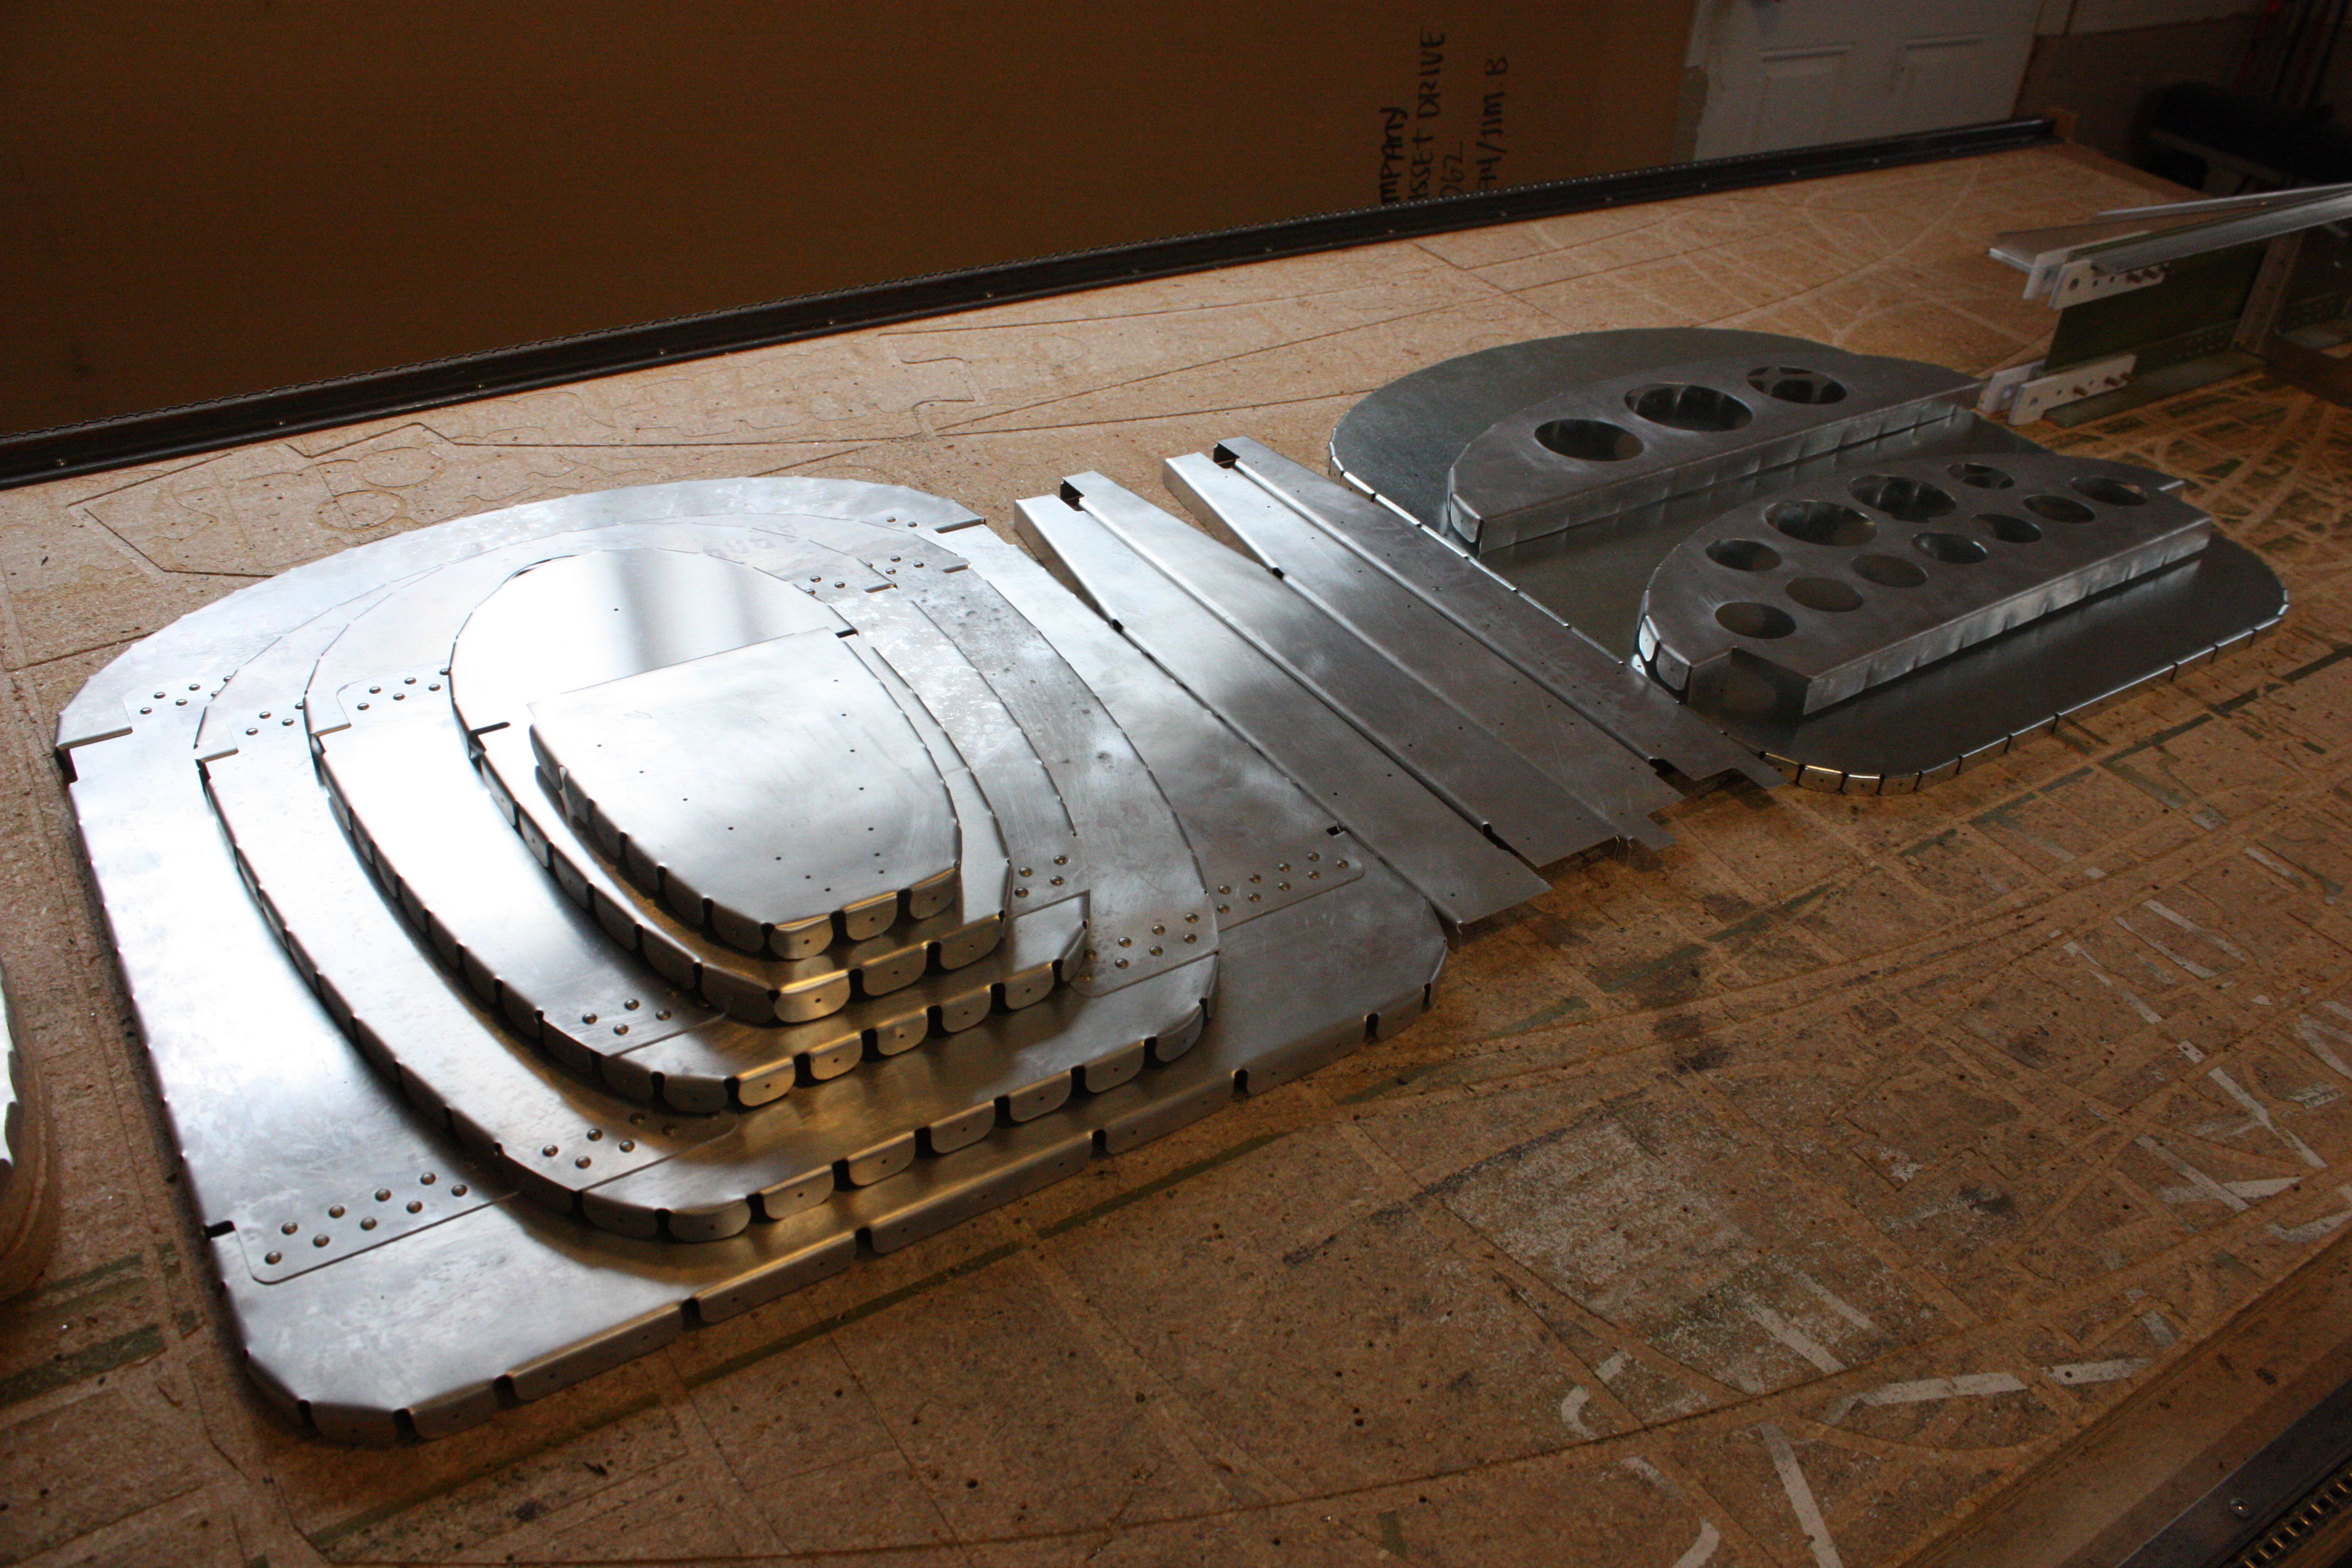
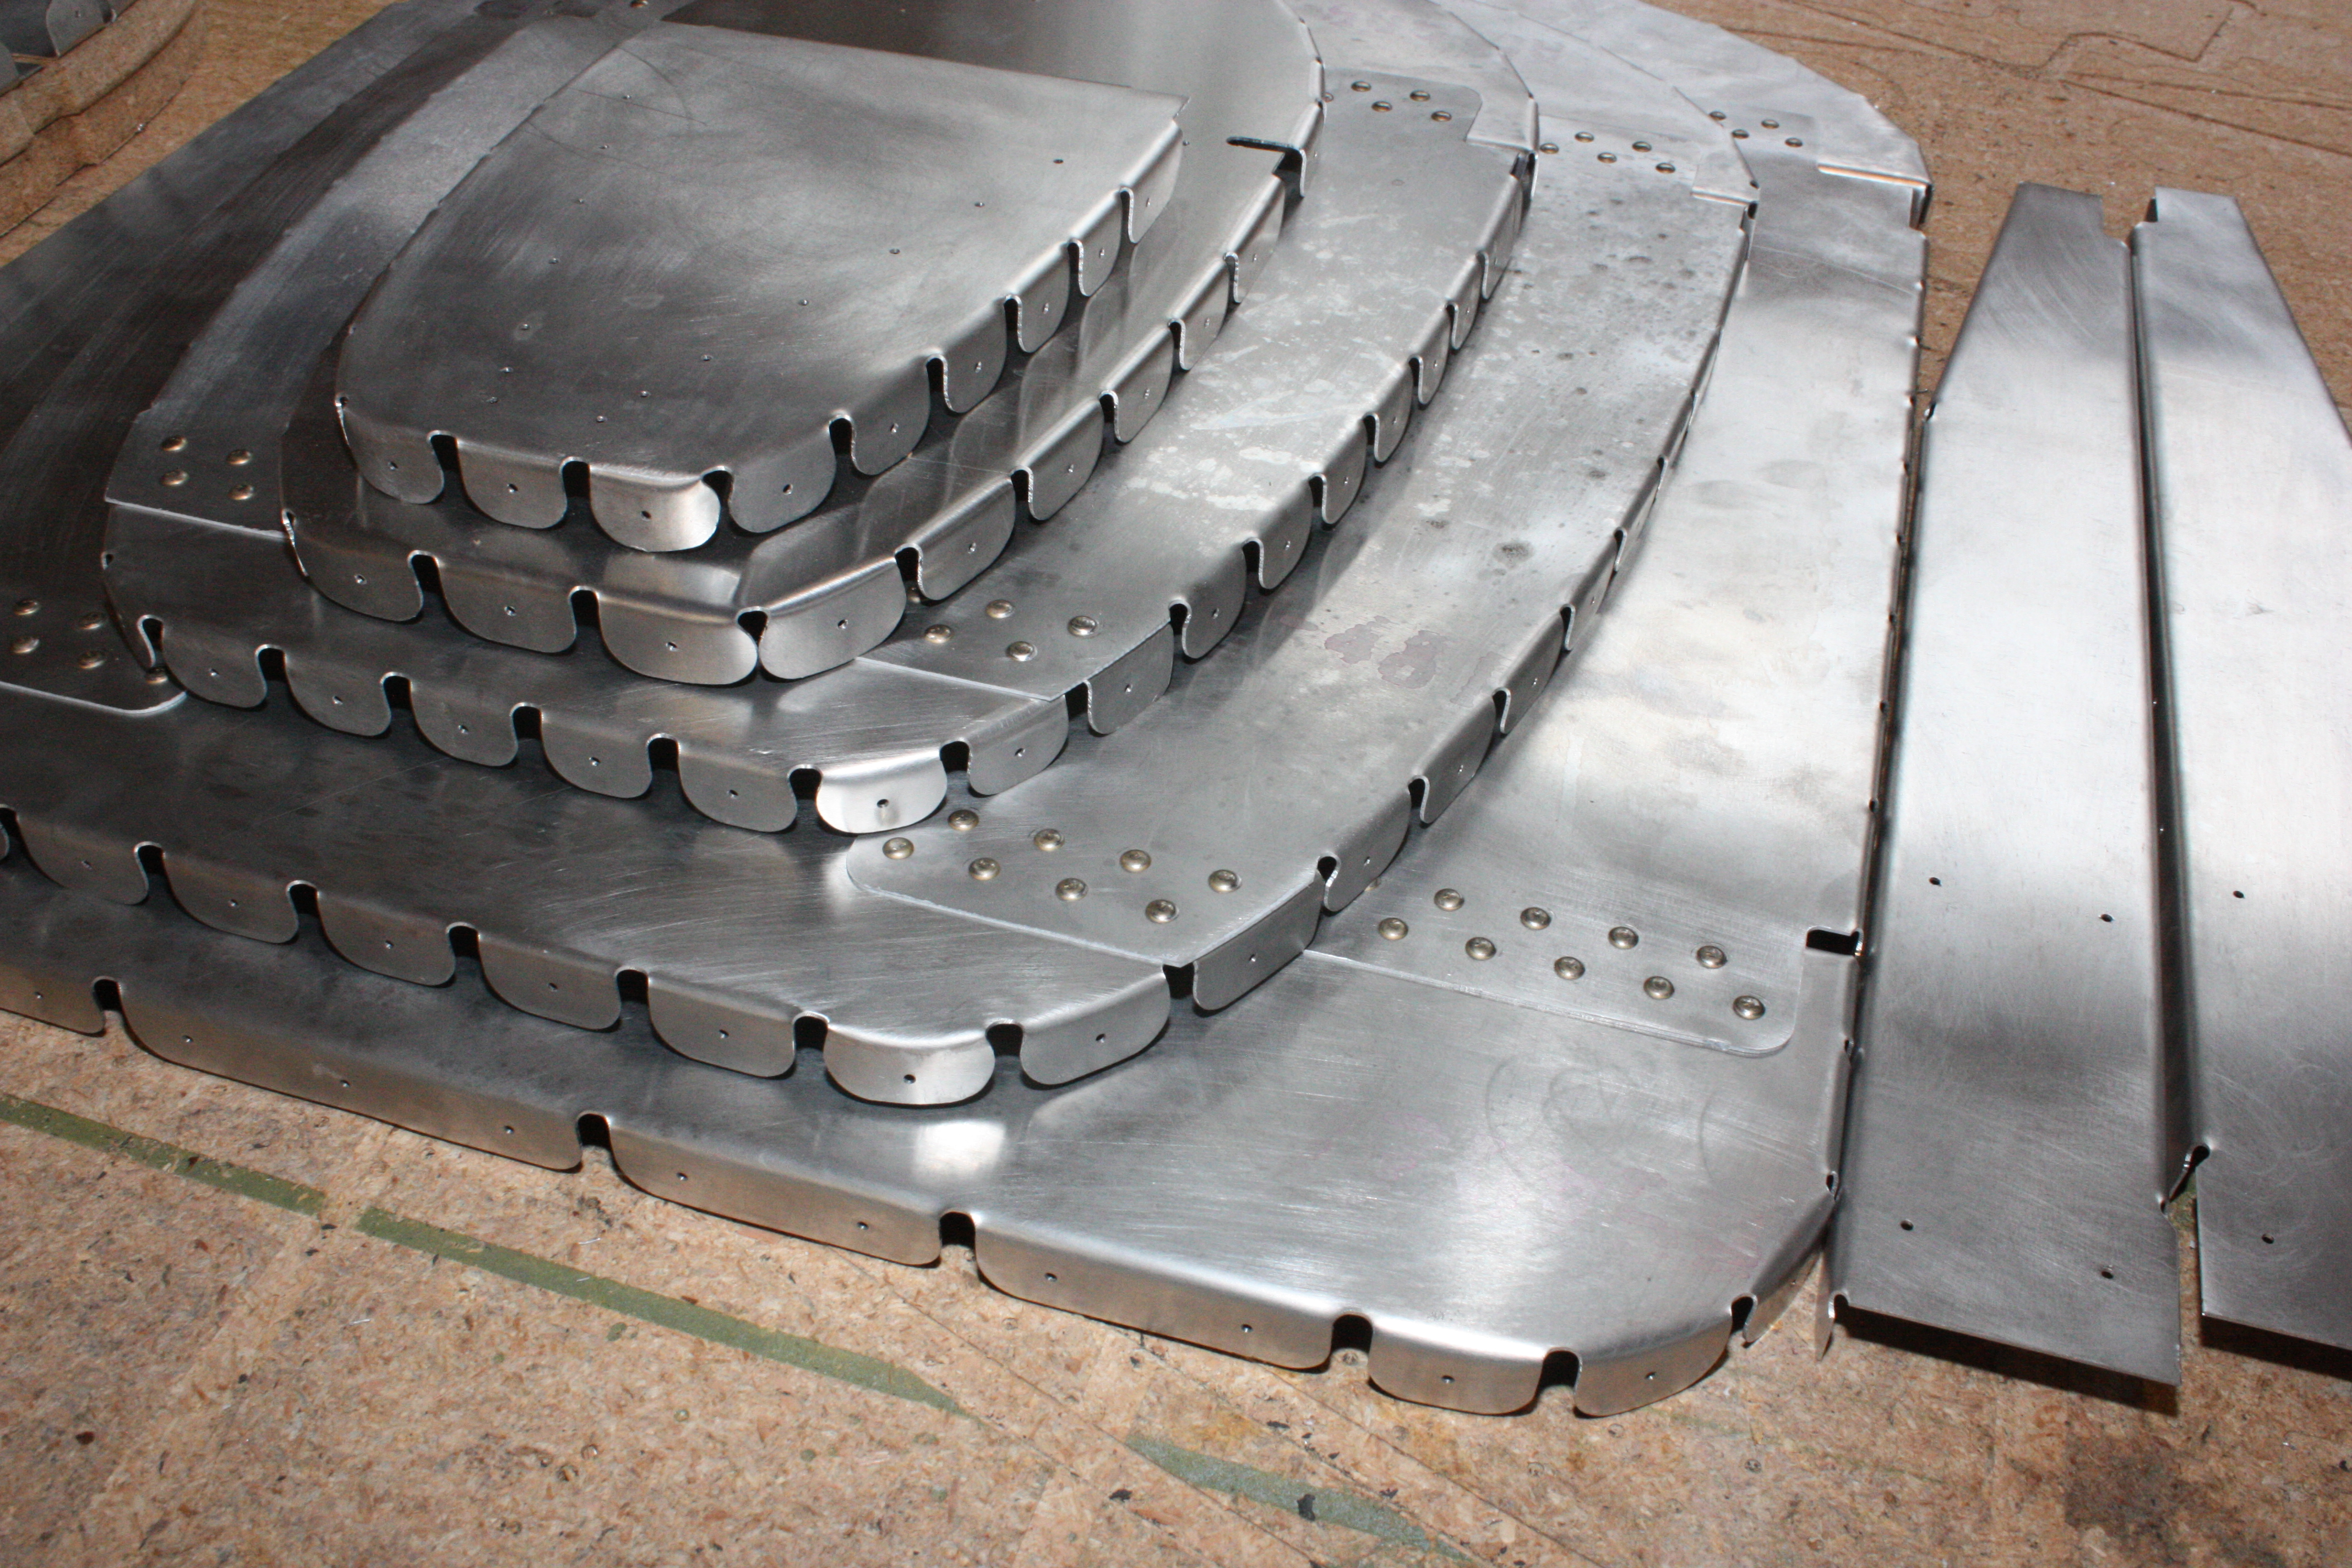
Finished bulkhead assemblies:
Back to the Center Section
All that bulkhead work was so that I could get formers F5 built and attached to the center section. The Thatcher plans call for attaching those formers later on in the build, and using a cable driven drill bit to reach in that tight space to match drill to the spar. It seemed to me that getting them matched-drilled and attached when there is space to do it was more appropriate.
Similar to the wings, the ribs were all permanently bolted to the spar. Then next step was to temporarily bolt the wings to the center section, and then cut the rear spar to length and clamp it into place.
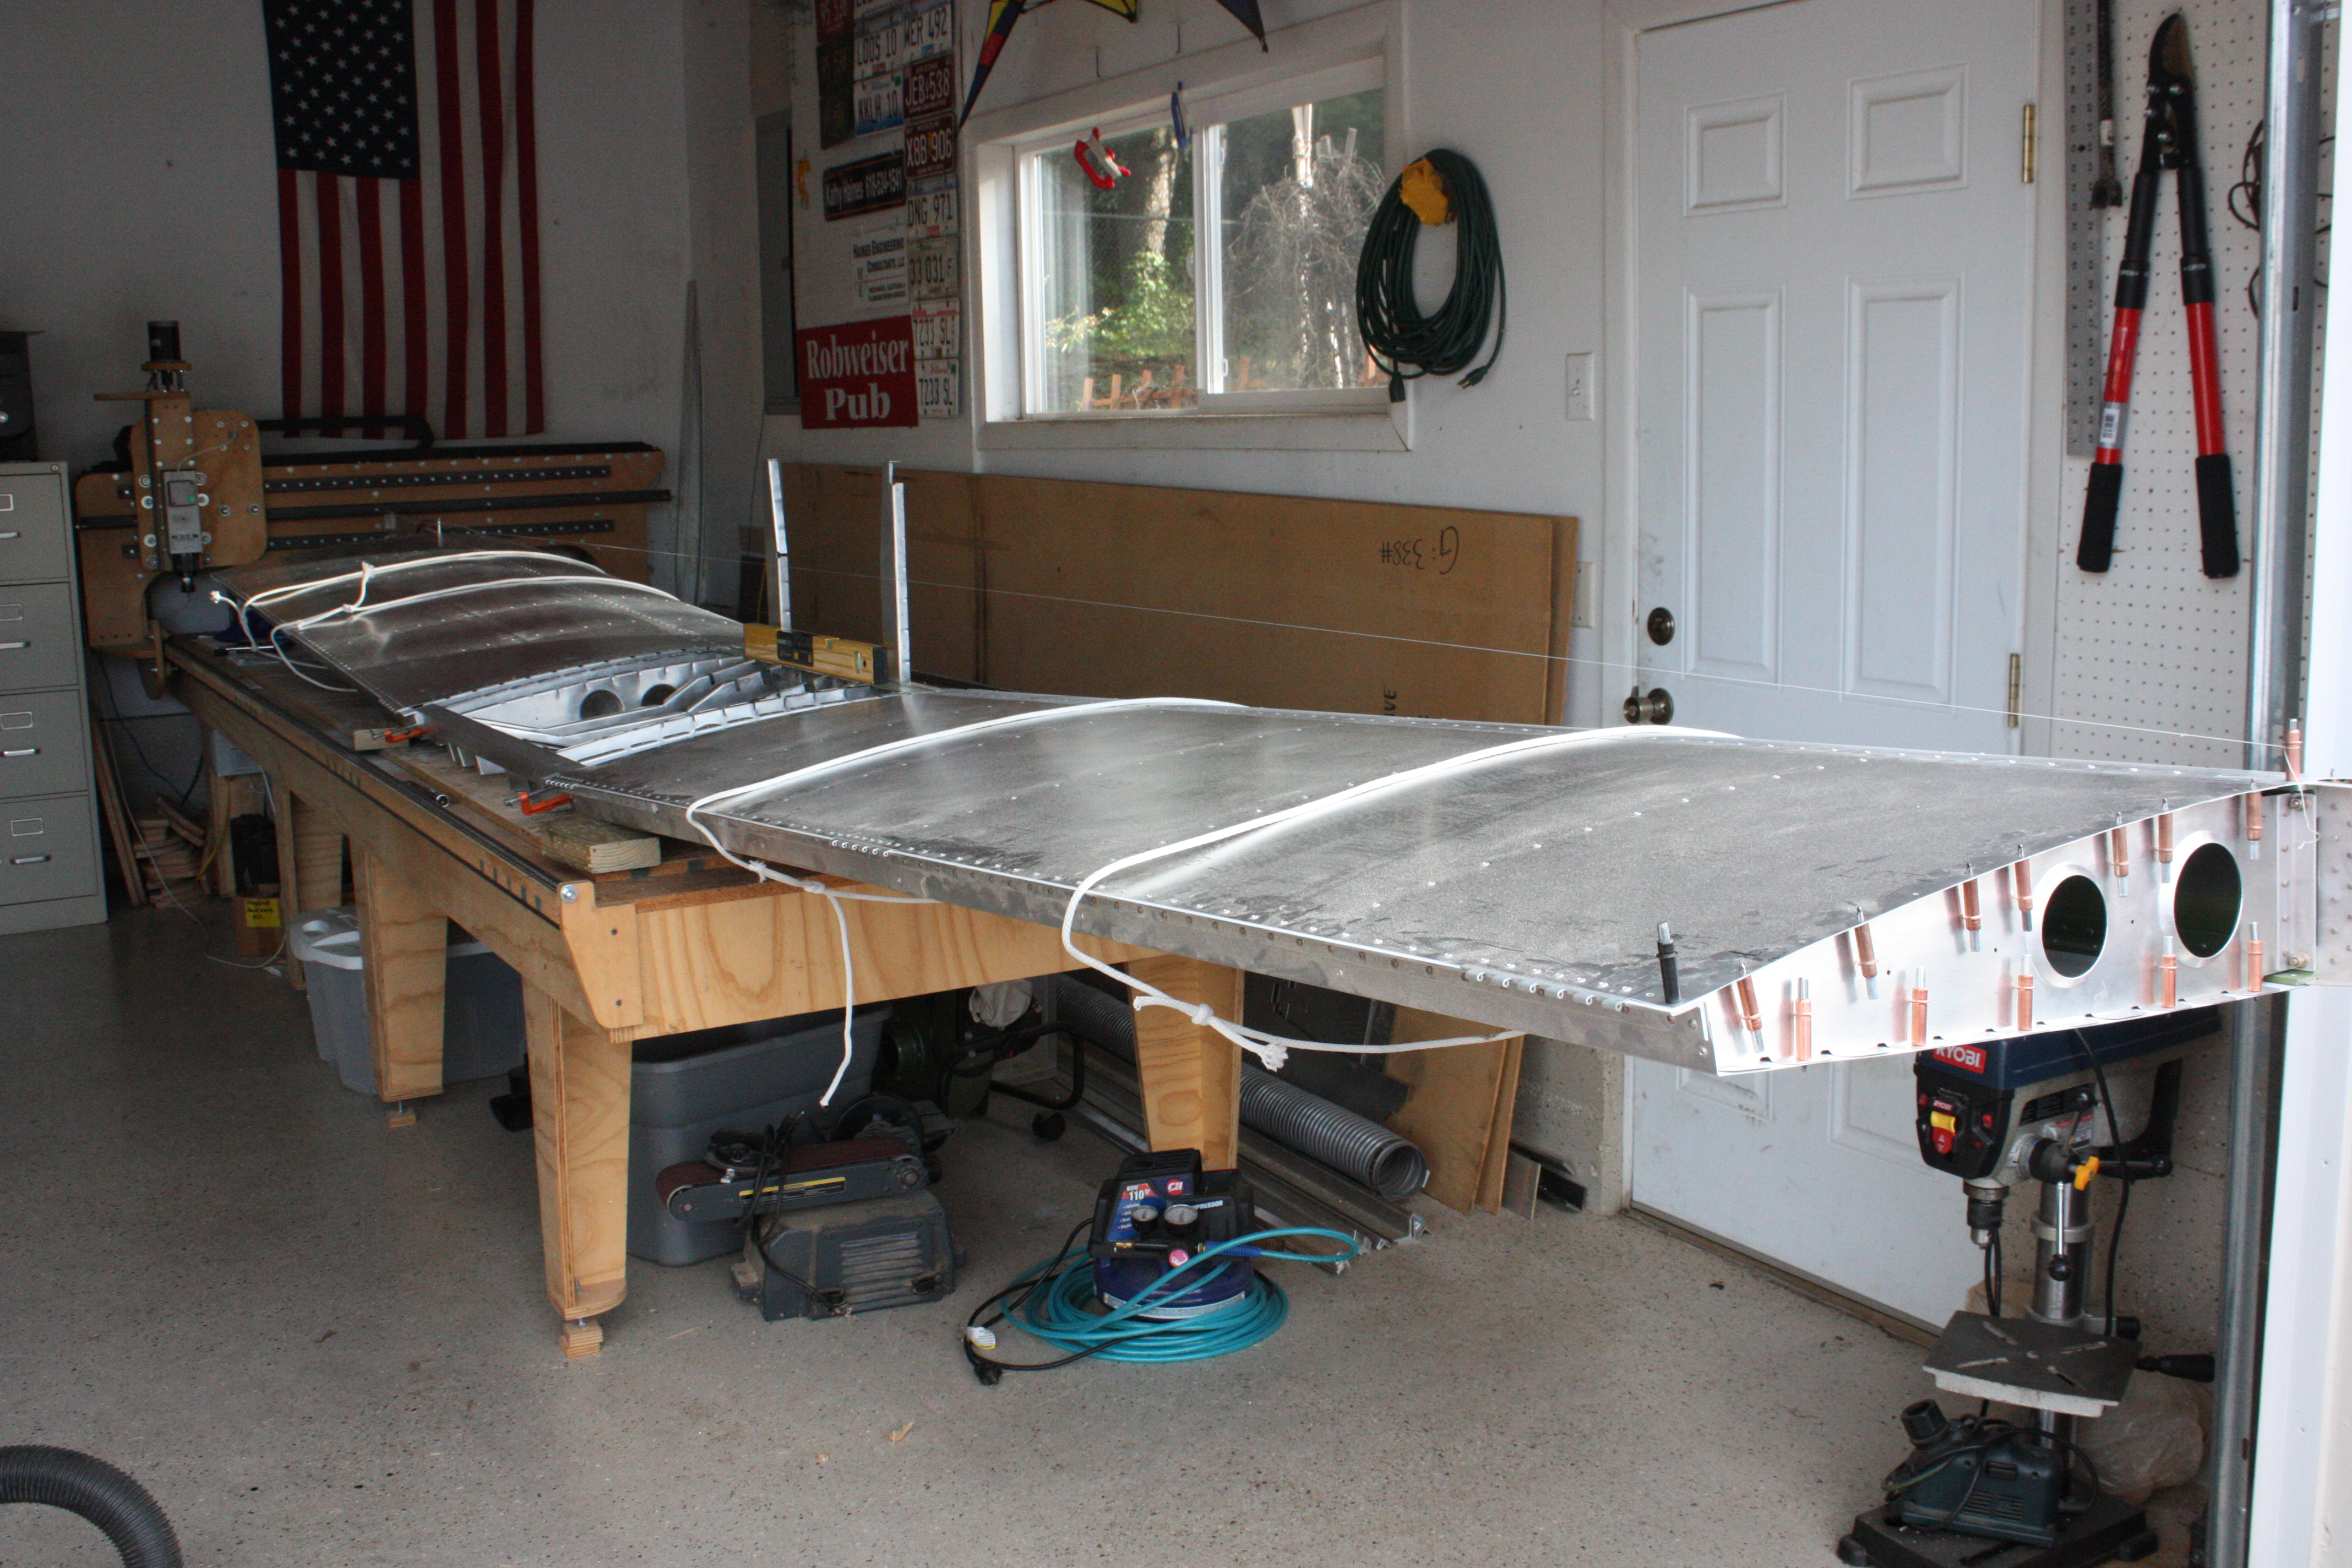
The next several steps involved aligning the wings and adjusting the clamp and rear spar position prior to making any permanent connections. The following shows the completed center section ready for initial alignment:
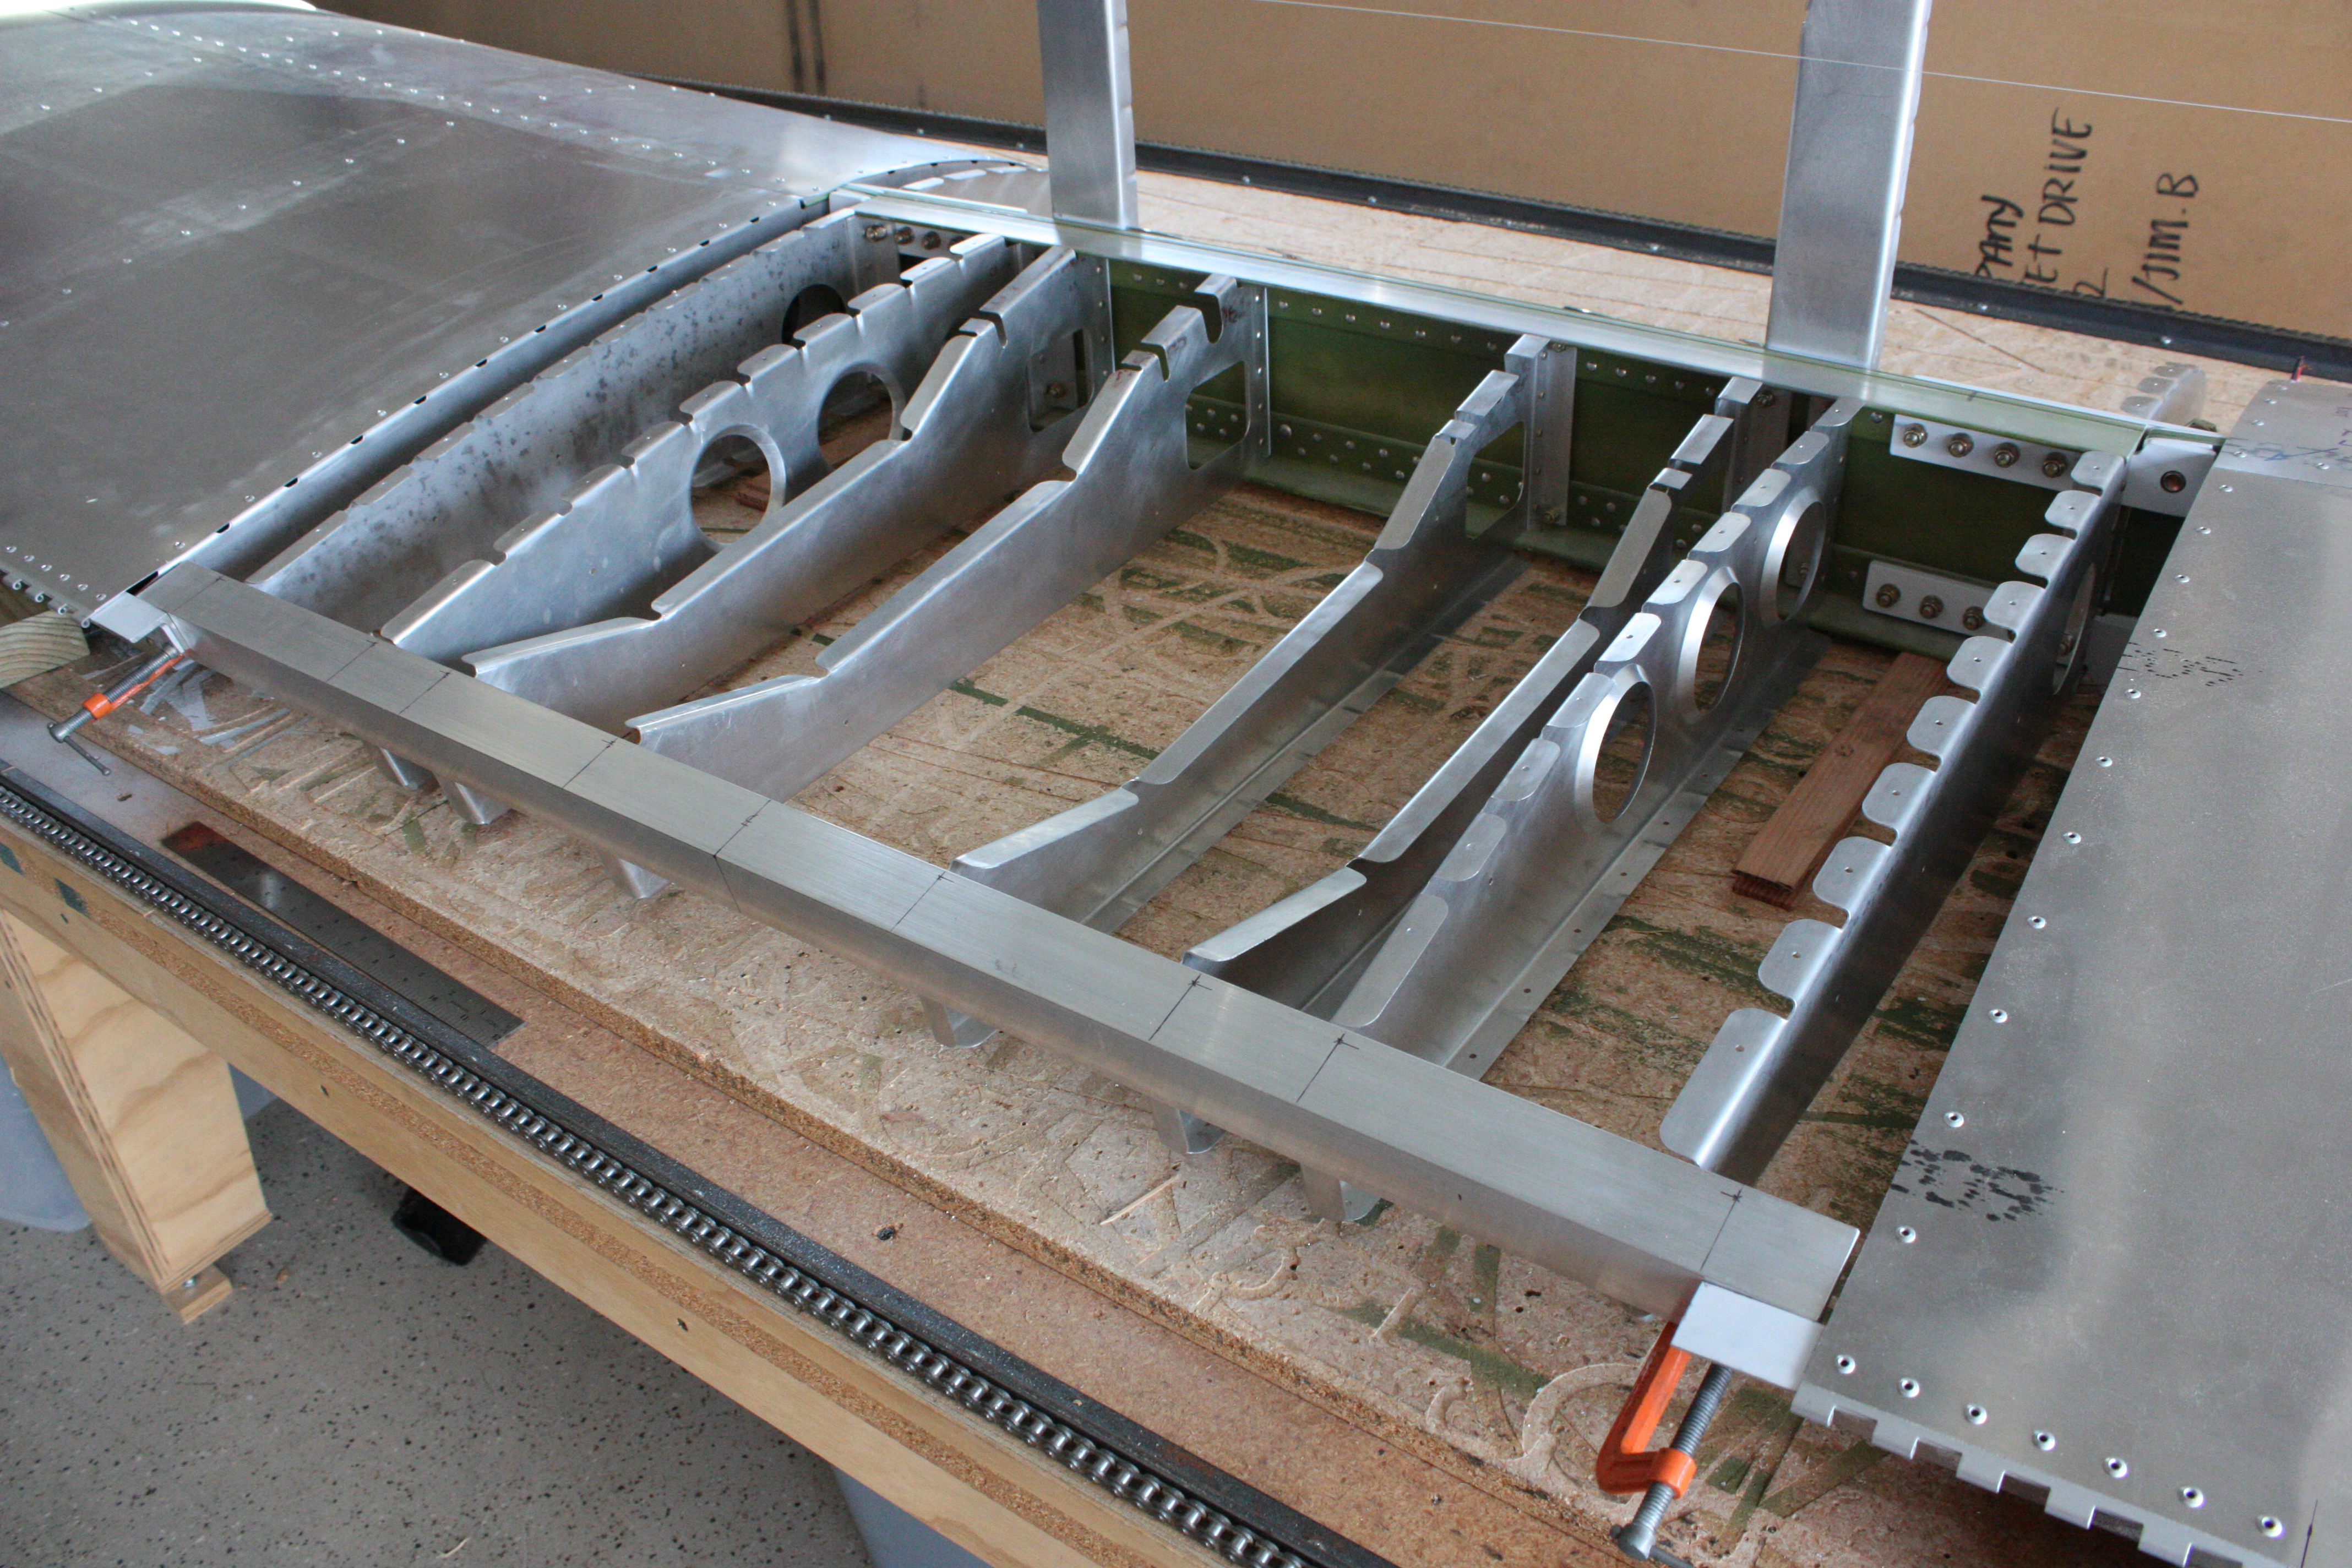
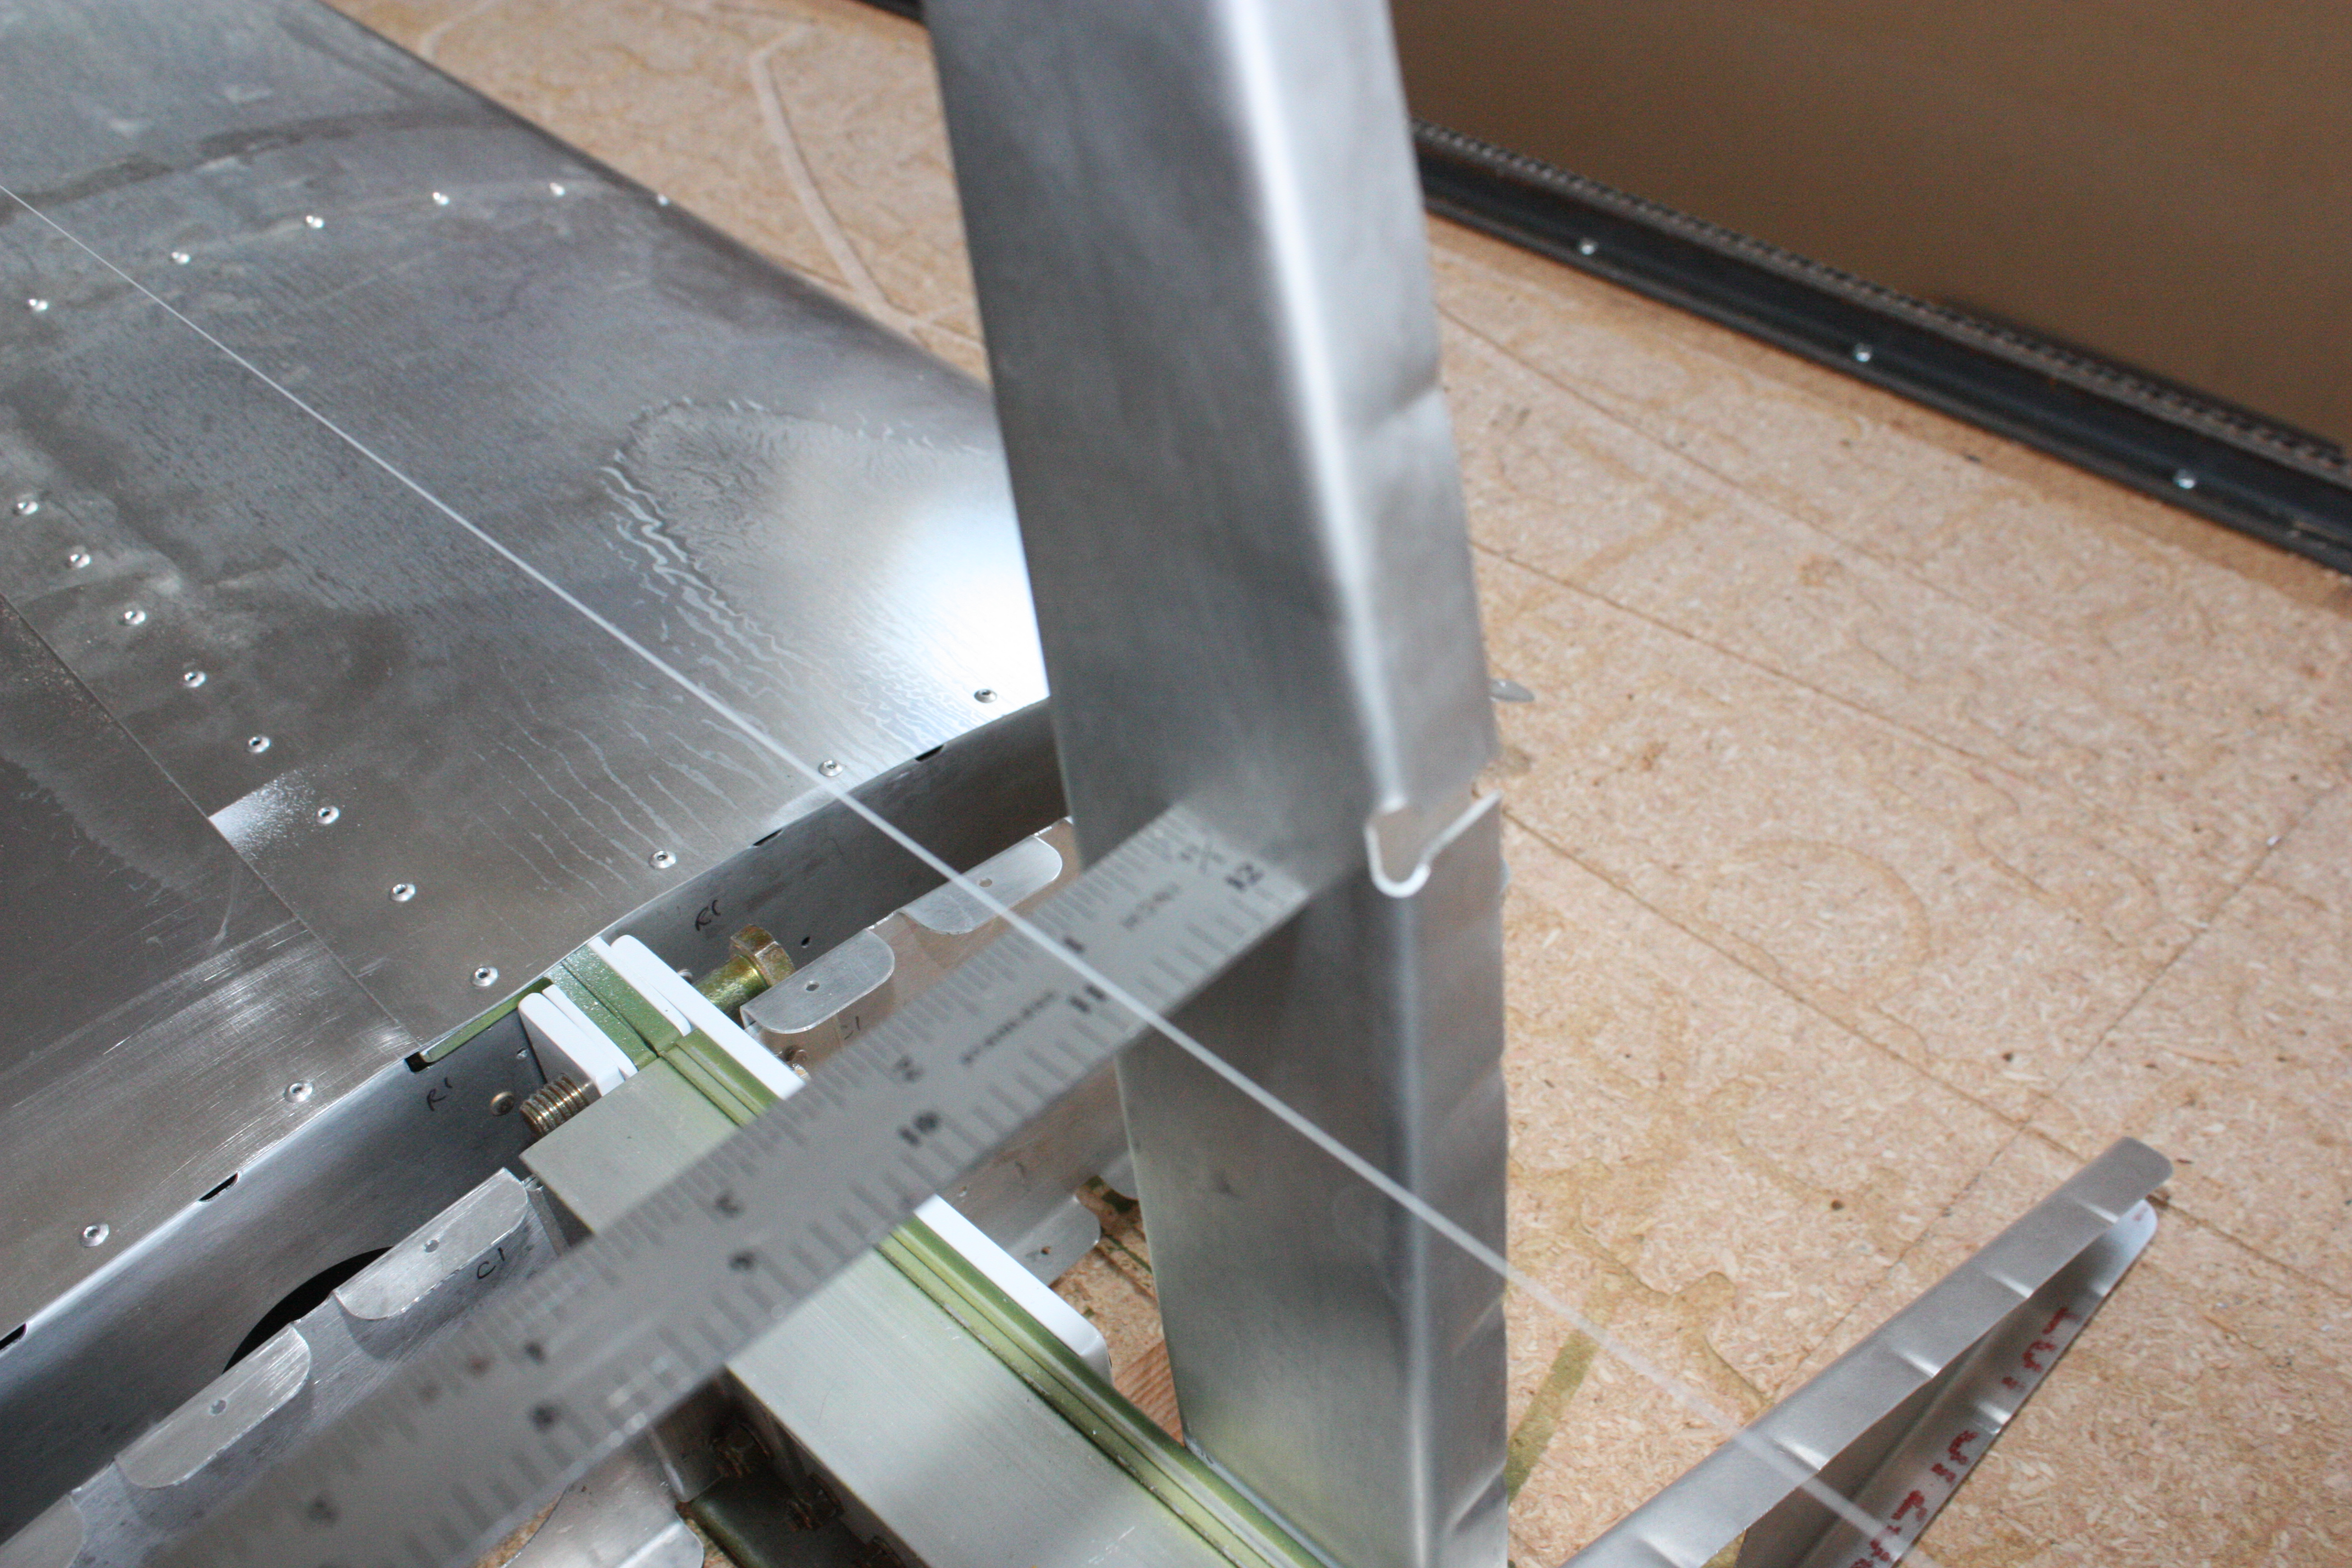
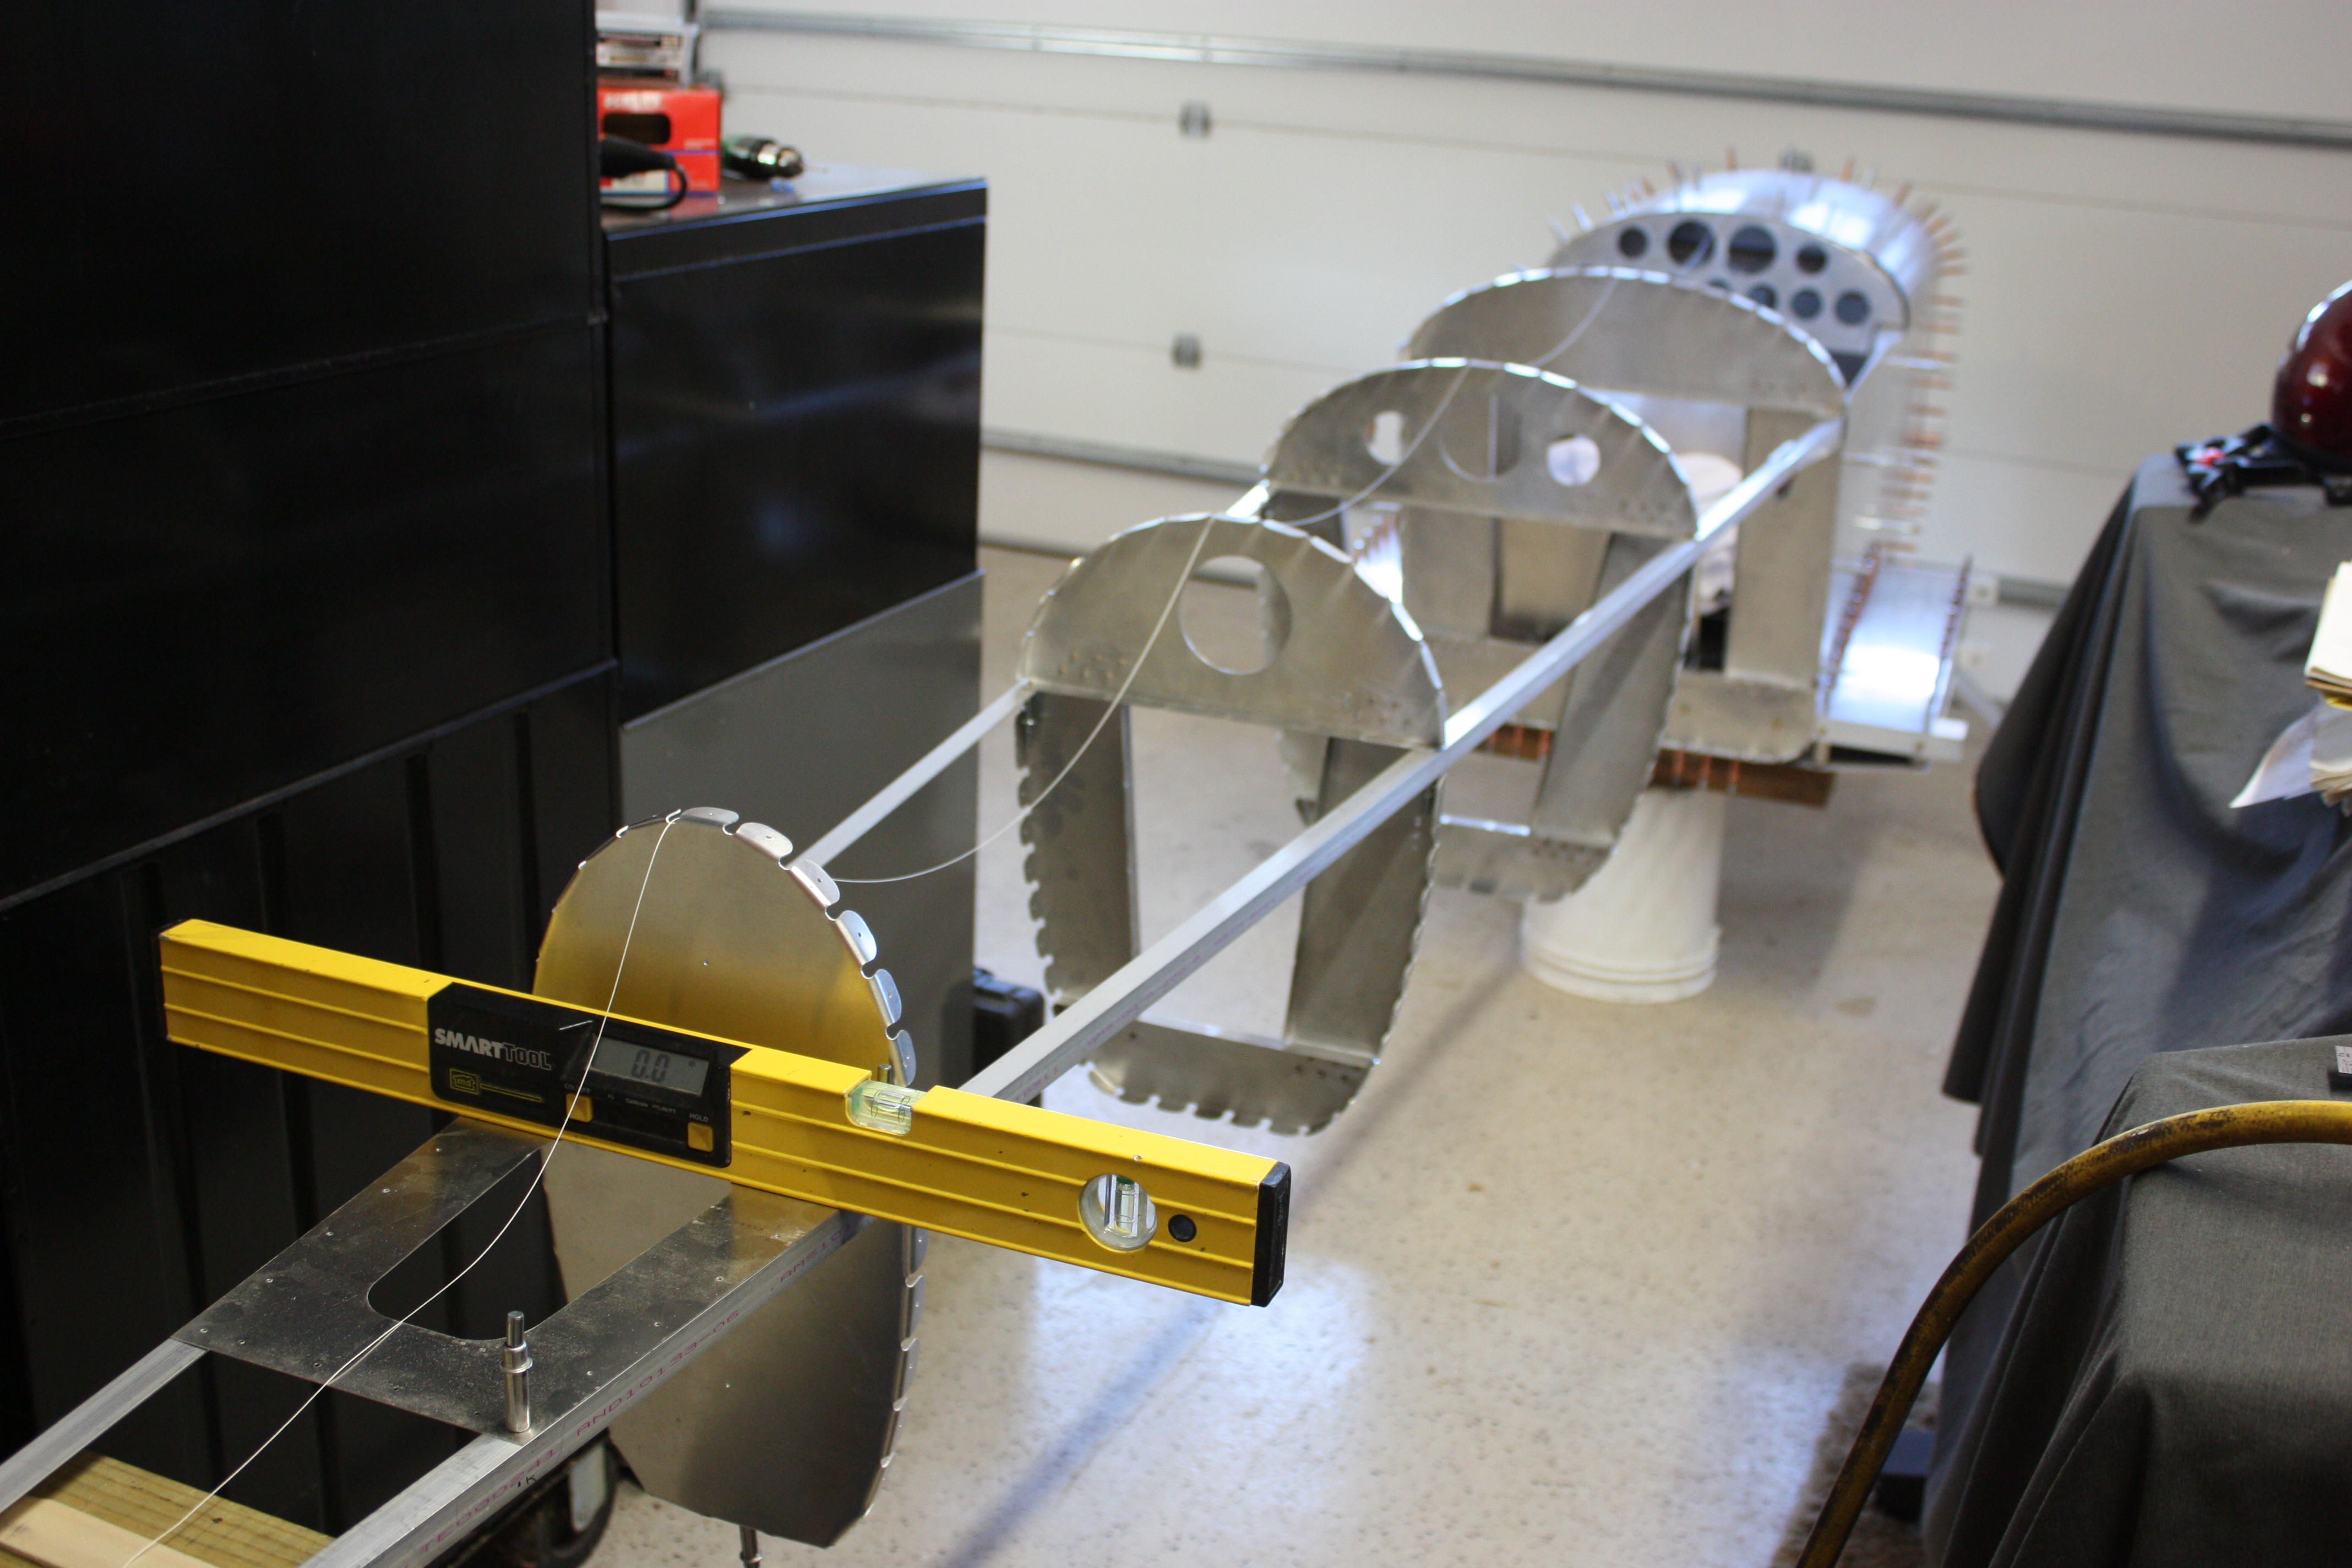
Notice in the picture below the string pulled between two Clecos located on the wing tips and in line with the rivets along the top of the wing spars:
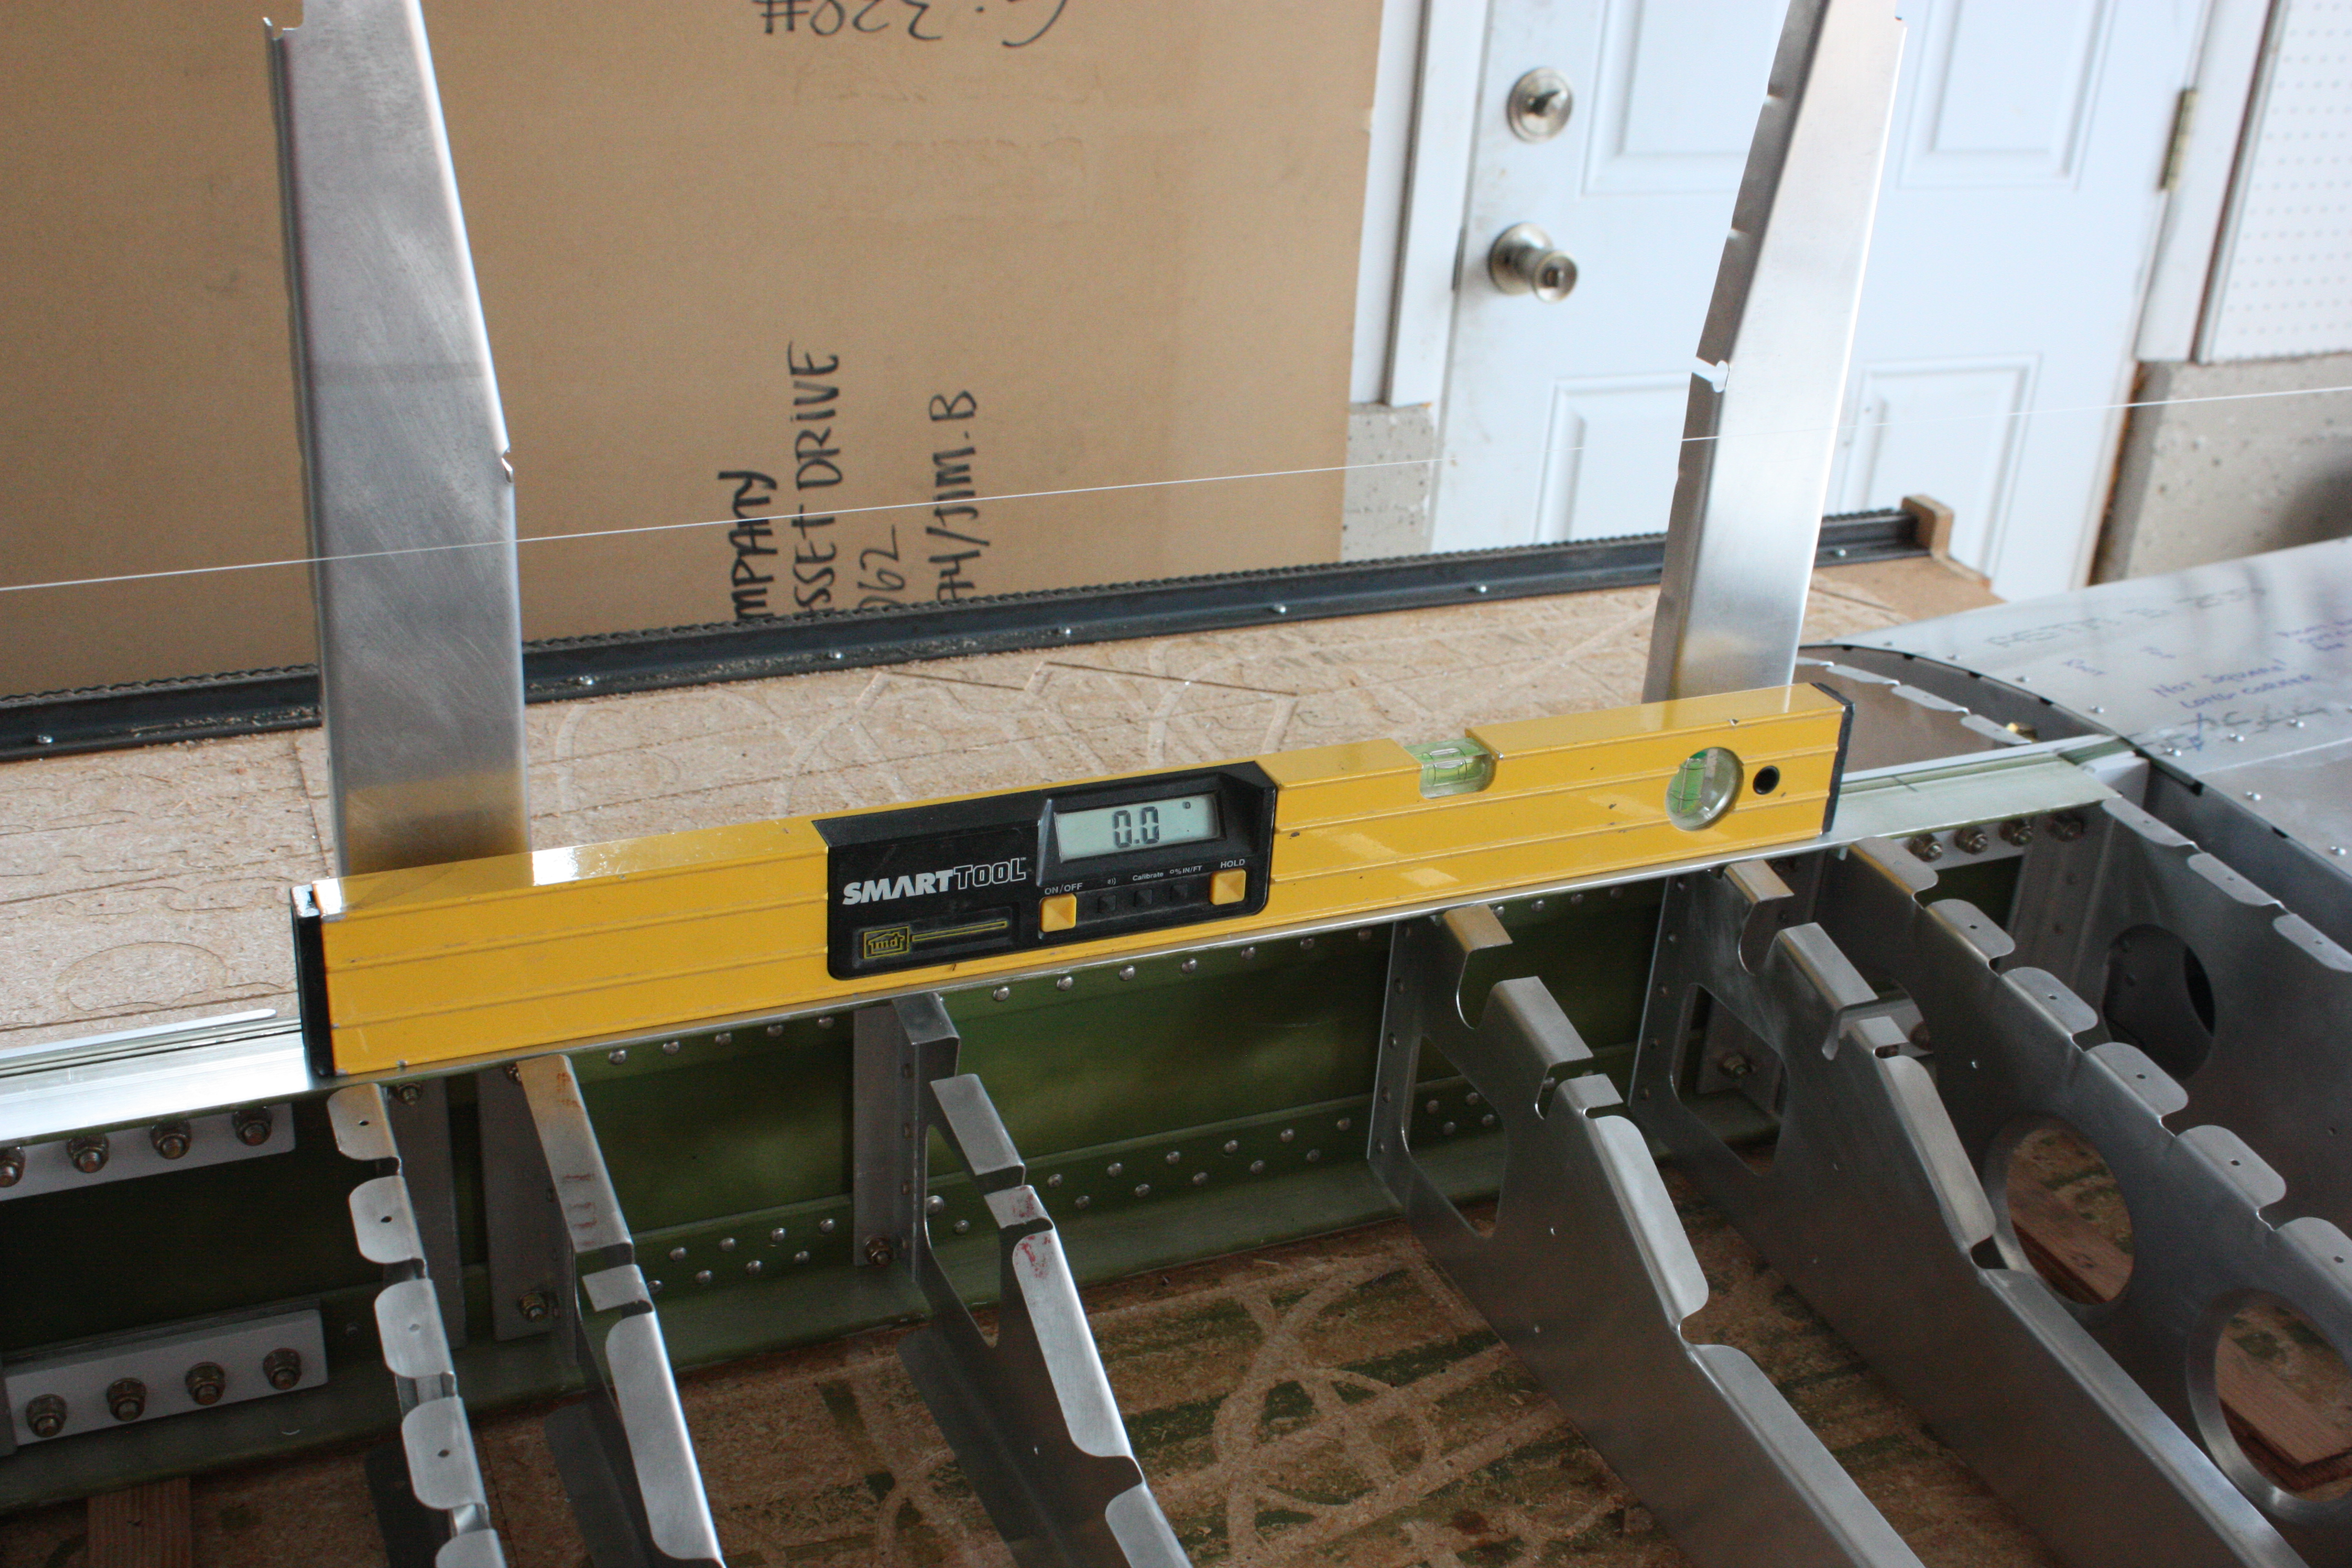
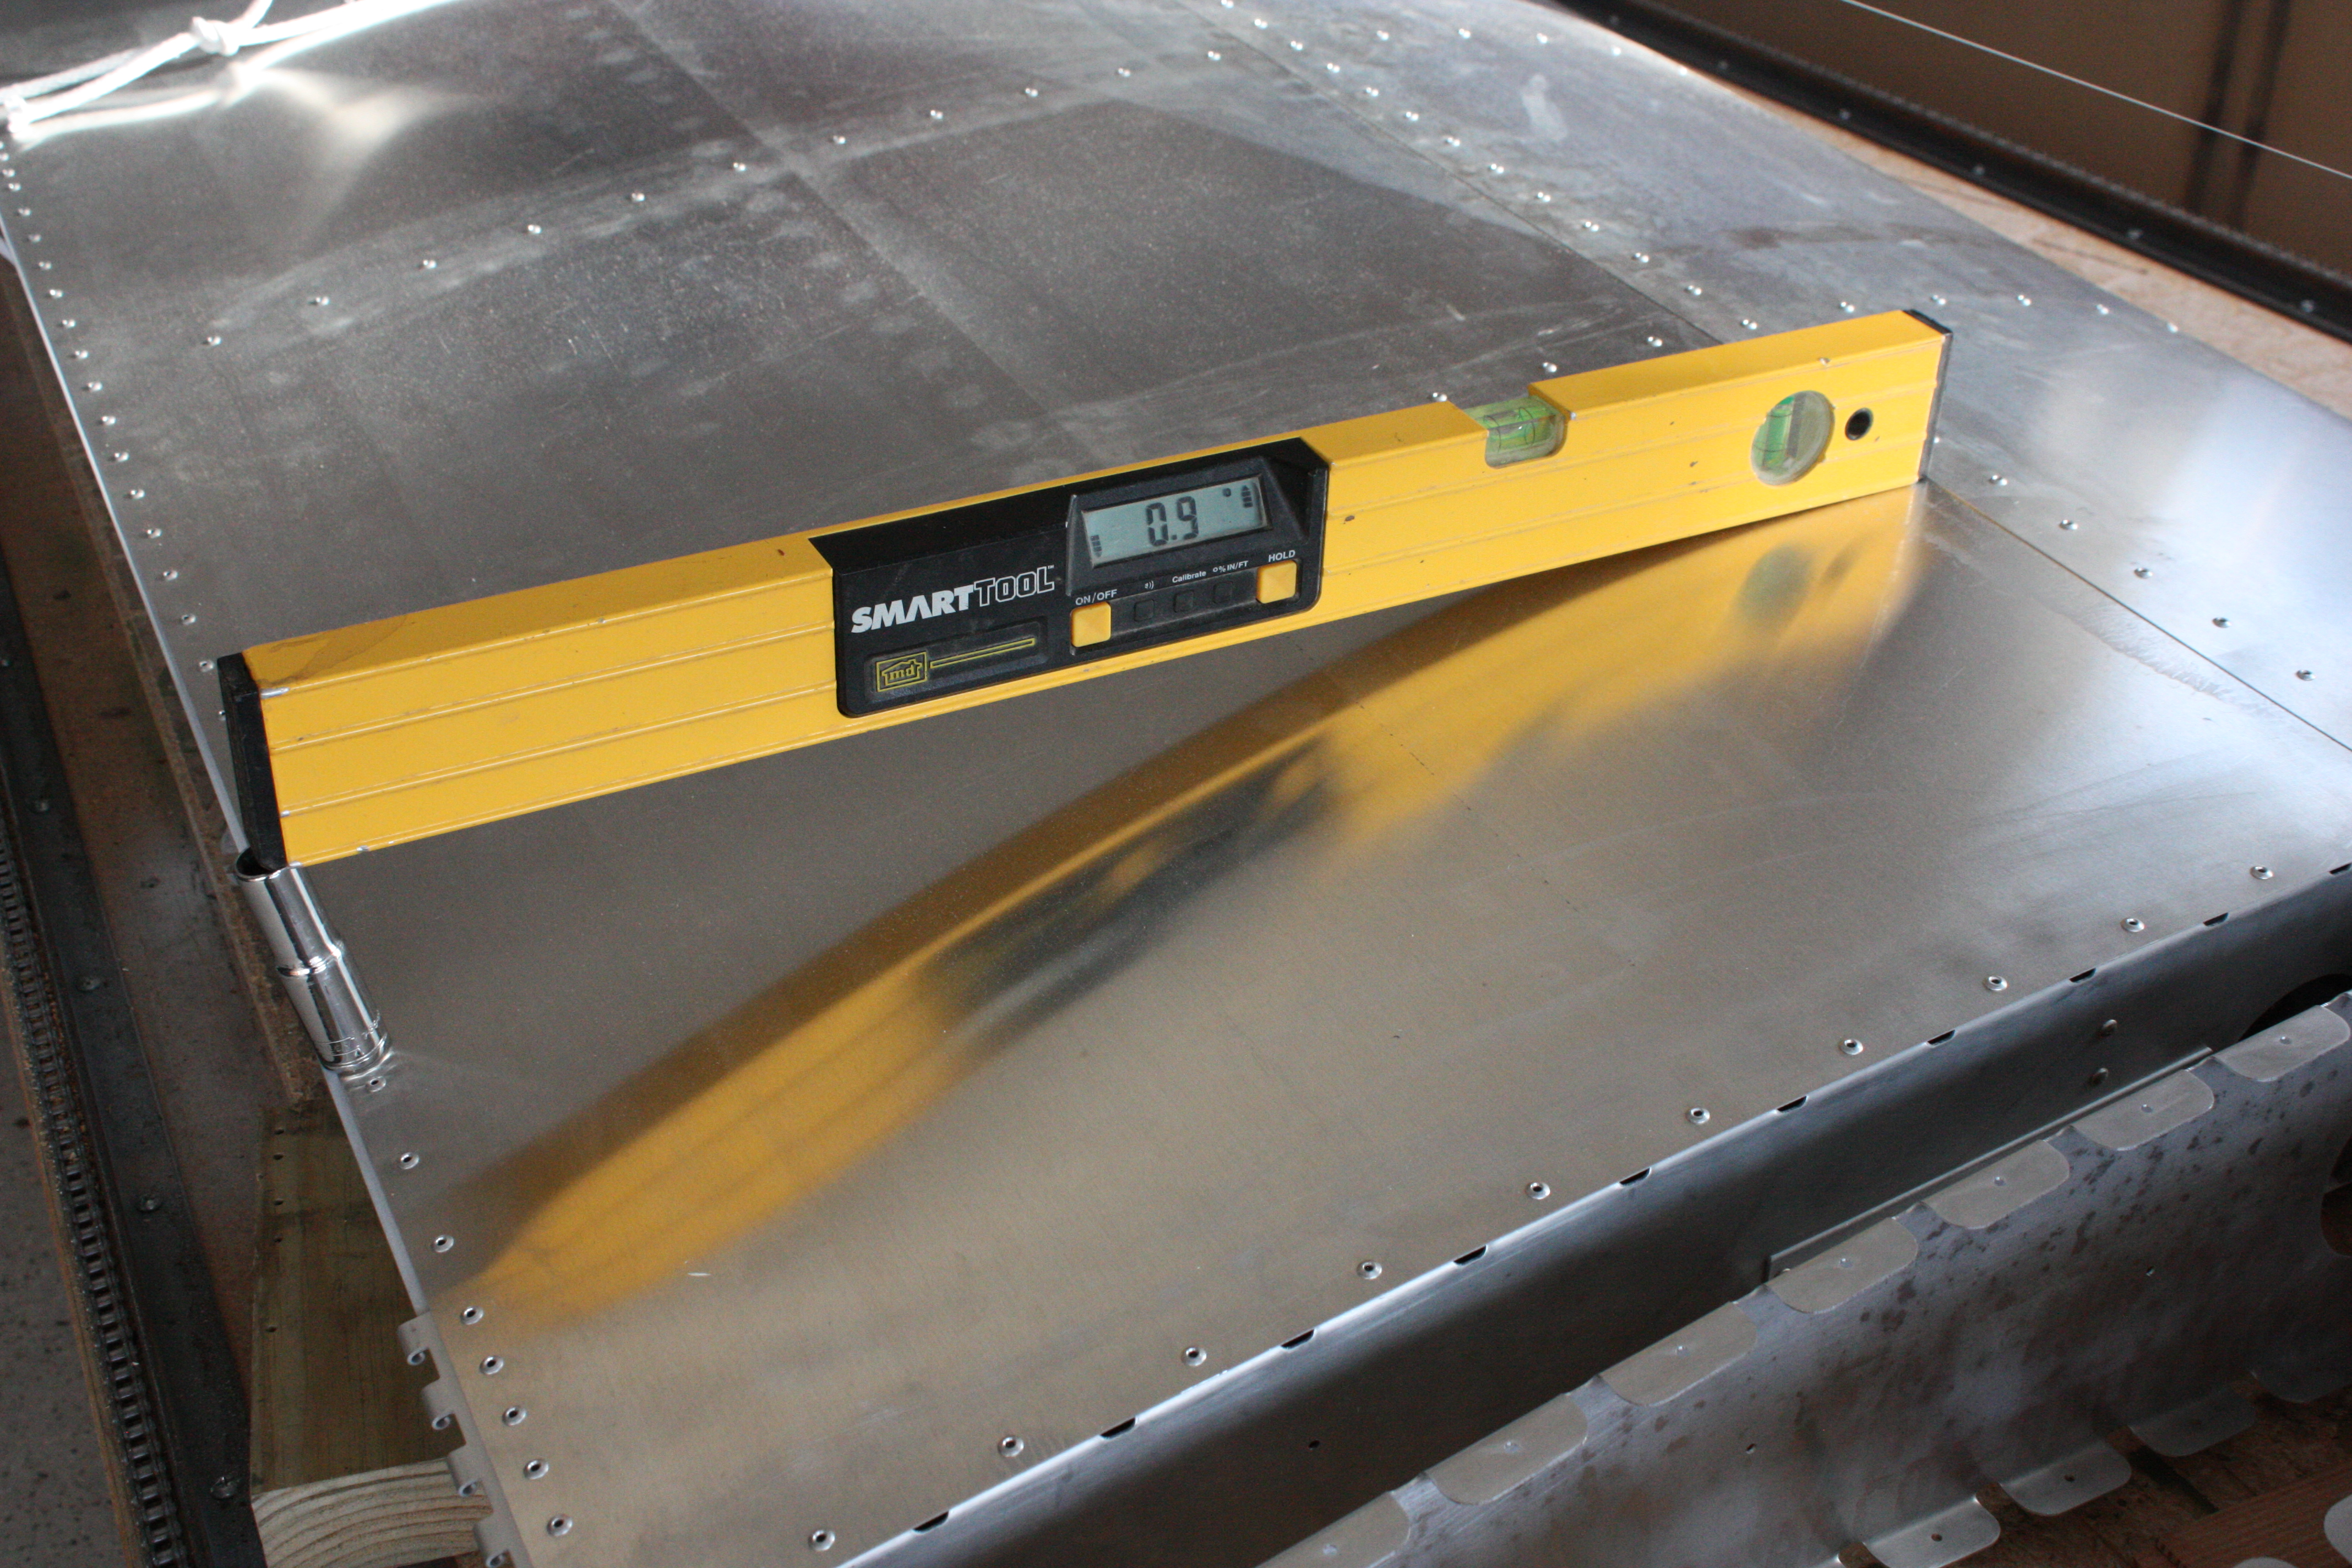
The center section was leveled:
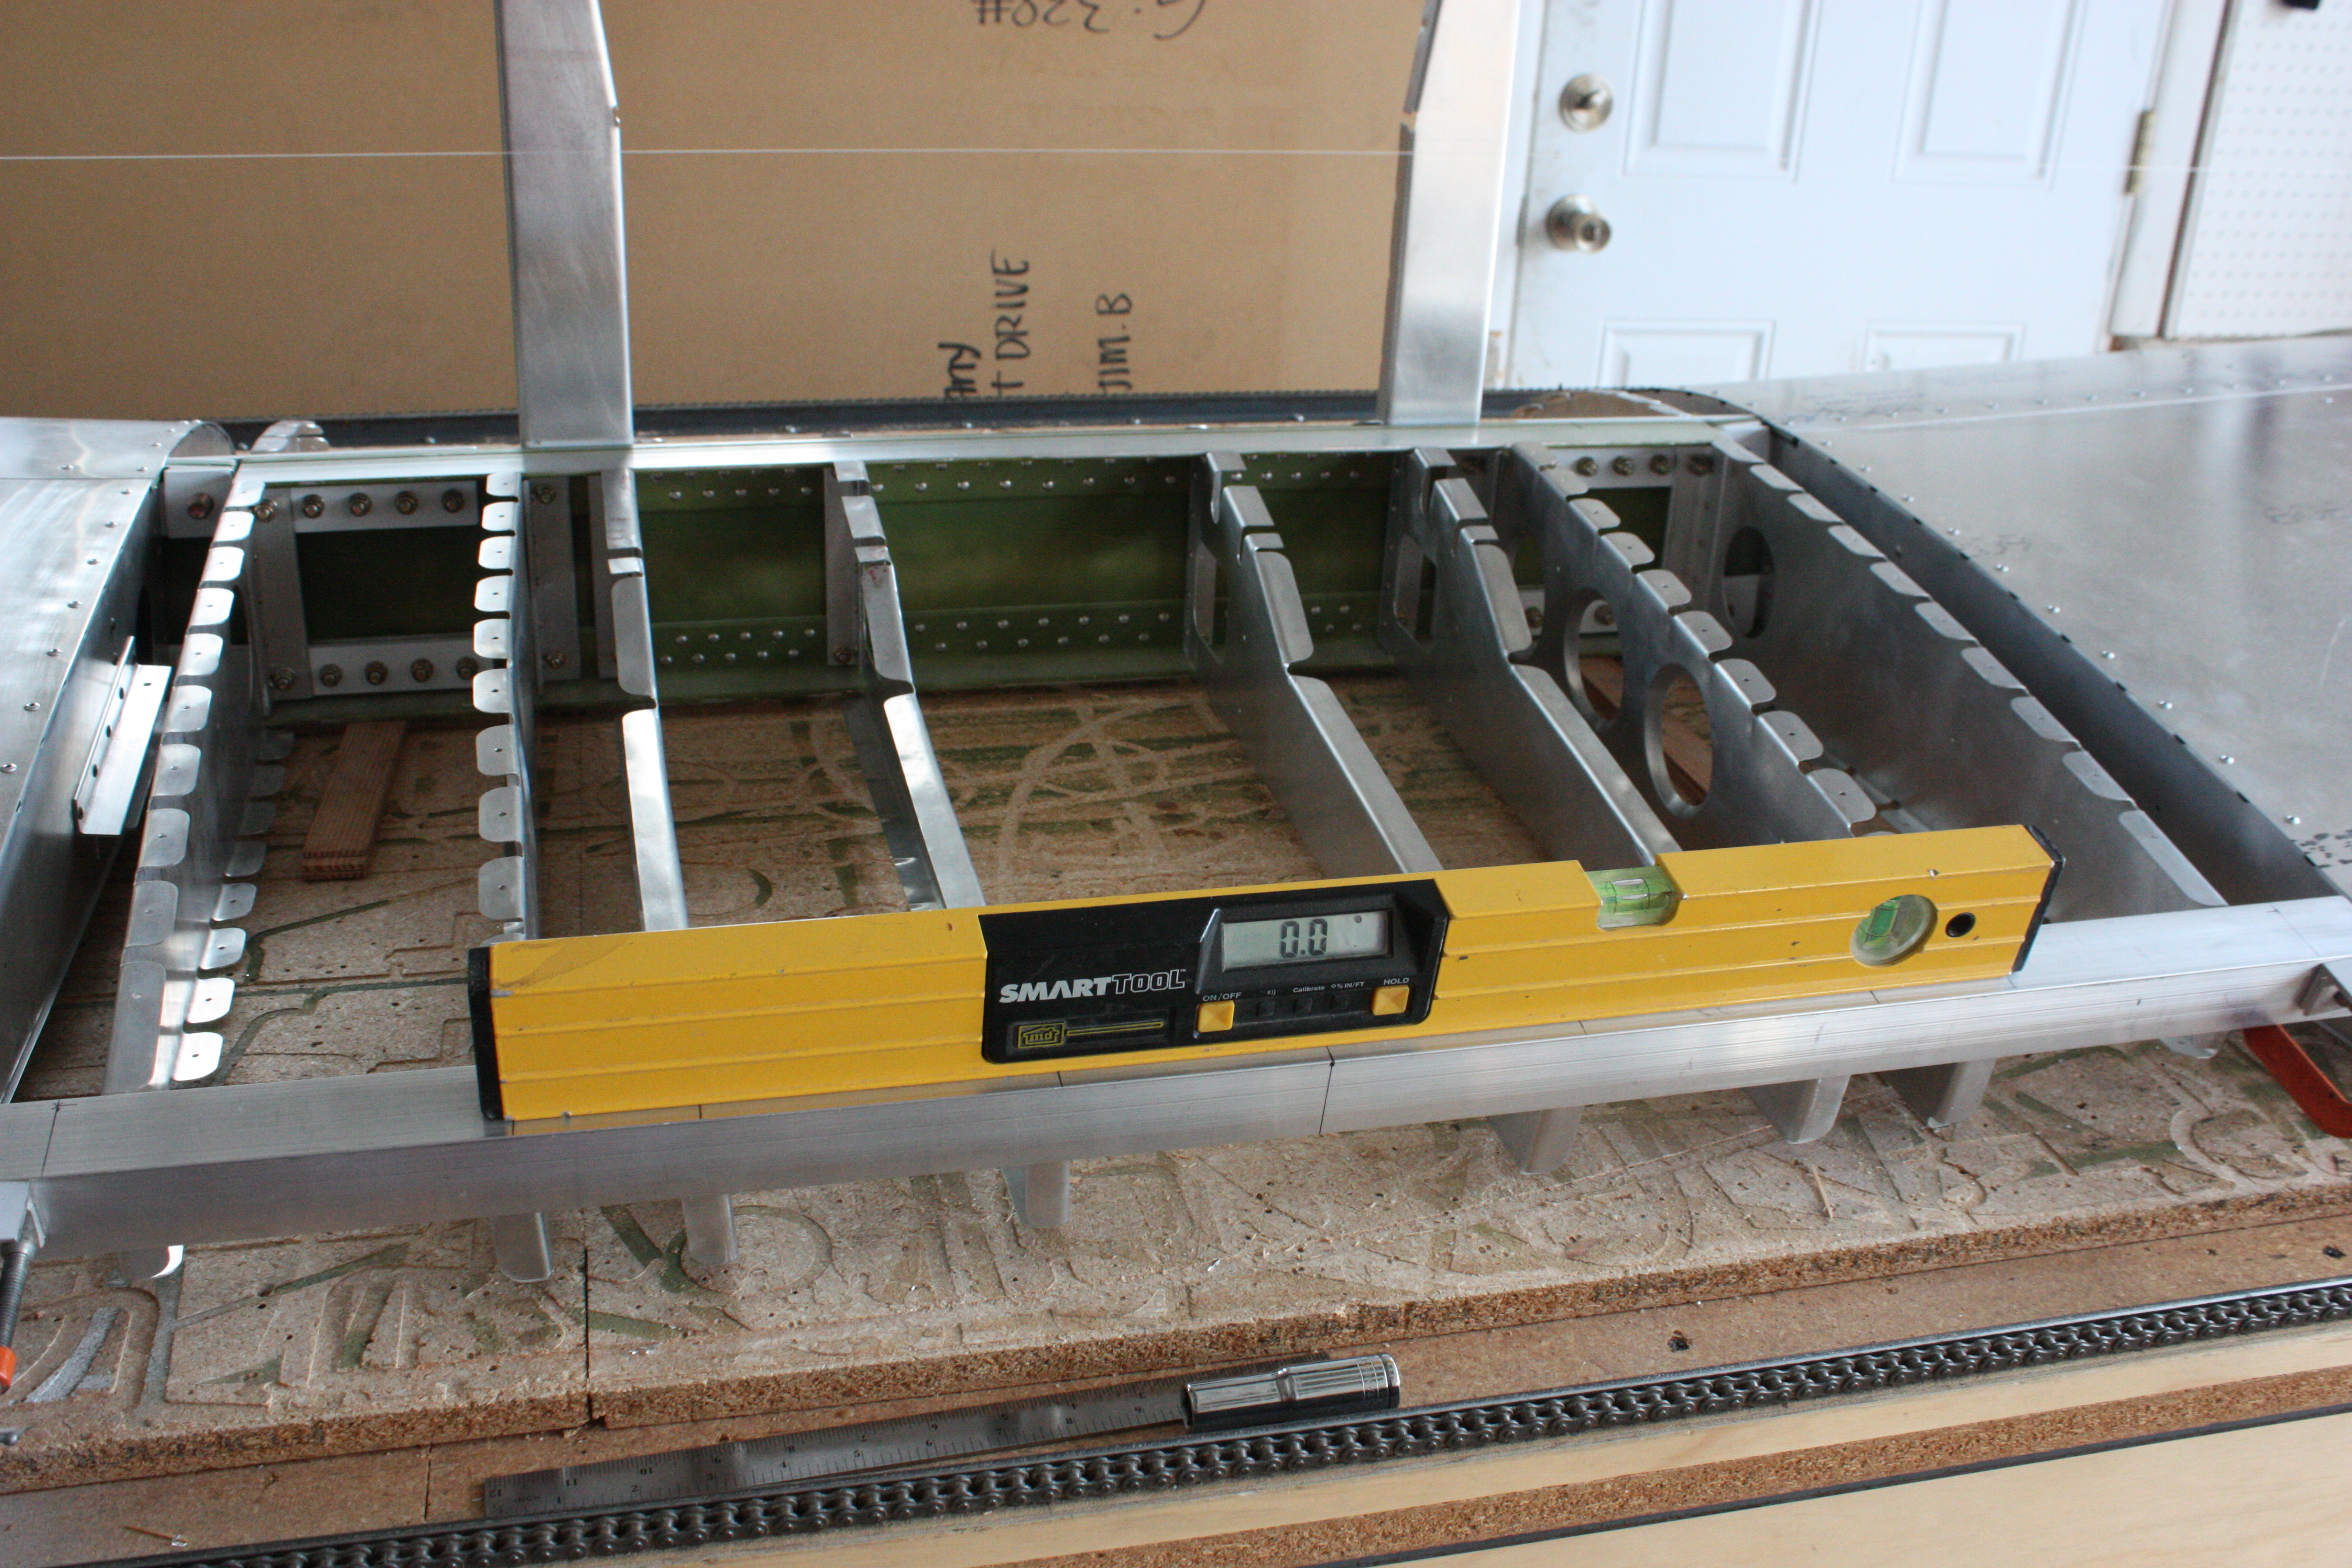
By slight adjustments to the vertical location of the rear wing spar and where it was clamped to the rear center section spar, both wings were set at the same angle (the angle shown is not important, only that they are the same):
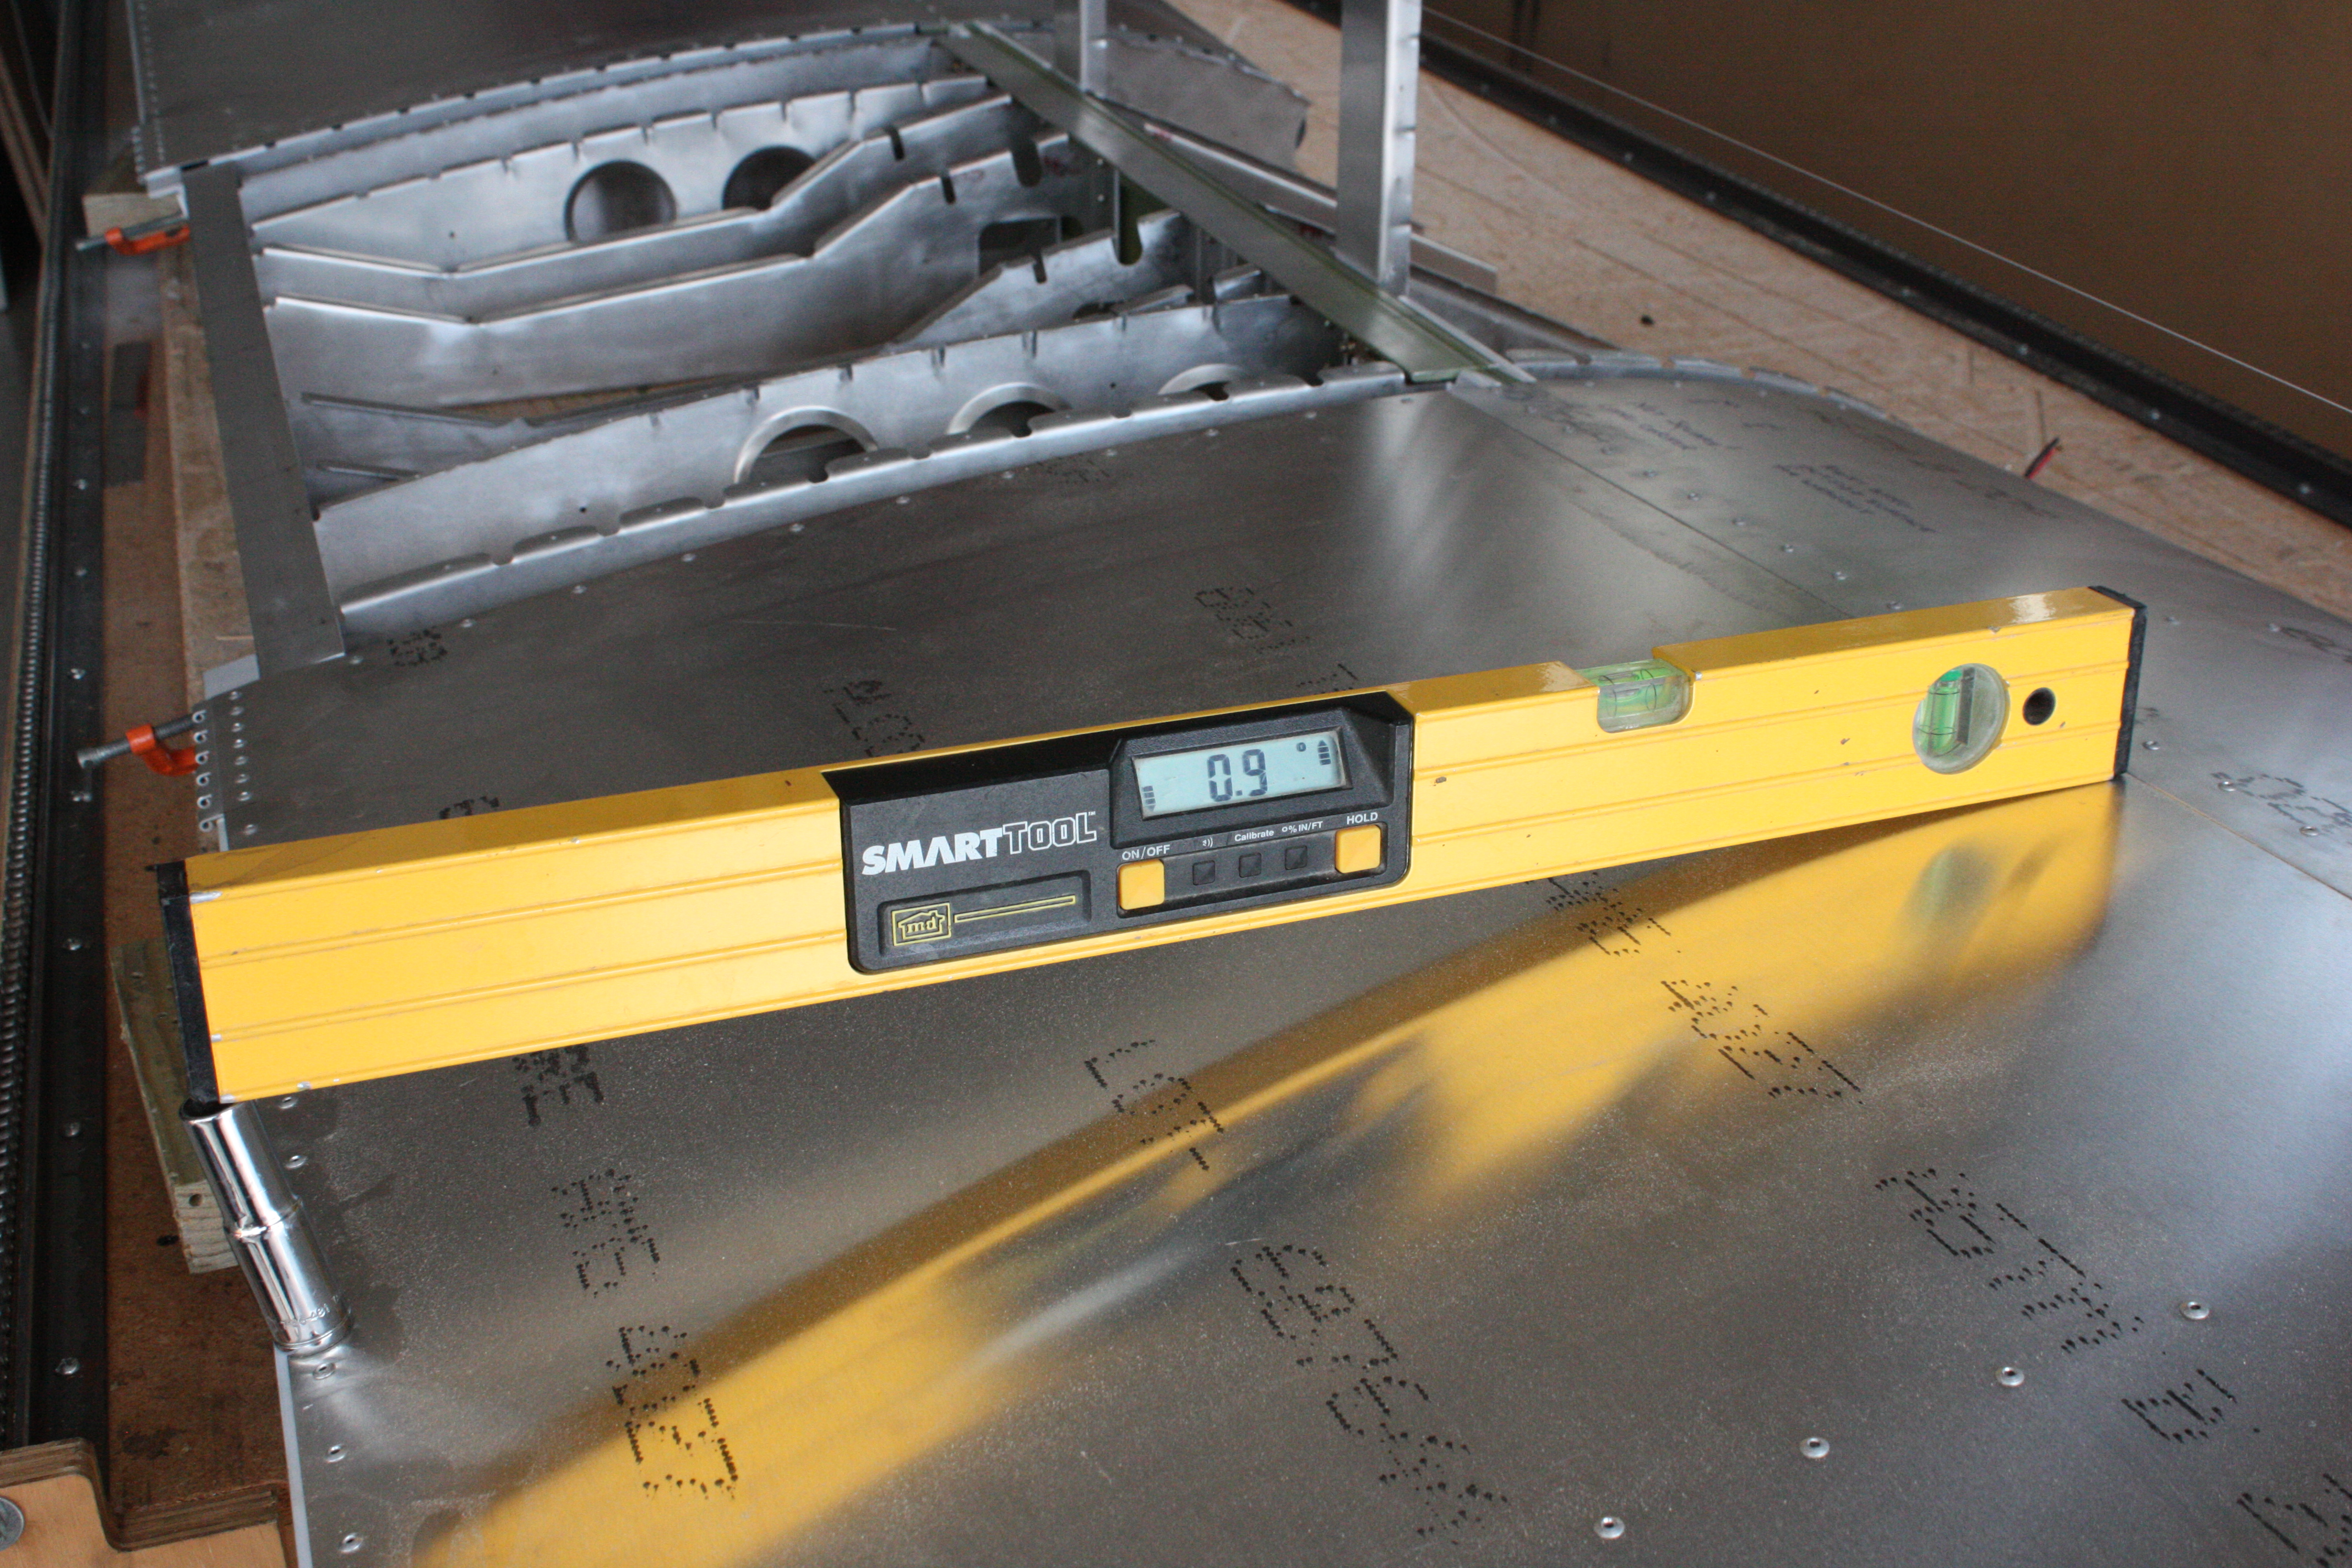
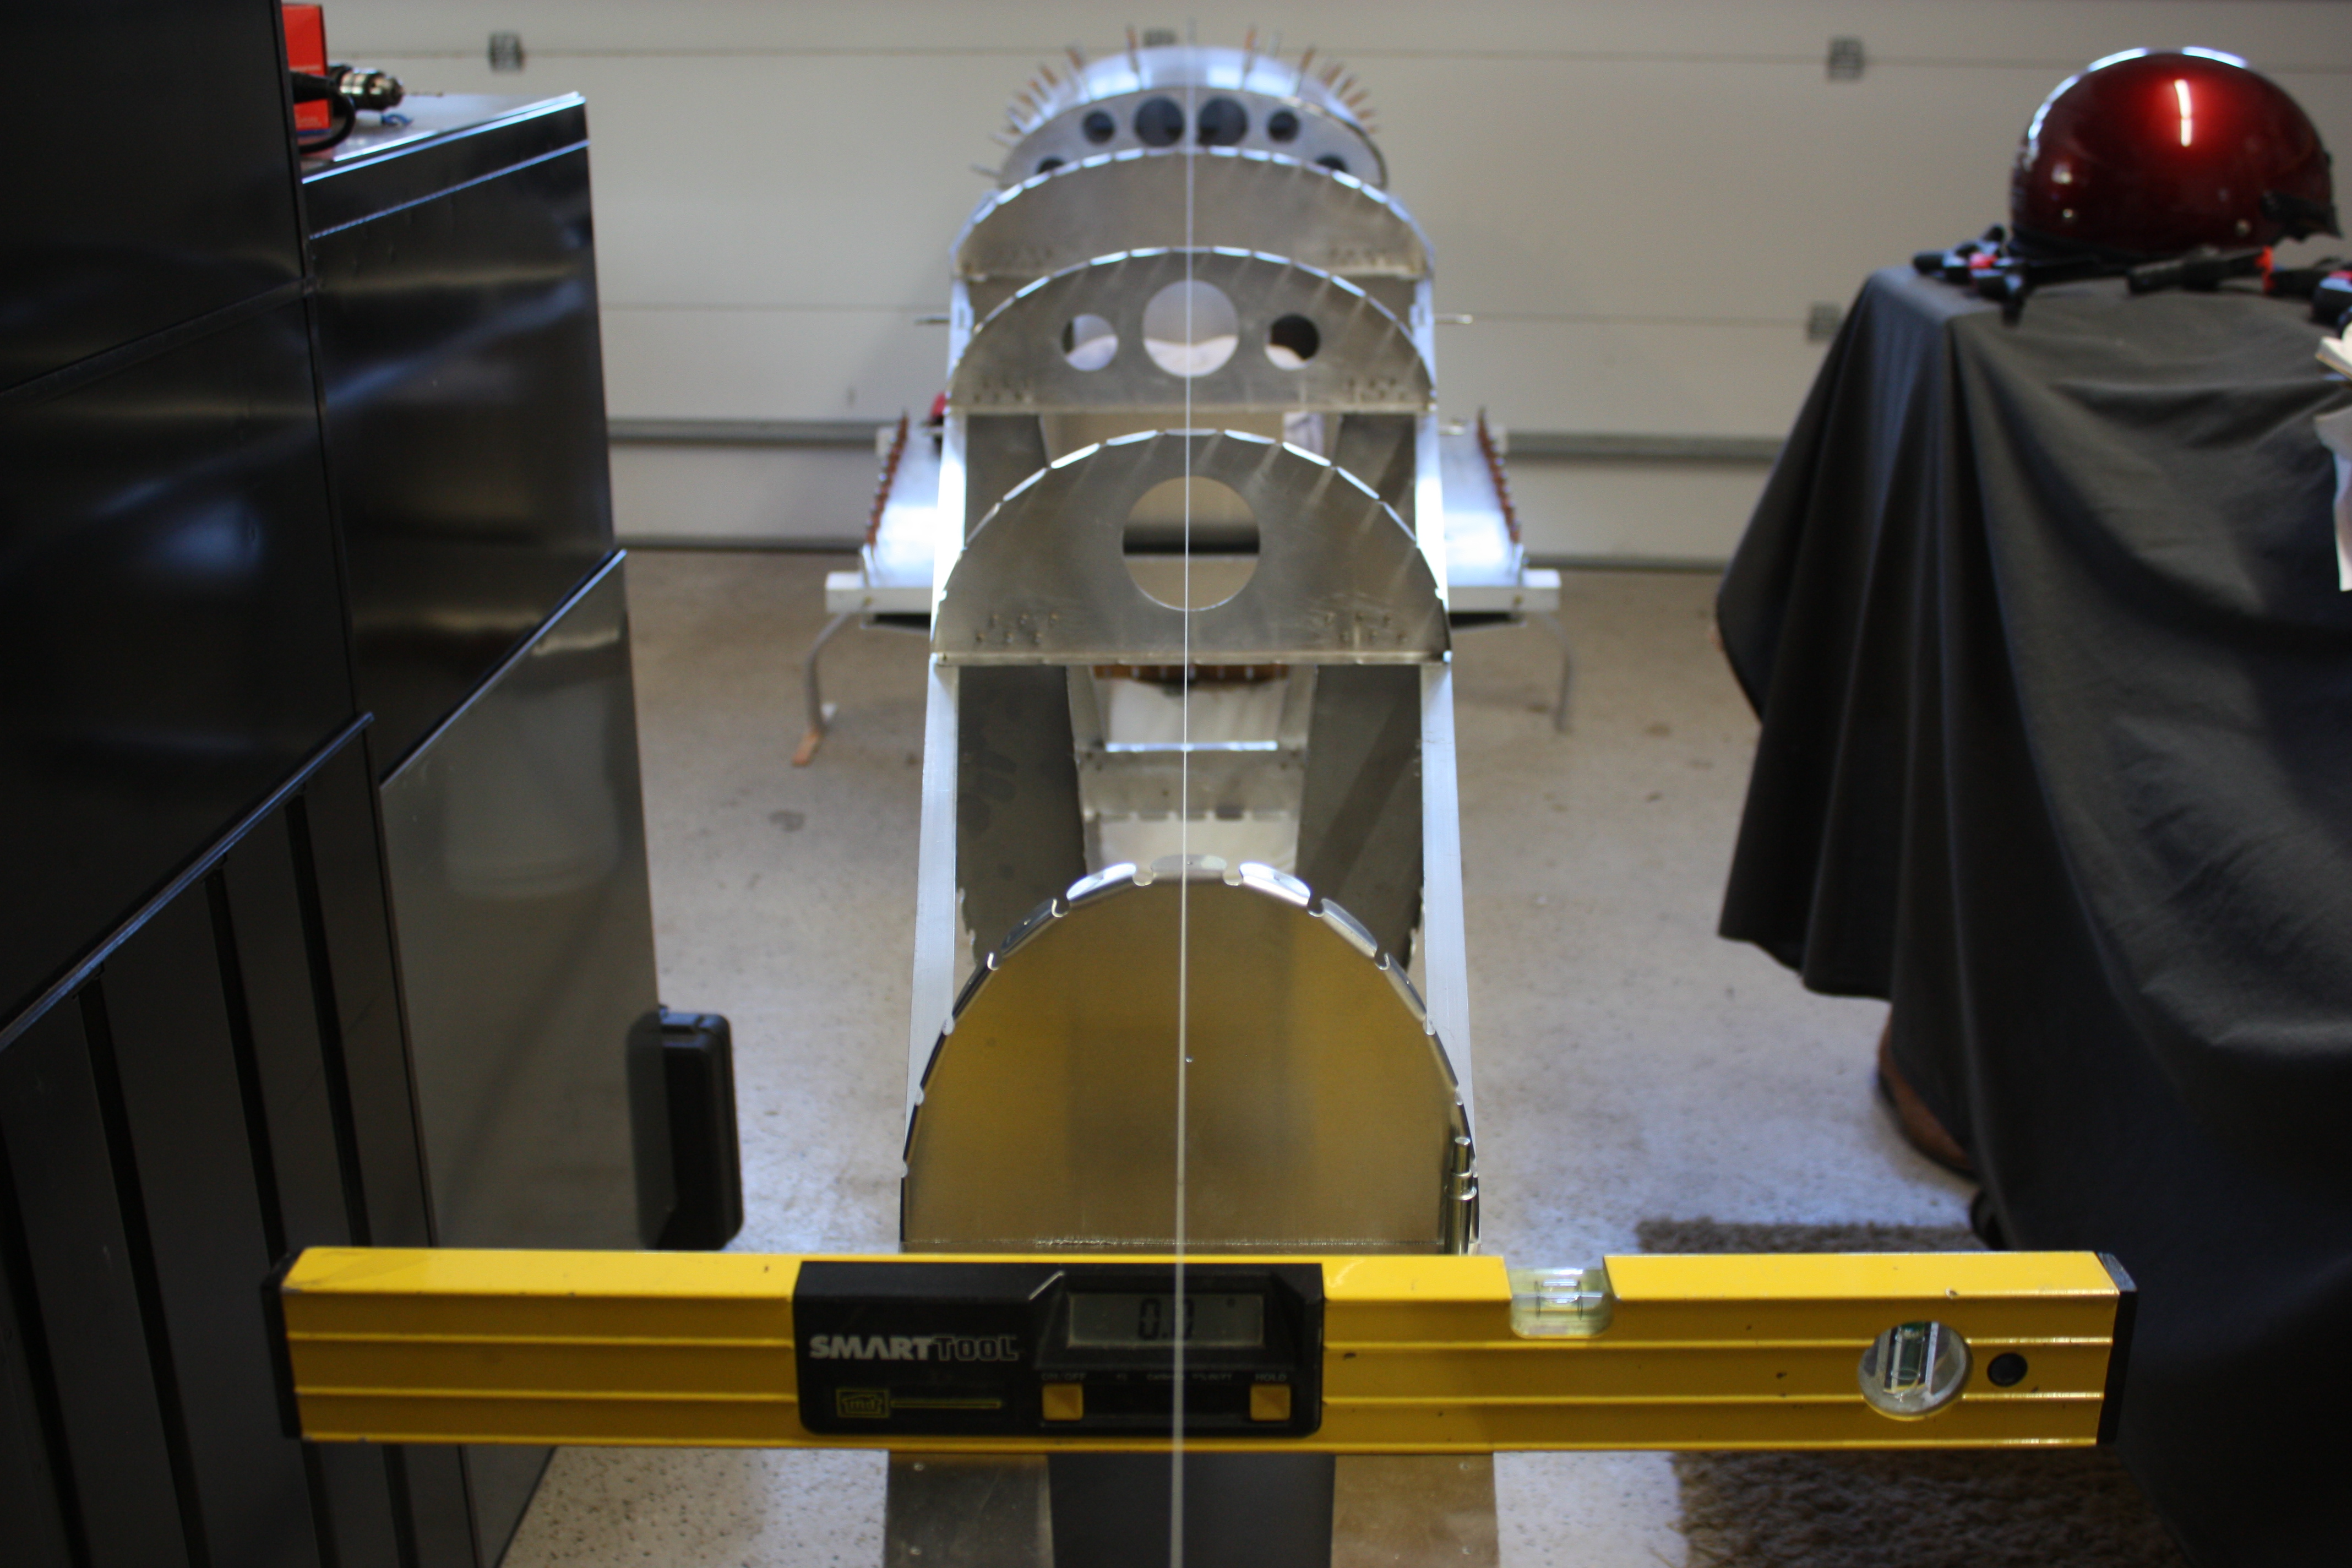
By slight adjustments to the horizontal location of the rear wing spars, the wings were set so that the spars aligned to a straight line from tip to tip. This can be measured using that string. Notice that the spar rivet line is one inch back from the front of the center section spar...
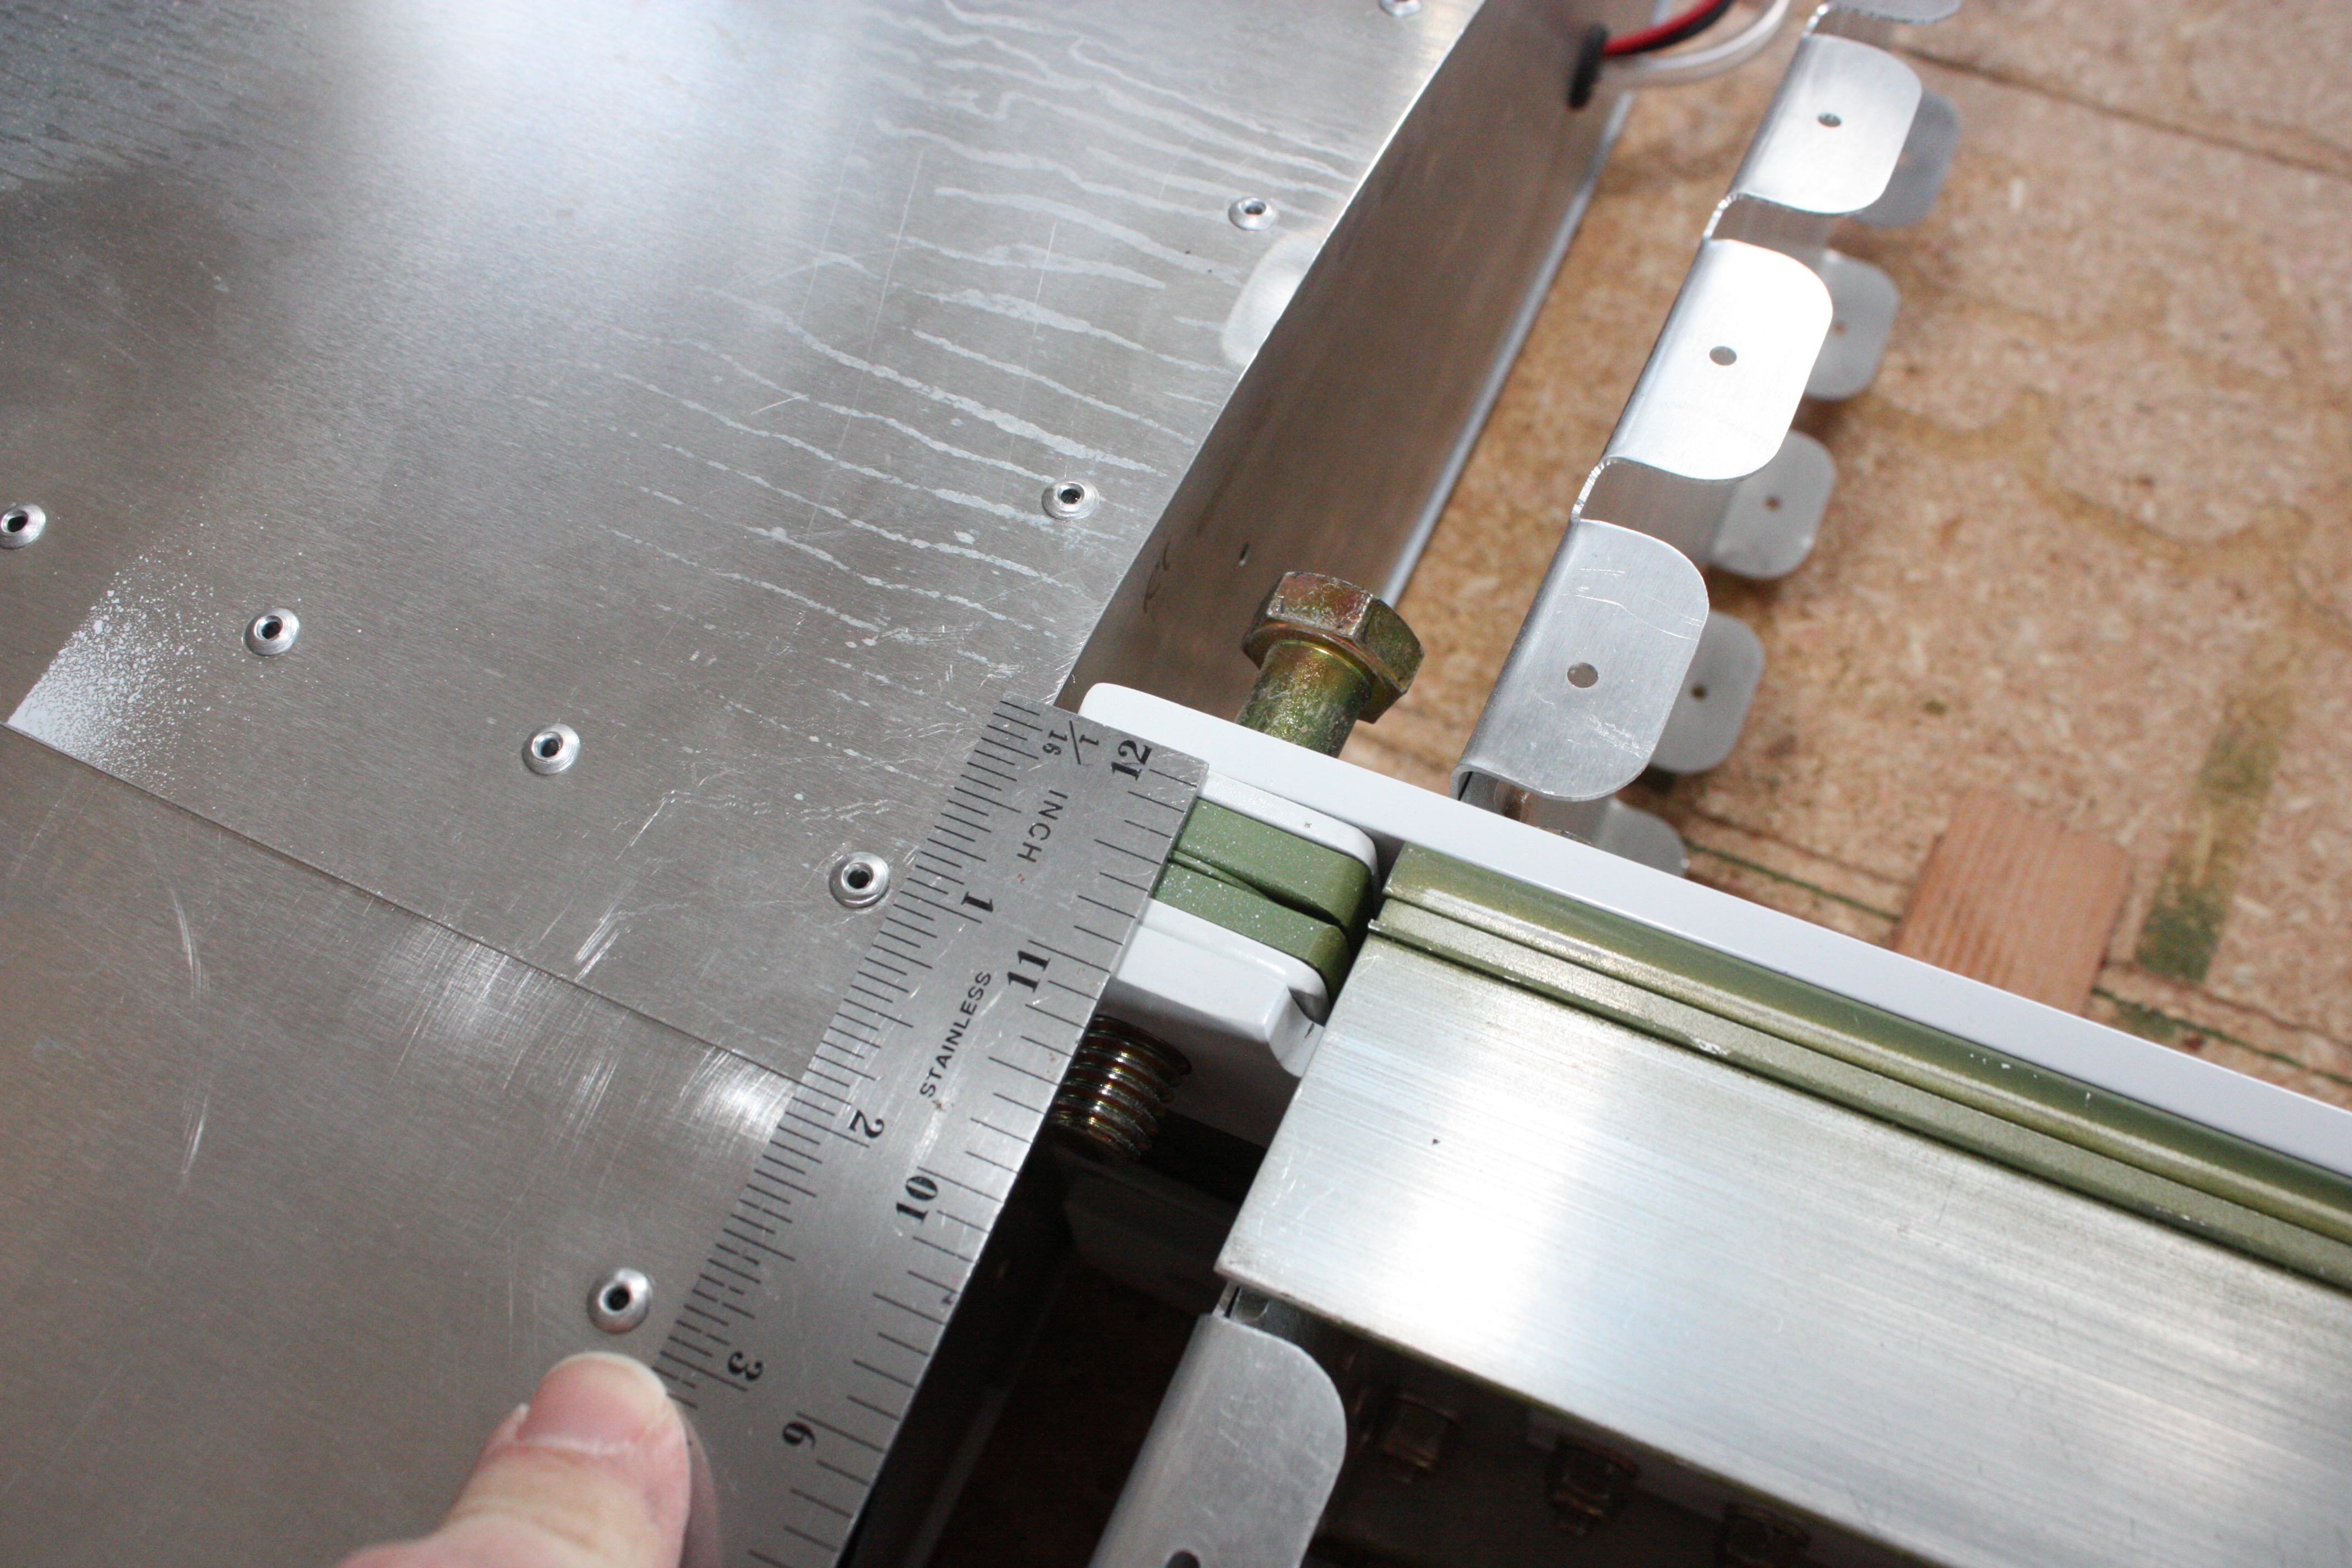
... and using the back surface of formers F5, the wings were adjusted so the string is located one inch back up there too:
February 2013
Yep... need a bigger garage.
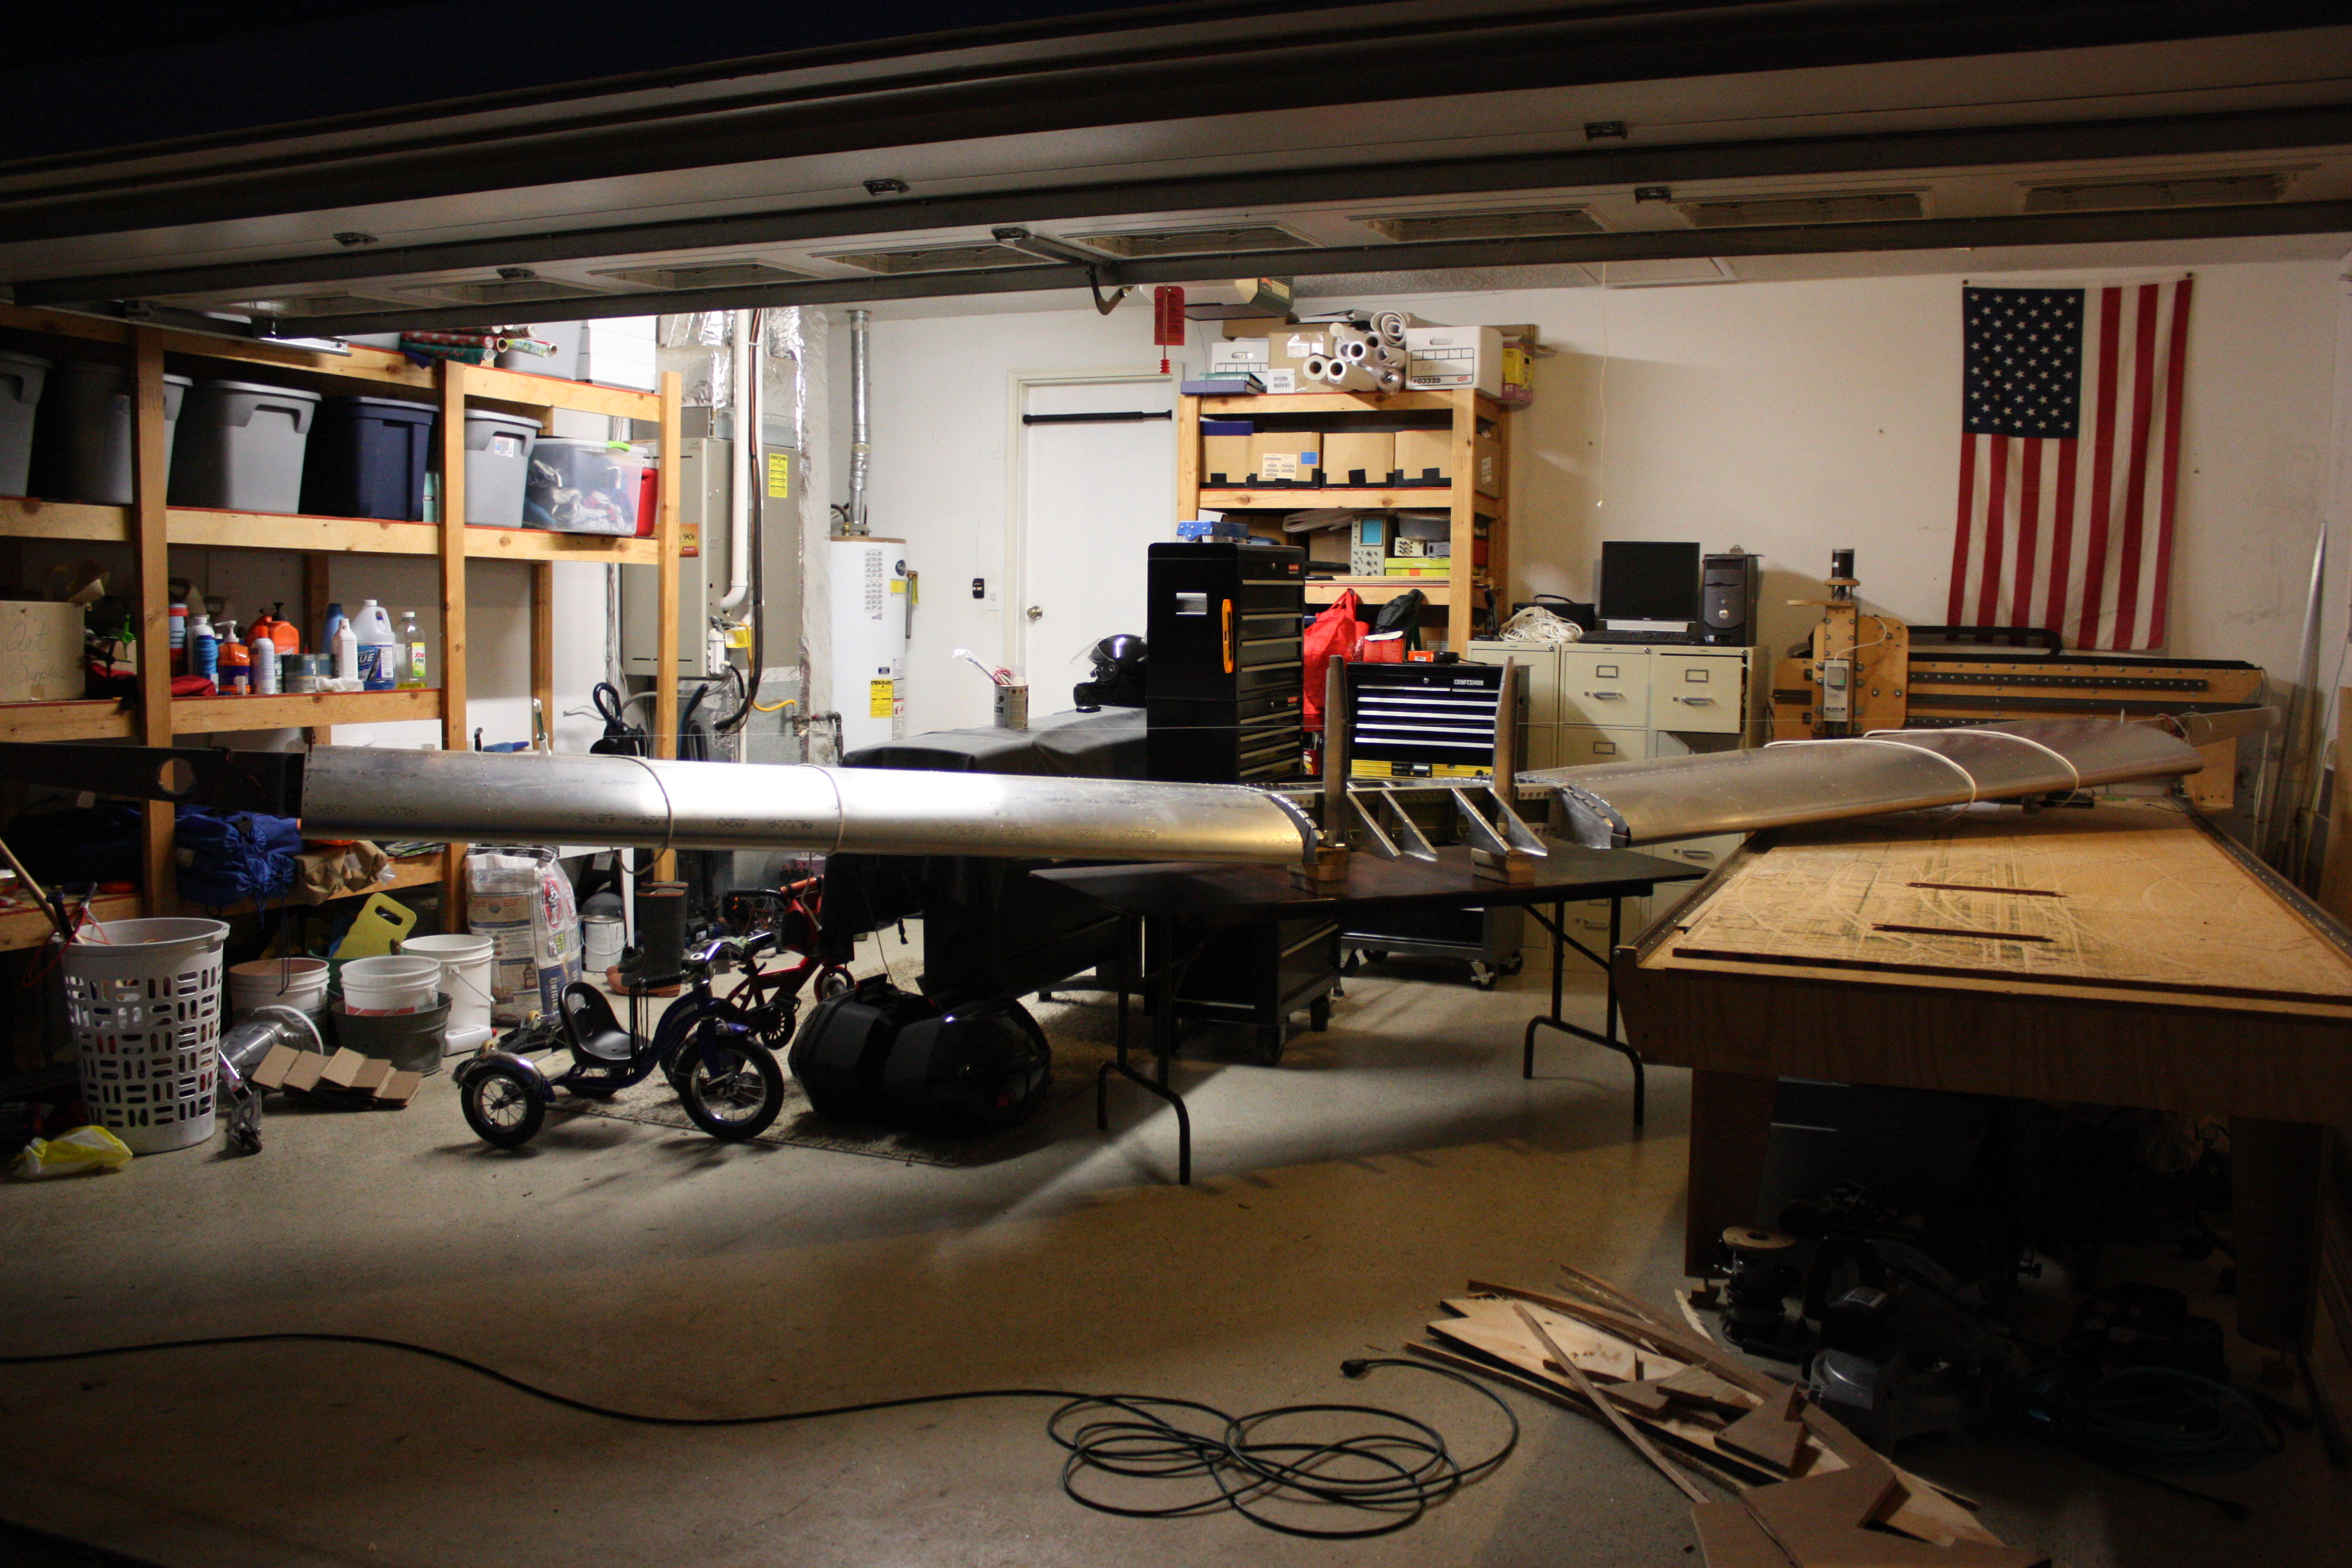
Once I had the rear spar level and positioned correctly with the ribs, the center section level, the wings even and straight, I was then able to start dirlling holes. To keep things in alignment, not only did I install the seat, but I positioned the wing-walk skins to really keep it square.

I took the wings off and was then able to install the bottom skin. I didn't take any pictures of this, but it was business as usual: level, align, drill, debur, paint, Cleco, and rivet.
With that, the center section was finished. The rest of the fuselage grows out from there.
Forward Fuselage
The front bottom of the fuselage is formed by an 1-1/2 inch angle that is cut and bent into shape. This structure extends back from the firewall and connects at the bottom of the spar. It is also is the structure that connects the fuselage to the landing gear. I took my time, and built both members twice, to get this part correct.
Once one side of the angle is notched where a bend is needed, it leaves essentially a flat bar. What I found on the first set I bent is that even with the one side of the angle removed, it still bends unevenly. This is probably due to some odd internal stress left over from extruding the angle. Regardless, I found the best way to bend these angles is to bend both the right and left side at the same time. Once they are clamped together, they press against each other and resist bending sideways. This has the added benefit of making the left and the right side identical.
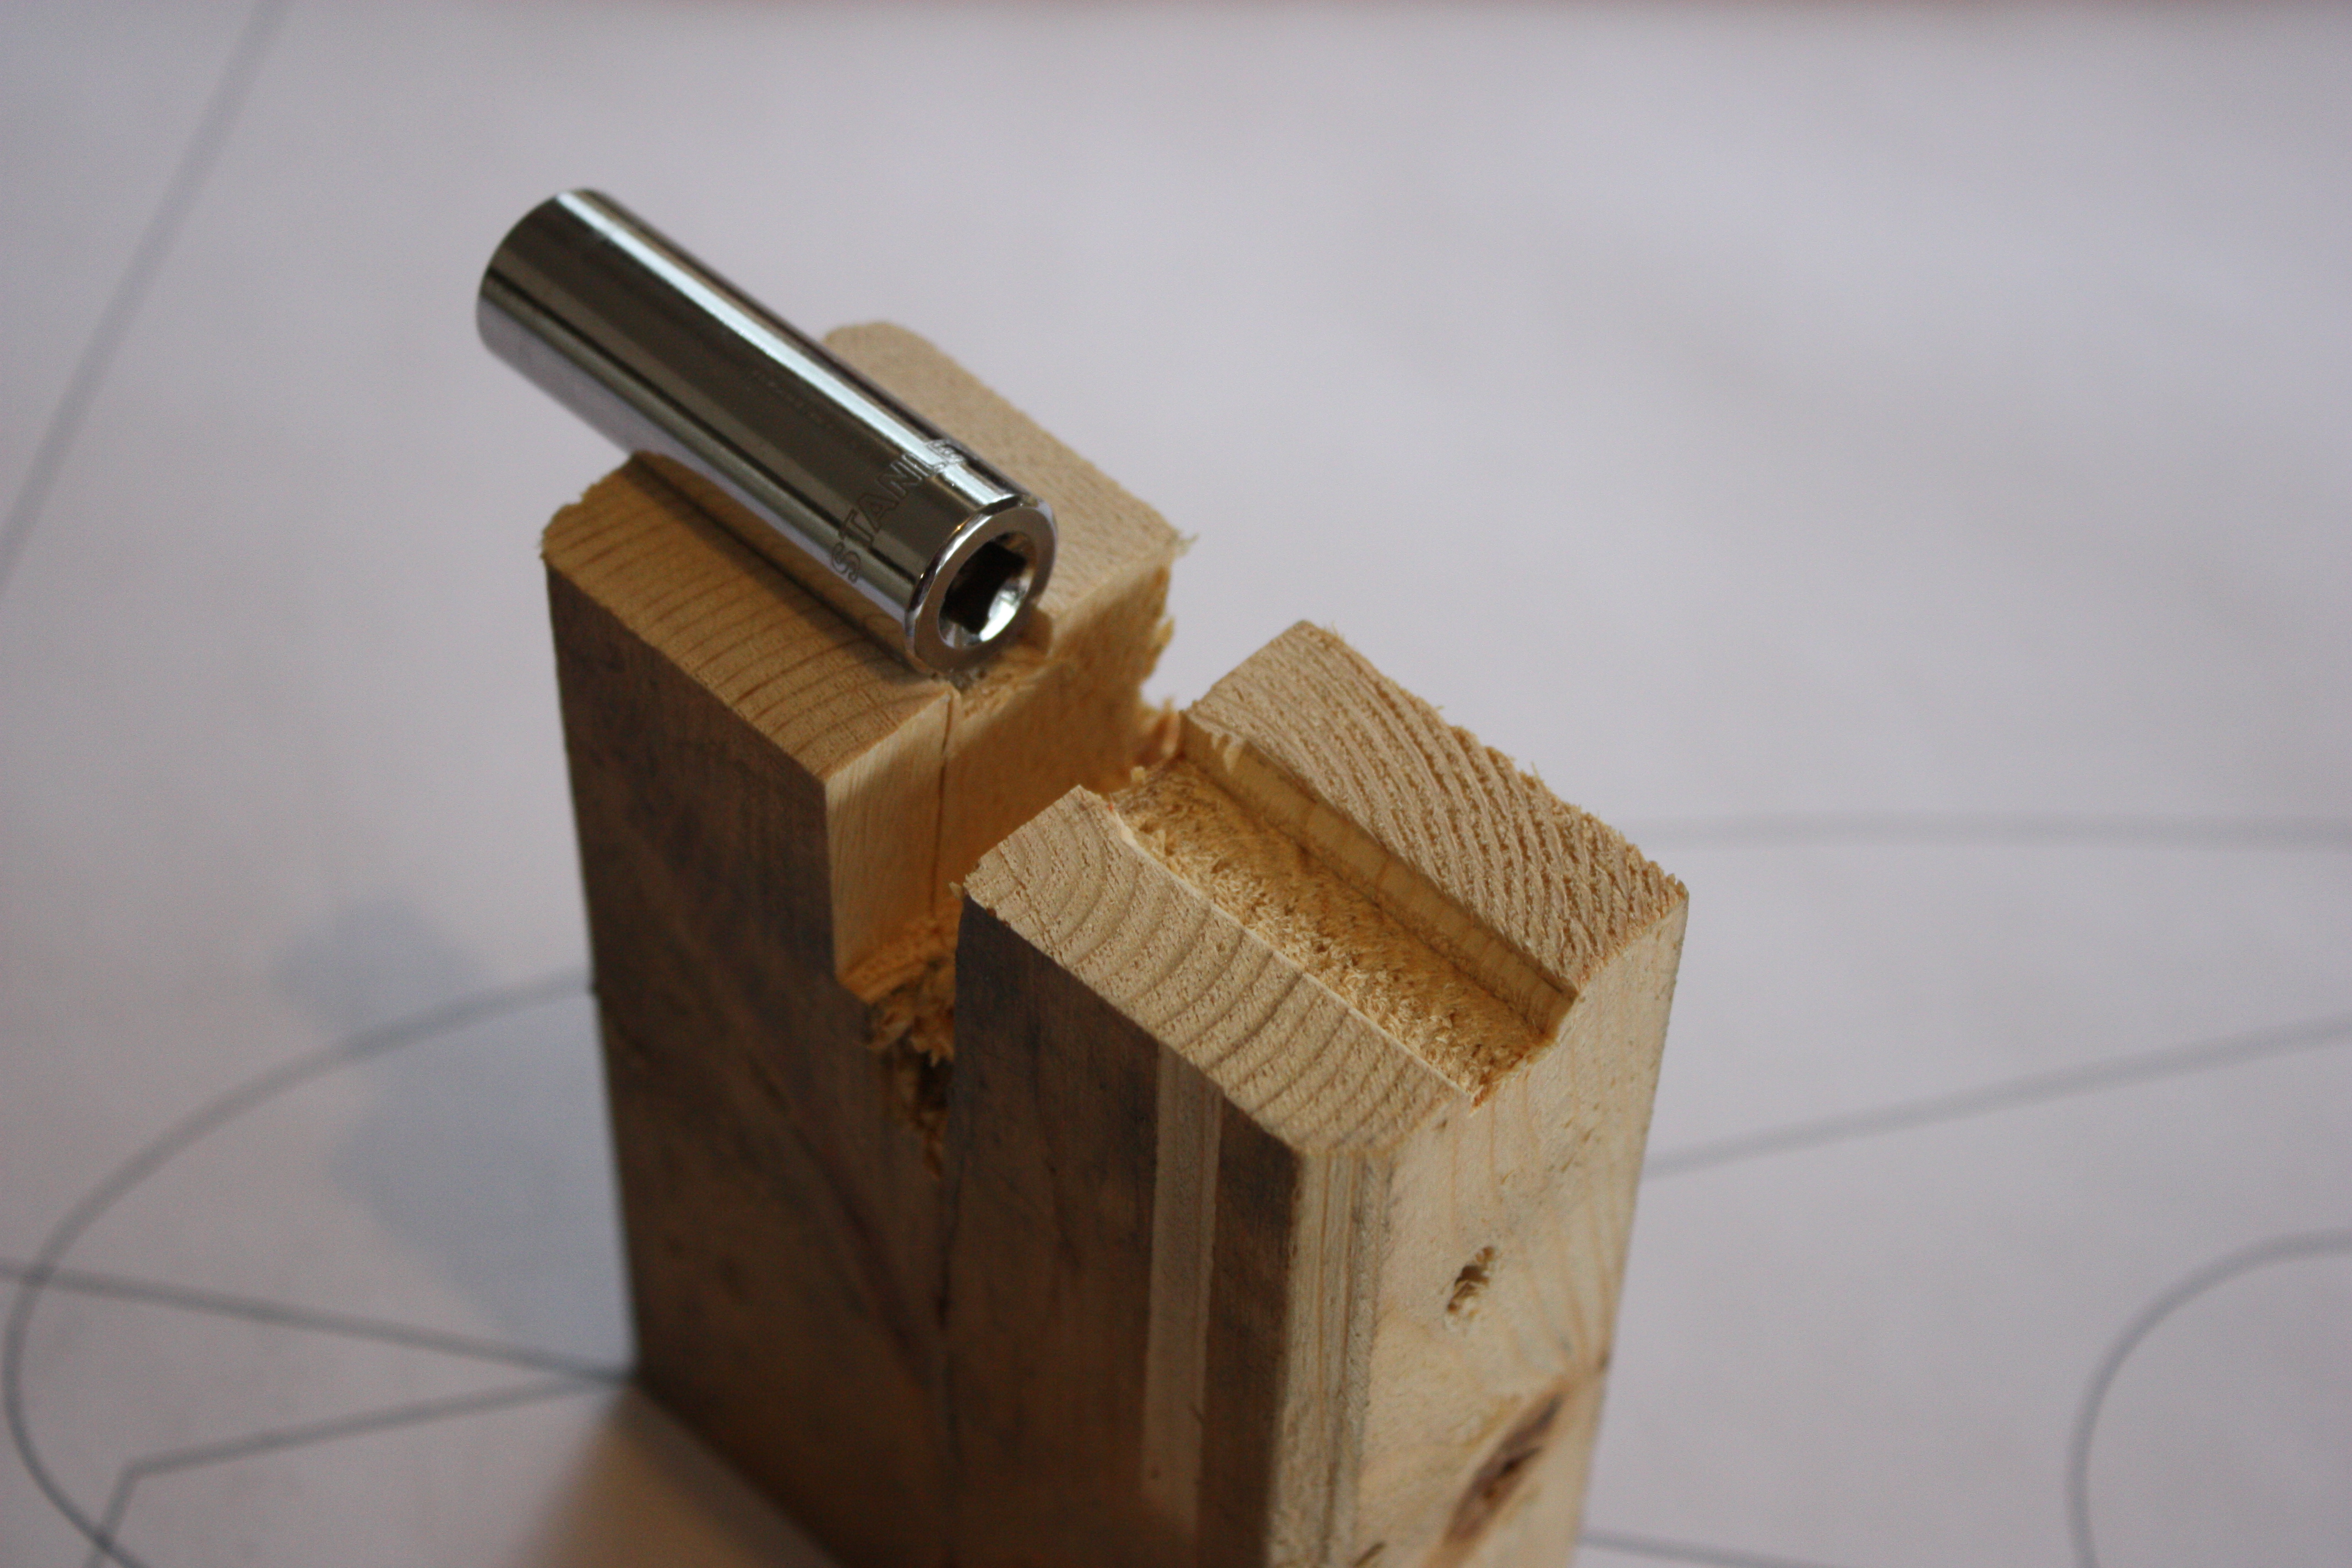
I used a shop press, with a pair of the same sized sockets as a bending die. These sockets were held in place by a groove cut in a 2x4. The large notch in the center of the 2x4 is to allow for the side of the angle:
Below you can see the two angles clamped together and placed in the shop press. Note that everything is squared, and sheets of scrap aluminum are placed between the angles and the press to minimize scratching:
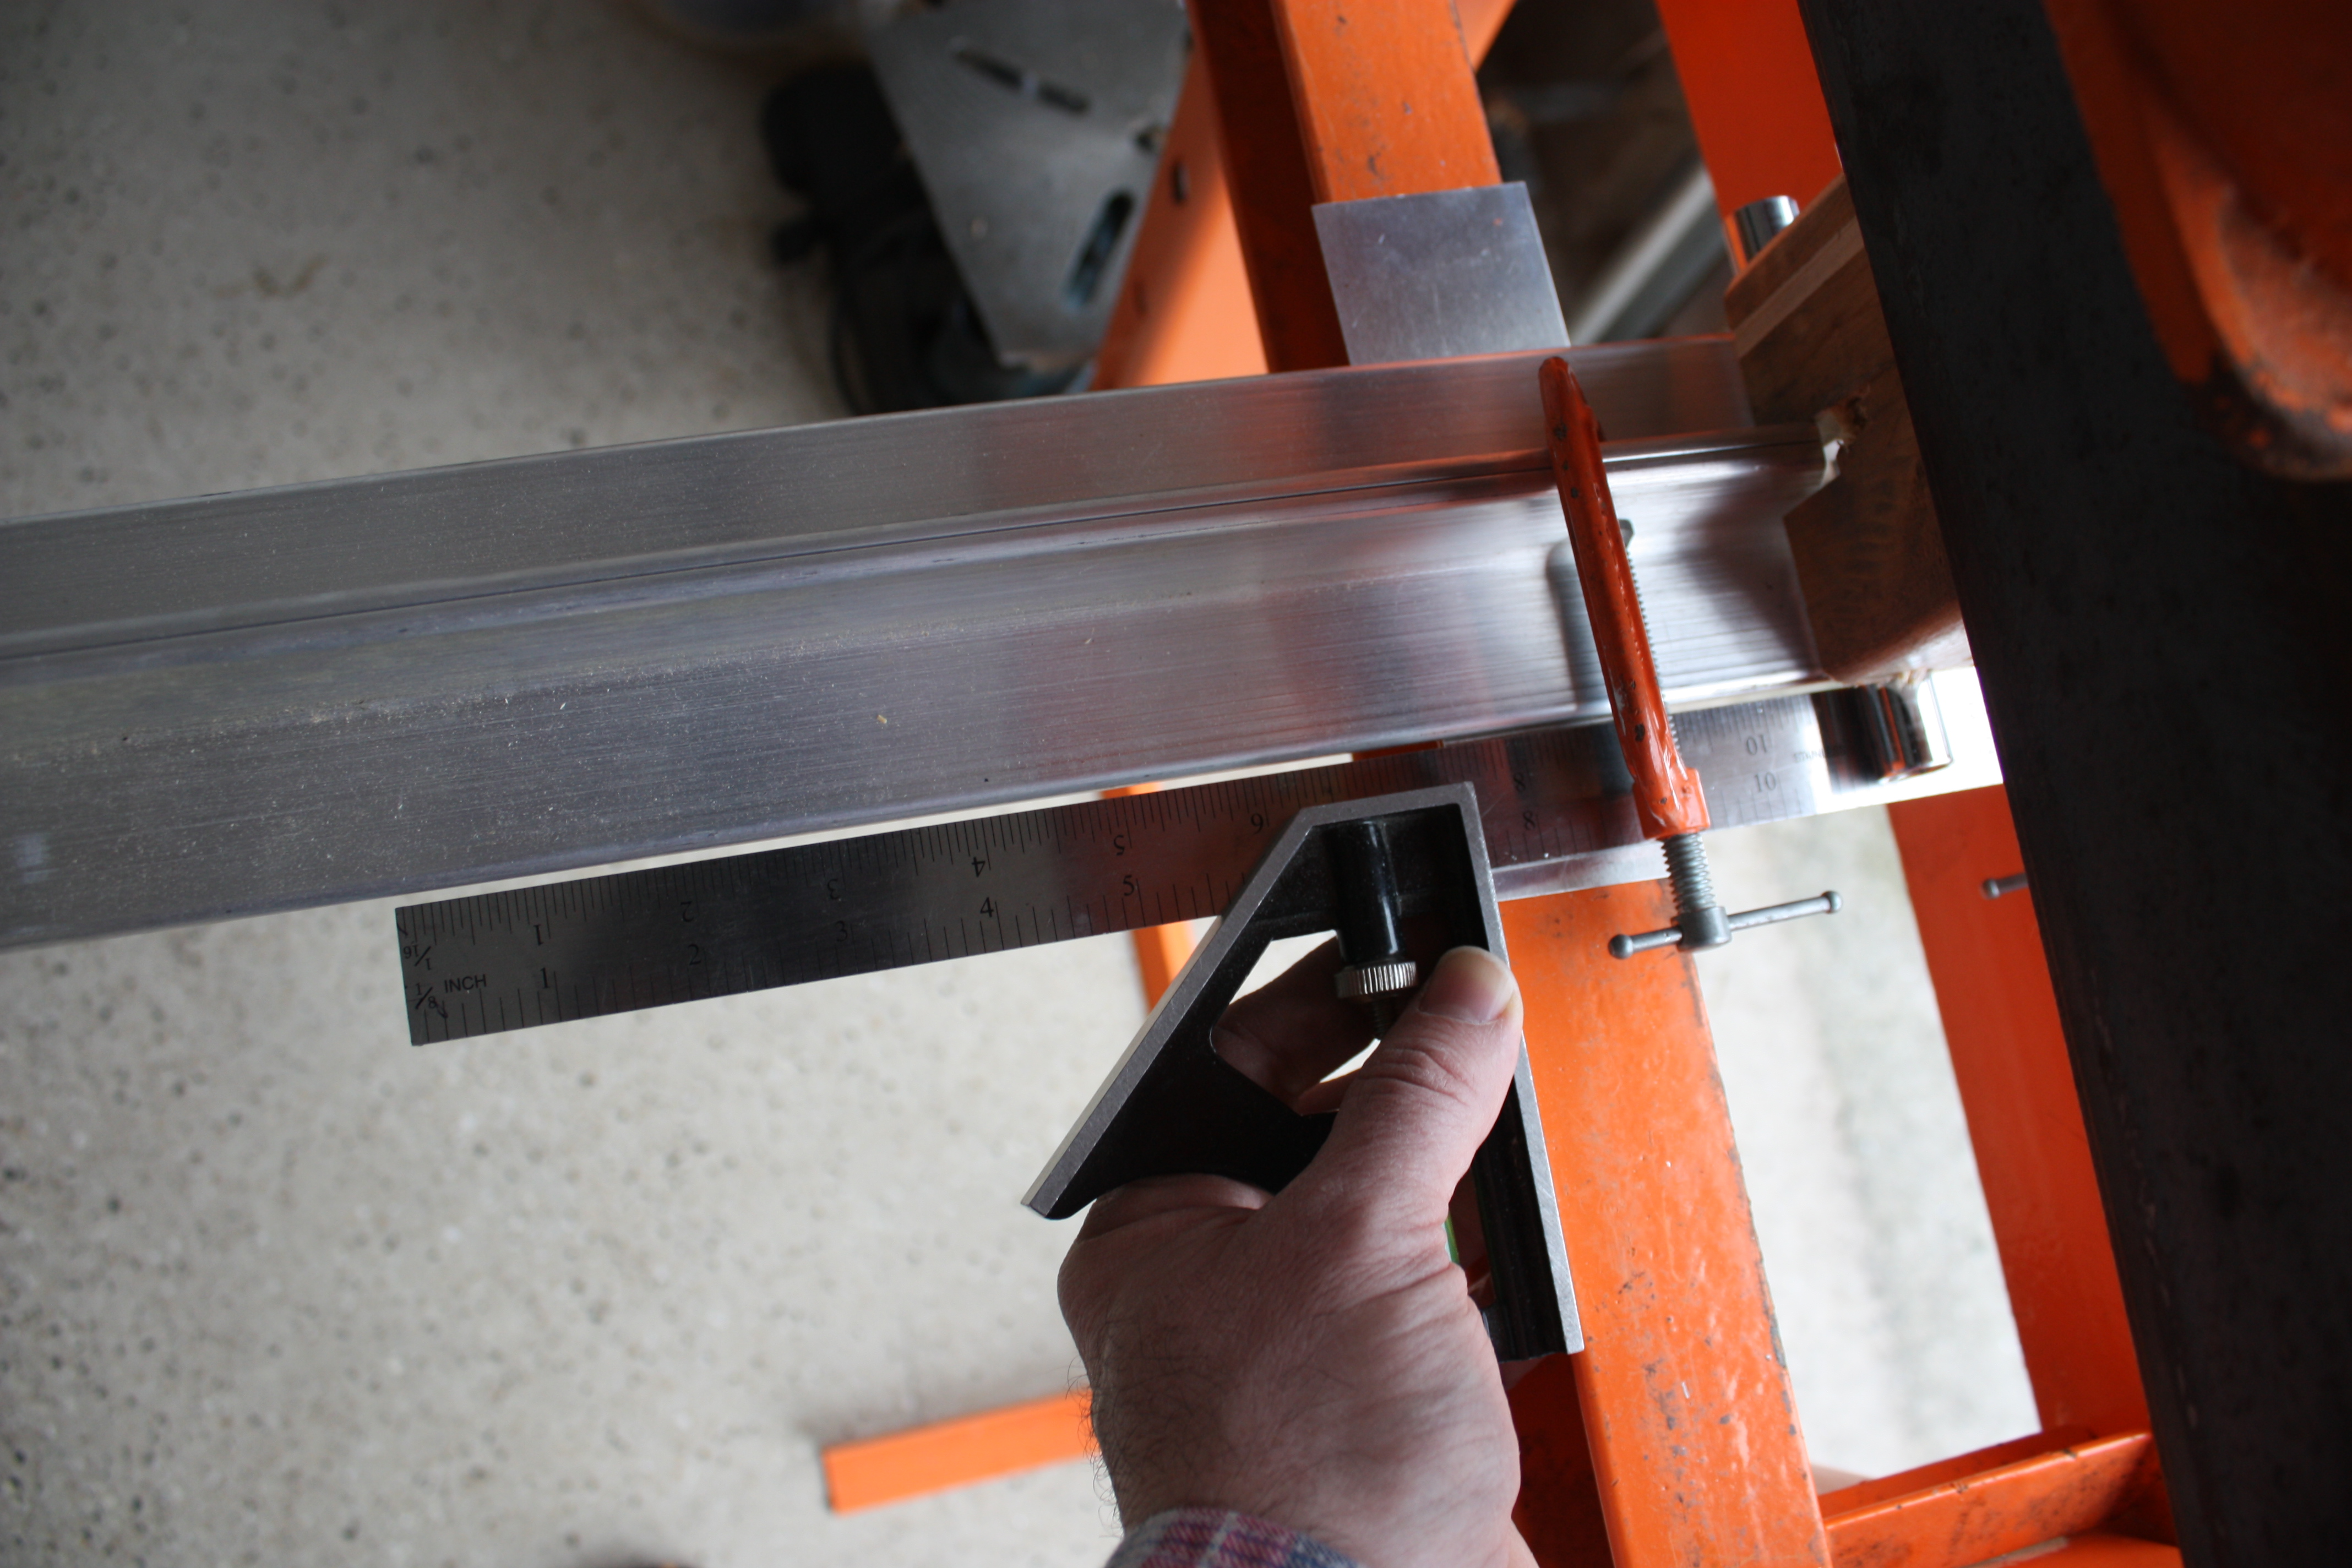
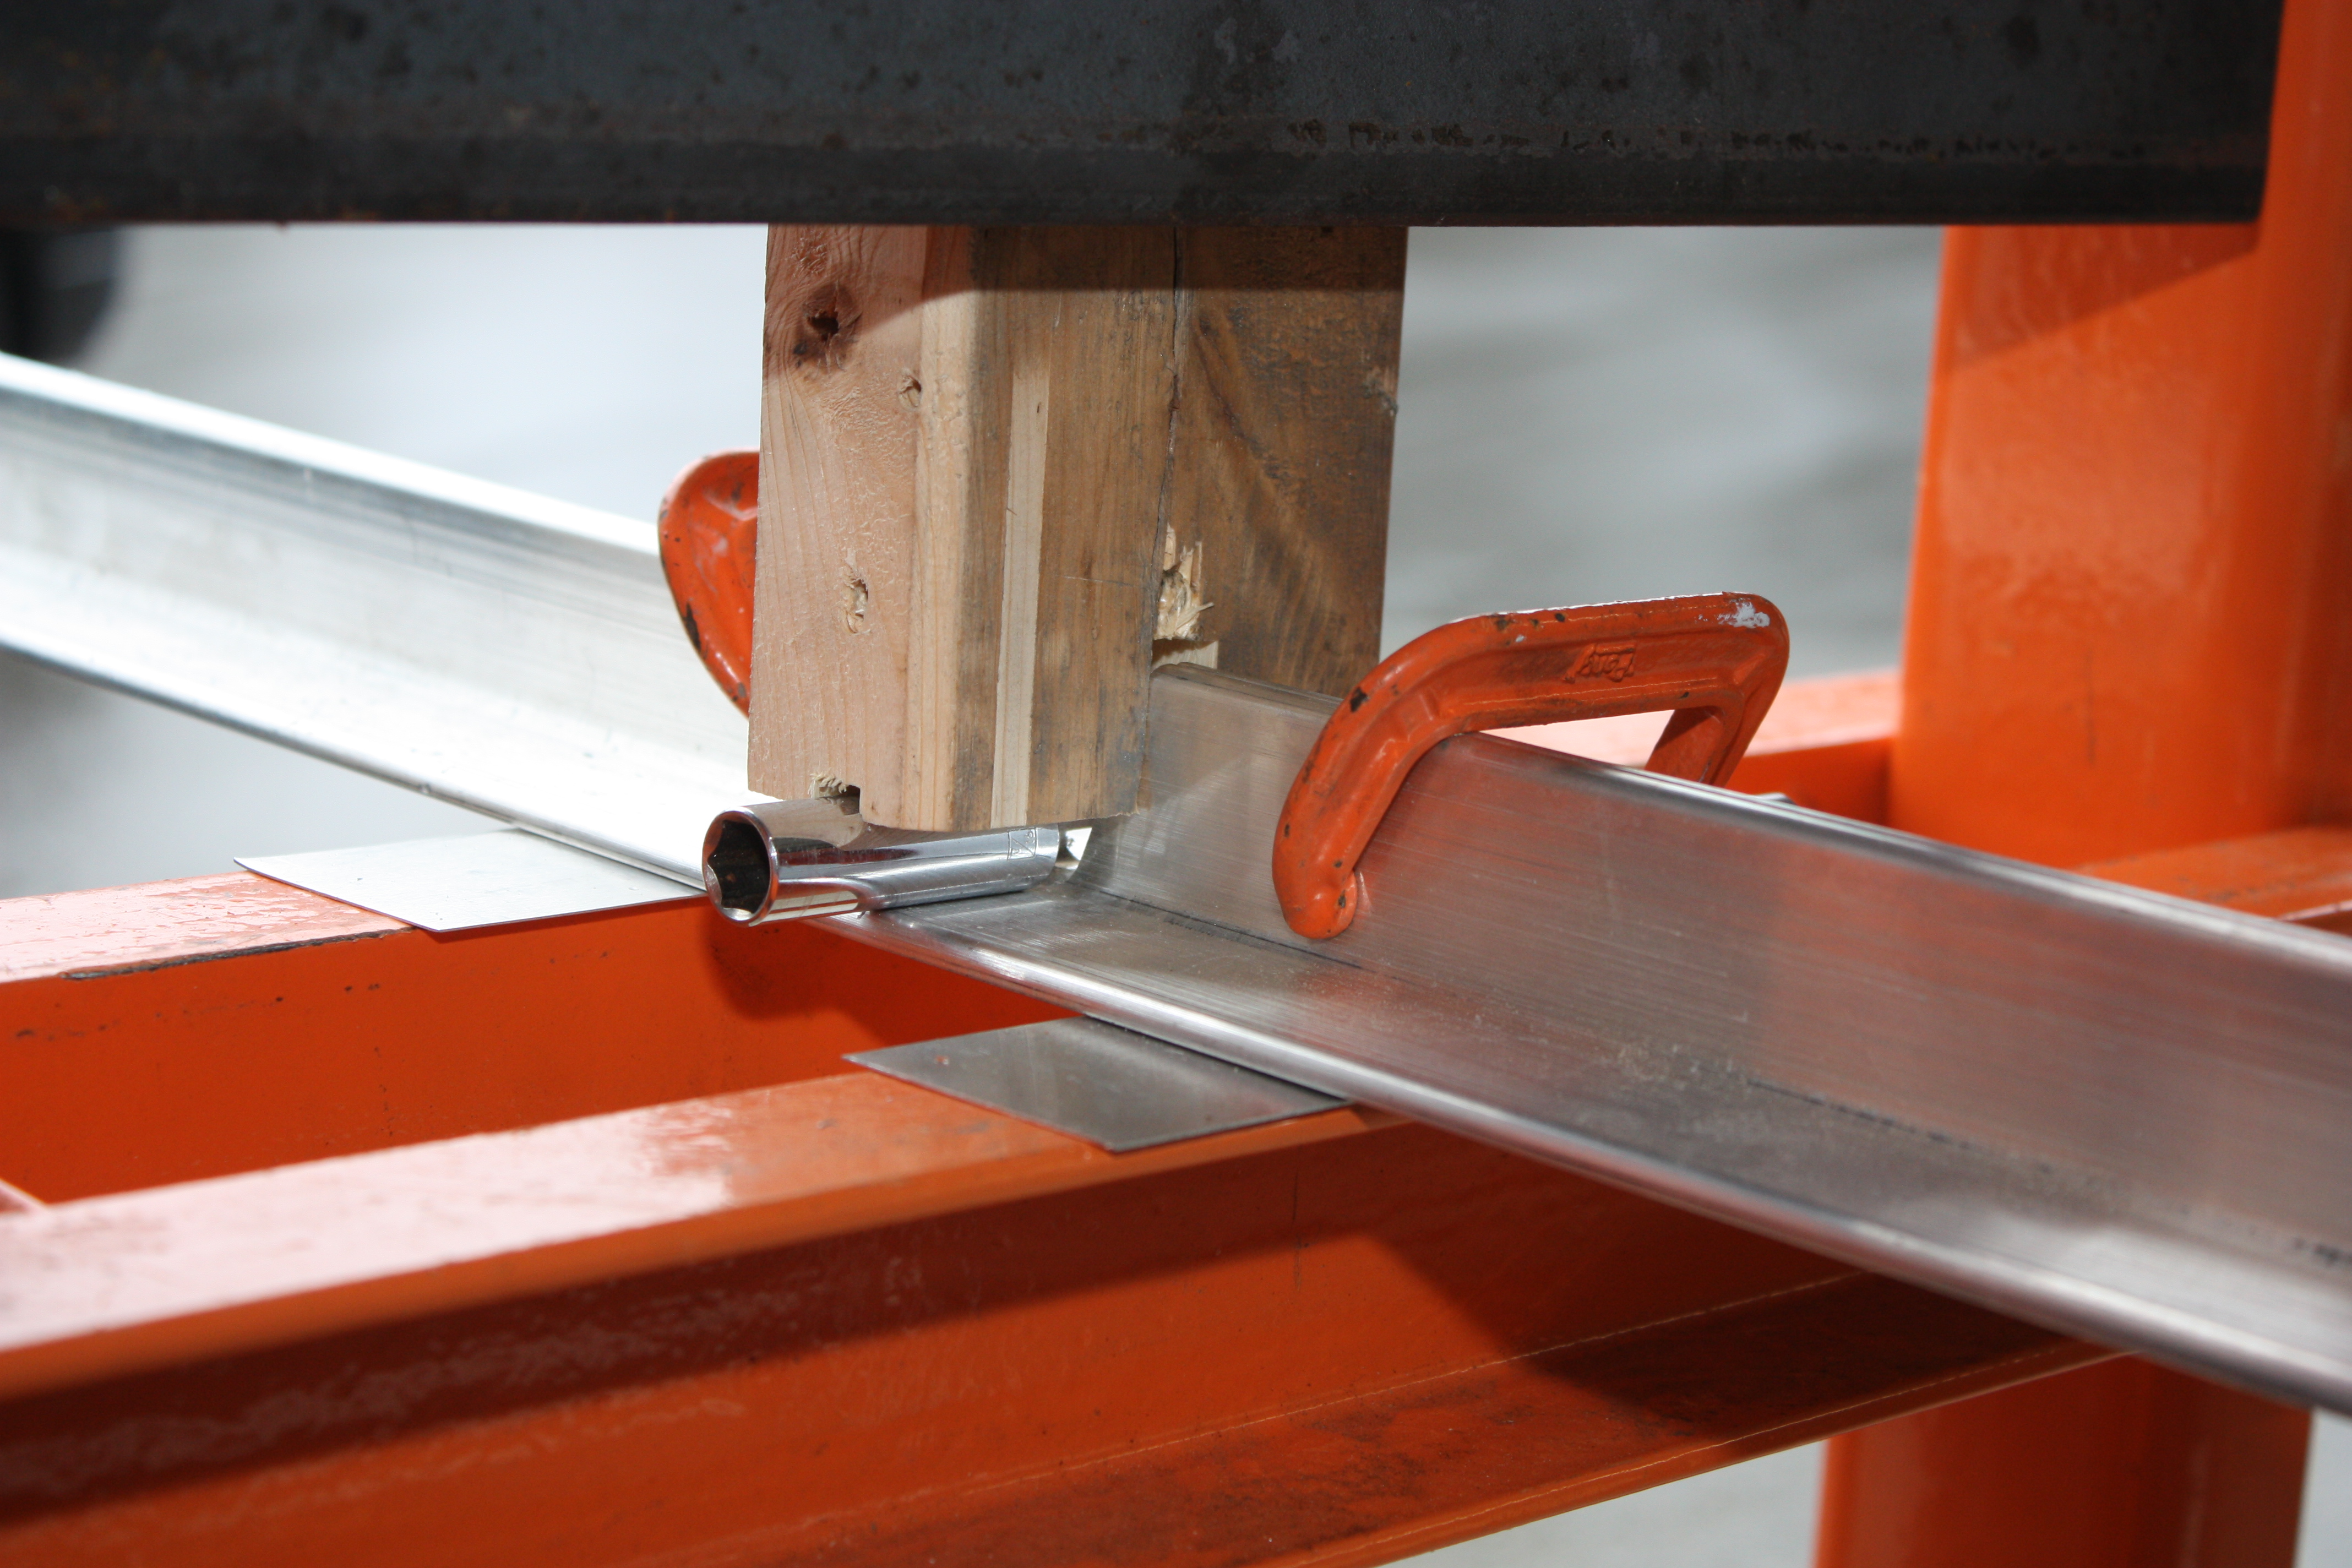
I needed a bend of 21.8 degrees. I used the digital level to get about 28 degrees and the 6 degrees of springback got me almost there. The last little bit of bending or straightening is done by hand.

Another thing worth noting is that the angle stock was initially cut oversized. Once the bend was in place, I then went back to mark where it needed to be trimmed. It's very helpful to have a full size drawing to work against:
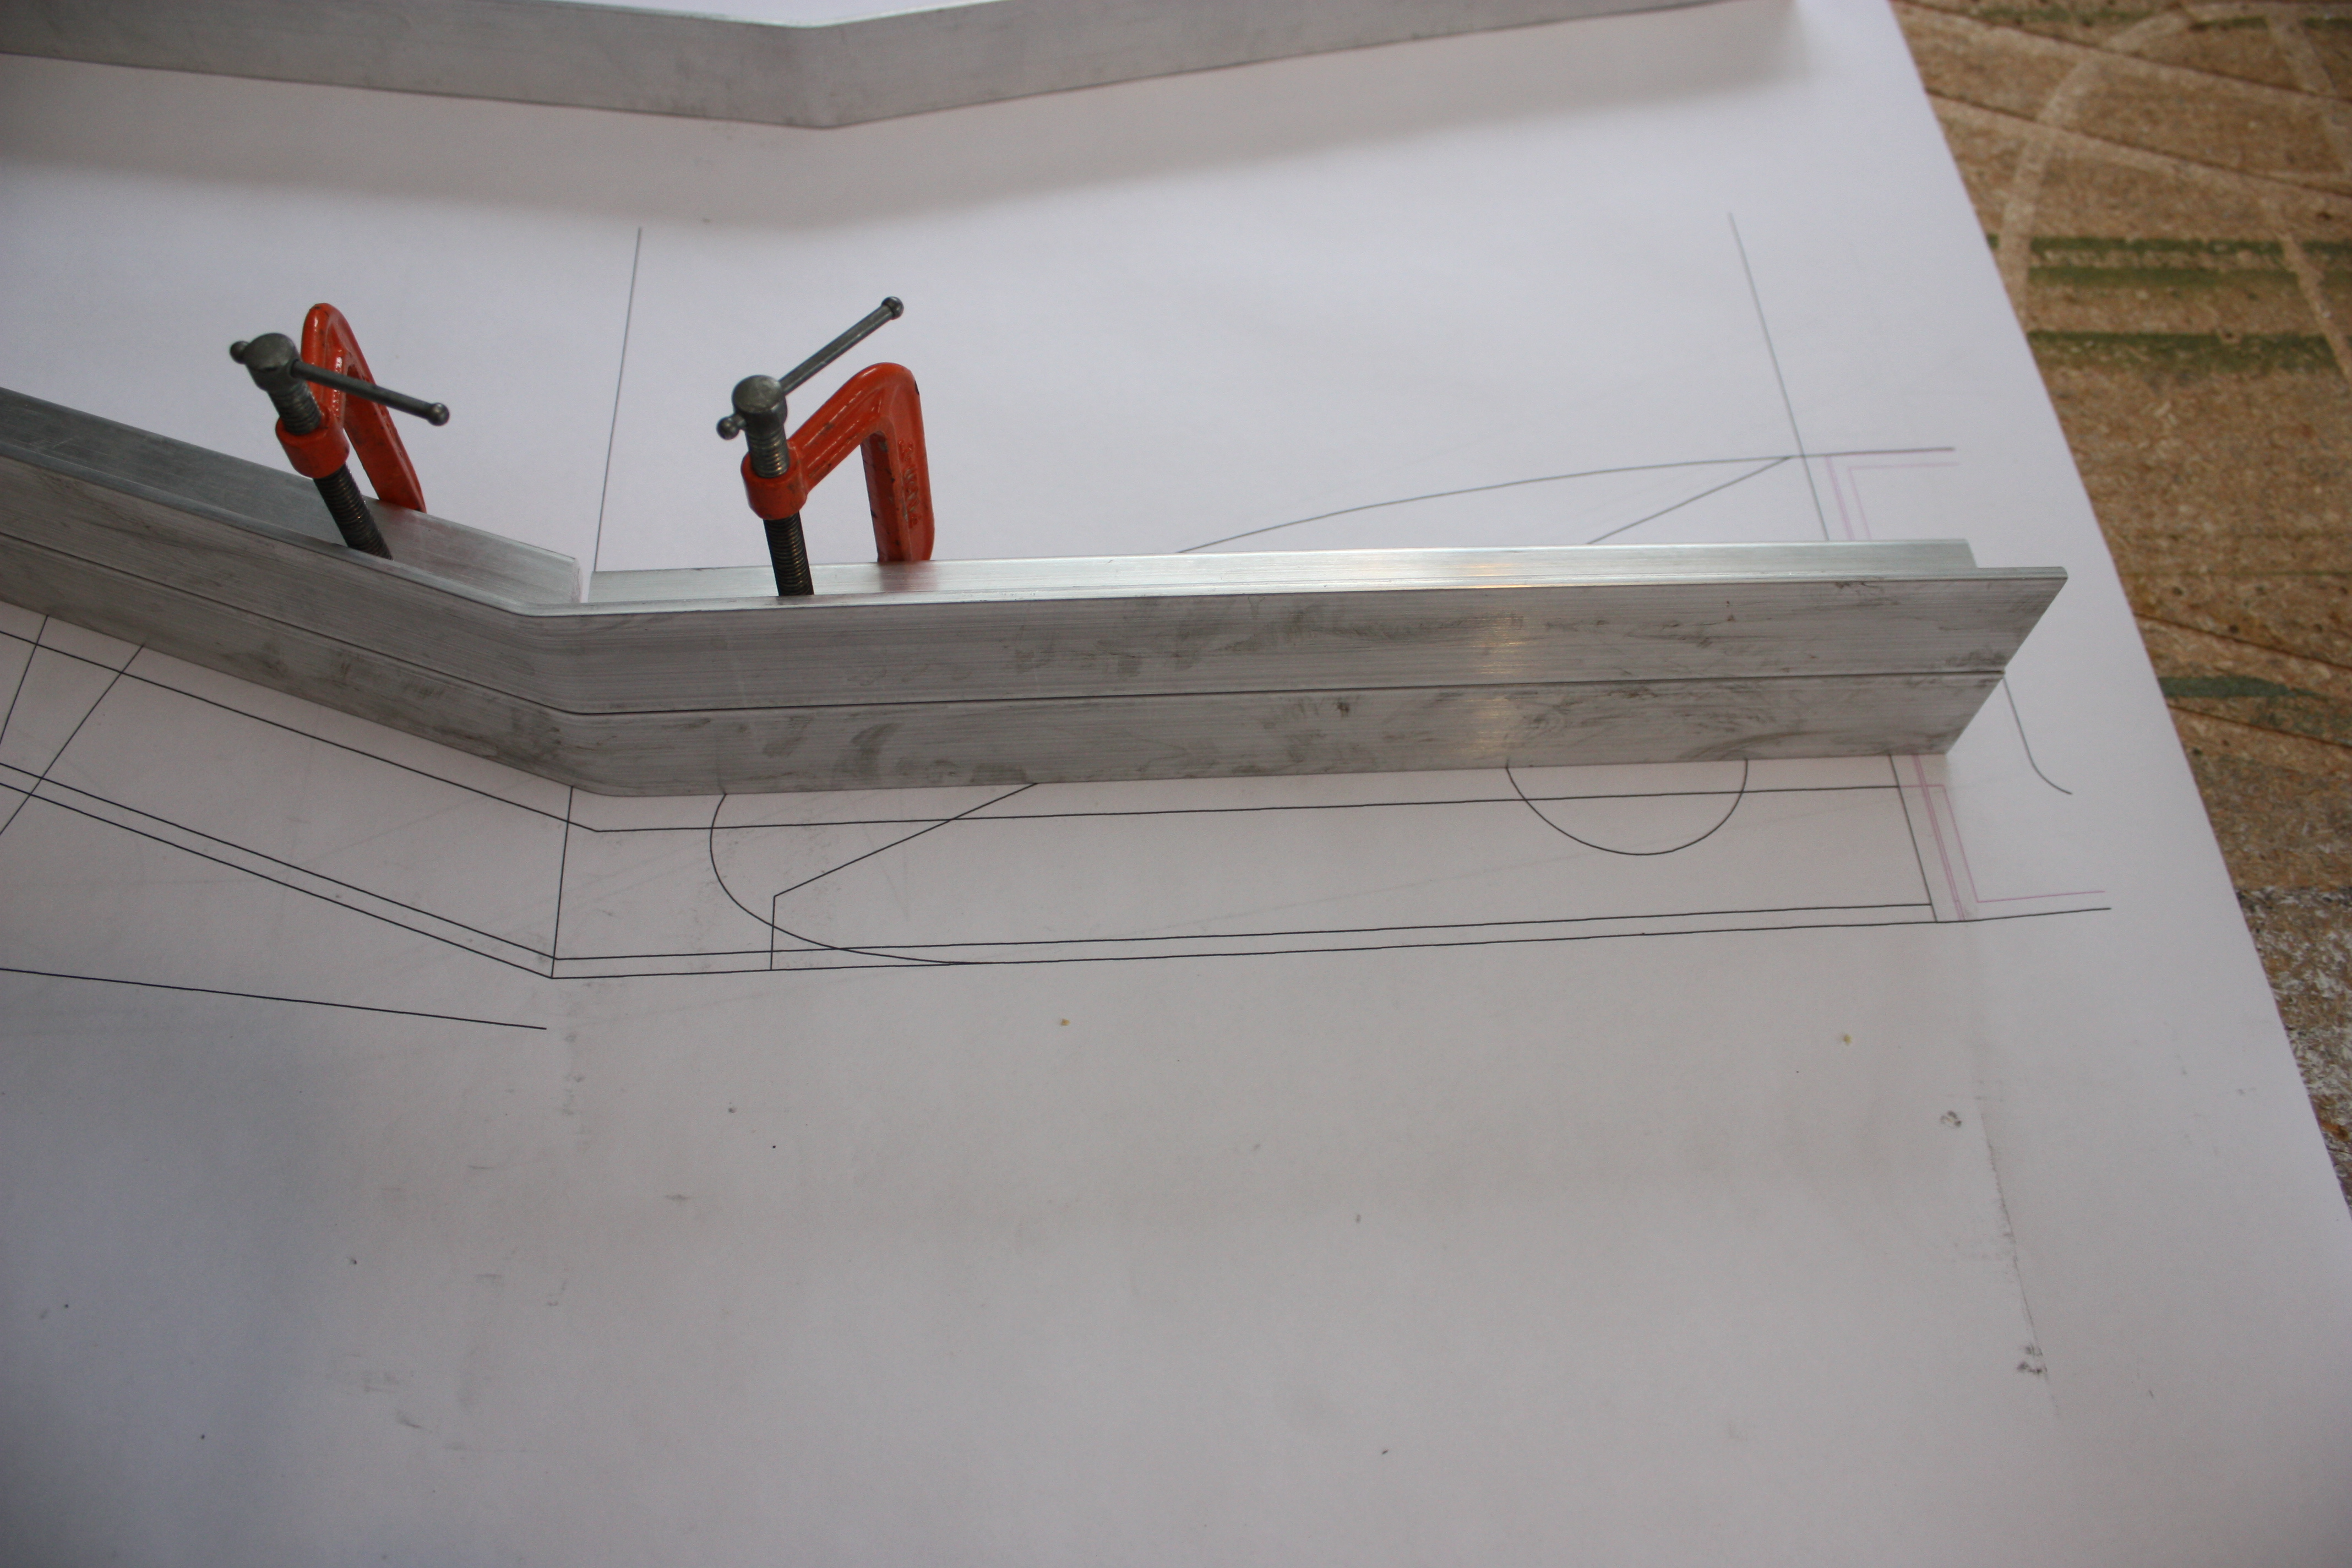
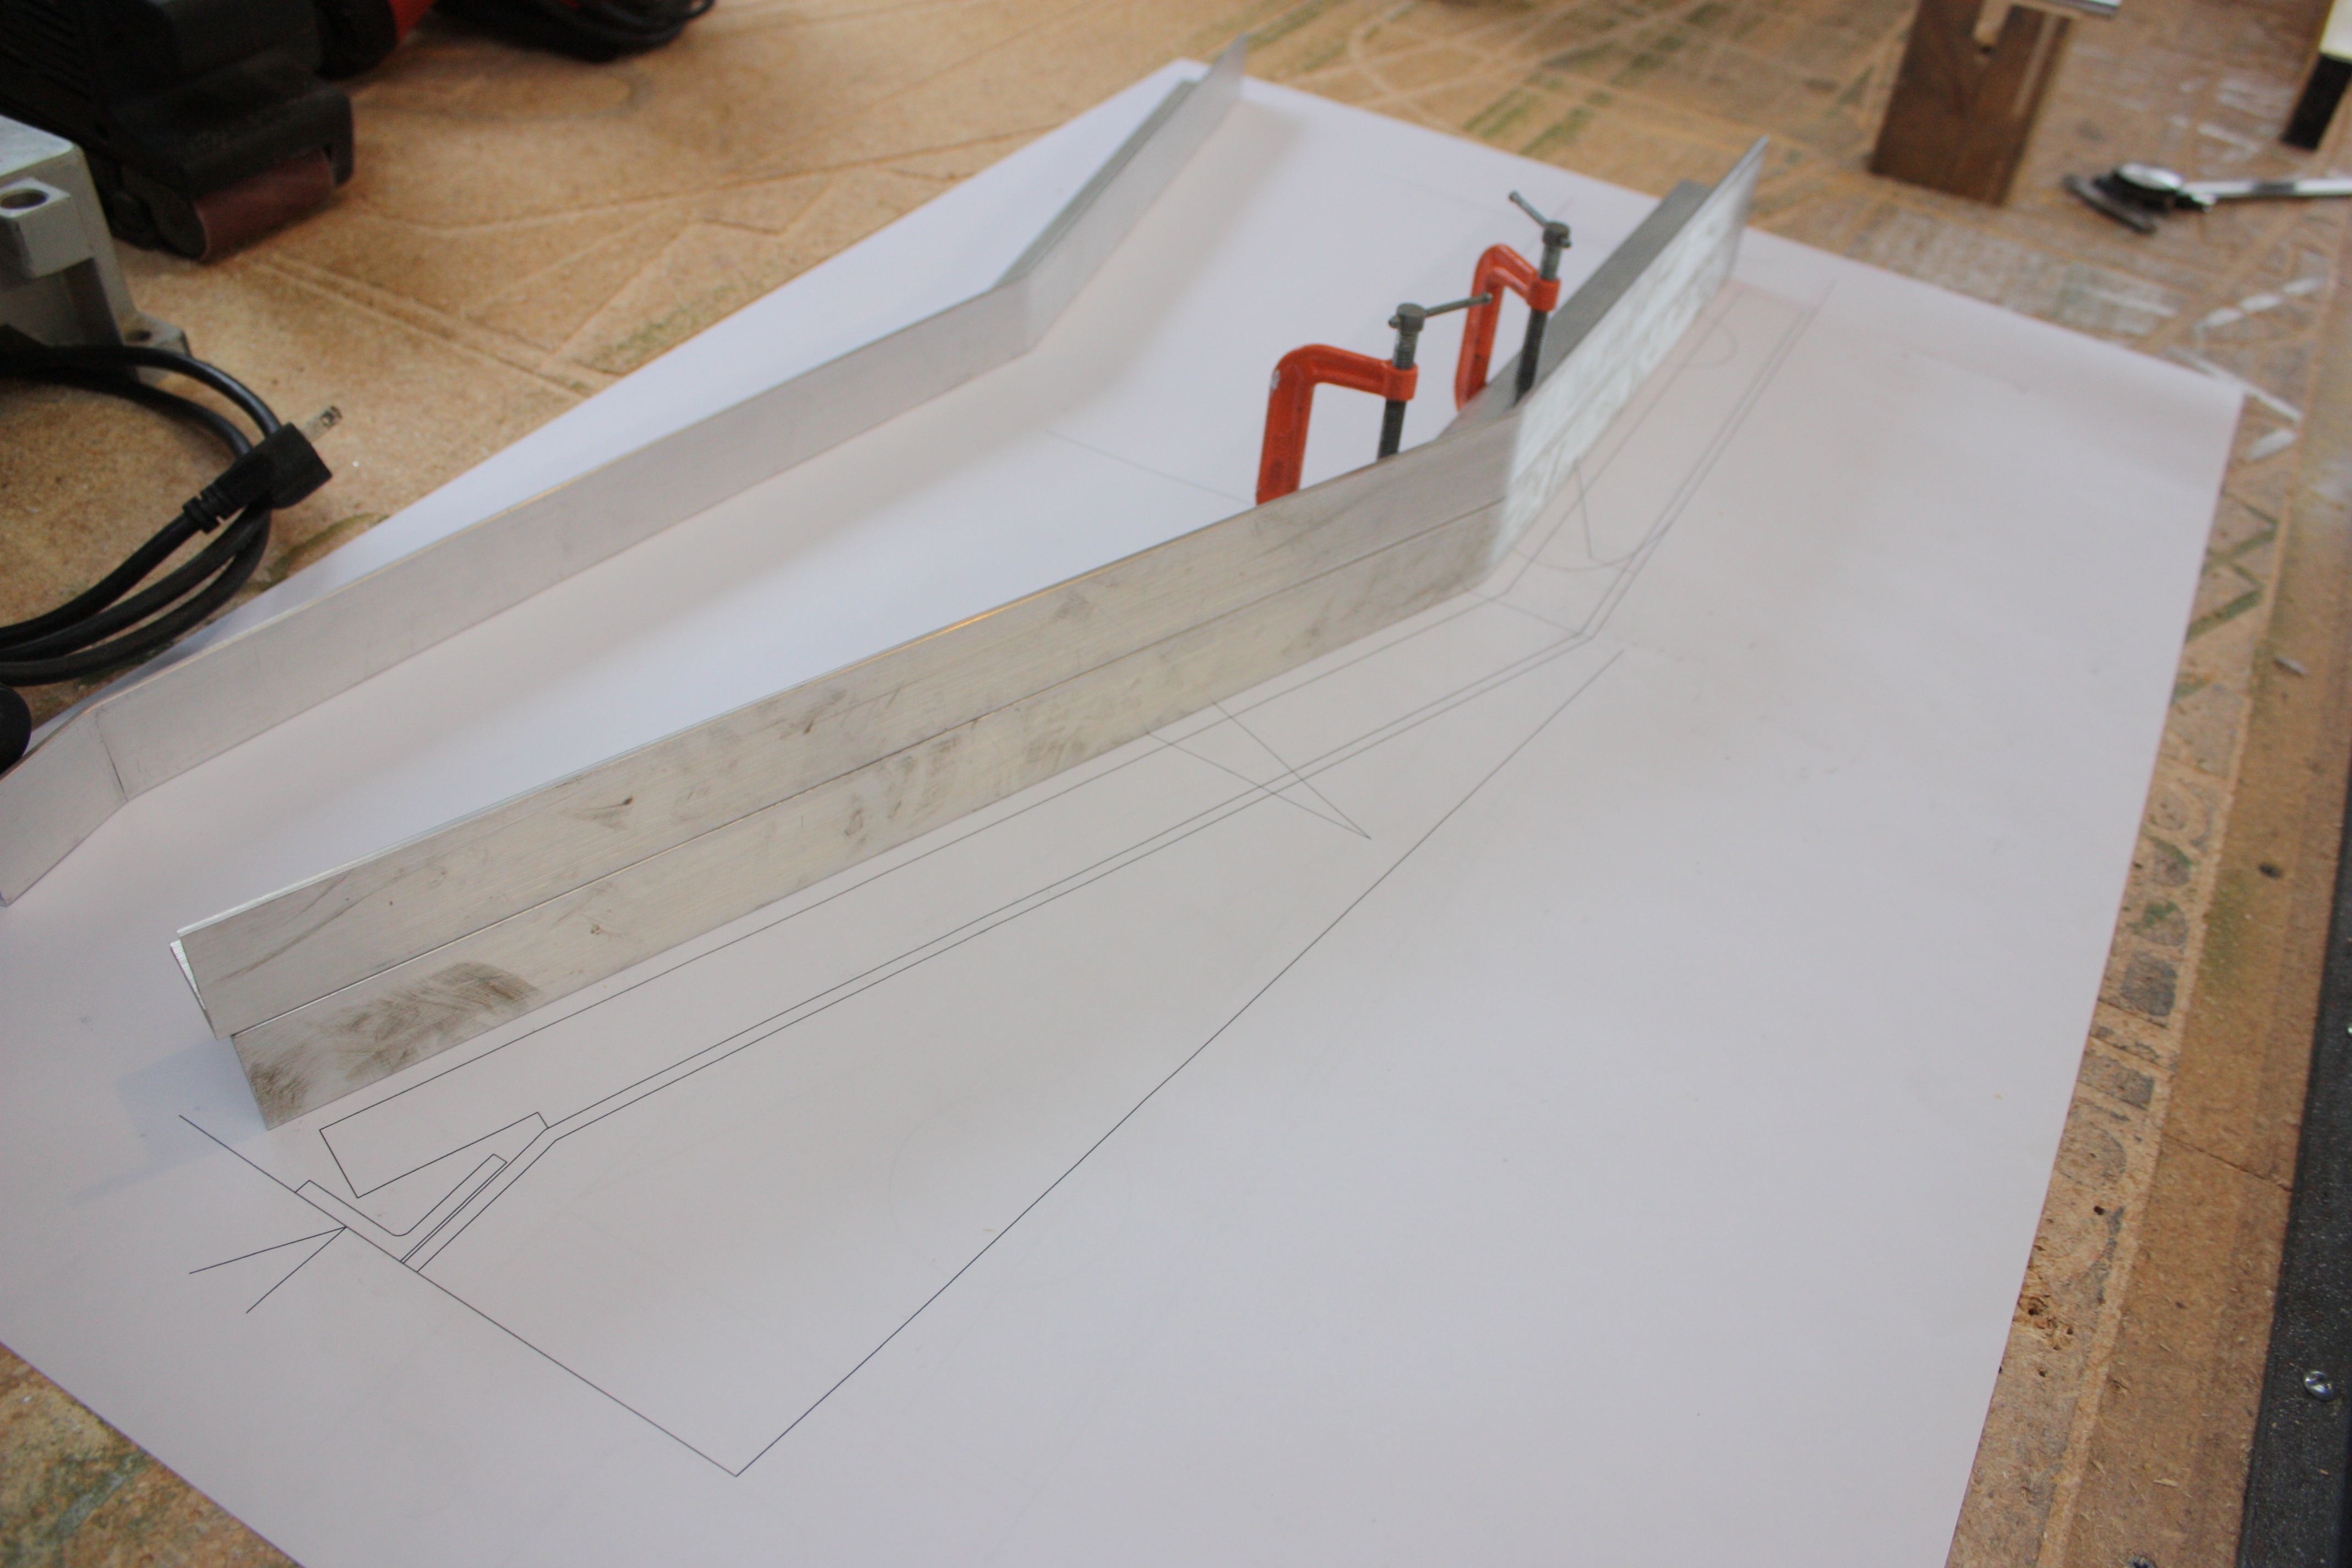
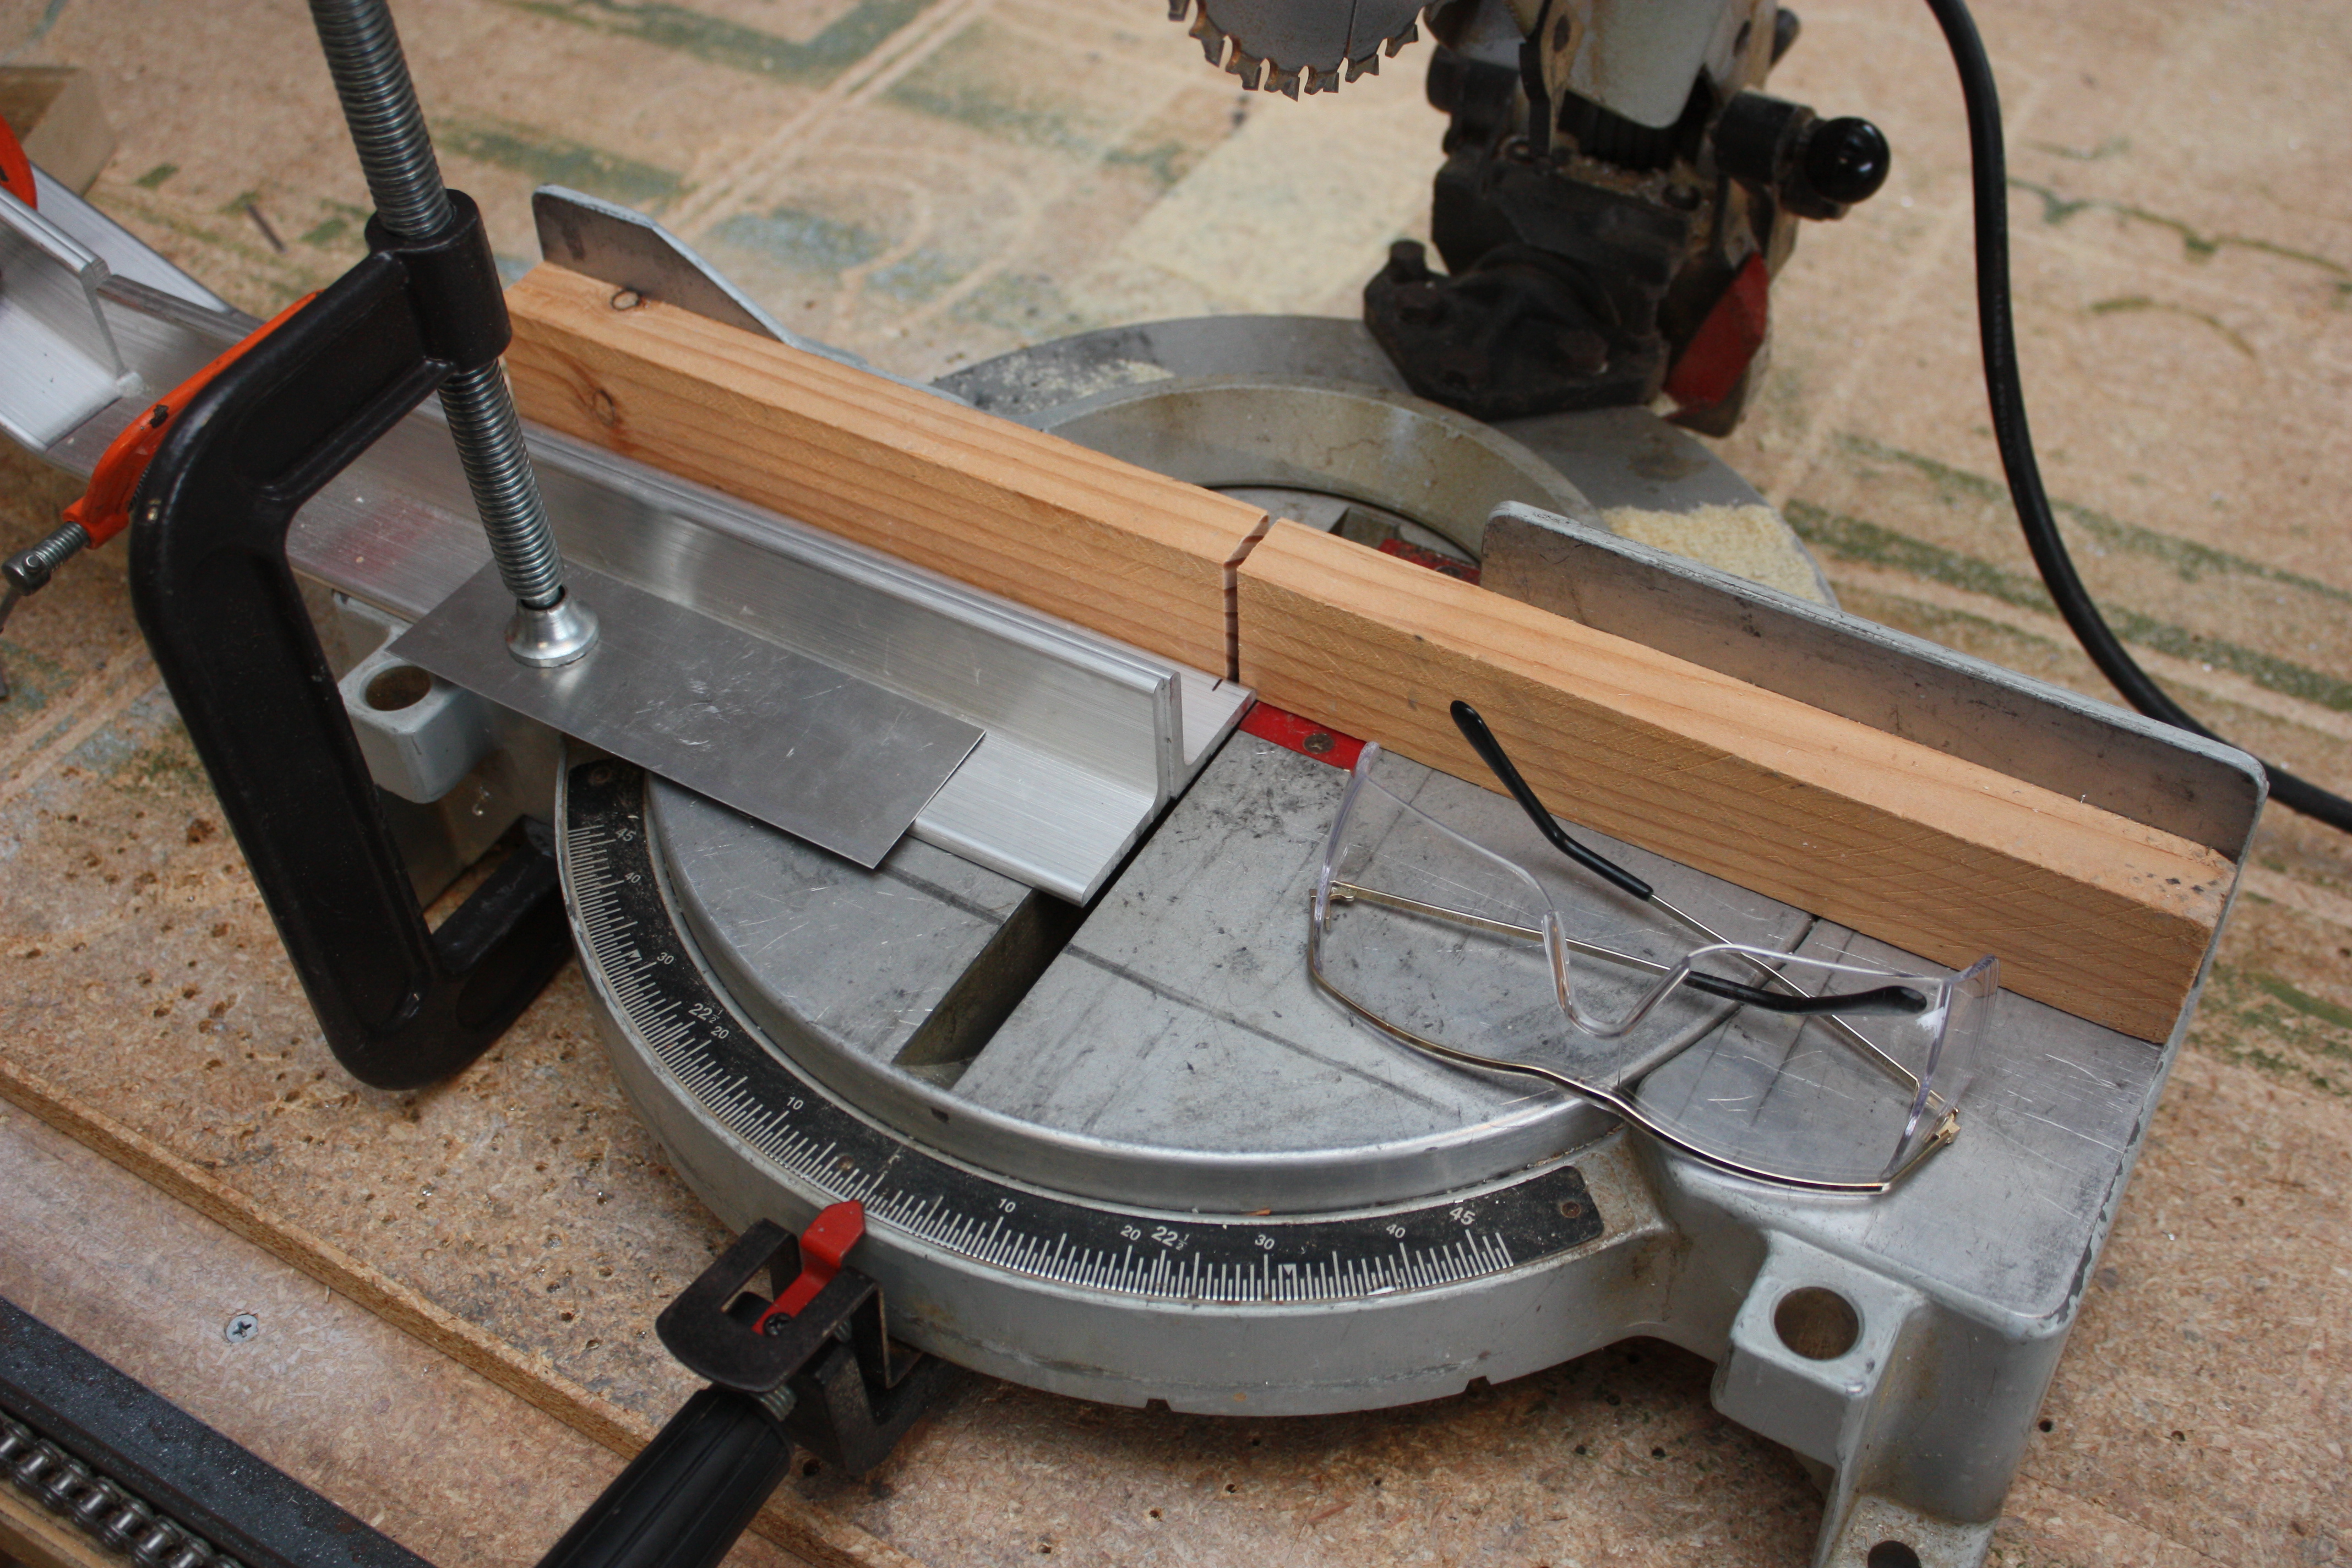
With the aft bend in placed and the aft end marked, I was able to set up to cut the aft end to length. Using a chop saw to do this is DANGEROUS so follow some basic safety steps:
Wear safety glasses.
You must cut very slowly. As slow as your hand can go. To make this cut it may have taken 1/2 a minute or more. The big concern is to have the saw shave off only a little bit and to not dig into the aluminum. Once that happens, it's instantly a big mess of bent metal and whatever hands are in the neighborhood are broken or worse.
You can also see I have two other things going on here to keep the cut controlled. I have a full fence installed (the block of wood screwed to the saw) and this helps tremendously. I also have the material clamped to the saw. Your hand is not strong enough to keep the material from sliding left or right during the cut, leaving you with a slightly crooked cut. The clamp also allows me to get my left hand out of the way, so if something does go wrong it's not broken.
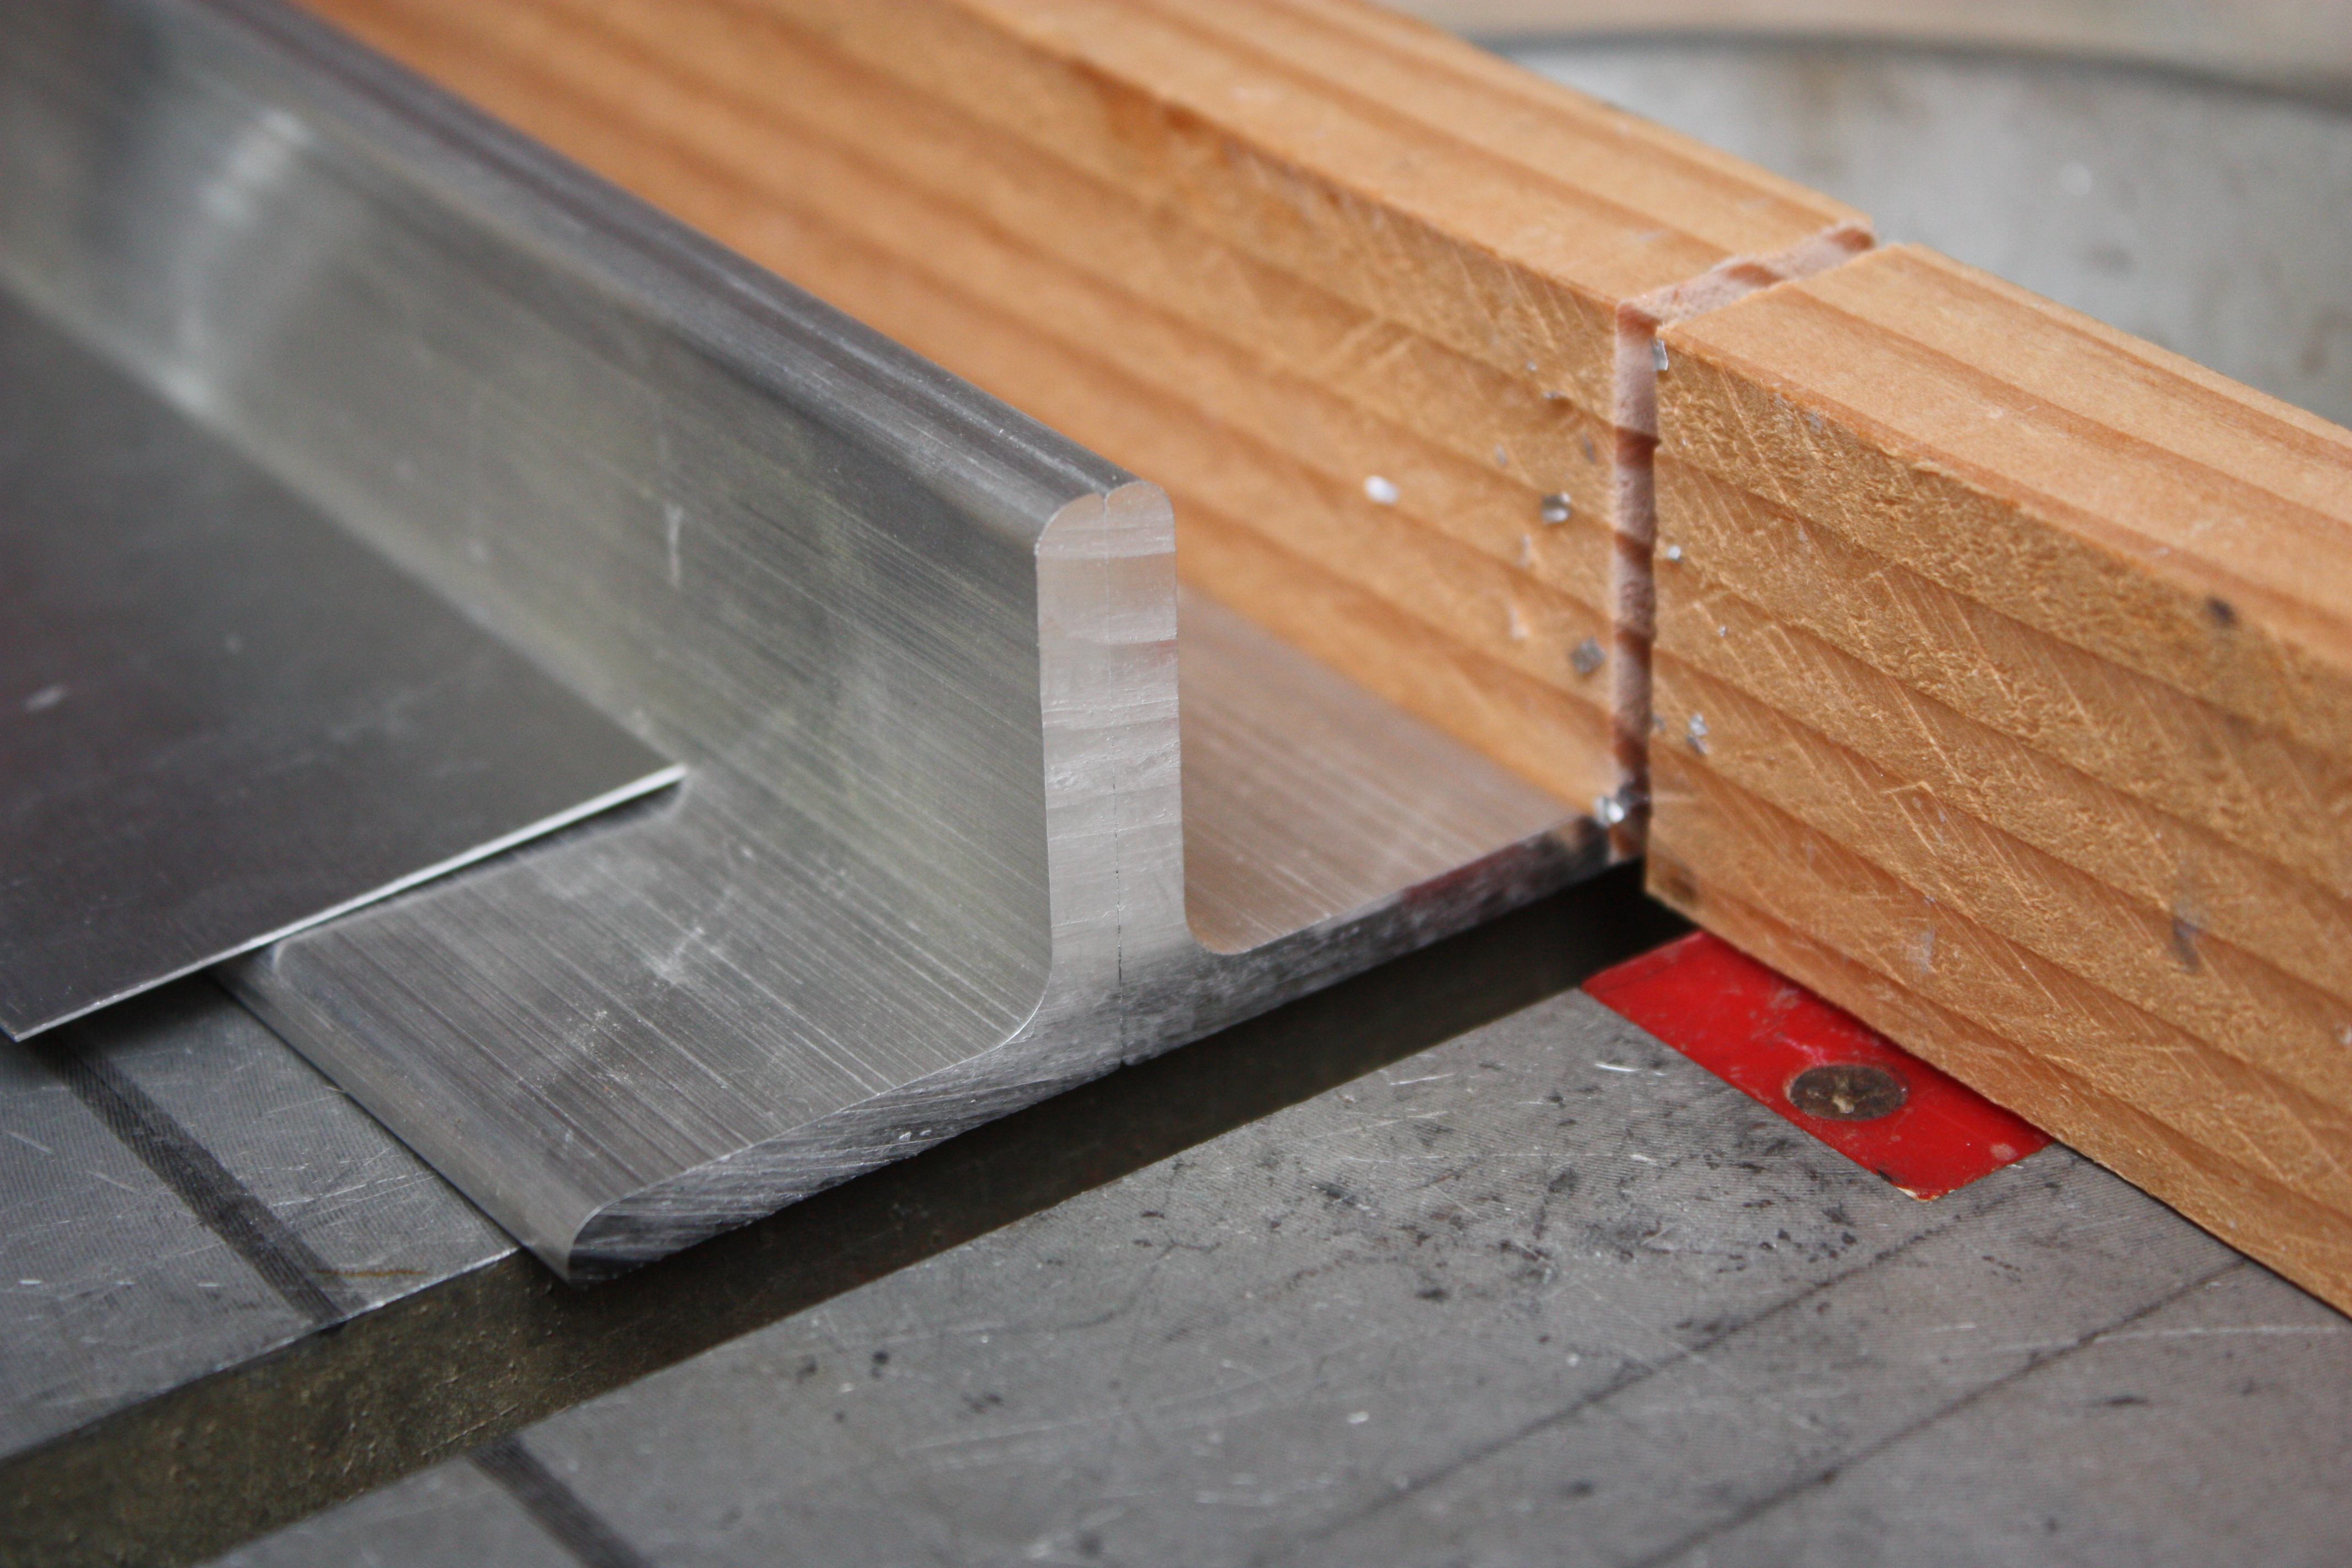
Looks good...
Once the aft end was finished, I was then able to mark the forward bends and cuts. The process was the same. I don't have pictures of the whole process, but I do have this one of my CNC cutting the forward notch:
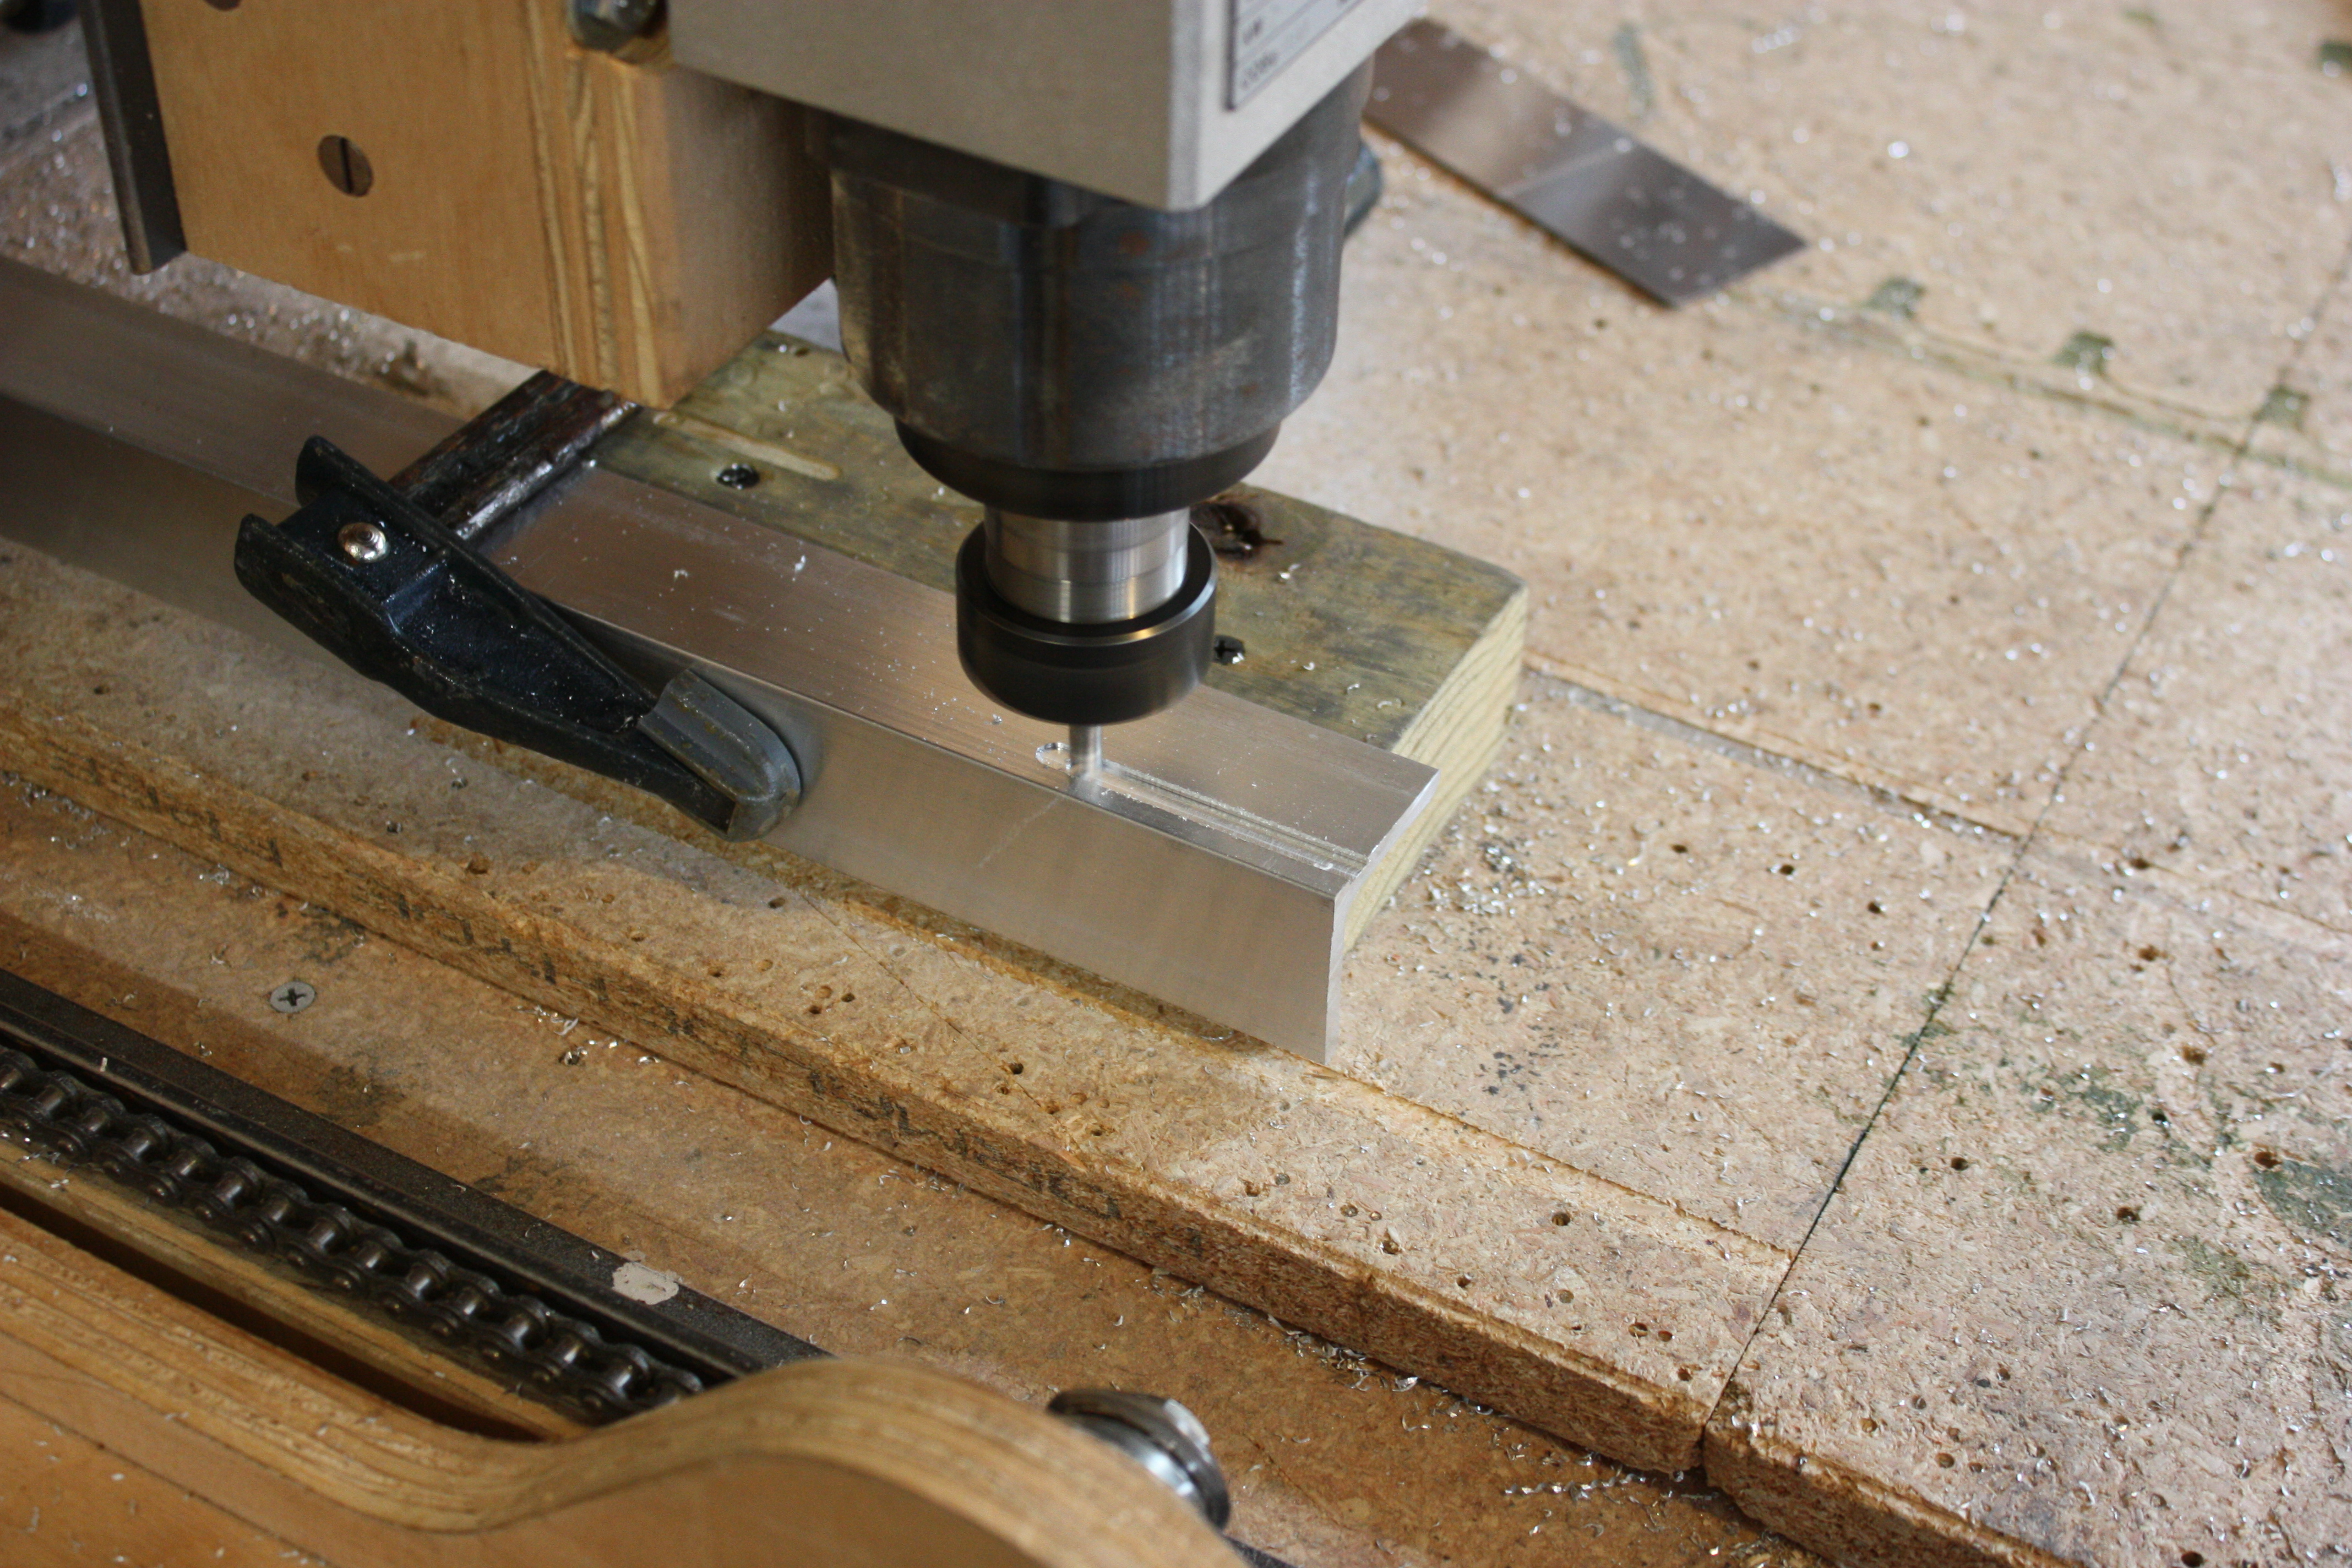
The top stringers and the other angles were cut in similar fashion.
At this point, the front bulkheads and structure are clamped in place to point out what items need to be trimmed for final fitting. It's all starting to come together nicely:
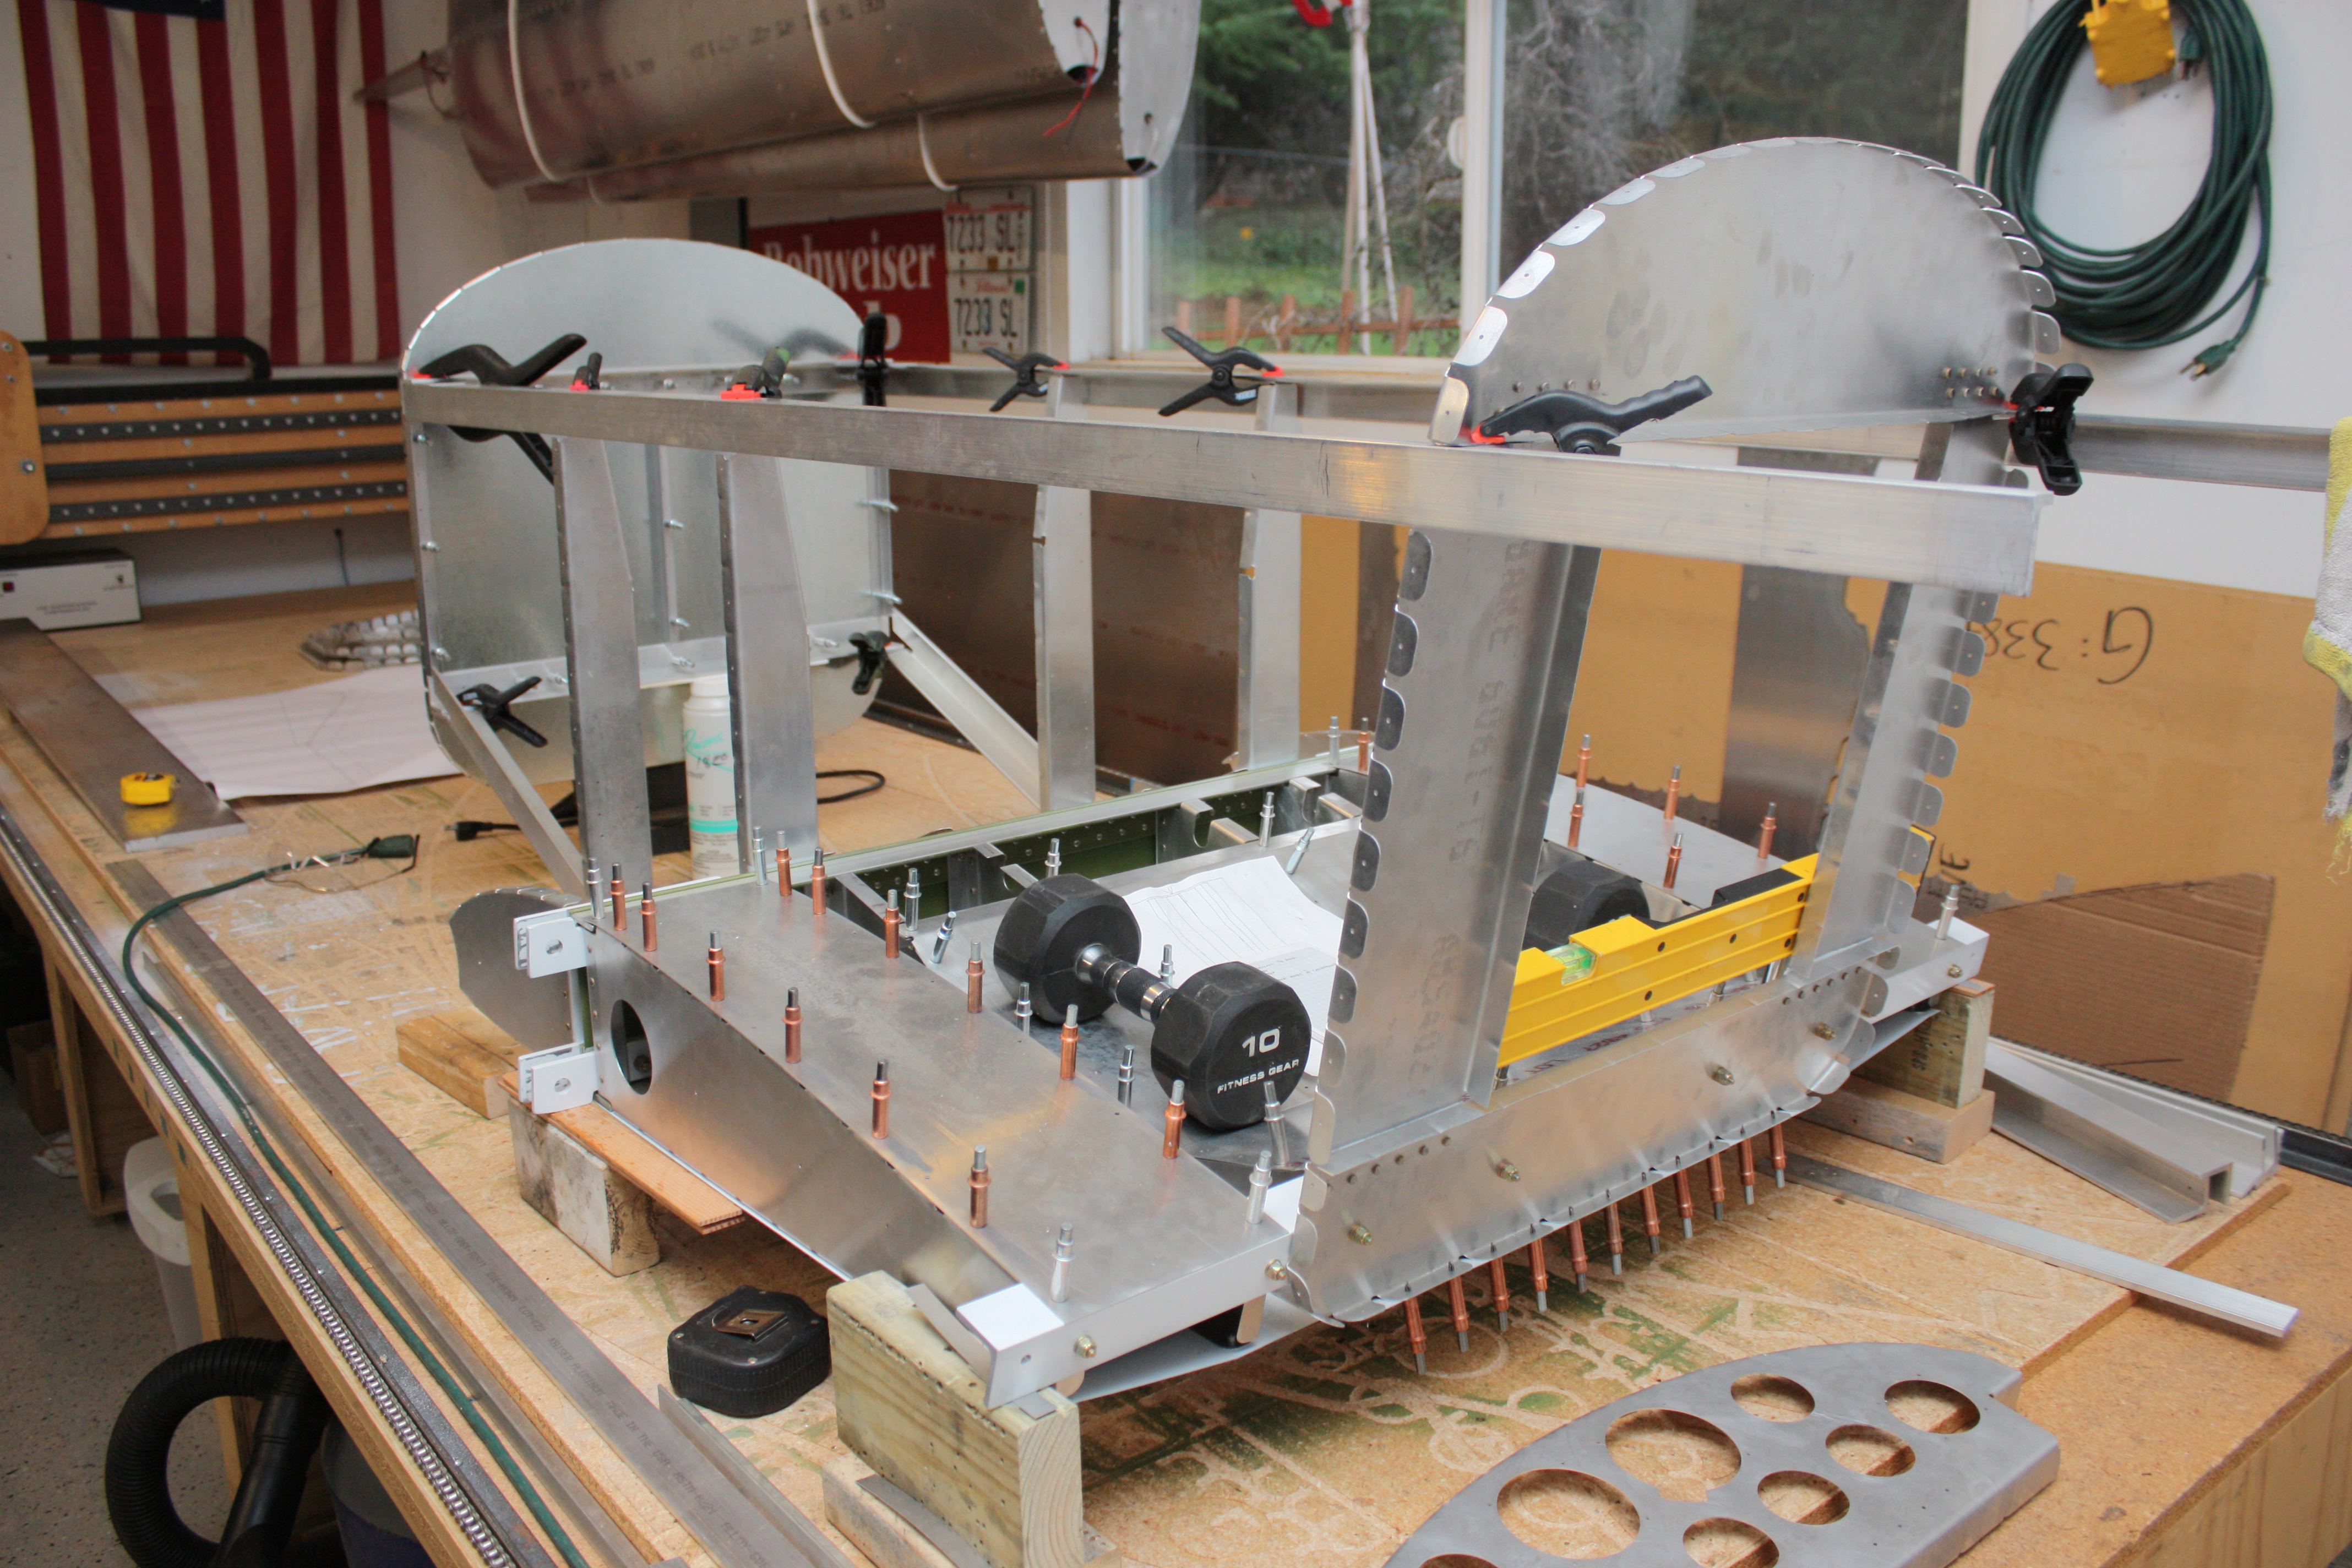
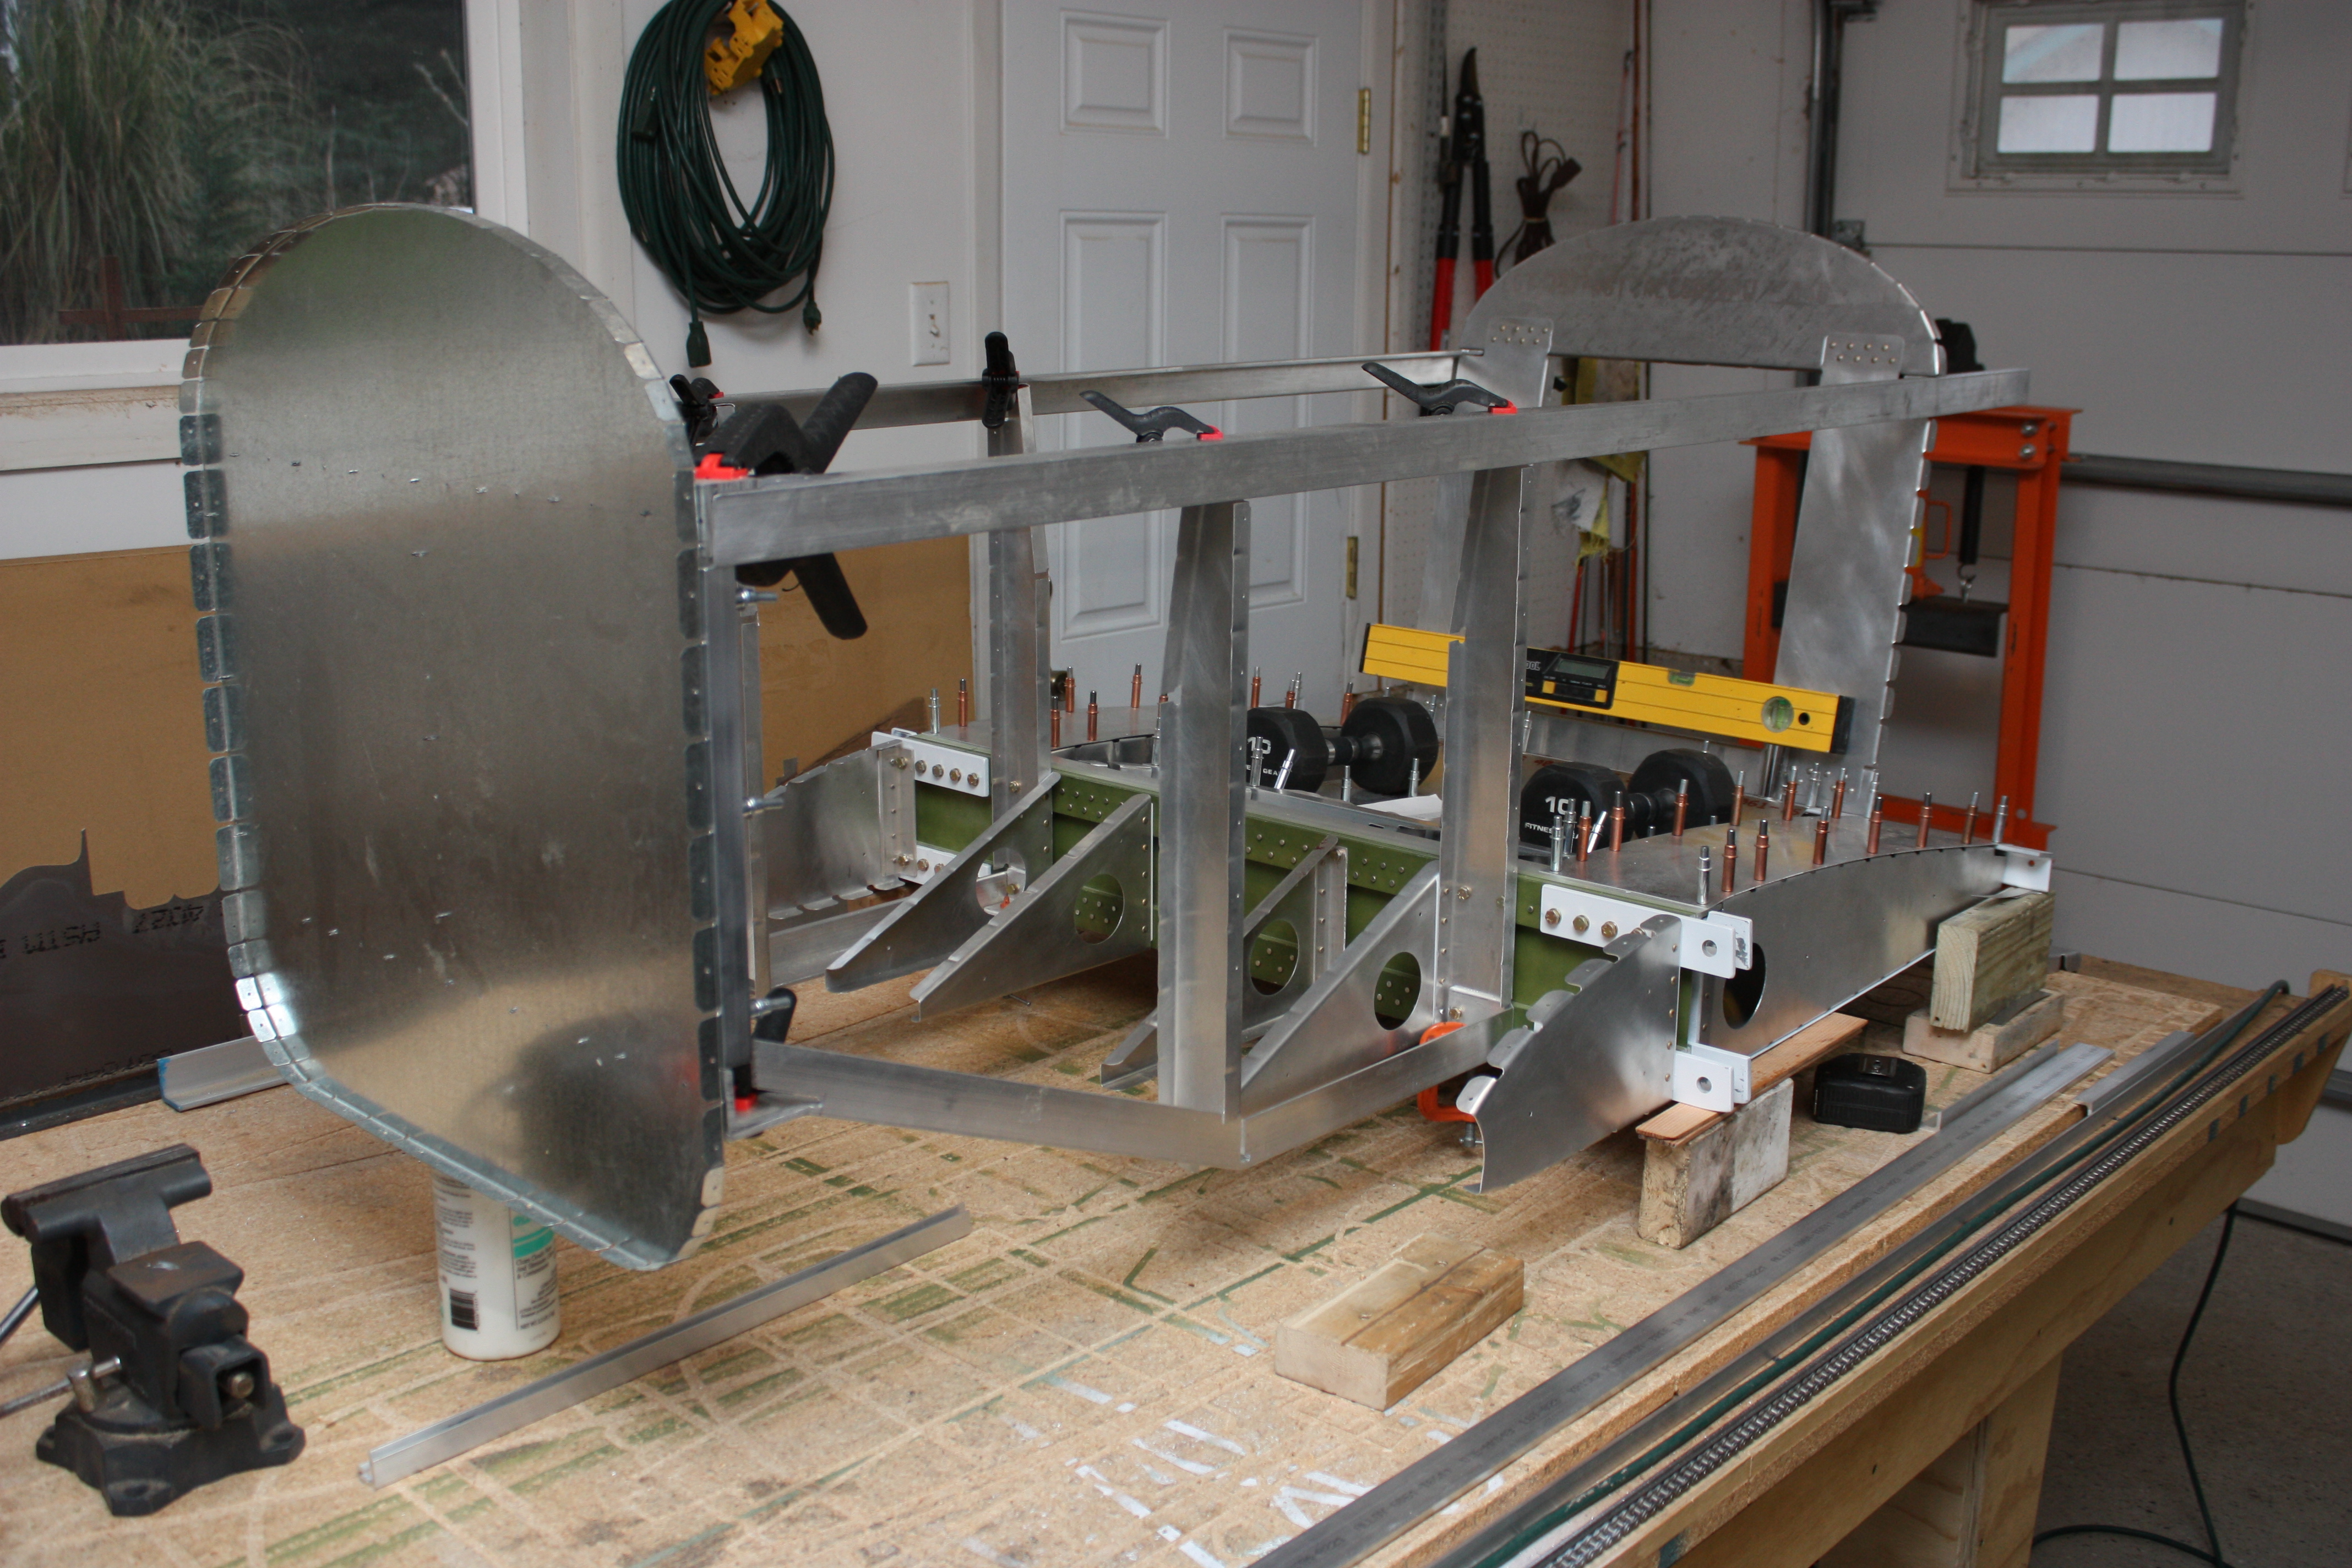
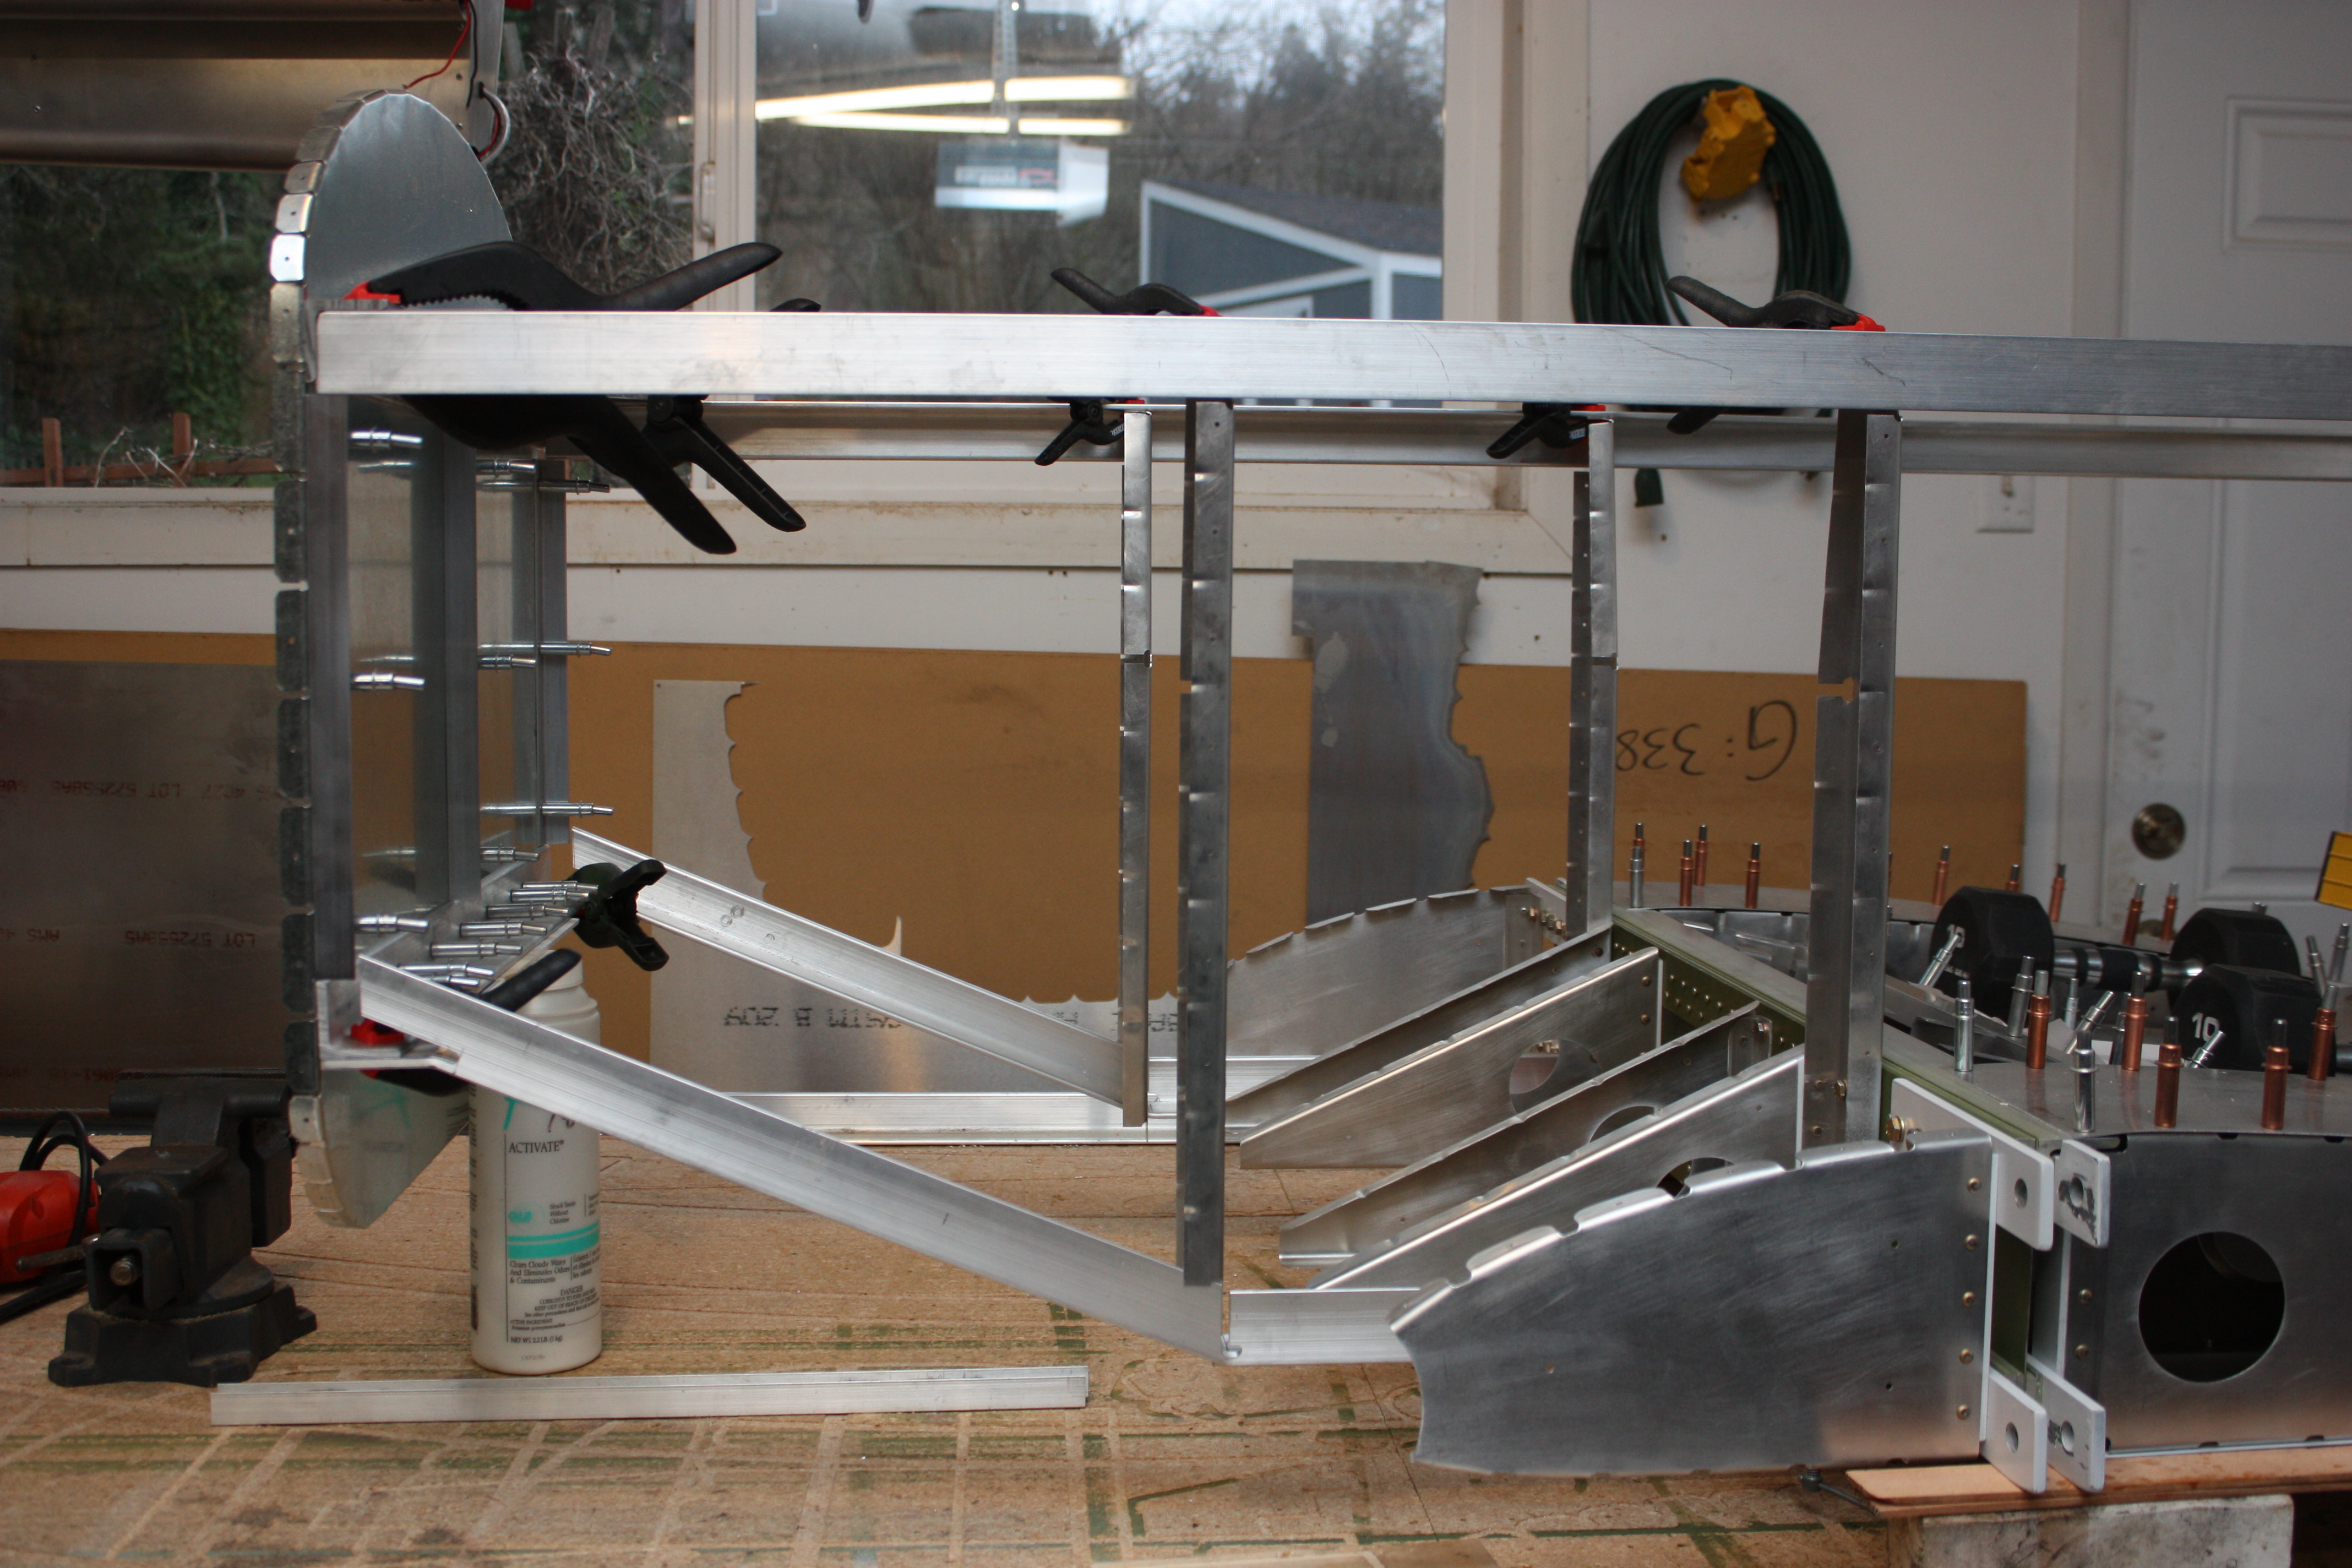
Landing Gear
The landing gear for the CX4 is the same as the Sonerai II. It starts with a 6" wide bar 5/8" thick. I could have just as easily ordered this gear from a couple of sources, but I don't mind scratch building it.
I used 6061-T6 (yield of about 40,000 psi). When buying completed gear, it comes in 7075-T6 (yield of about 73,000 psi) or 2024-T351 (yield of about 47,000 psi). This got me wondering a little, but I have come to this conclusion: The 6 inch width is based on minimum necessary to allow enough leverage at the connection points to keep the gear from rolling off the fuselage (i.e. the wheel hits a hole and pulls backwards). The width at the ends is based on the 2-1/2 inch wide axle mounting plate. And the gear is simply tapered in between those two points. The only dimension determining actual strength of the gear is the thickness. So working out some quick beam calculations, I get the following:
Using a beam arm of 20 inches (the approximate horizontal distance from the gear connection to the wheel while under load), the force necessary to stress the gear to the yield point of a 5/8 inch thick bar of 6061 is about 800 pounds per wheel, or 1600 pounds total. That would be a 2-G landing at gross. At that point, I would sooner bend the 3/16 inch aluminum angles that the gear is bolted to.
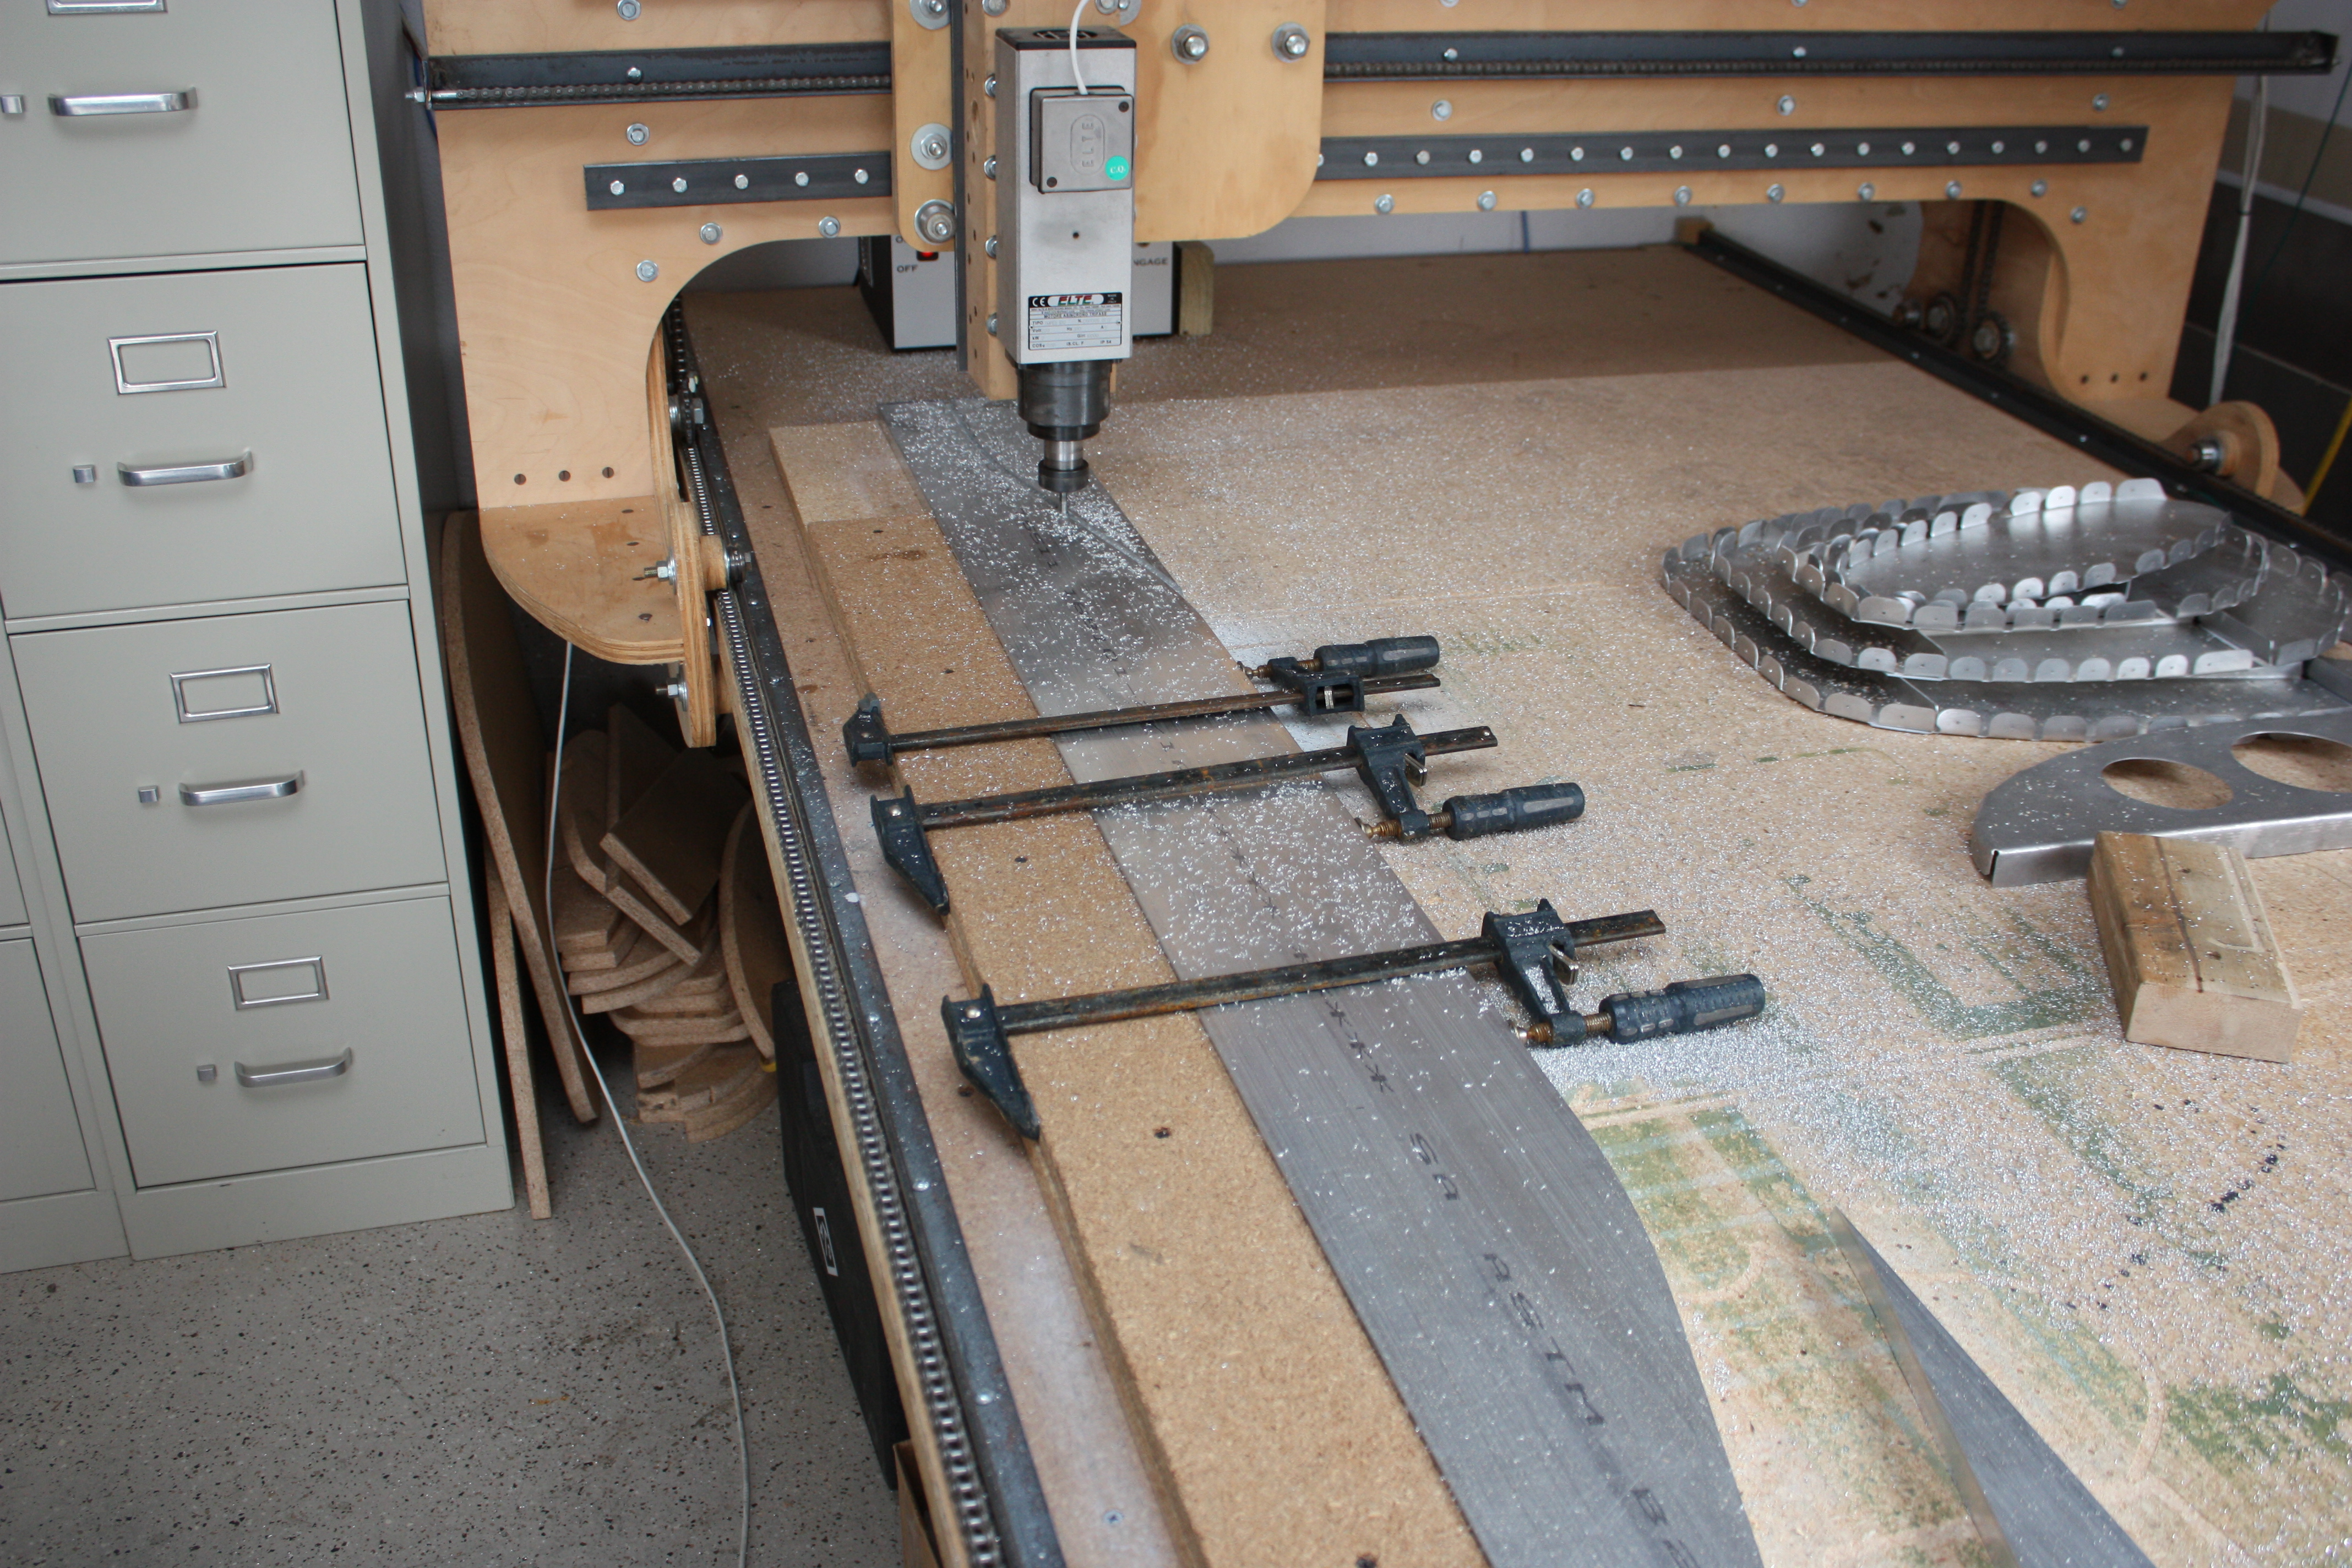
The first step was to draw it up so I knew what angles and lengths I needed (this work is not shown). I could then cut the taper on my CNC. To cut the 5/8" bar, I used an O-Flute bit at 10,000 RPM, cut at 20 inches per minute, and cut each pass 0.020 of an inch. That was pretty thin and it took 18 passes, but I was doing other things while the CNC did its thing. It took about an hour and a half. Below you can see the bar before the bit starts digging into it. The strip of particleboard screwed to the table is a temporary fence. I screwed it down, and then faced off the edge so that it was true to the Y-axis of my CNC.
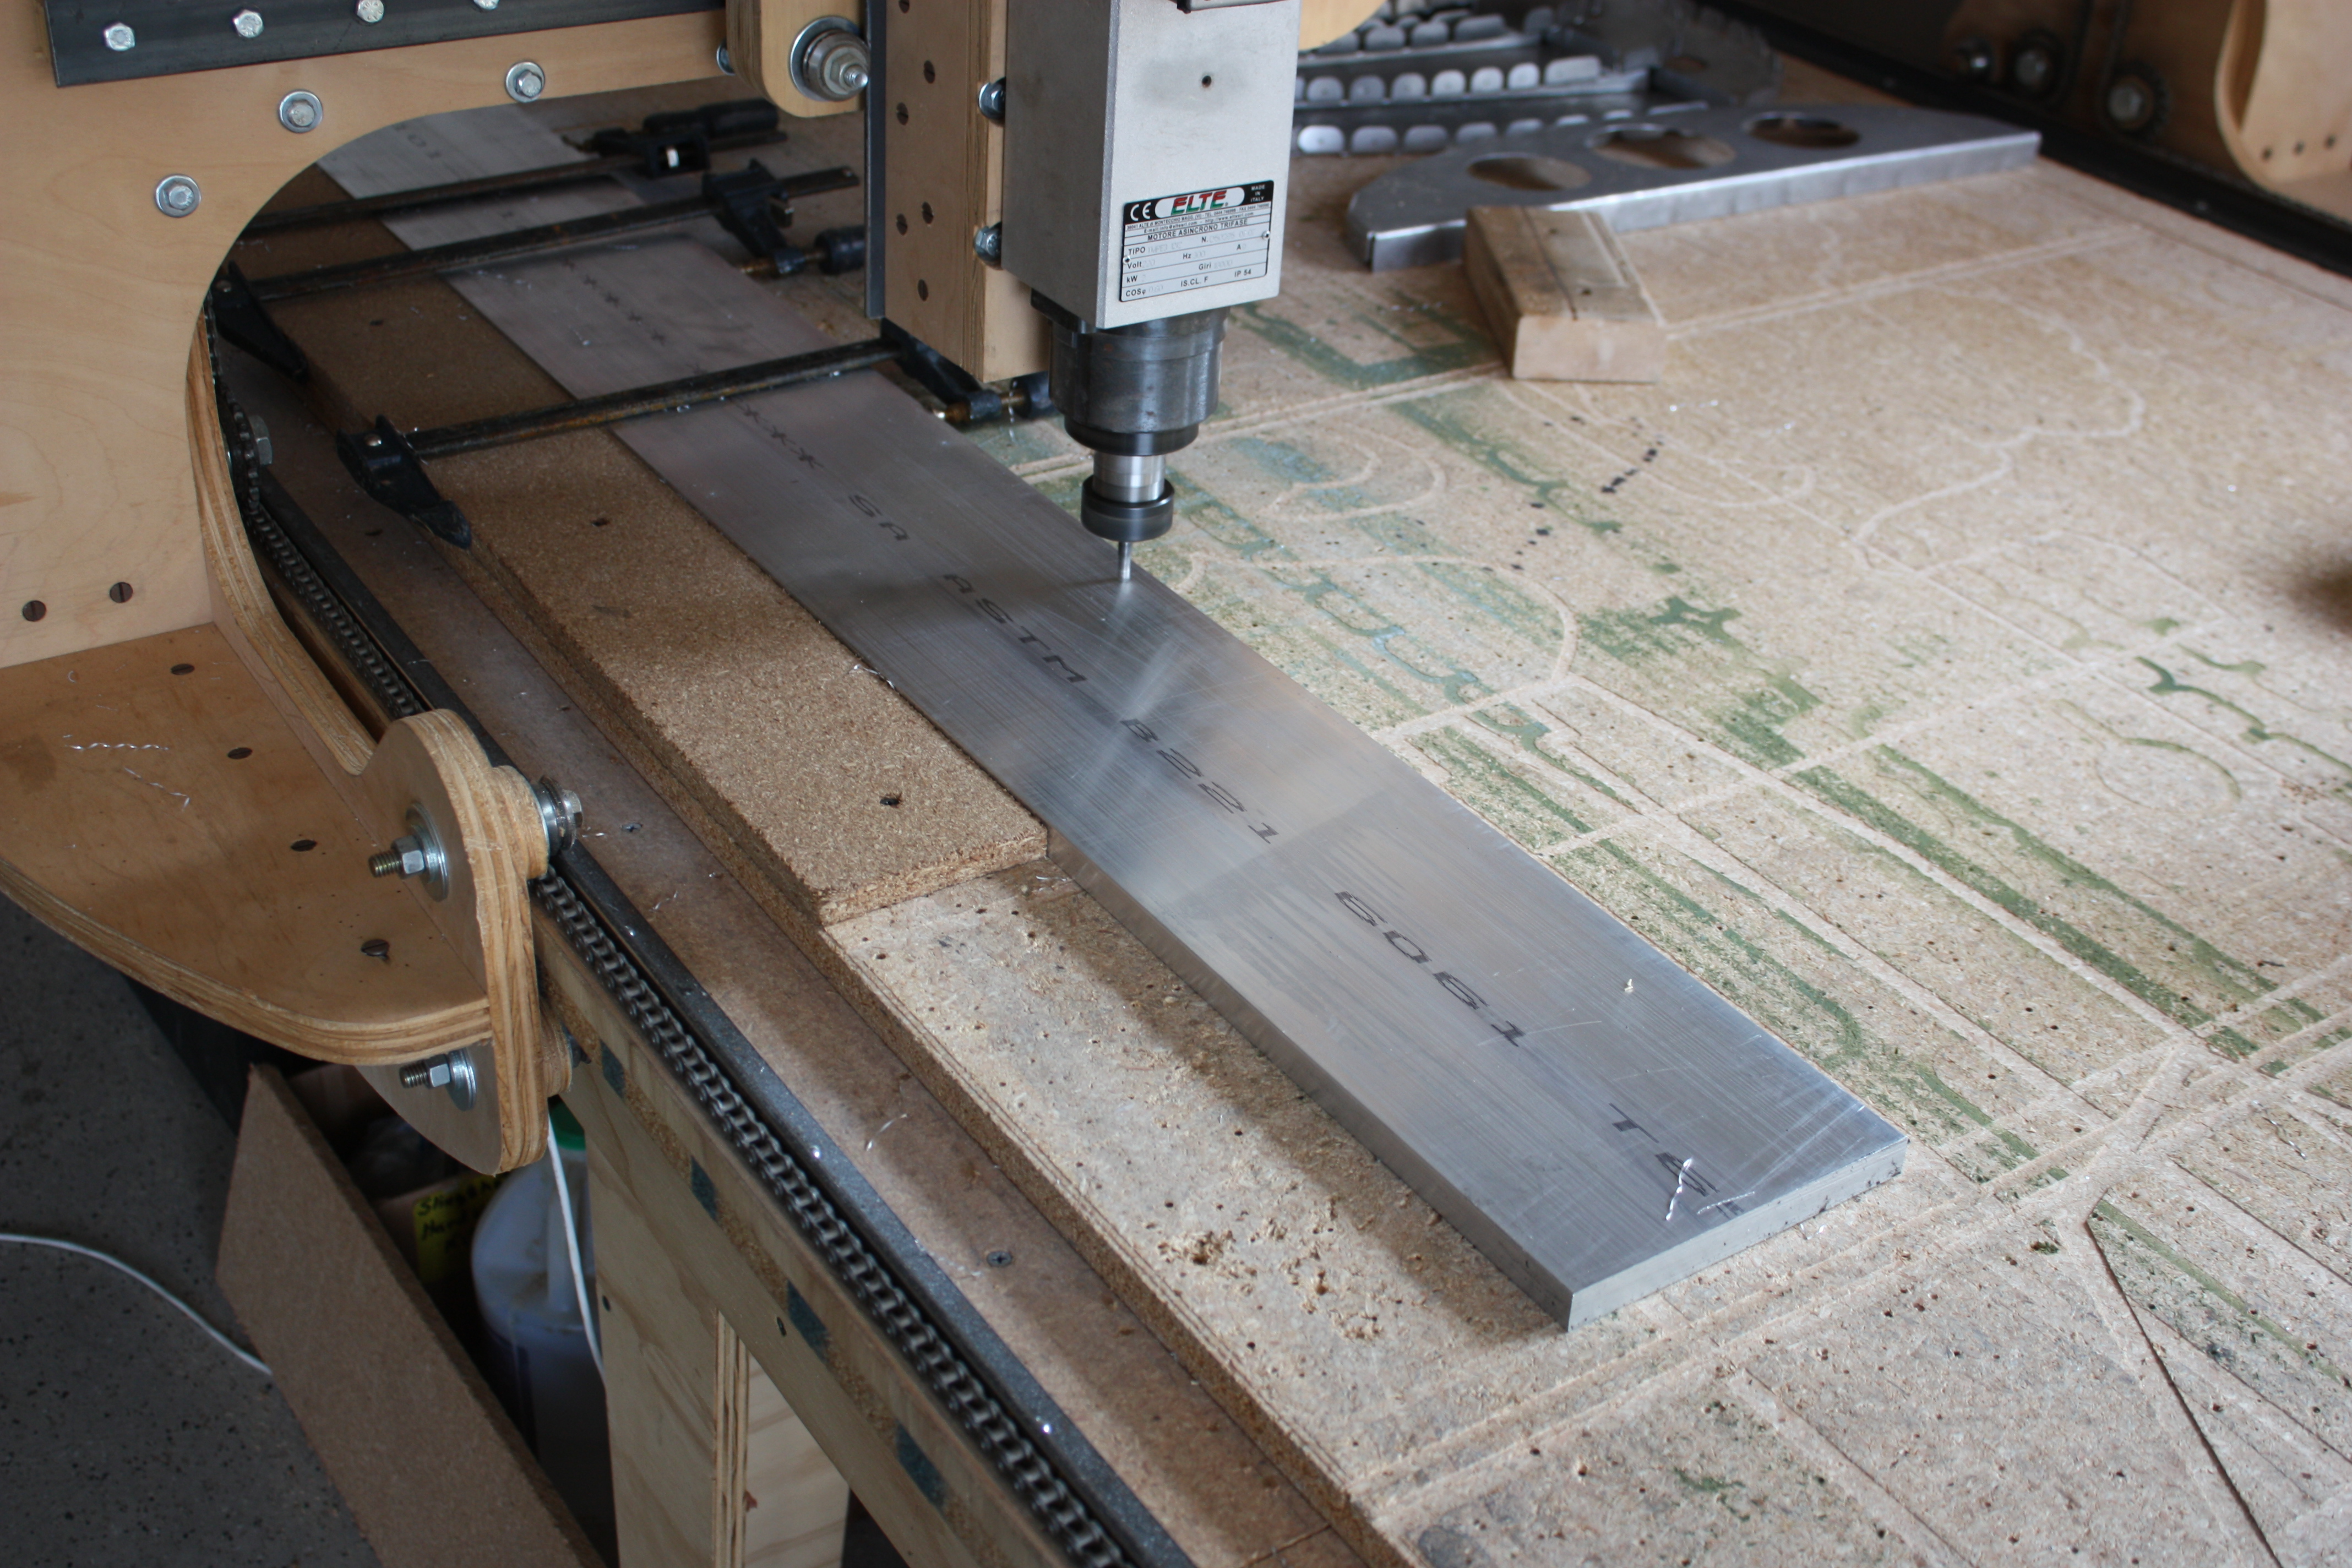
Once it did start cutting, I used paint thinner as cutting fluid, and vacuumed out the shavings after each pass. The wet shavings have a tendency to clog up in the groove being cut and interfere with the bit.
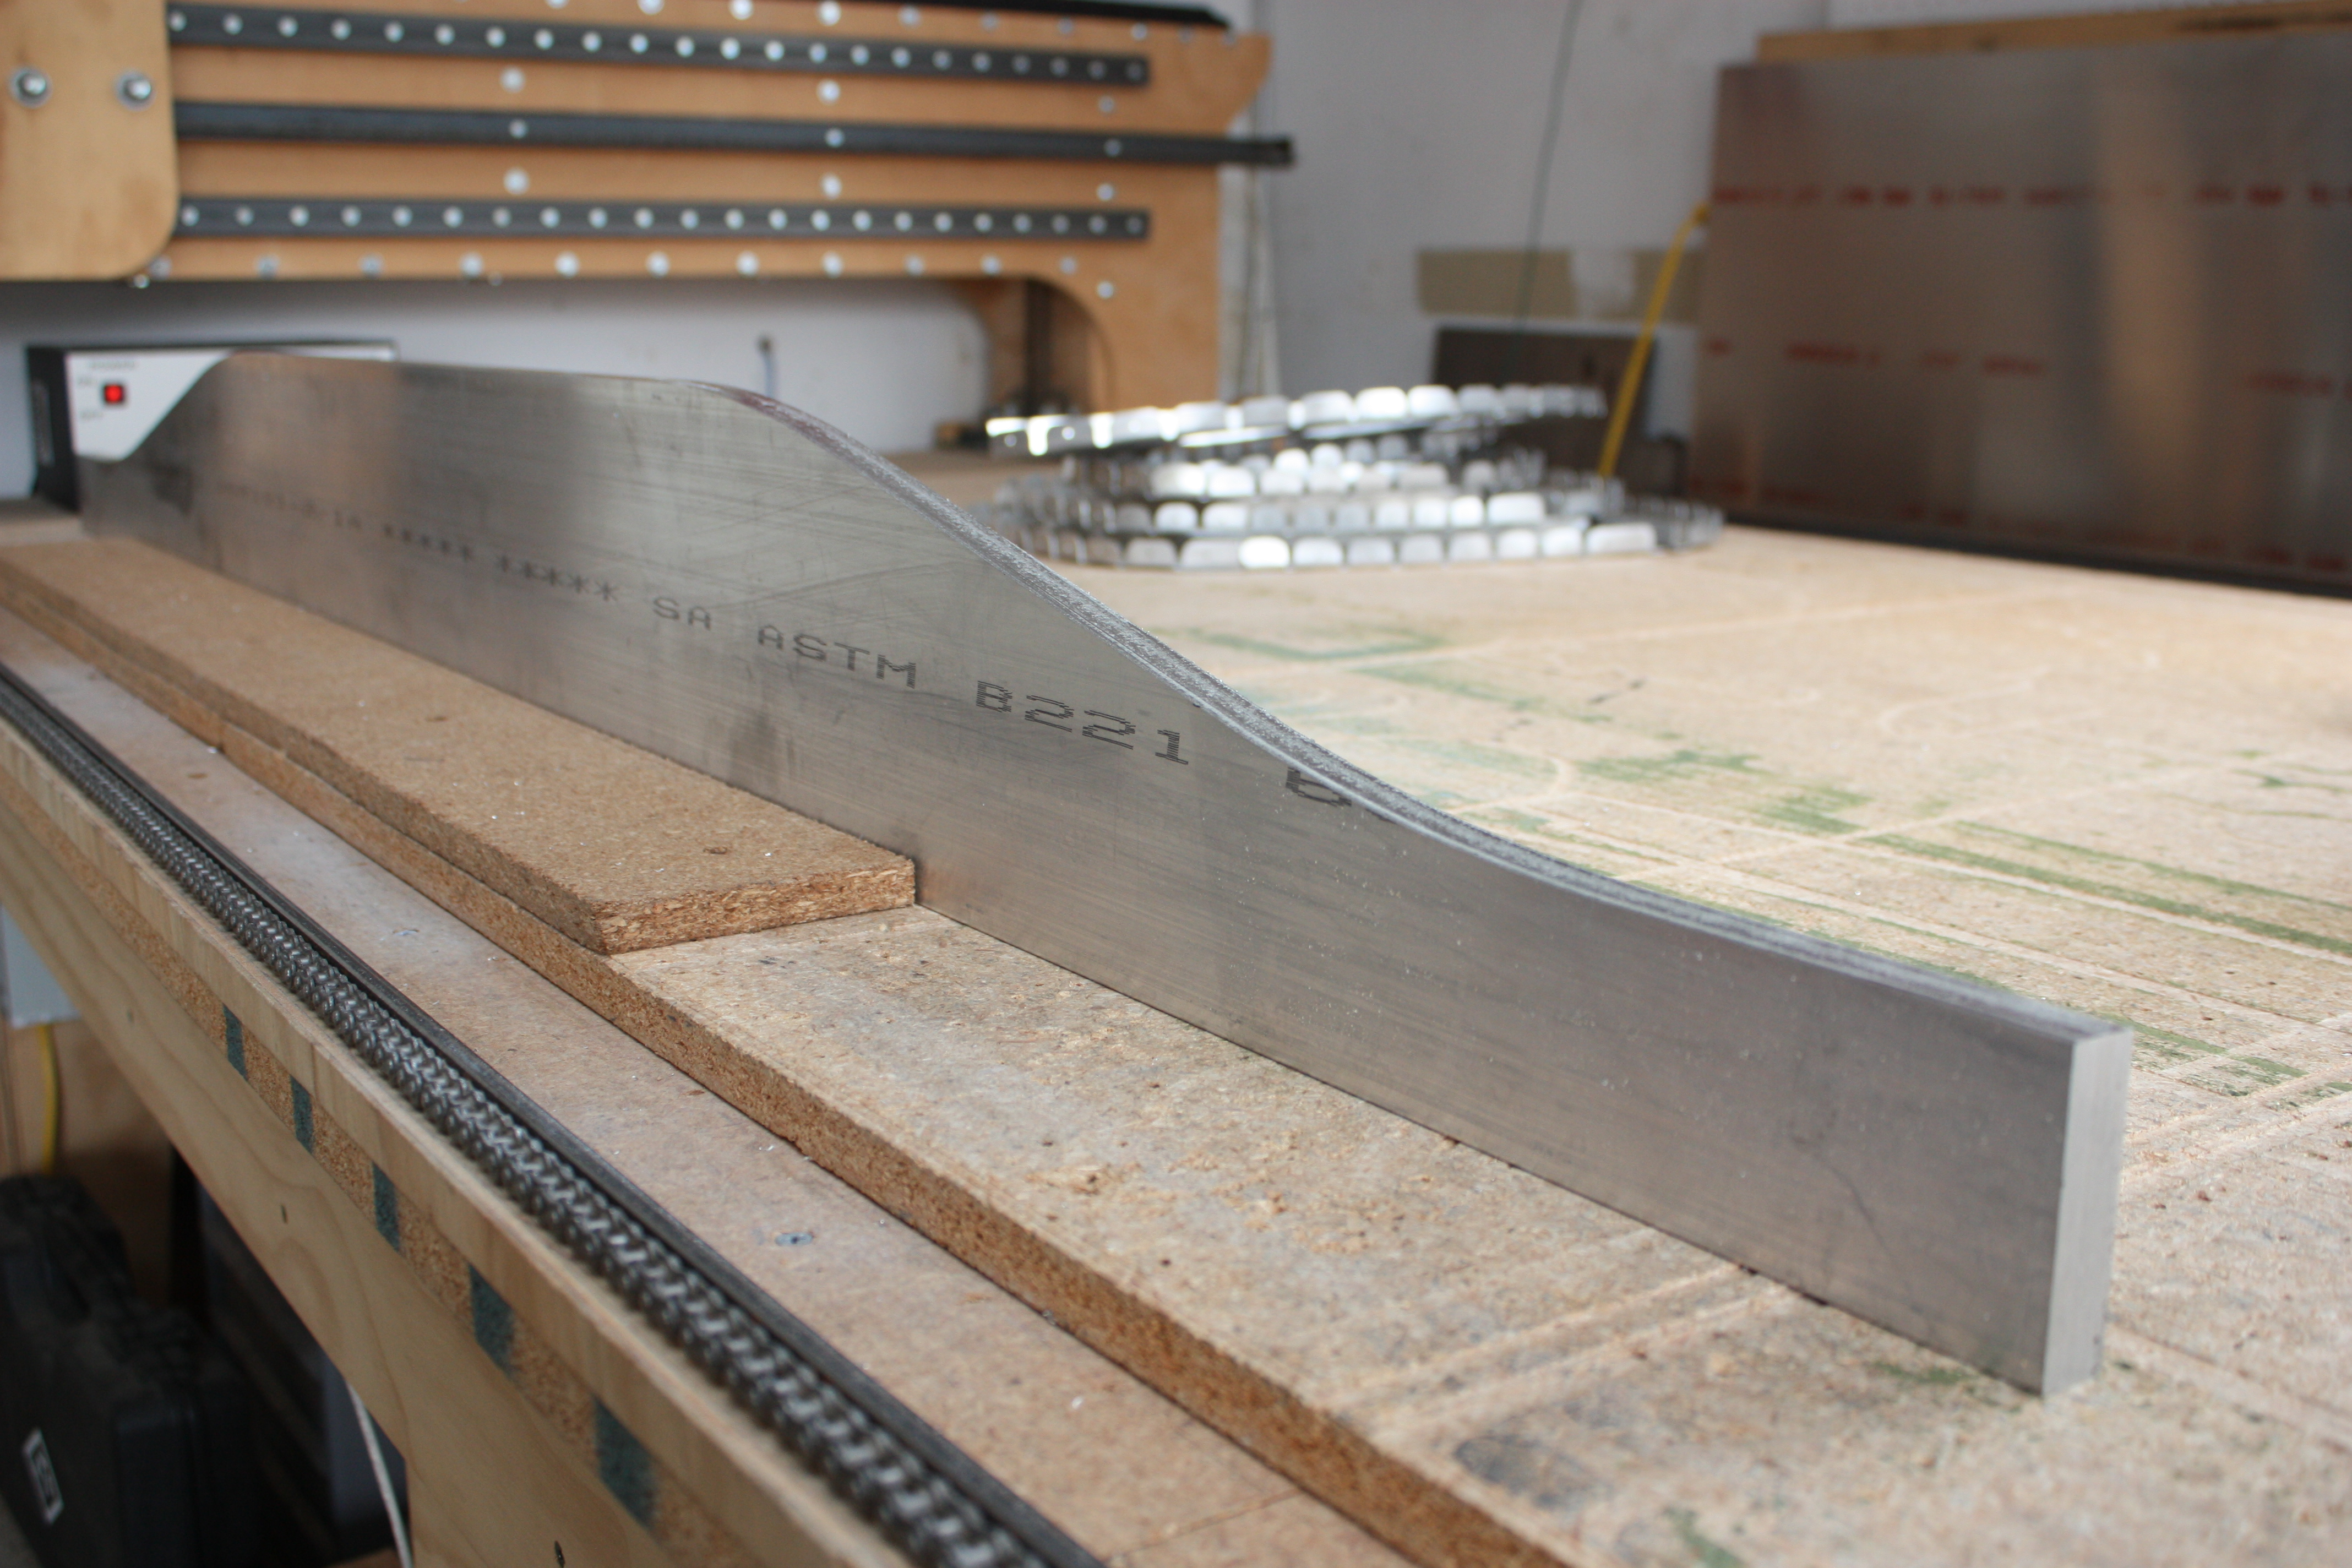
You may notice that I have radiused where the taper starts and where it transitions at the small end. Most purchased gear is simply a straight cut. Yes, I had to be different.
Once it was cut out, I radiused the edges with a 1/8 inch roundover bit. I did this with a hand router. This was done with the bit set in three progressively lower settings. What I also found is that to make a nice smooth cut you need to use a climbing cut (clockwise around the part). The router will want to run off in that direction, so you need to be careful to hold it and keep it in control. In that direction, it does not cut all the way in (it climbs and does not let the bearing ride on the material's side) so I had to make two or three passes before I could lower the bit to the next setting. When cutting the traditional direction (counter-clockwise), the cut was gummed up and really rough. In both directions I tried cutting fluid, but all that did was to make the shavings stick to everything and interfered with a smooth path for the router bit's bearing. So I ended up just cutting it dry.
Then I got to weld up some forming dies!
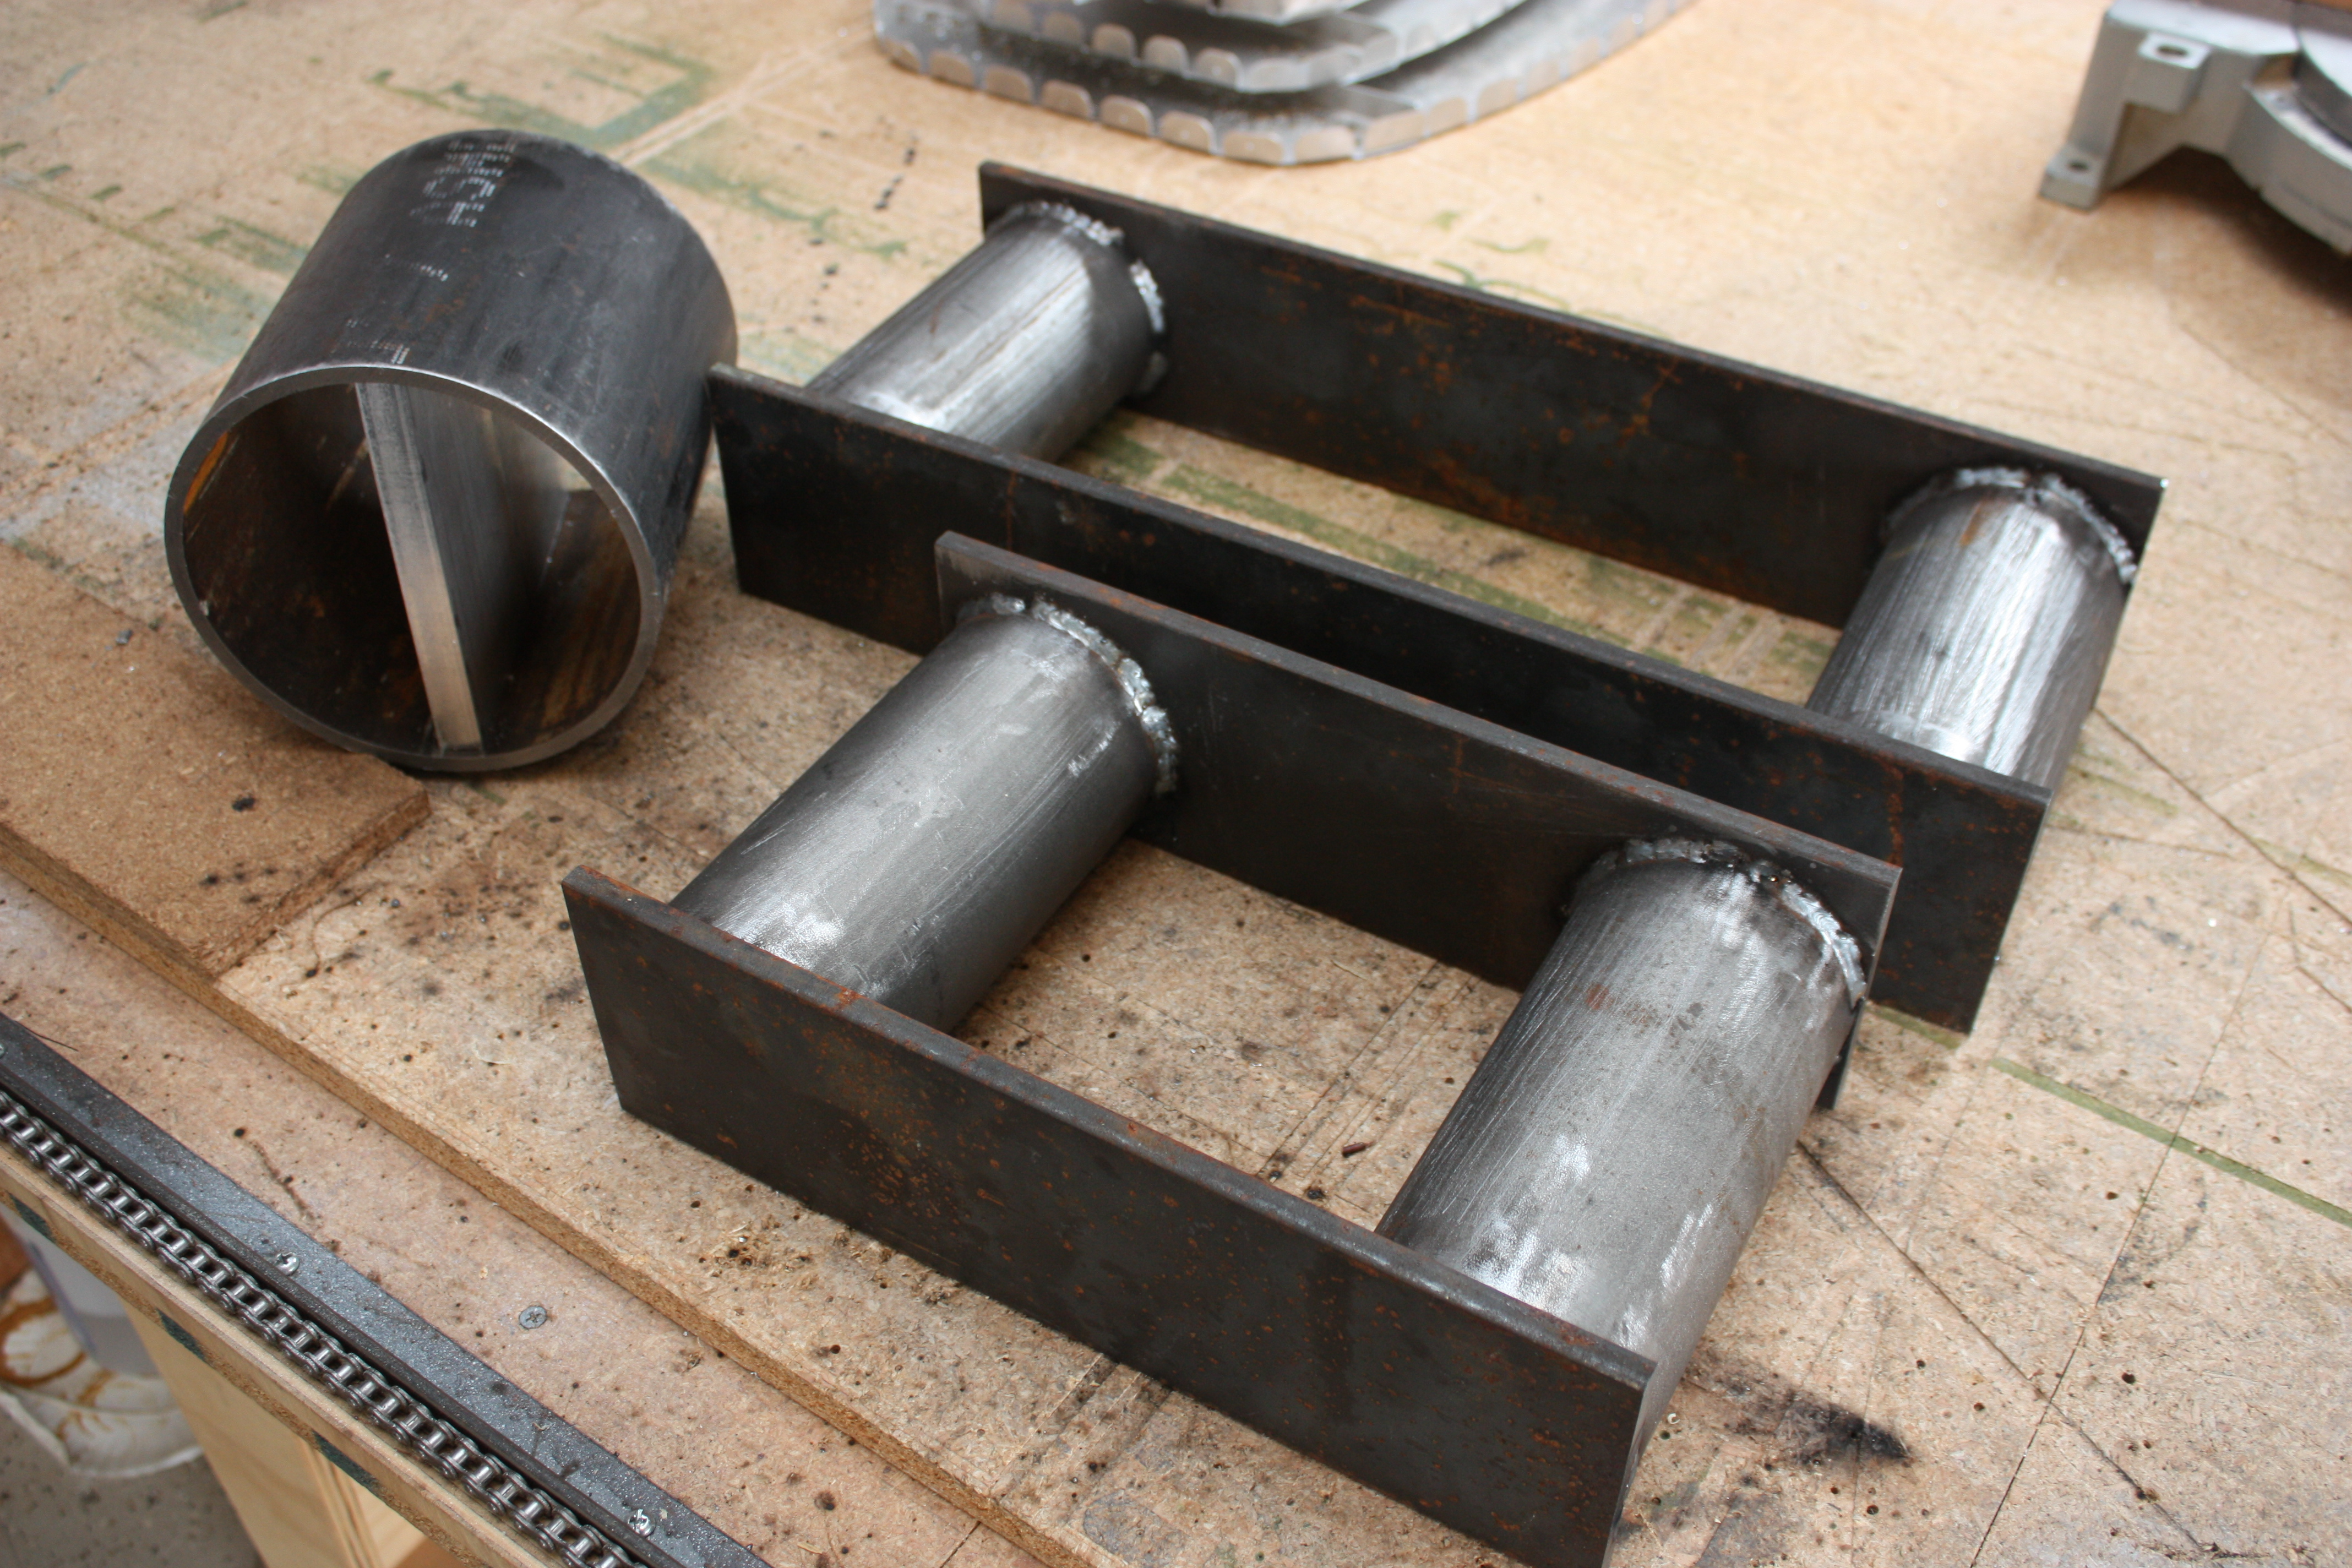
The forming dies are simple steel weldments. The large circle is a 6 inch schedule 40 pipe, cut 6-3/4 inches long, with aluminum blocks inserted for support. The other two "bases" are 3 inch schedule 40 pipe, cut 7 inches long, welded to 3/8" x 4" bar stock. The small base is on 9 inch centers and the large one is on 16 inch centers.
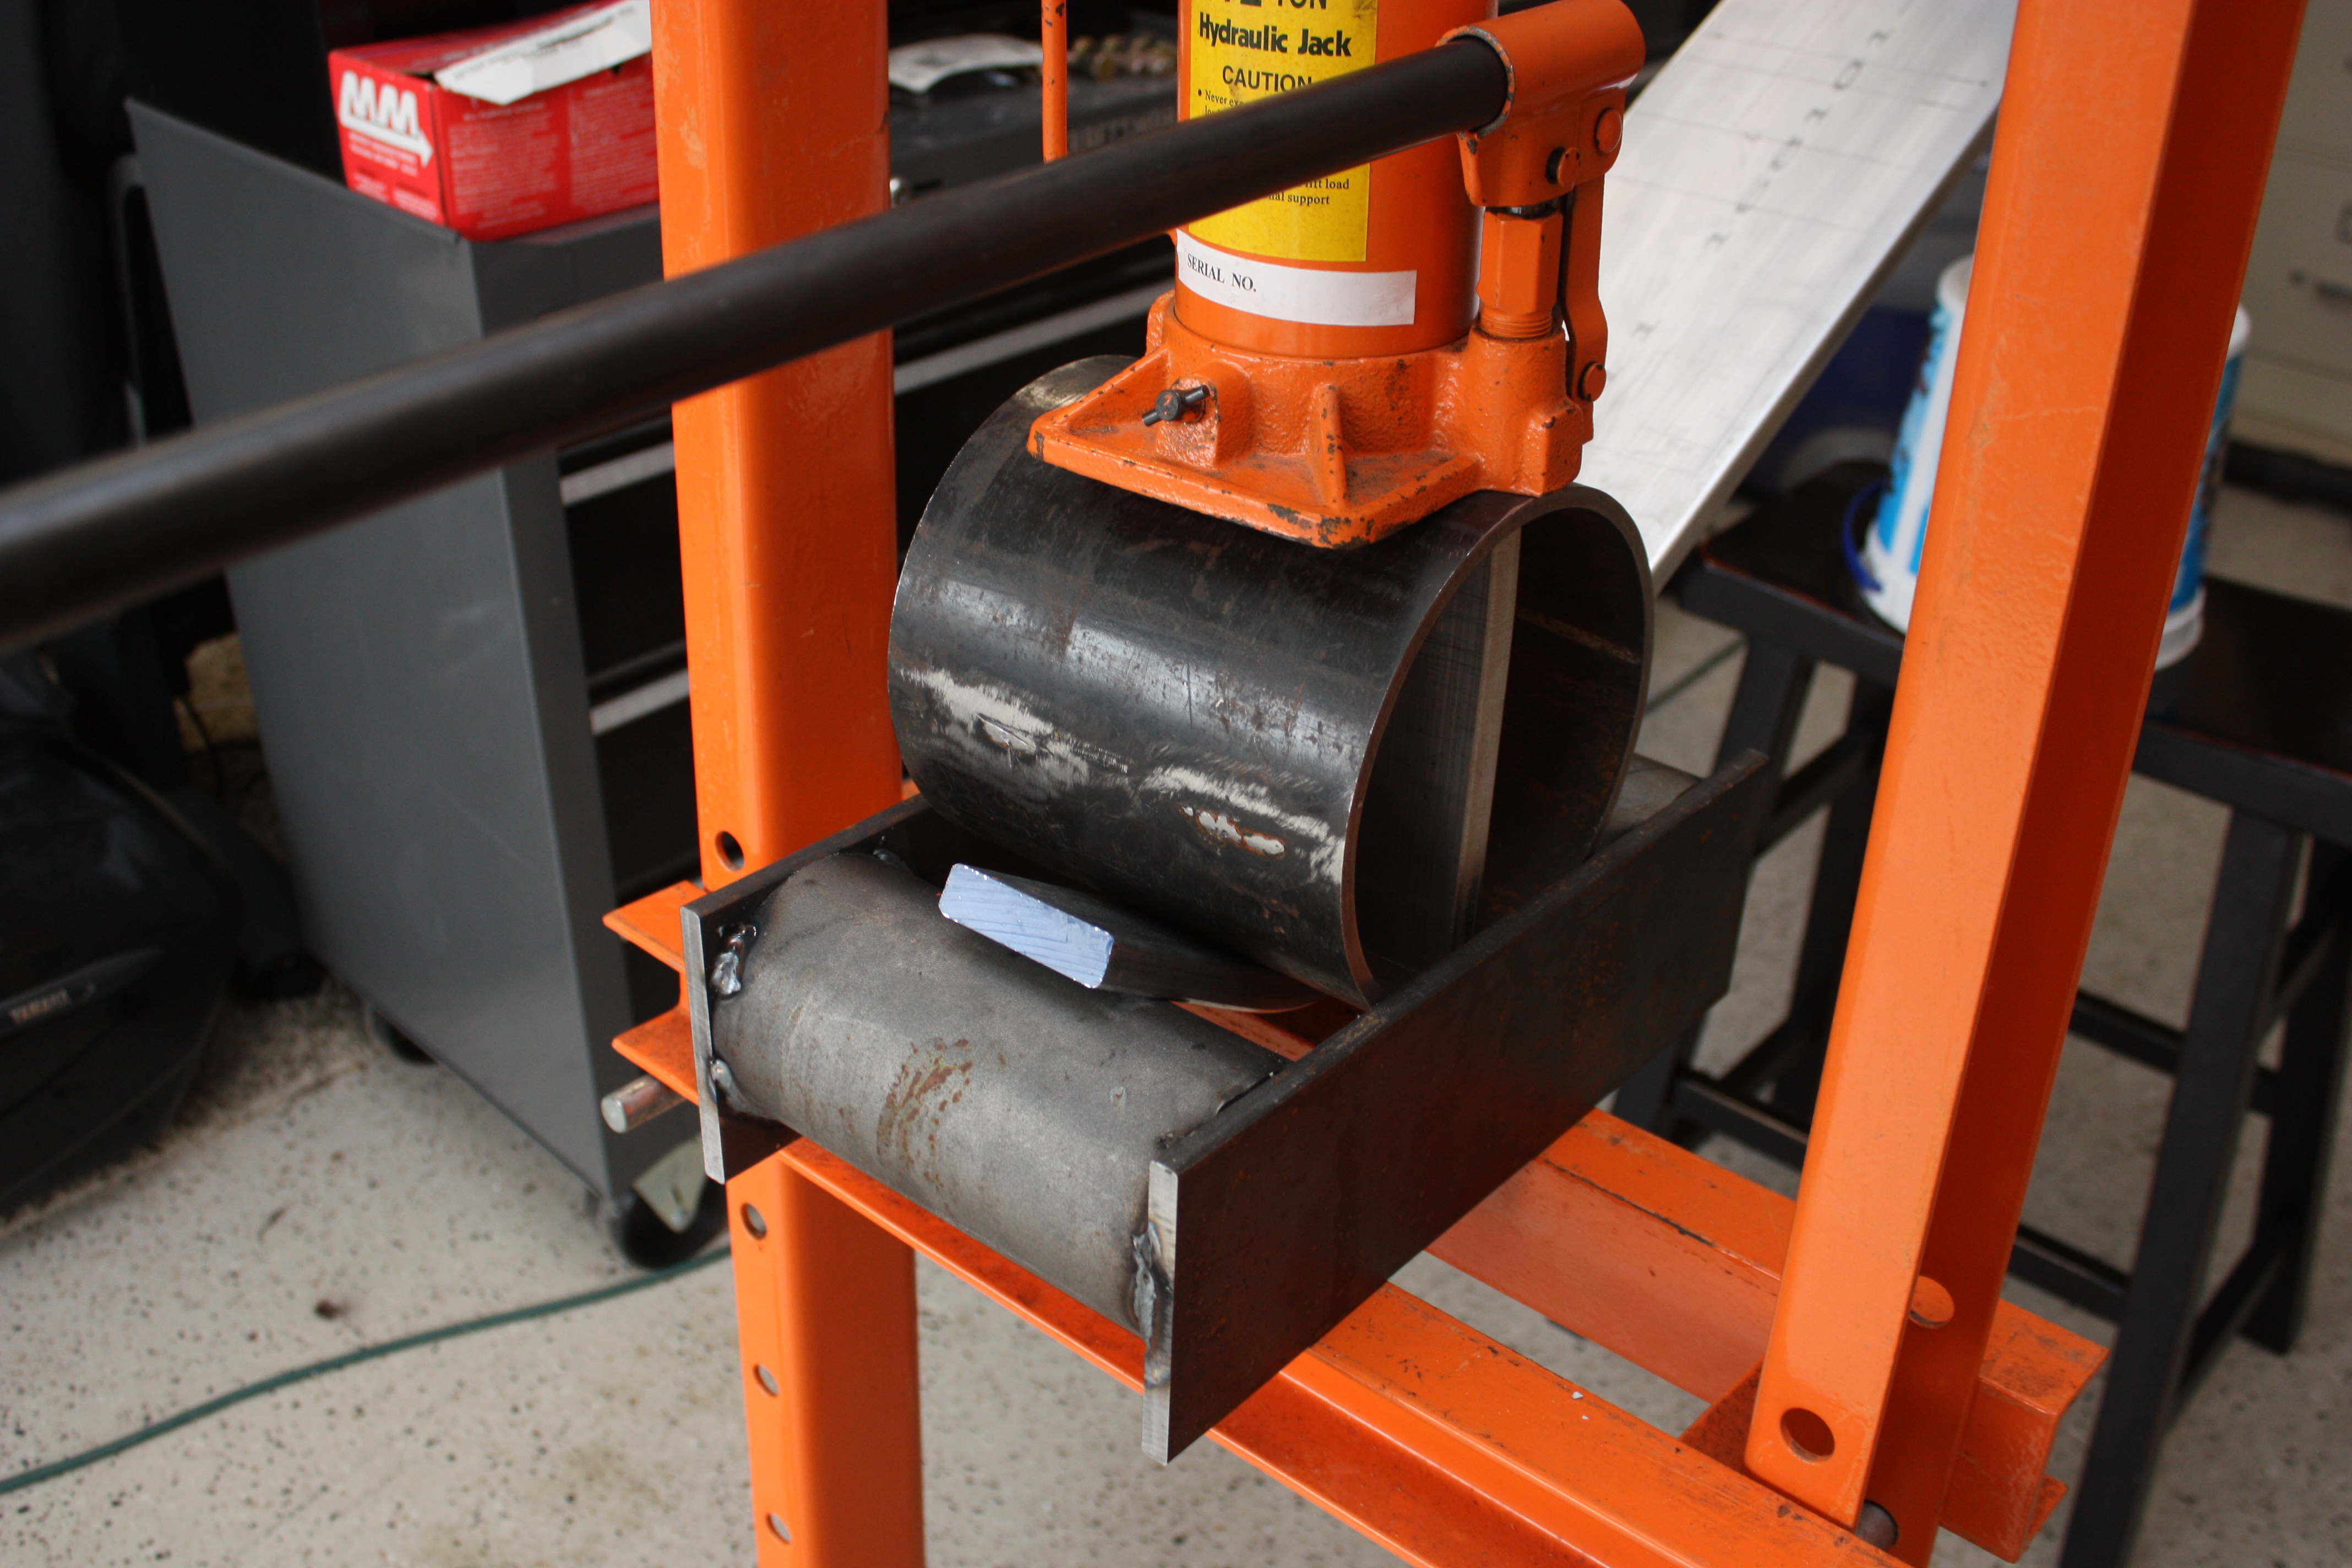
The reason for the two size bases is this: To bend the 6 inch wide part of the gear, which is difficult to do, the wide base is preferable because it increase the bending moment that the setup can deliver. However, I couldn't use the wide base on all of the bends because it was too wide for the bends at the gear's ends (where the wheels attach). So, I needed a short base for the bends at the ends. The shorter base does not provide as much torque, but thats fine because that part of the gear is only 2-1/2 inches wide. In hindsight, I might have been able to make all of the bends with the little base.
I bent the little ends first.
To get to this point, I took quite a bit of time getting things square. The best way to do this is to get things almost square, put just a little pressure on the press, and then gently hammer things into place... measure, tap-tap-tap, measure, tap-tap-tap... square!
Everything was checked prior to bending and several times during bending. The base was square with the gear, the gear was square with the round, and the whole pile was check vertically to make sure it was pressing straight down.
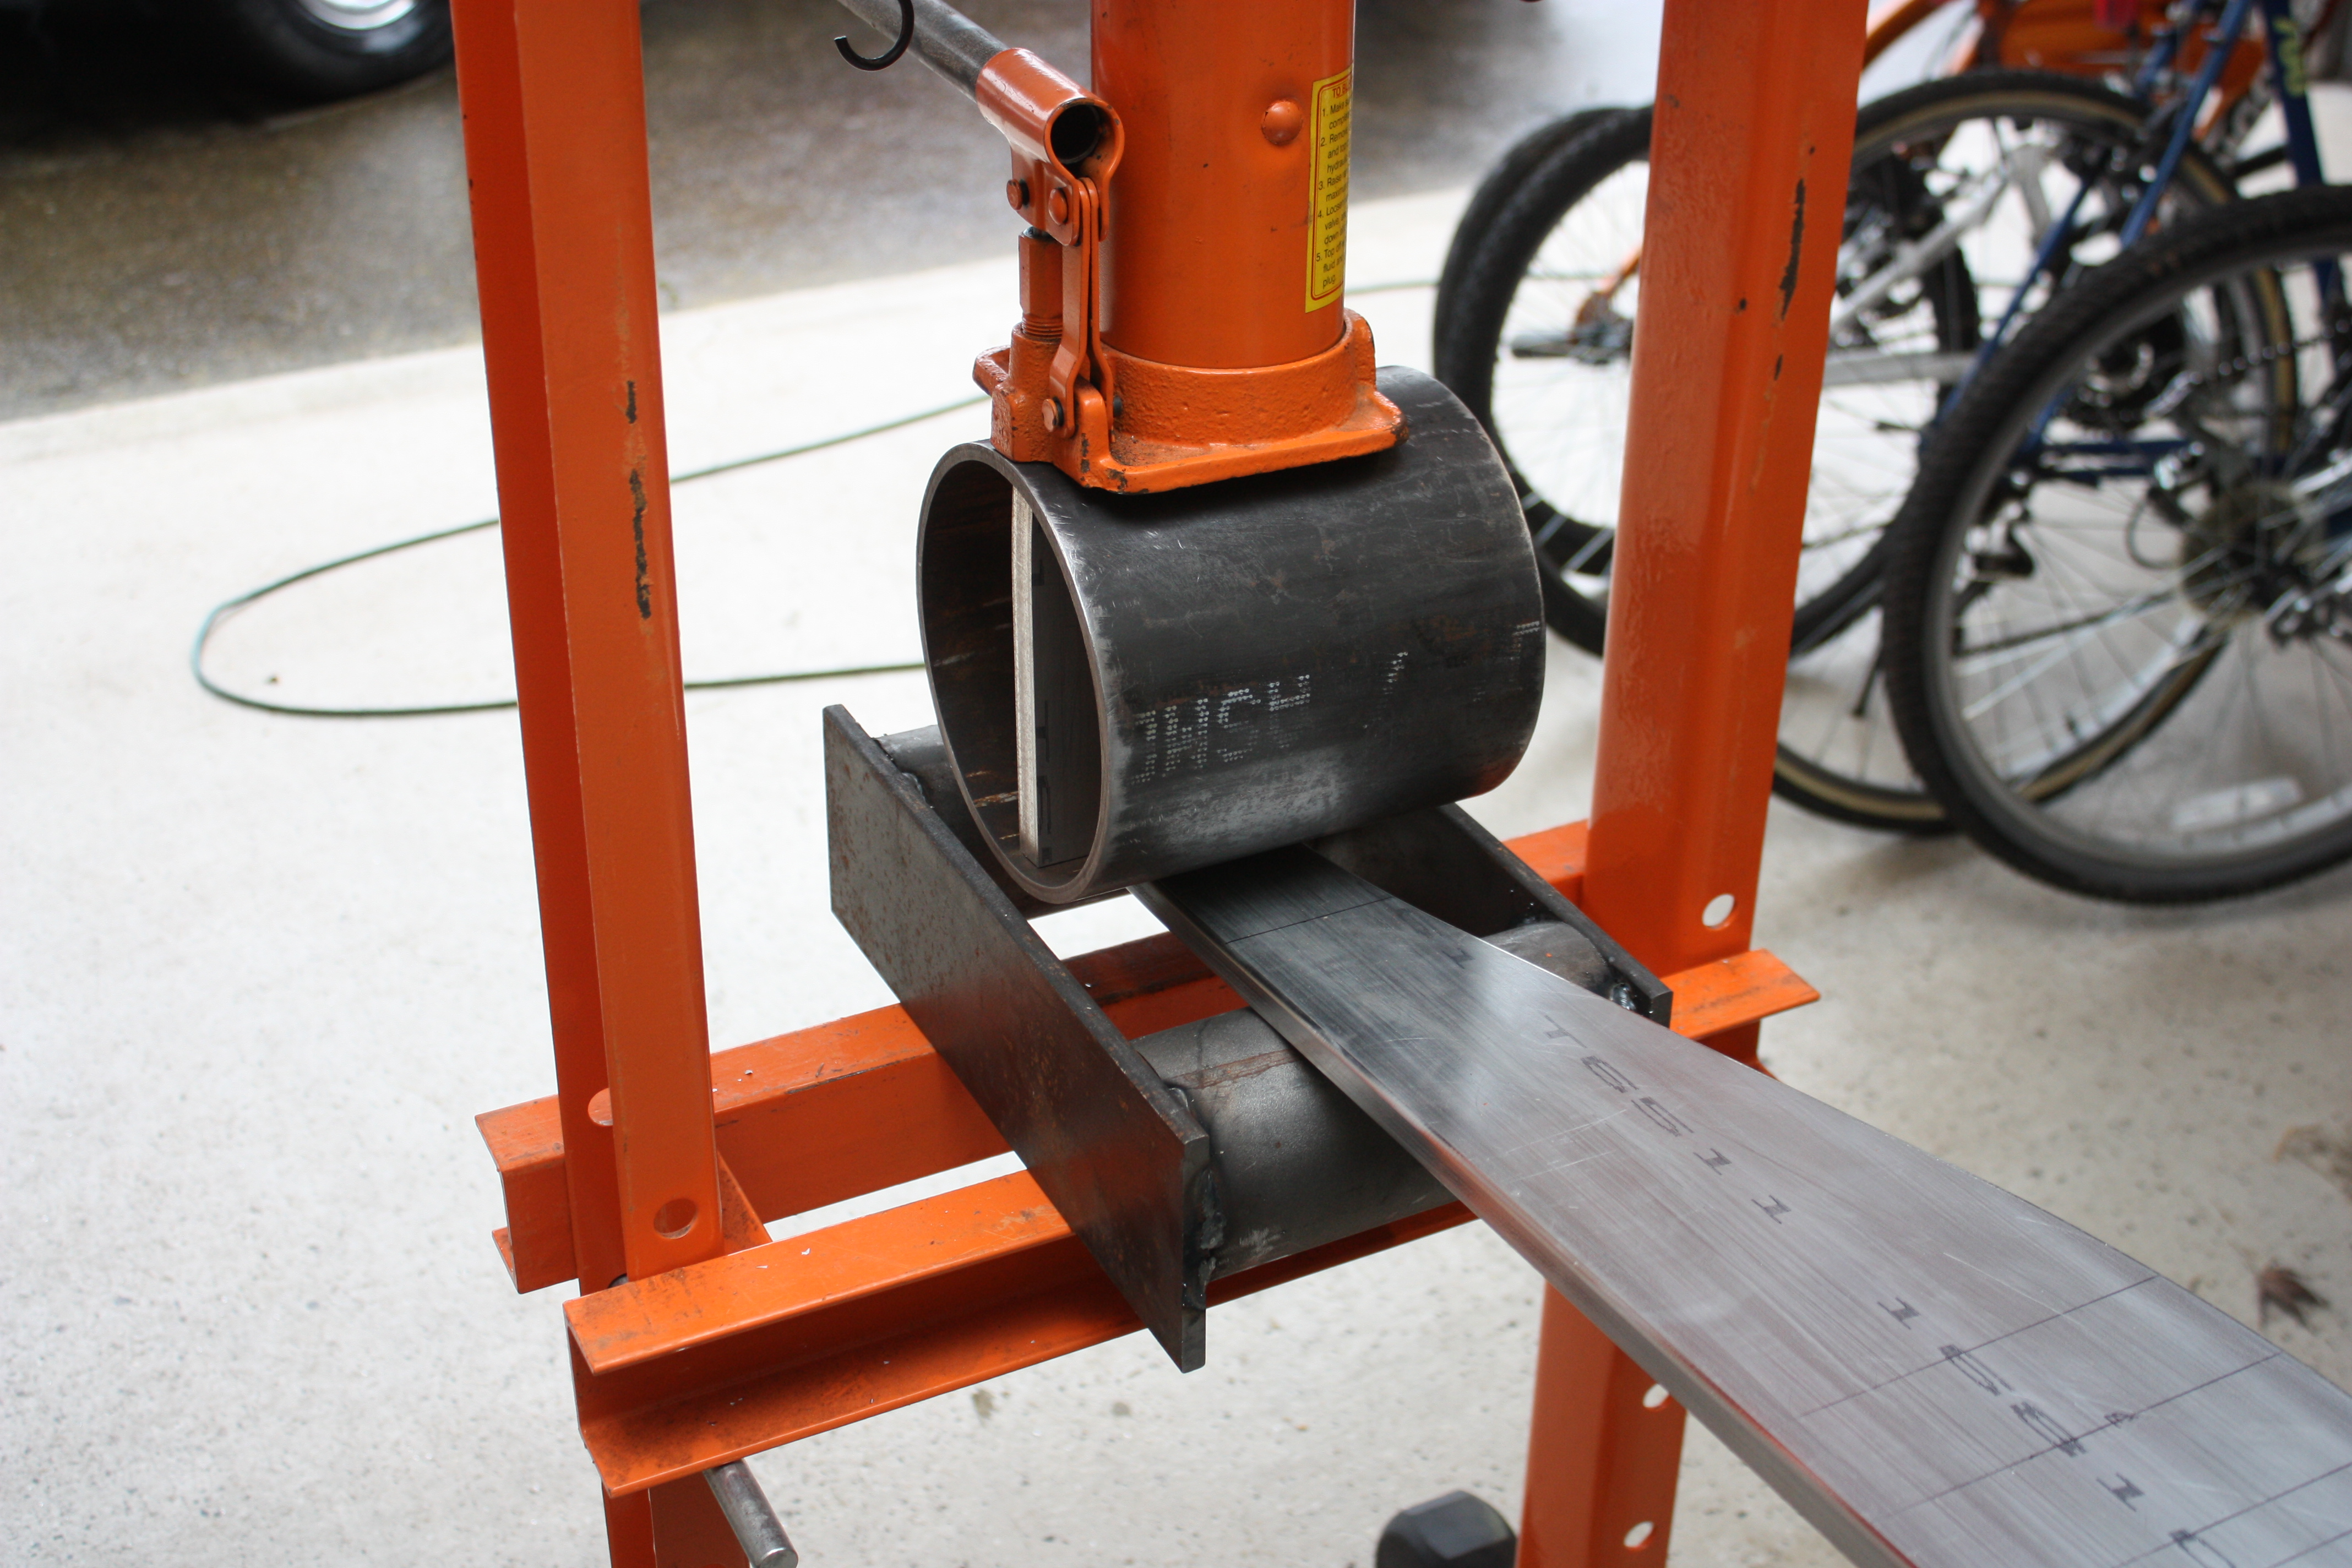
Start bending and keep your fingers crossed!
The best way to get both sides even is to determine an angle to bend to when the system is under load. Don't worry about the final angle (well OK, do worry about the final angle), but focus more on that the left and right are exactly the same. For instance, I was trying to get 50 degrees on the end bends, so I bent the first one to 58 degrees (assuming 8 degrees of springback). But I got 7 degrees of springback and ended up with 51 degrees. So as opposed to trying to bend that first one back, I just bent the other side the same.
I used a digital level and measured both sides, then added the readings to get the total actual bend. I also released pressure, checked the angle, and got a good idea of springback. You would think that this would be good way of getting the unsprung angle, but the gear hanging from the press (even without any press pressure) does not have the same relaxed angle it has on the bench.
In the picture below you can see how the end just barely reaches the pipe in the short base. This is why I needed two bases. Also, I'm using a cheater pipe on the jack... one, because my arm is not strong enough and, two, so I can stand a few more feet away from this dangerous mess.
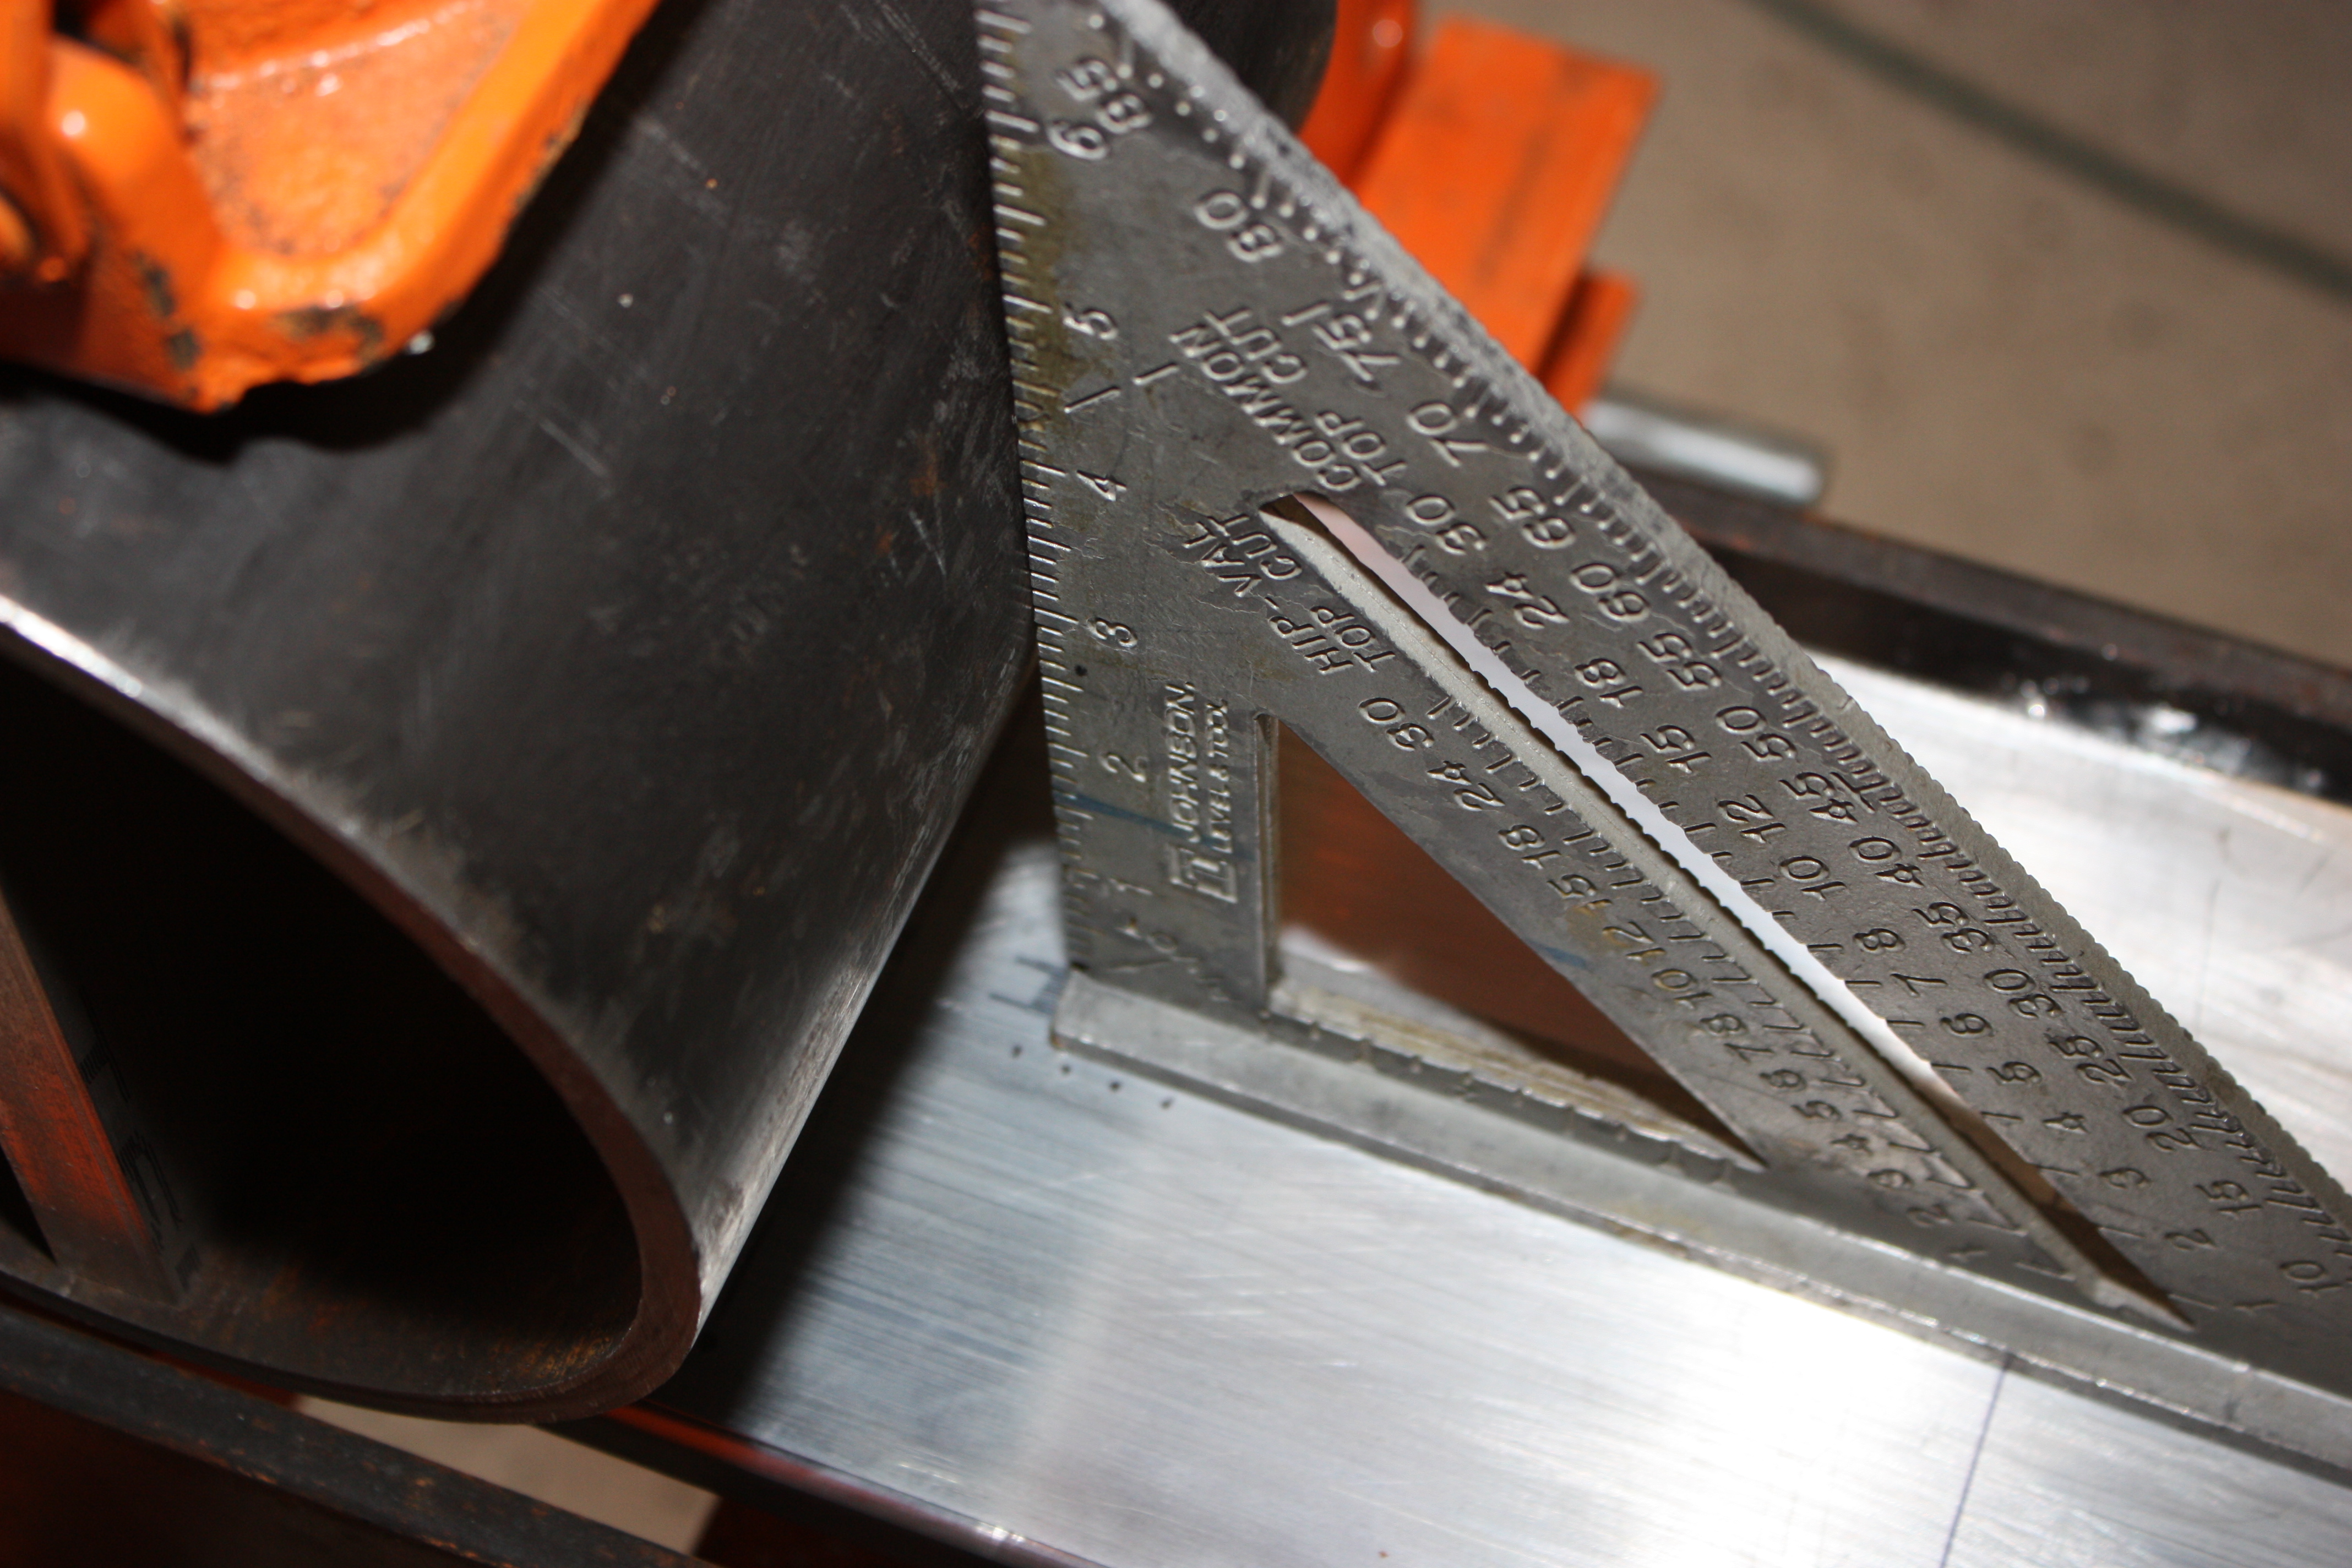
One last trick... you can't see the center line of the bend, and this makes it difficult to know if the round is centered on that line. So what I did was to make some marks 3 inches and every 1/4 inch away from the center line on both sides. I could then drop a quick square down and see where is landed on both sides of the round. If both sides landed at the same spot (in the picture below it's half way between the first and second mark) then I knew that the round was centered.
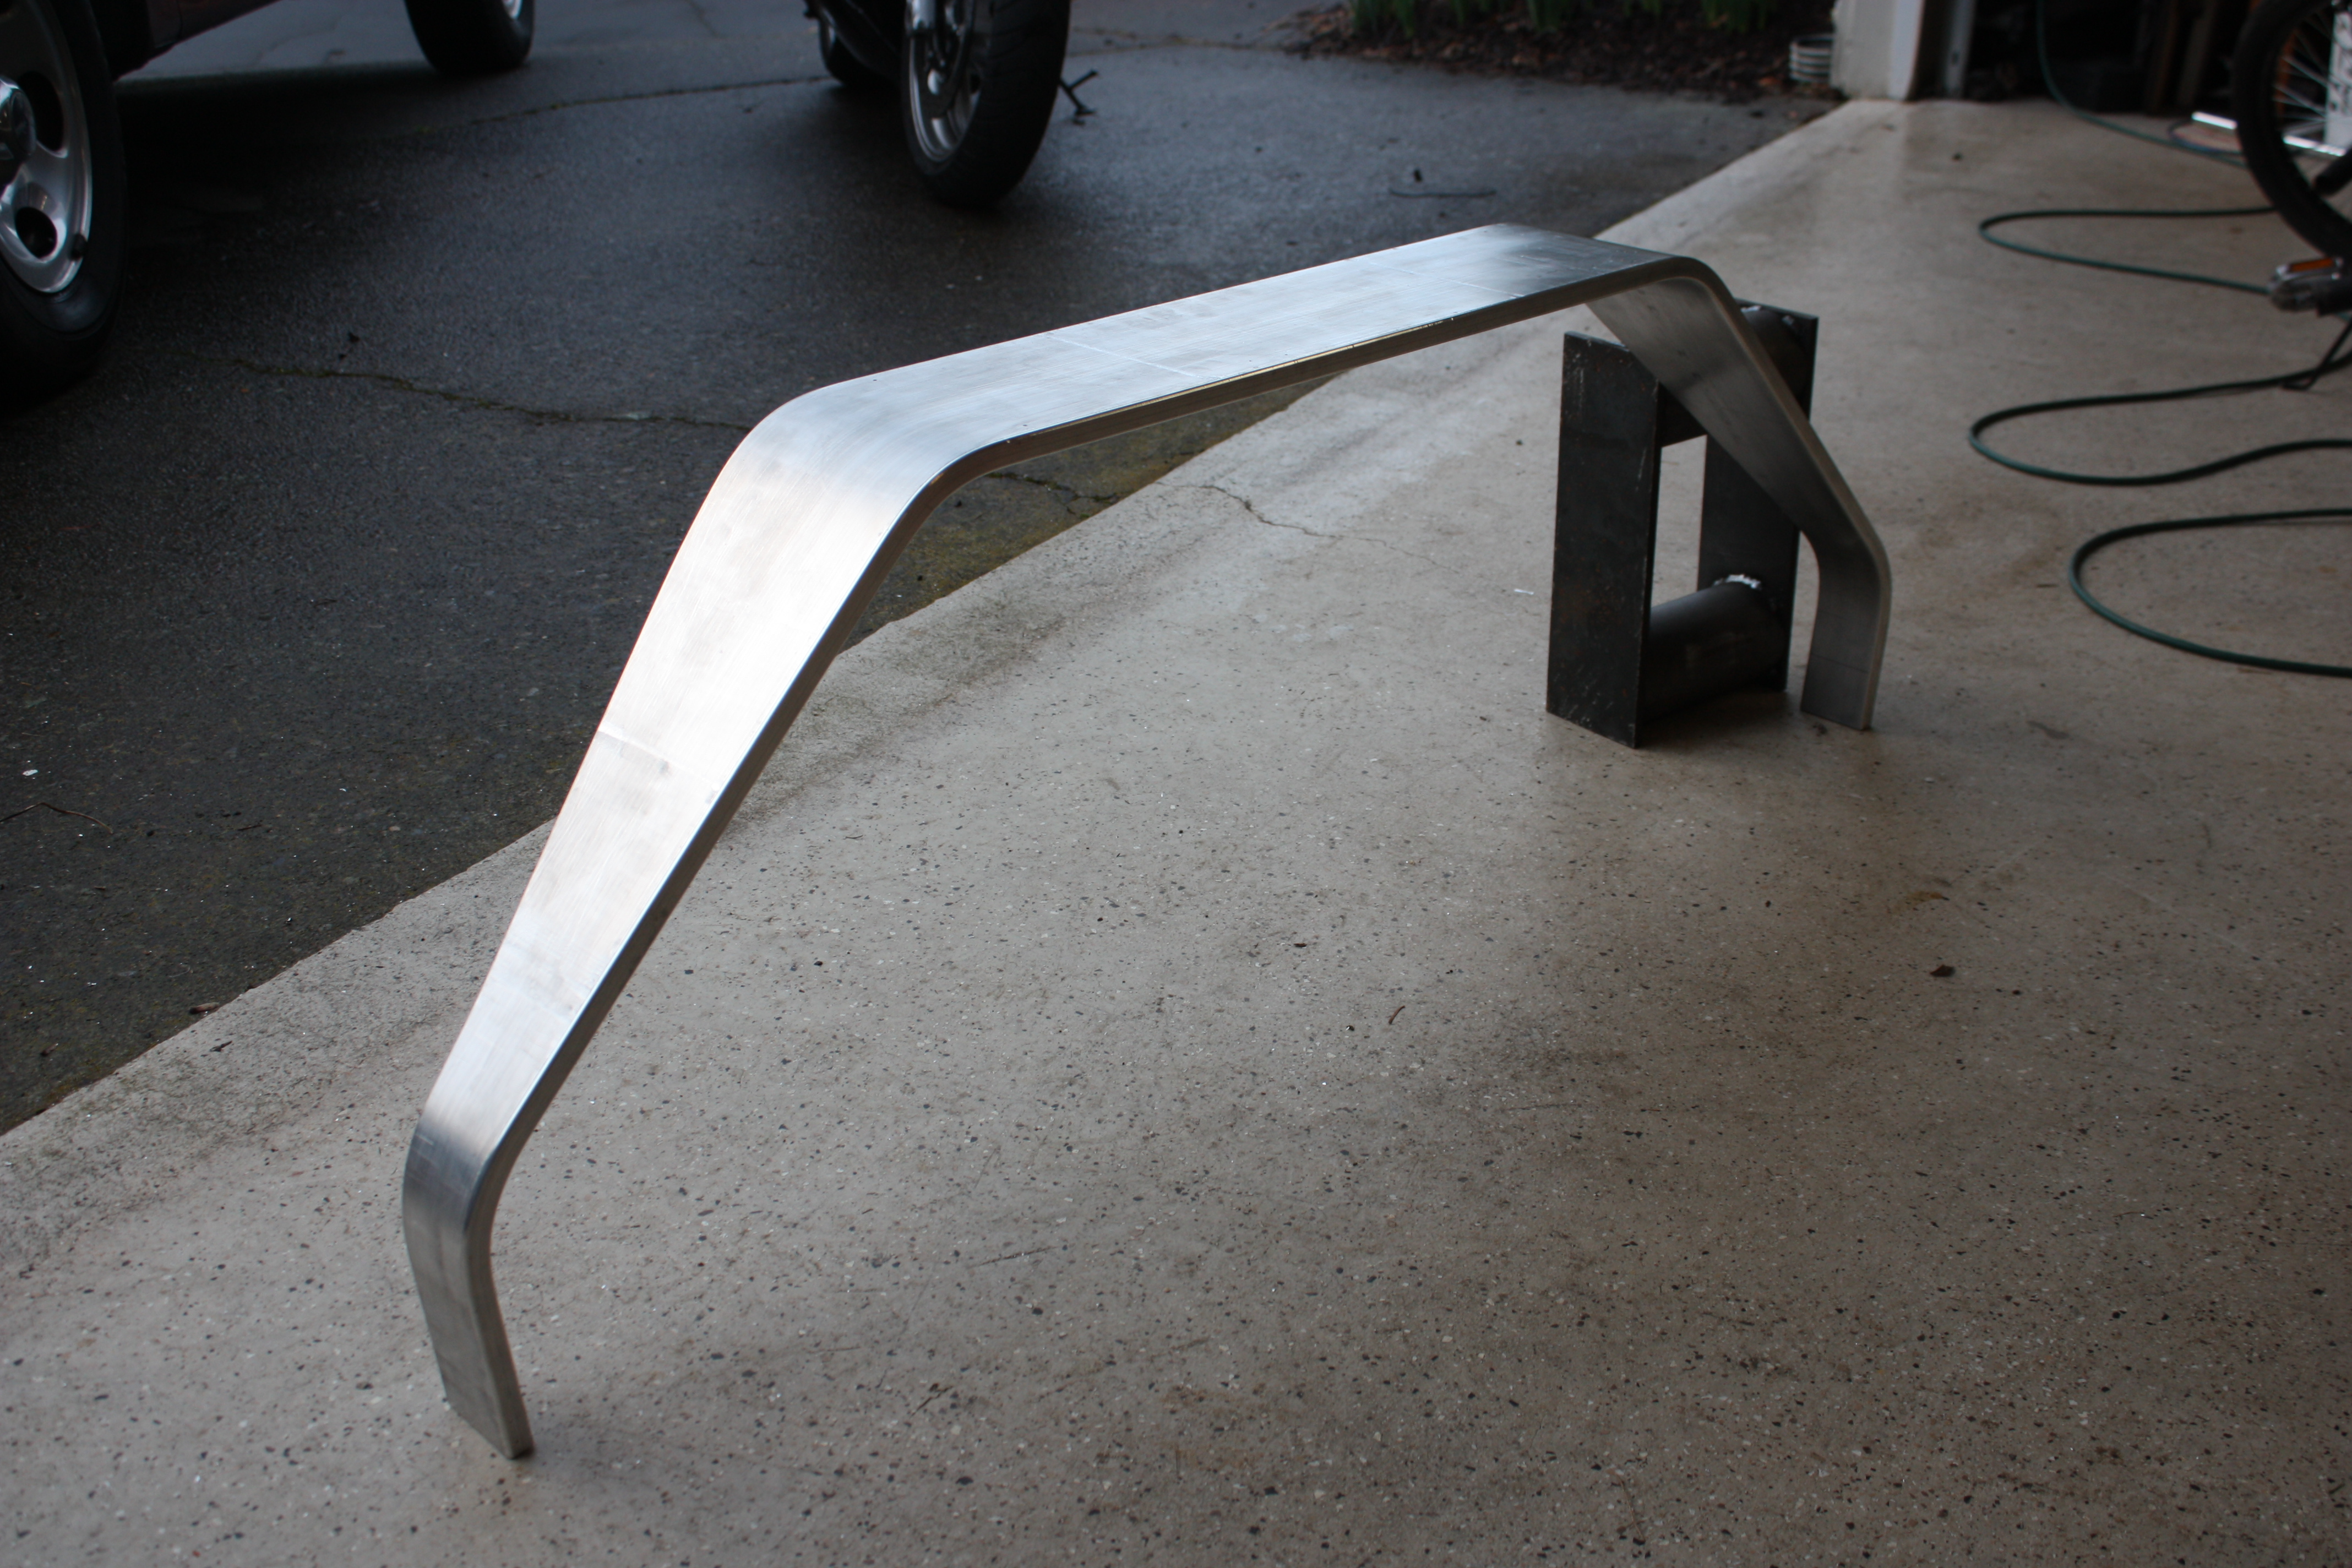
And so it all worked out. Although I don't have any pictures of the bends on the wide part of the gear, it's the same process noted above.
for reference, the springback on the ends was 7 degrees, and the springback on the wide part was 11 degrees.
I did leave the ends 1 inch longer than planned with the expectation that I could trim off the extra and make both sides the same height if the bends were not equal. But I simply lucked out and the height of each side is within 0.100 of an inch to each other. So, I may just leave the extra there and make my gear an inch taller.
Forward Fuselage Skins
March 2013
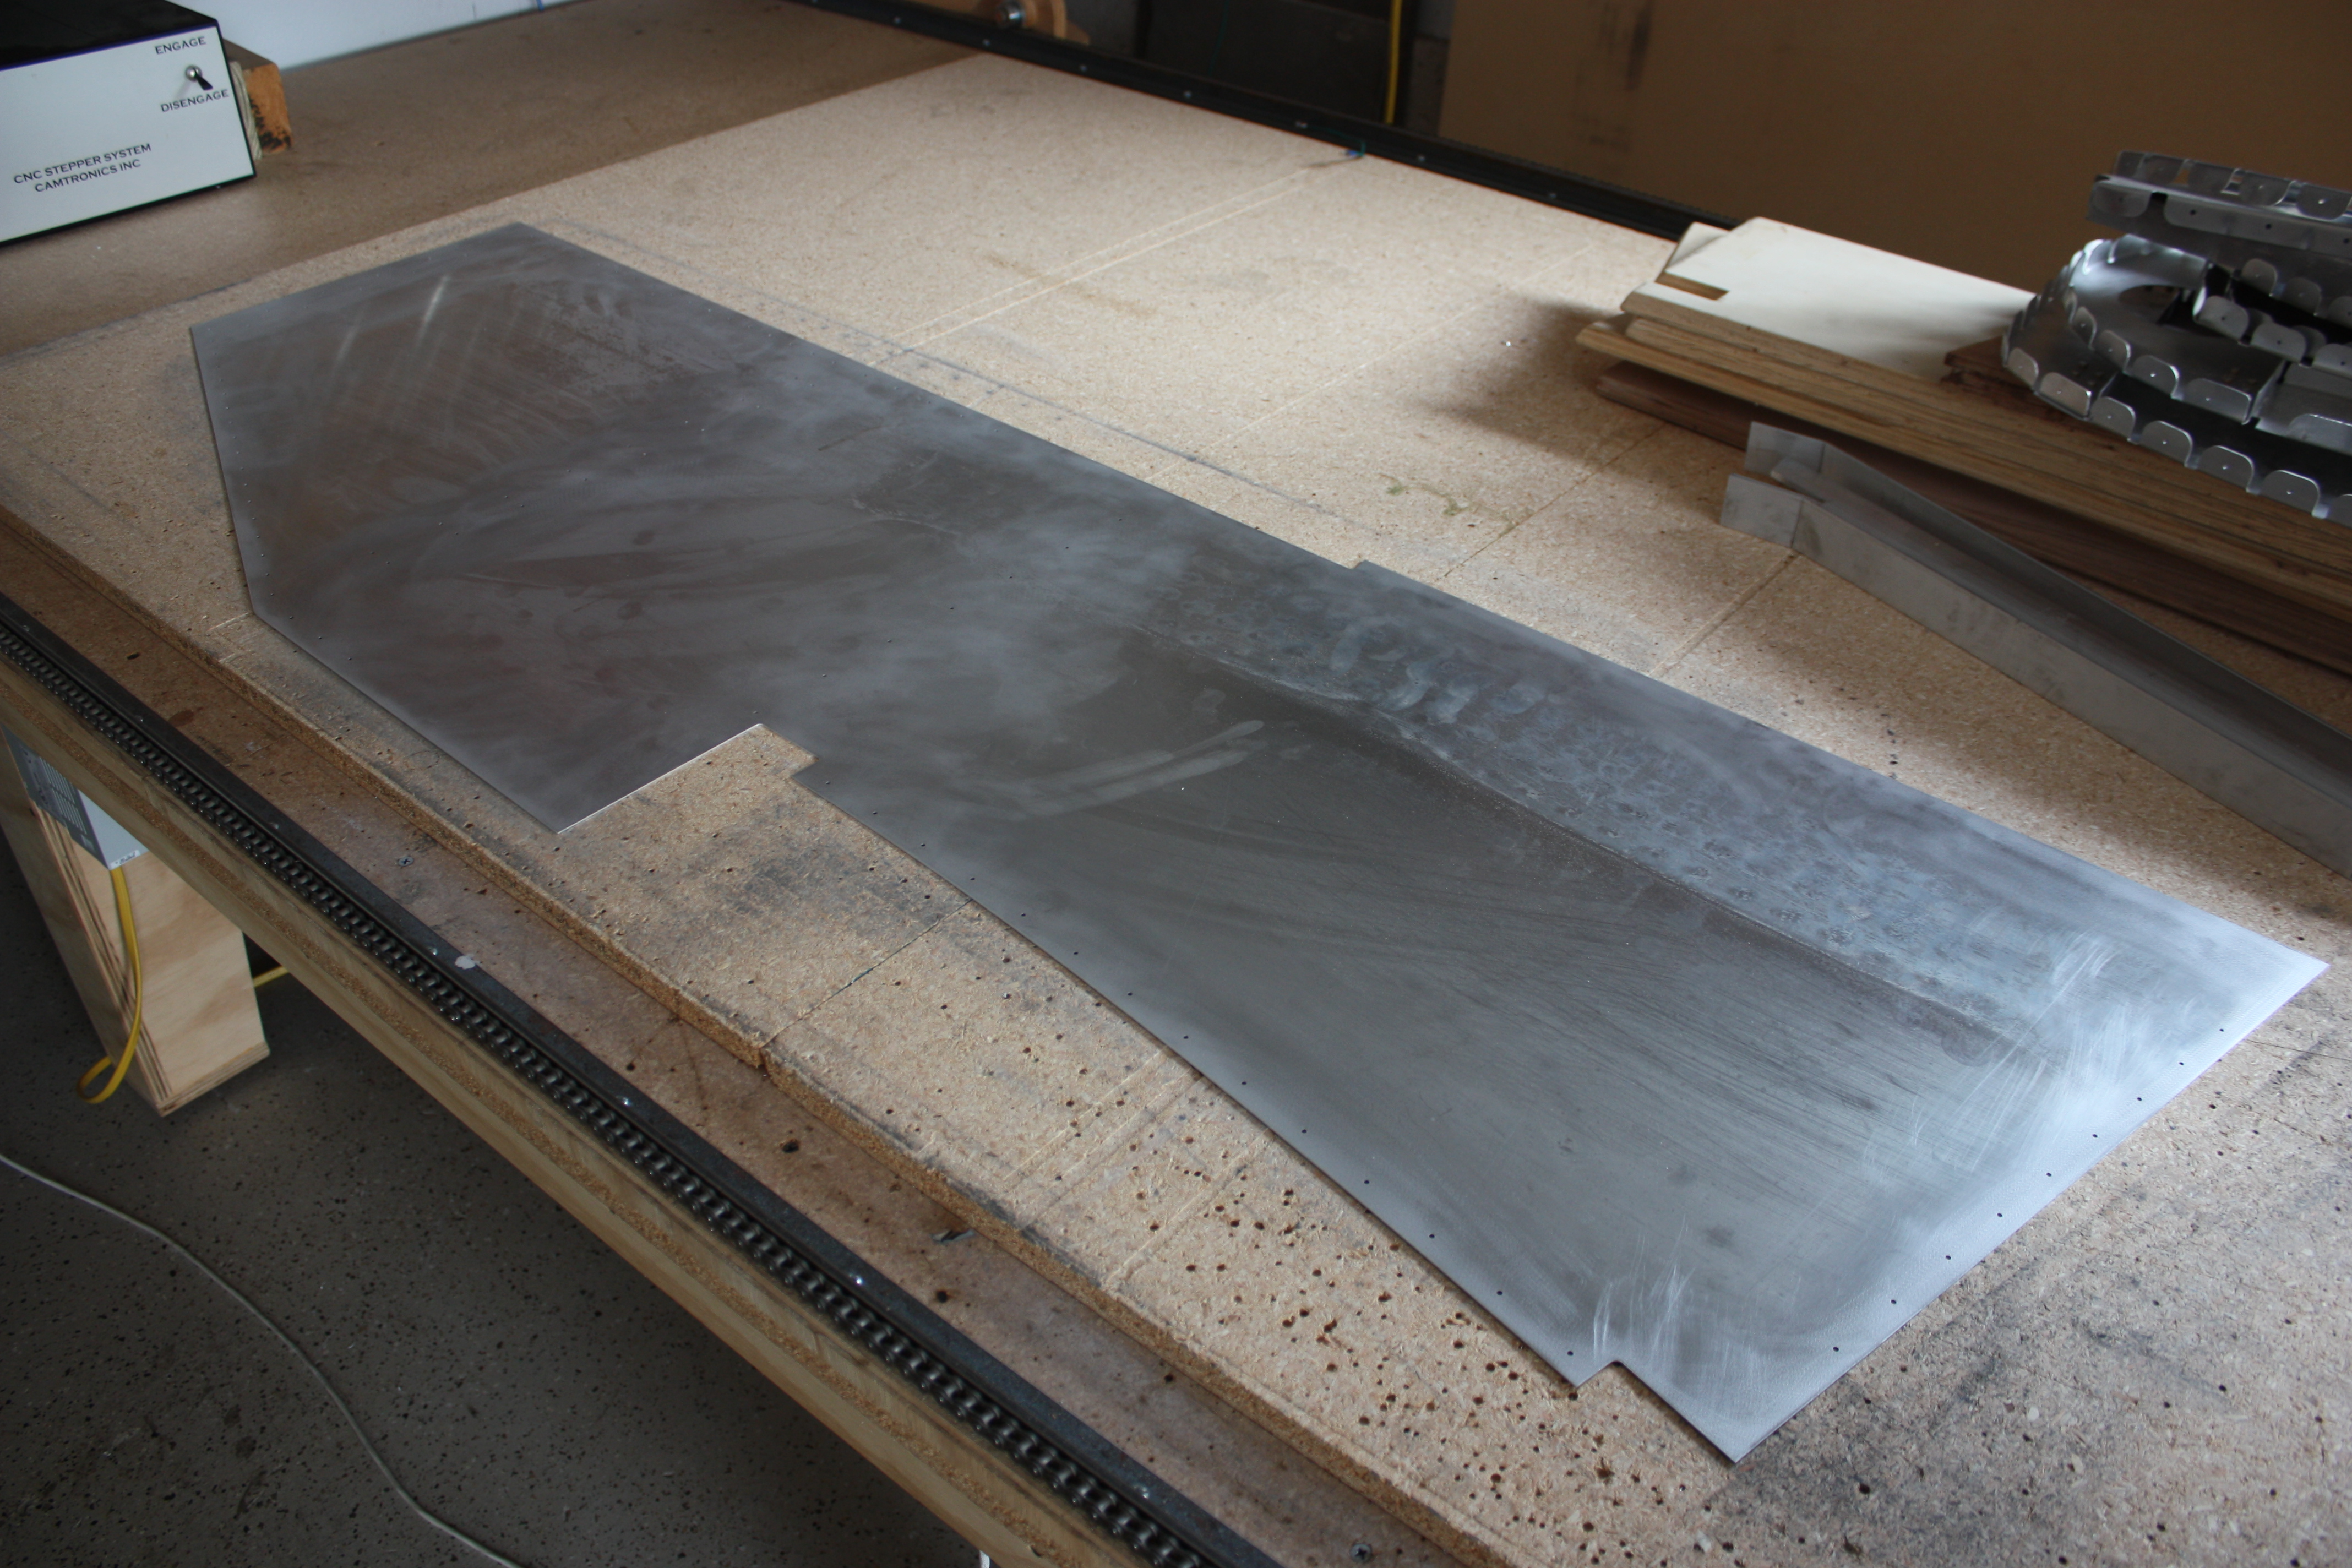
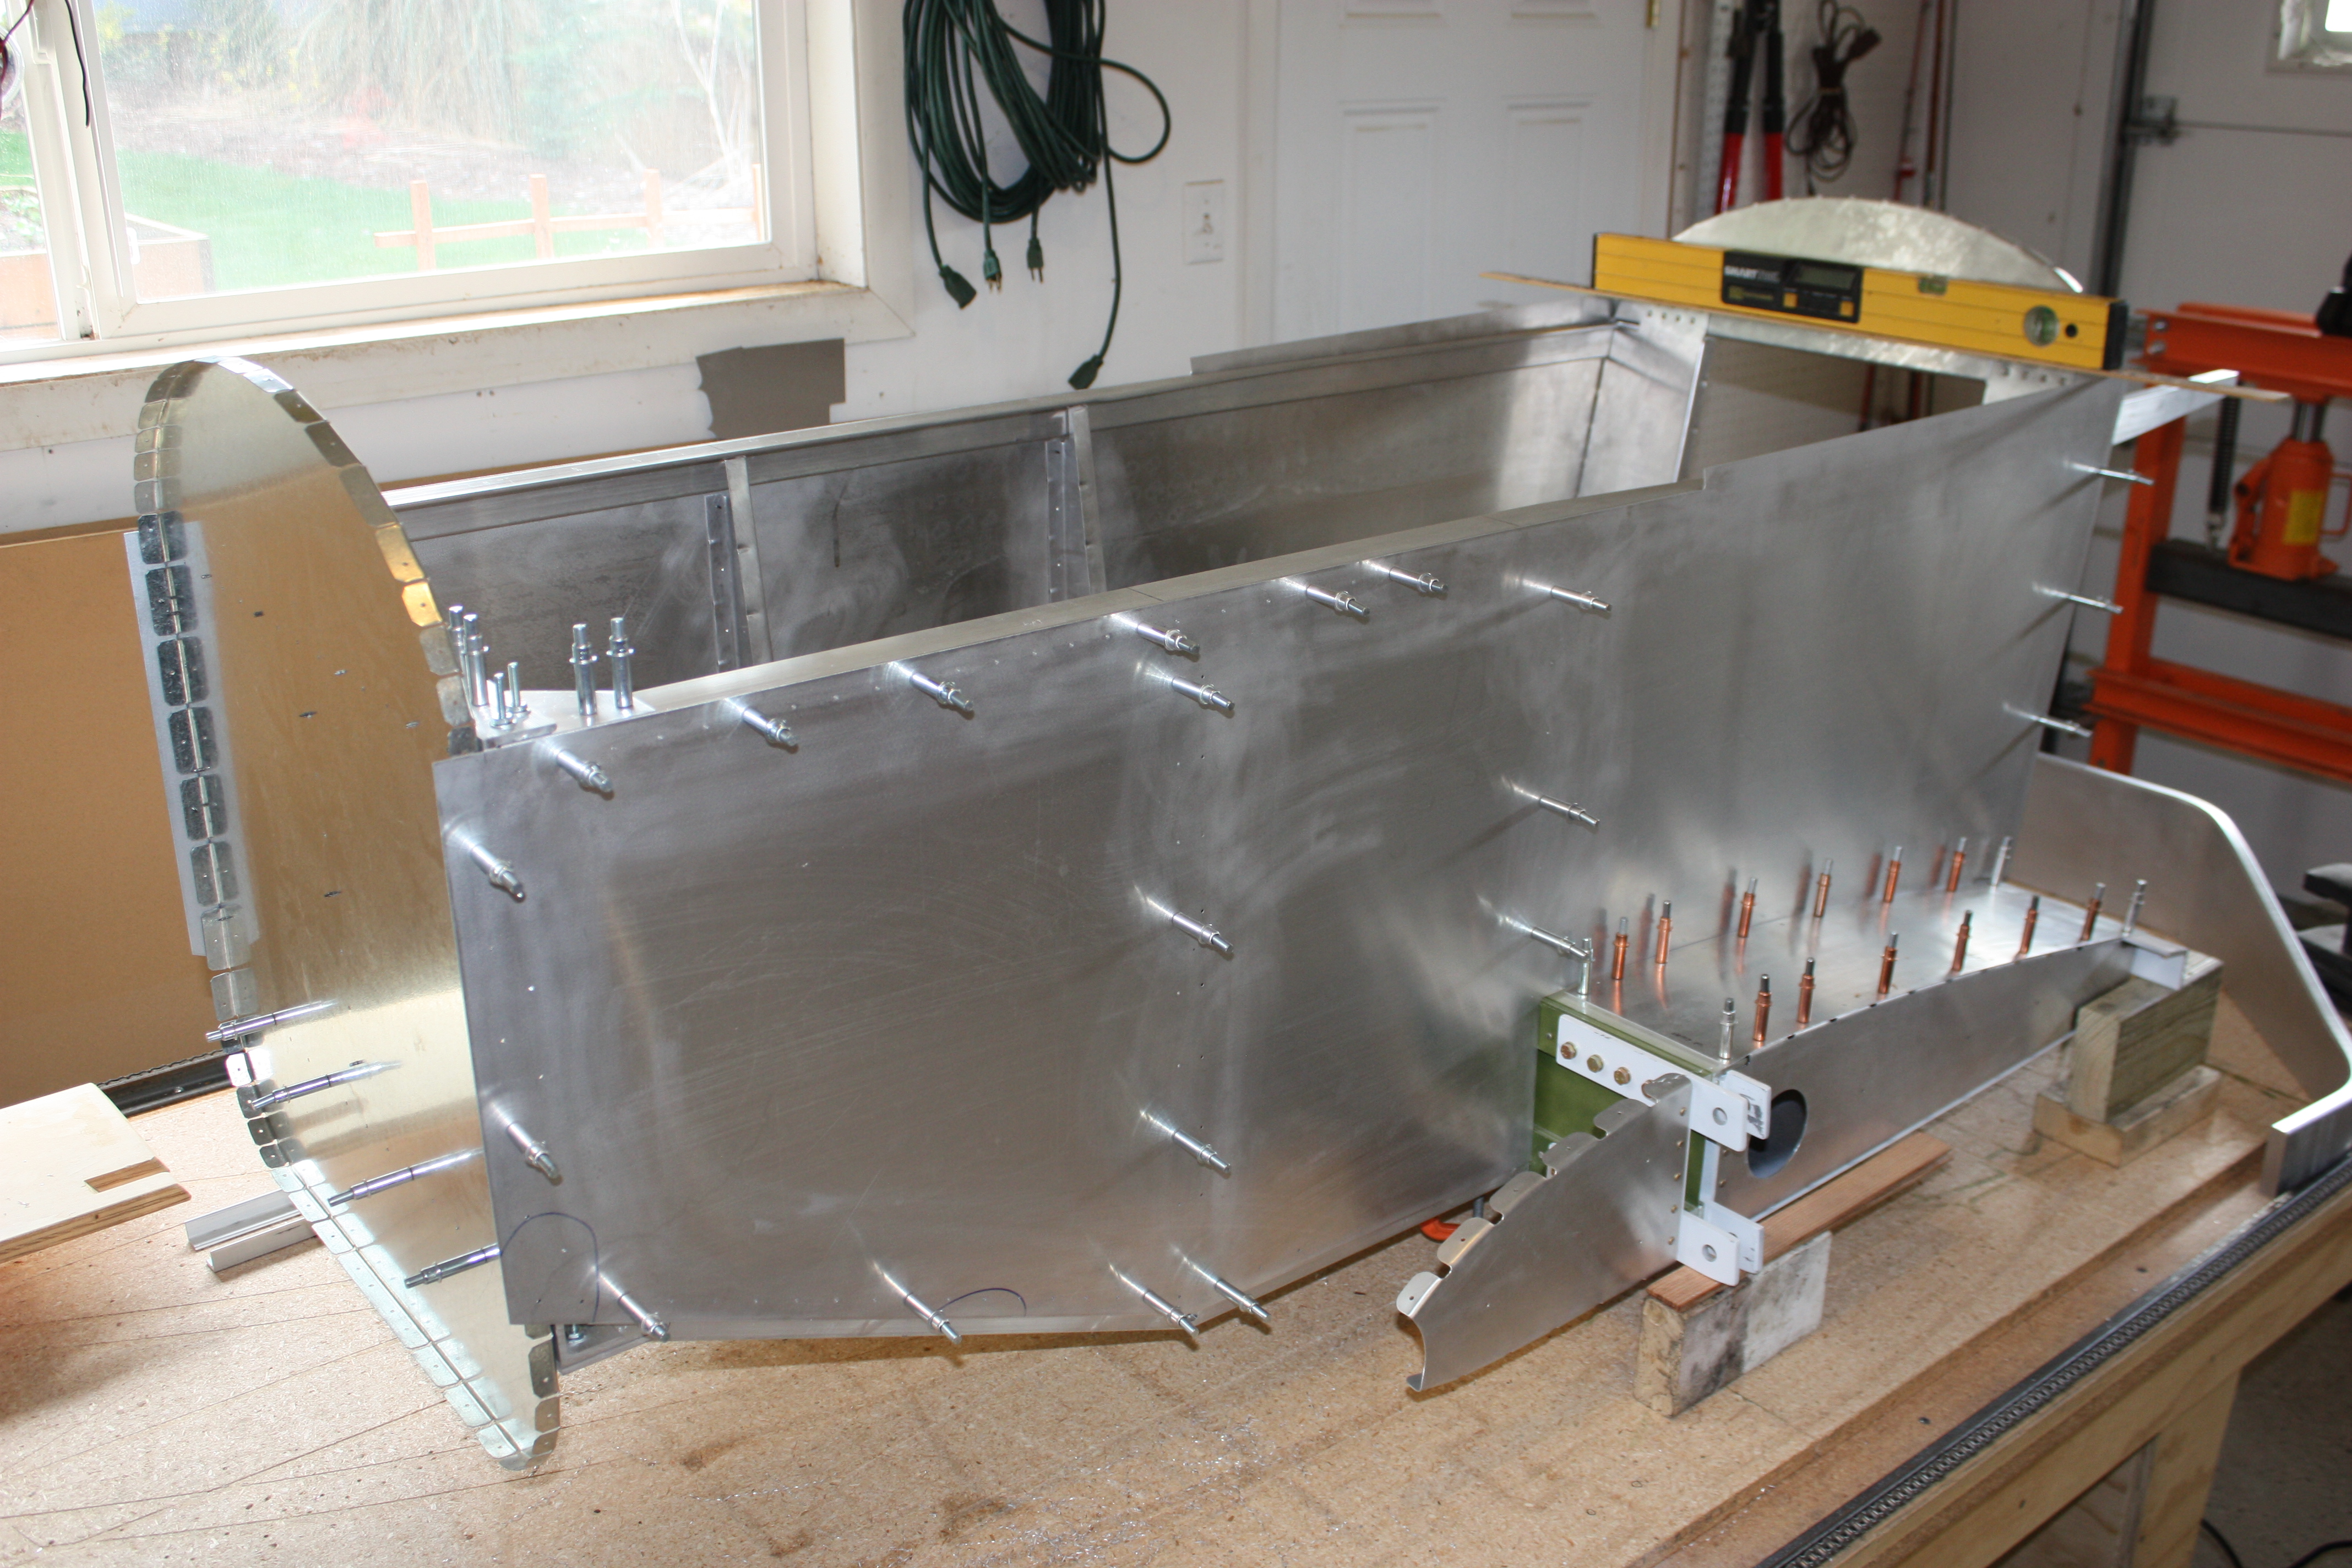
I used the CNC to cut and drill complete side skins from the firewall back to the seat. With both the left and right side equal and pre-drilled, this will hold the fuselage straight. Once the drill holes in the firewall and formers are matched up with the skins and the top of the skin lined up with the longeron, the pieces all has to all be in the right place.
June 2013
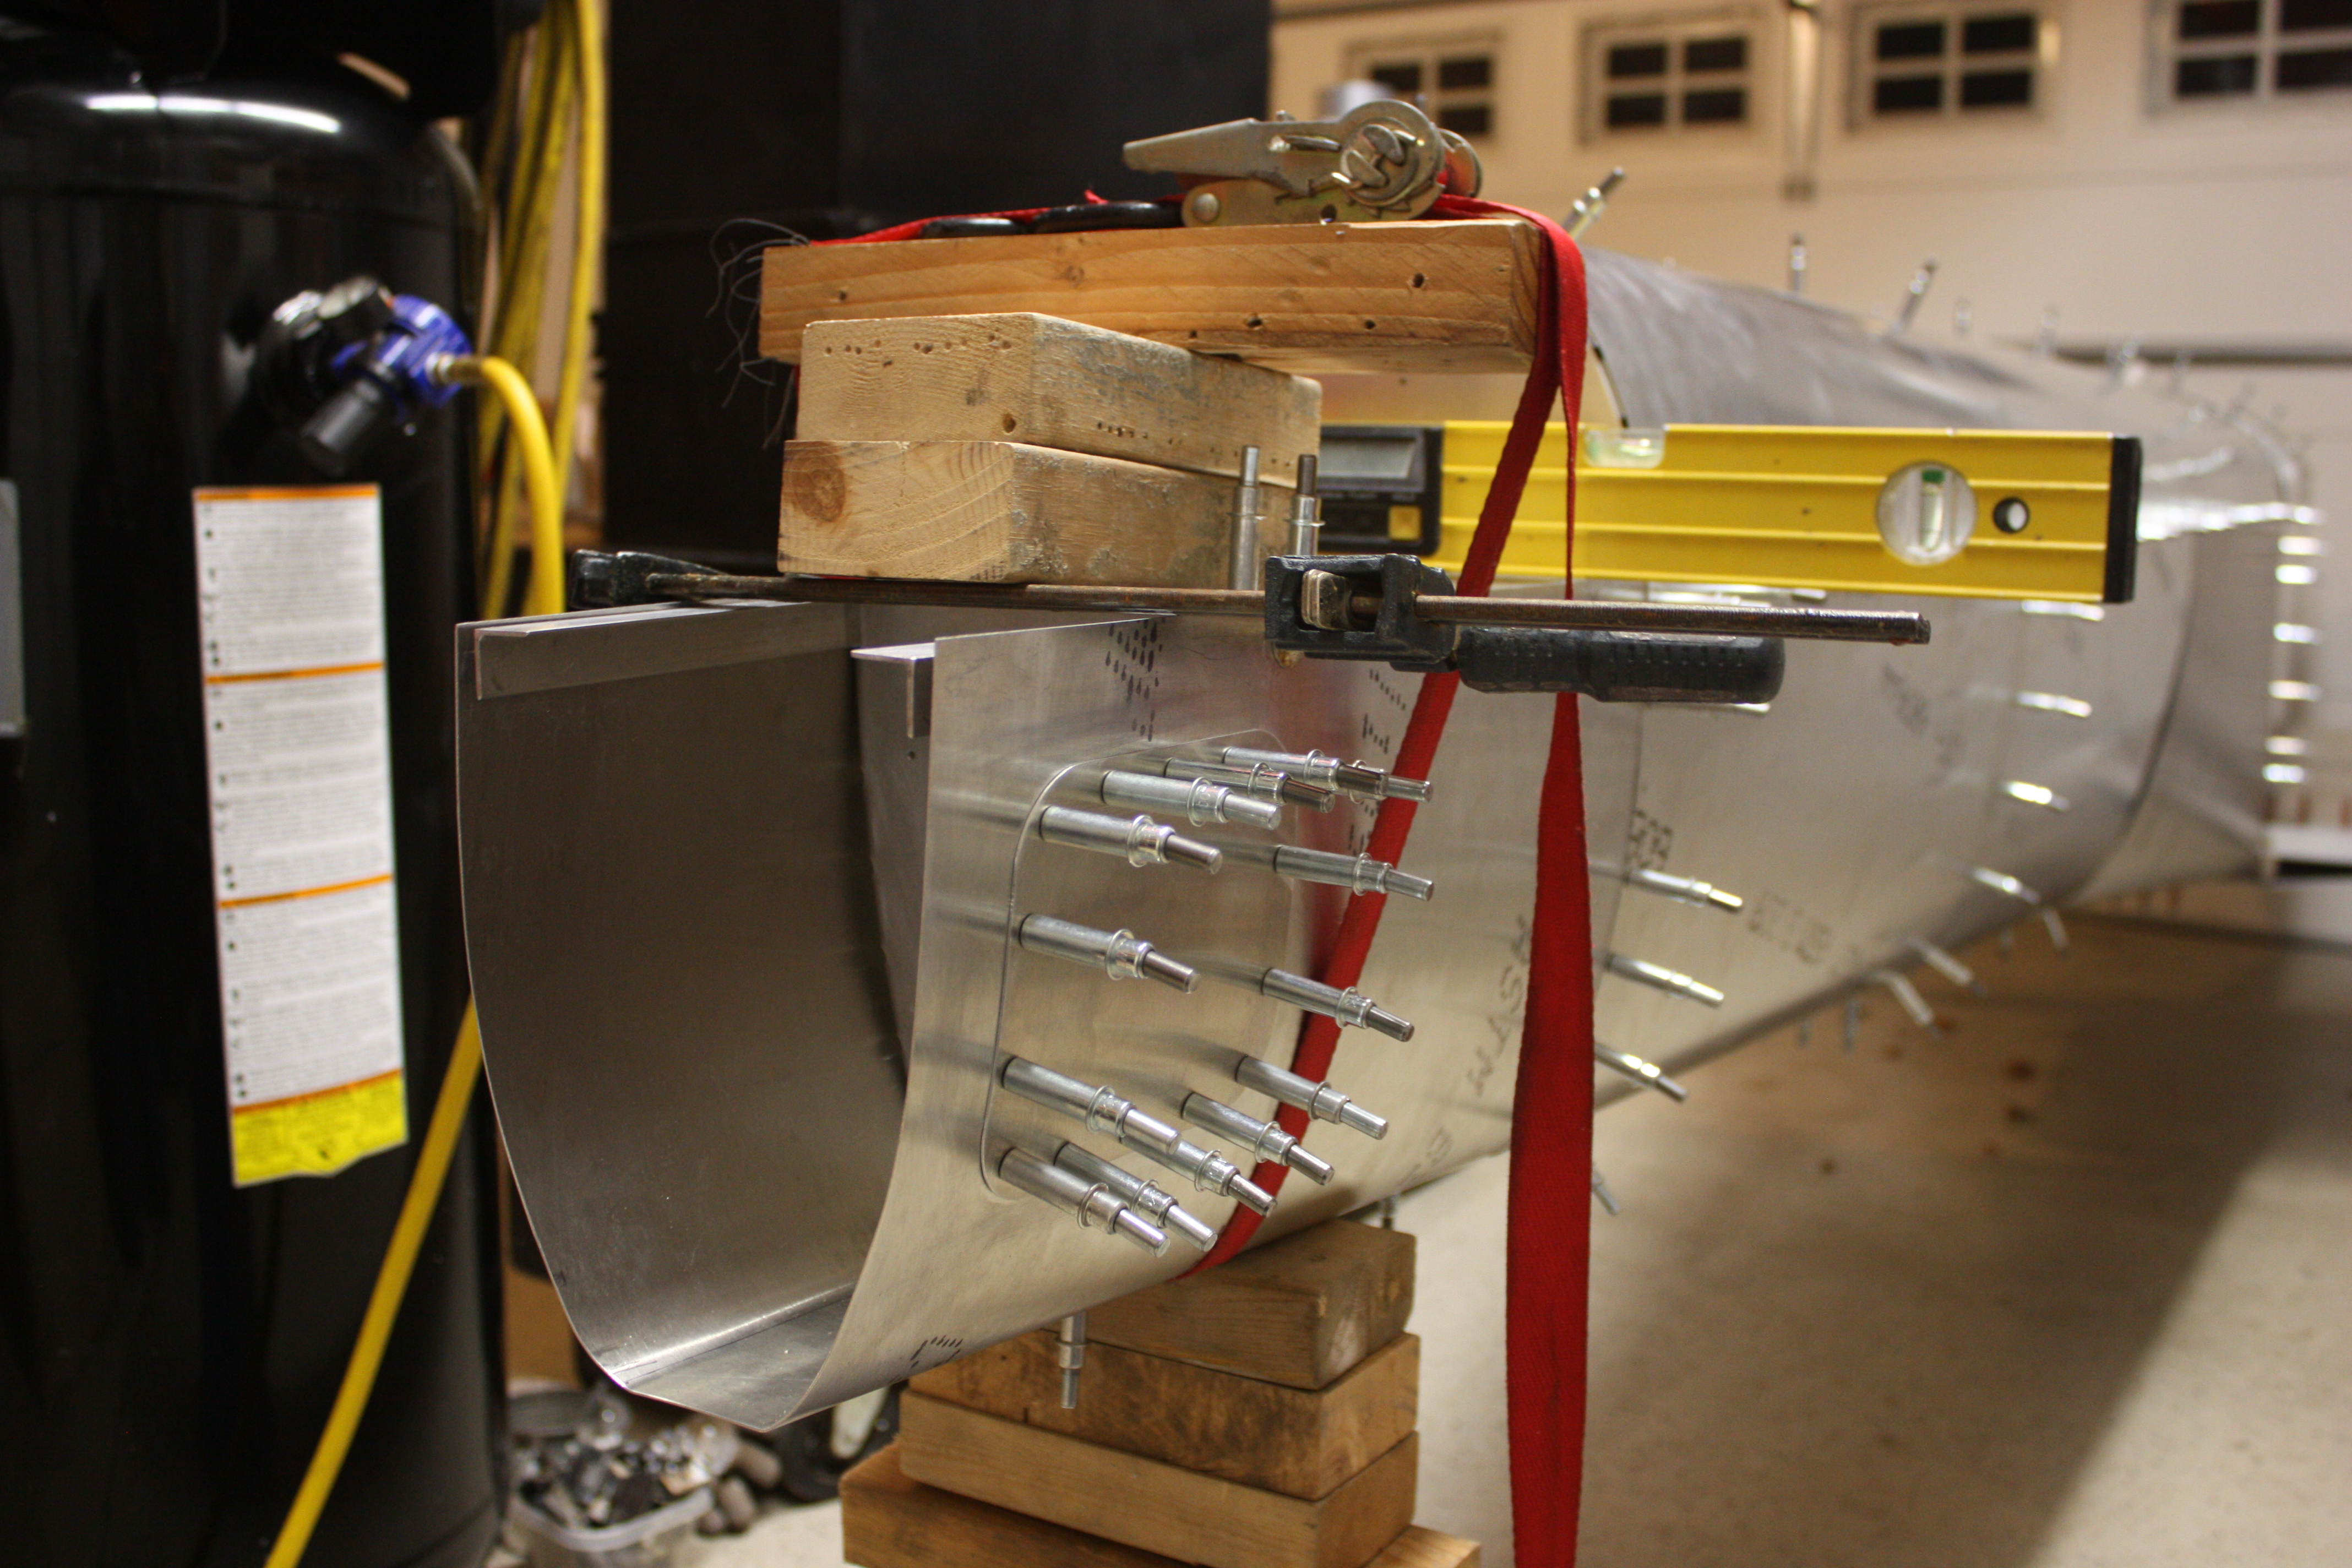
The next bit of work was to get the rear bottom skin in place. This was required before I could match drill through the nose rib, the side skin, the side of the bottom skin, and through the lower longeron. This was also required before I could drill to size the holes for the landing gear bolts.
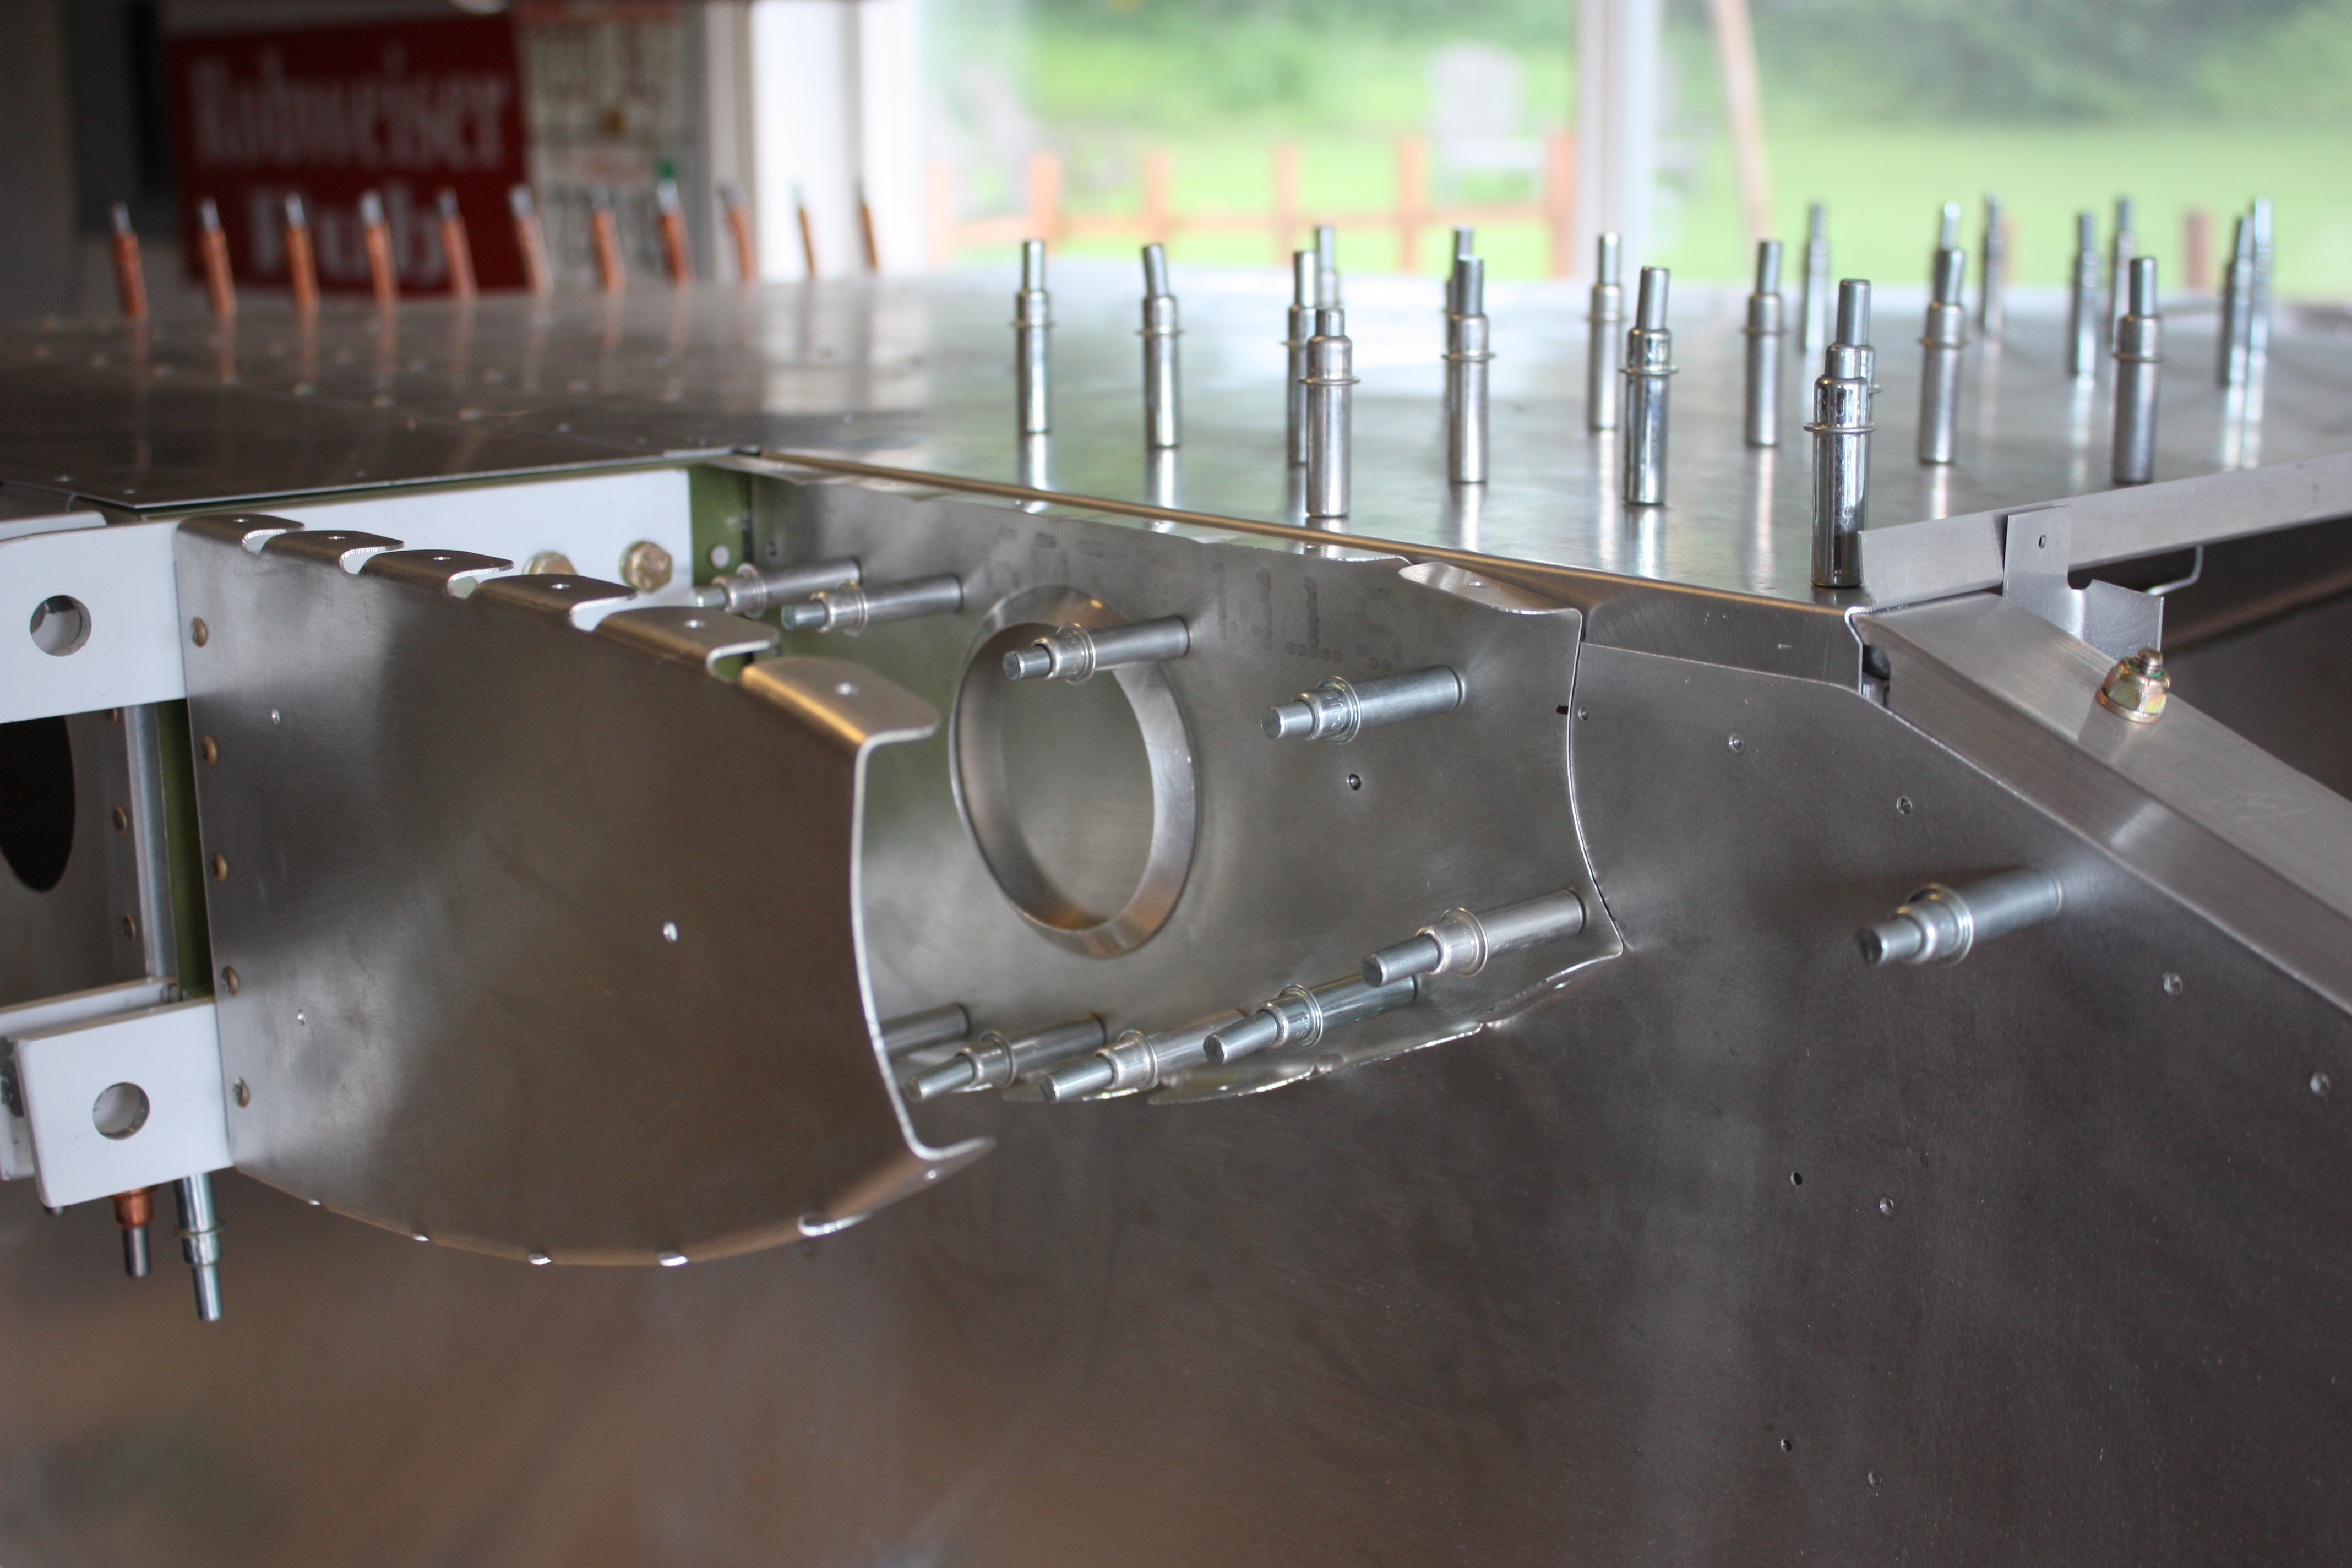
As you can see here, the sides of the bottom skin are turned up and fit under the side skin. Also, I'm not putting in the c-channel where the rear bottom skin, the forward bottom skin, and the floor meet. Instead, these will all meet at a 1/2" flange and all three will be riveted together. You can see this flange at the right of the picture. The tab with the single hole is the bottom of former F4:
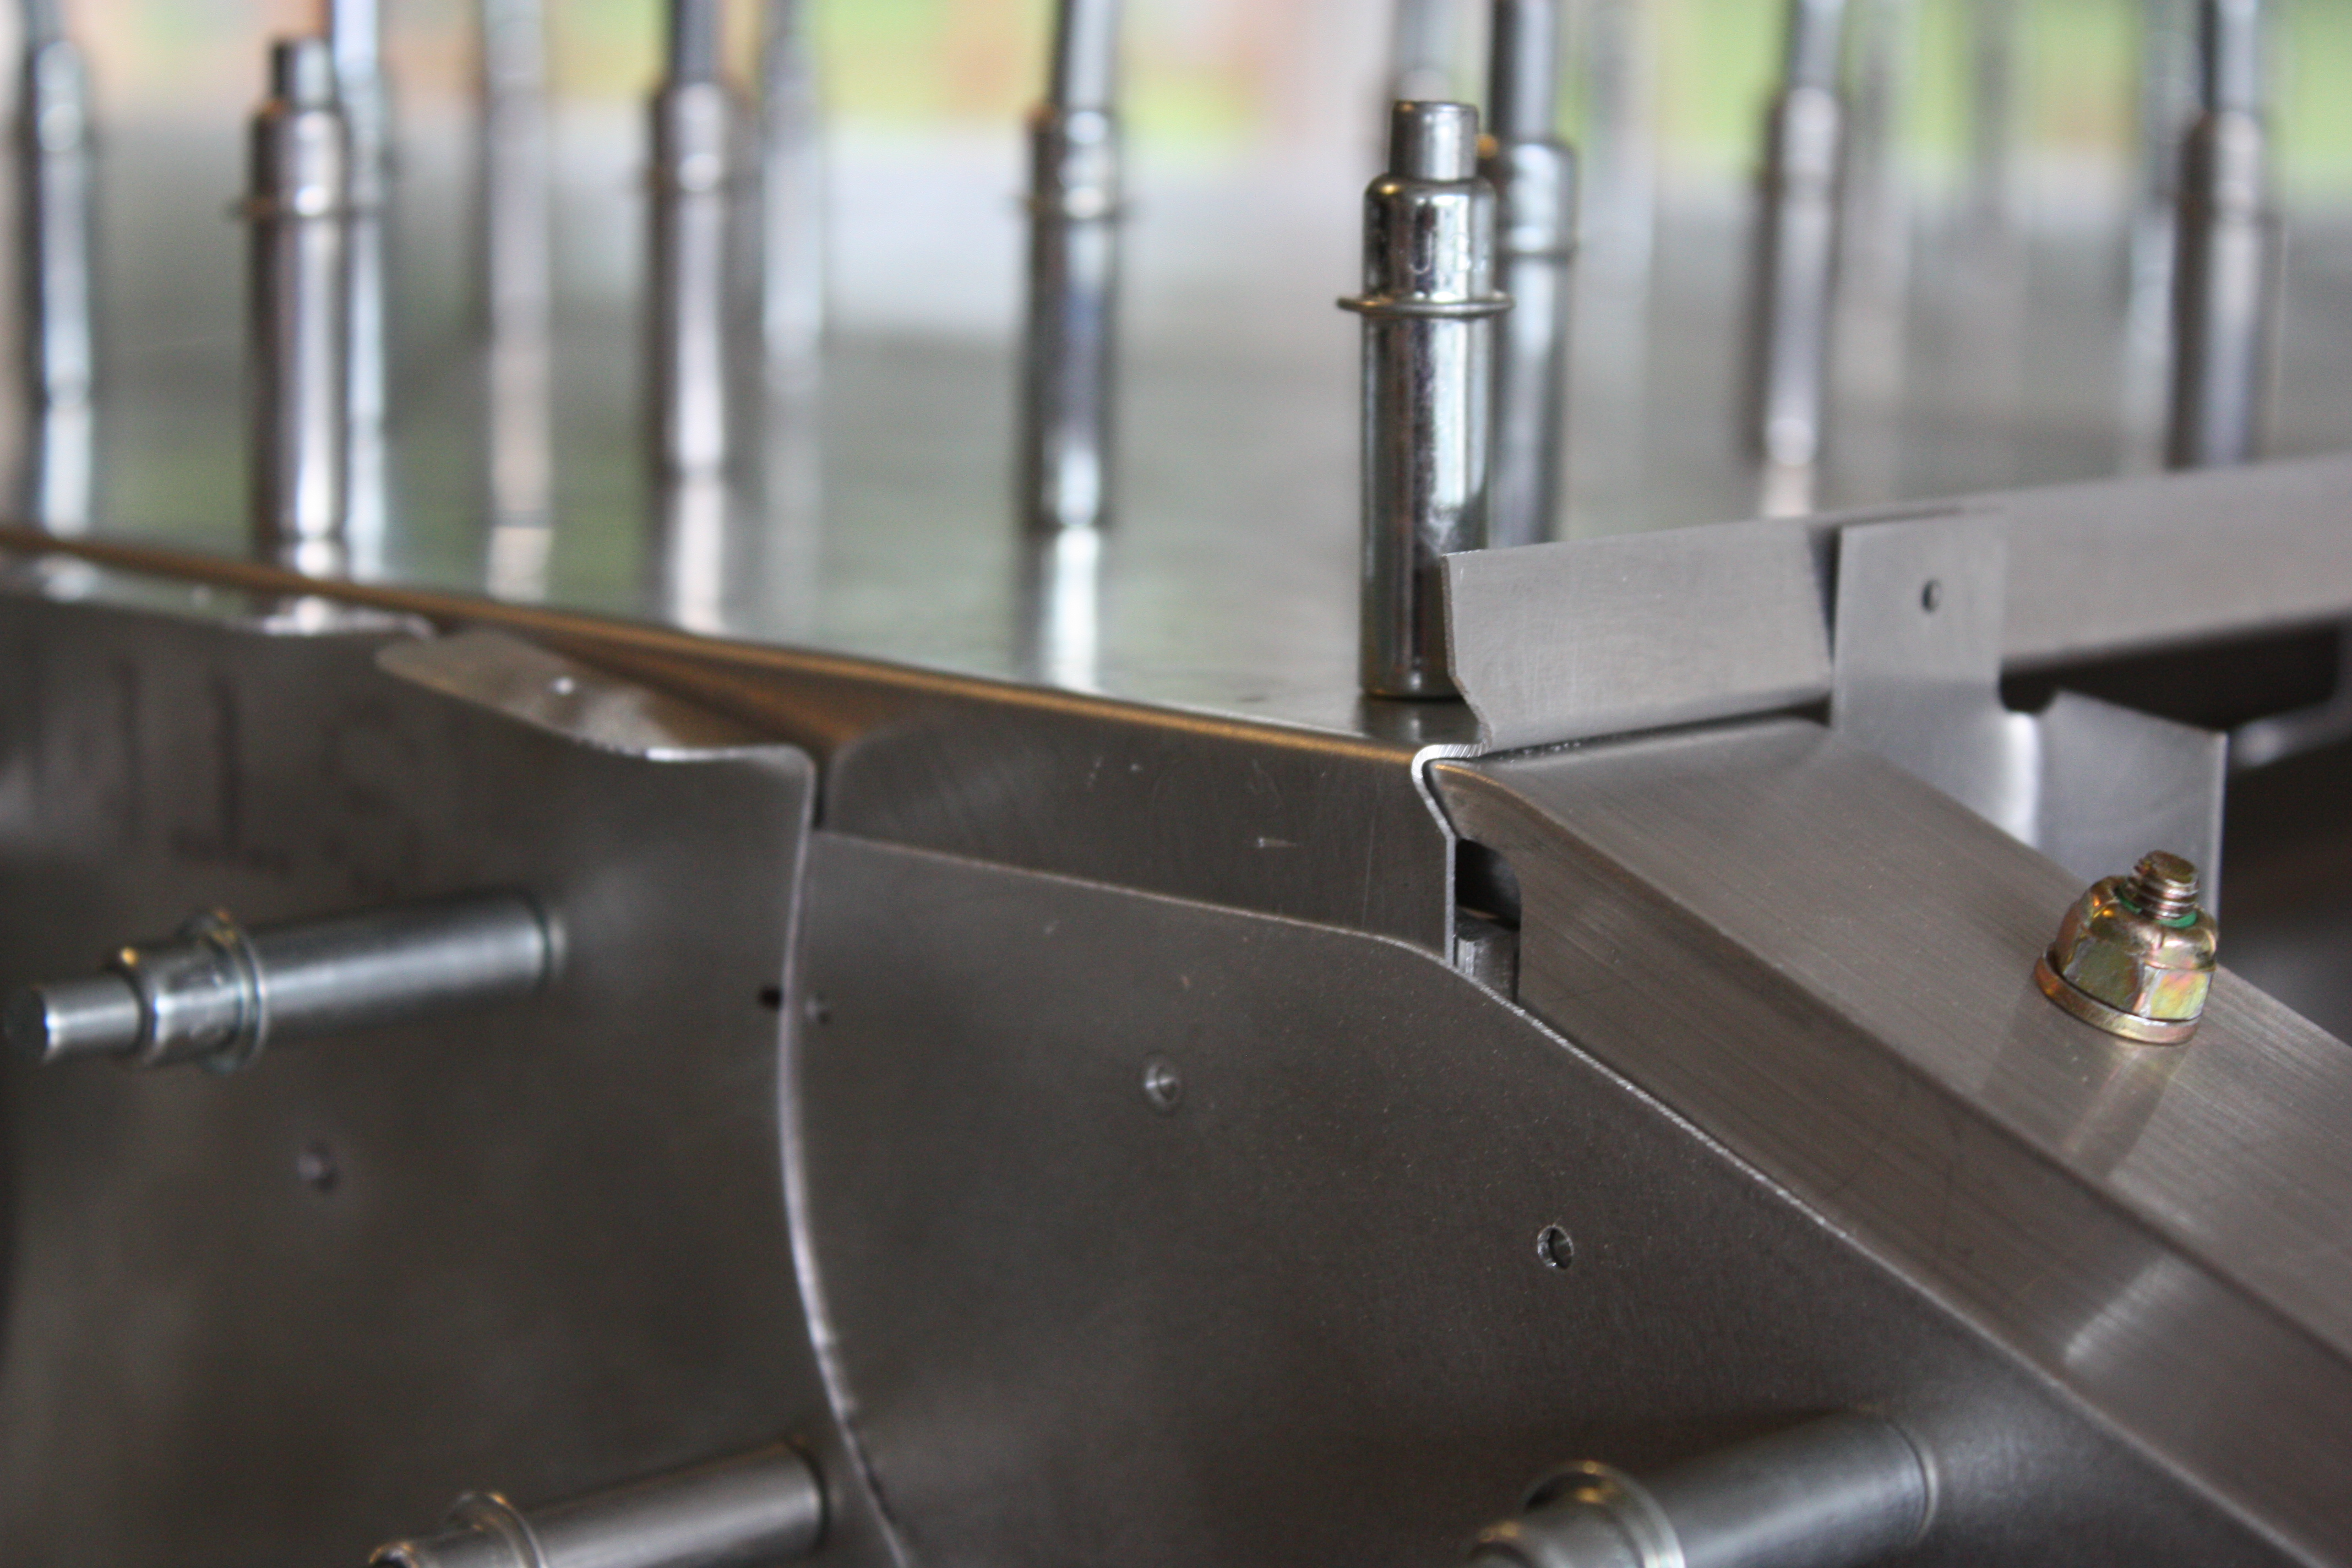
Here I have it flush riveted in place. The flush rivets are required because the landing gear presses up against this skin. At this point, I also have it drilled for the landing gear bolts:
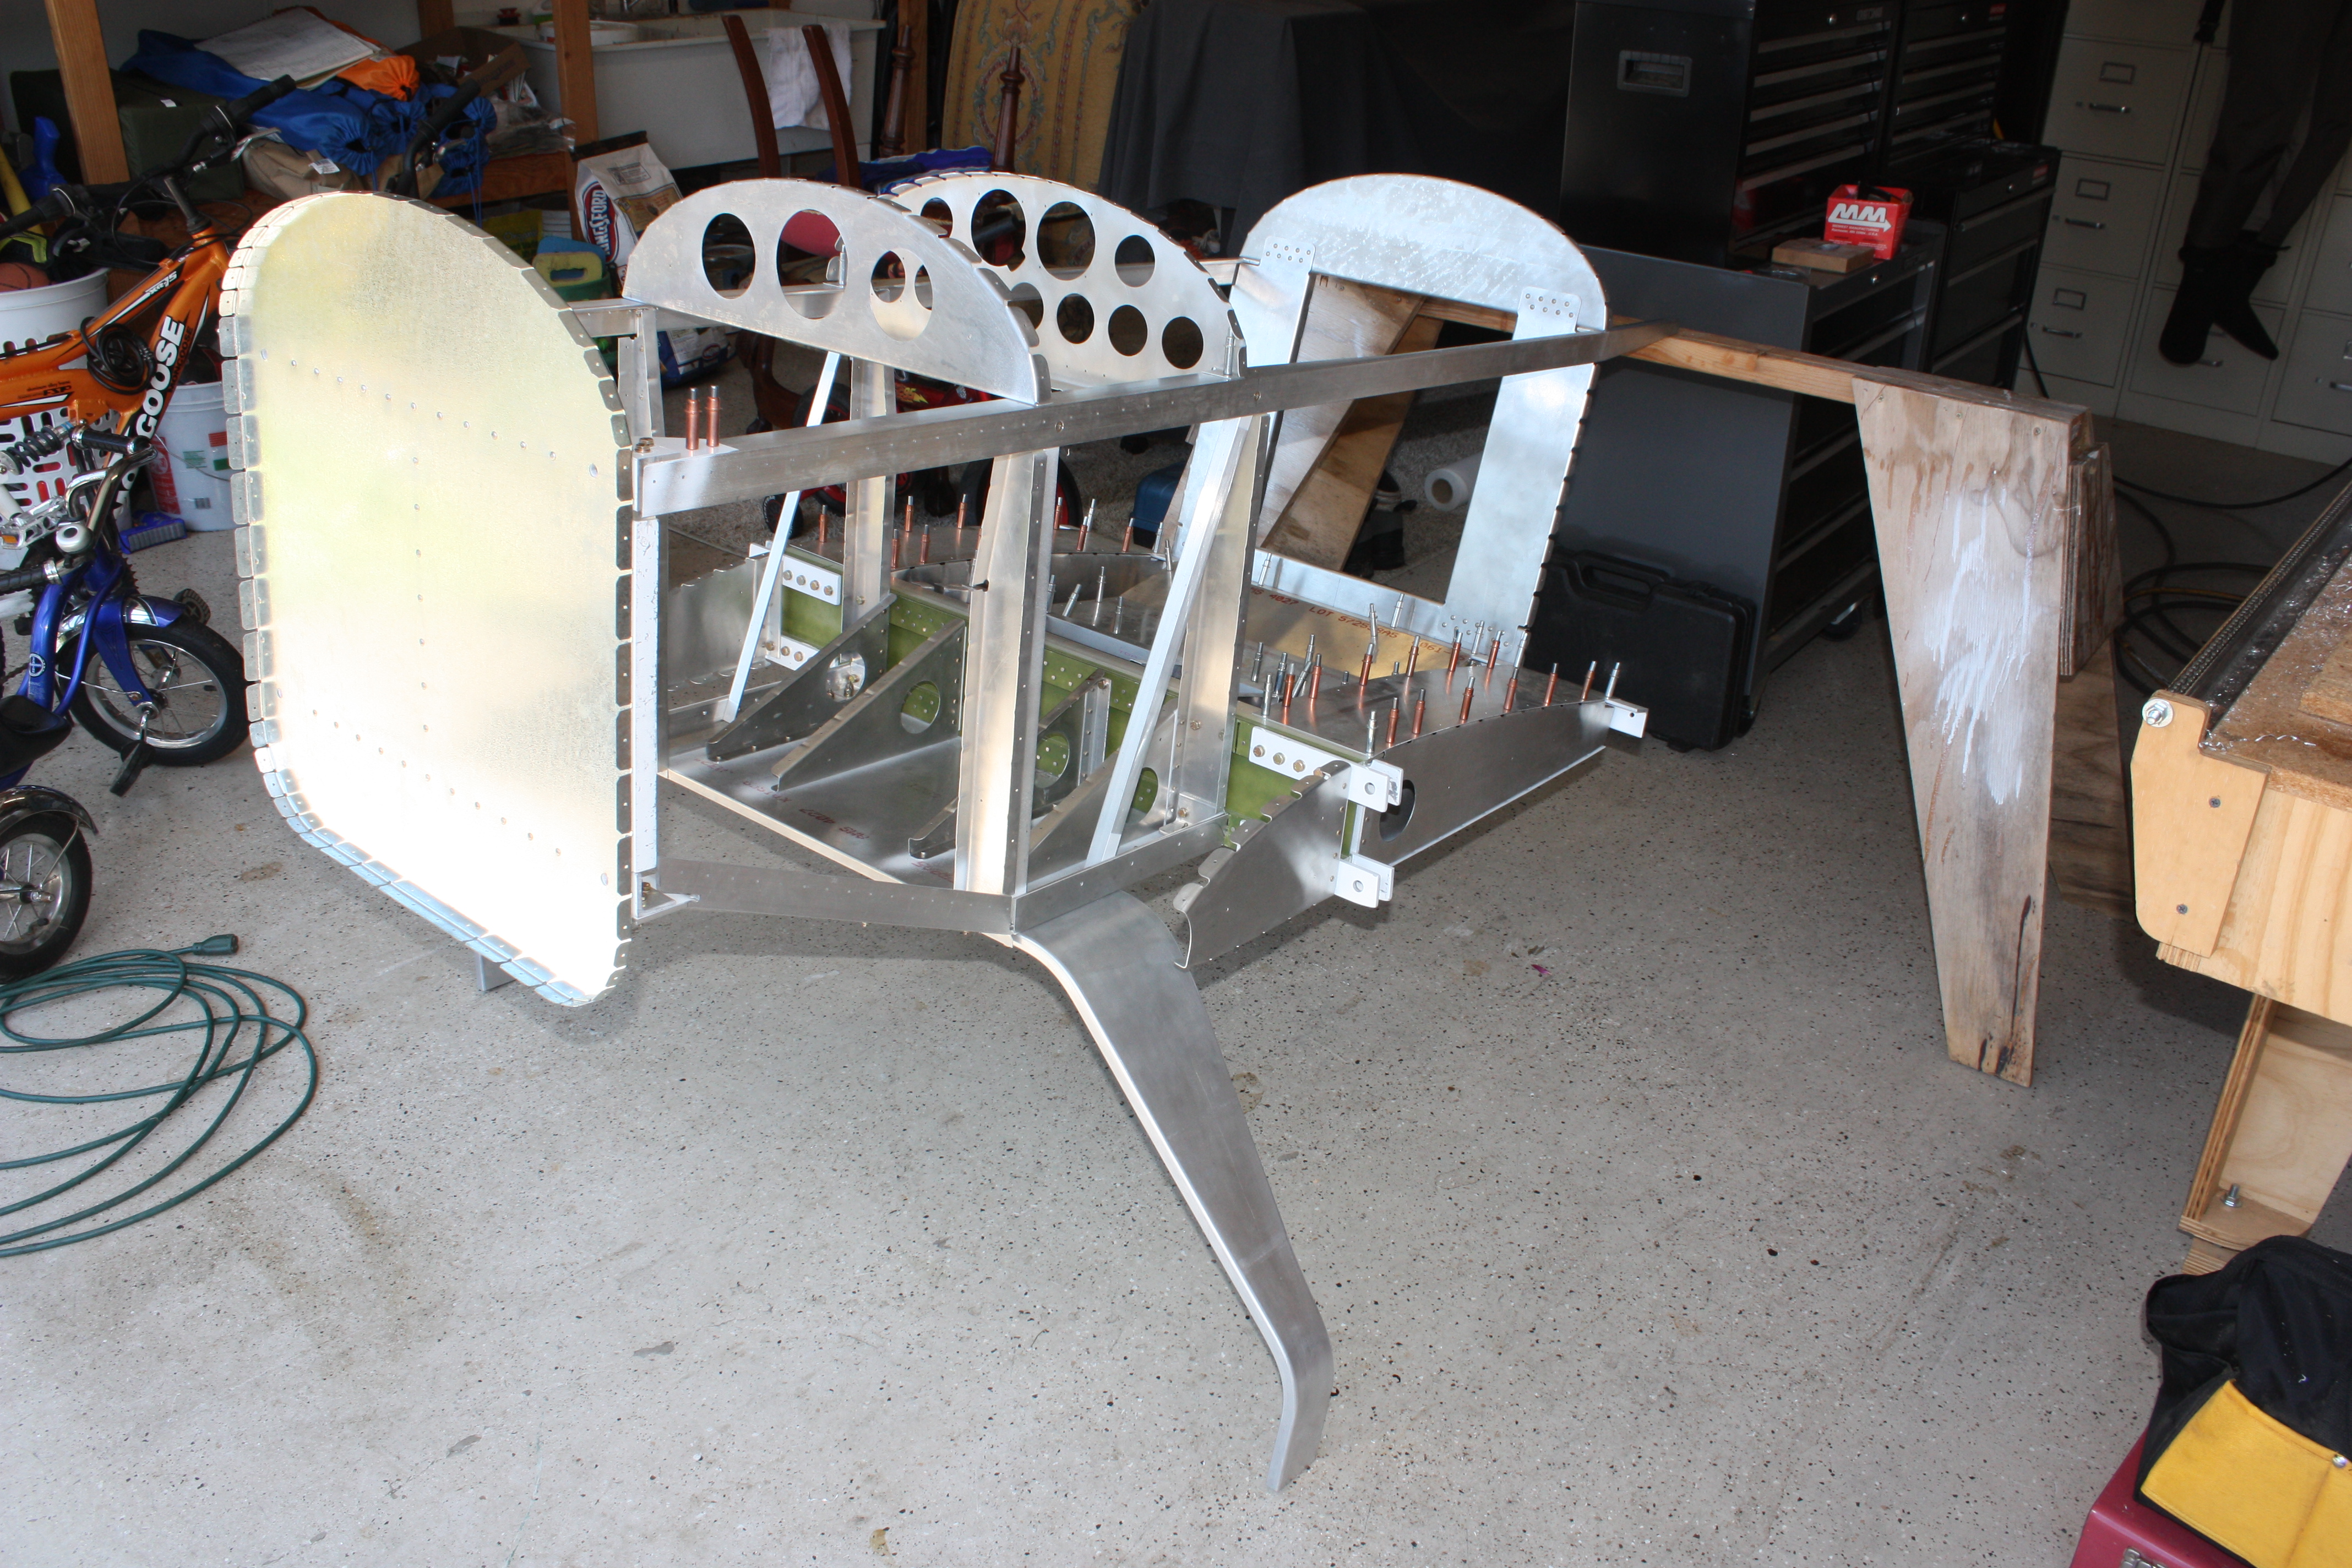
With the landing gear attached, I can get it off of the work table.
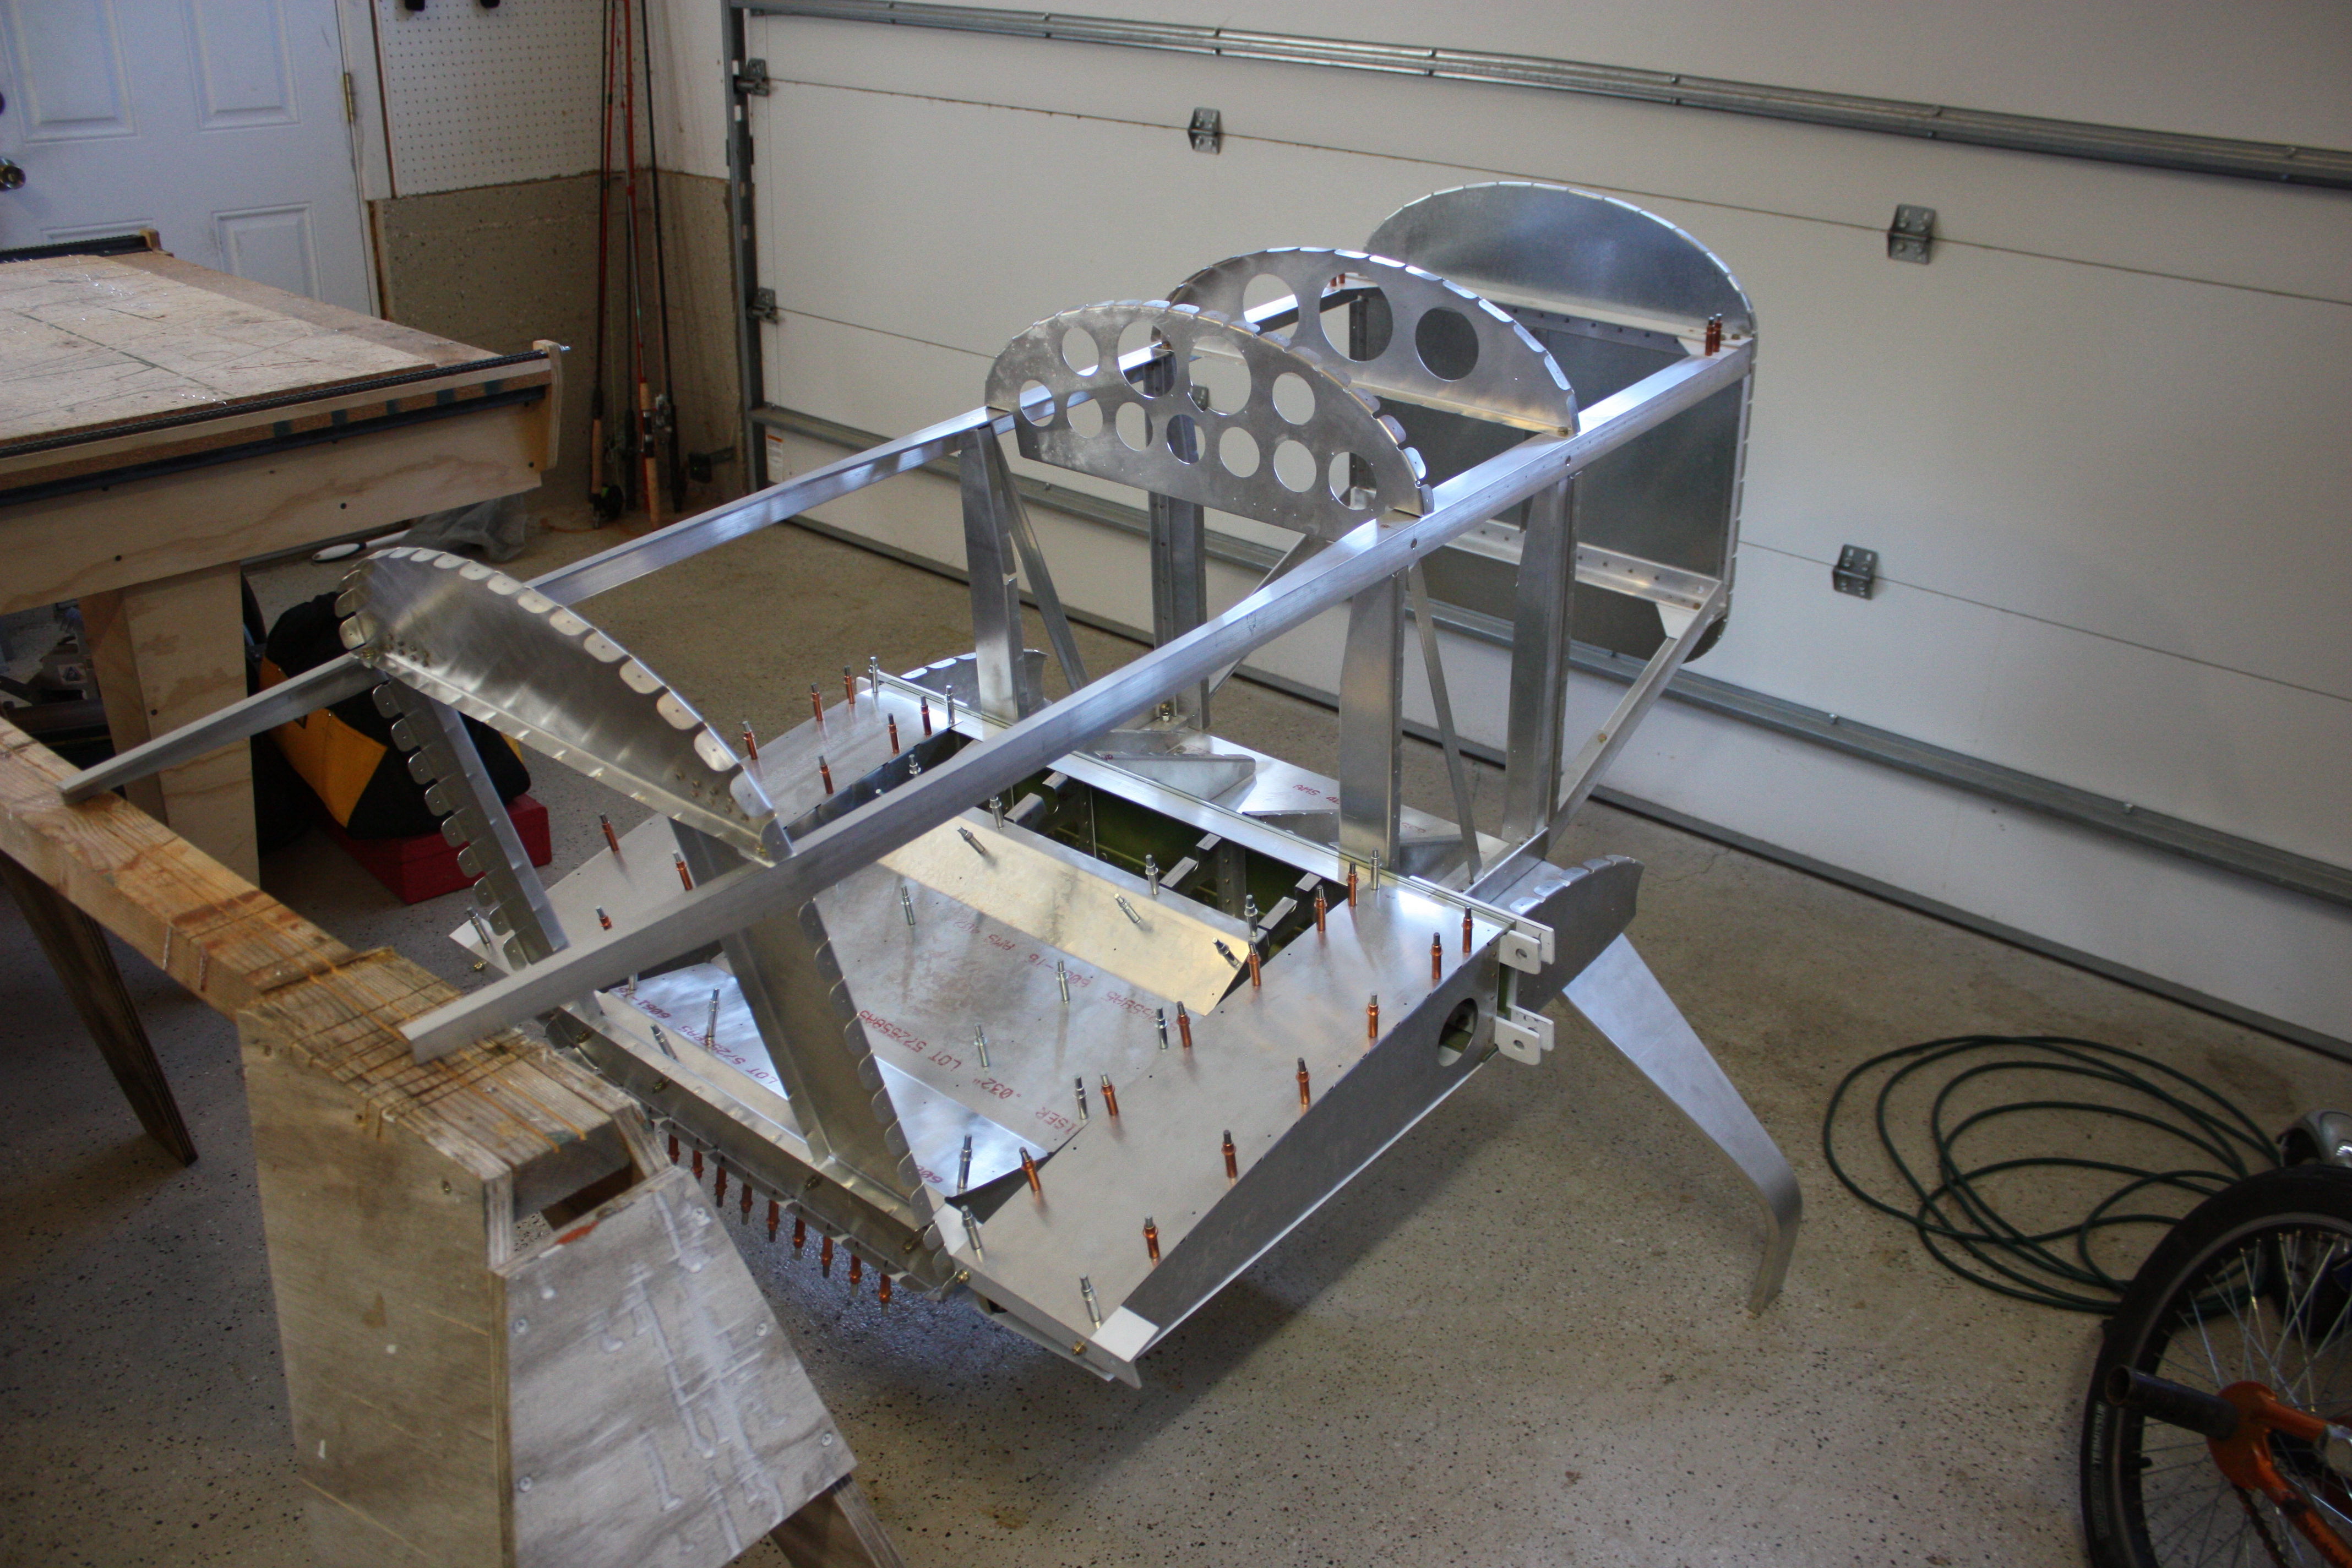
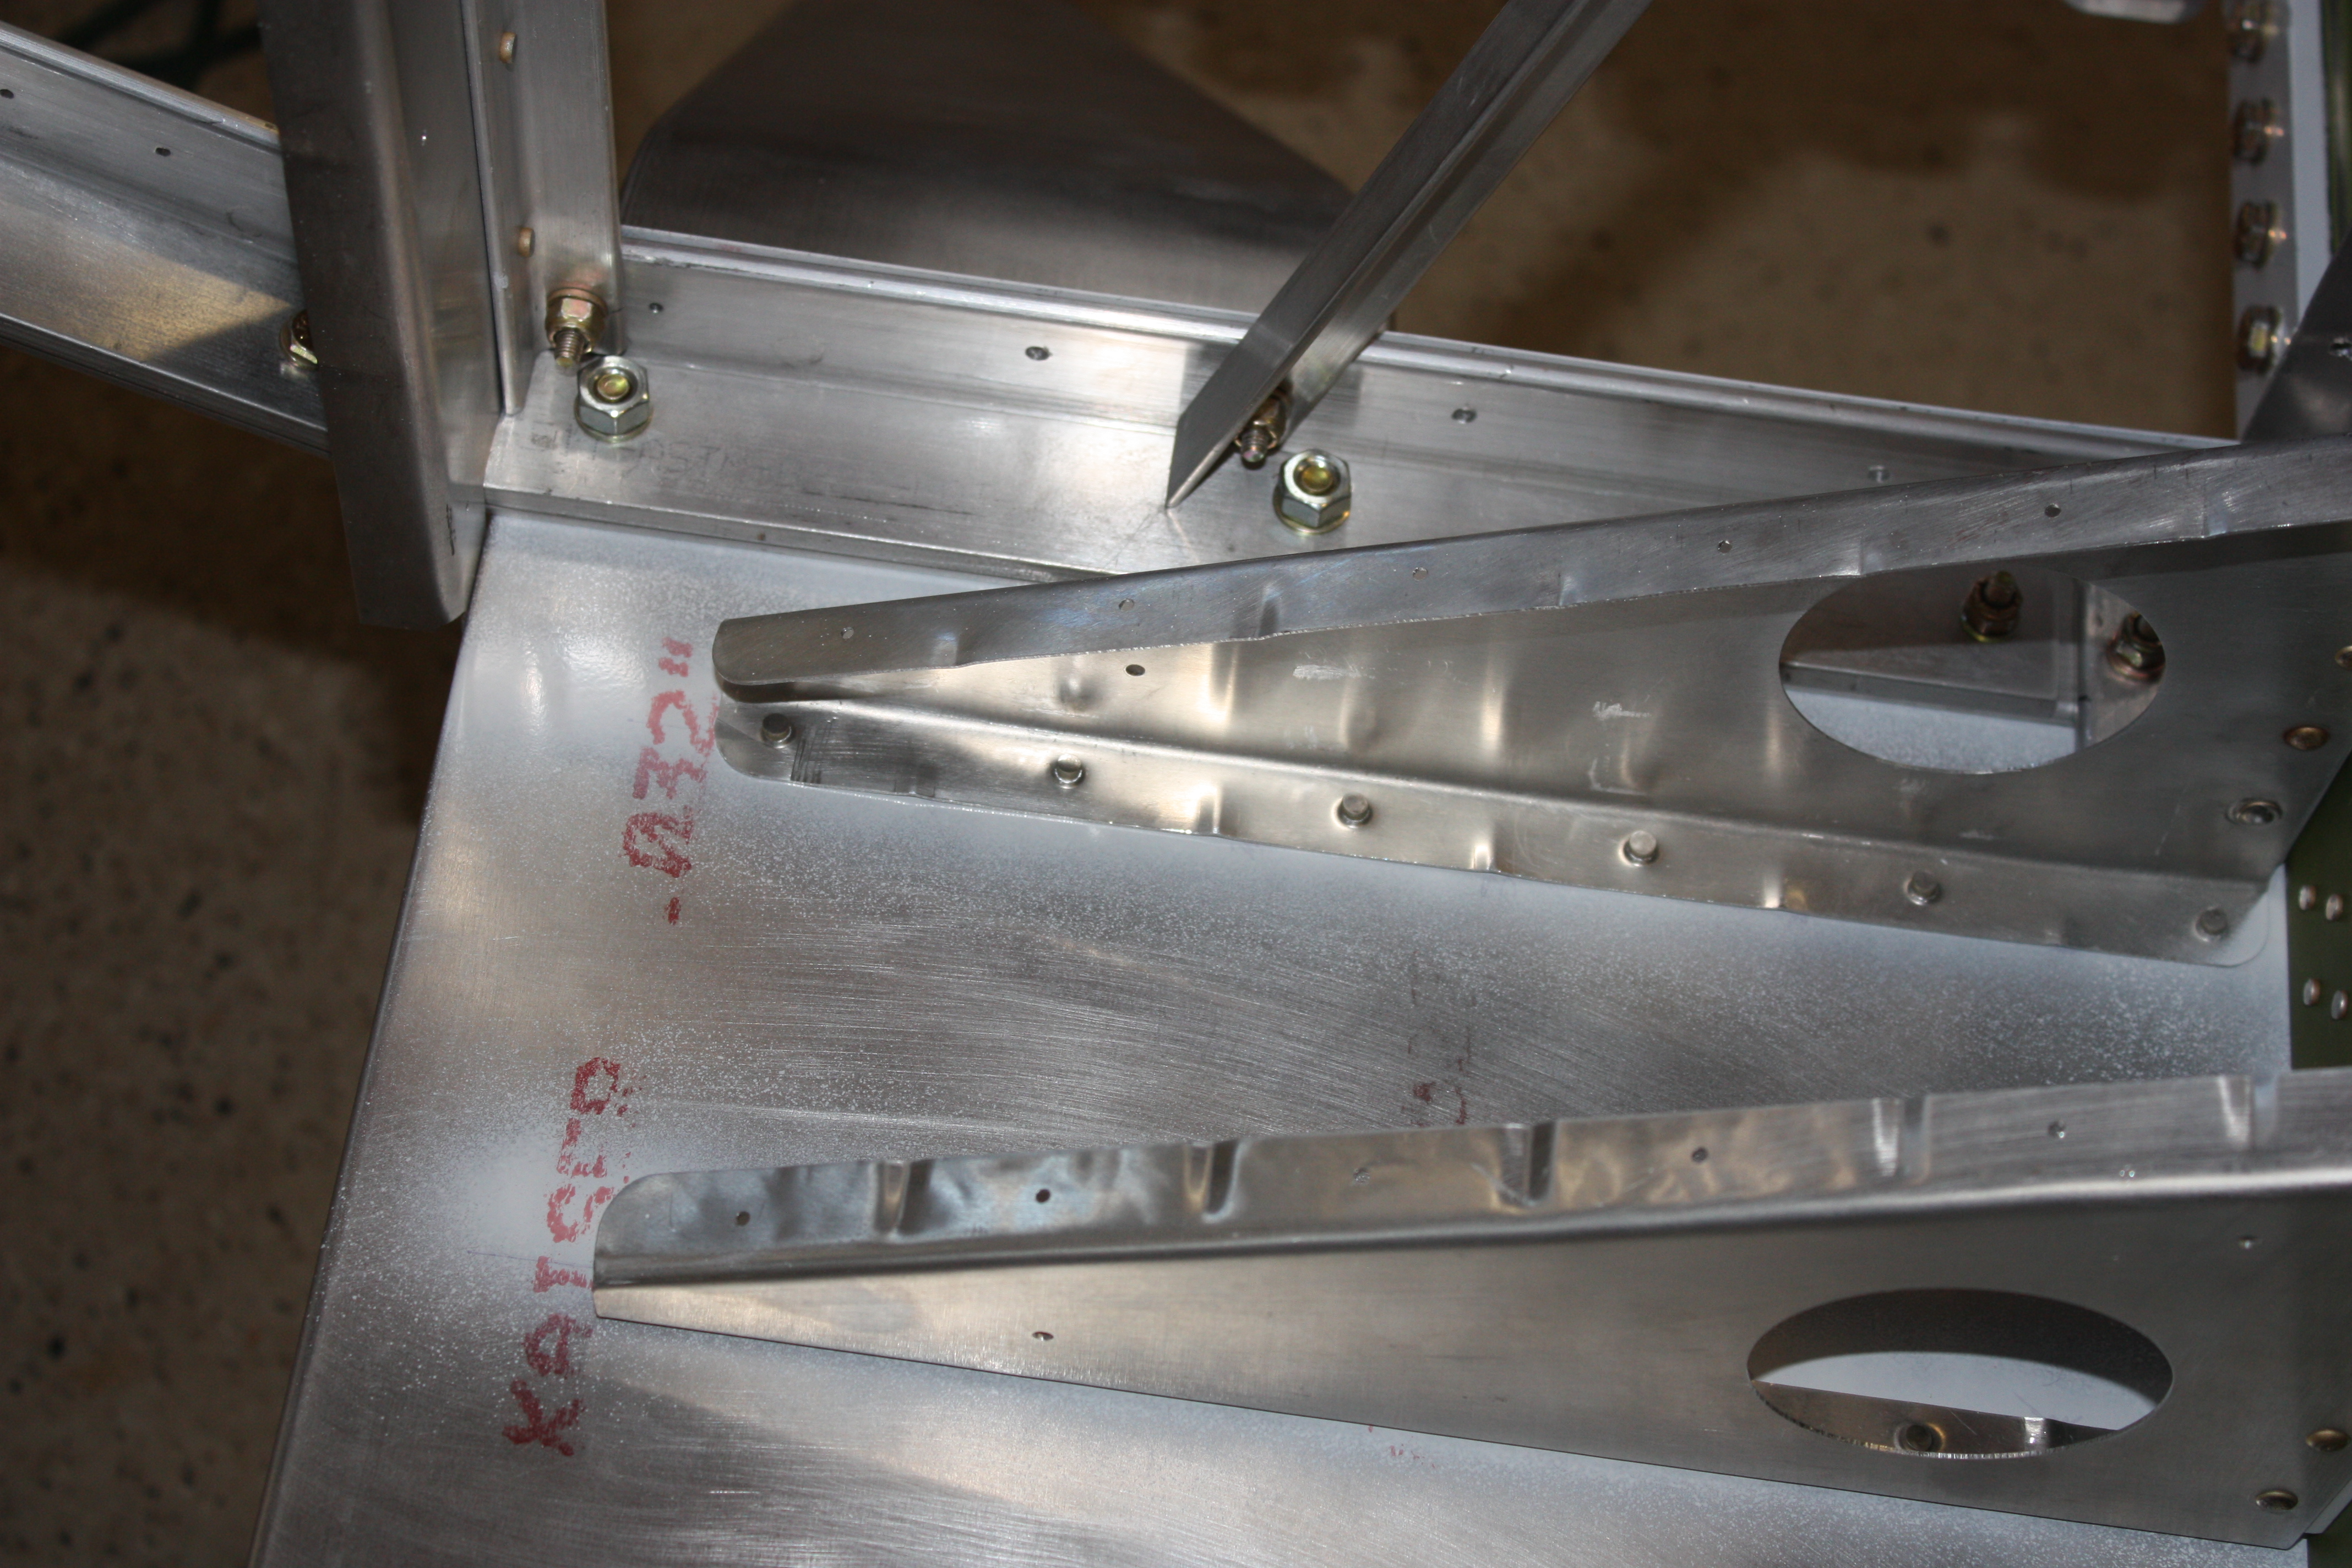
Just a close up of the floor ribs riveted to the rear bottom skin. You may also notice the white spray paint in these pictures. Anywhere I have had metal to metal contact, I have put a coating of white enamel (rattle can Rustoleum):
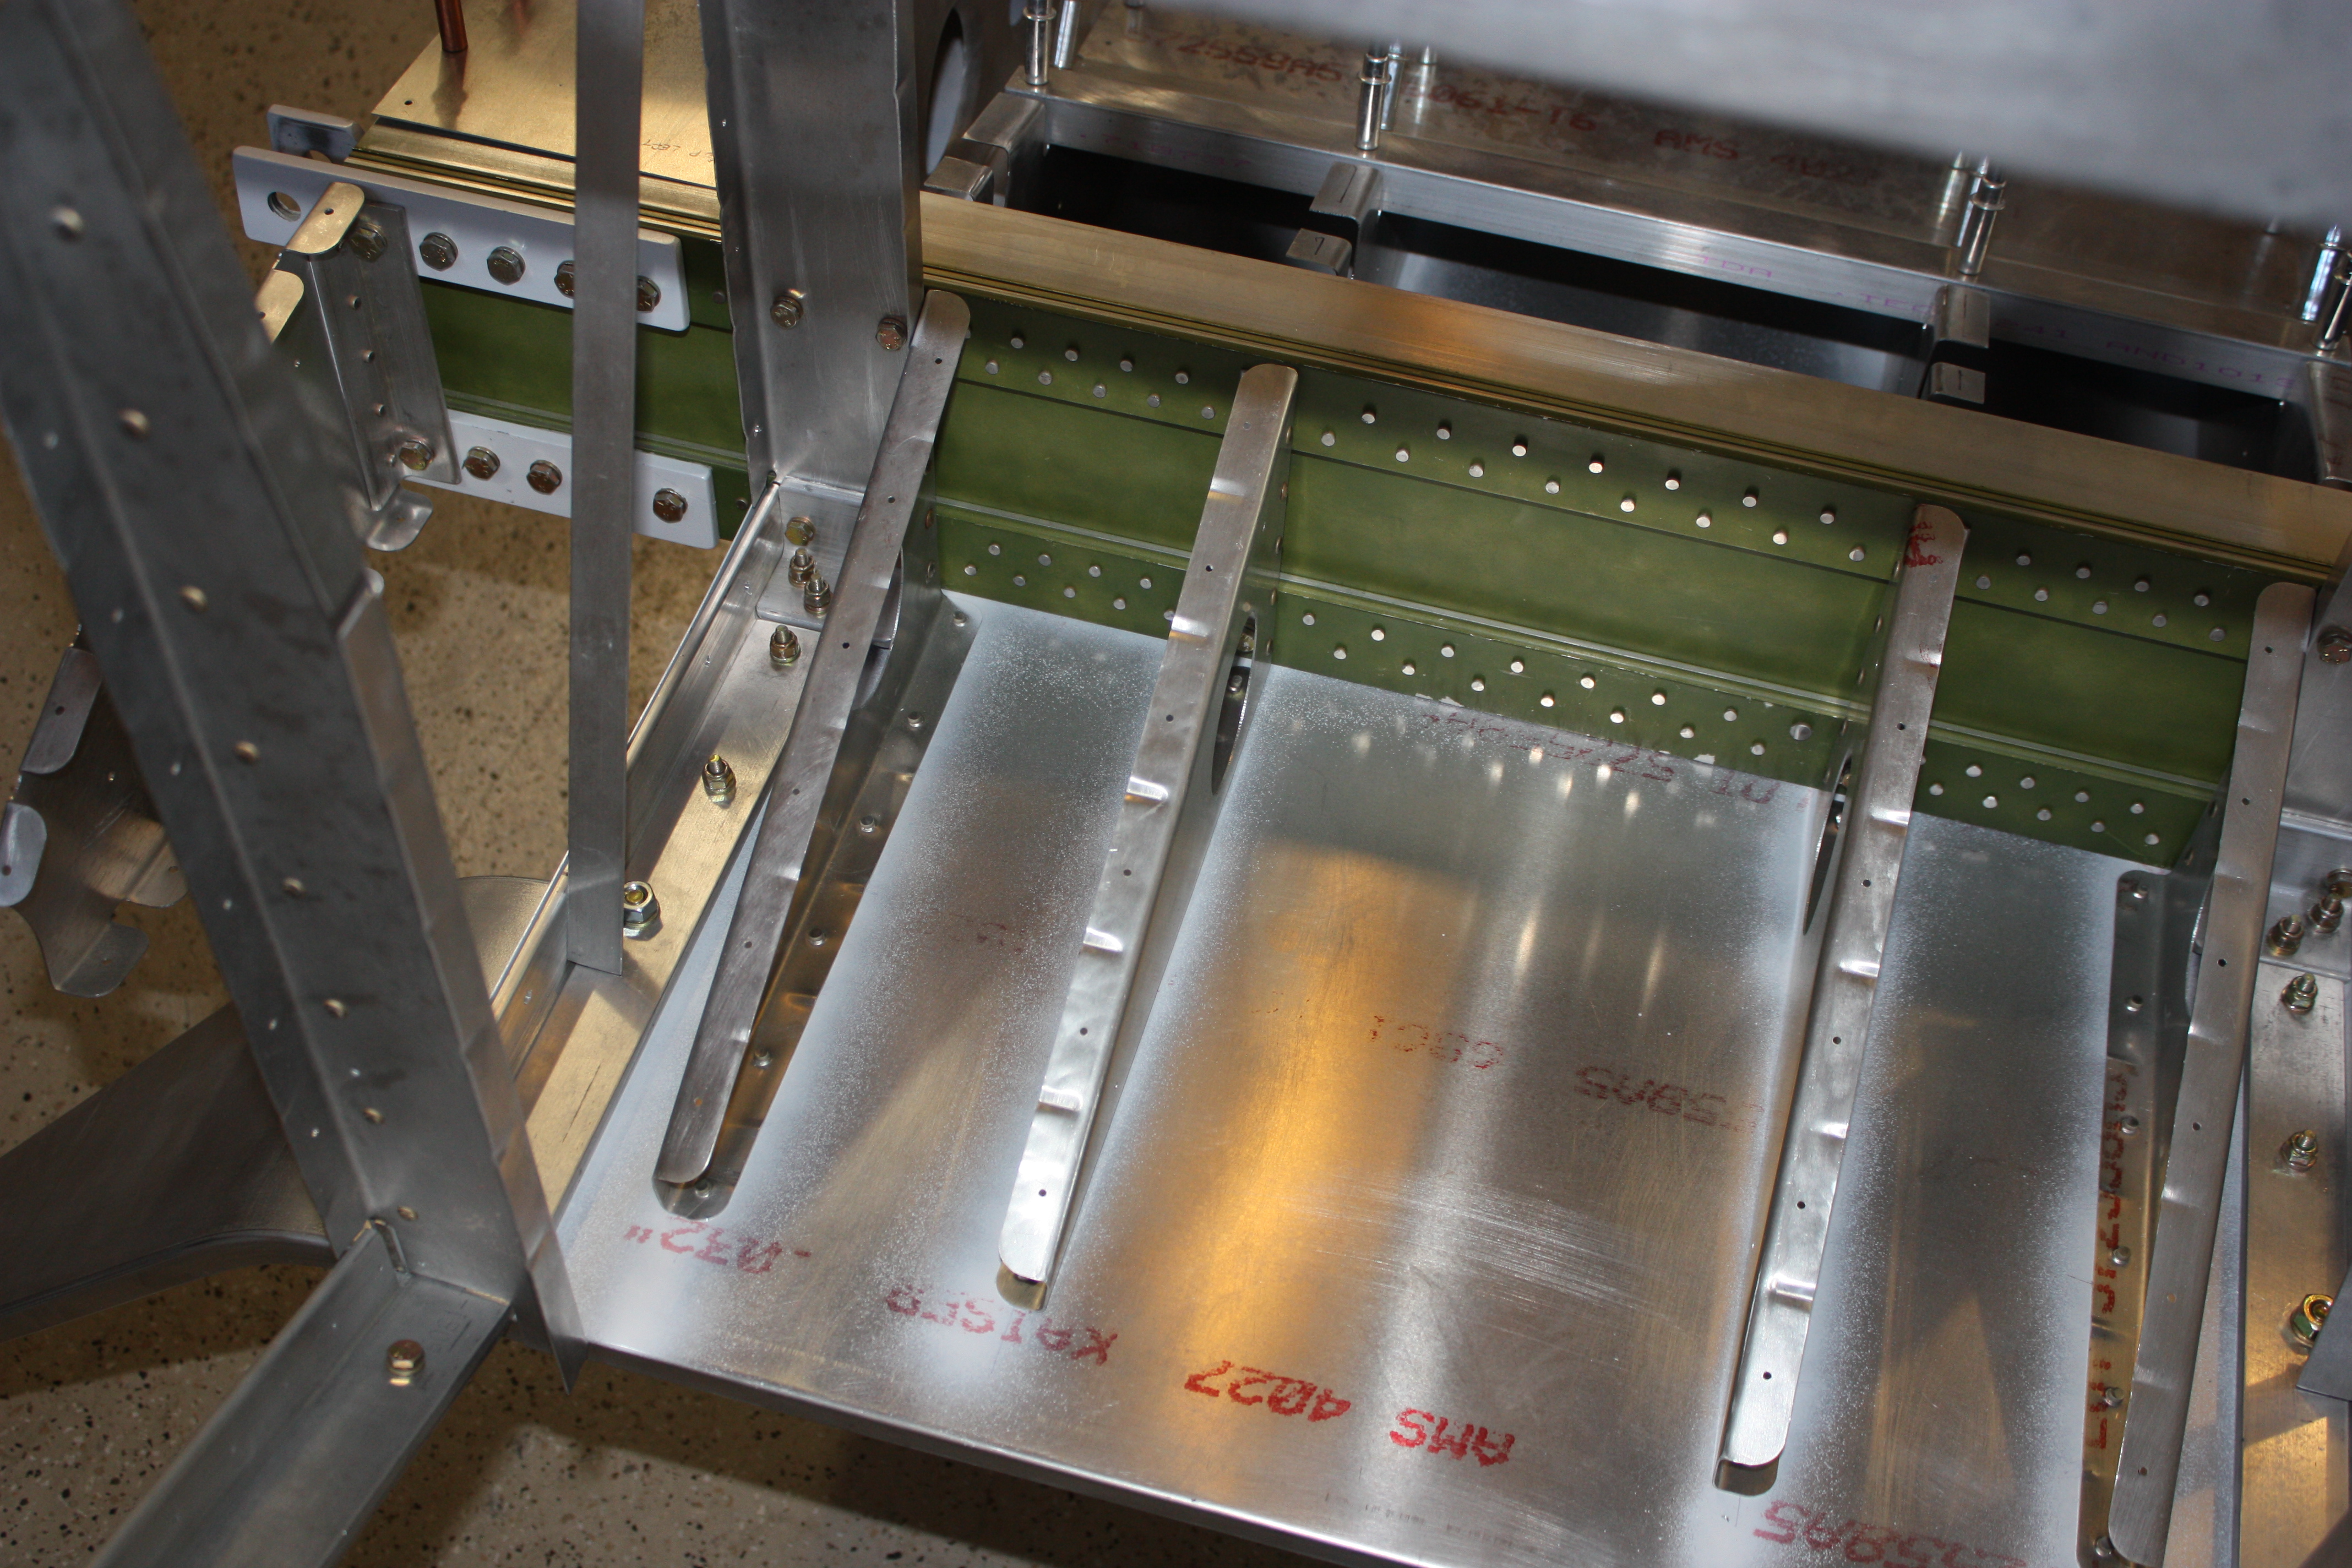
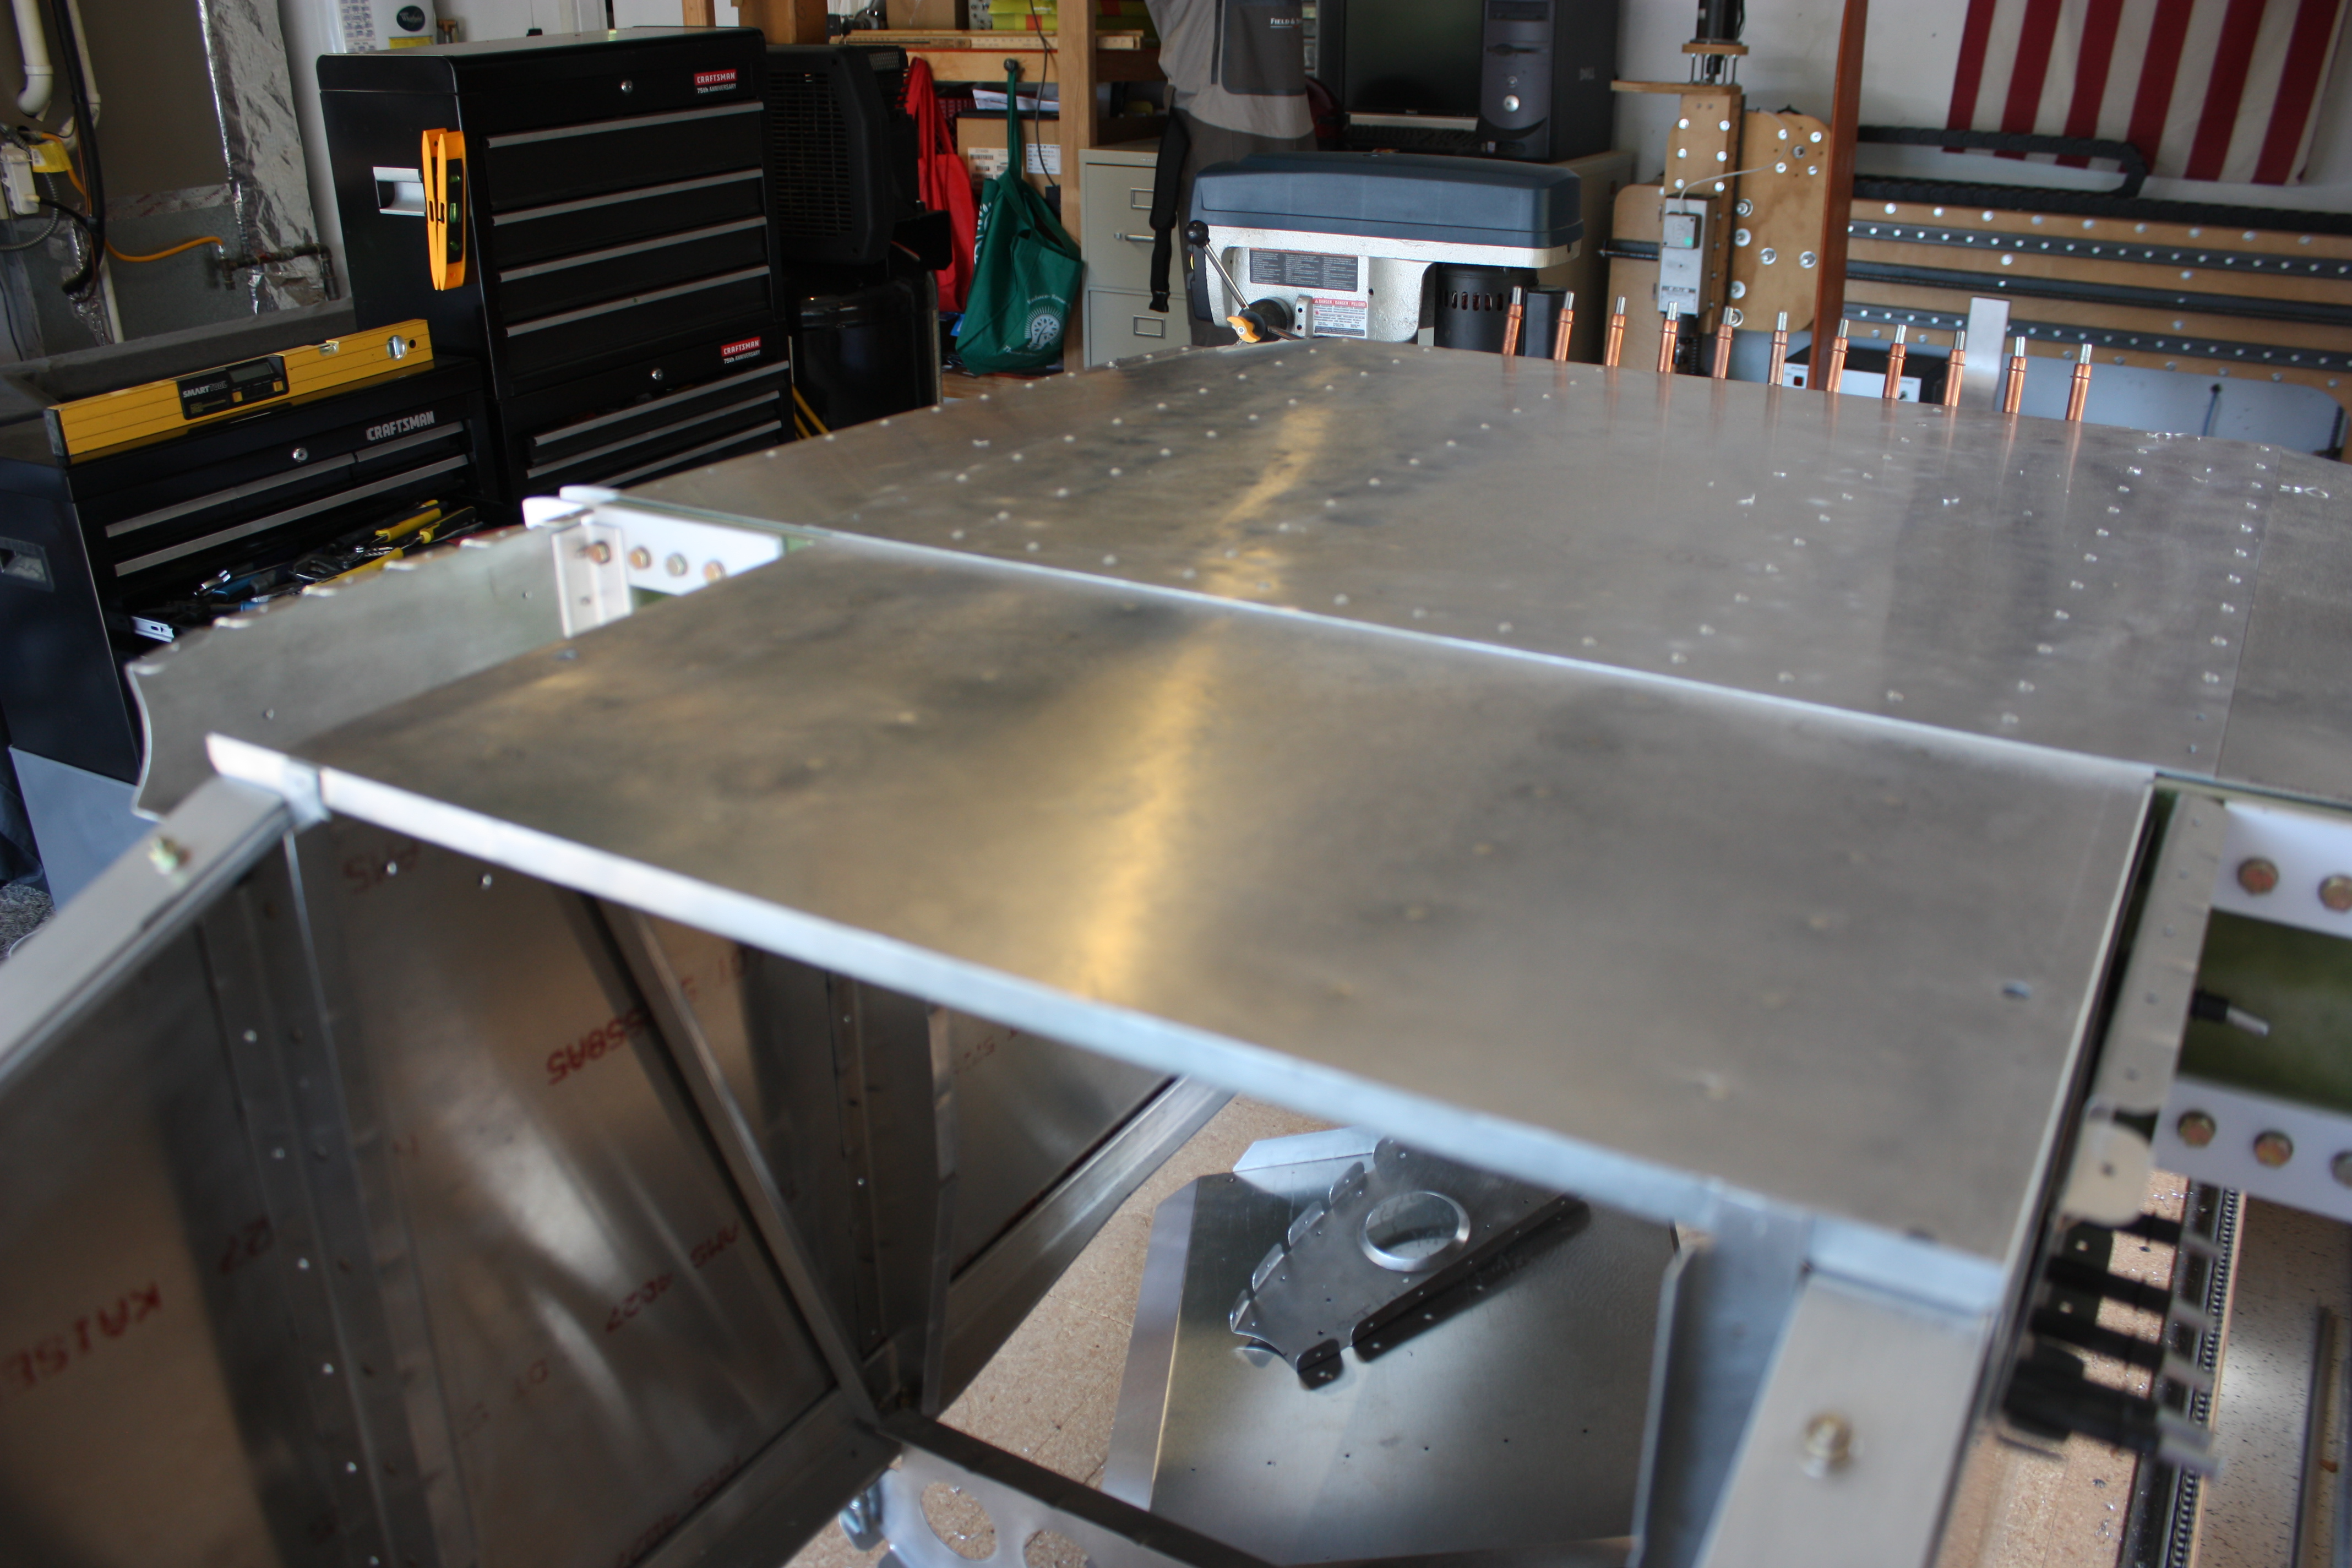
Here I have the floor and interior side panels in. The floor is bent in four places: The front is bent down 1/2" to be part of the flange noted a few pictures prior; the rear is bent back to cover the top of the spar; and the right and left sides are bent up to create a 1" flange that the side panels will screw to:
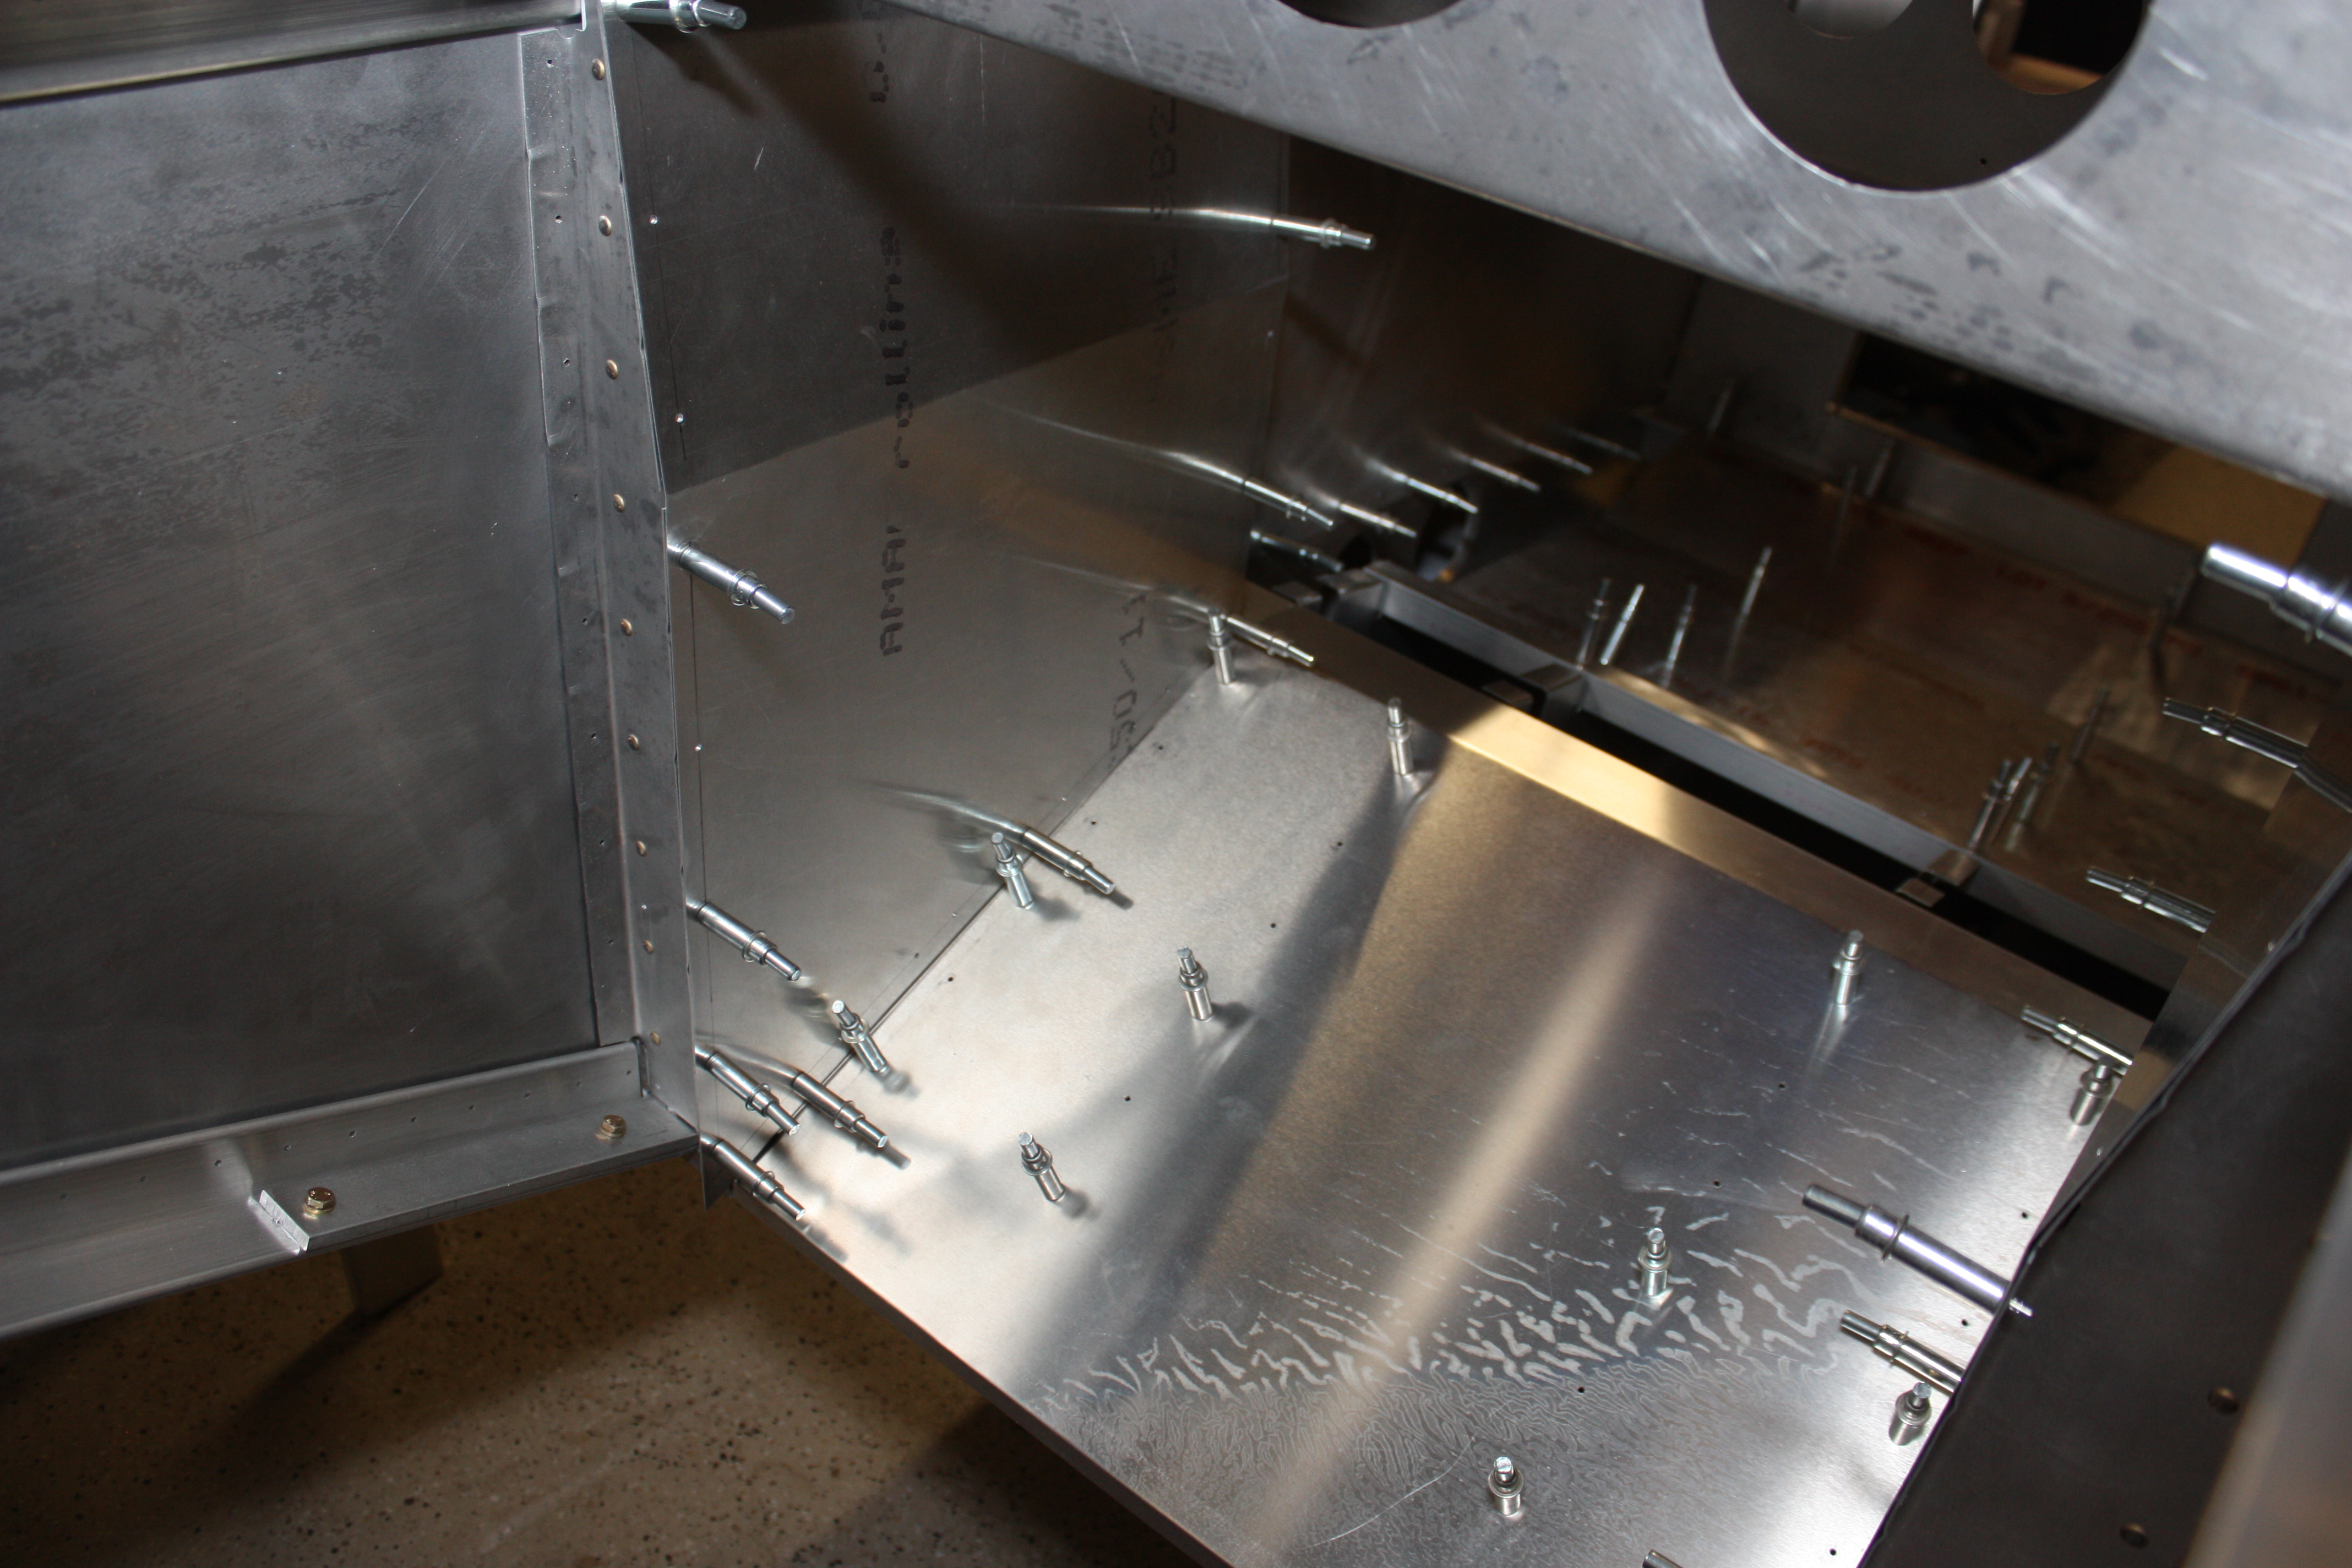
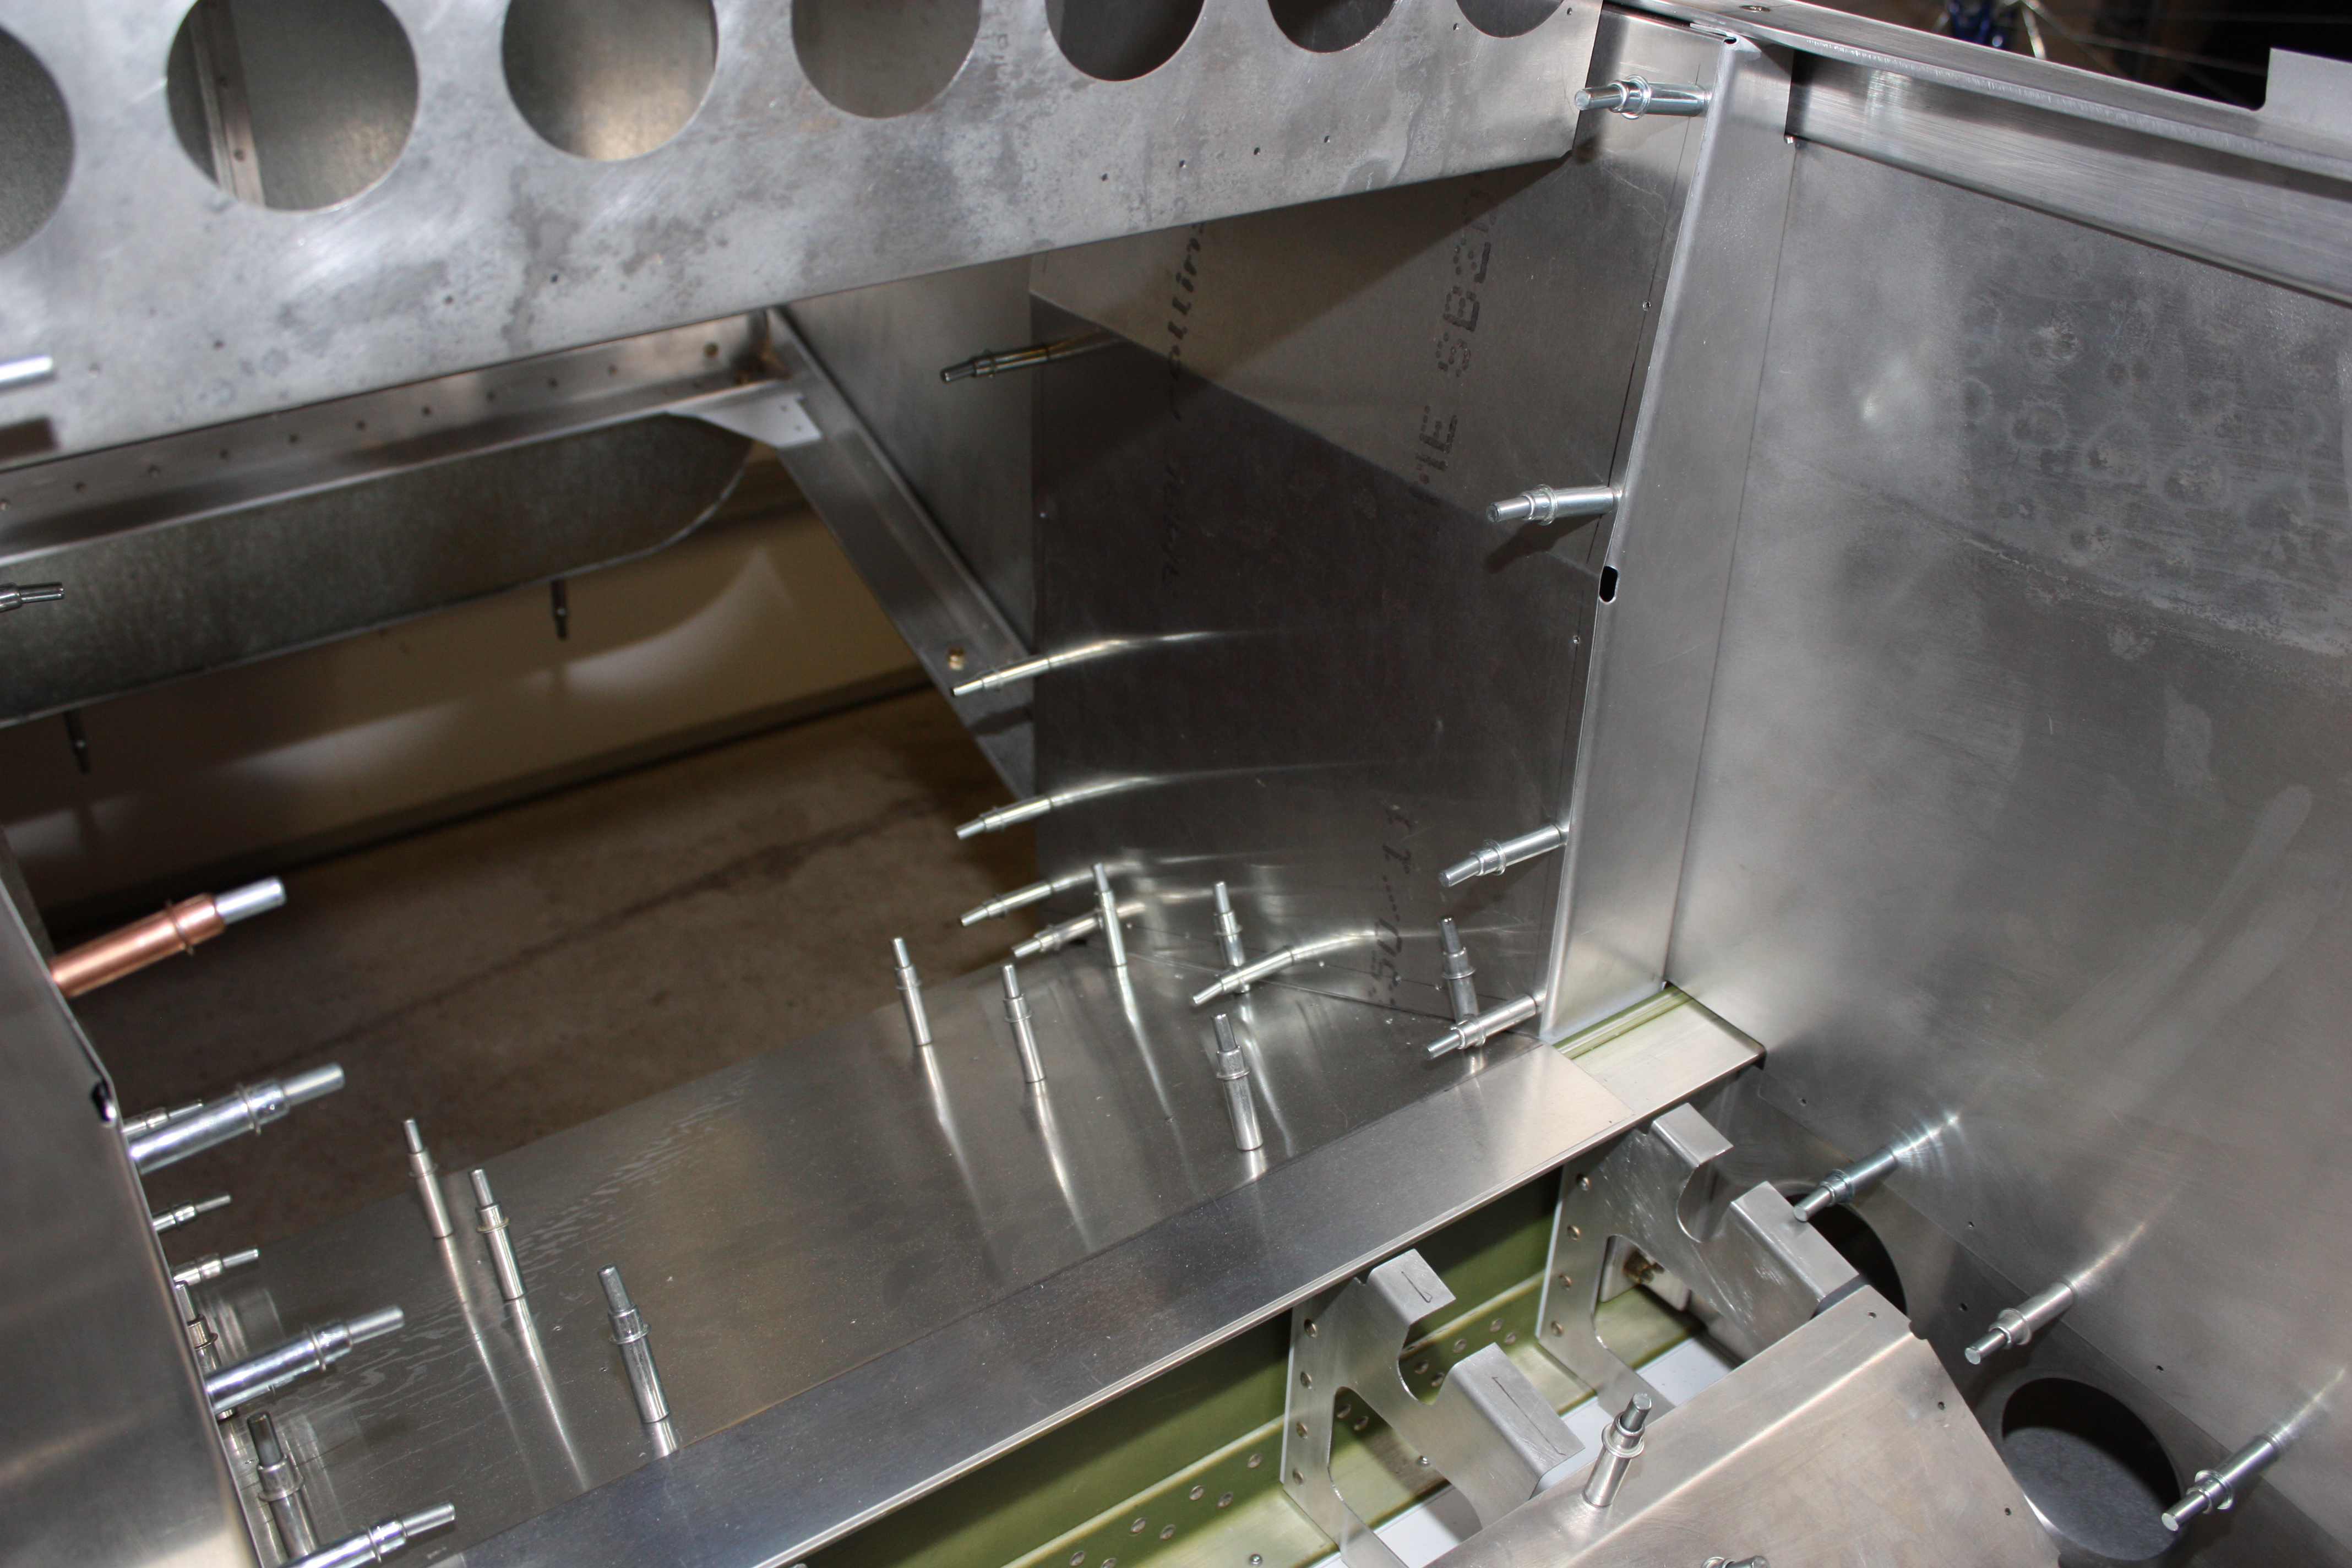
The side panels will be screwed to formers F4 and F5 and the floor's side flanges. I'll remove the Clecos and install nut plates later. The top of the side panels are not connected to anything... a 3/4" flange was bent over and it is positioned just below the top longeron.
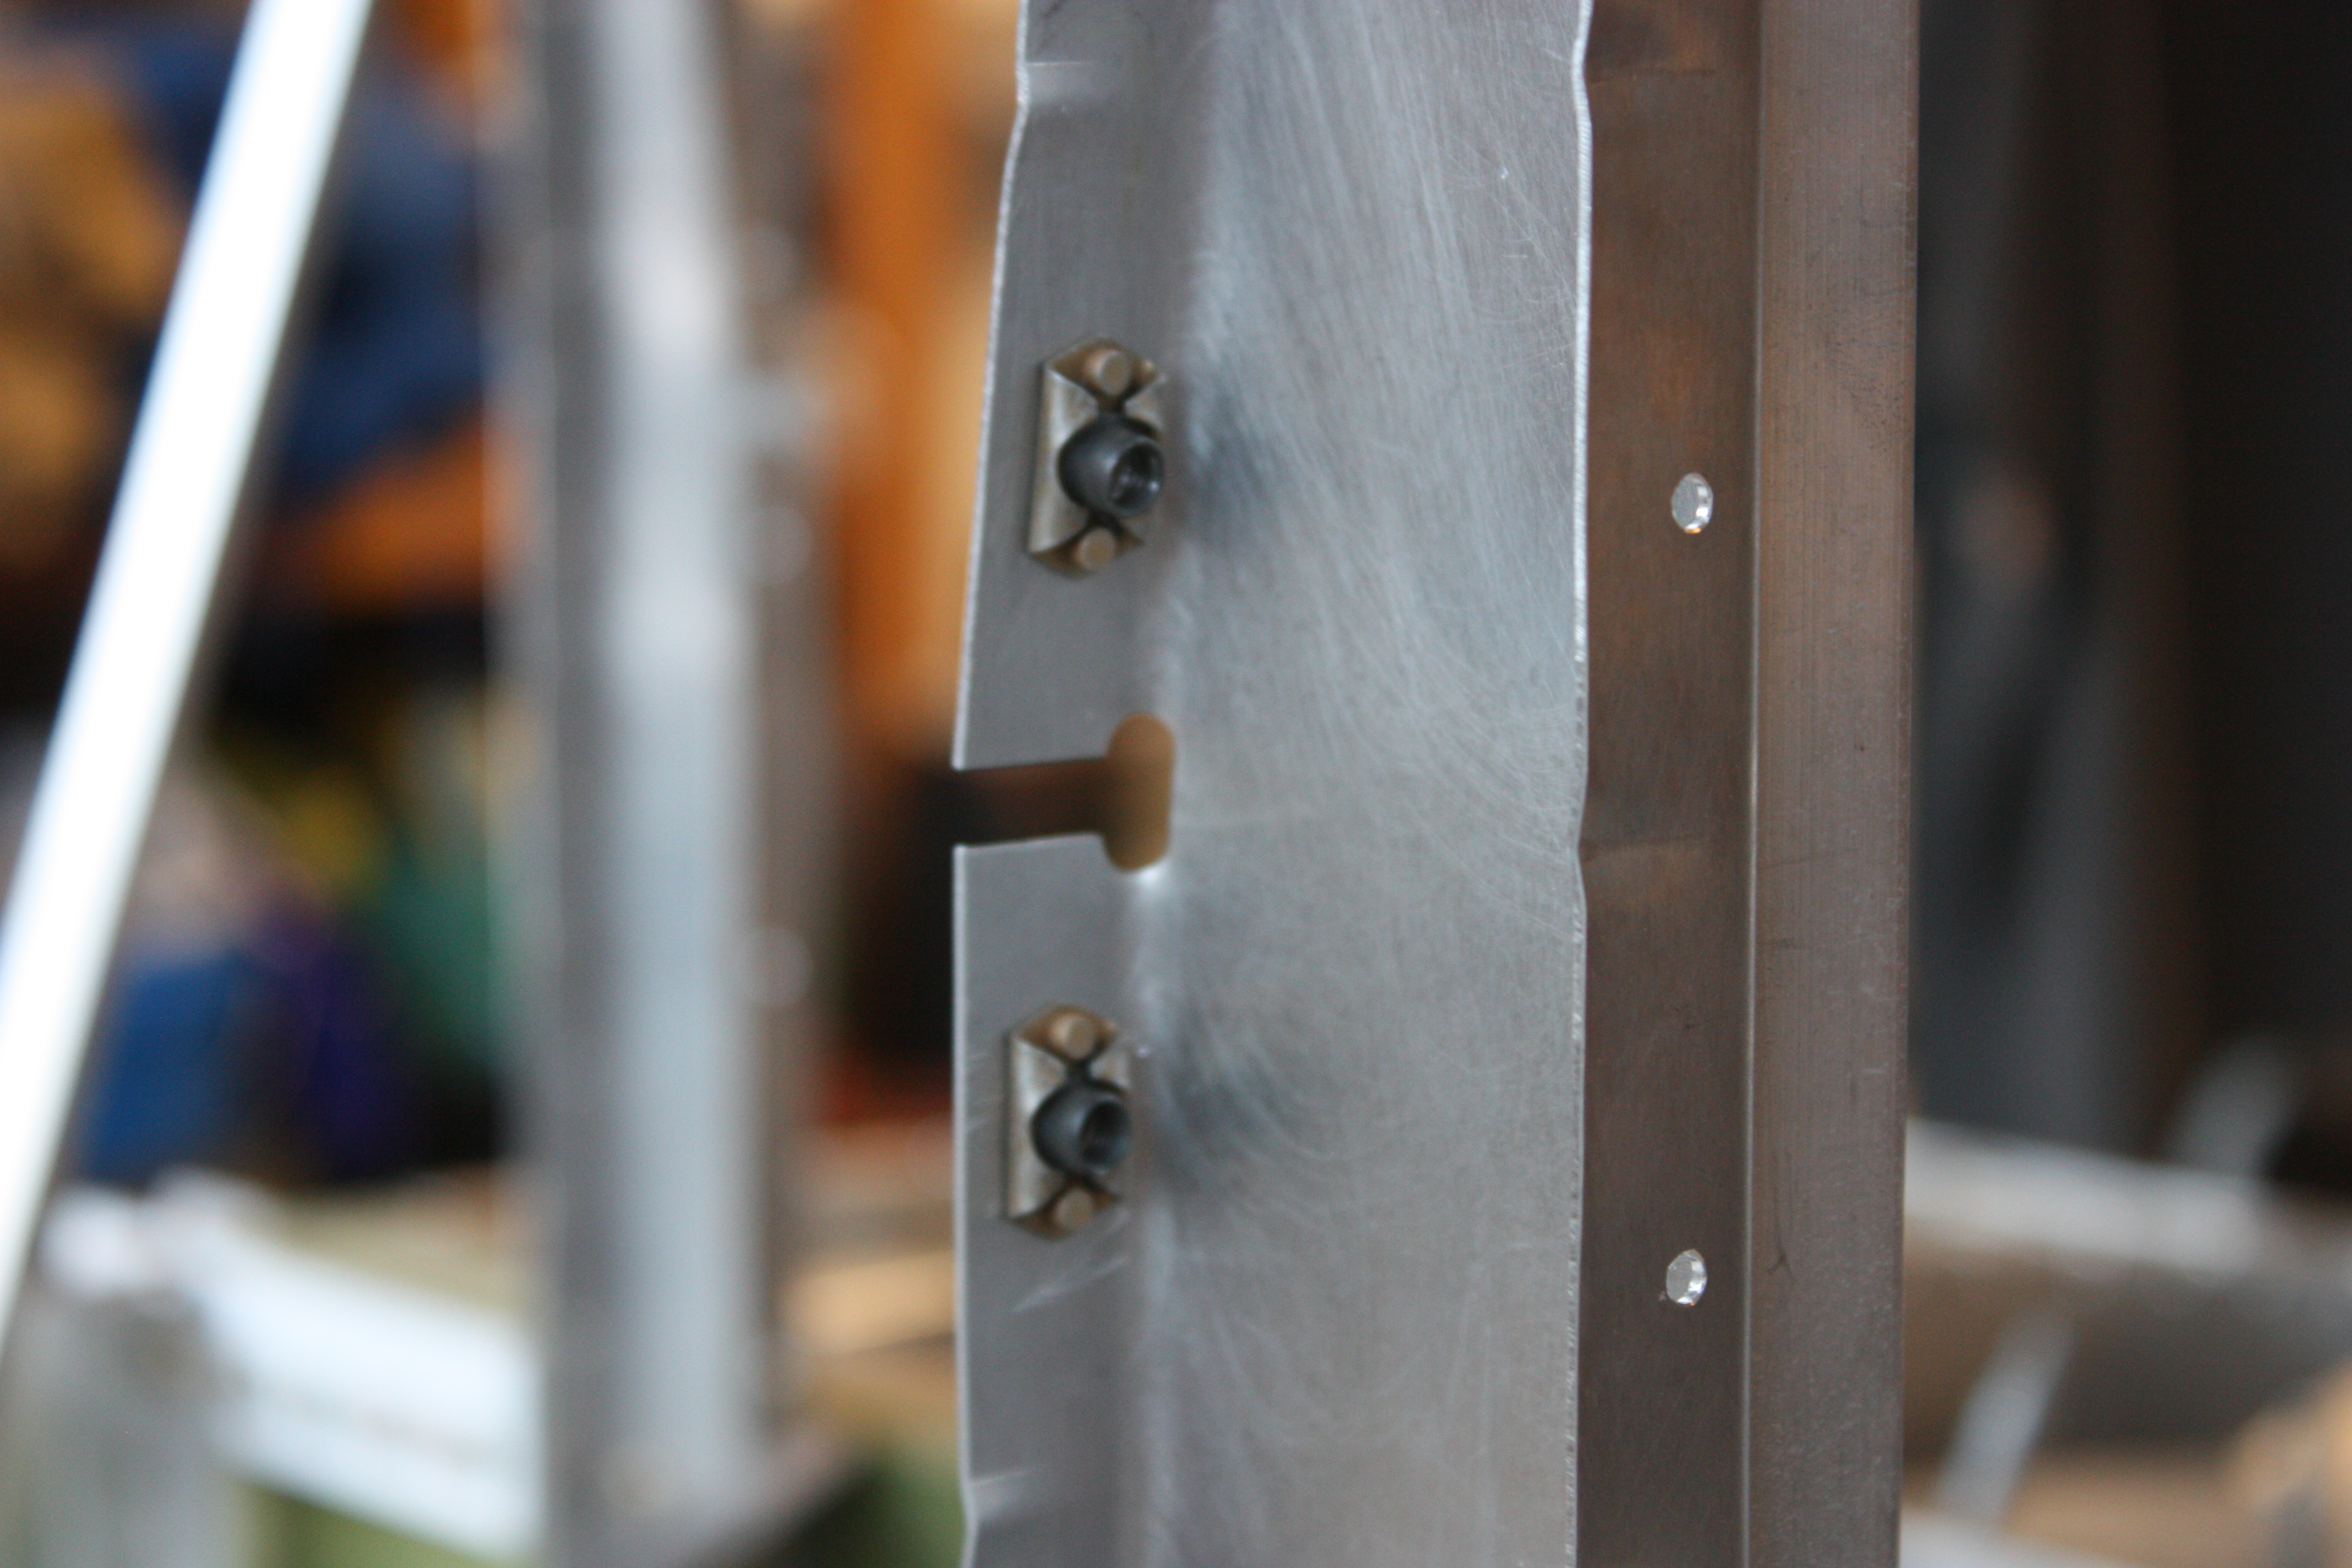
The following picture is a little out of order but it makes sense to put it here... these are the nut plates that were installed "later" as noted above. Actually, these were installed on formers F4 and F5 and at the locations where the fuel tank cover is located. The nutplate material does not allow dimpling of the 3/32 rivet holes, so the sheet that these are mounted to had to be countersunk. Normally, the minimum sheet thickness is 0.040" for countersinking for a flush 3/32 rivet.
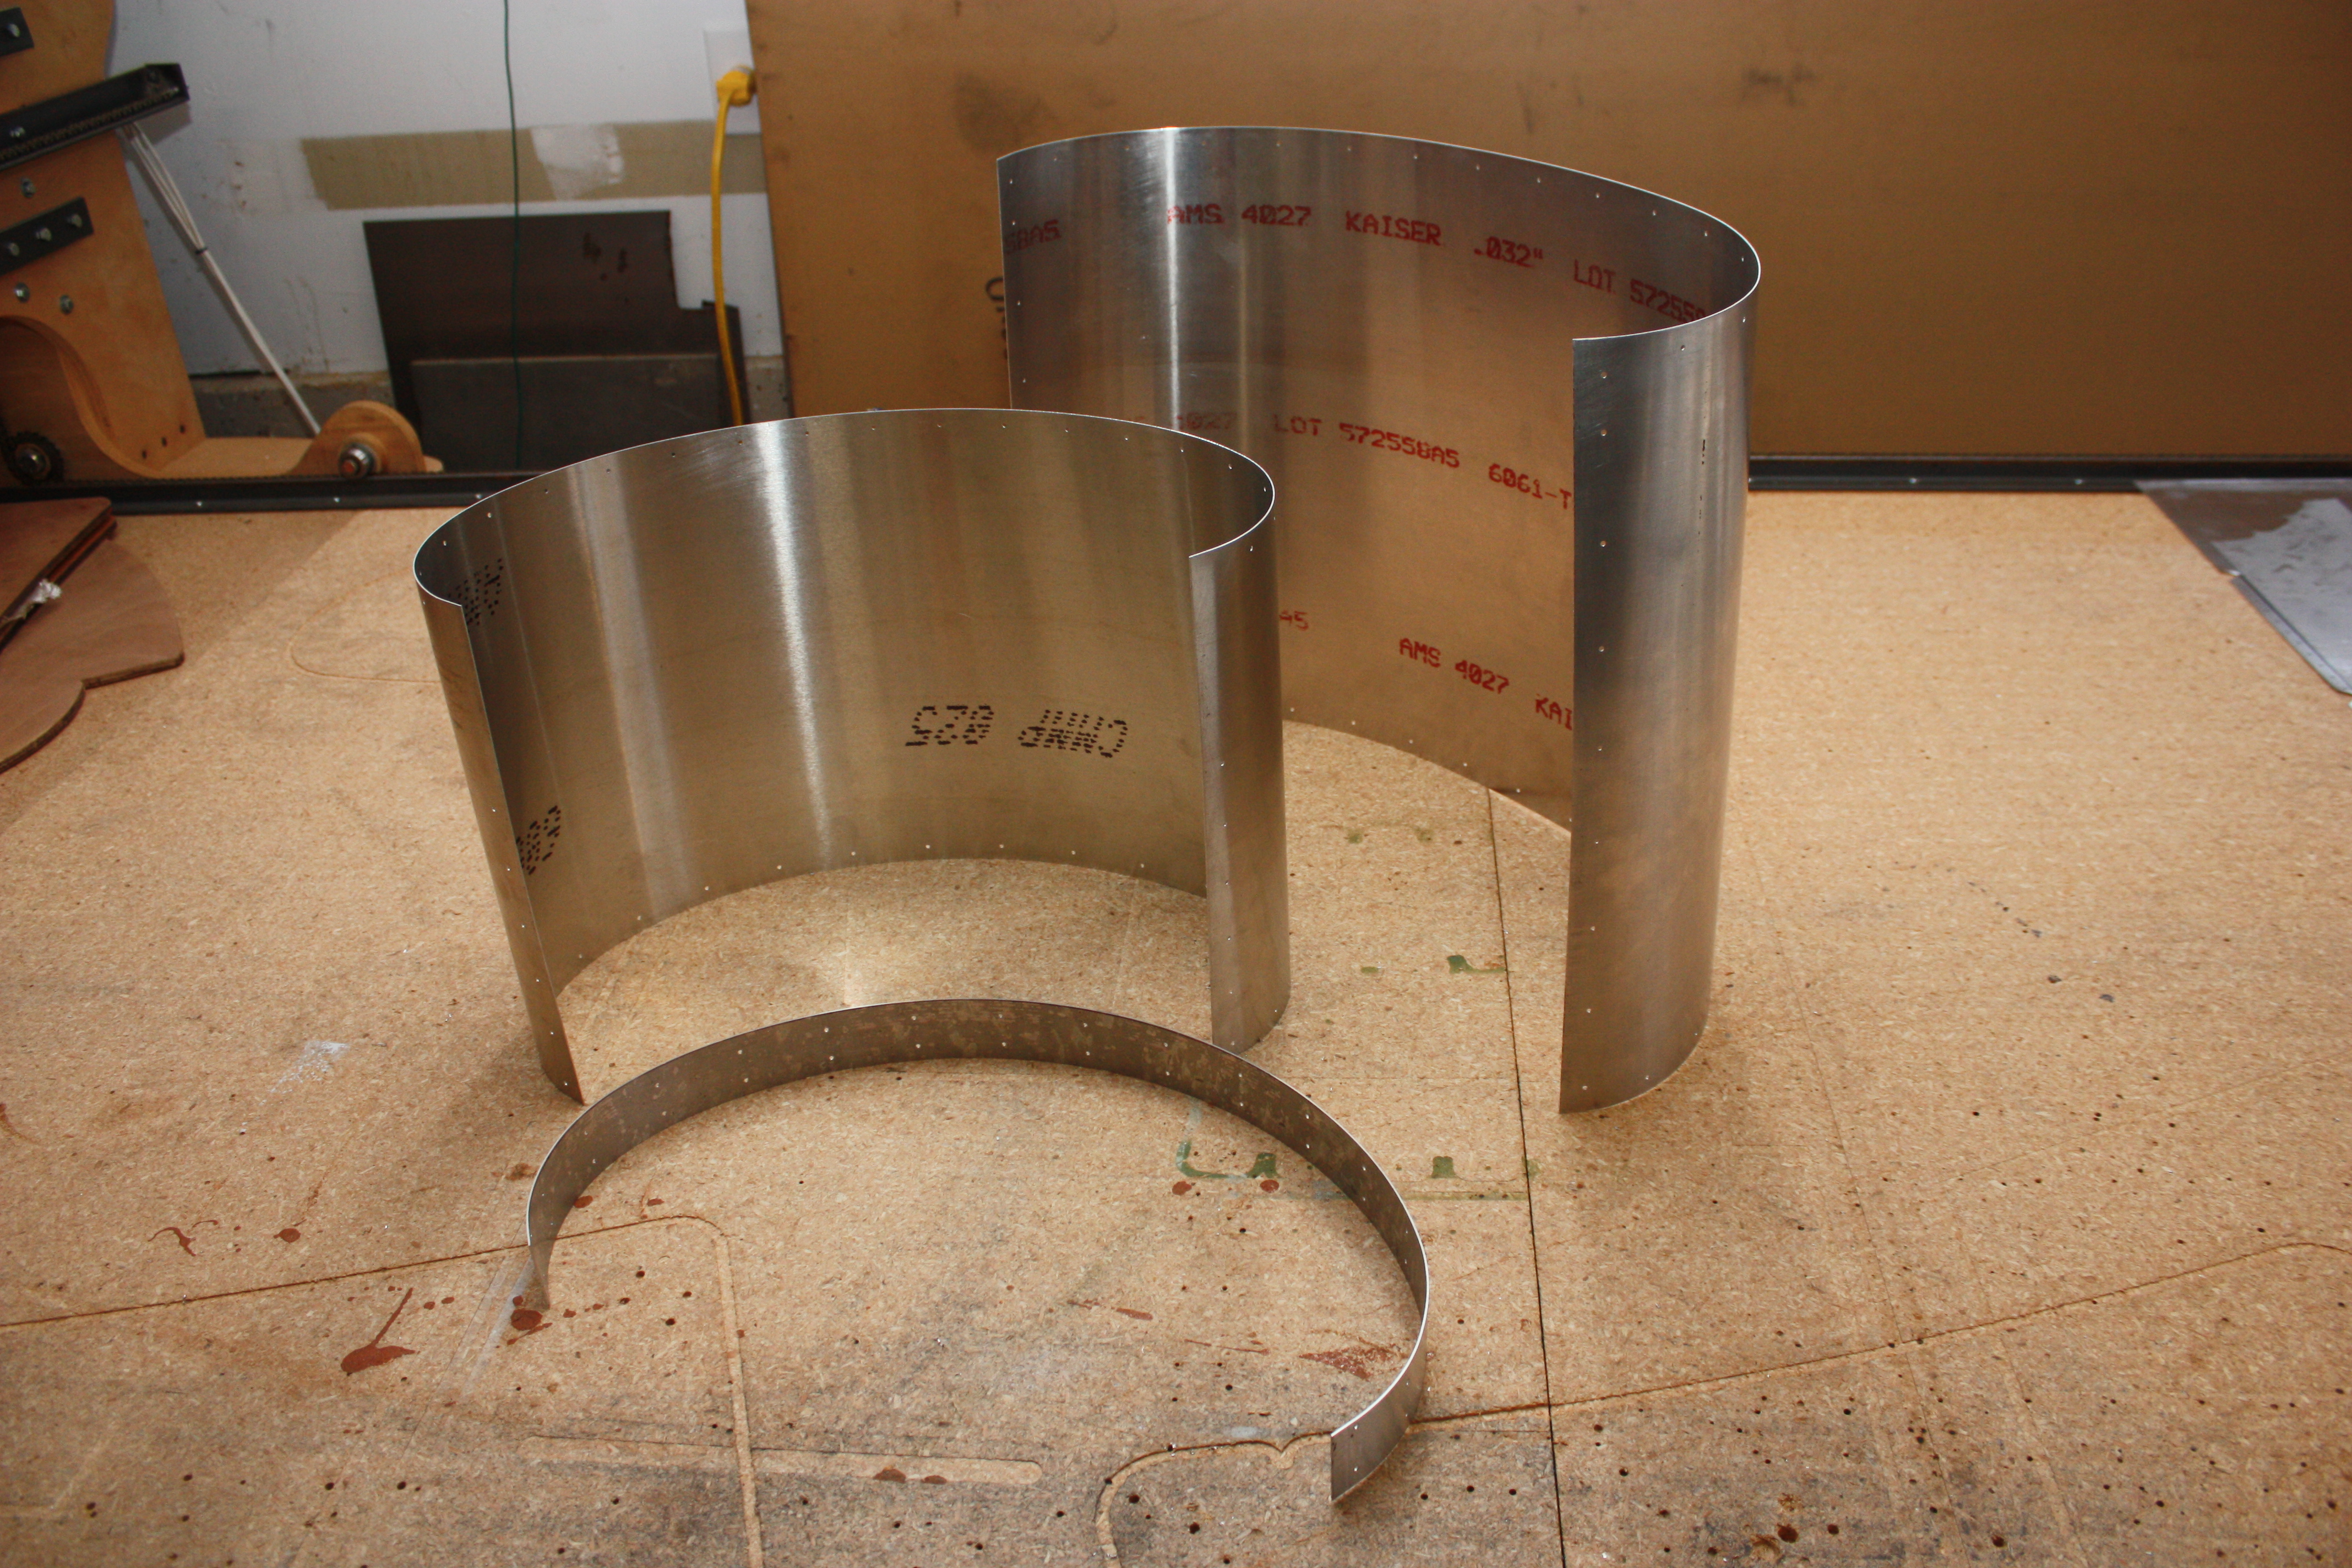
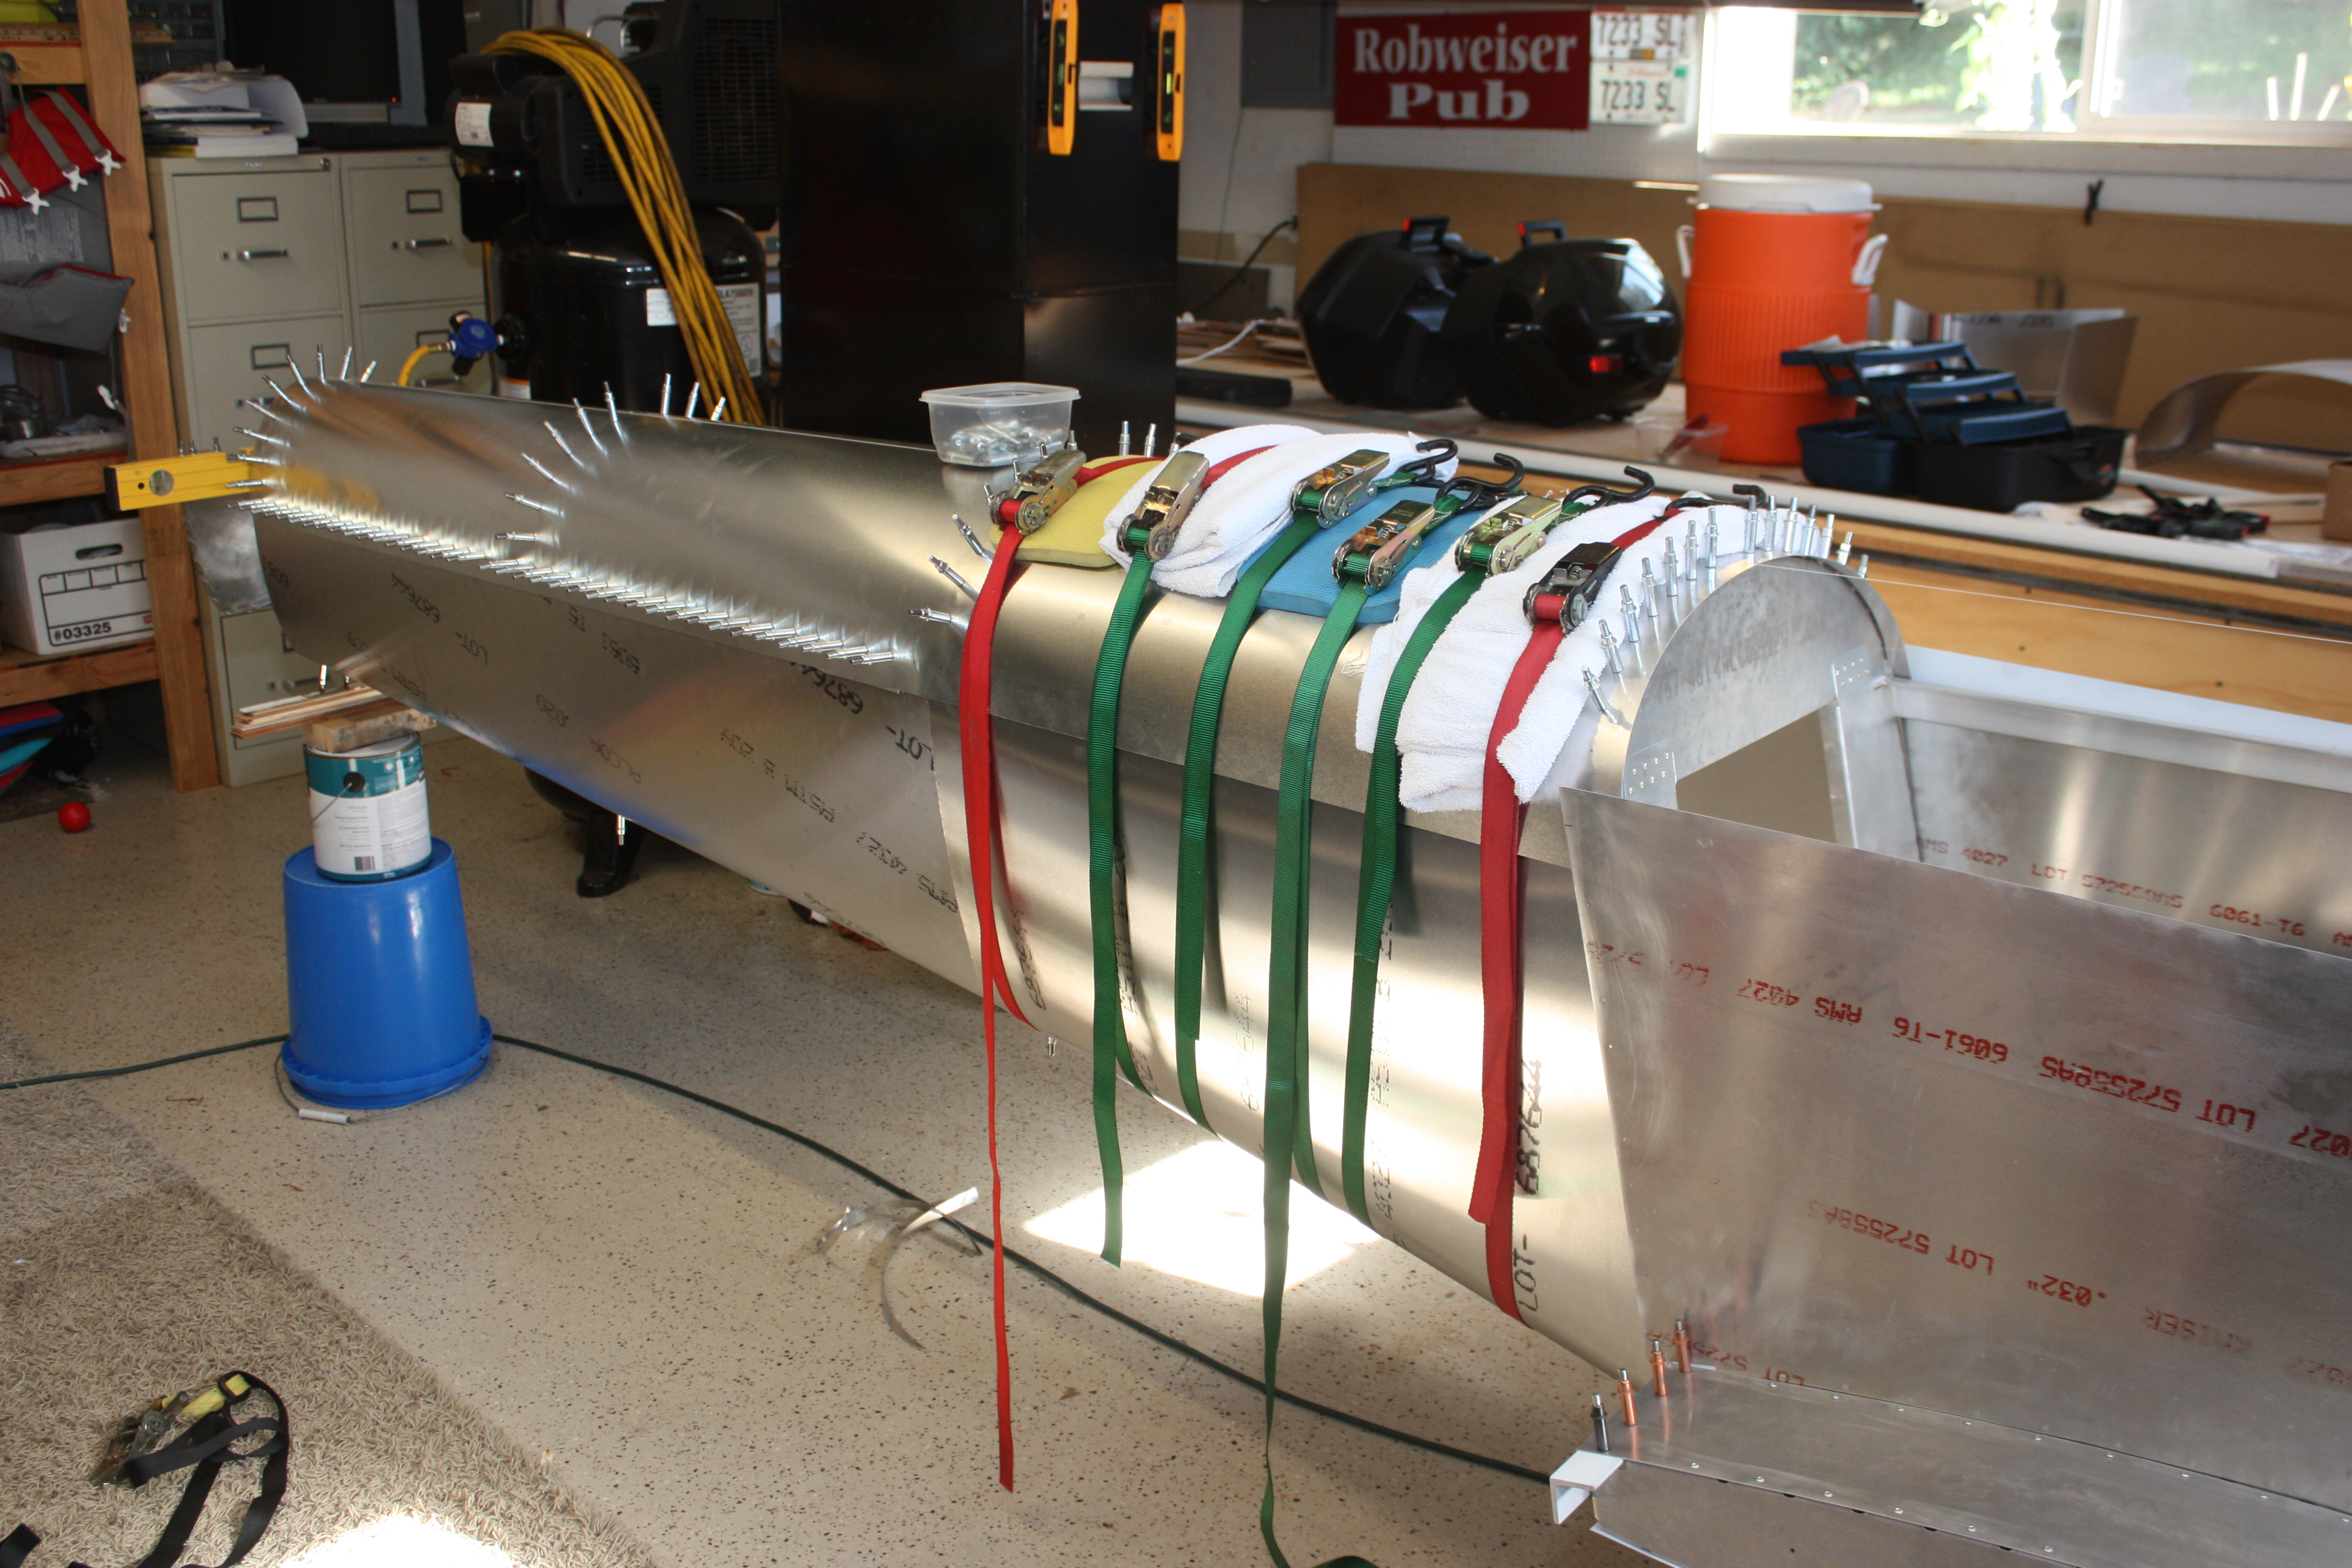
The top skins were curled in a slip roll. Since the top of the fuselage is elliptical, I had to adjust the rollers to increase the curve near the edges. I have overbent these pieces, and they then spring on tightly to the formers. I would prefer this to "not bent enough" or "flat" because then the skin pulls up on the rivets:
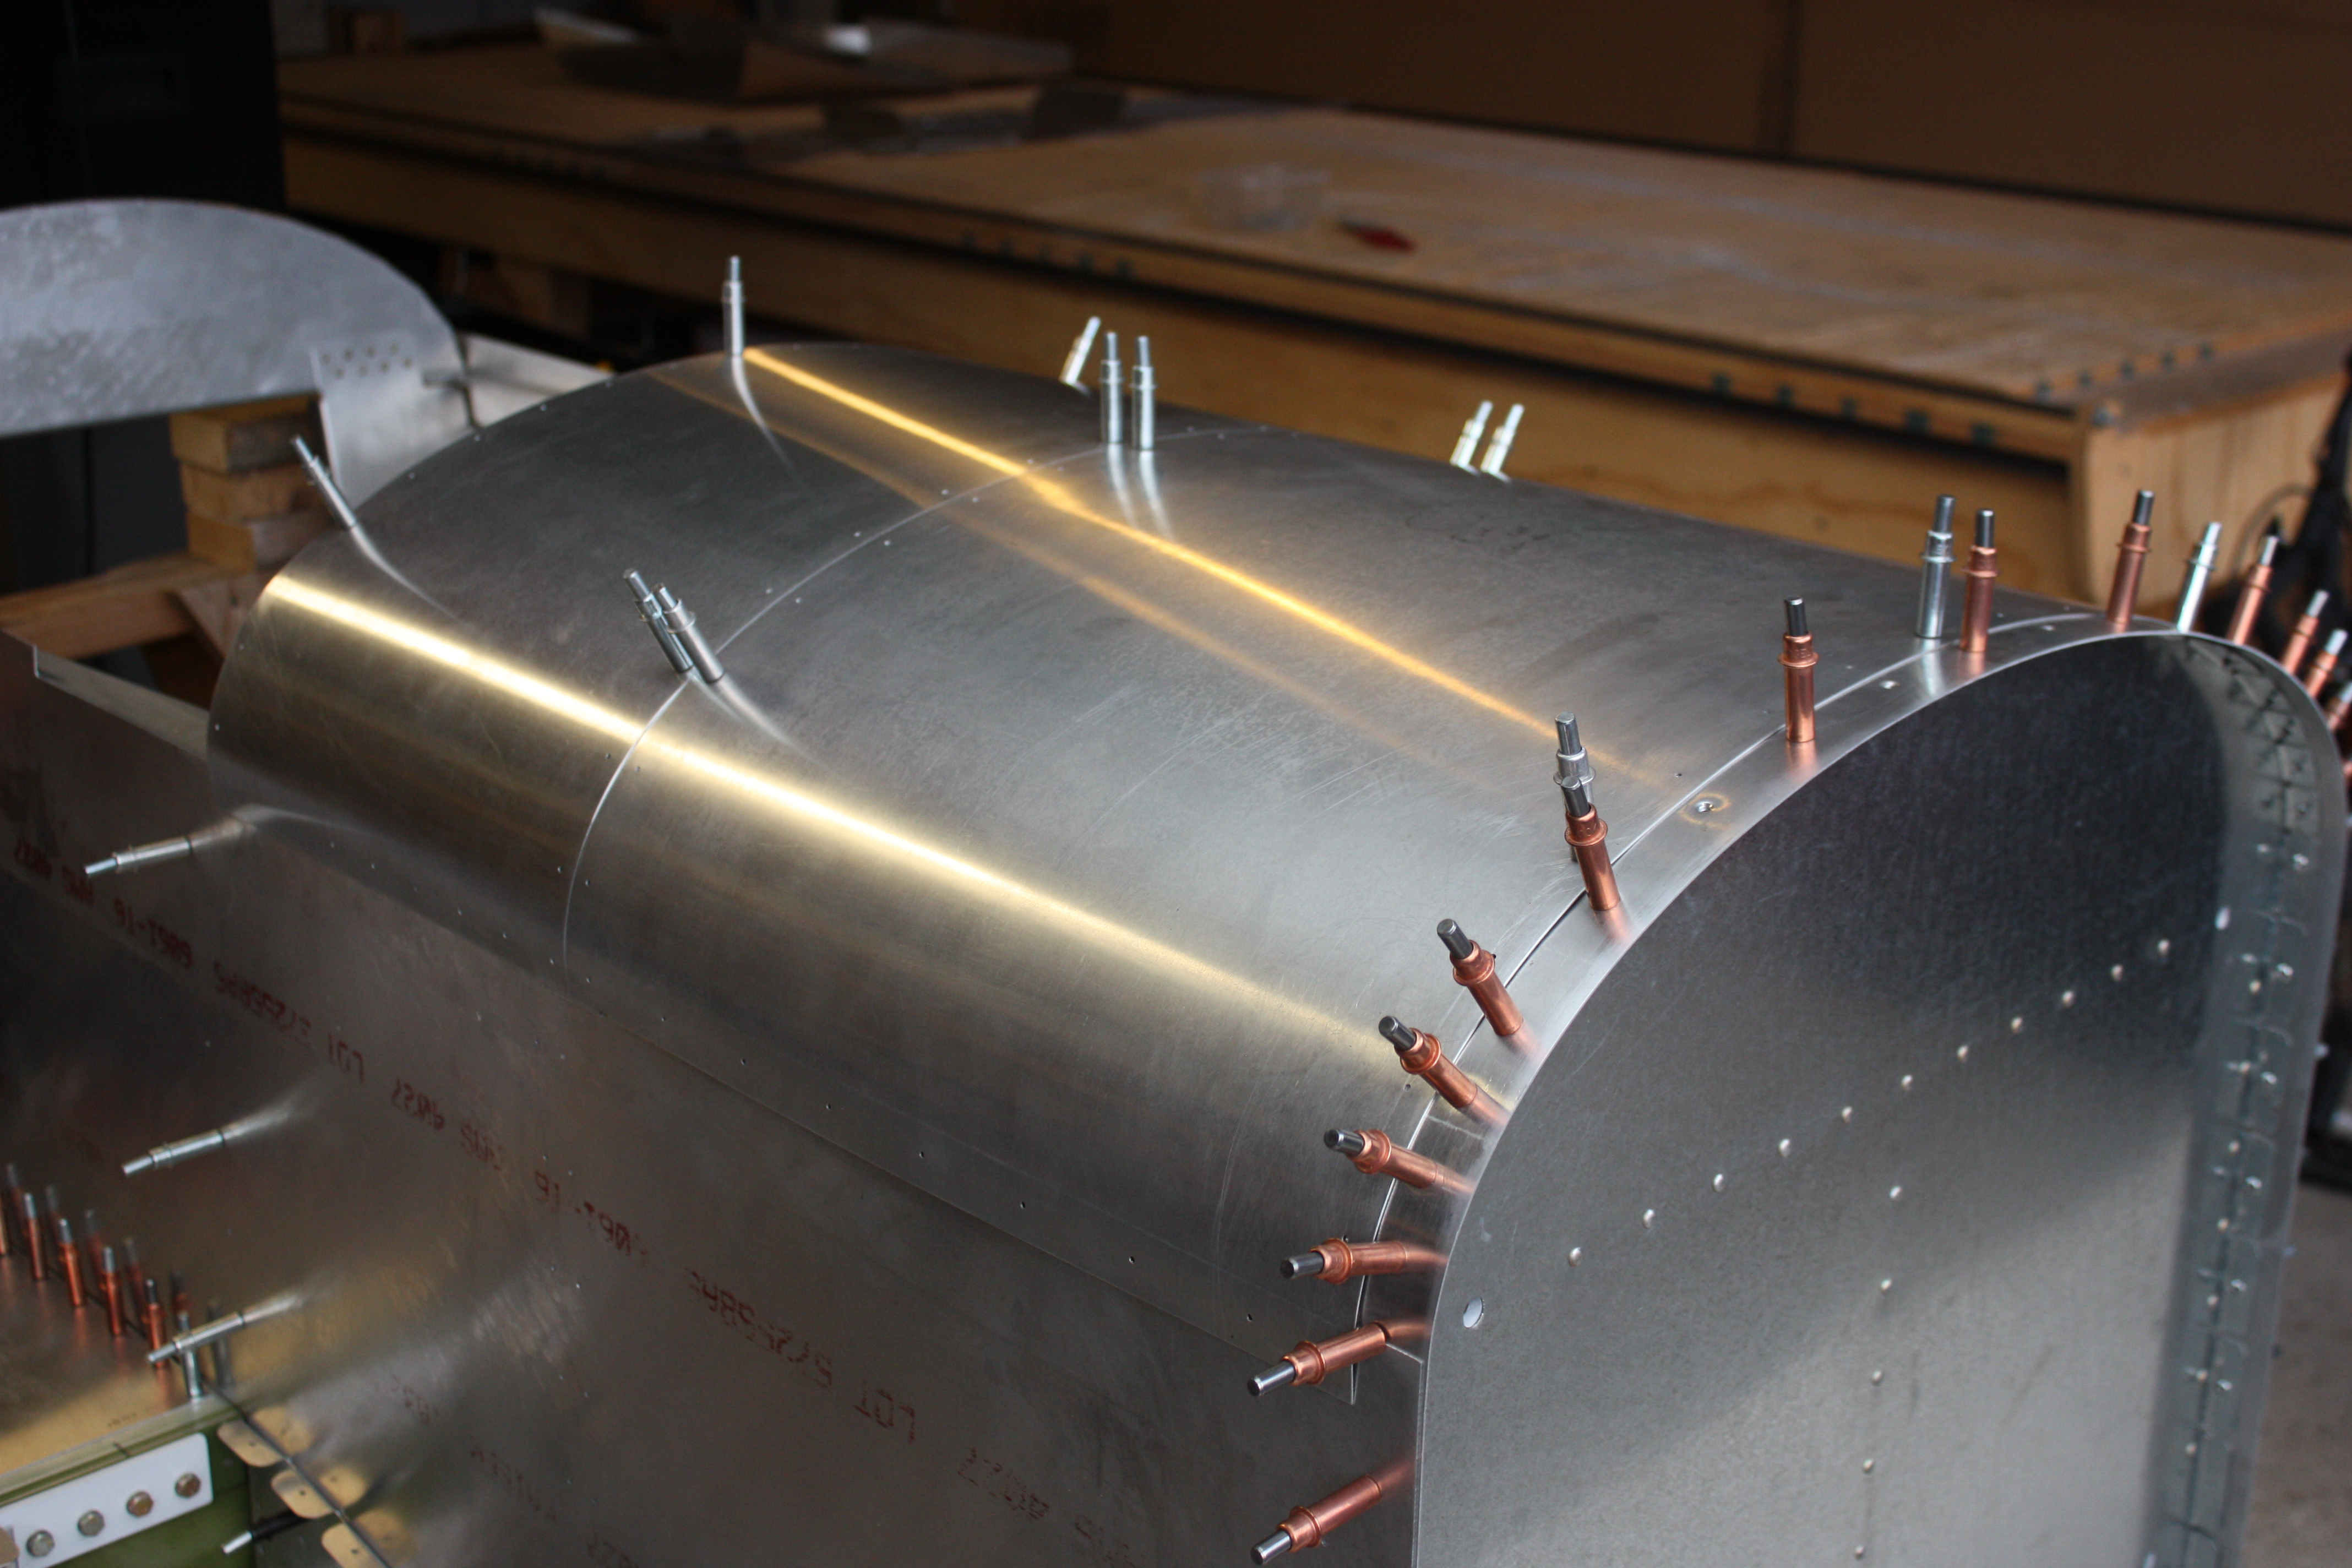
See, springs tightly to the formers... looks good:
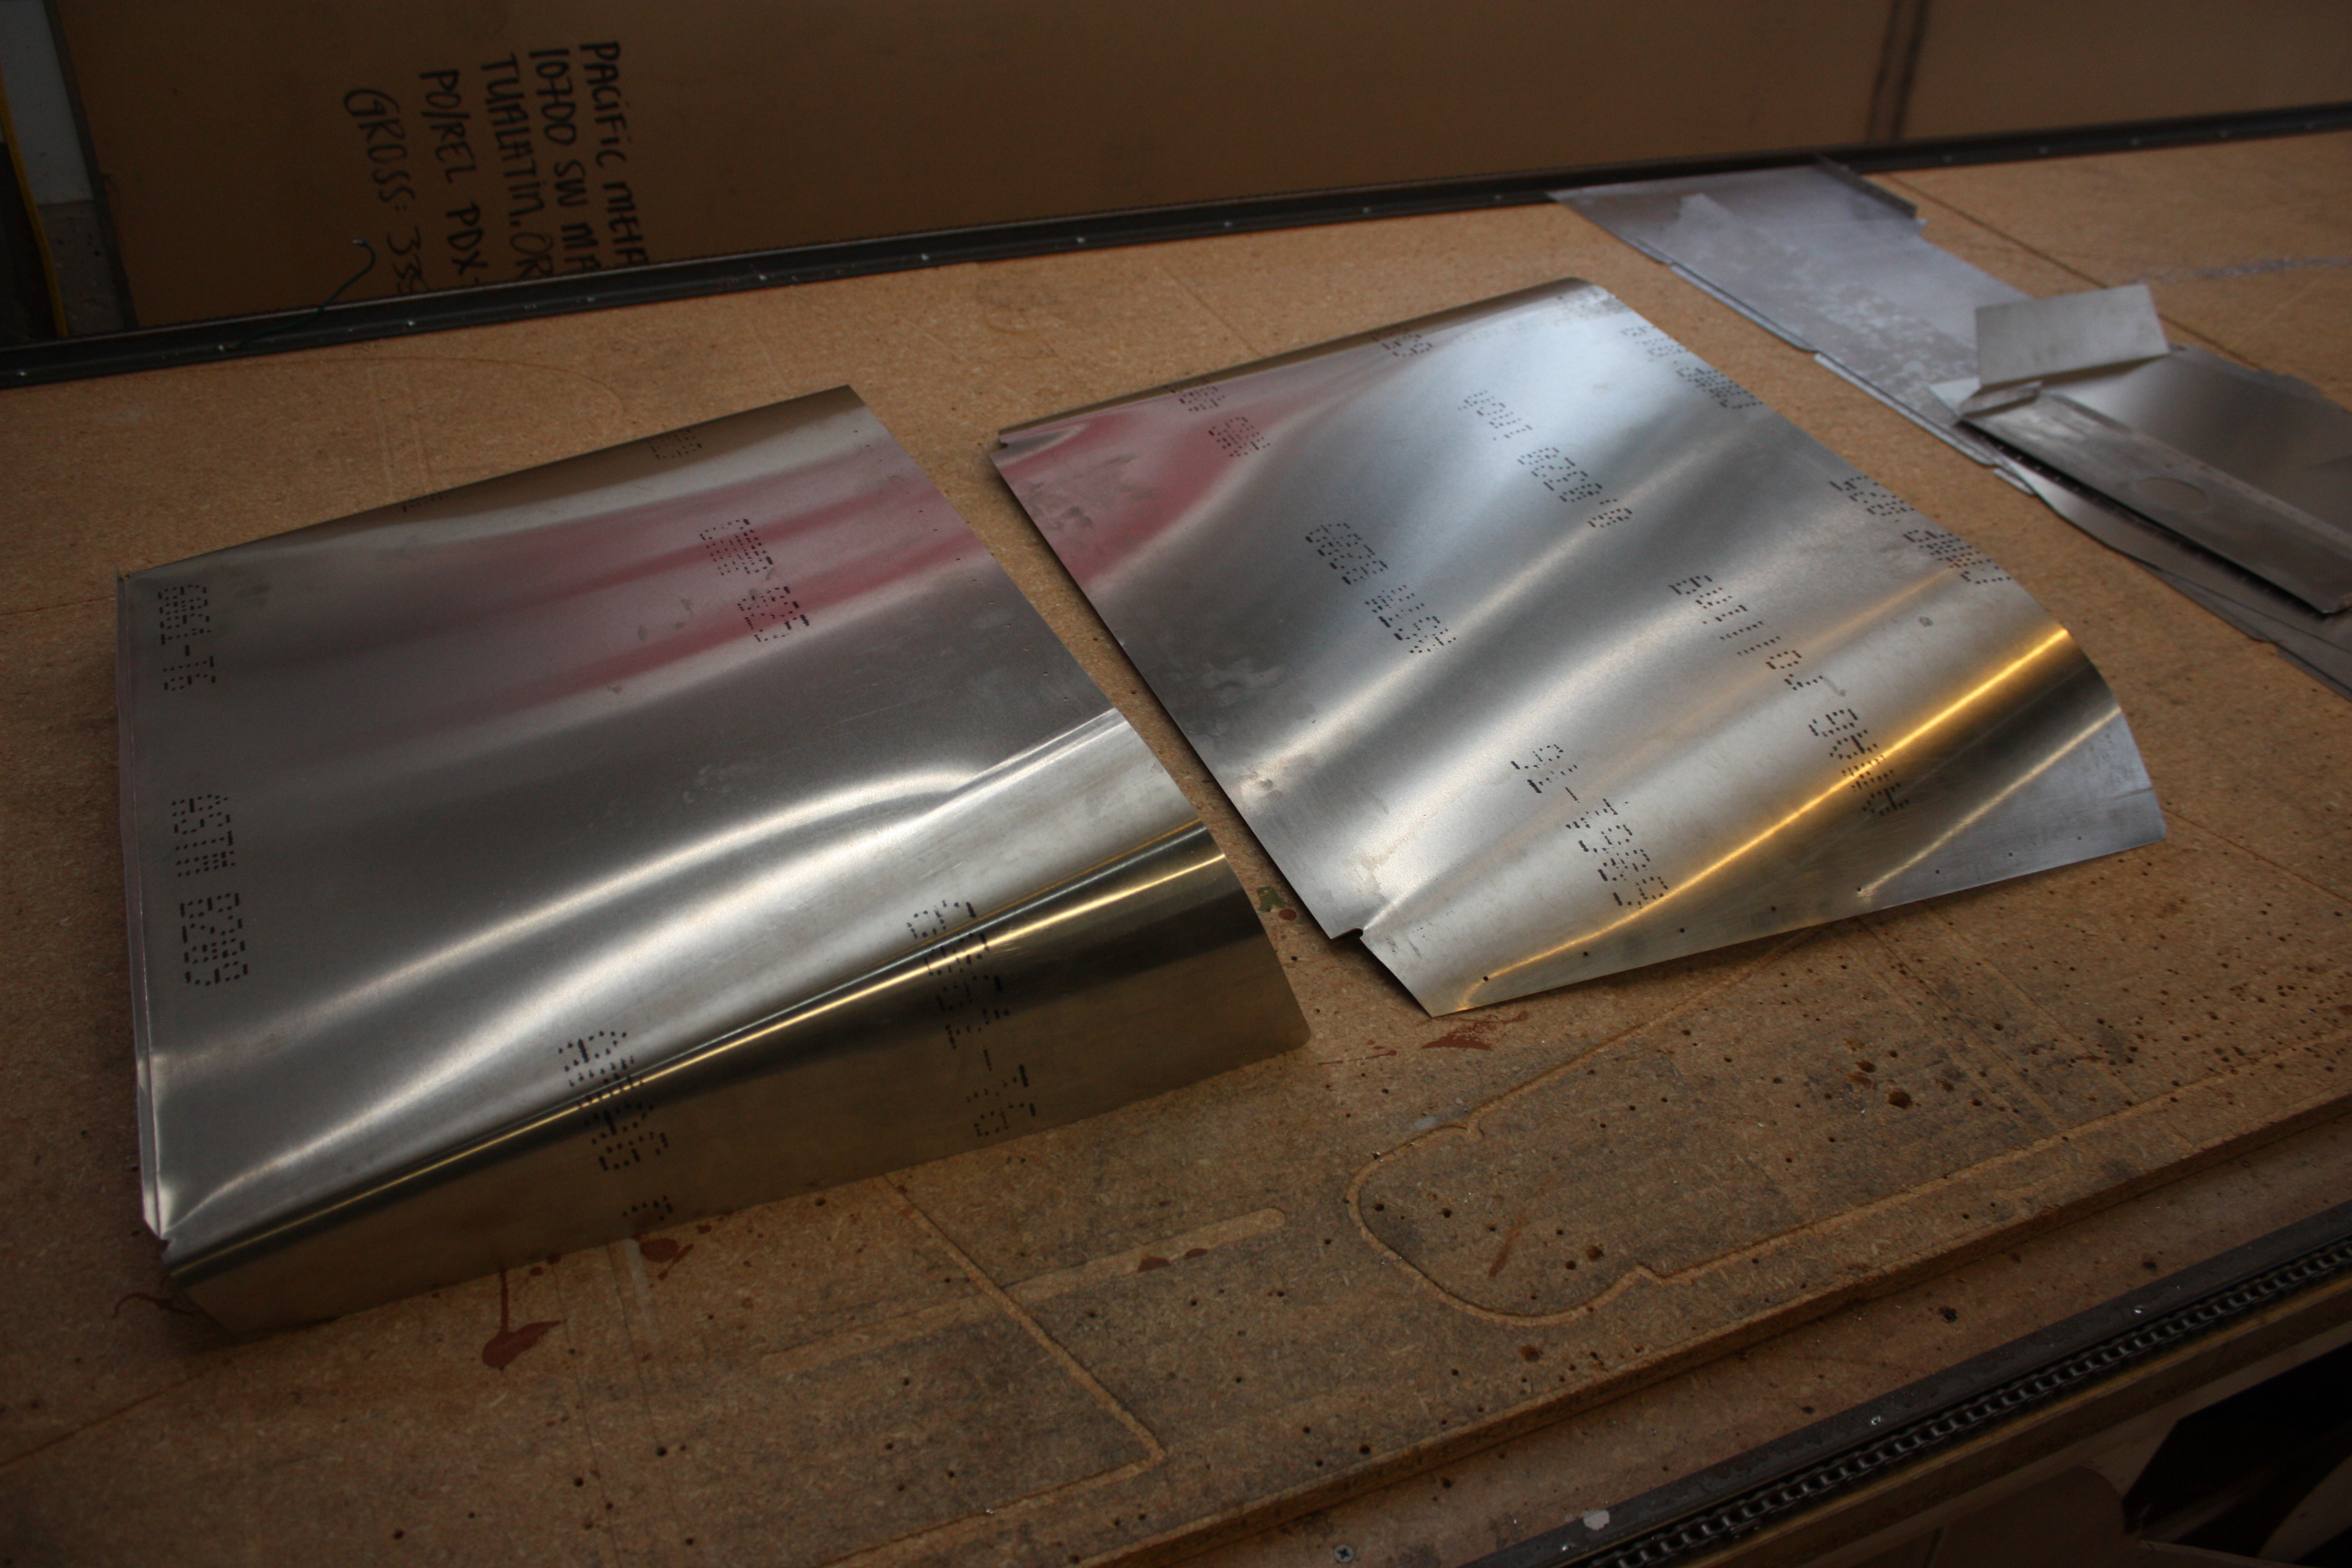
The forward bottom skin was a pain in the butt! It's very difficult to create a 1/2" radius on one end and a 4" radius on the other. I also didn't want to just get it close and then strap it tightly to the former, rivet it, and then let the rivets hold it in shape.
My first try was to use a break and make dozens of small bends. That worked well, but the whole bend was faceted (this skin on the left). I then tried just slip rolling the whole edge equally with the intention to work it to it's final shape by hand (the skin on the right):
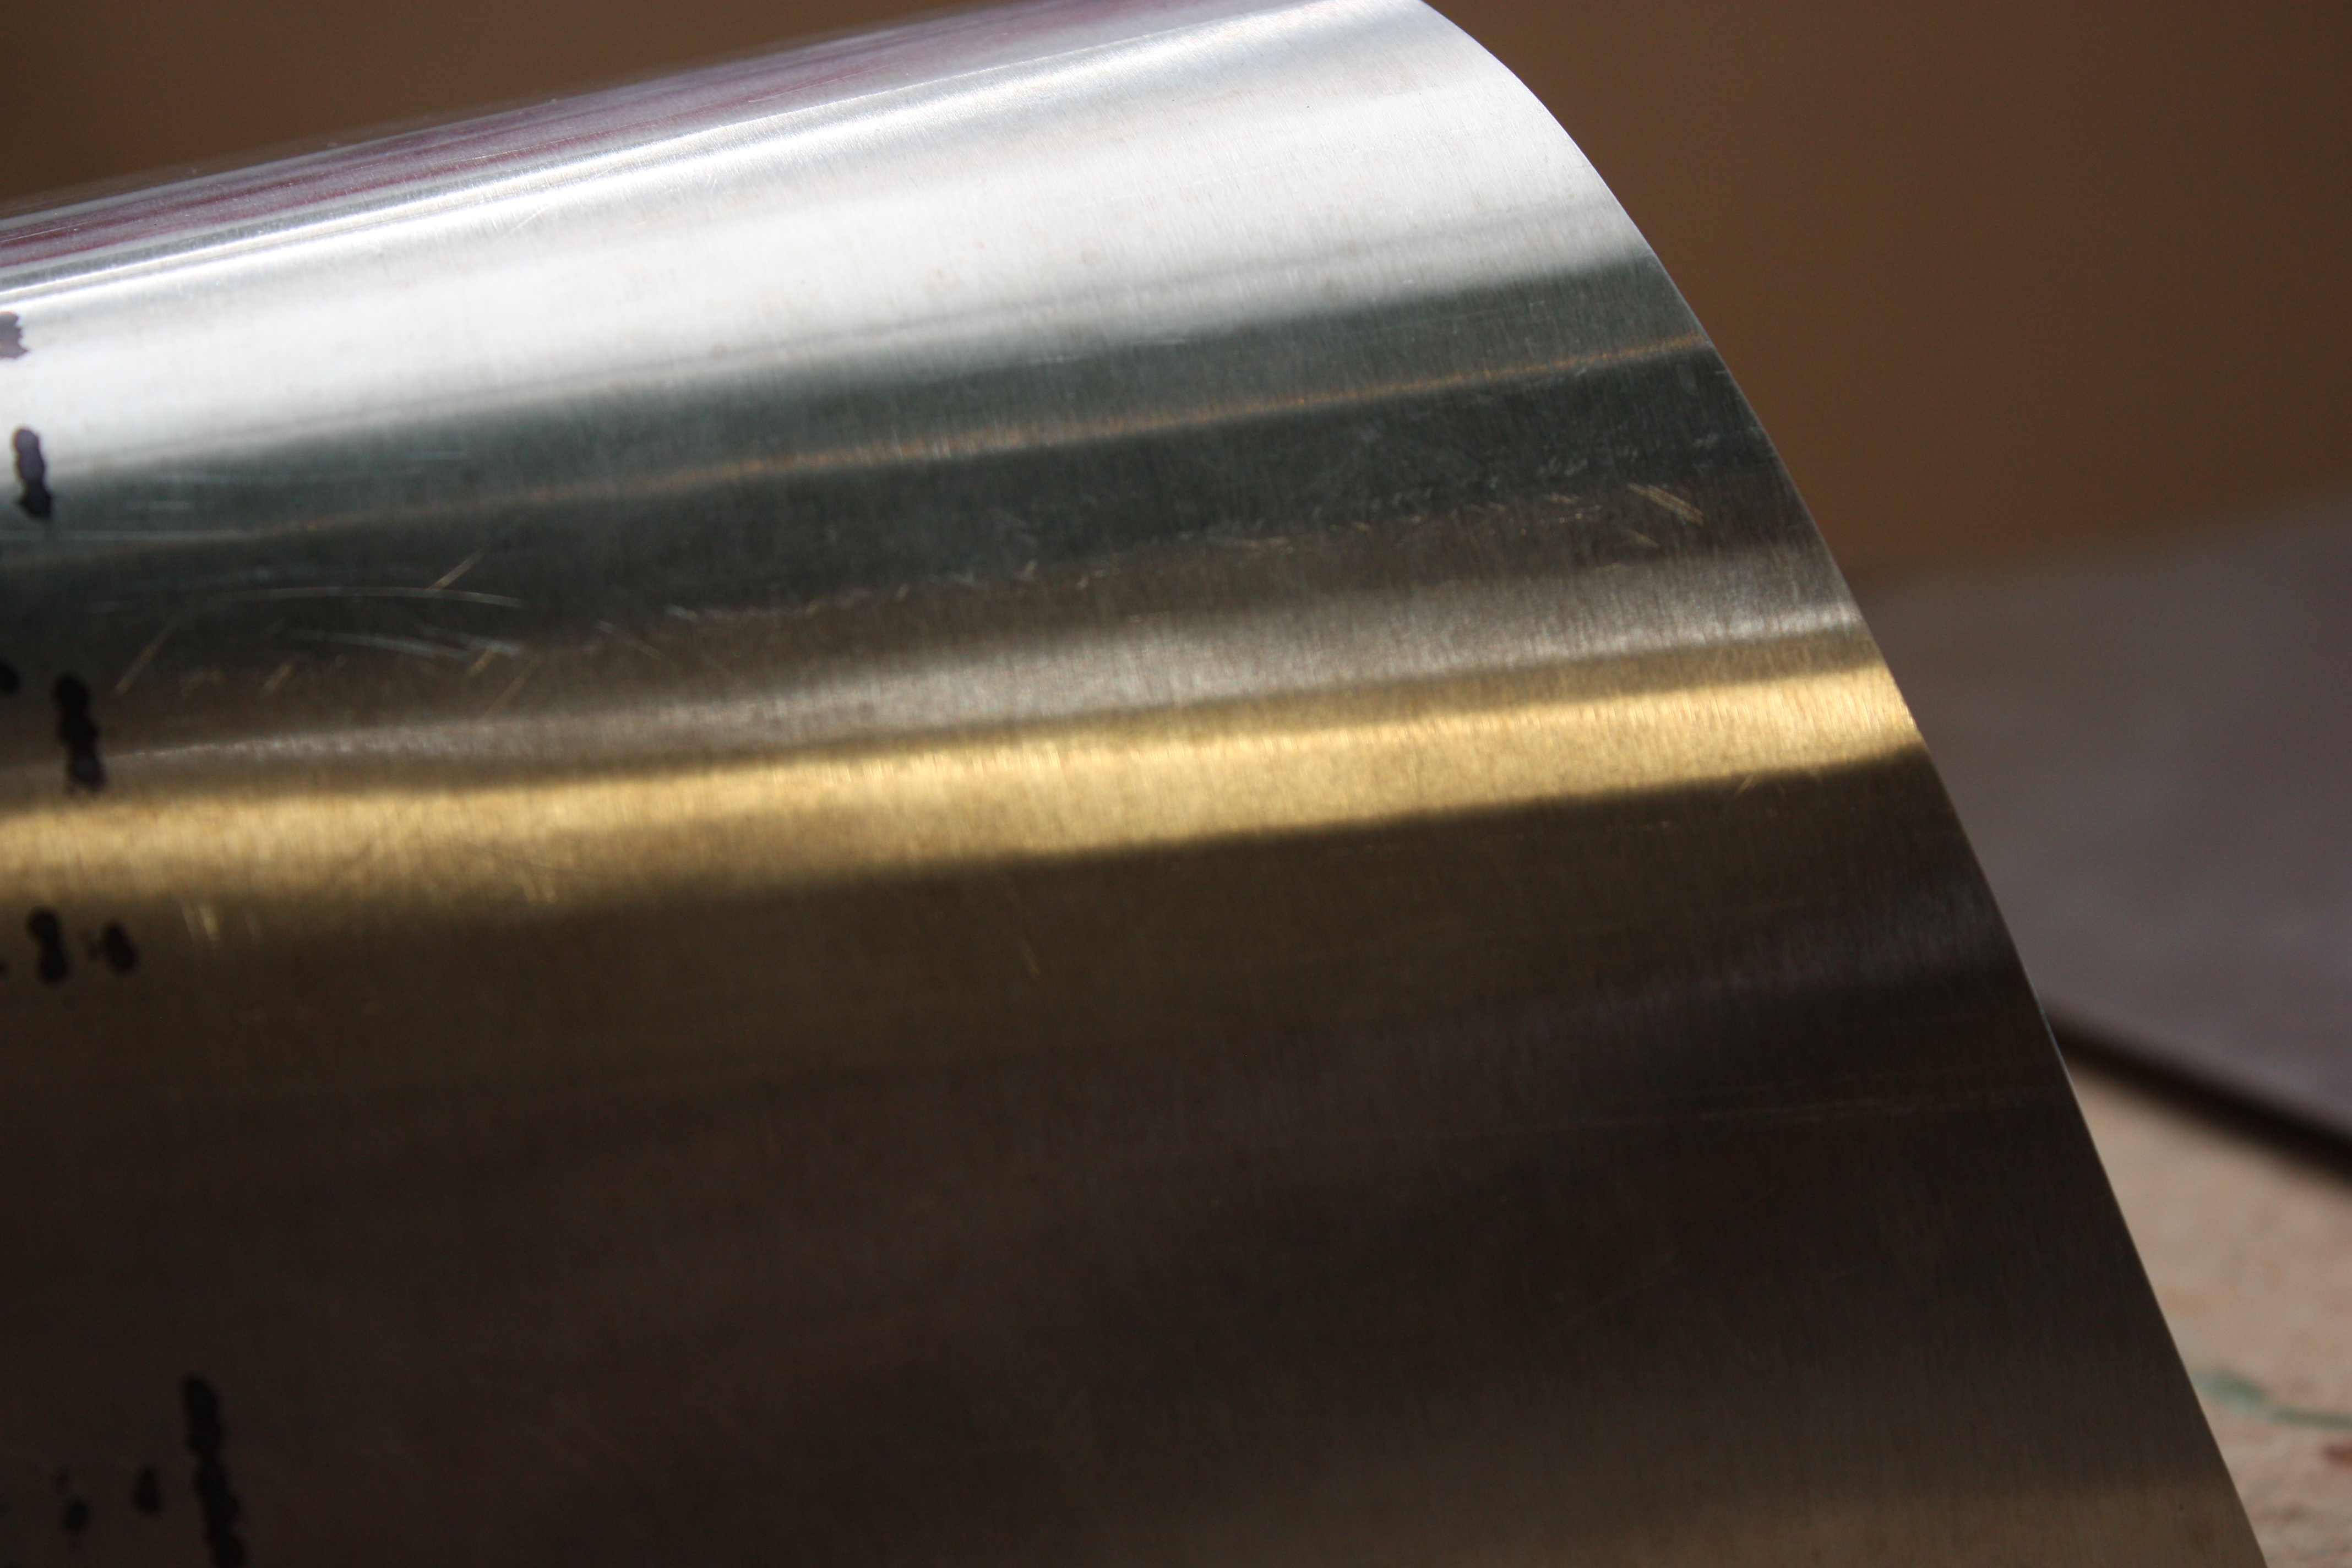
Close up of the facets created by the brake (I think this would look fine unless you looked closely, then it would look like poor workmanship). Don't do it this way:
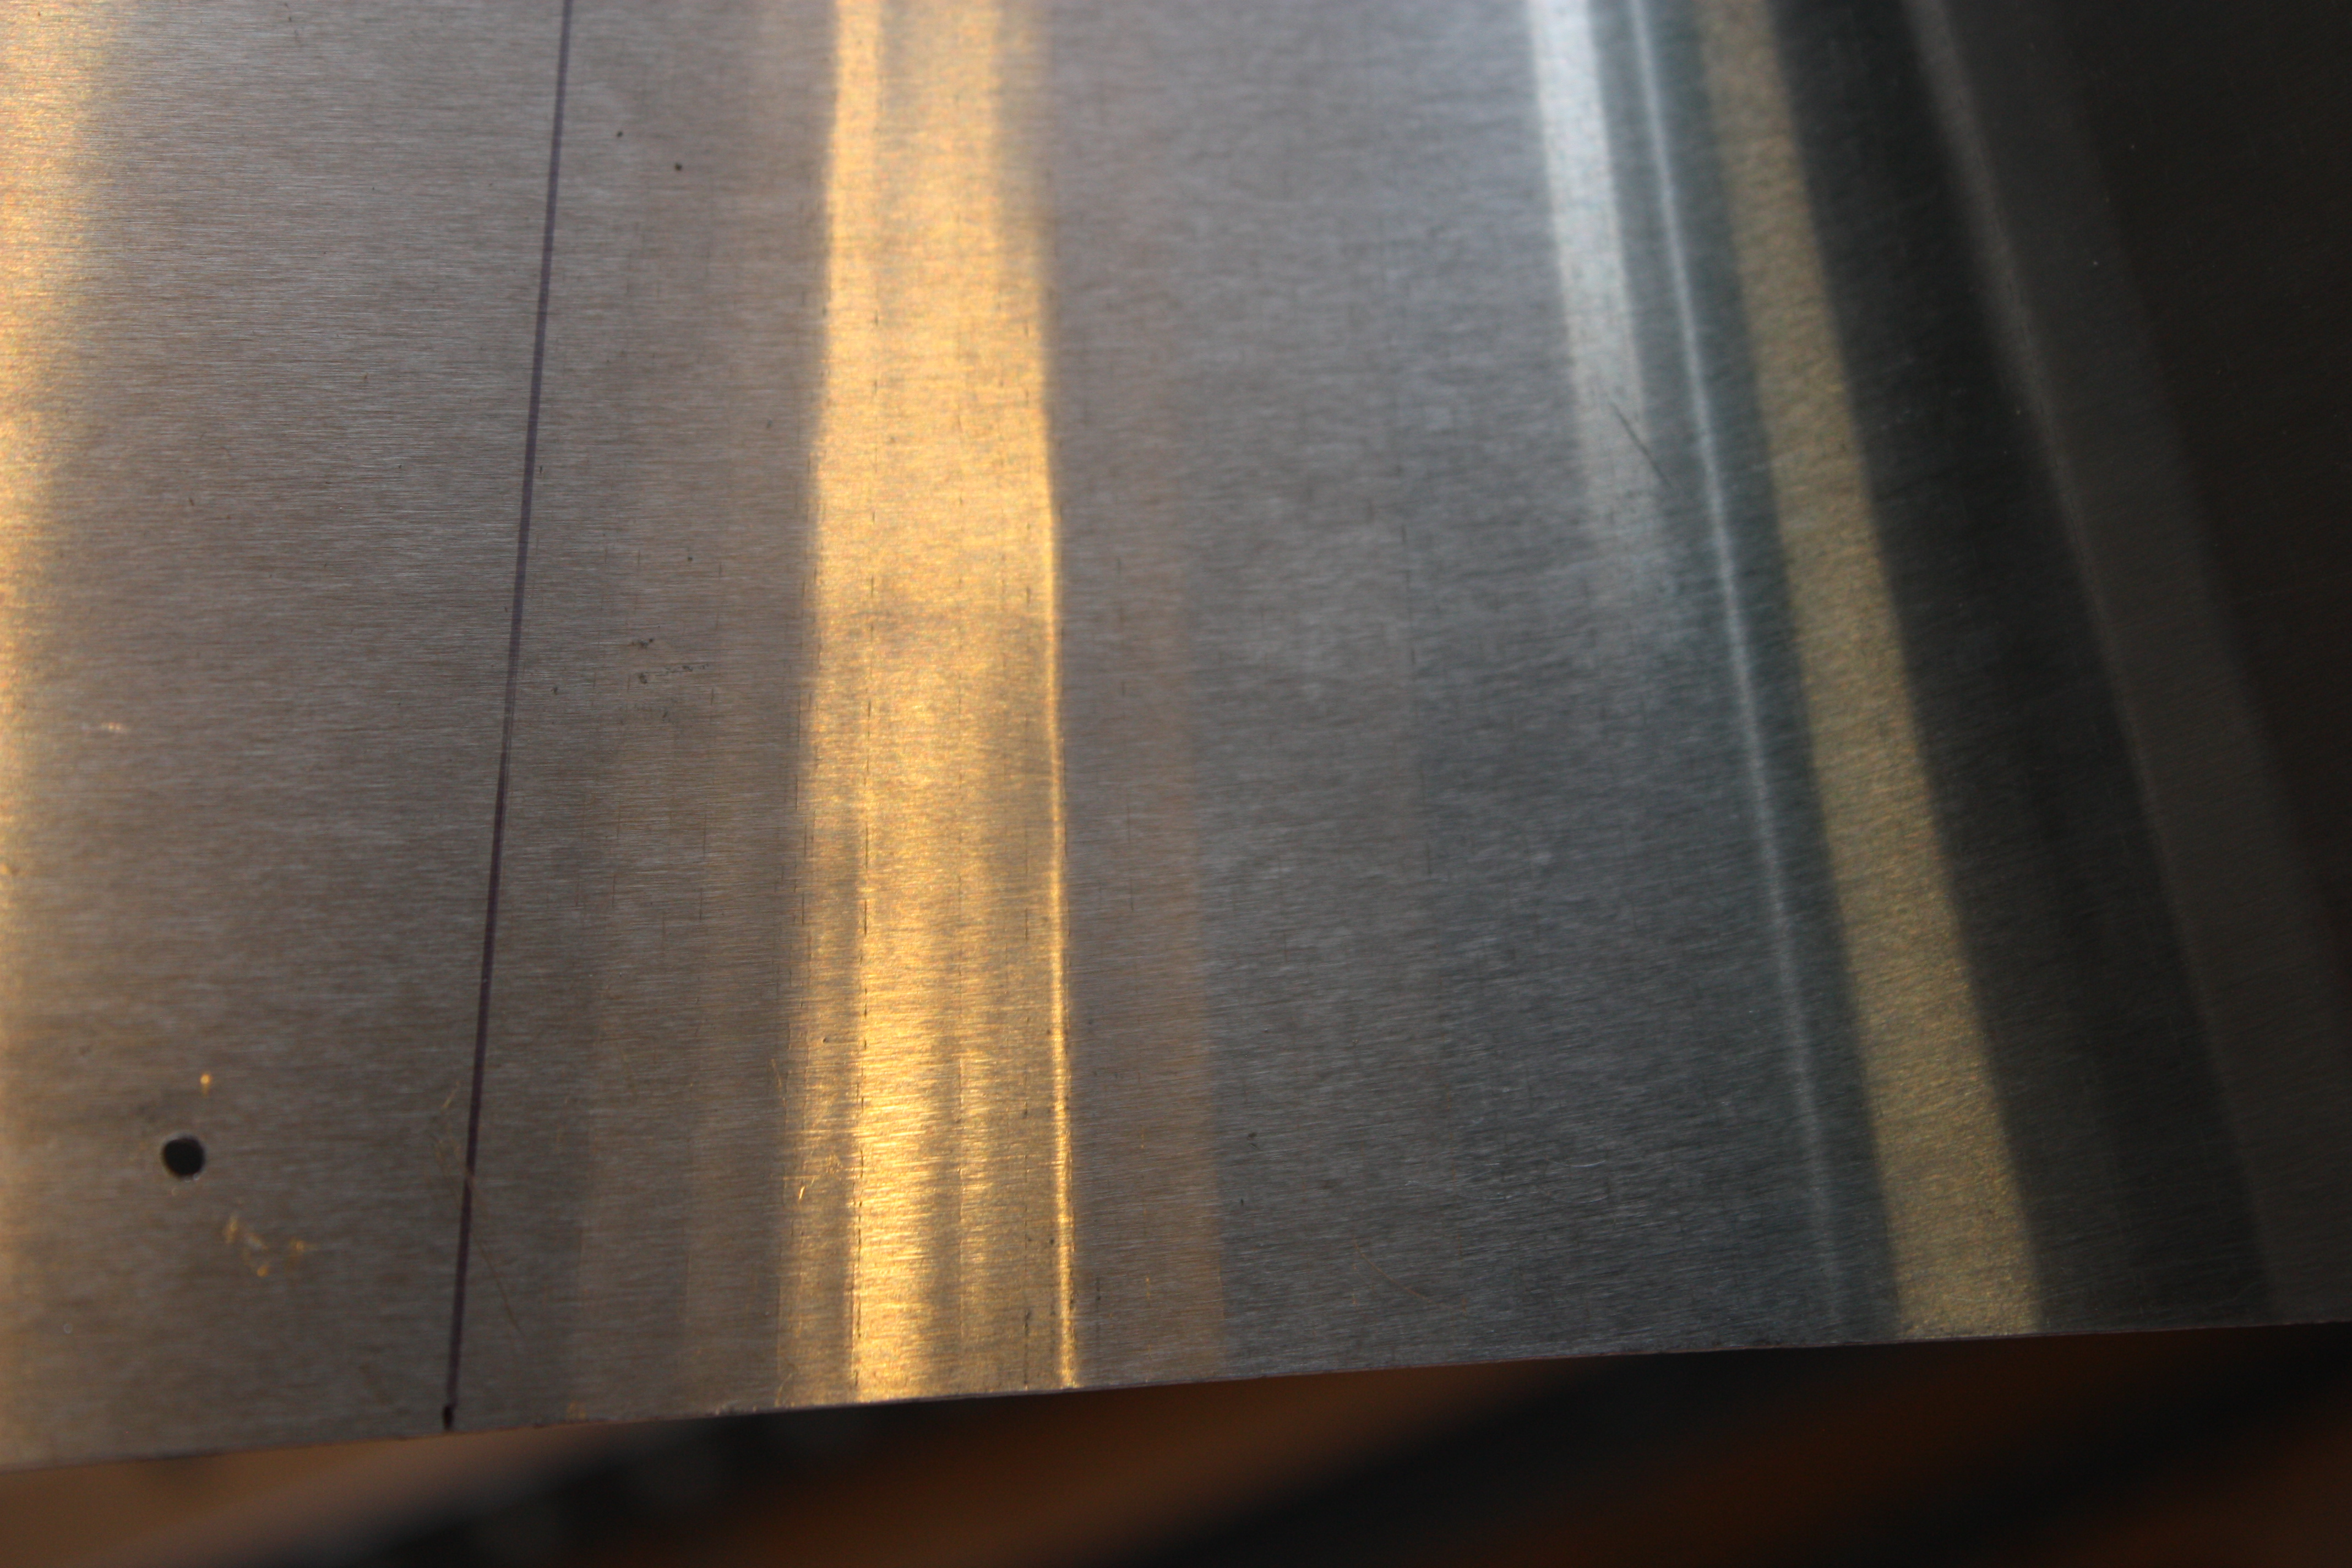
So with the side curves rounded and the back edge bent 90 degrees, I had to attach the forward bottom skin to the rear bottom skin and the floor. In the plans, these three attach to a C-channel, but I just bent a common flange in all three pieces. Then I could just rivet them together:
This was a bit of a pain... I had to drill the holes in the floor first, then work the three together with the front forward skin hanging loose. I also had to keep the drill chuck from scratching the forward skin.
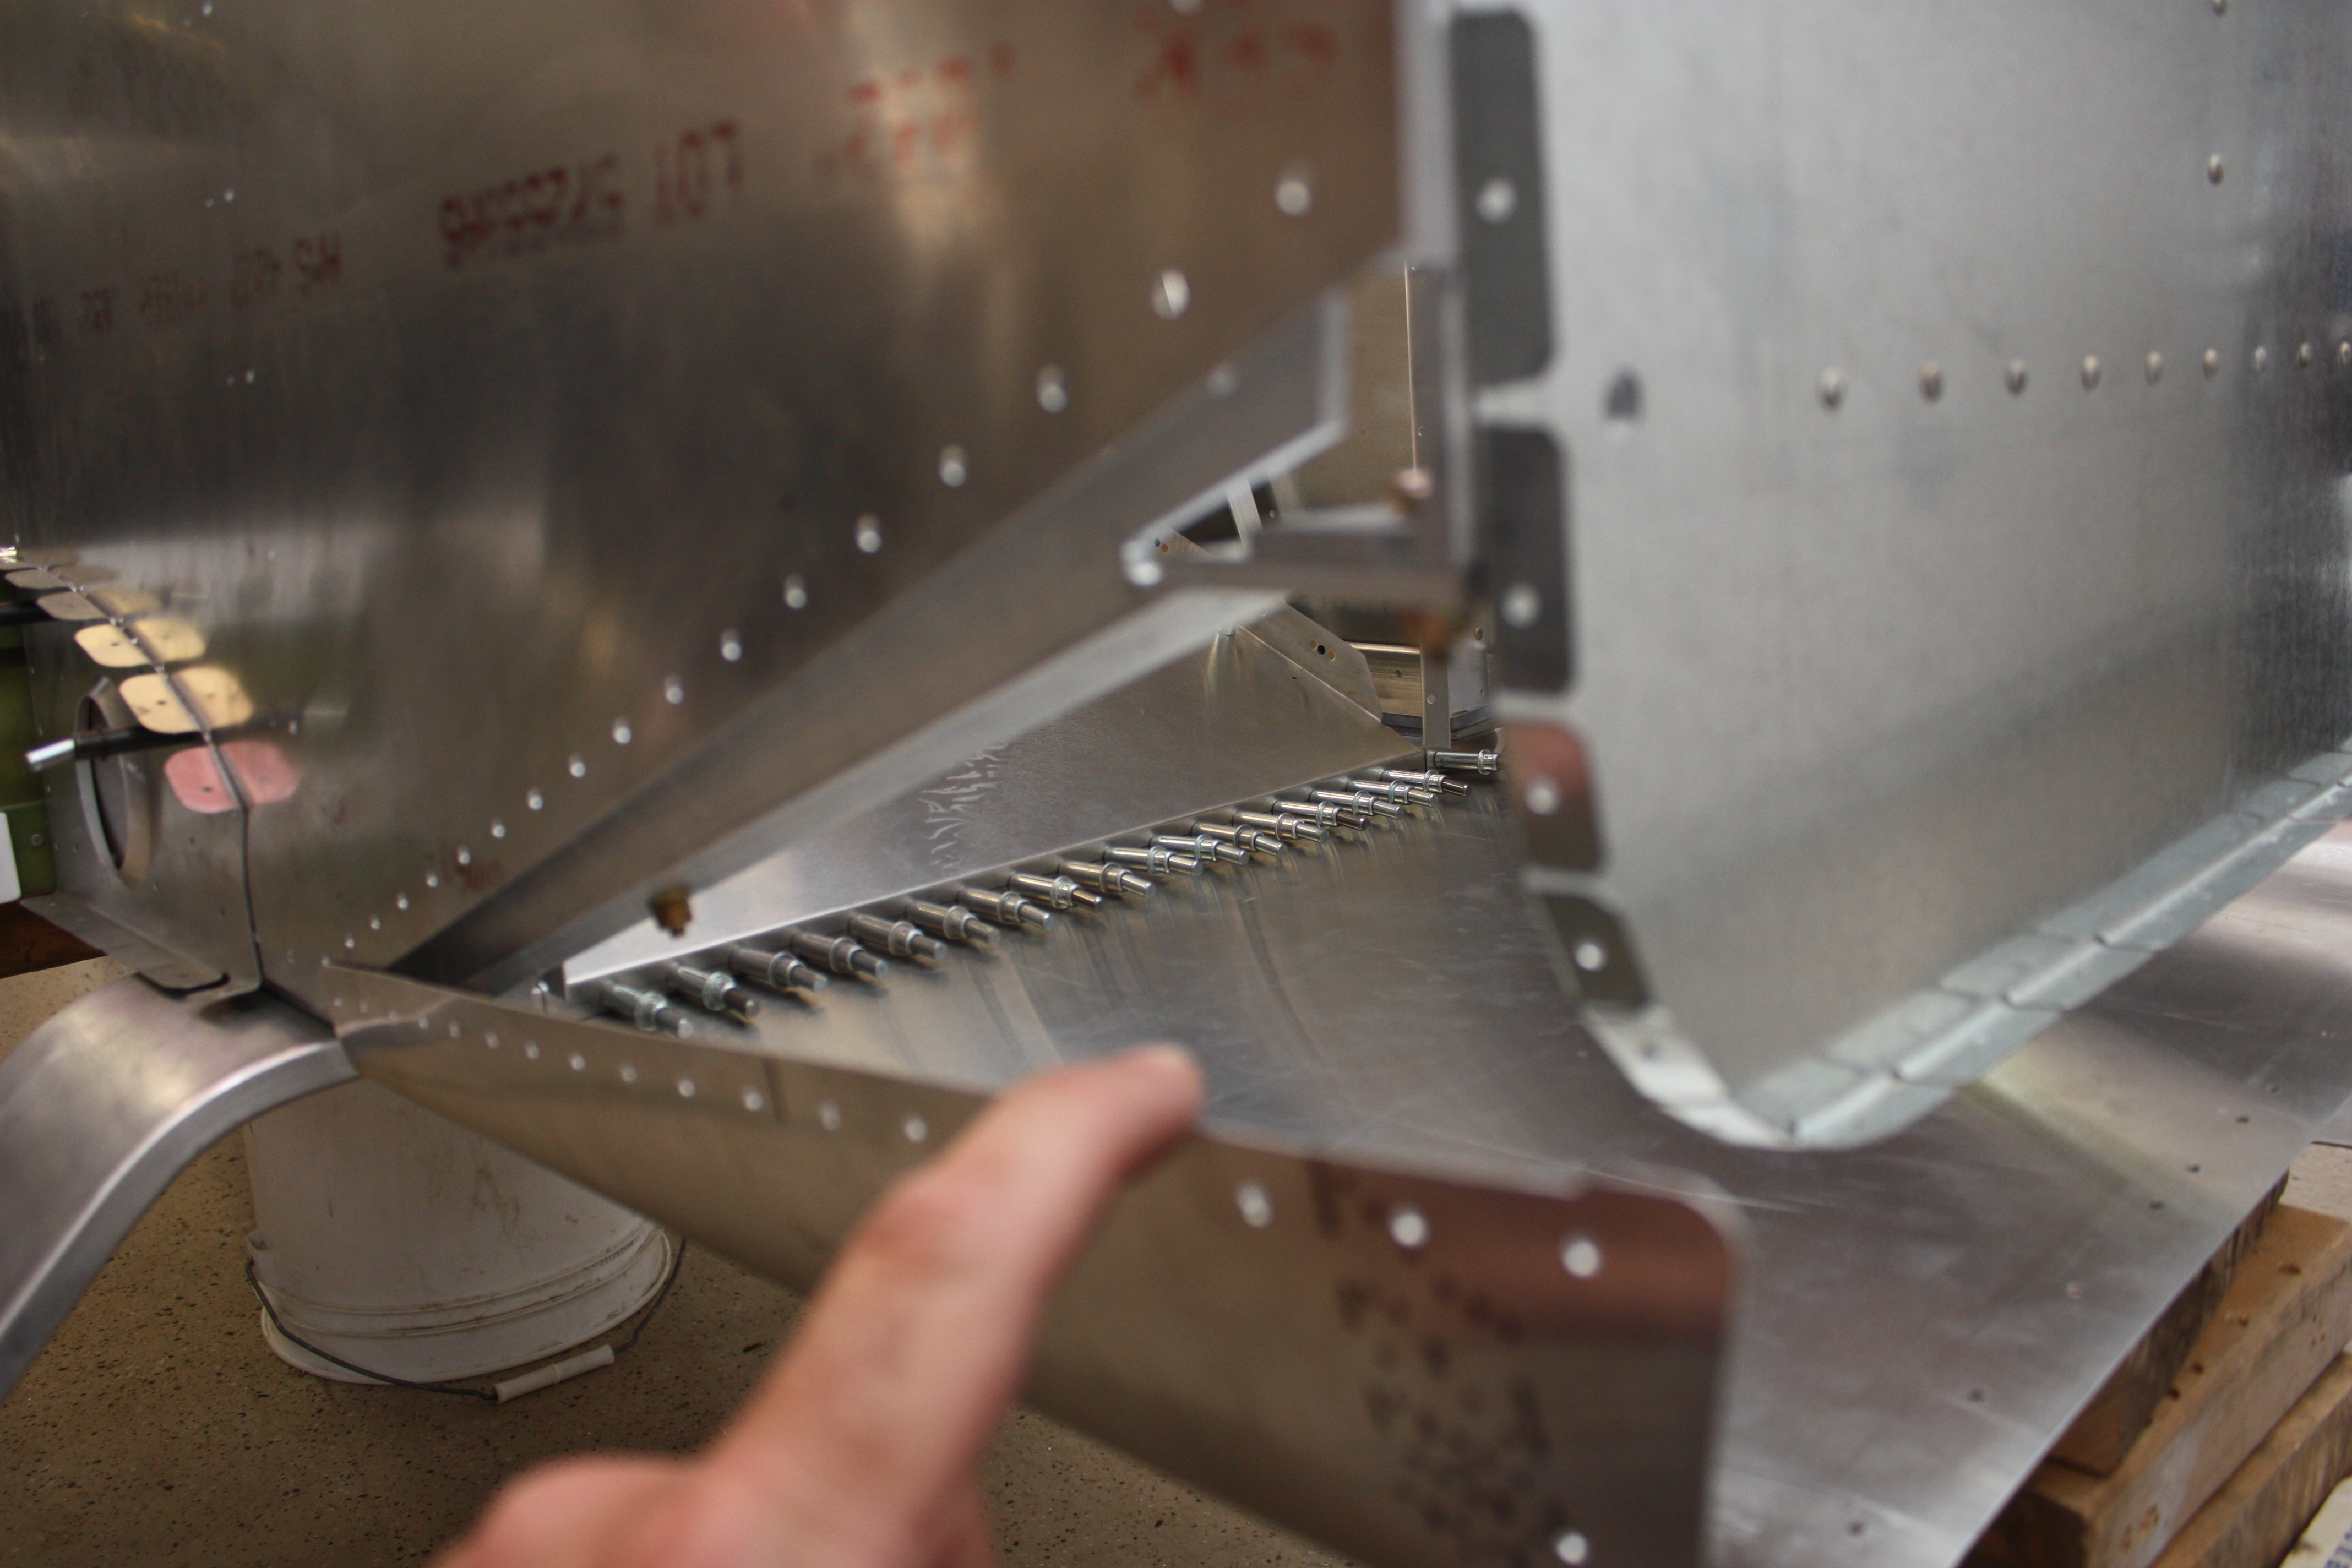
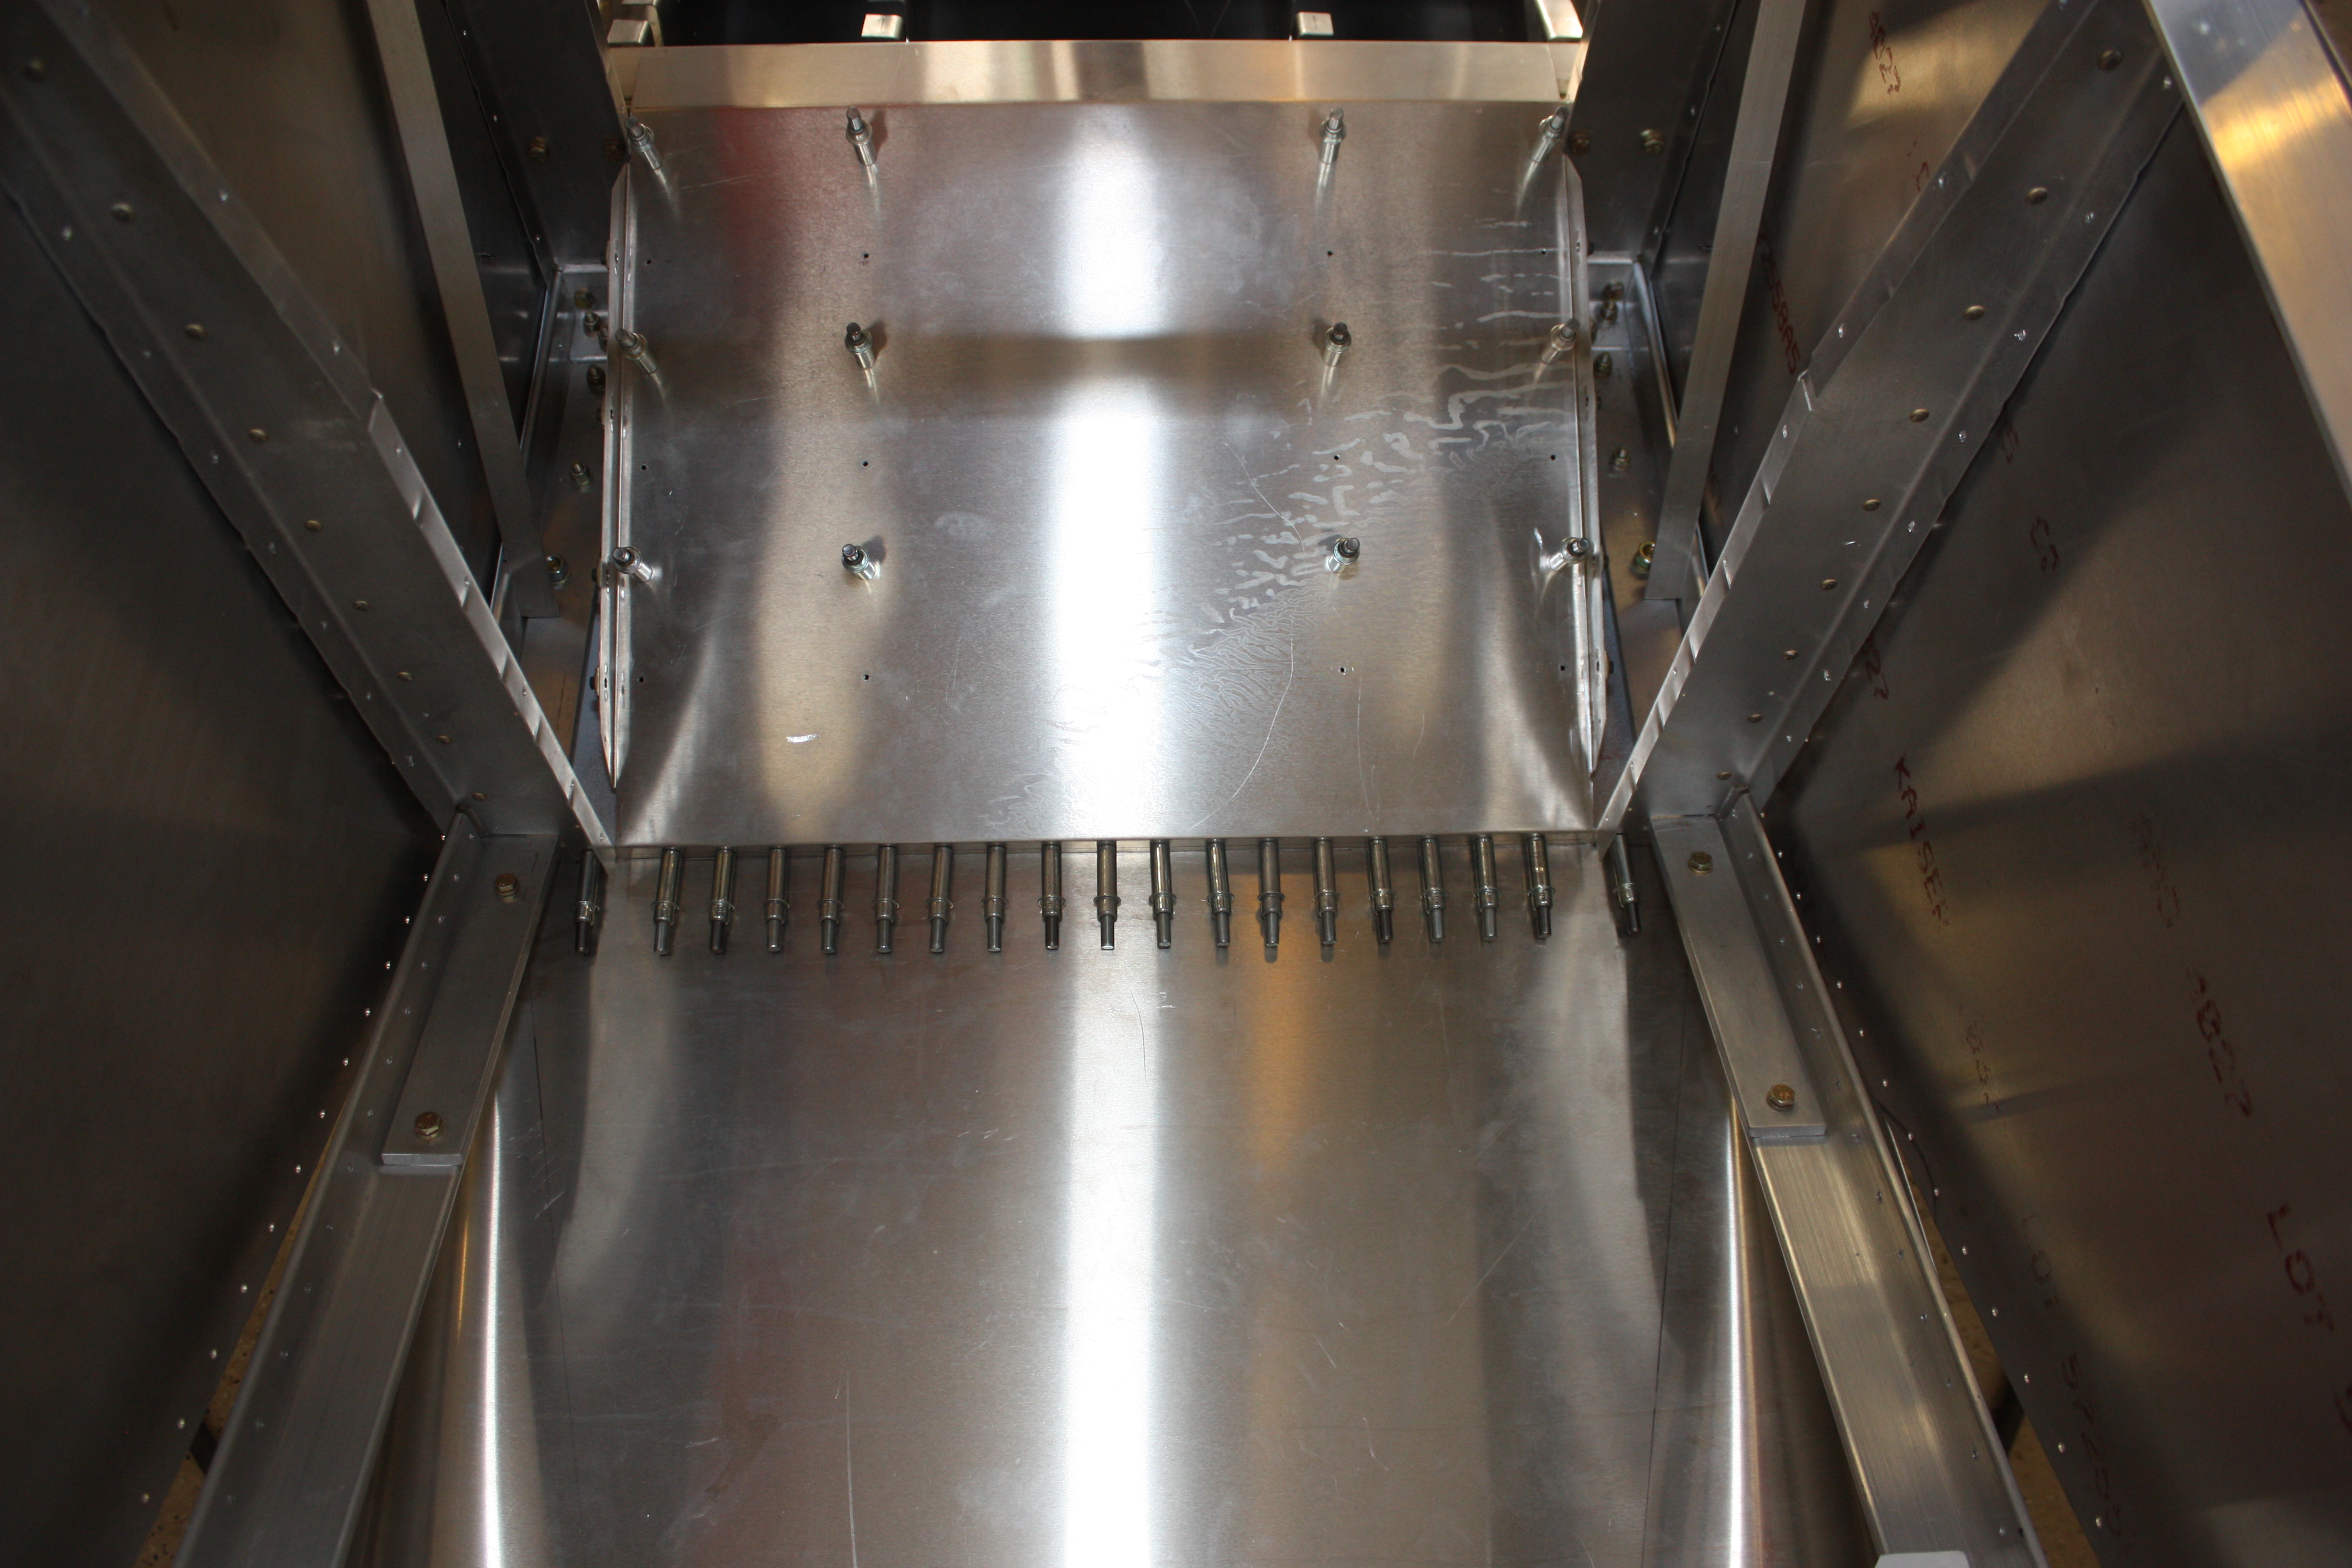
on the top of the firewall there is a 0.040" strip that creates a flange for the fuel tank cover plate and a place where the cowling screws into. I continued this strip around the entire firewall. So in the following picture the forward skin is doubled with a 0.040 strip (but you have to look hard to see it).
Regardless, it was nice to get this whole mess drilled and Clecoed.
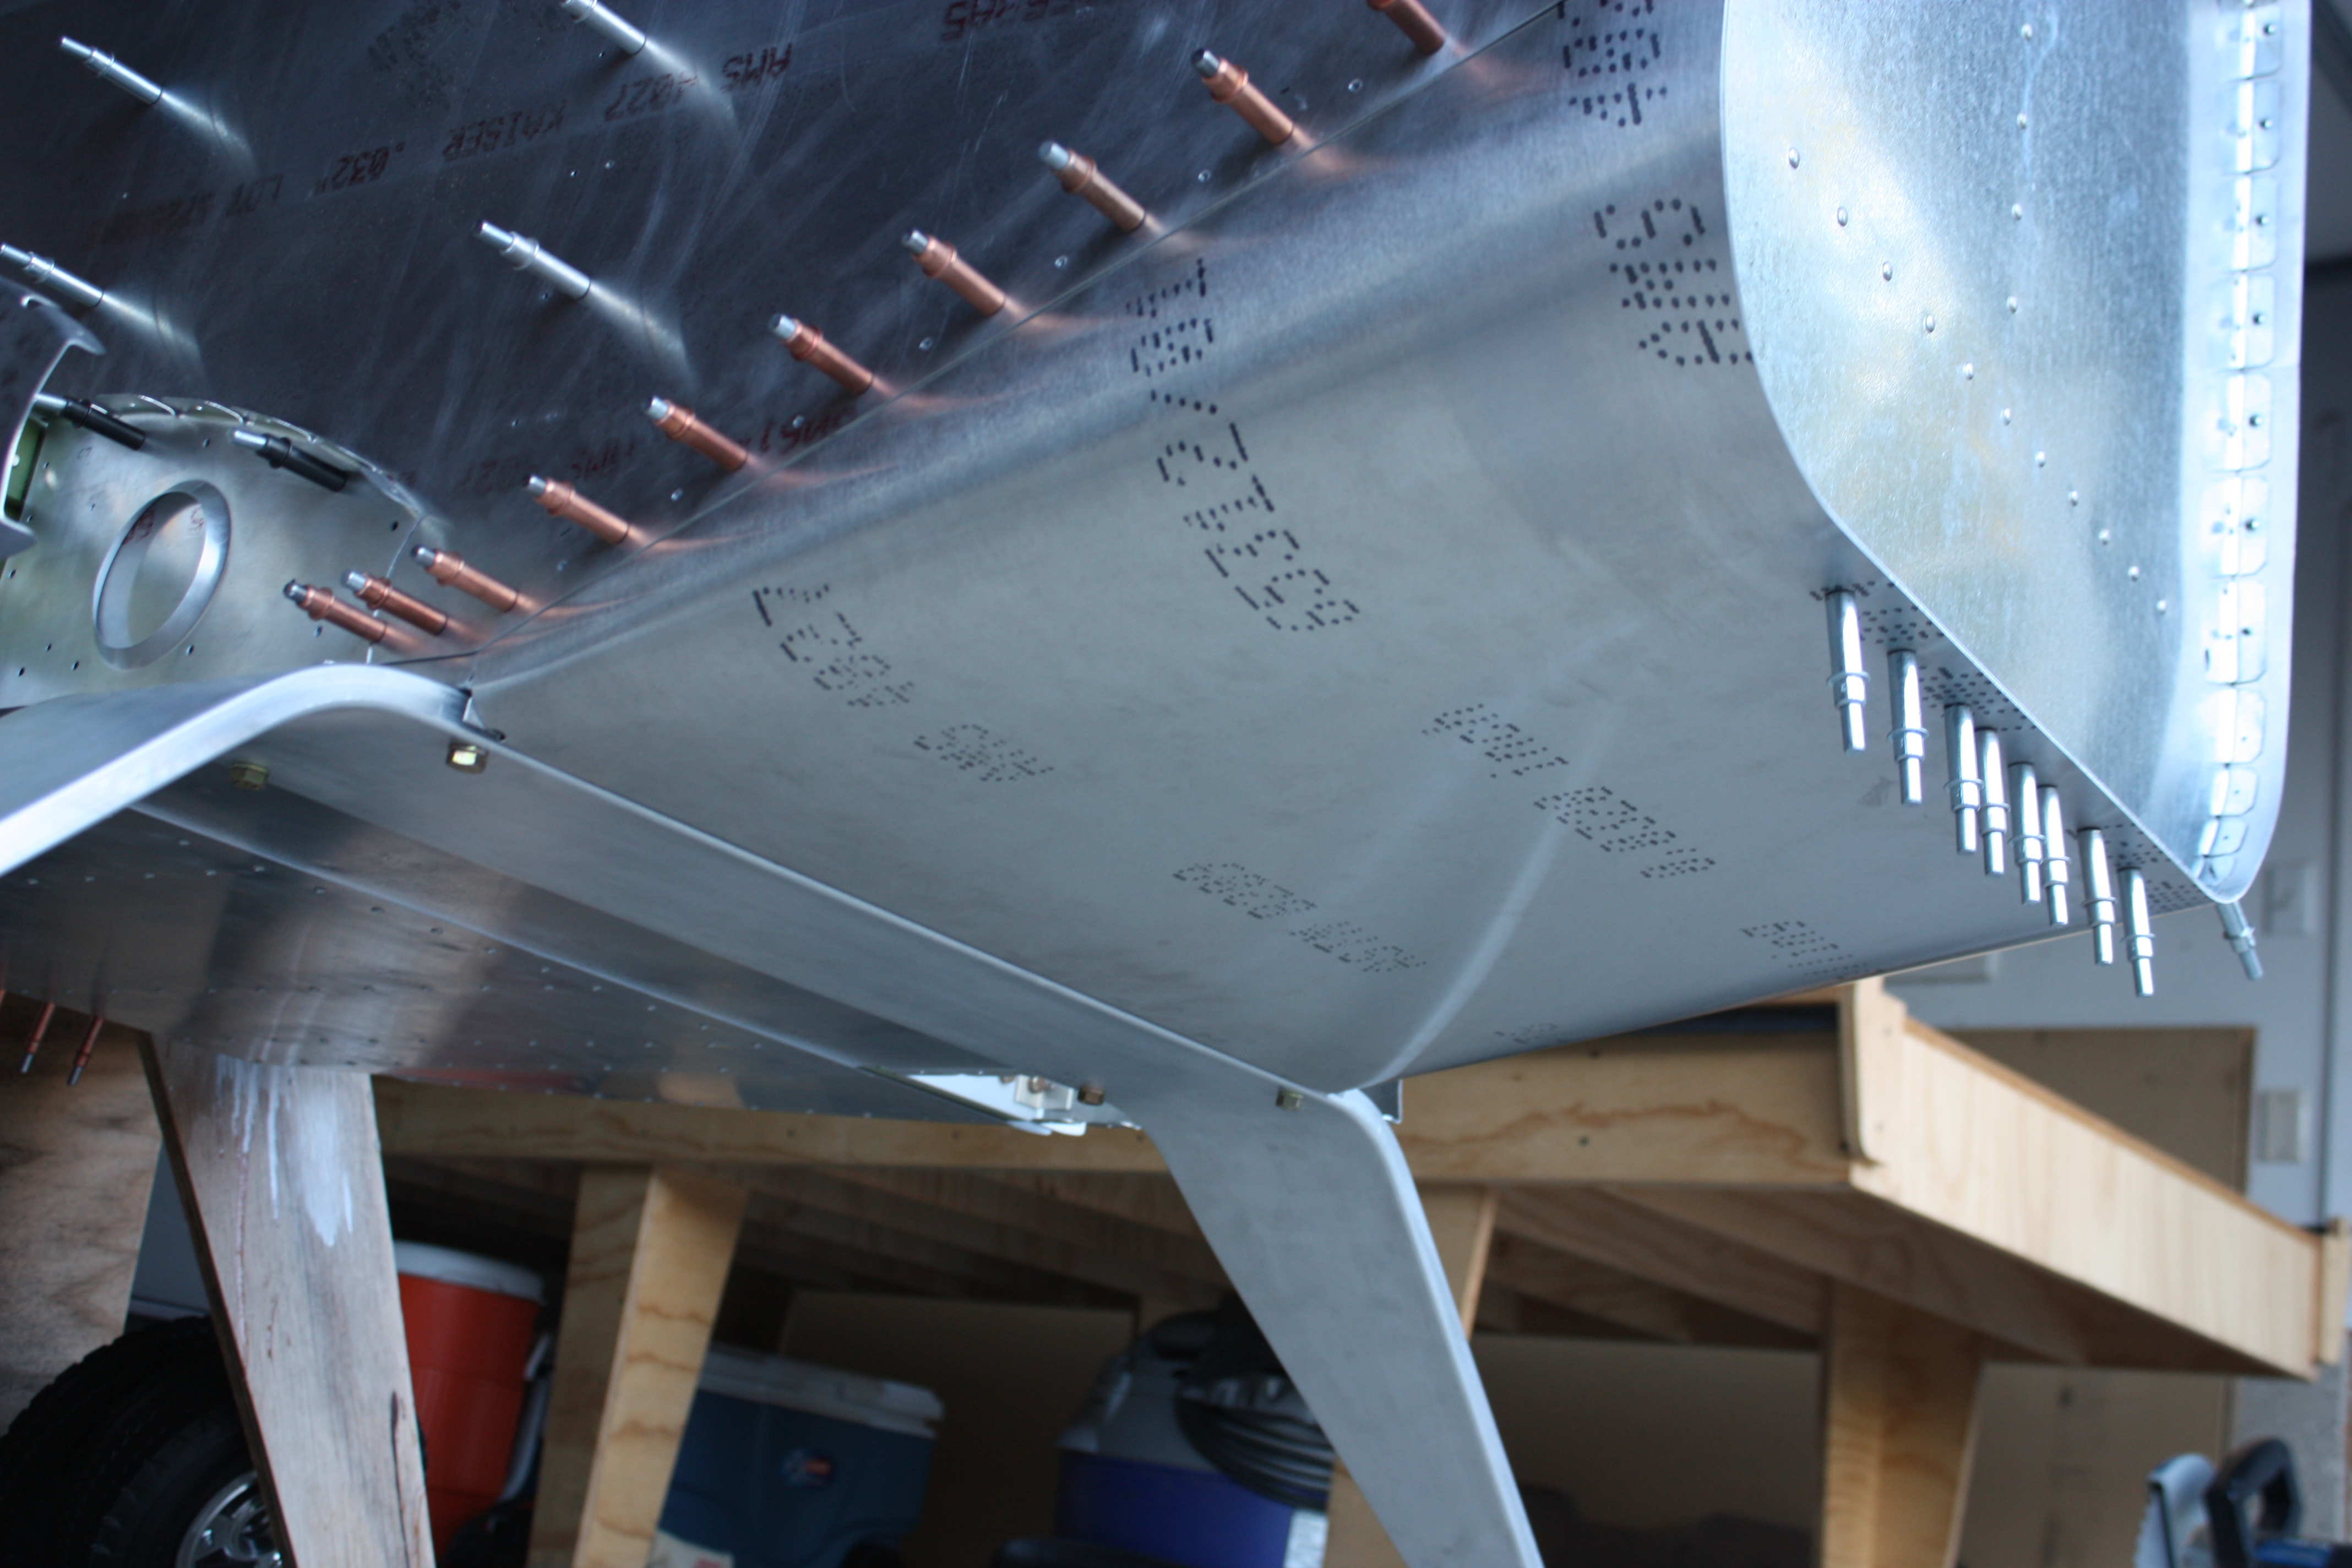
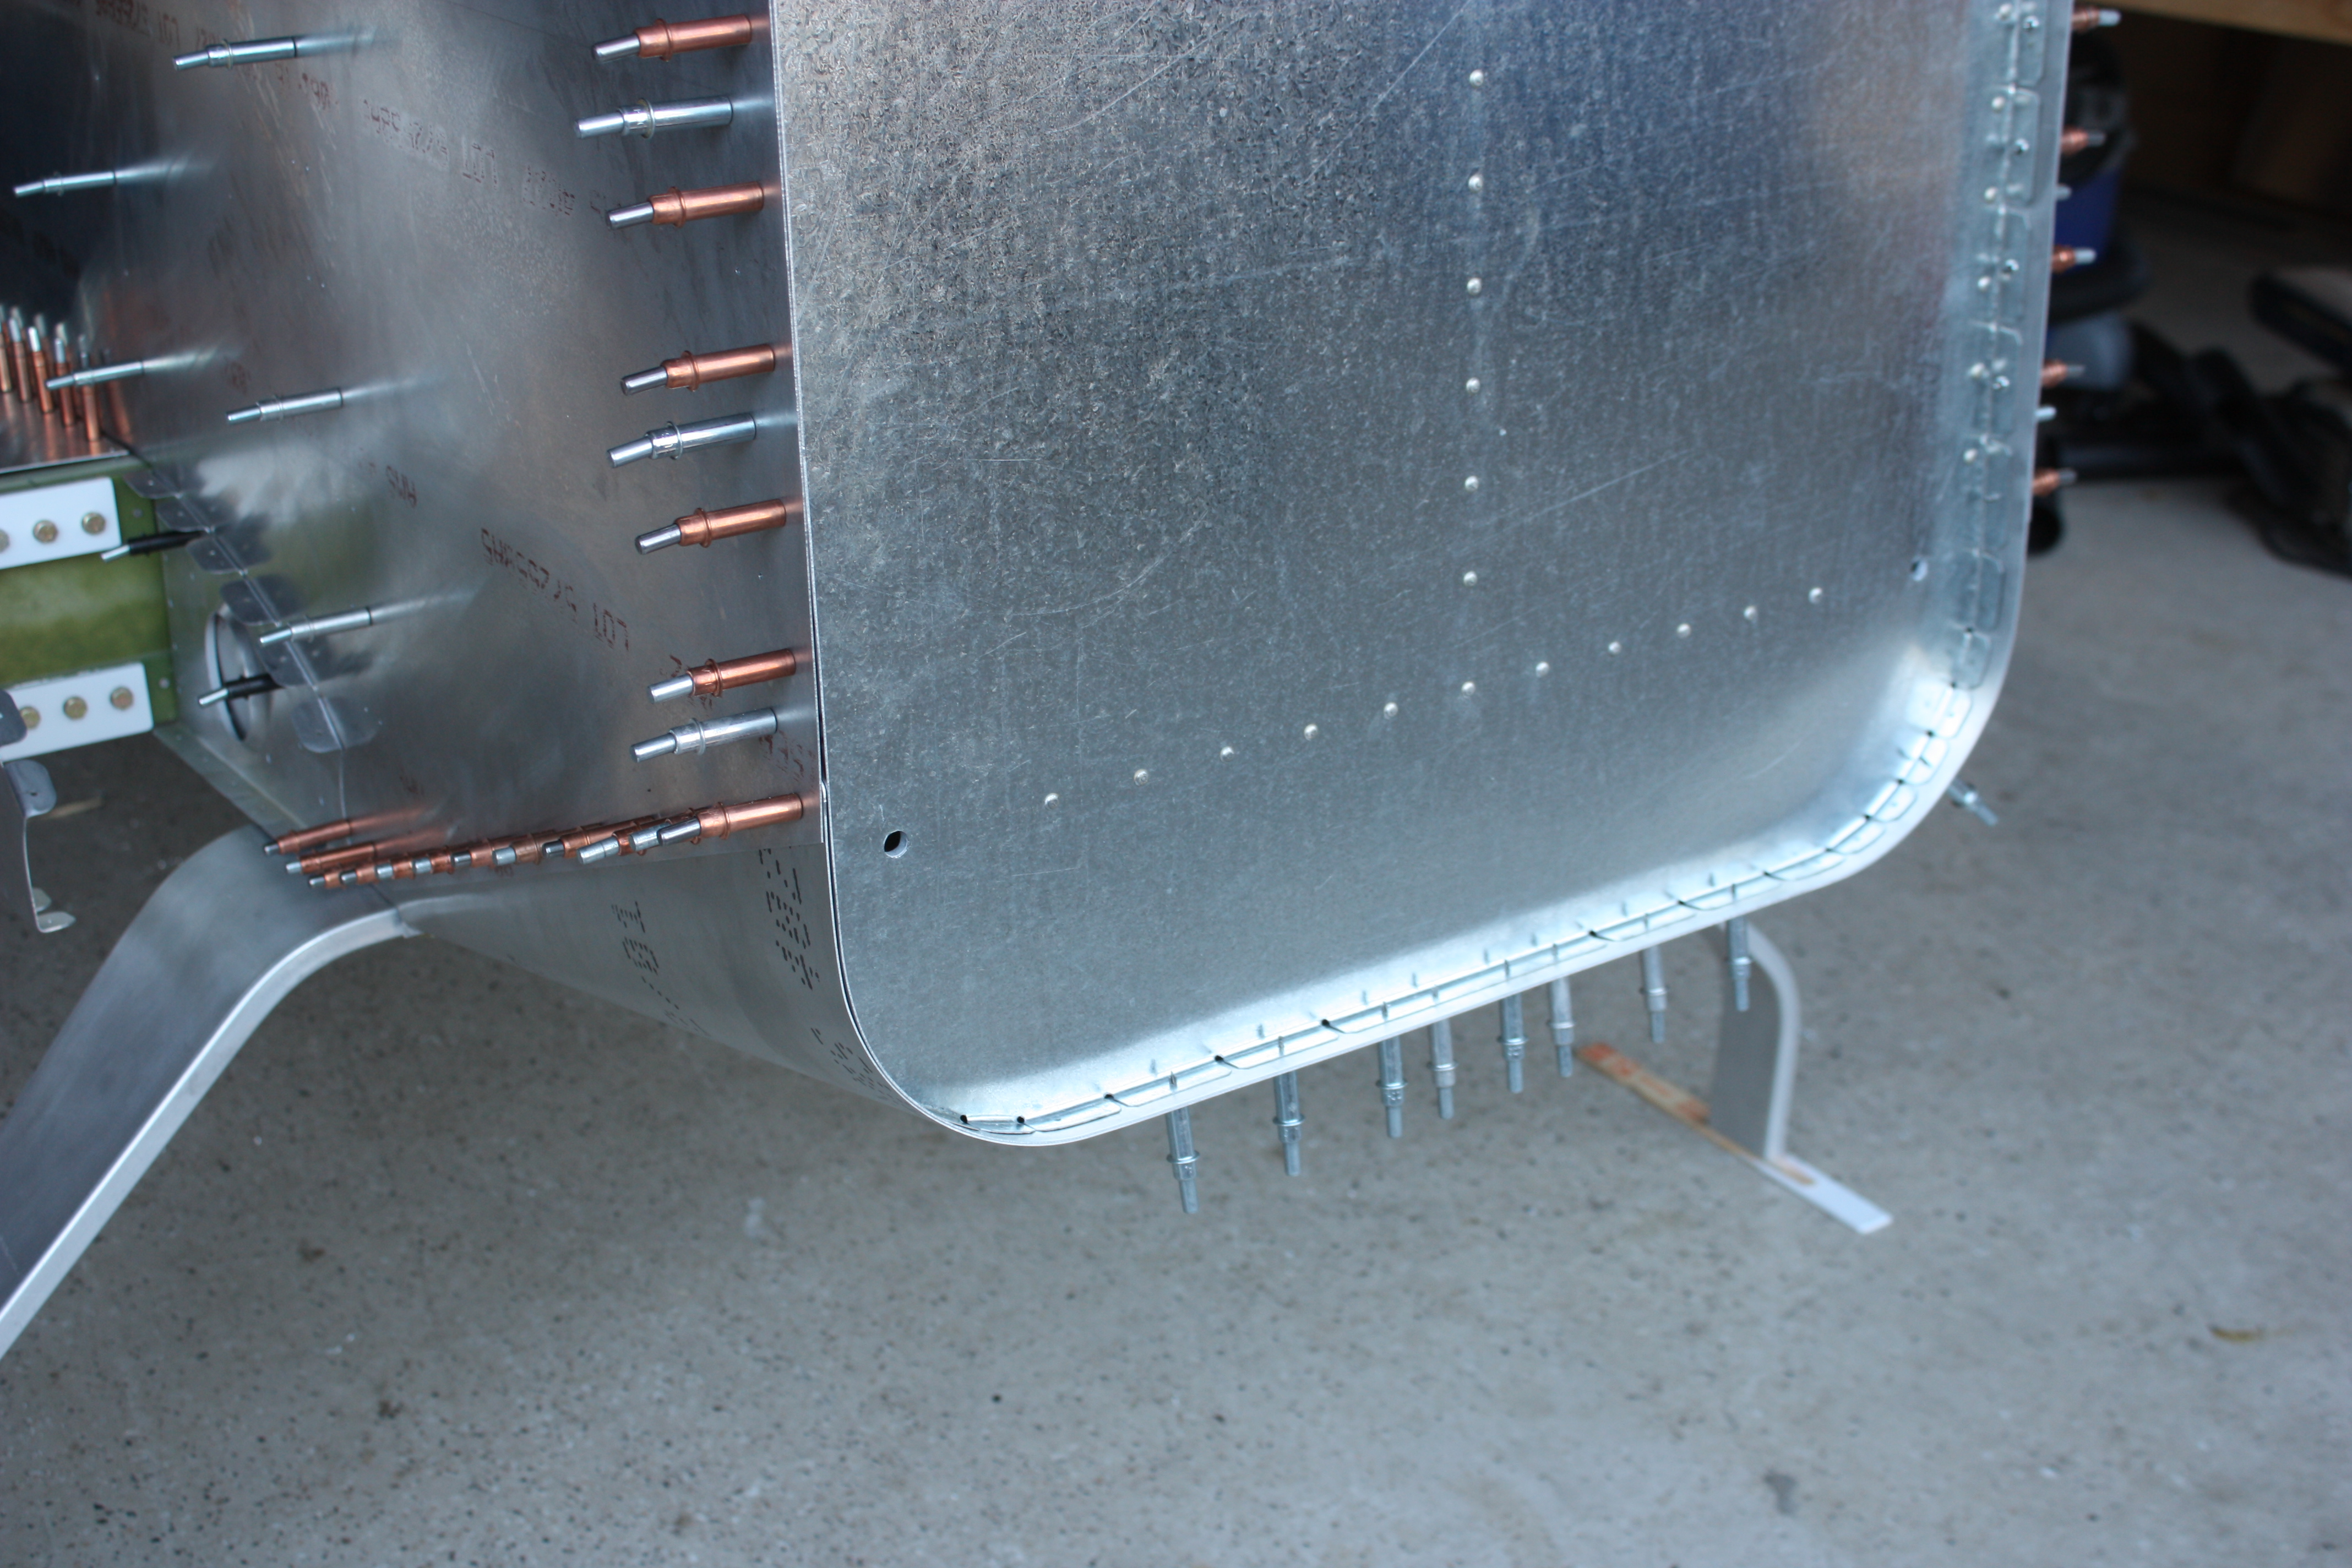
And the following picture is a little out of order (I worked on the front fuselage and the tailcone at the same time), but this shows the whole front riveted together.
I used solid rivets on the skins here... I could easily buck them, and since this is the area between the engine, the landing gear, the wing spar, and my butt, it simply seemed appropriate.
Also, the wing stubs were skinned at this point.
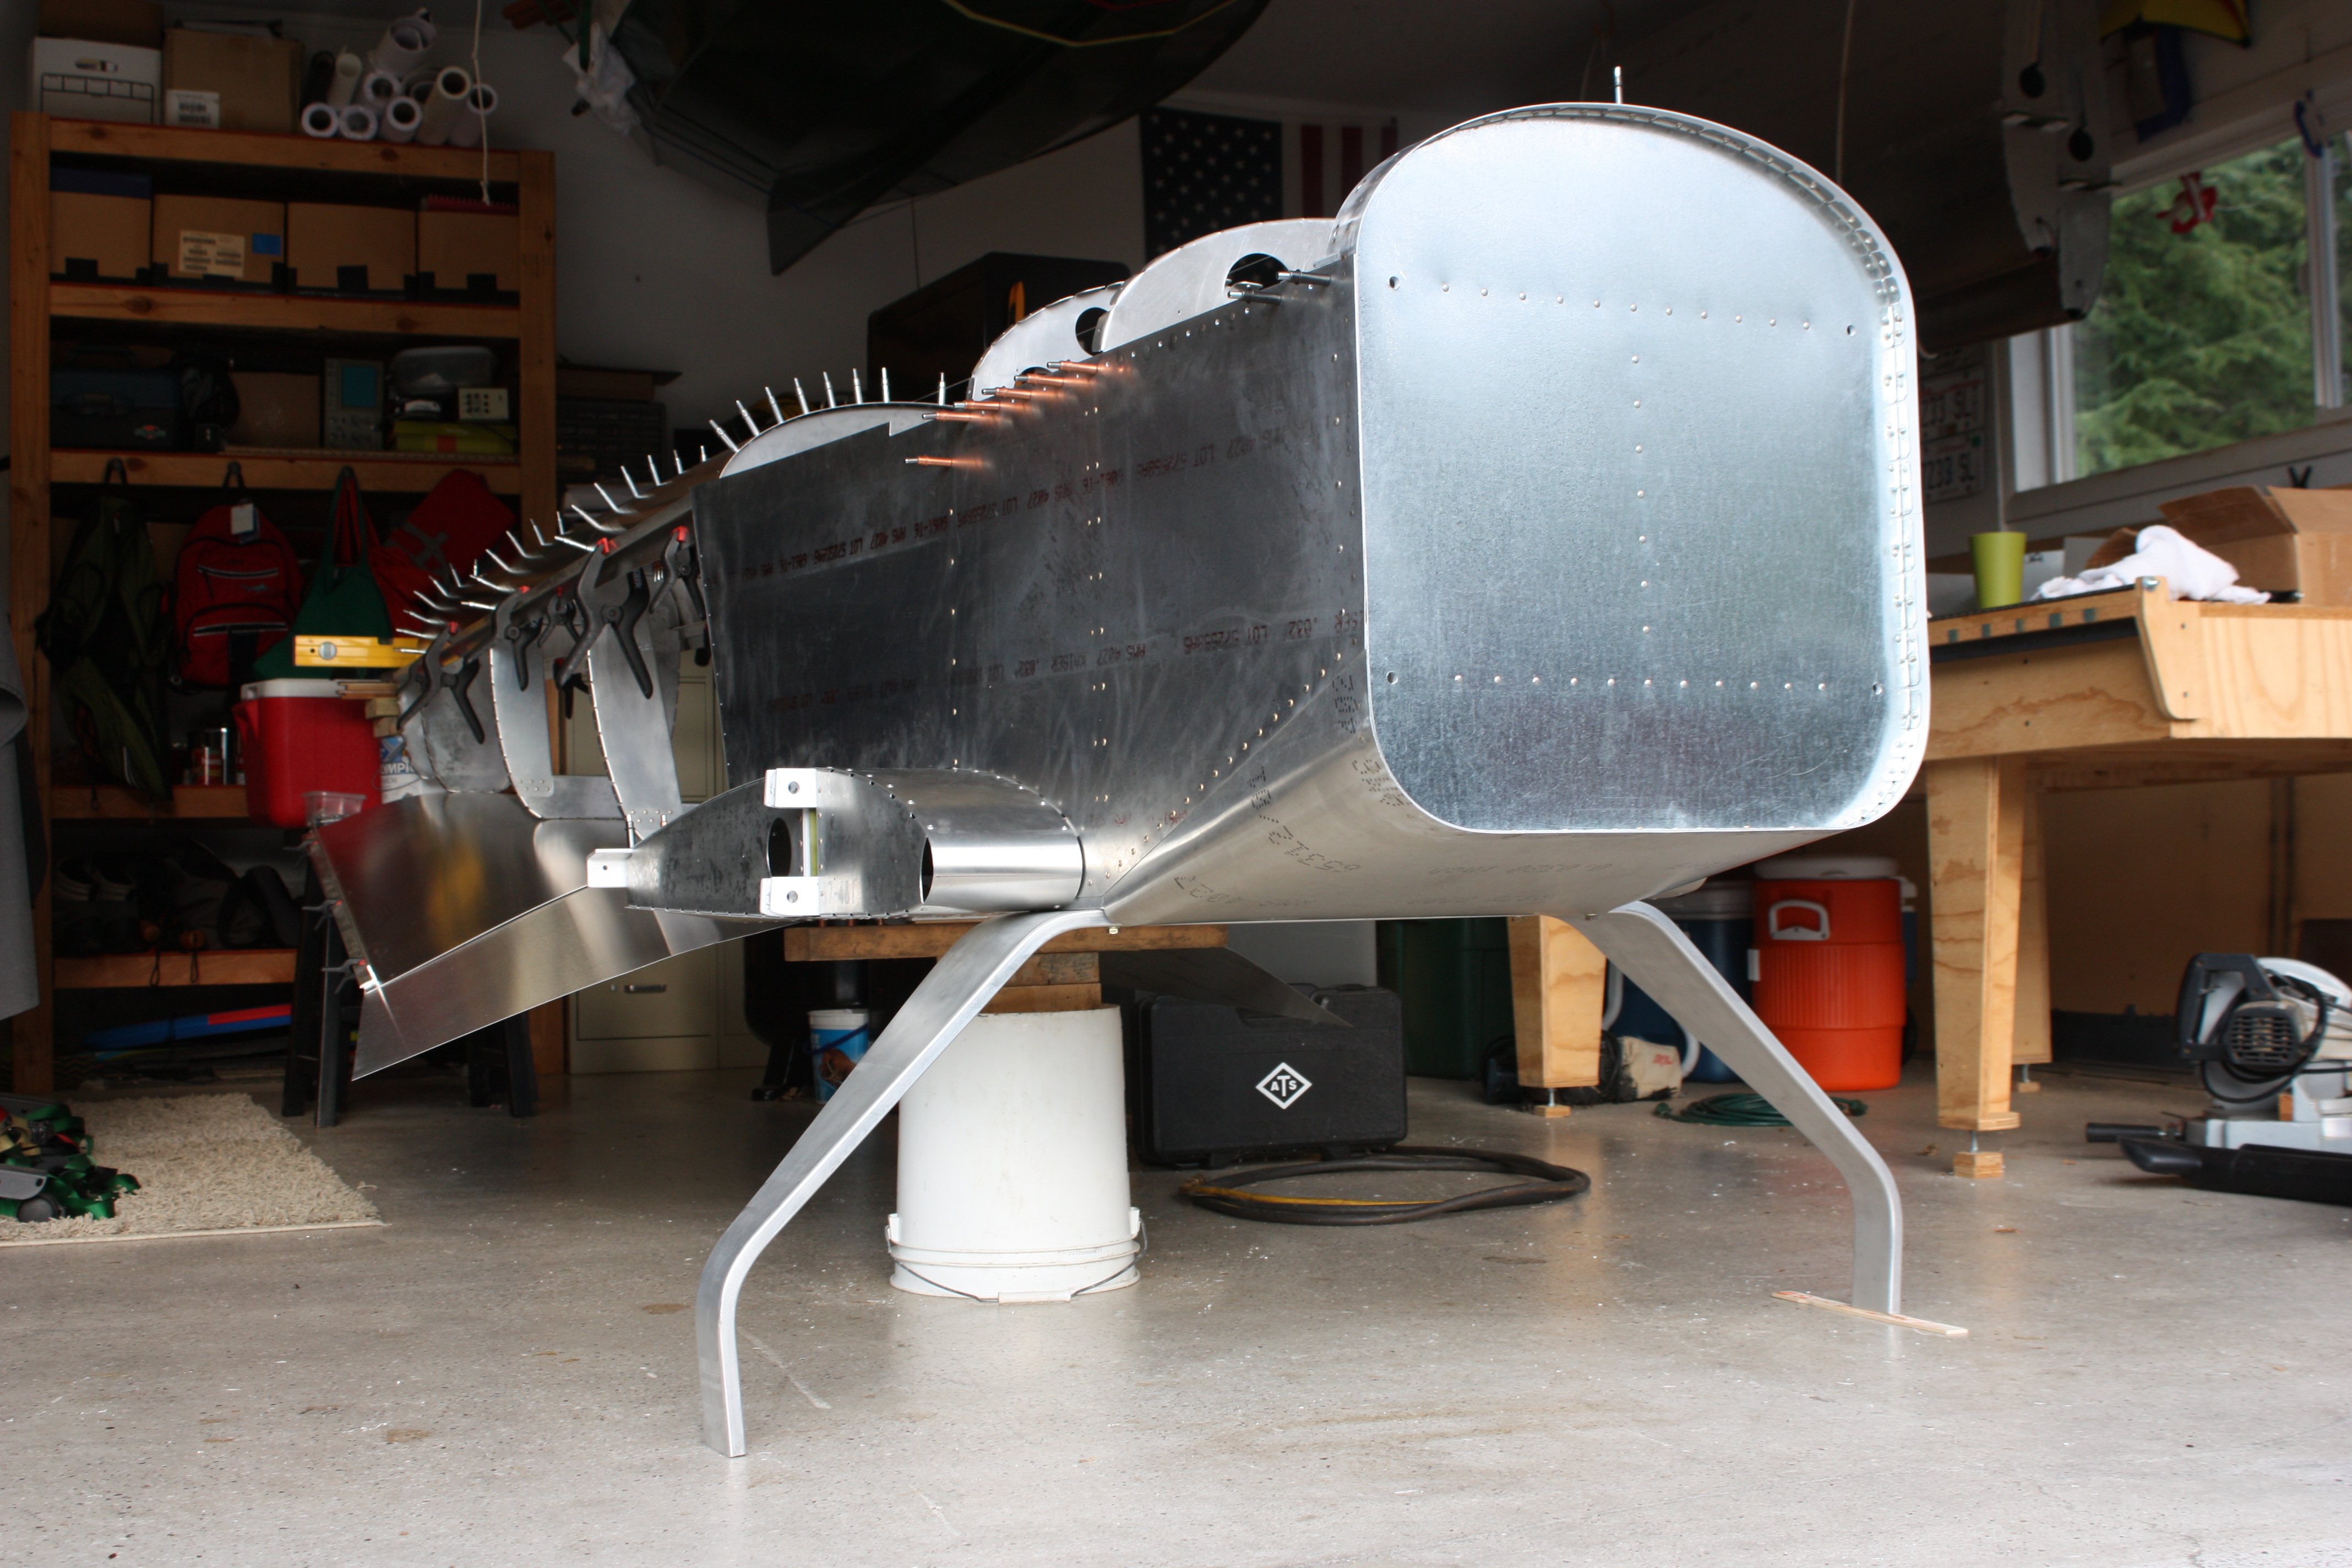
Rear Fuselage
July 2013
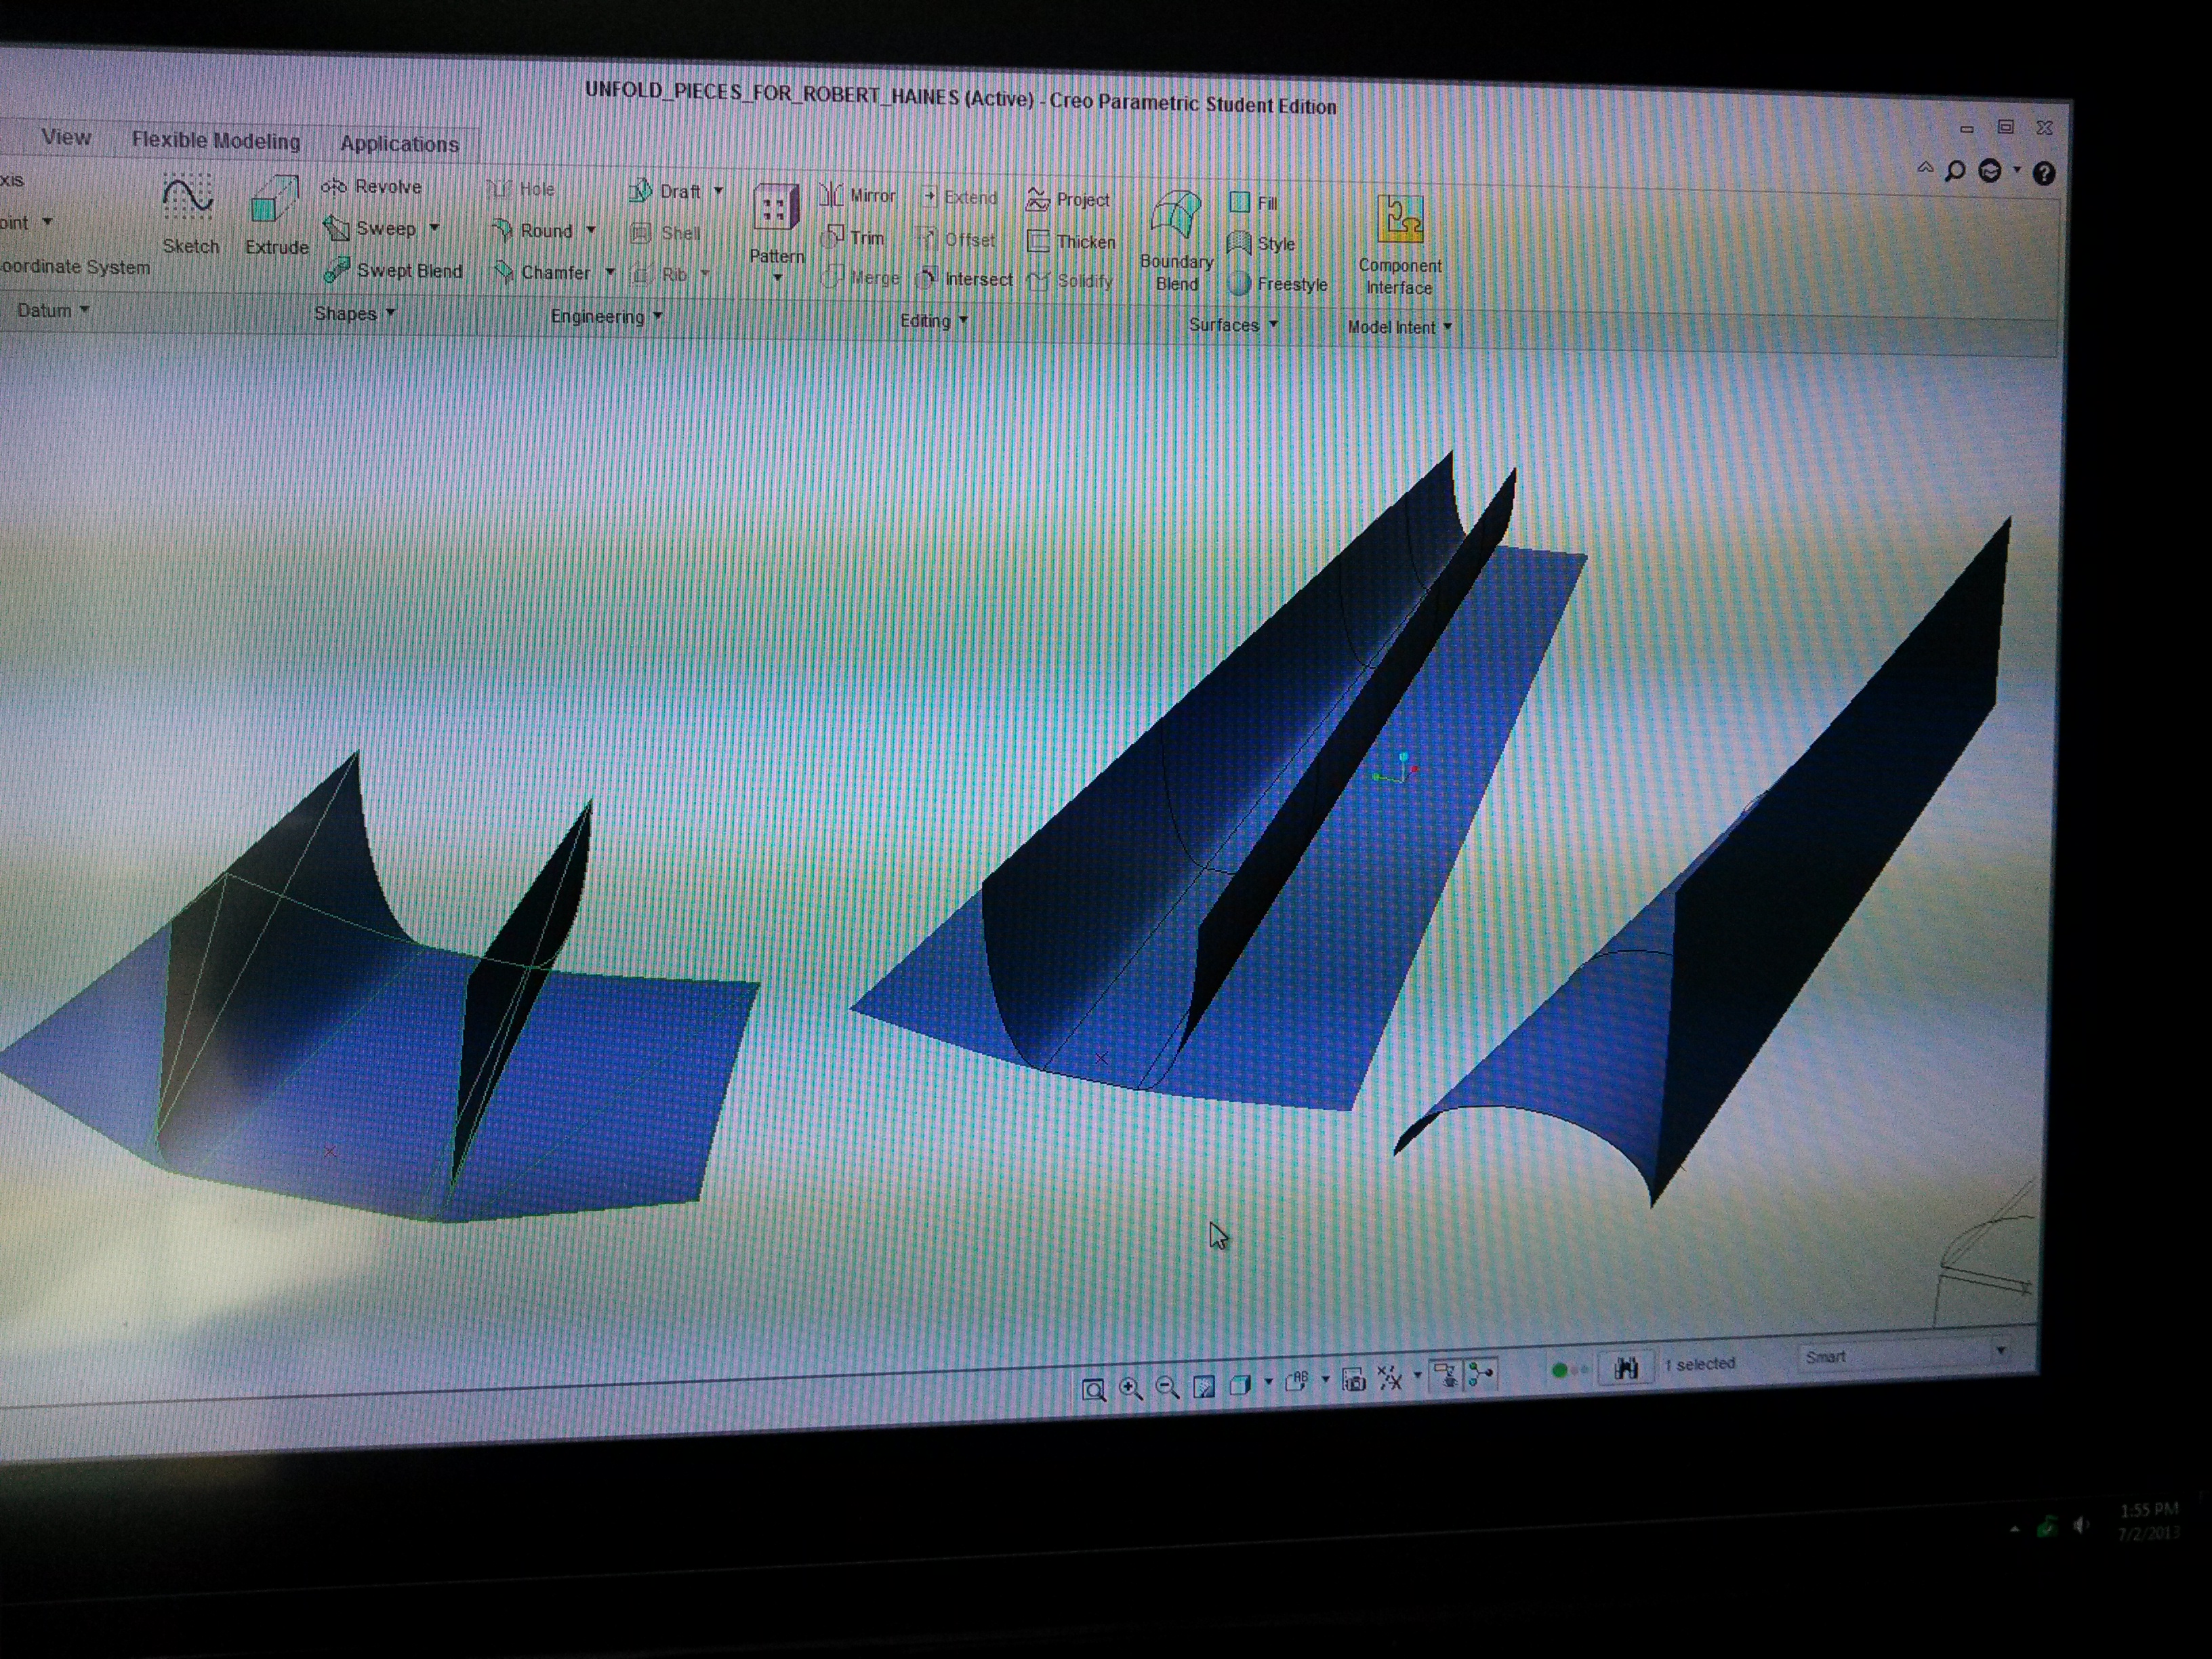
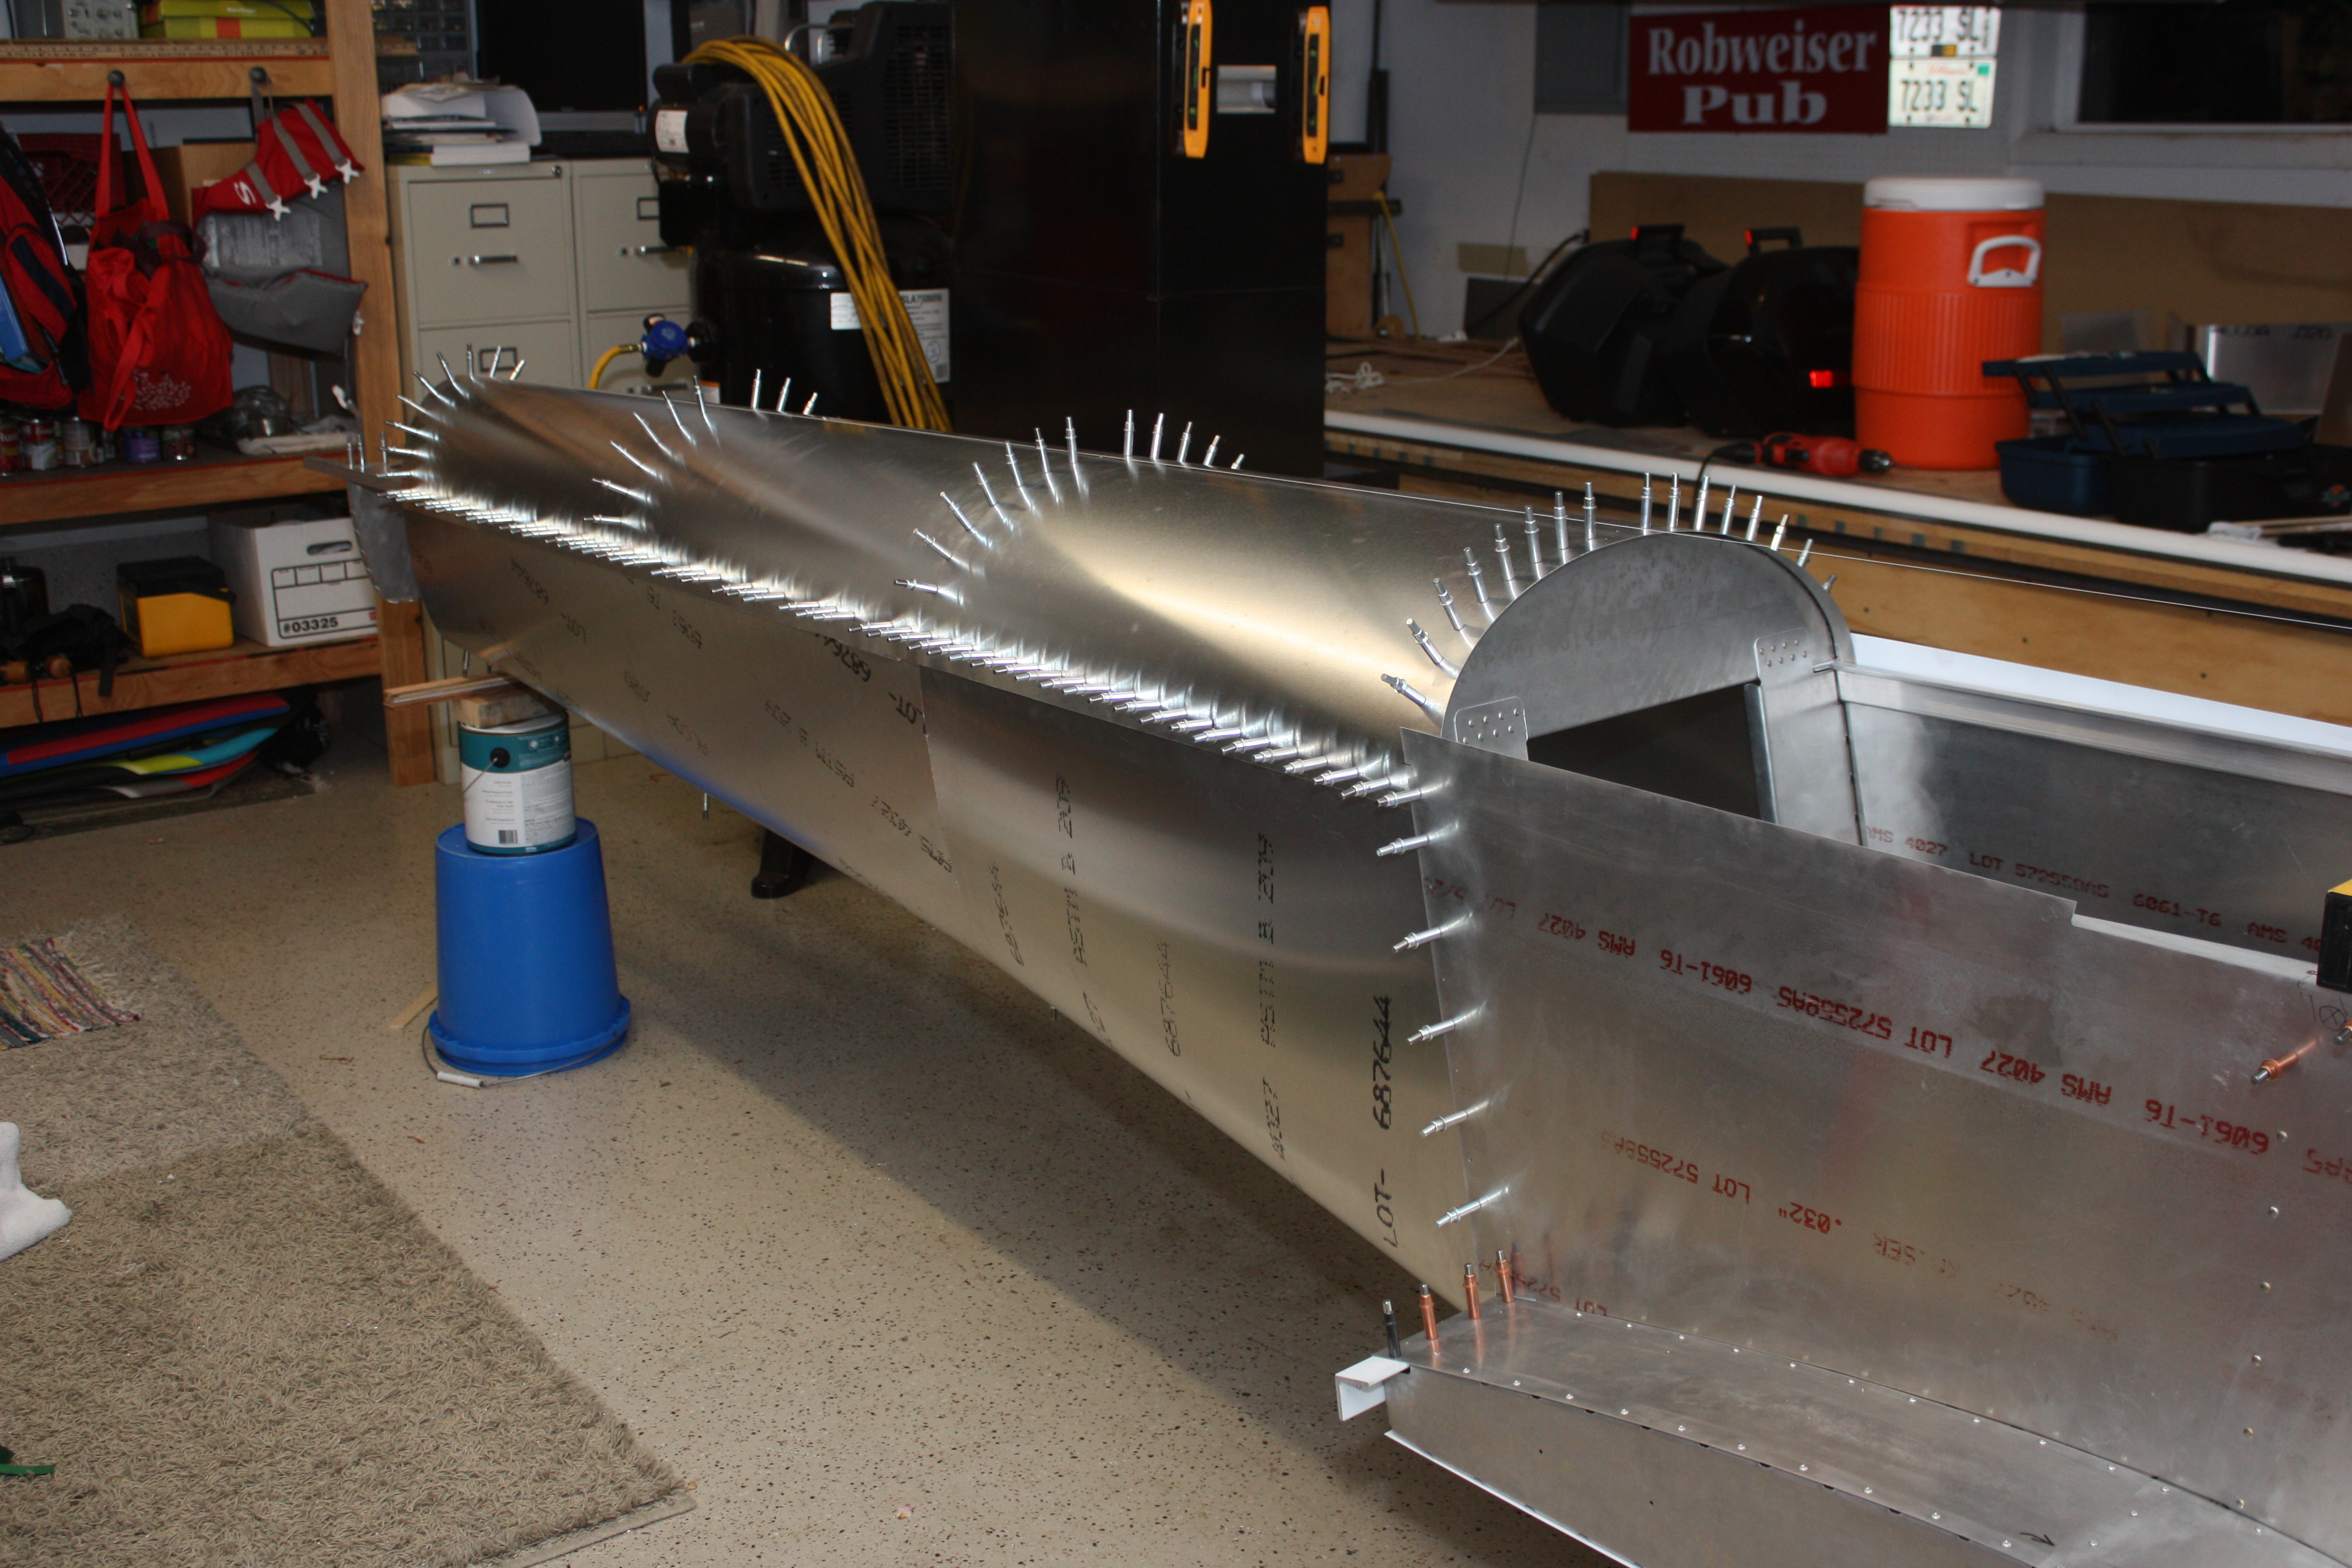
The following picture represents a month of work... I really wanted to cut the rear fuselage skins on the CNC, but they are complex shapes and the geometry is not easy to develop into 2D plans. So I quickly learned Pro-E, created them in 3D, and then unfolded them into 2D plans. Because there is a certain amount of twist, a certain amount of deformation should be expected... so I simply cut them oversize by 3/4 of an inch. In other words, I spent a month trying to get exact shapes only to then oversize them and cut them to fit (I could have saved a month by doing it just like everyone else does. Oh well...)
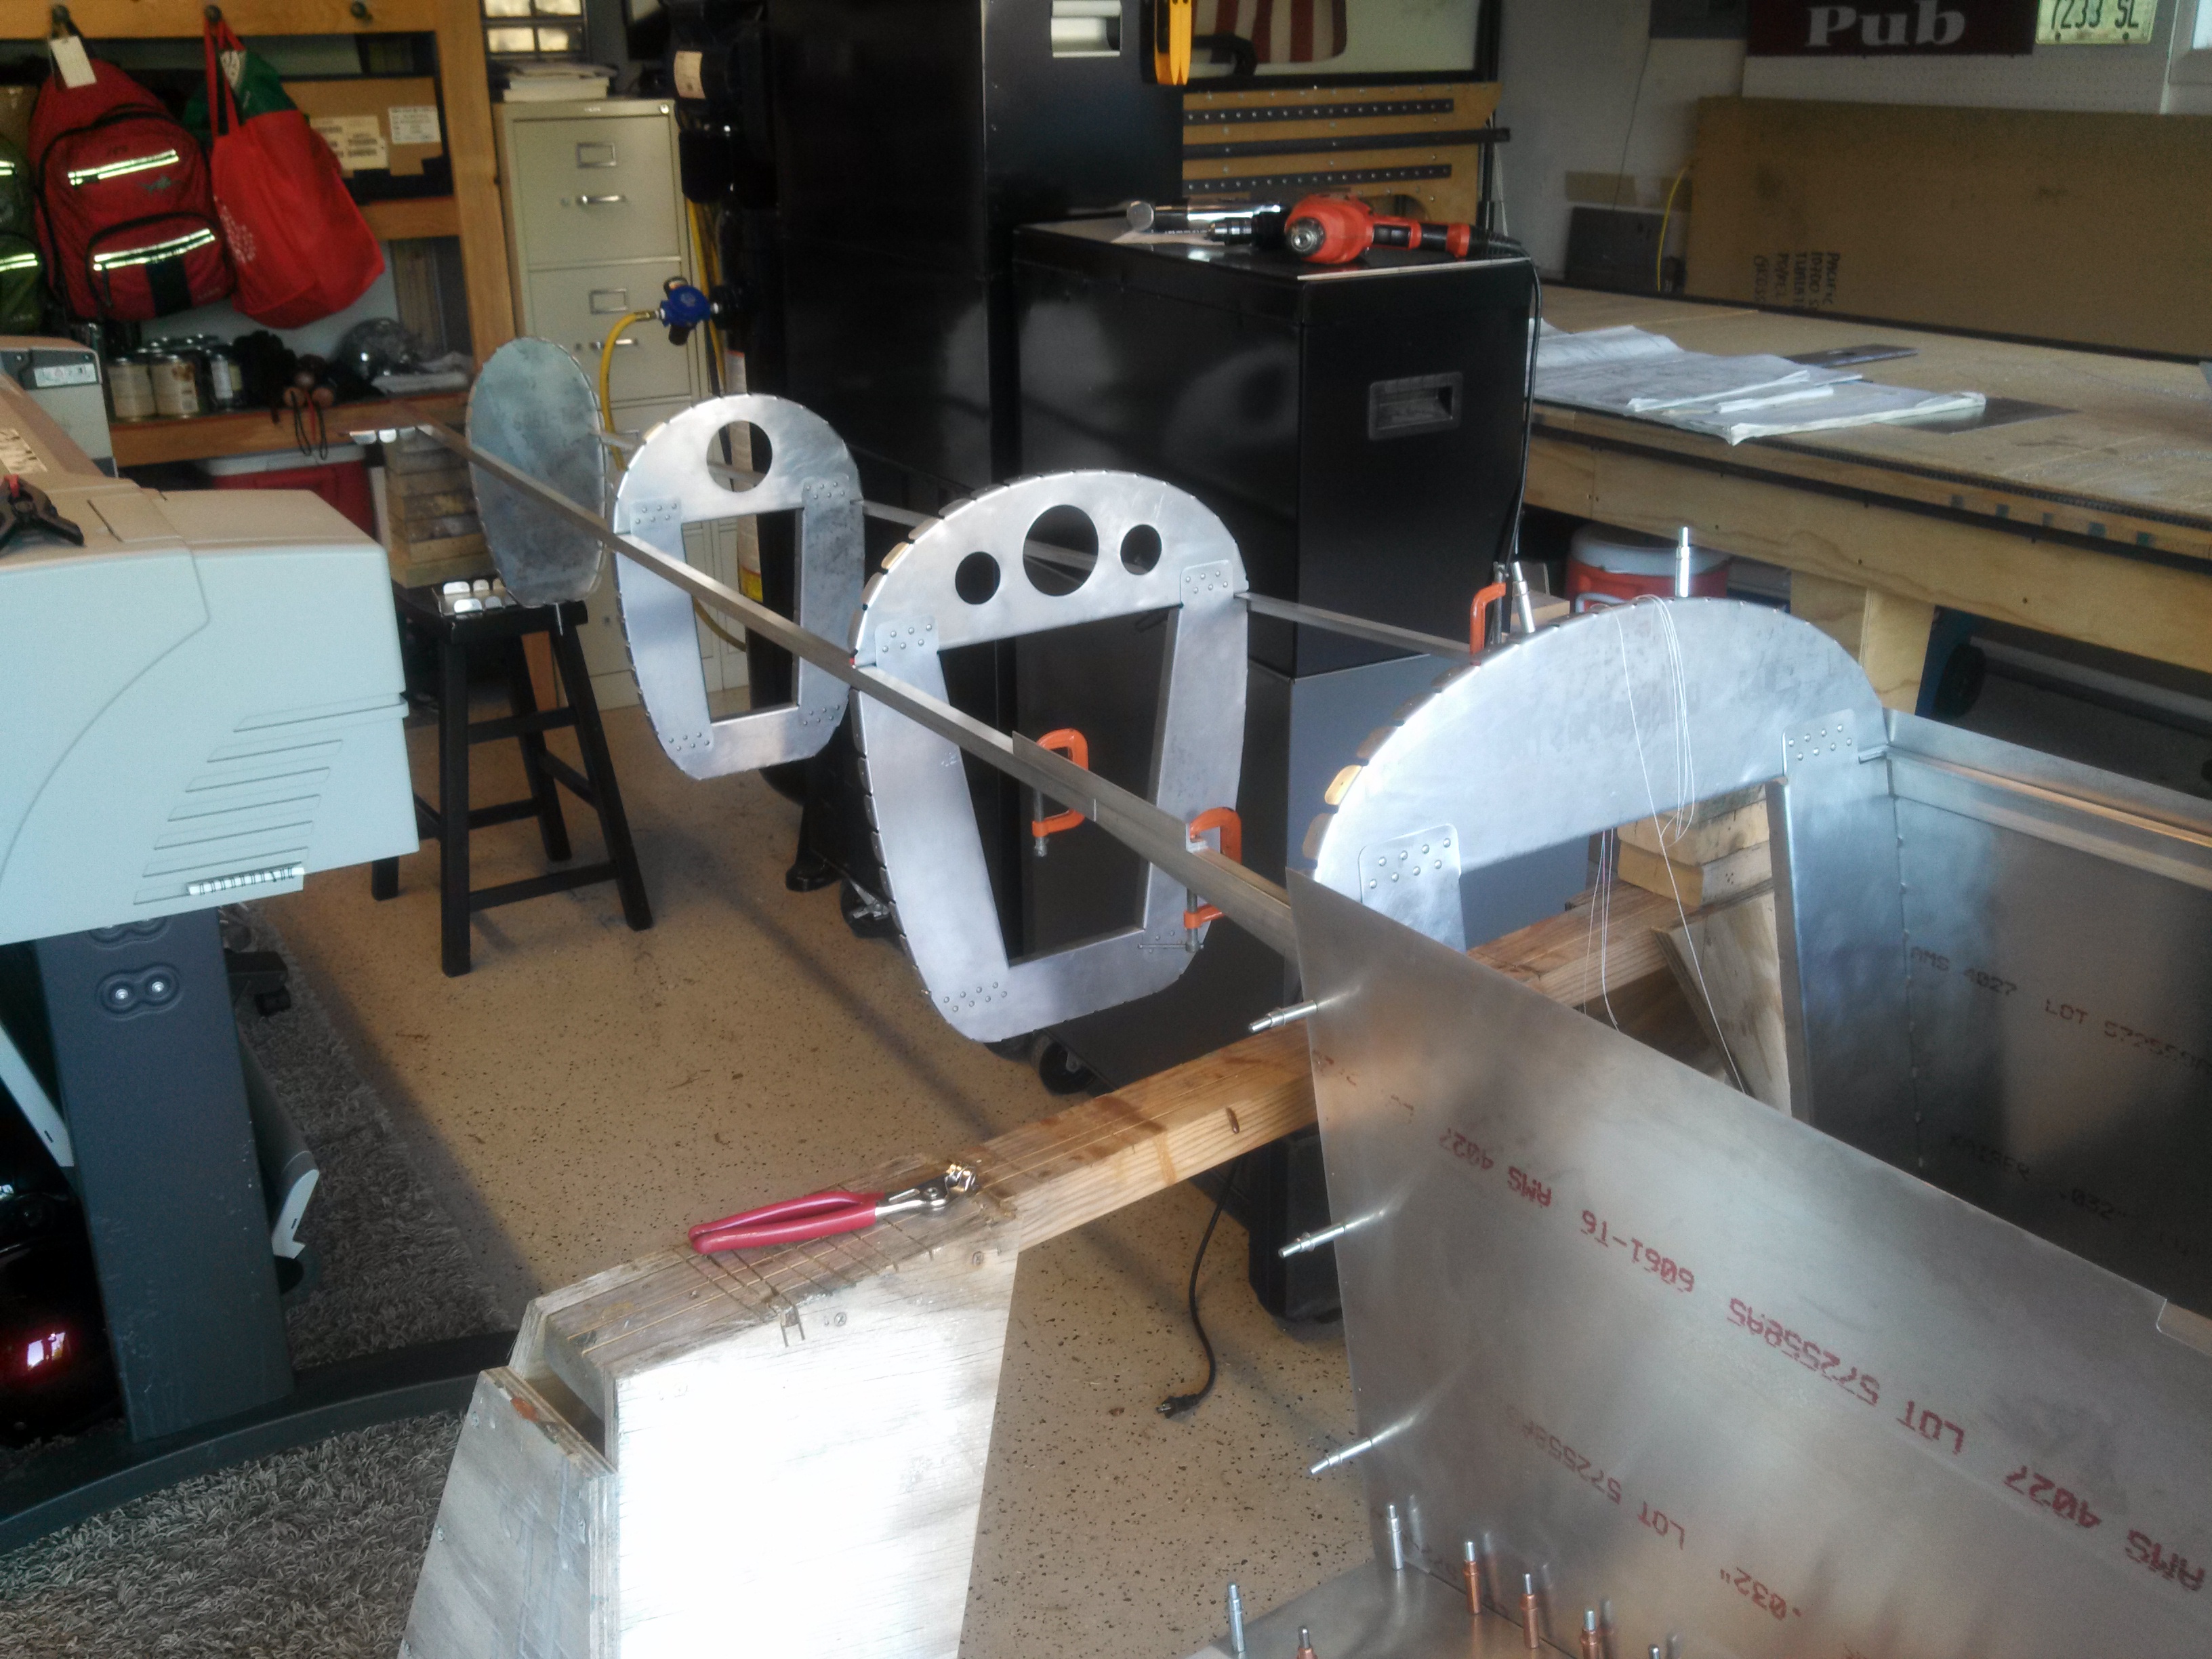
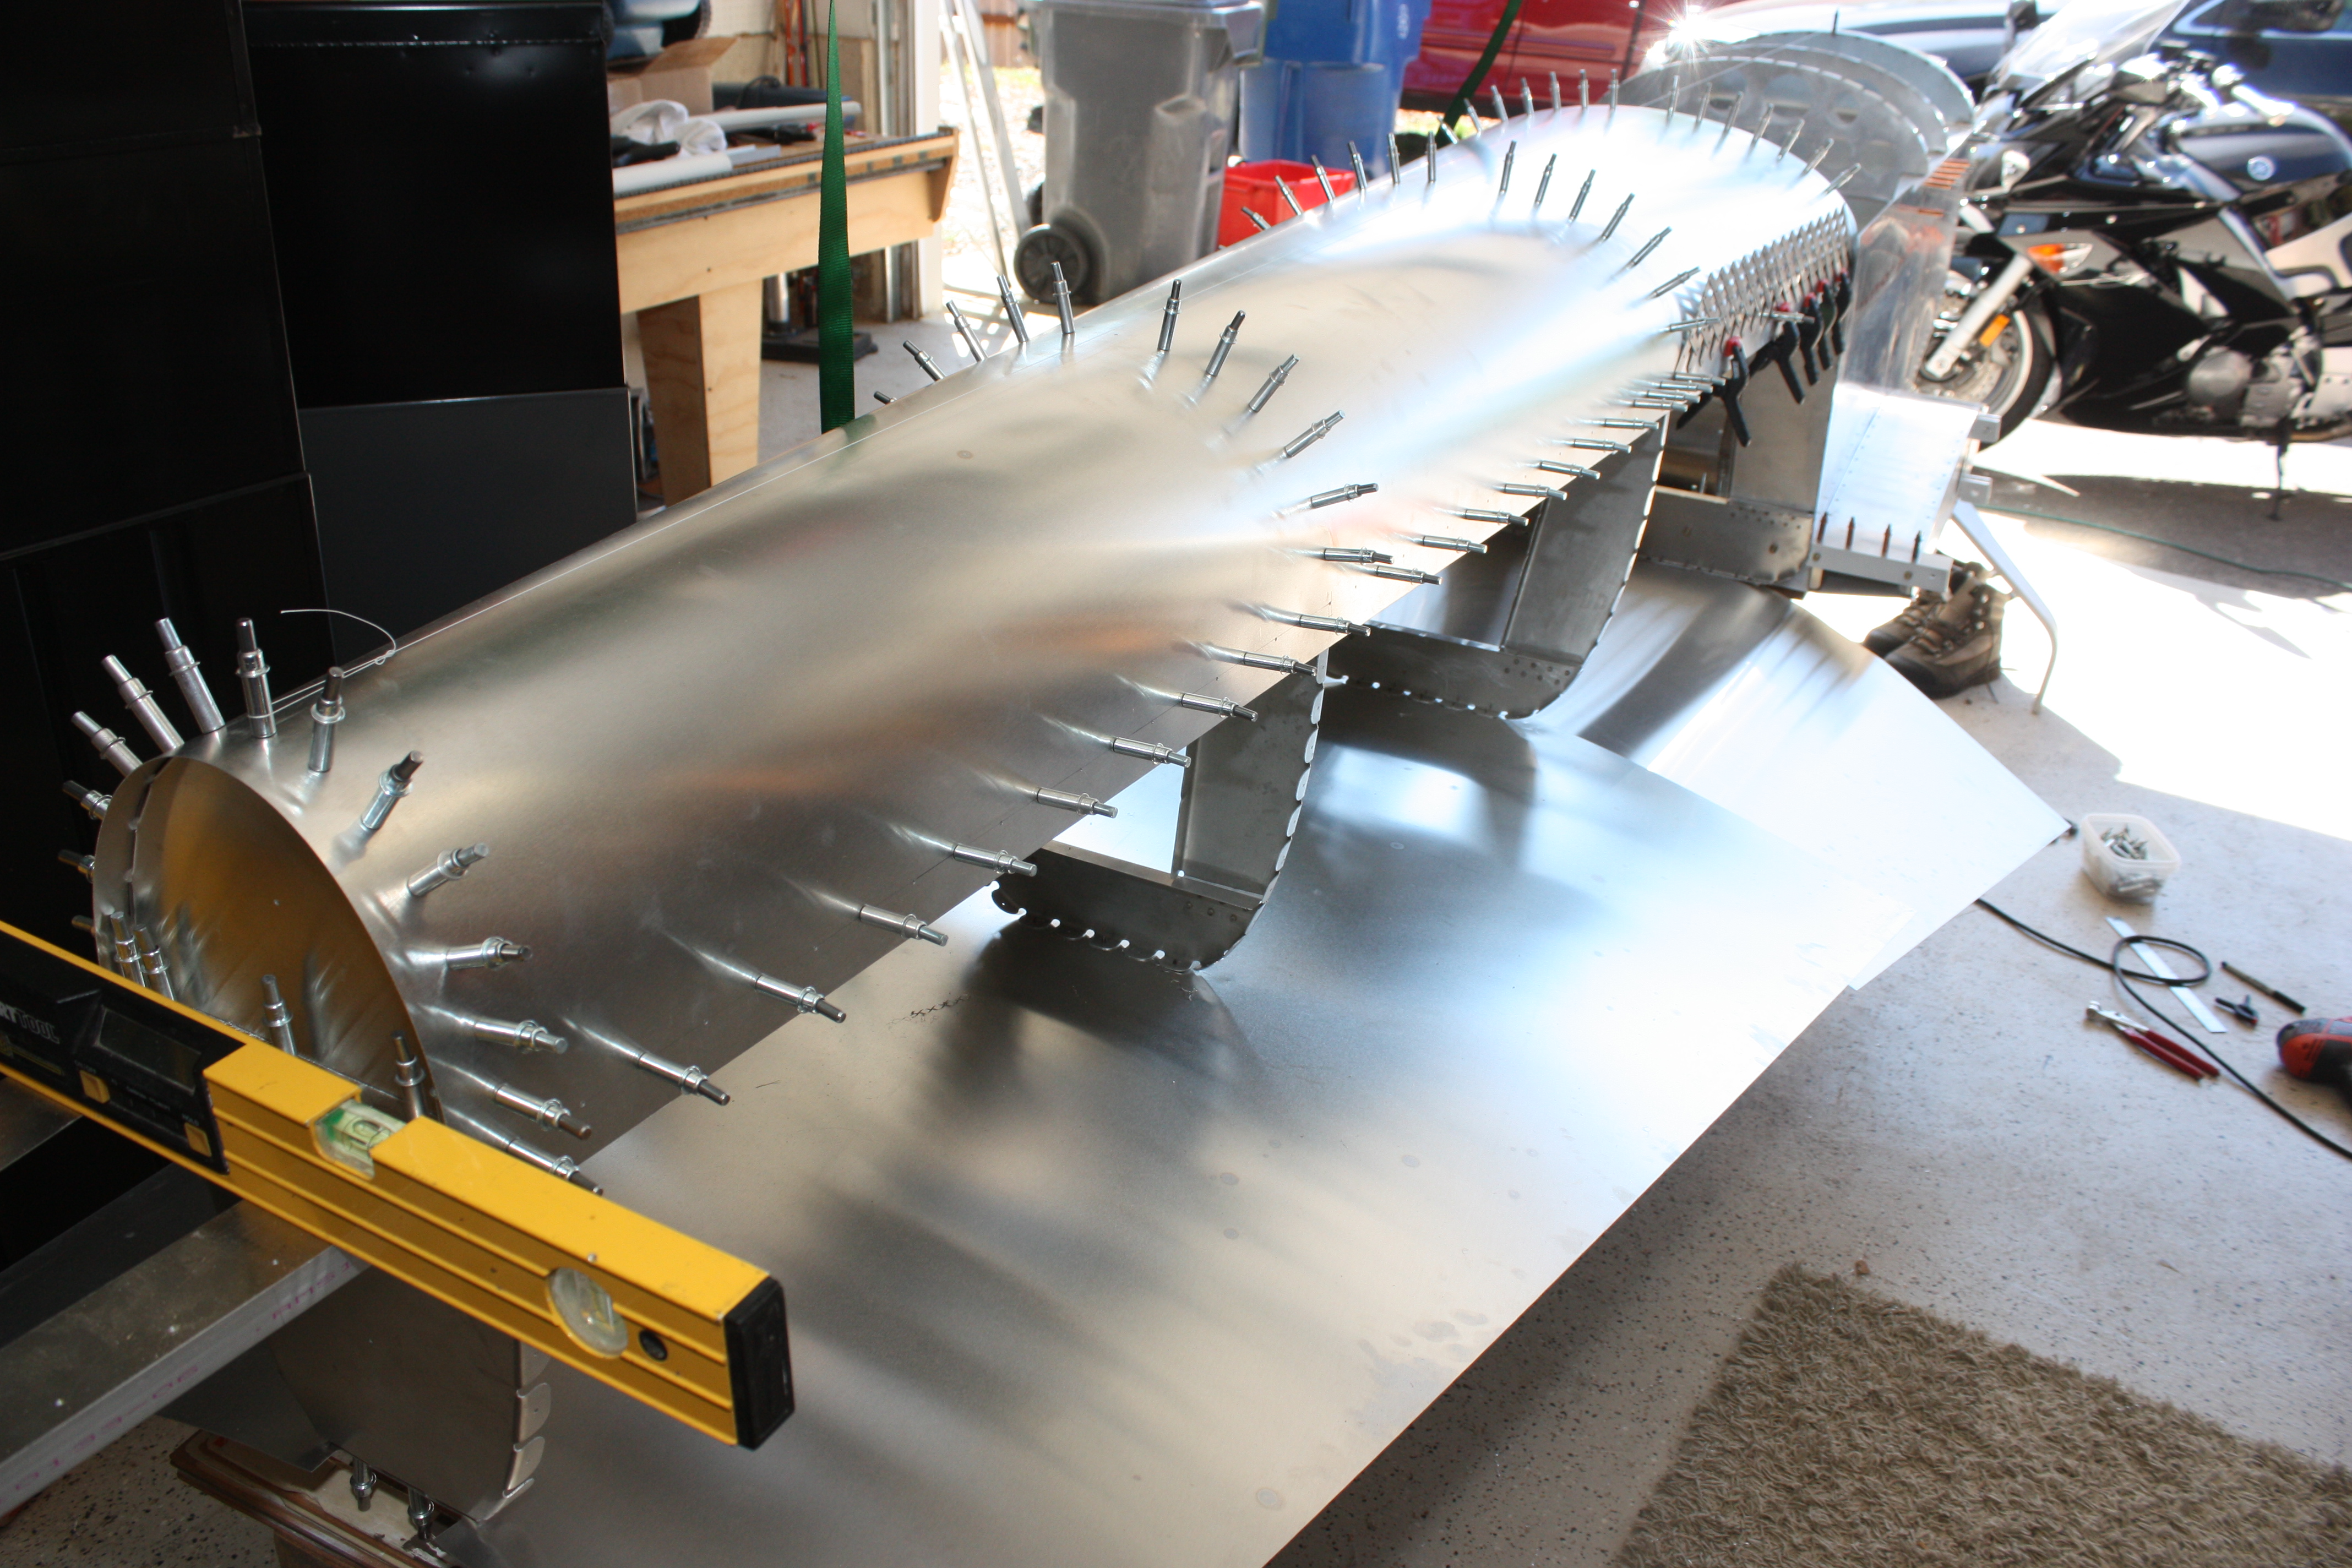
I first drilled the formers into place, and then lined them up and leveled them. At this point, I'm using my digital level to get the forward fuselage level, and a water level to get the front and back level. The string shows that I have the whole thing straight:
This nice thing about cutting the skins on the CNC is that I can predrill a few holes where the formers should go. This is crucial in assuring that formers are located properly.
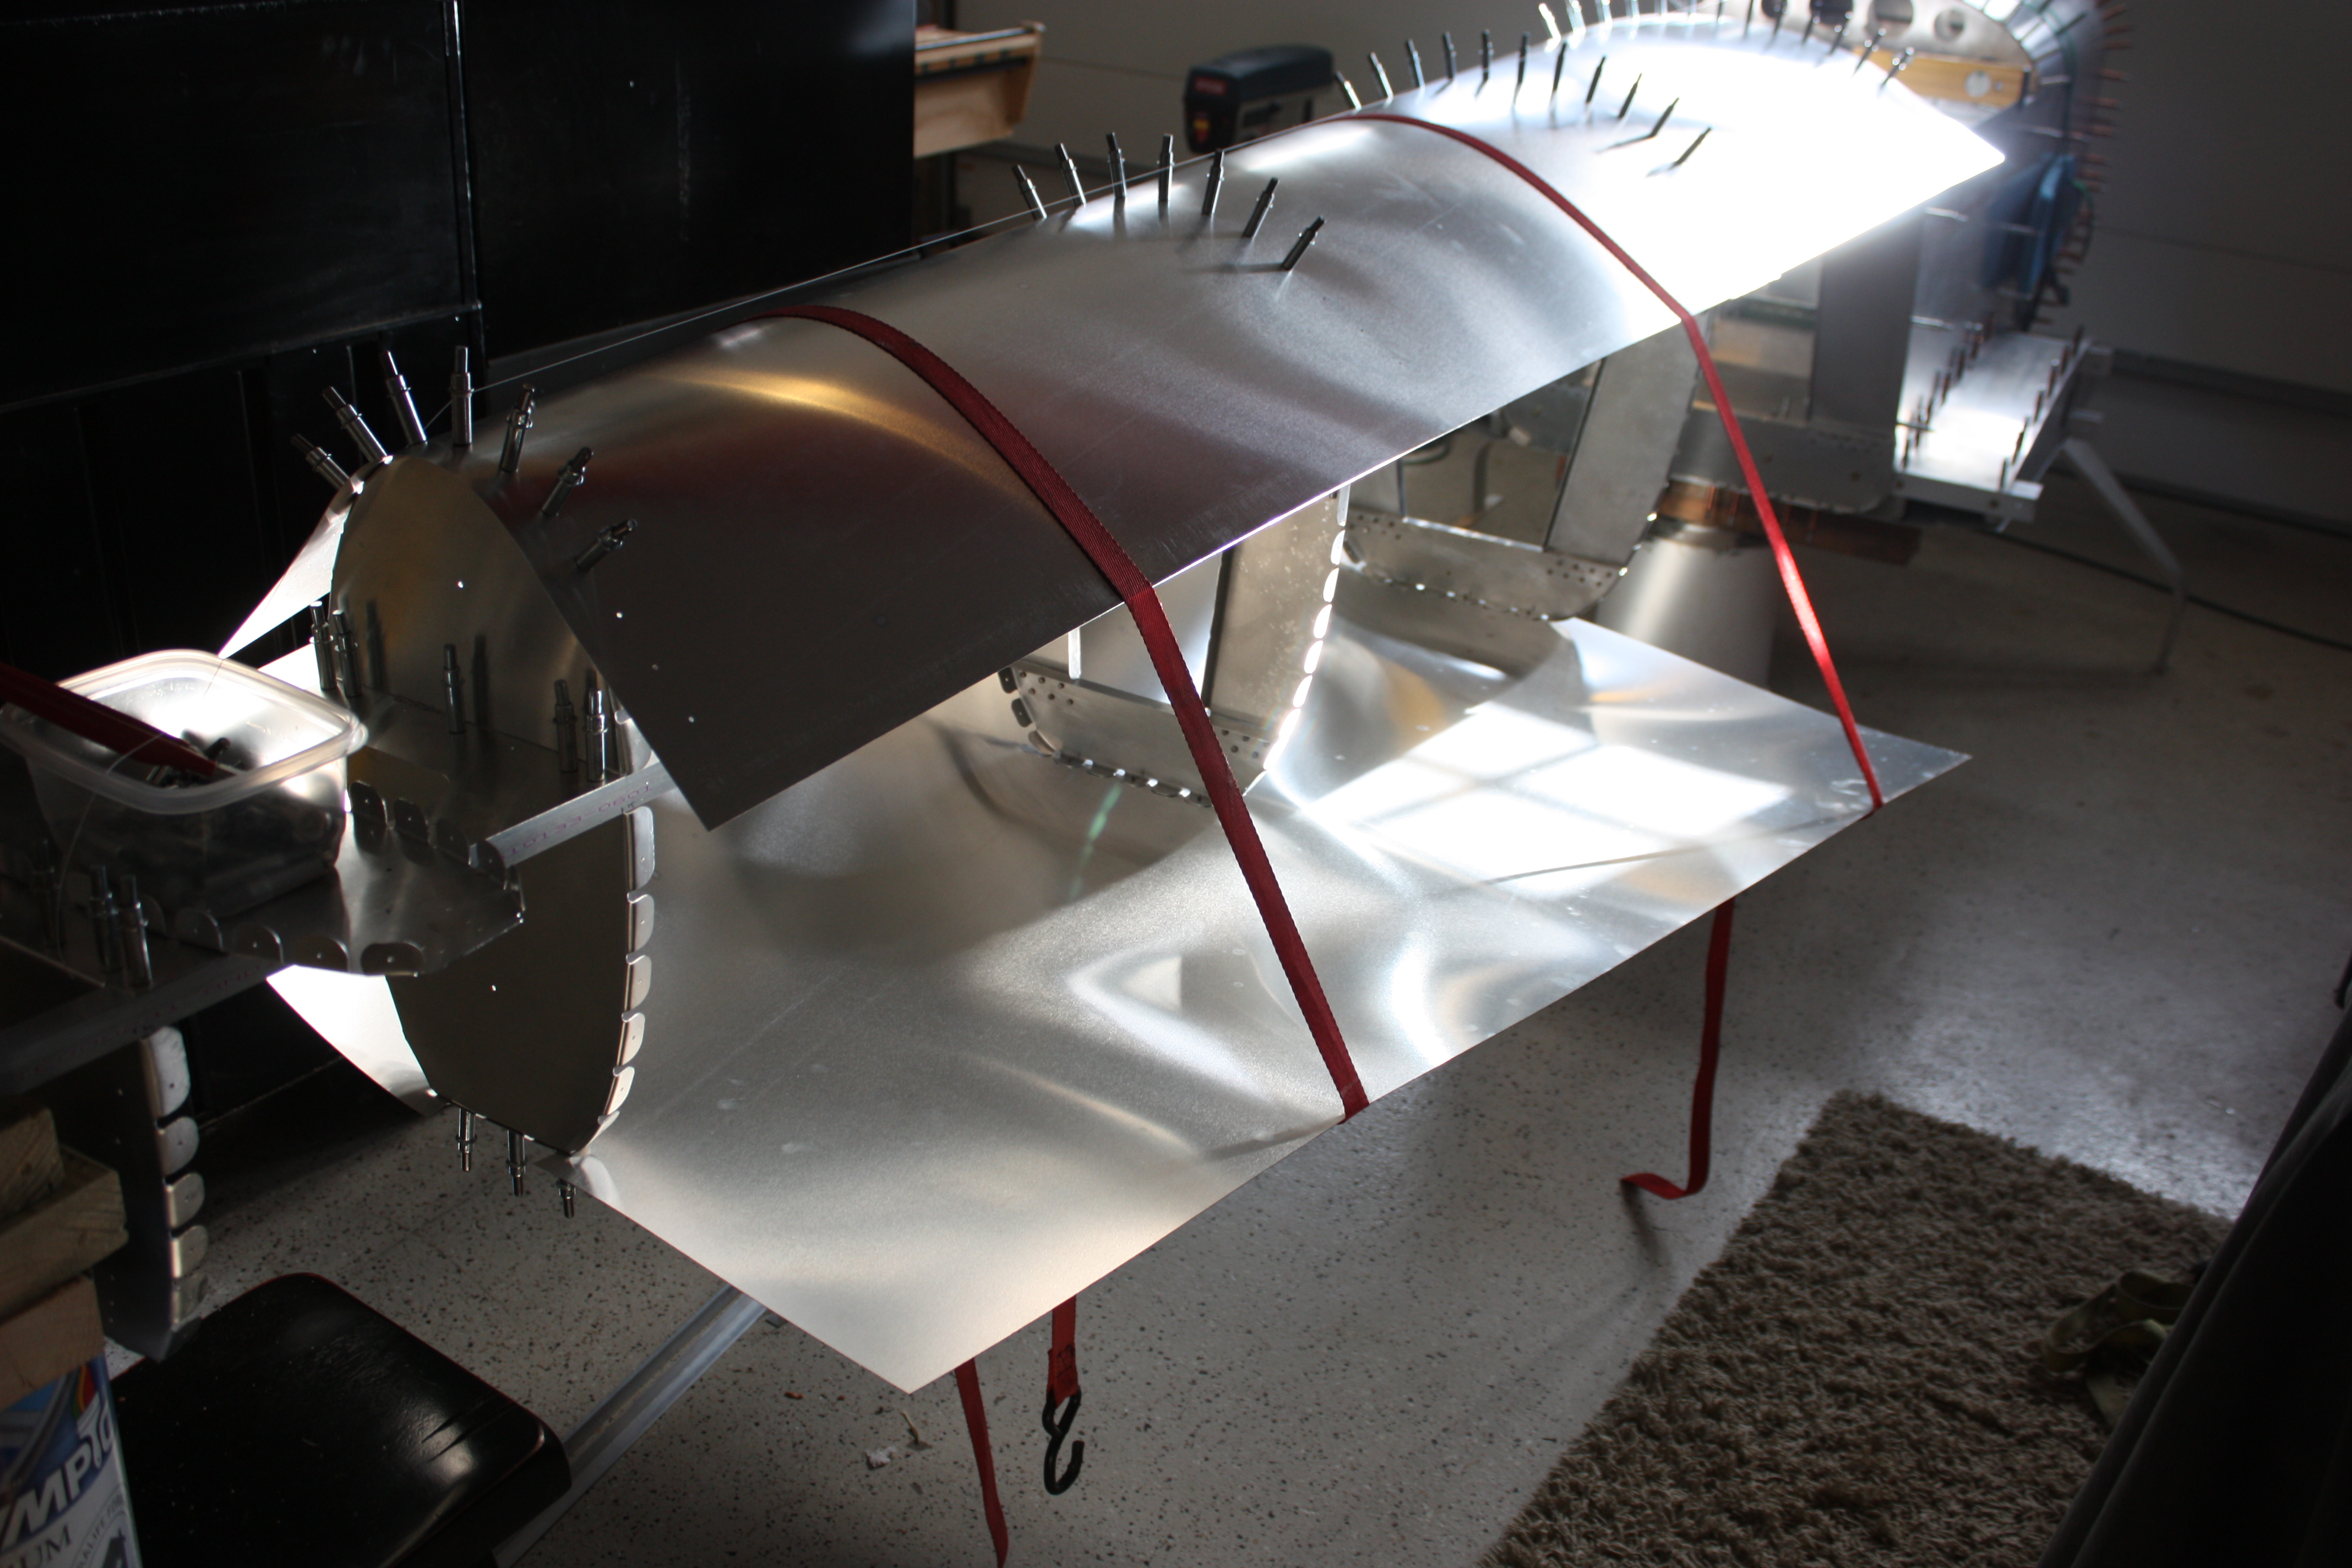
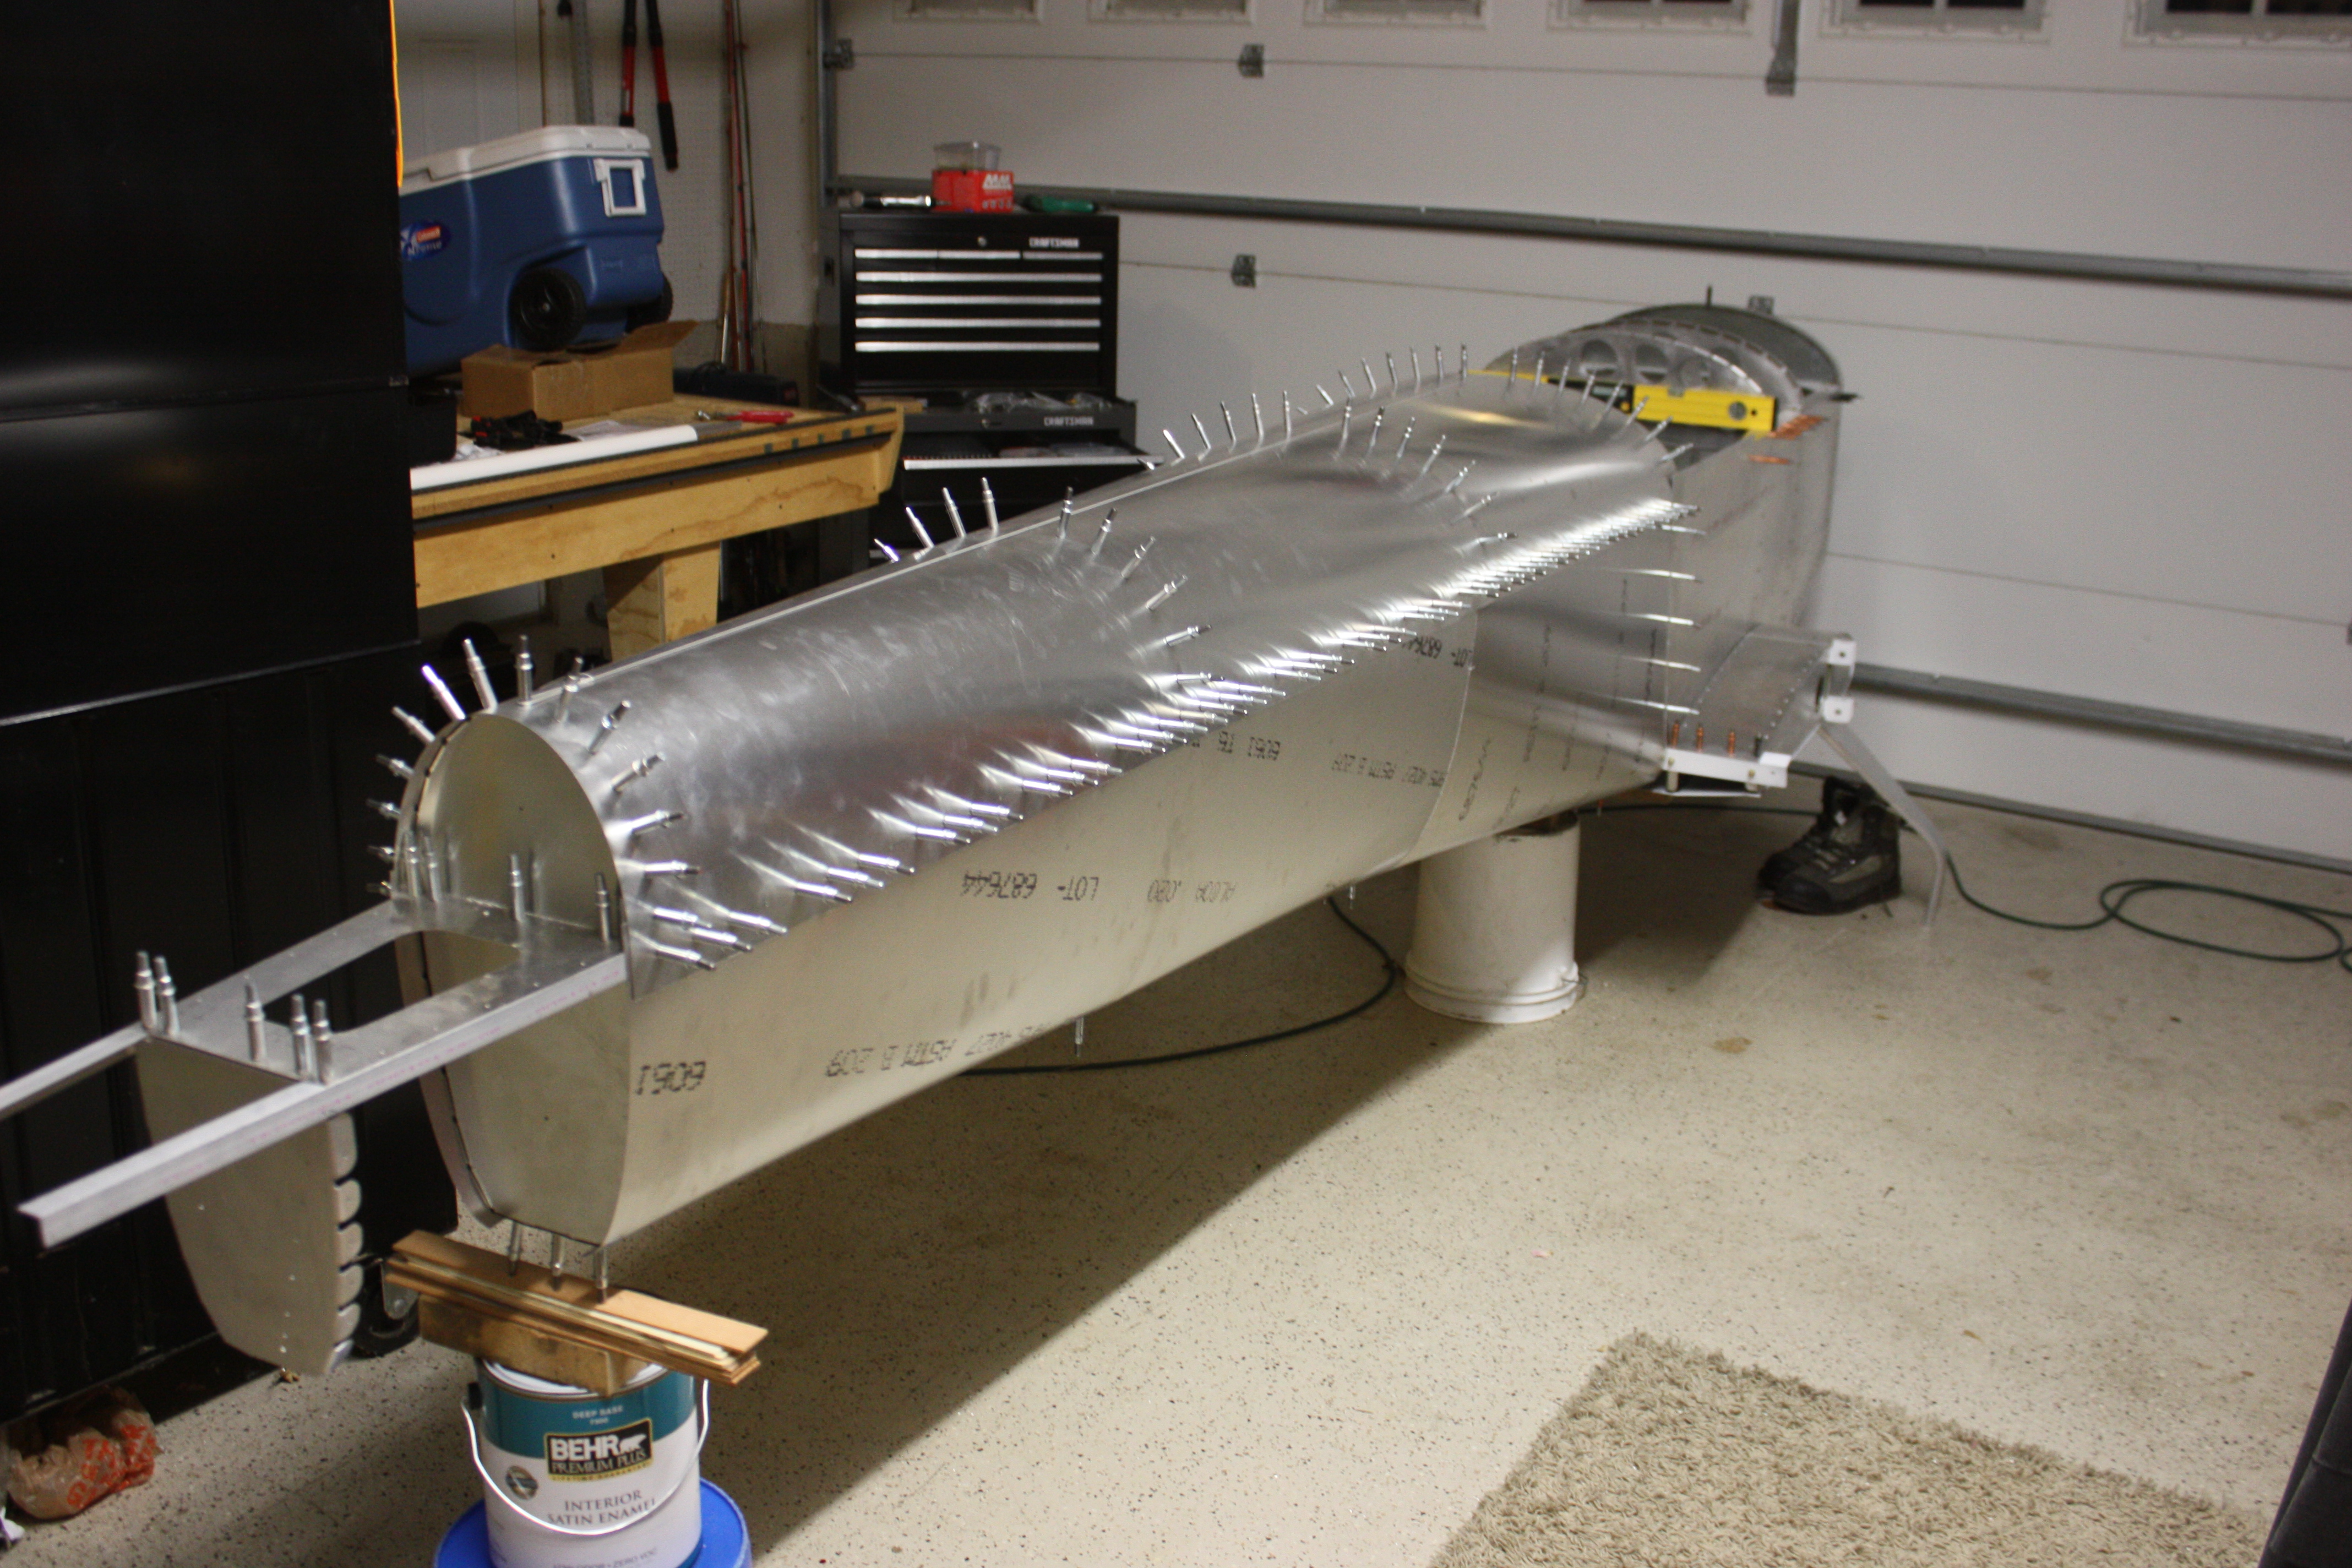
I have cut the top skin as one piece to extend all the way back to the tail, so once it's in place, I know that the rear fuselage is correct. So this is the first skin to be located.
Also worth mentioning is the large quantity of time I spent trying to figure out a method to get my rear skins drilled. Since I predrilled the formers, I would need access to the interior to match drill the skins if all the skins are in place. I thought about doing the top first, removing it, and then drilling the bottom skin... but most likely I would have holes on the top and bottom skins that would not line up (either the top is correct to the longeron, or the bottom, but not both). However, if all of the skins are in place, I would need to be one foot tall to be inside the rear fuselage to drill from the inside out.
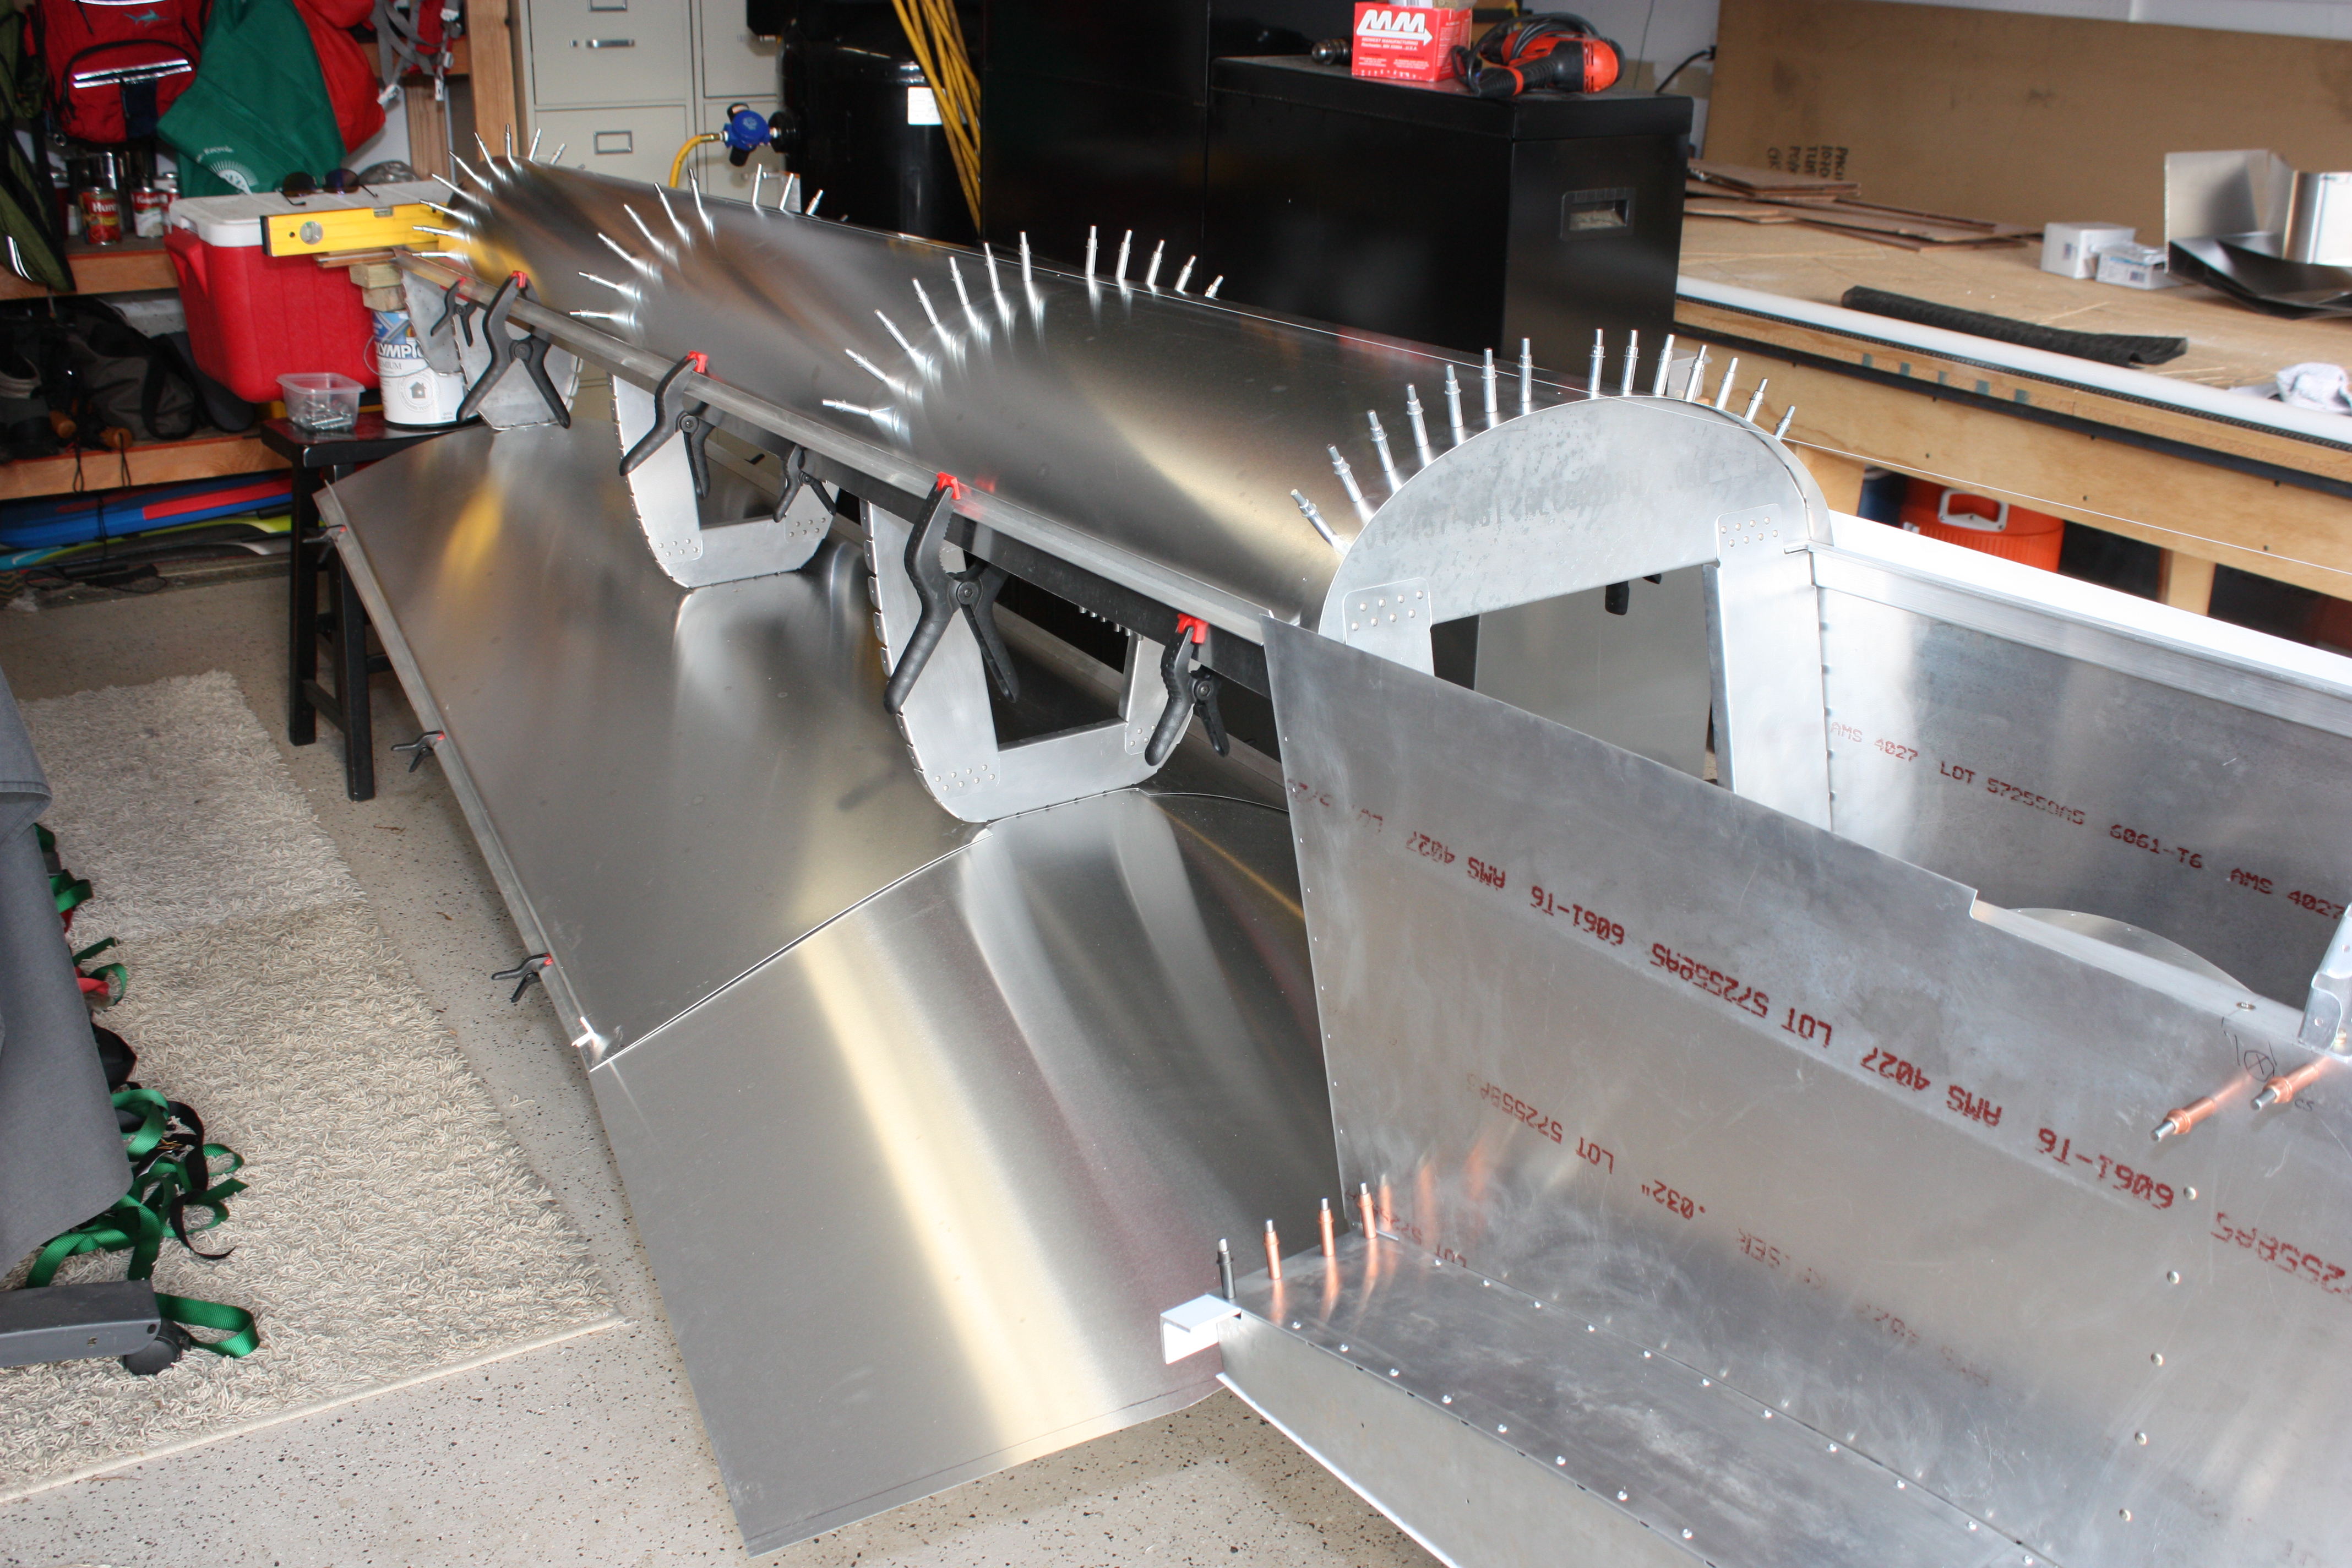
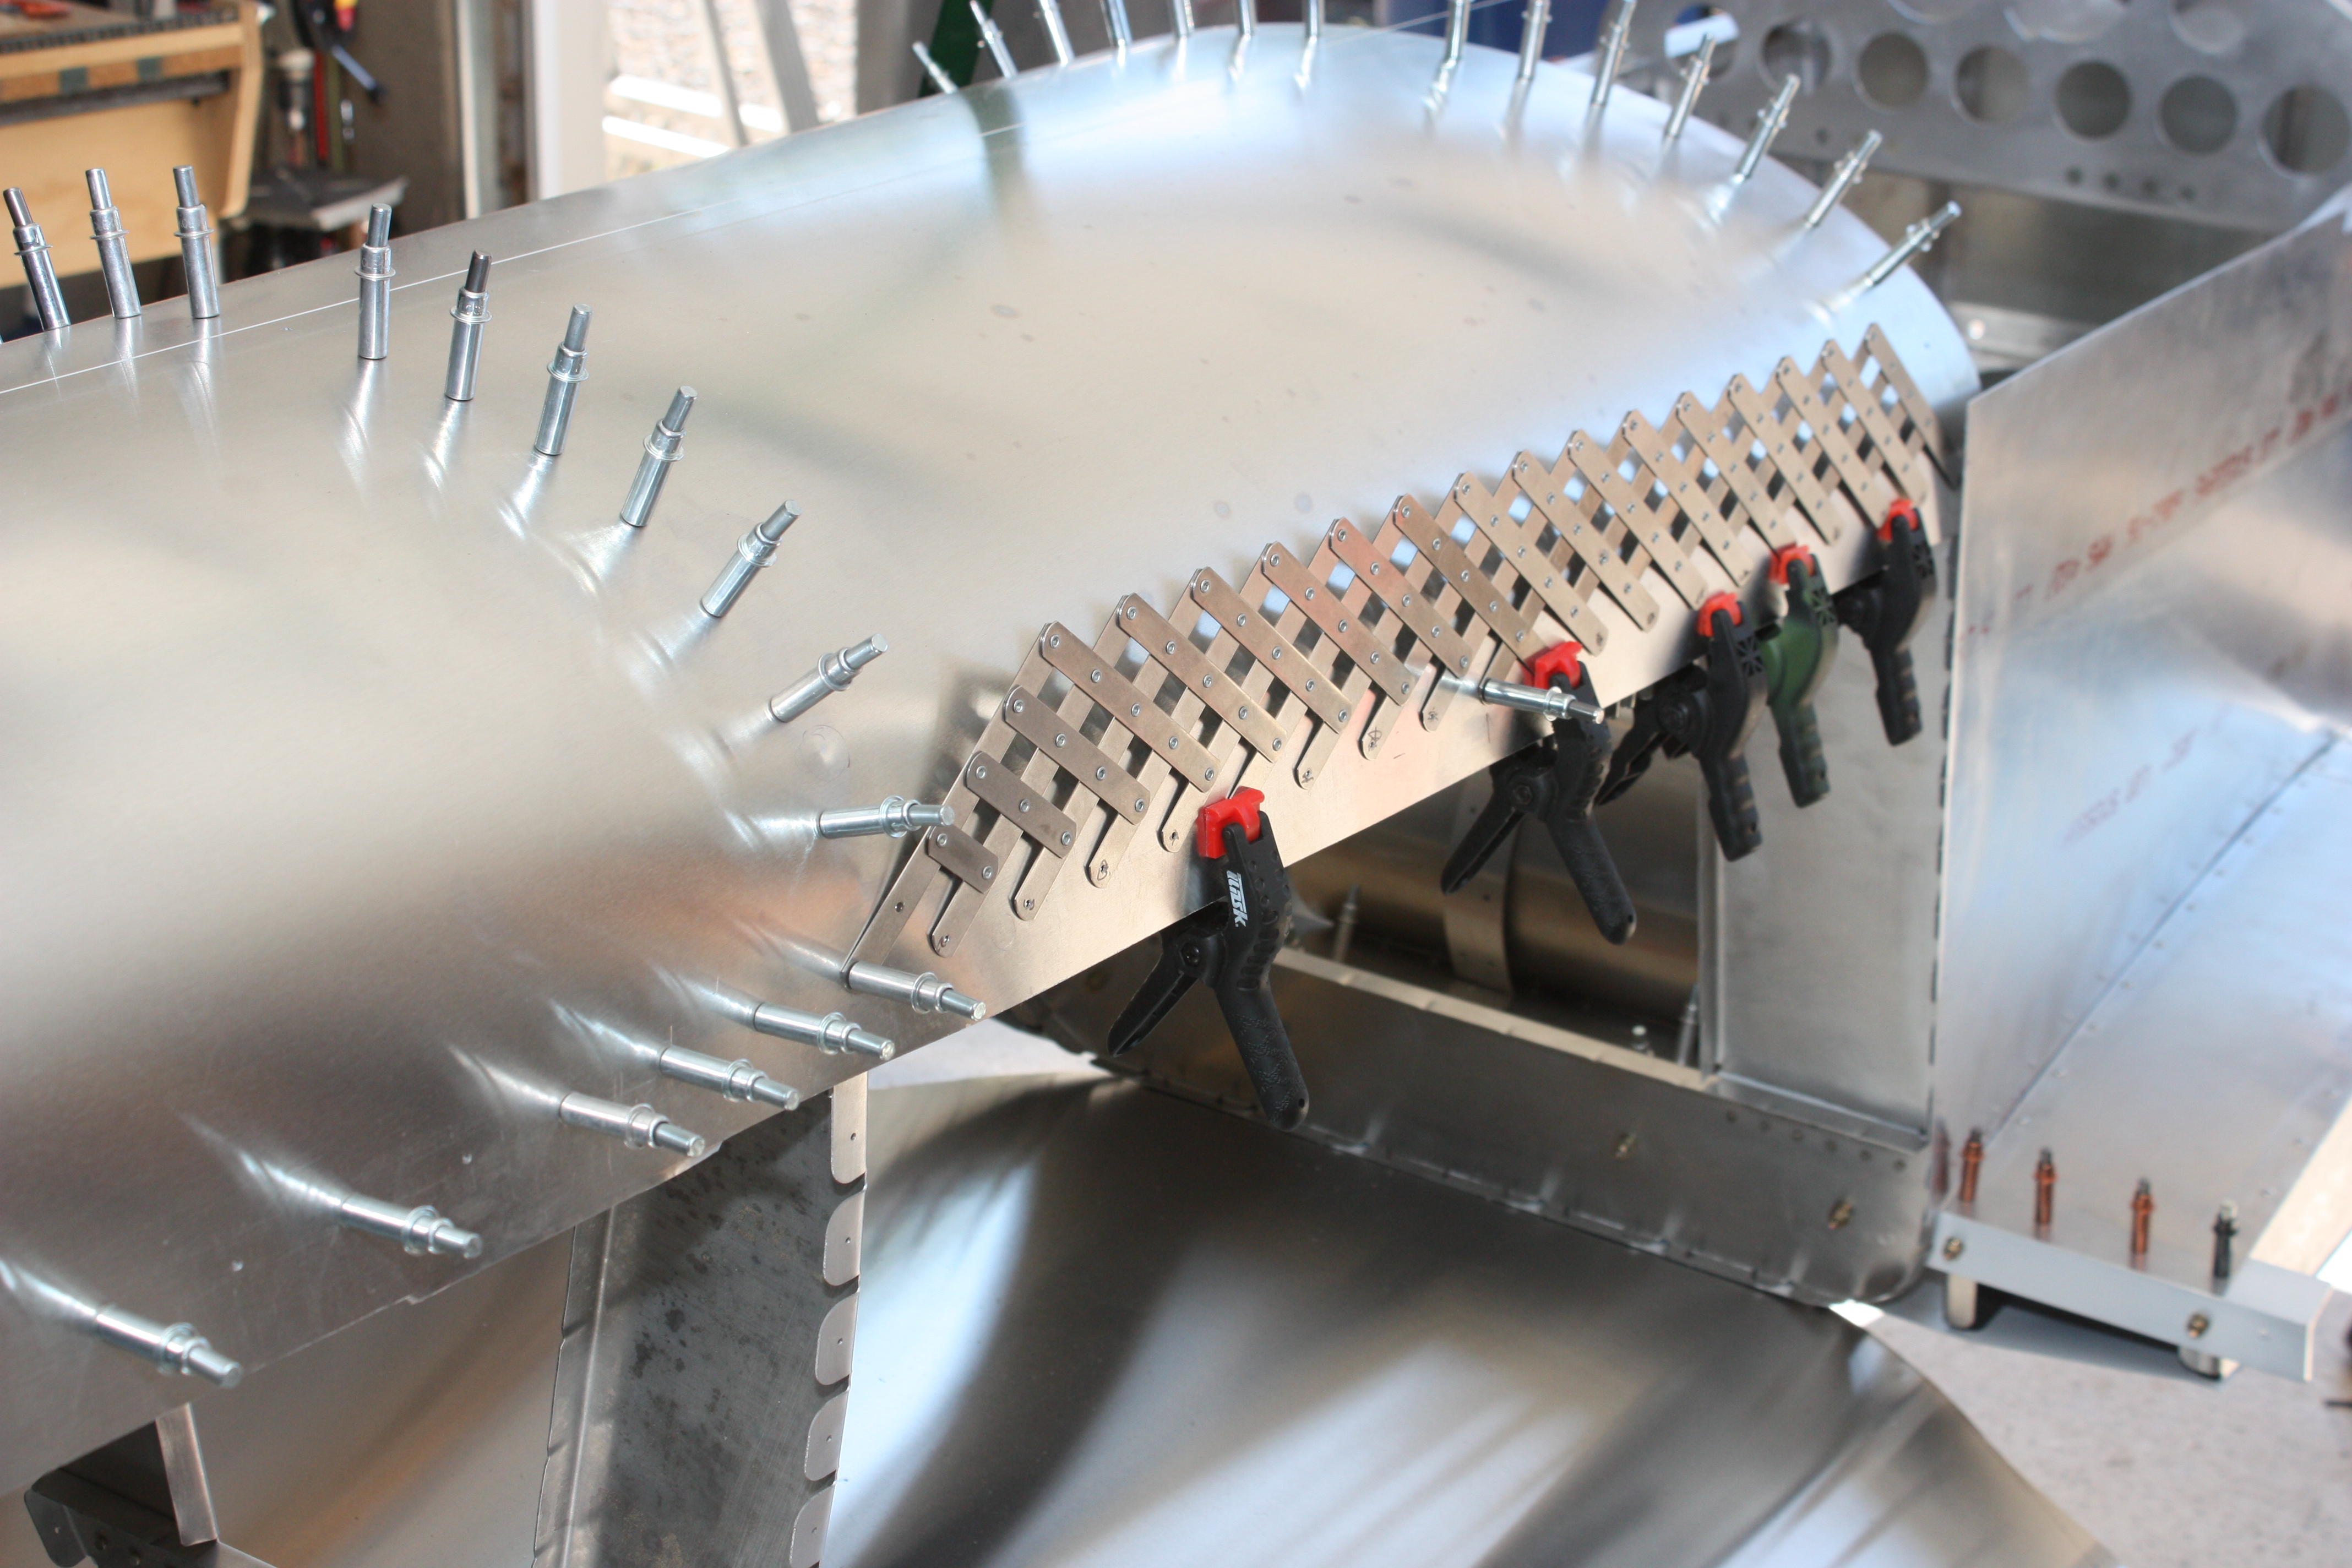
The method I selected is to drill the top skin to the formers and longerons, then tuck the bottom skin under the top skin and match drill it along the longeron. Later, I can remove the top skin, Cleco the bottom skin to the longeron, and finish drilling it to the formers.
Below you can see the top skin being drilled, the bottom skins are holding the formers exactly in place:
Once I had the formers drilled, I worked on the longeron:
With a CNC, I rarely use this drill guide... but you have to have one in your tool box, it is just too awesome:
Like I noted above, after I got the top skin drilled, I tucked the bottom under and matched-drilled:
So very sweet:
November 2013
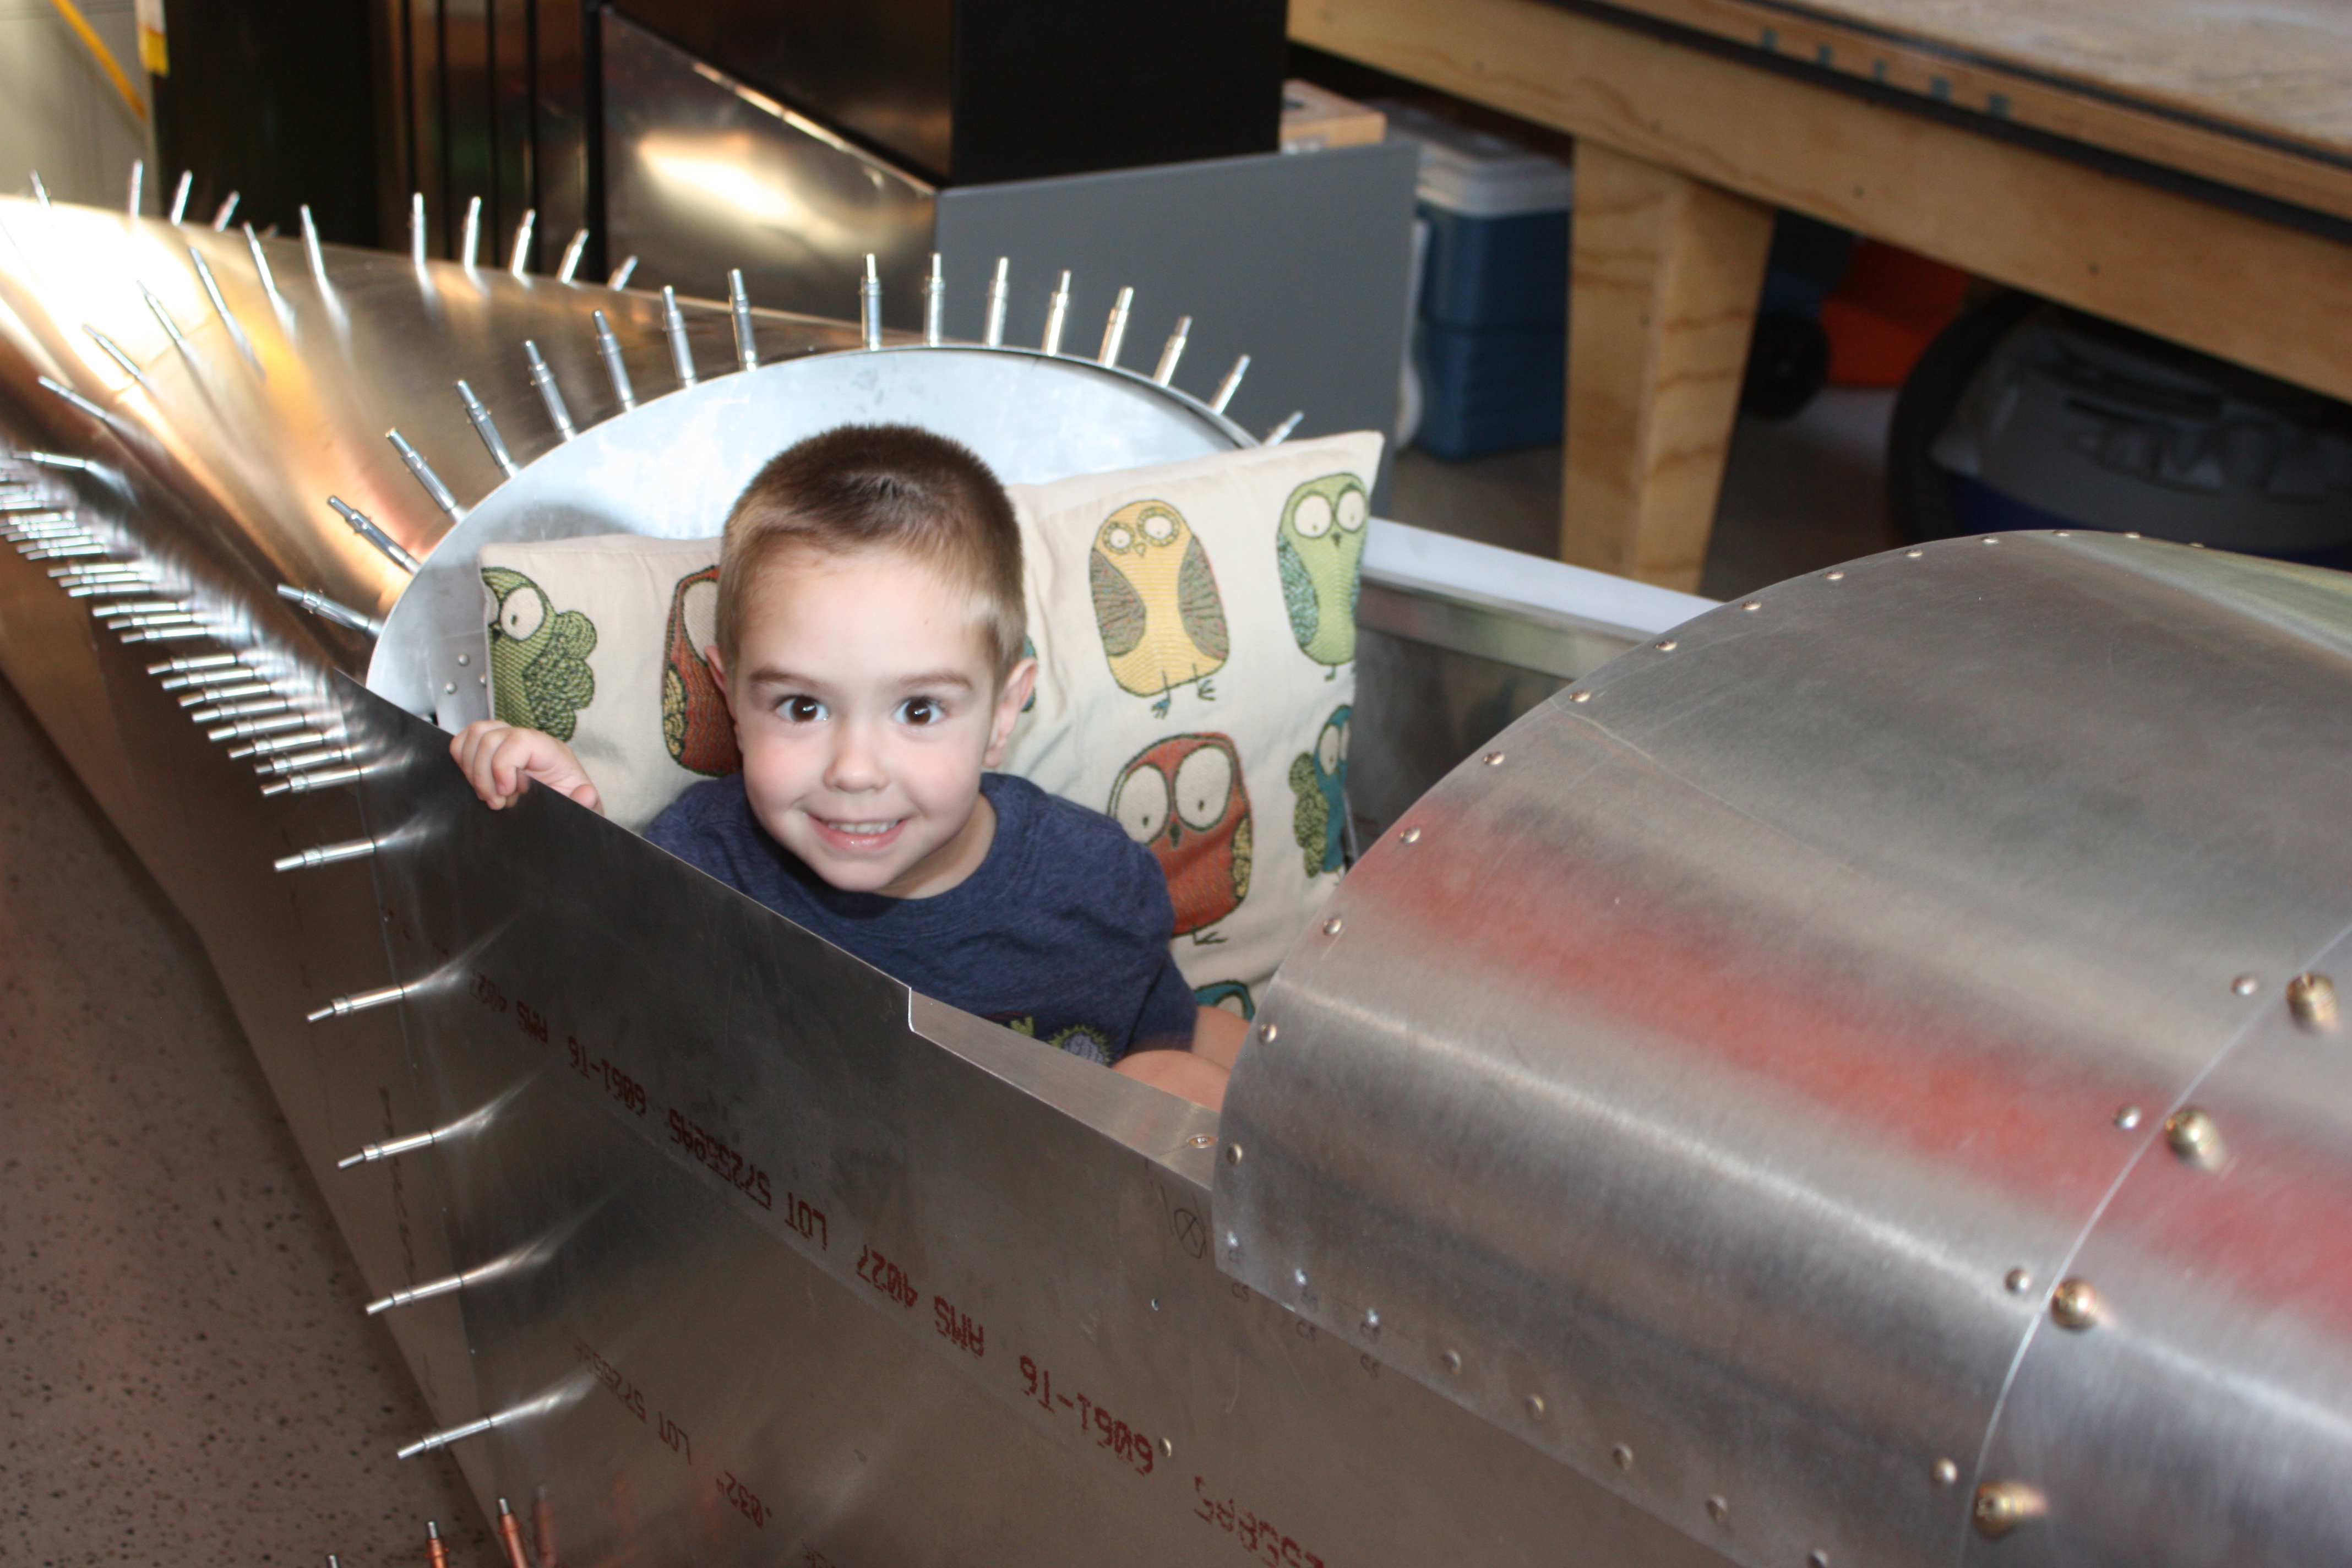
To finish the tail section, I had to fabricate the last lower skin. Since this is made out of 0.032" aluminum and it has the tightest curves of all of the skins, I needed to work this one a little to get it to fit. My first step was to set it in the slip roll and tighten down the rollers to press a bit of a curve. I didn't really roll it much, just mashed it down with the slip roll adjustment screws:
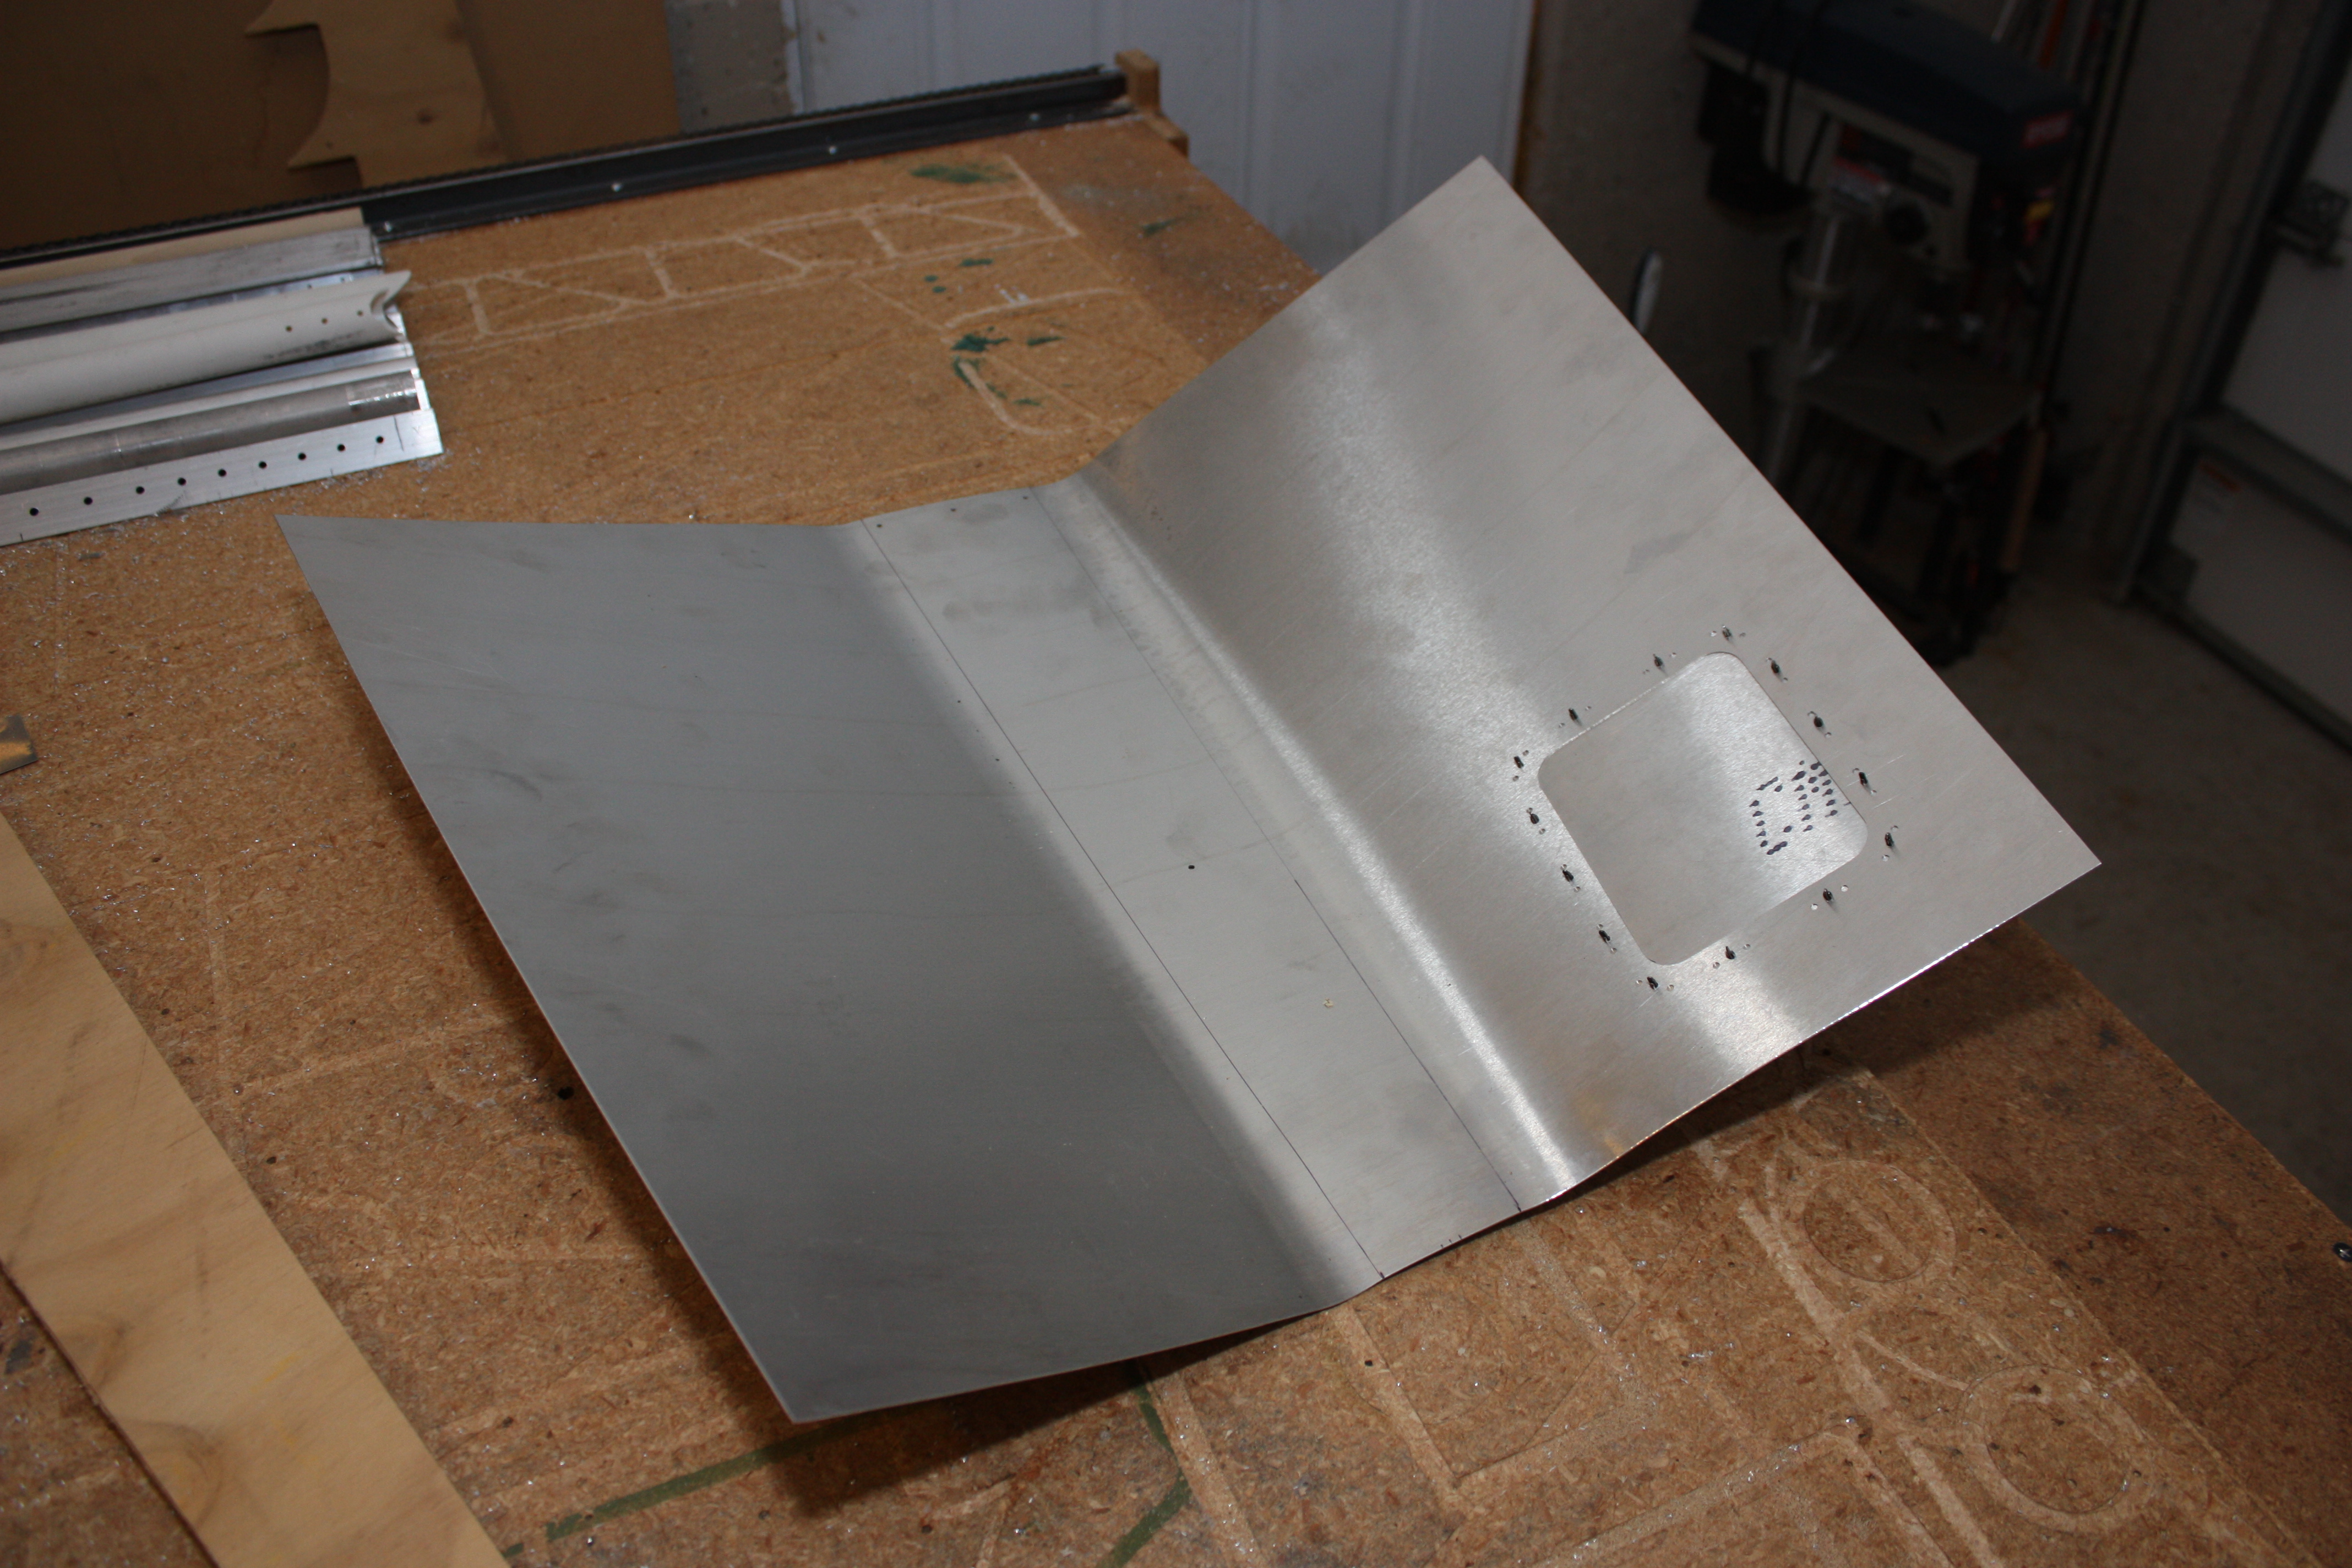
For the next step I created a plywood form with a radiused edge and screwed it all down on my table. After hand bending, and I used a broom stick to evenly pull the edge over, I had the rough curve I wanted:
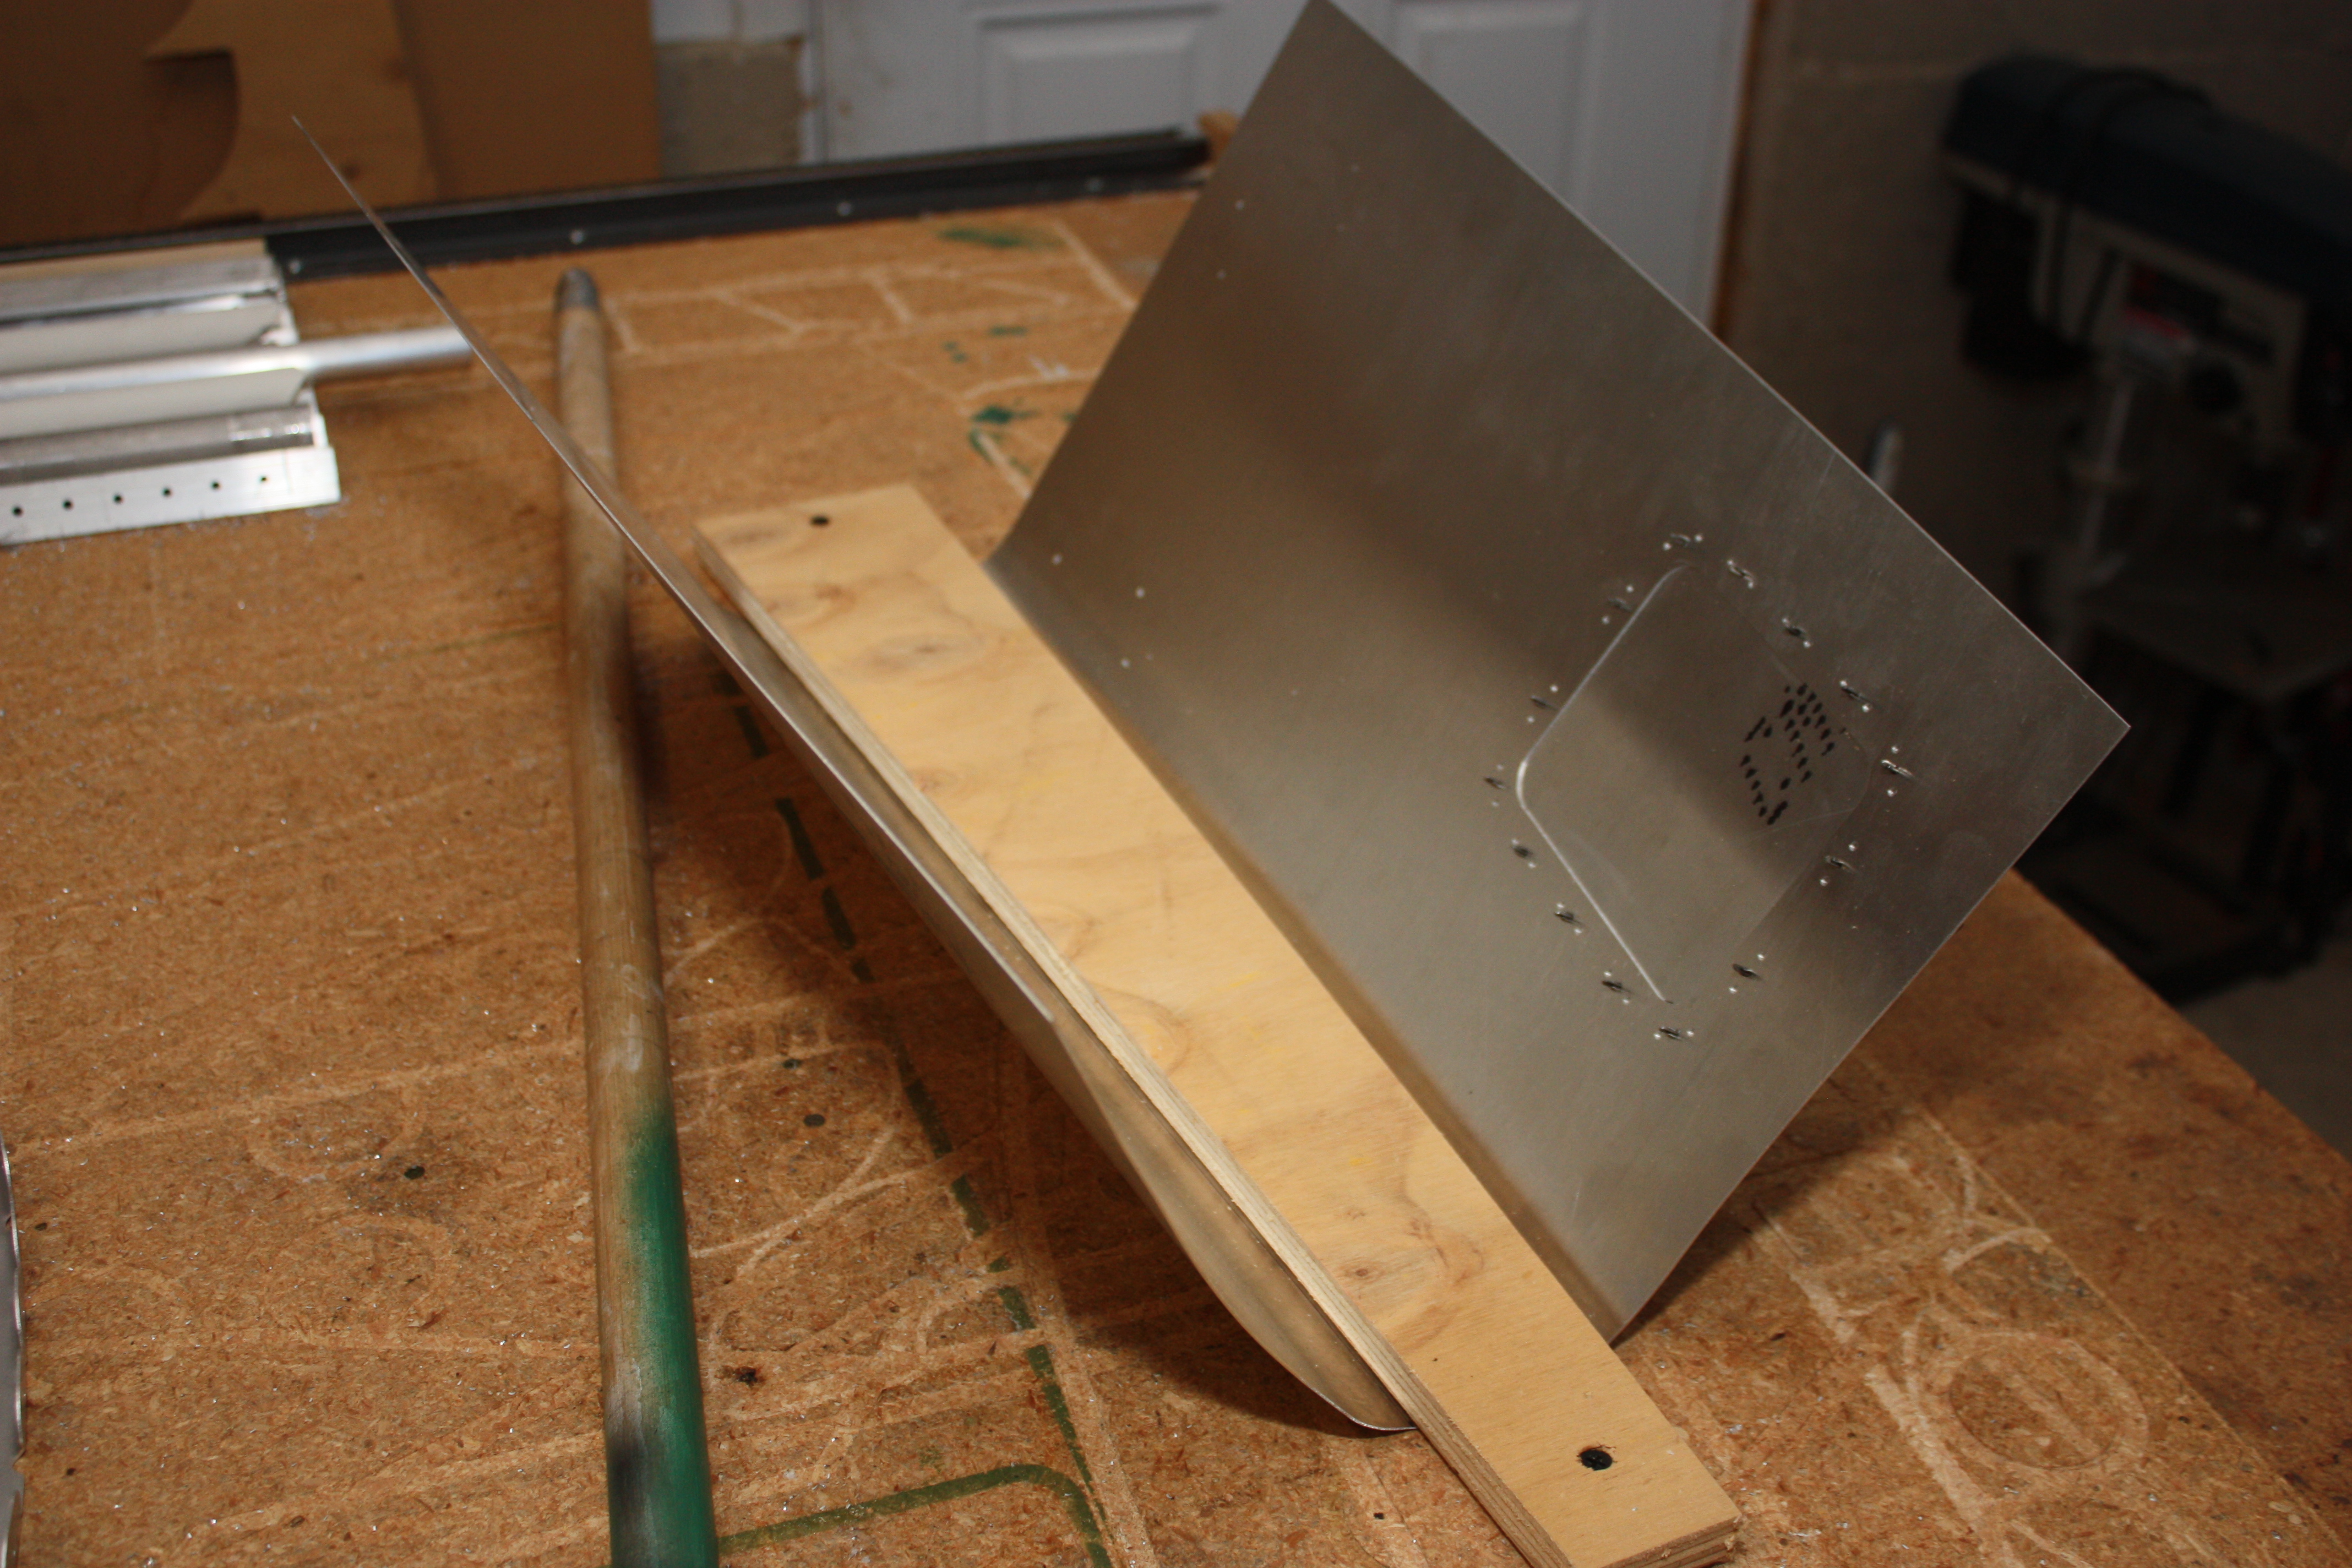
As you can see in the photo below, the bottom of this skin transitions from a curved side to a flat bottom. Actually, my design has the 0.020" middle bottom skin with a flat bottom as well. This was also bent by hand, but without a form (just a 2x4).
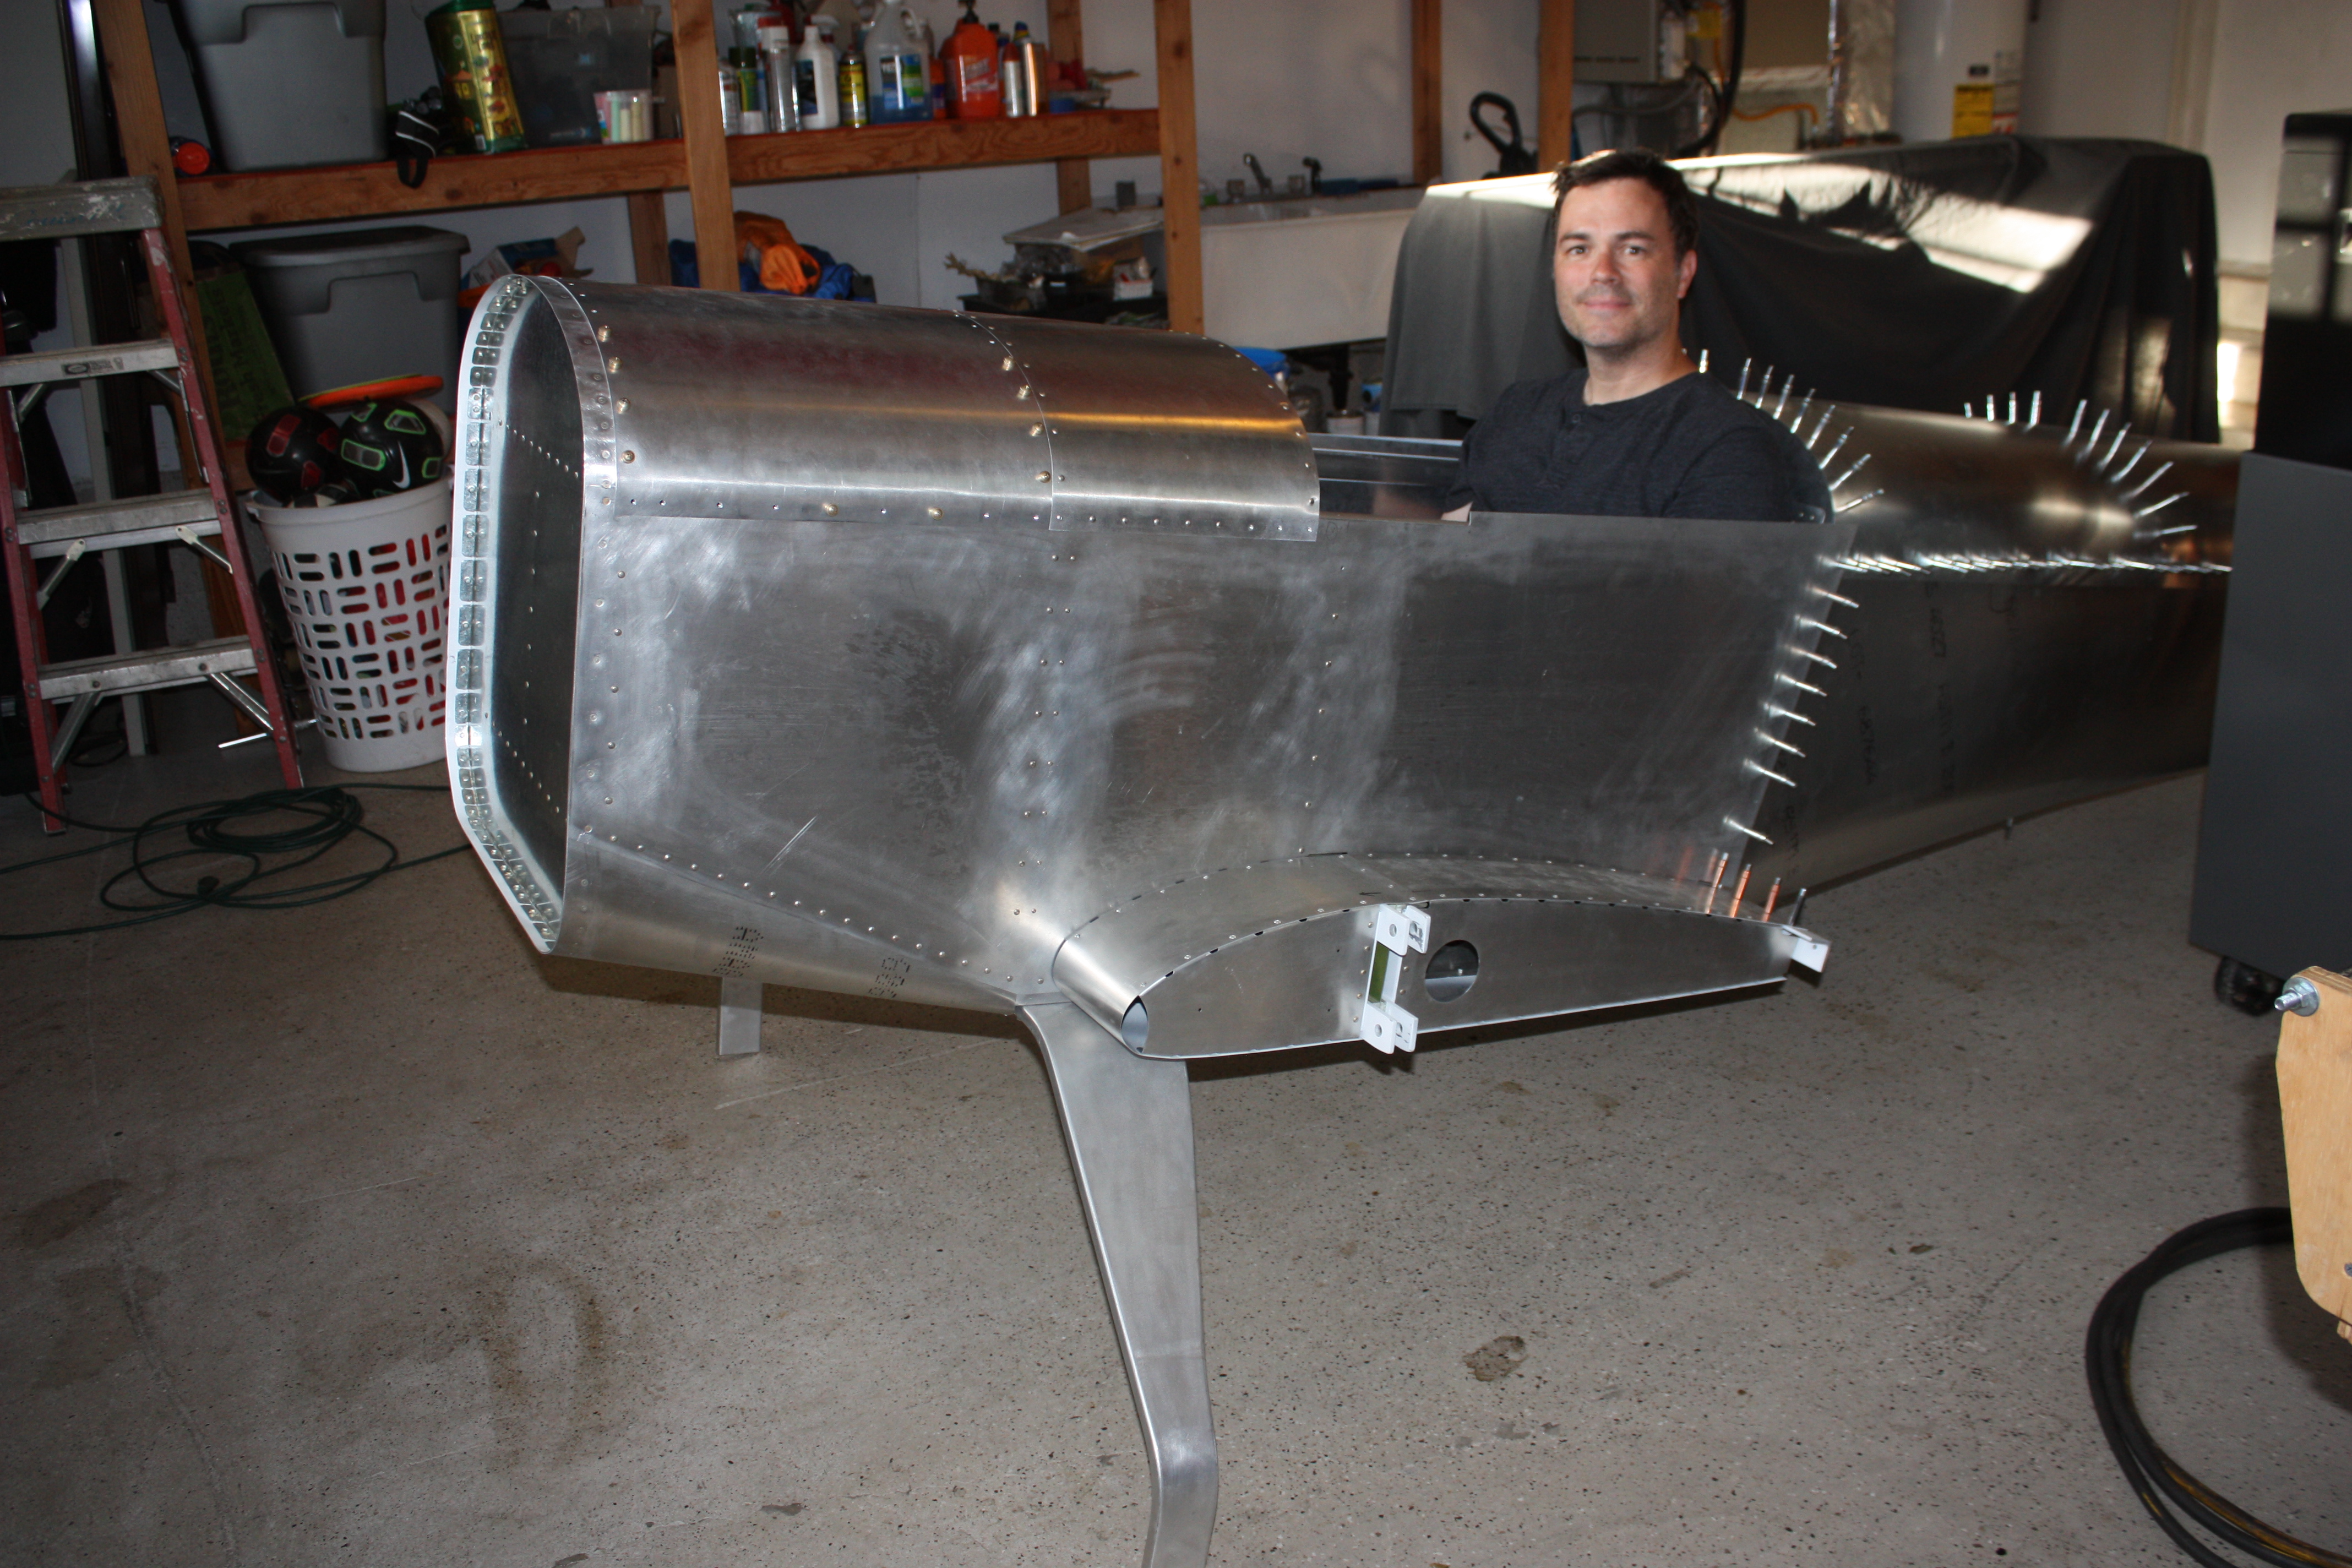
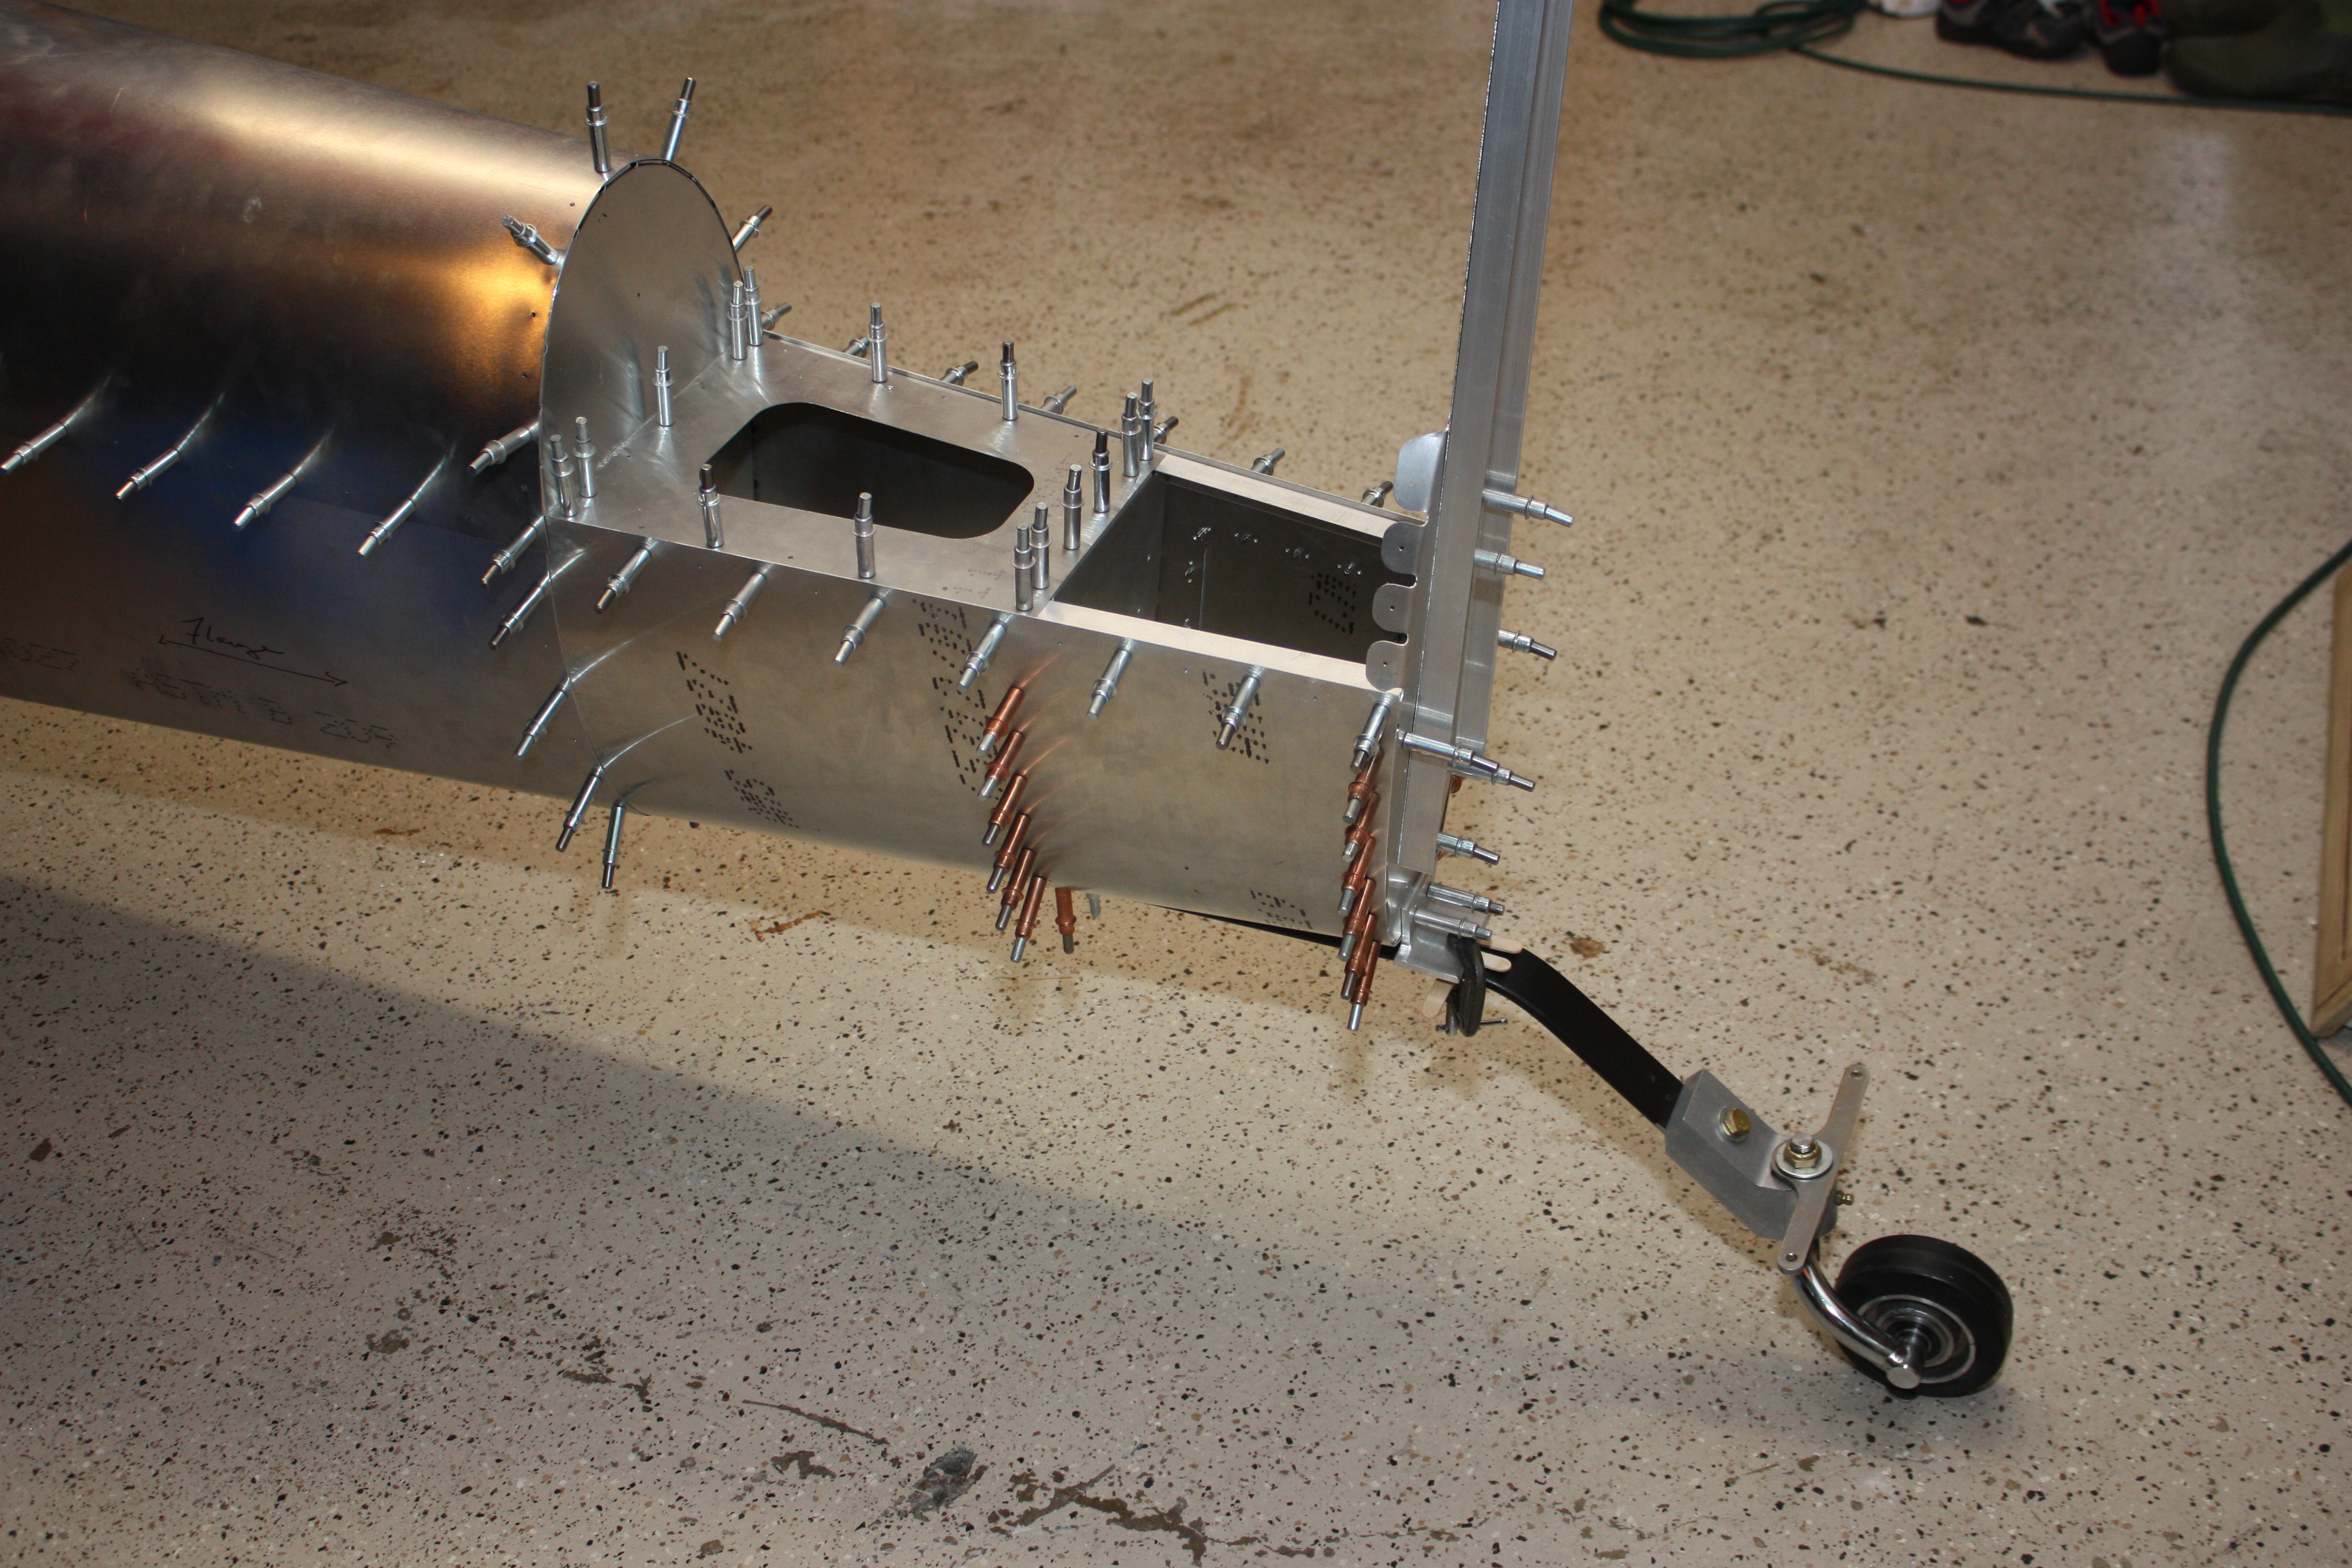
With former F12 and the gear bosses installed, was able to bolt on the tailwheel.
The castering tailwheel was purchased from Aviation Products, Inc. in Ojai, California. It's the same tailwheel that Aircraft Spruce sells, but getting it direct from the manufacturer was a little less expensive.
The leaf spring was from Aircraft Spruce. It's spring steel and painted, but that hardly justifies charging over $40 for it (and then several bucks more shipping it to me). Next time I will get a flat bar of structural steel from a local source for about $3. It may not be as strong and may bend on a hard landing, but this current spring will deform the aluminum fuselage long before it bends. On a hard landing, I would prefer to ruin the spring than the fuselage, and replacement of a $3 part won't break the bank.
December 2013
Paper template of the main axle spray glued to the main gear:
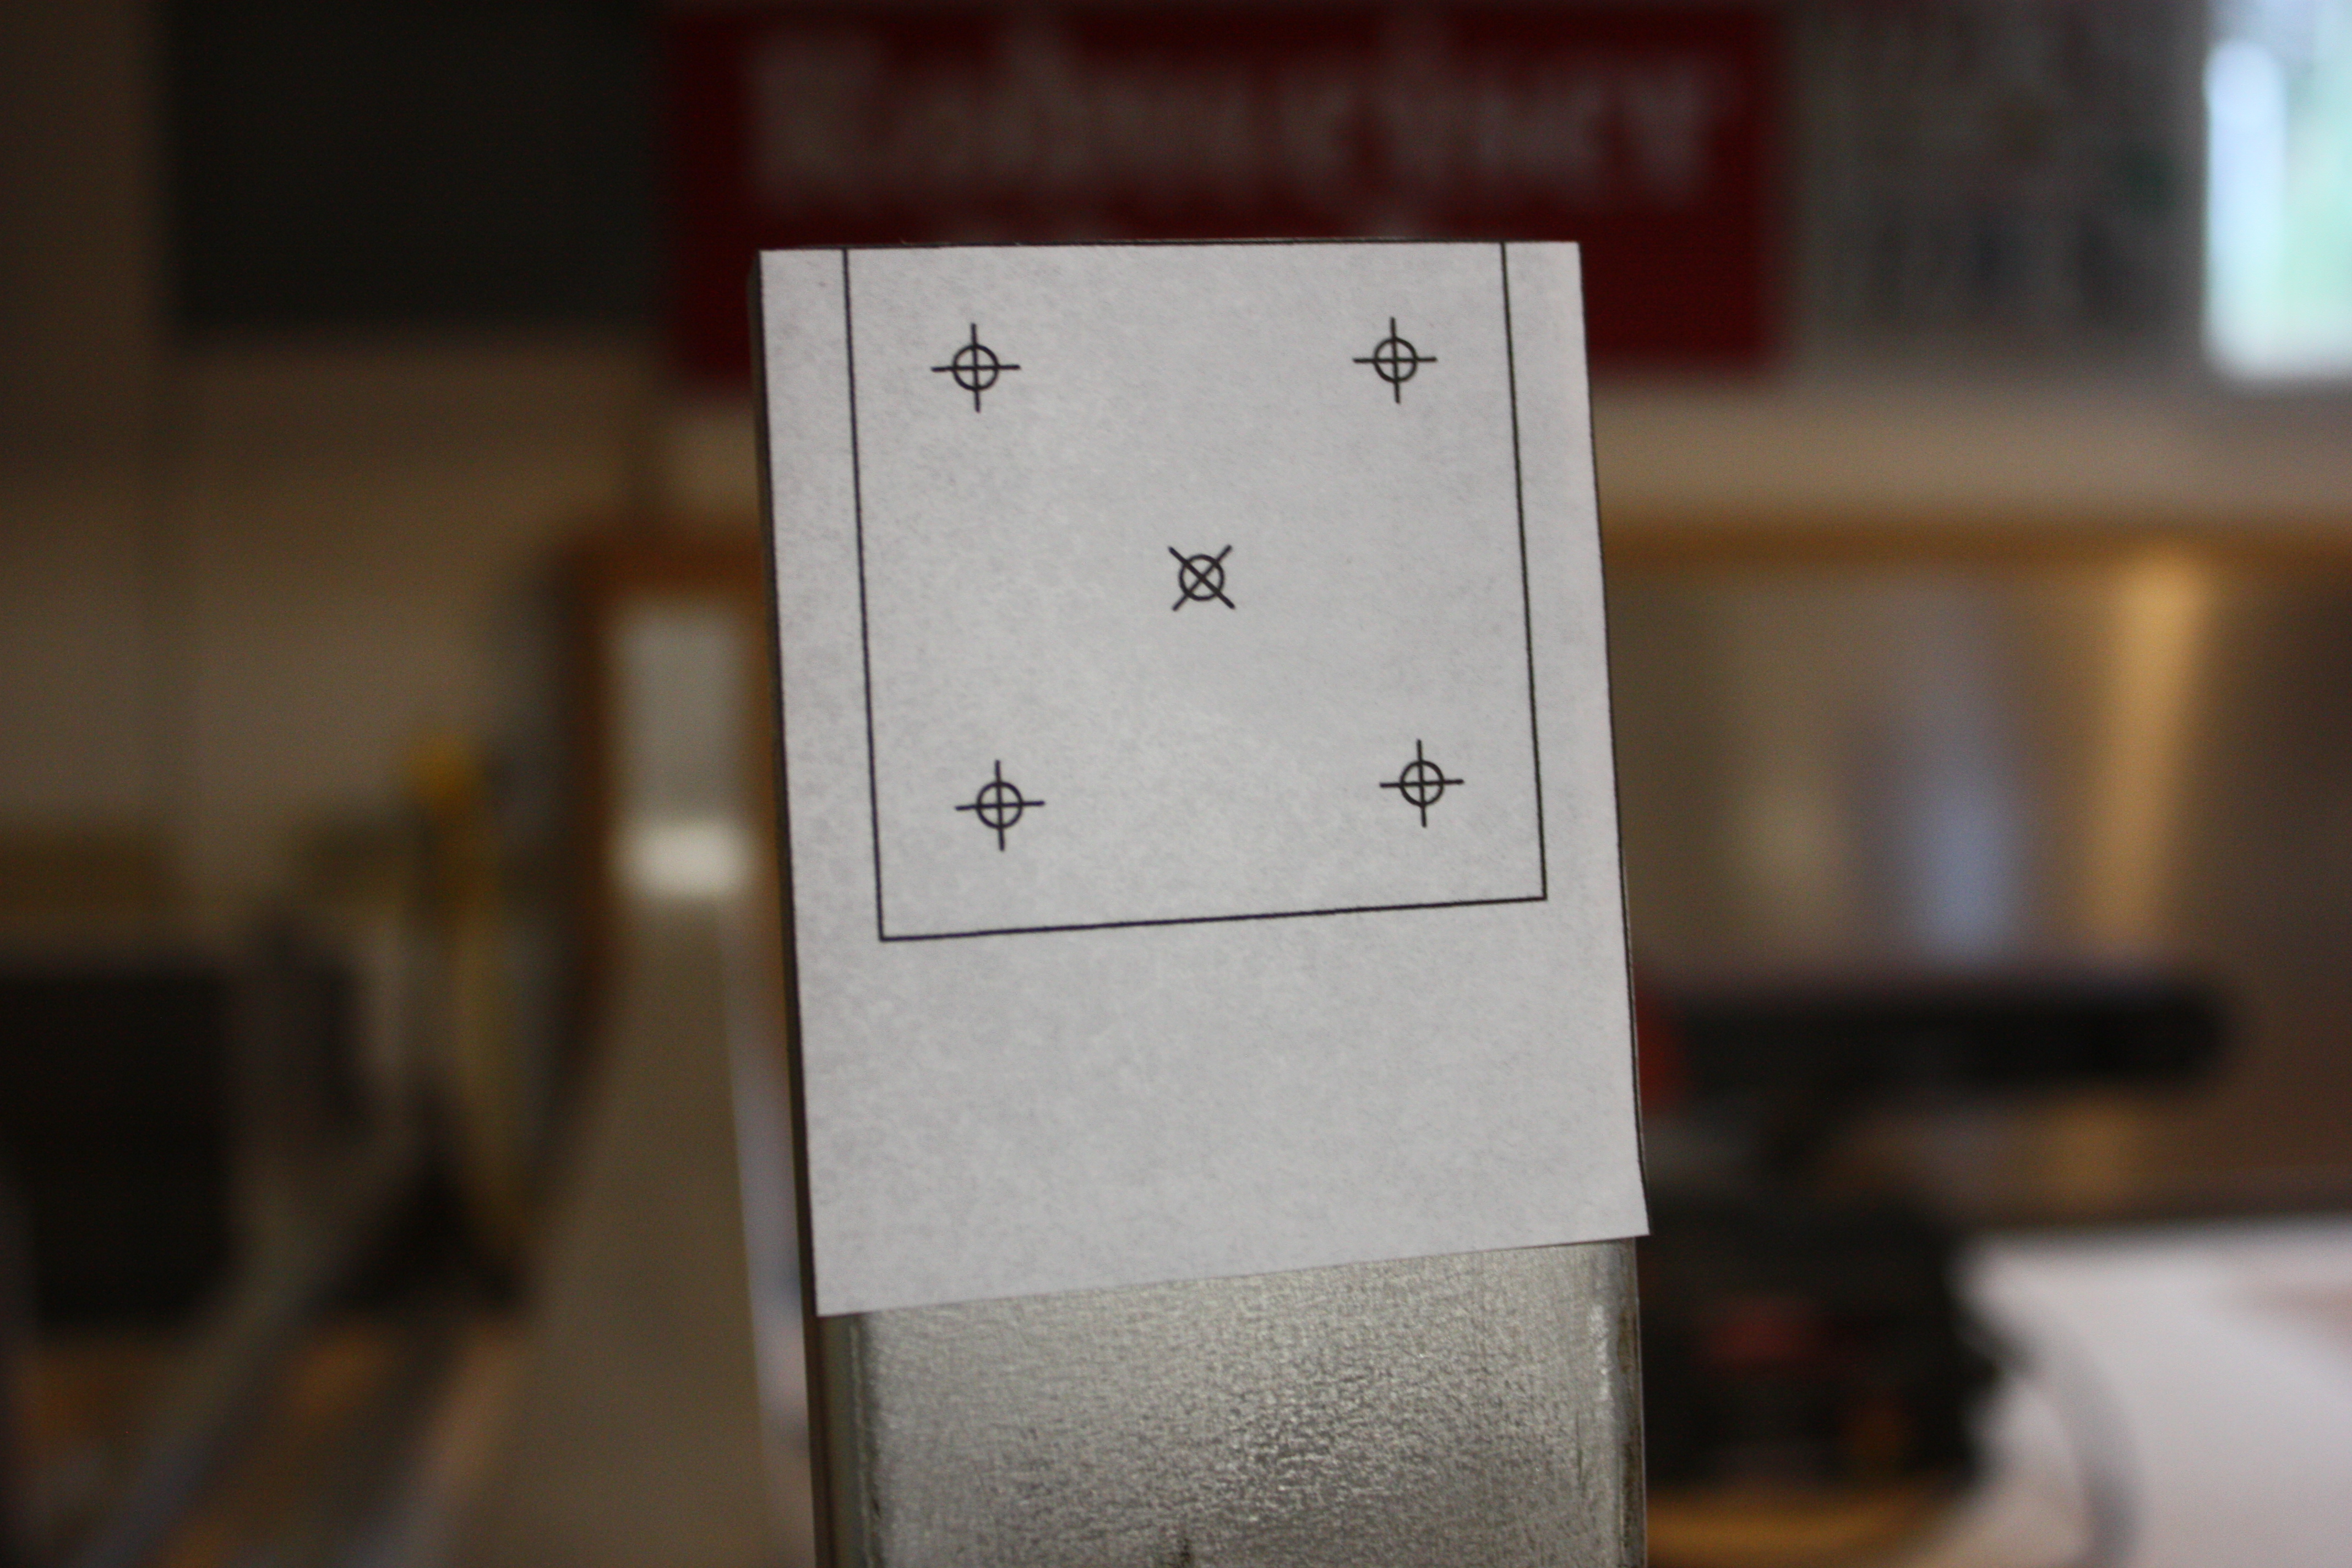
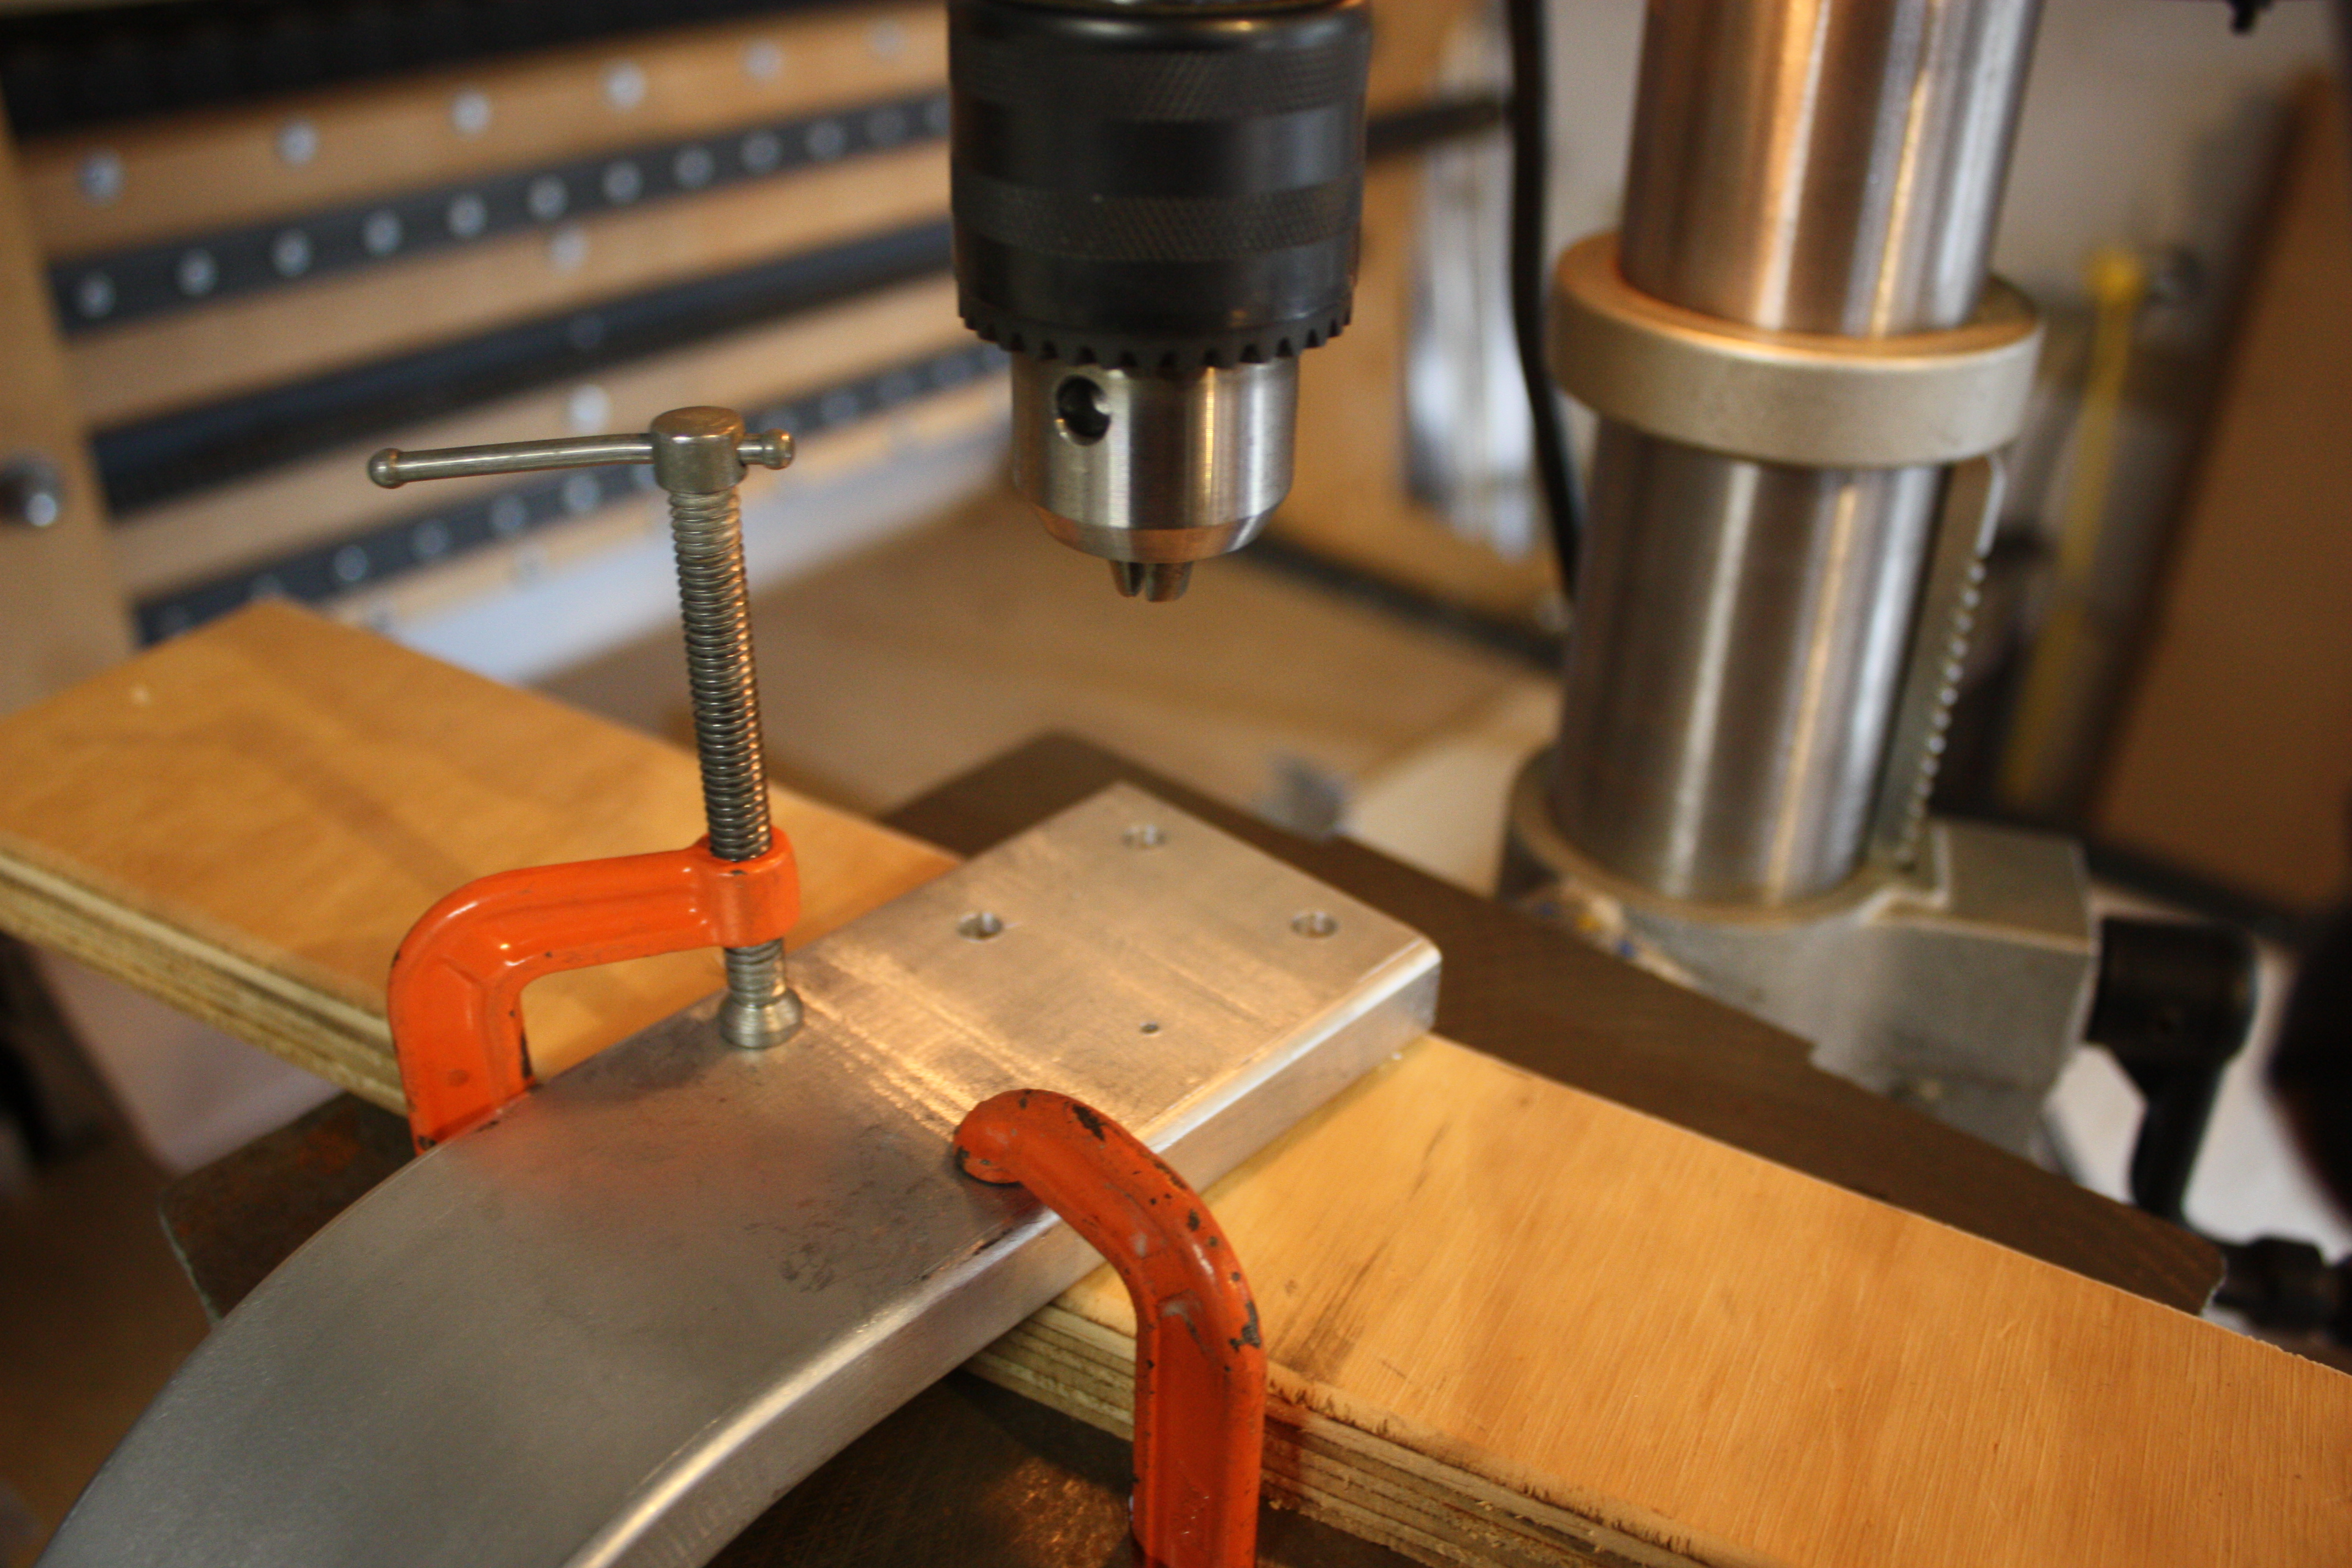
Then I nervously drilled the holes. I could have drilled these with the CNC when it was flat, but then I ran the risk of them not ending up in the right place after I bent the gear.
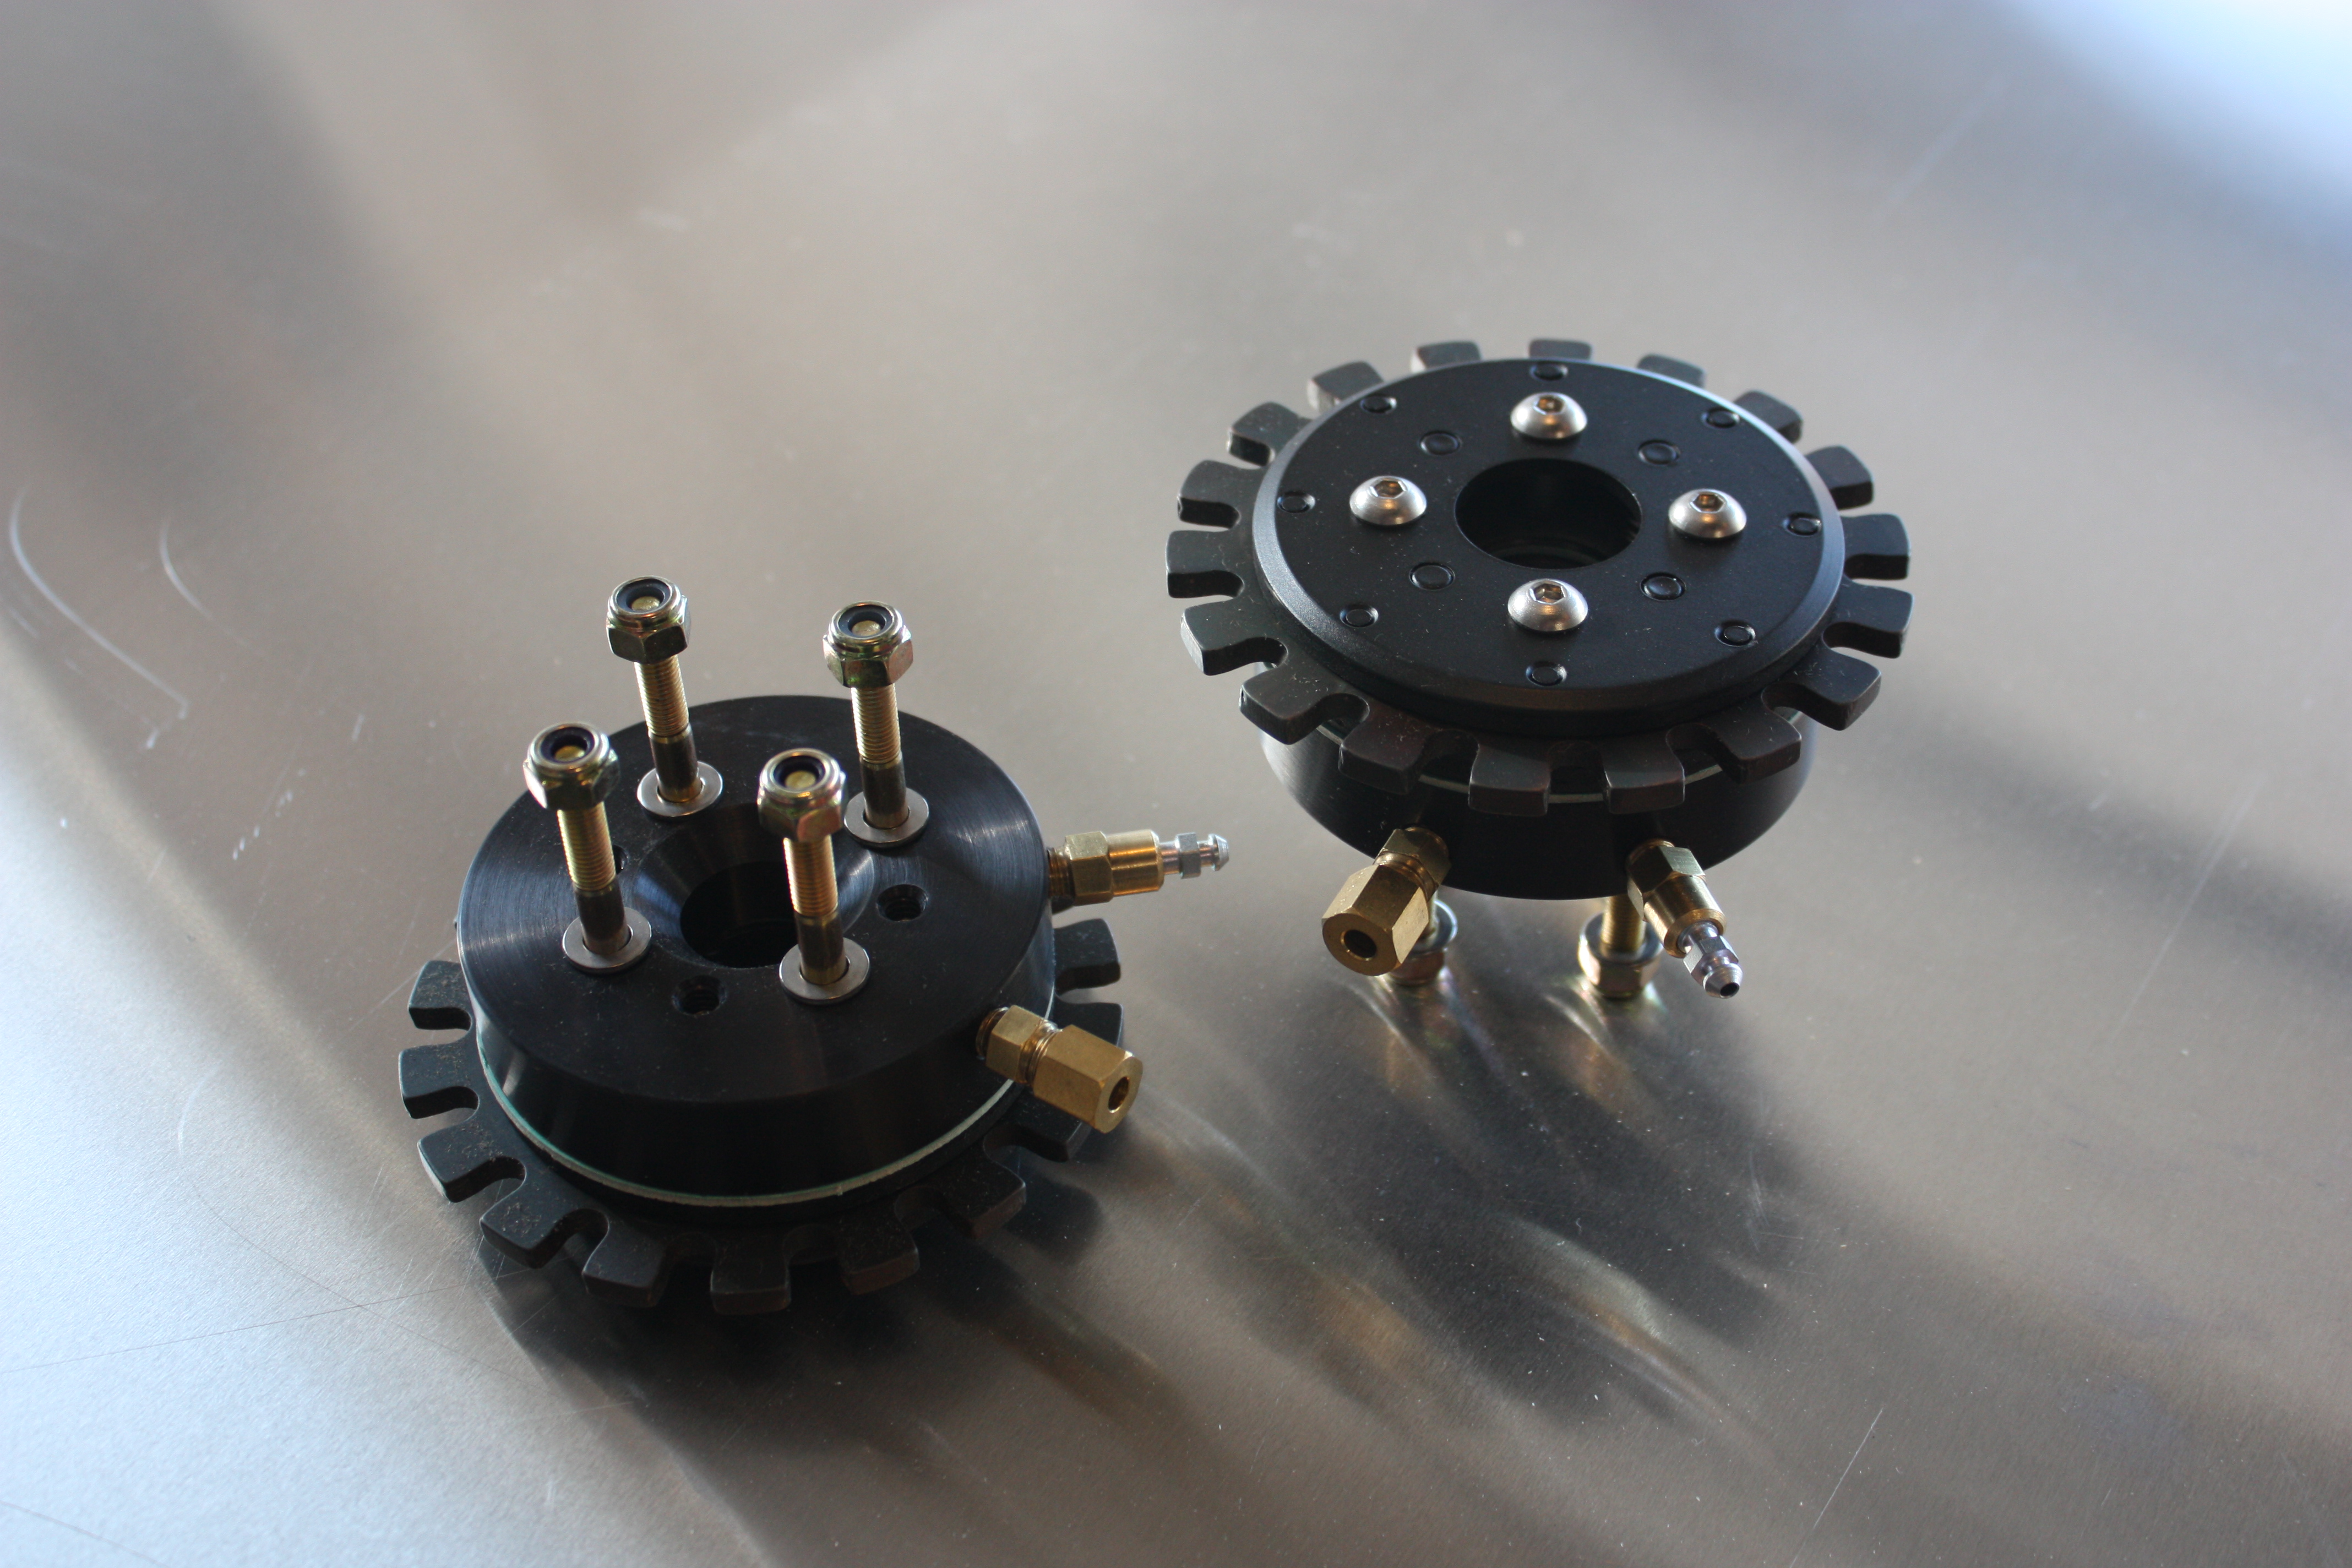
These are the hydraulic brakes I ordered from Tracy O'Brien. I also ordered the axles from him. And they appear to be very nice quality:
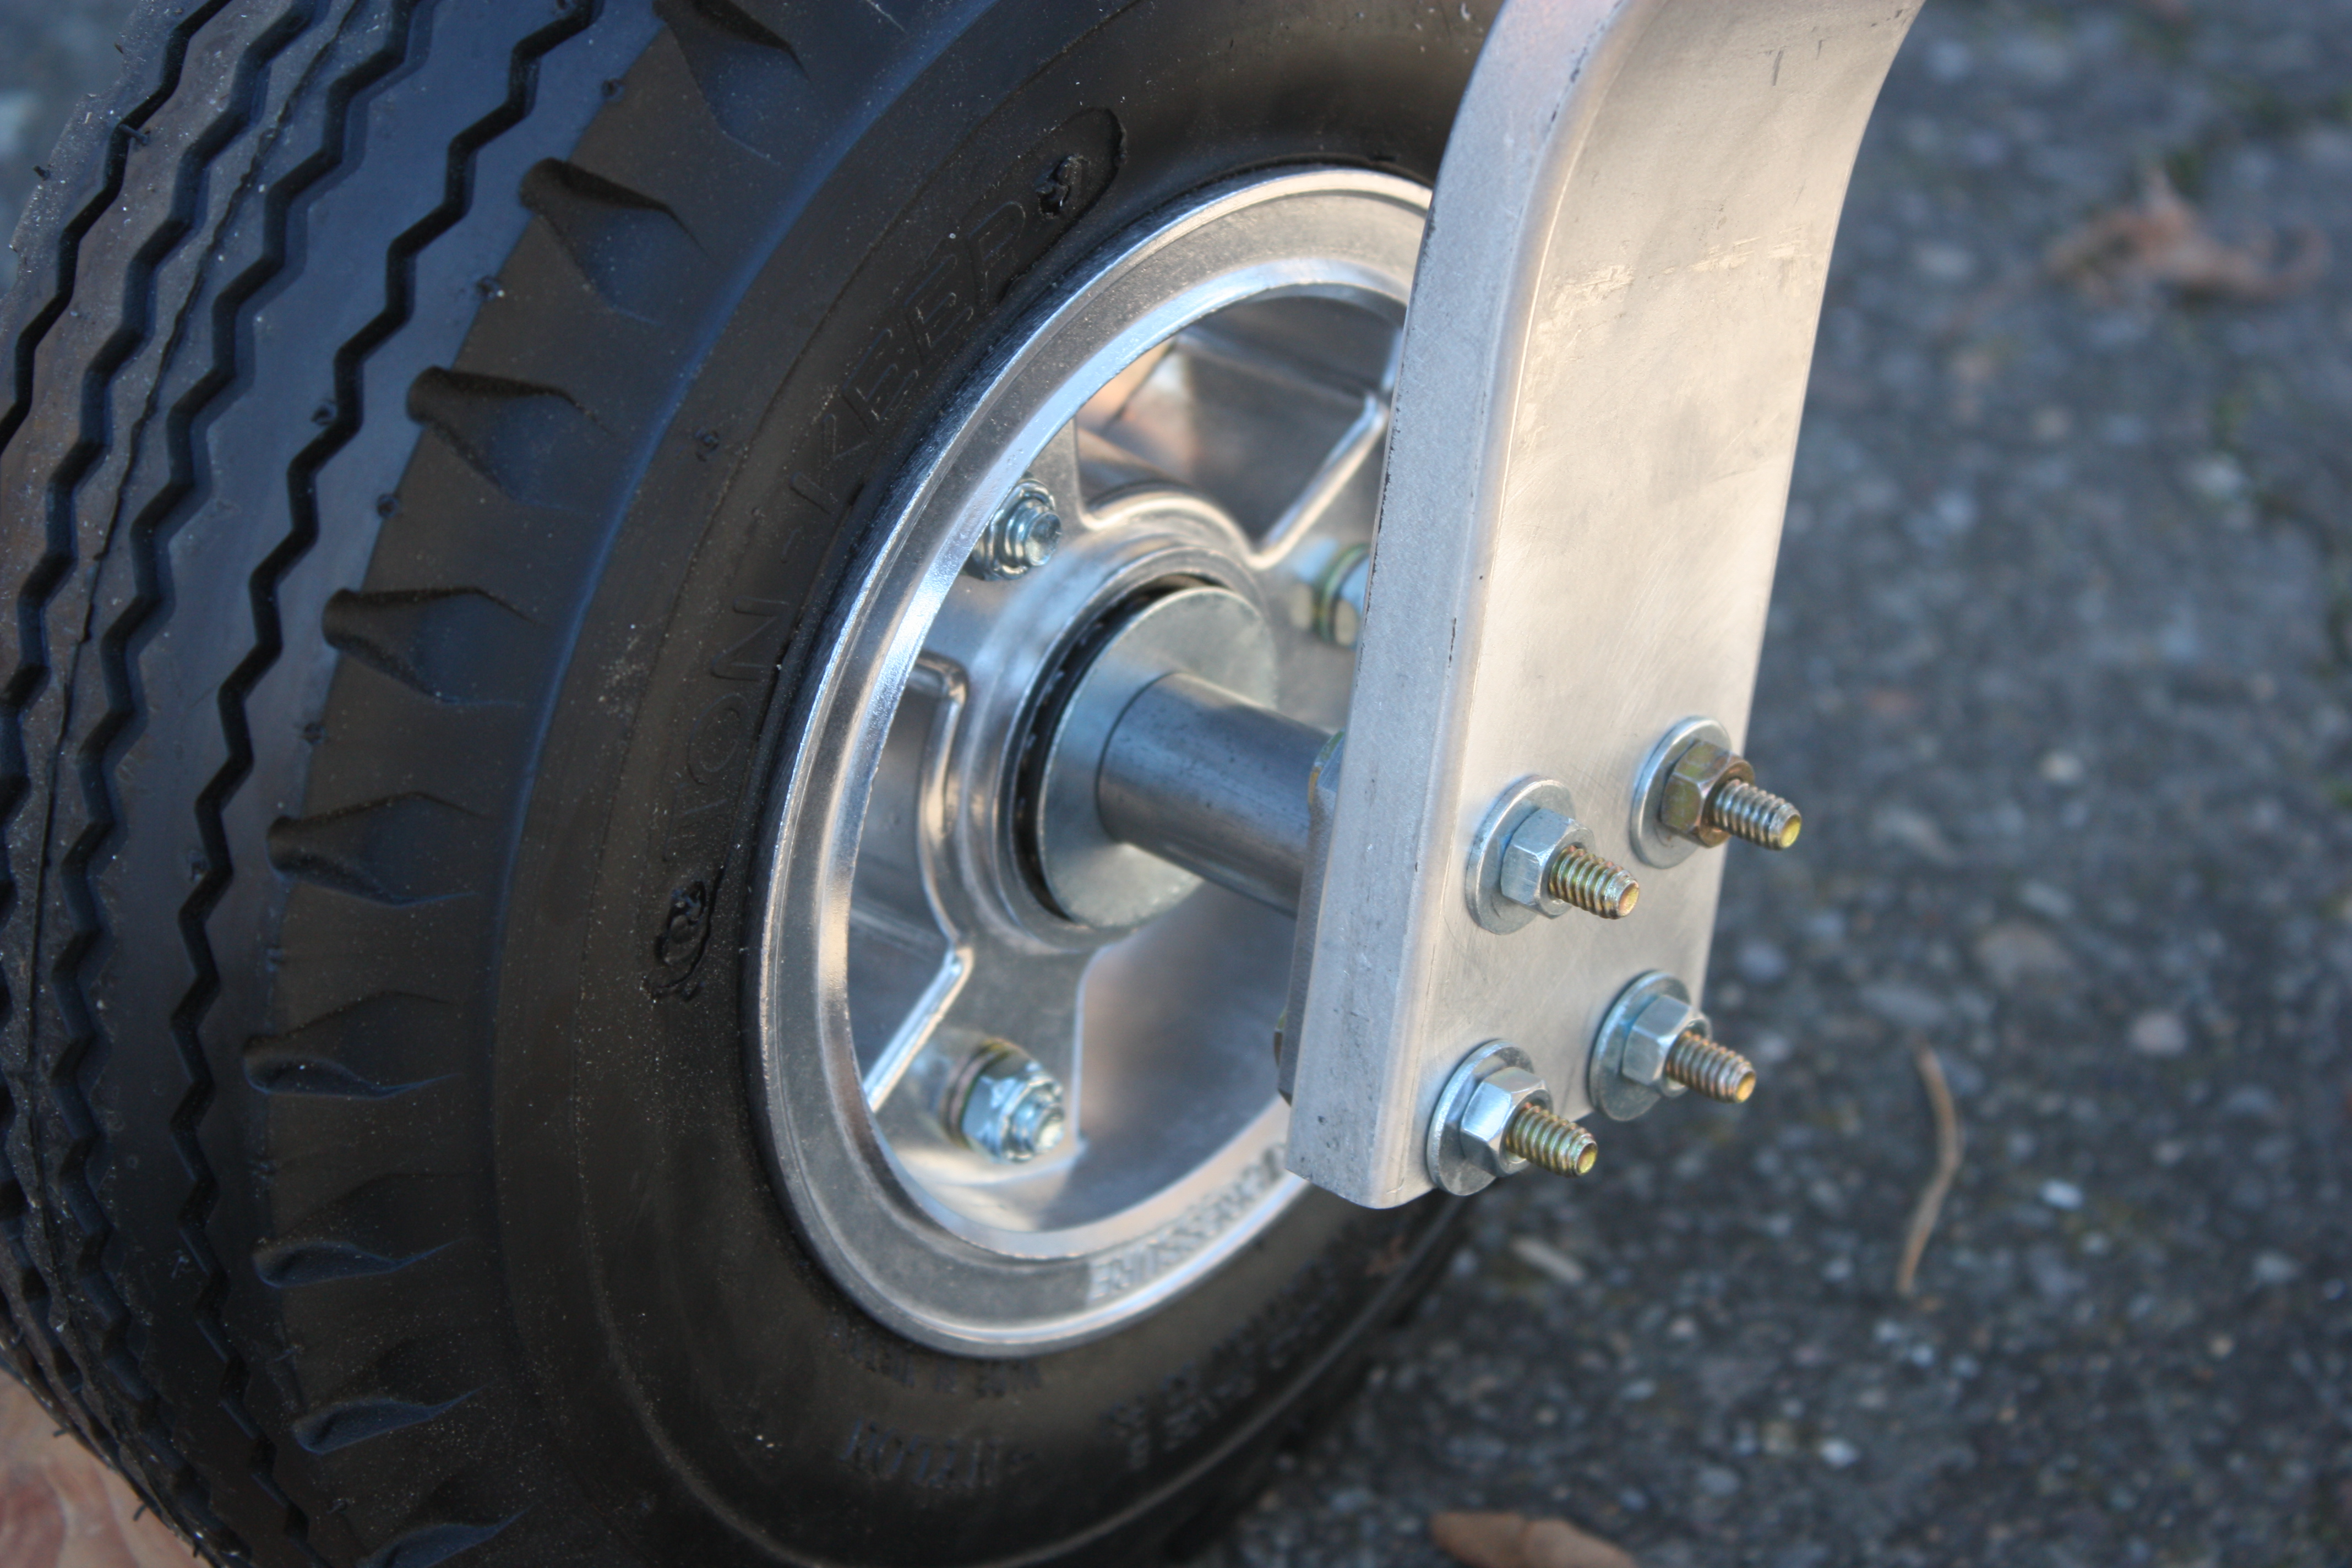
My drill holes were on the money! Here are the axles temporarily installed without the brakes:
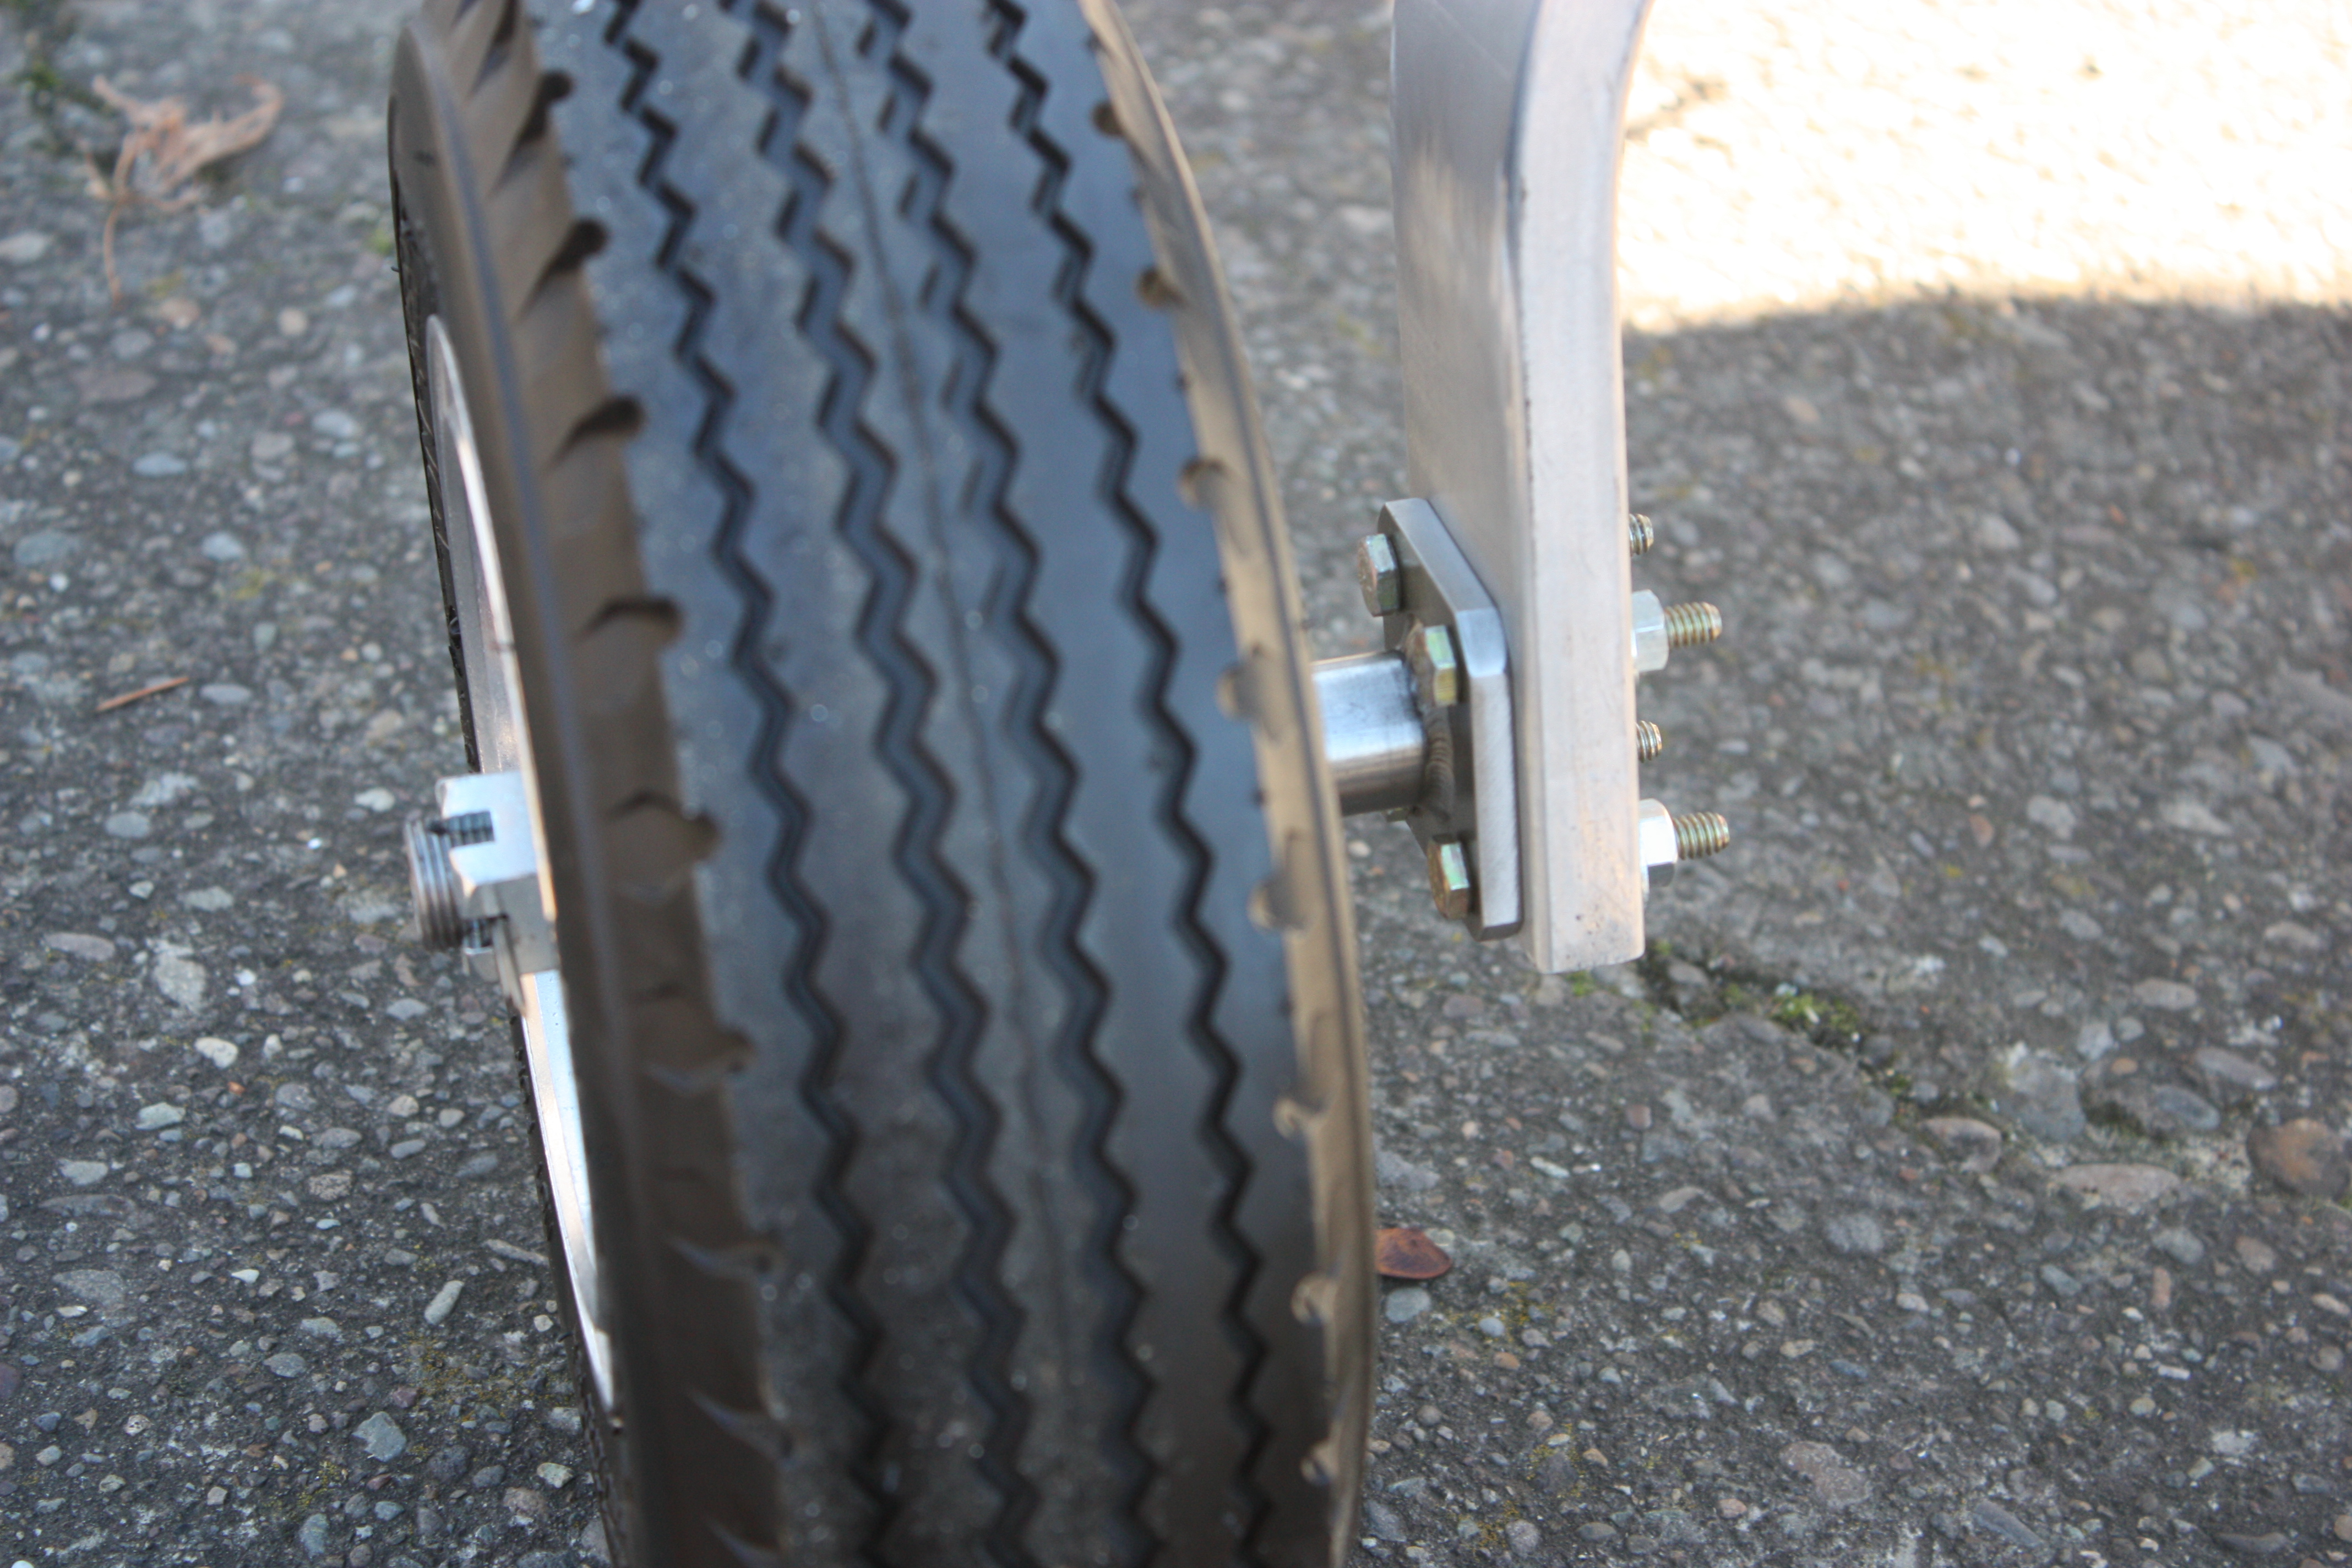
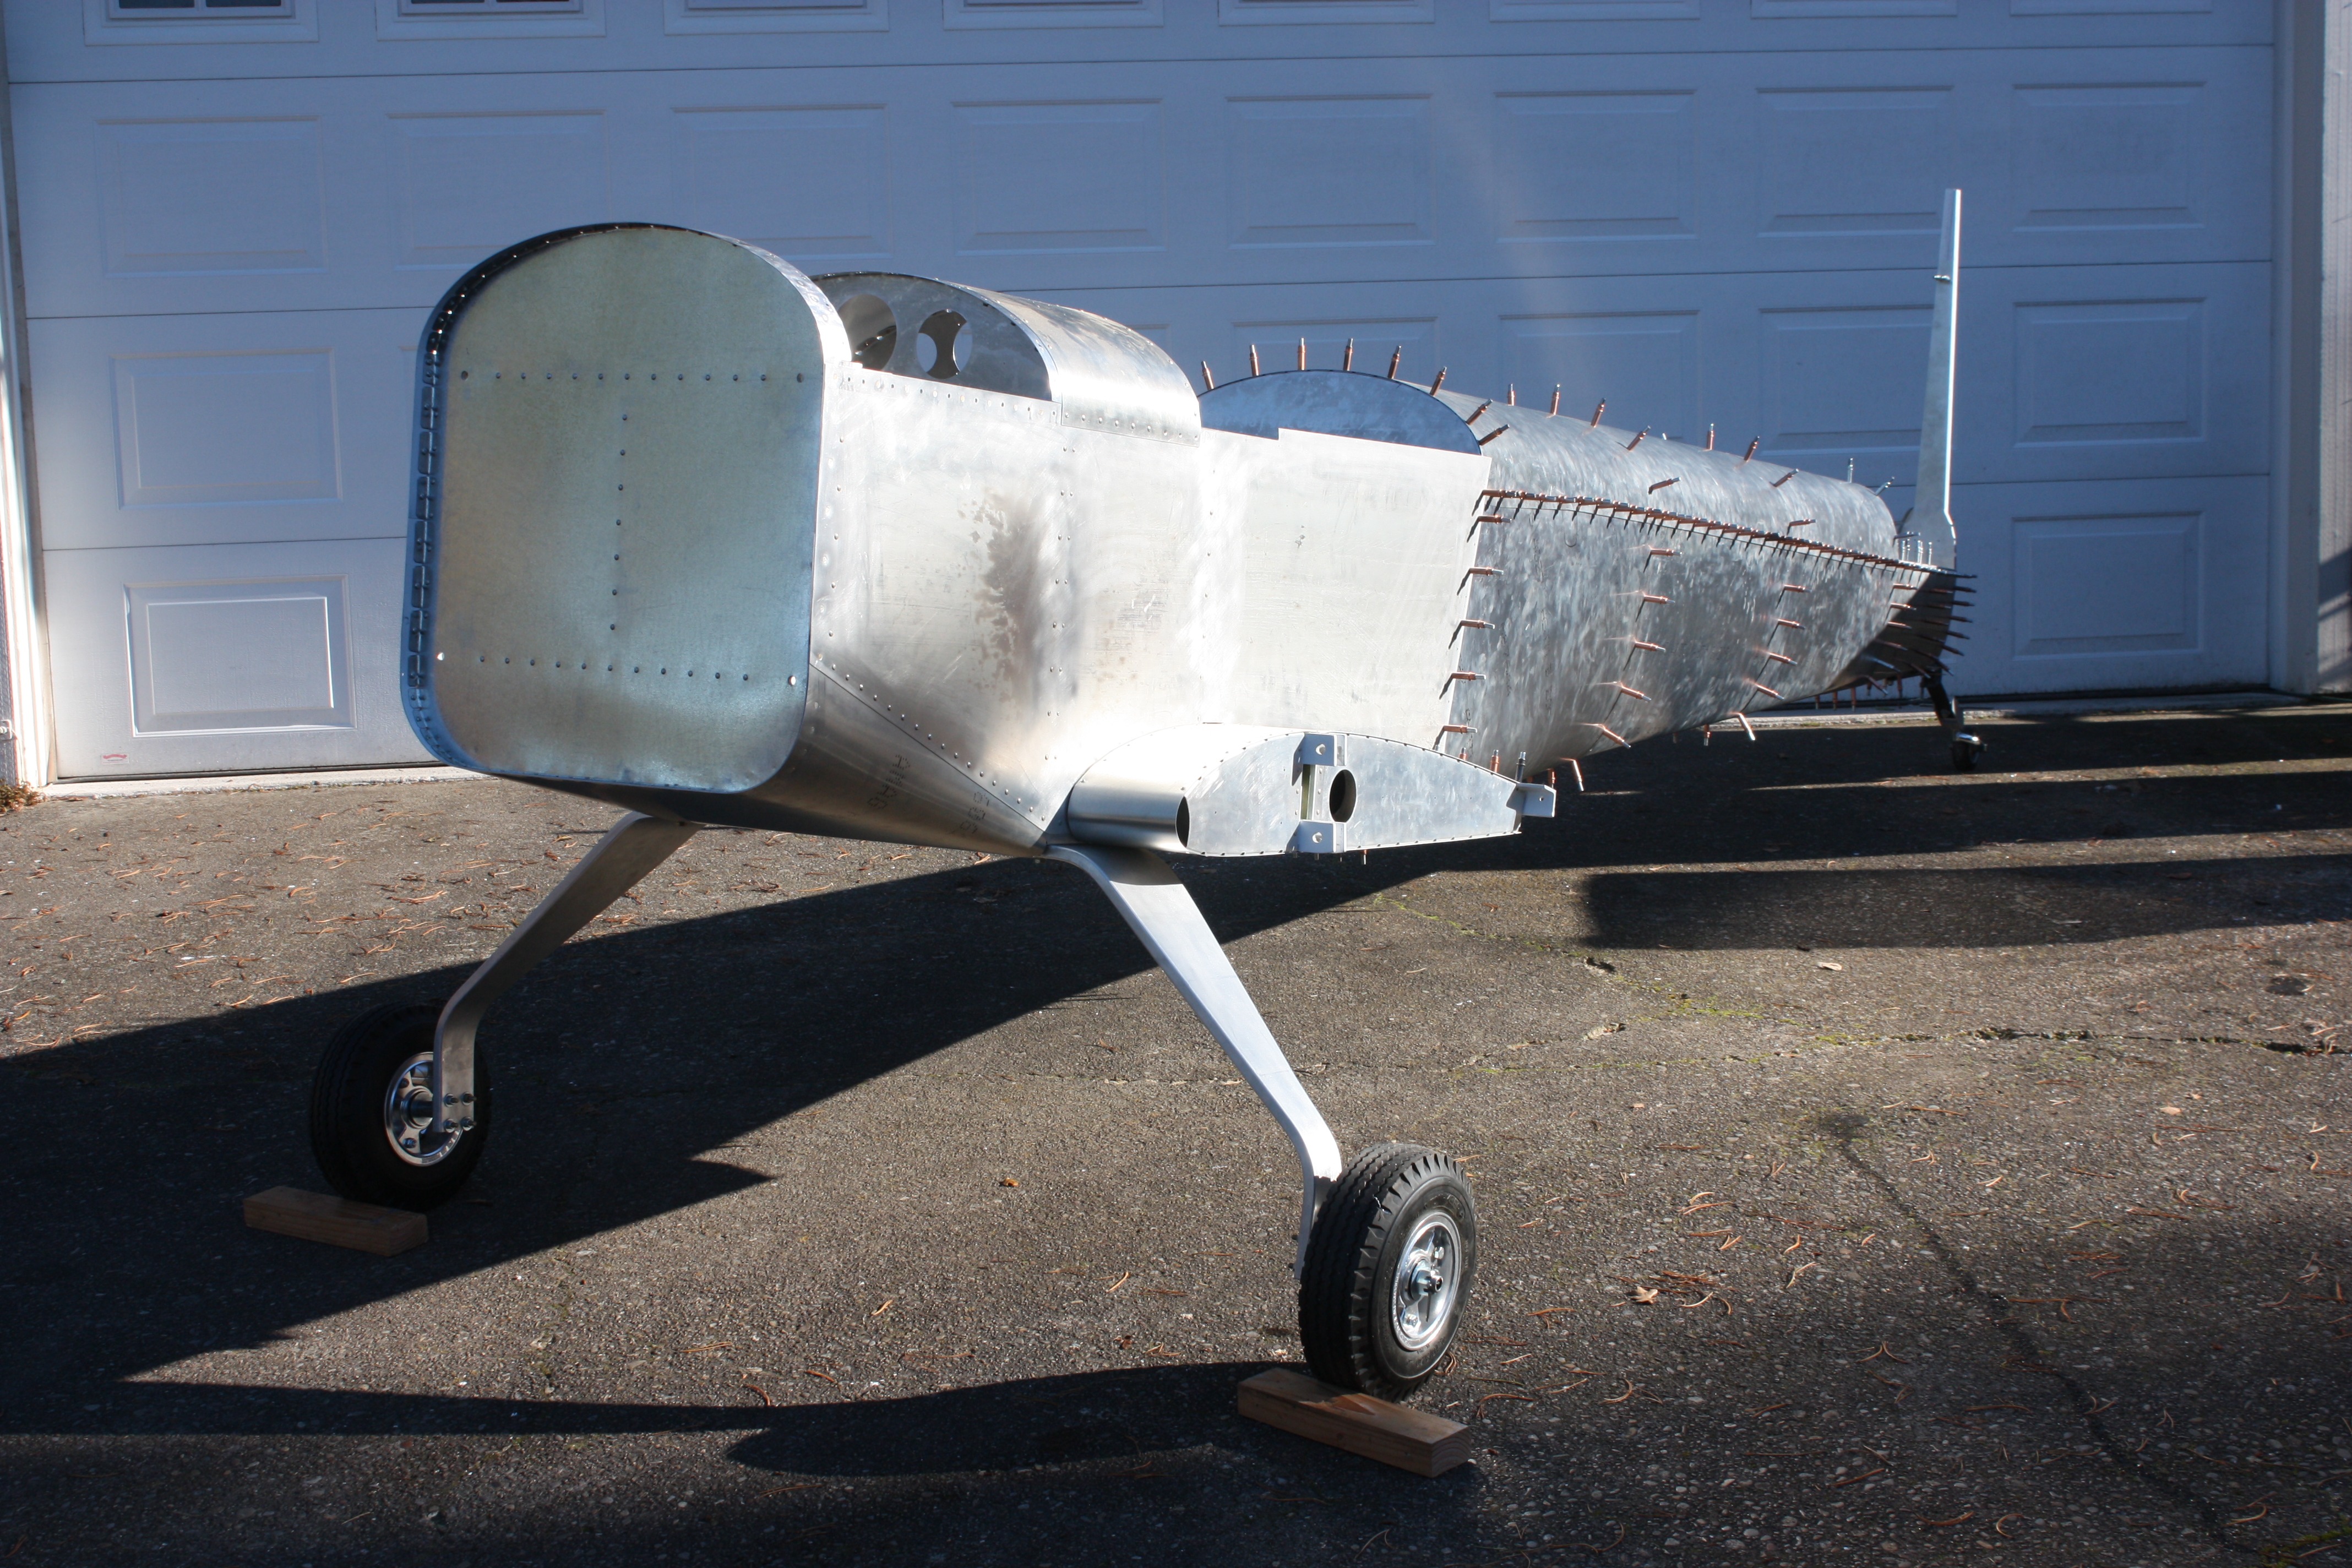
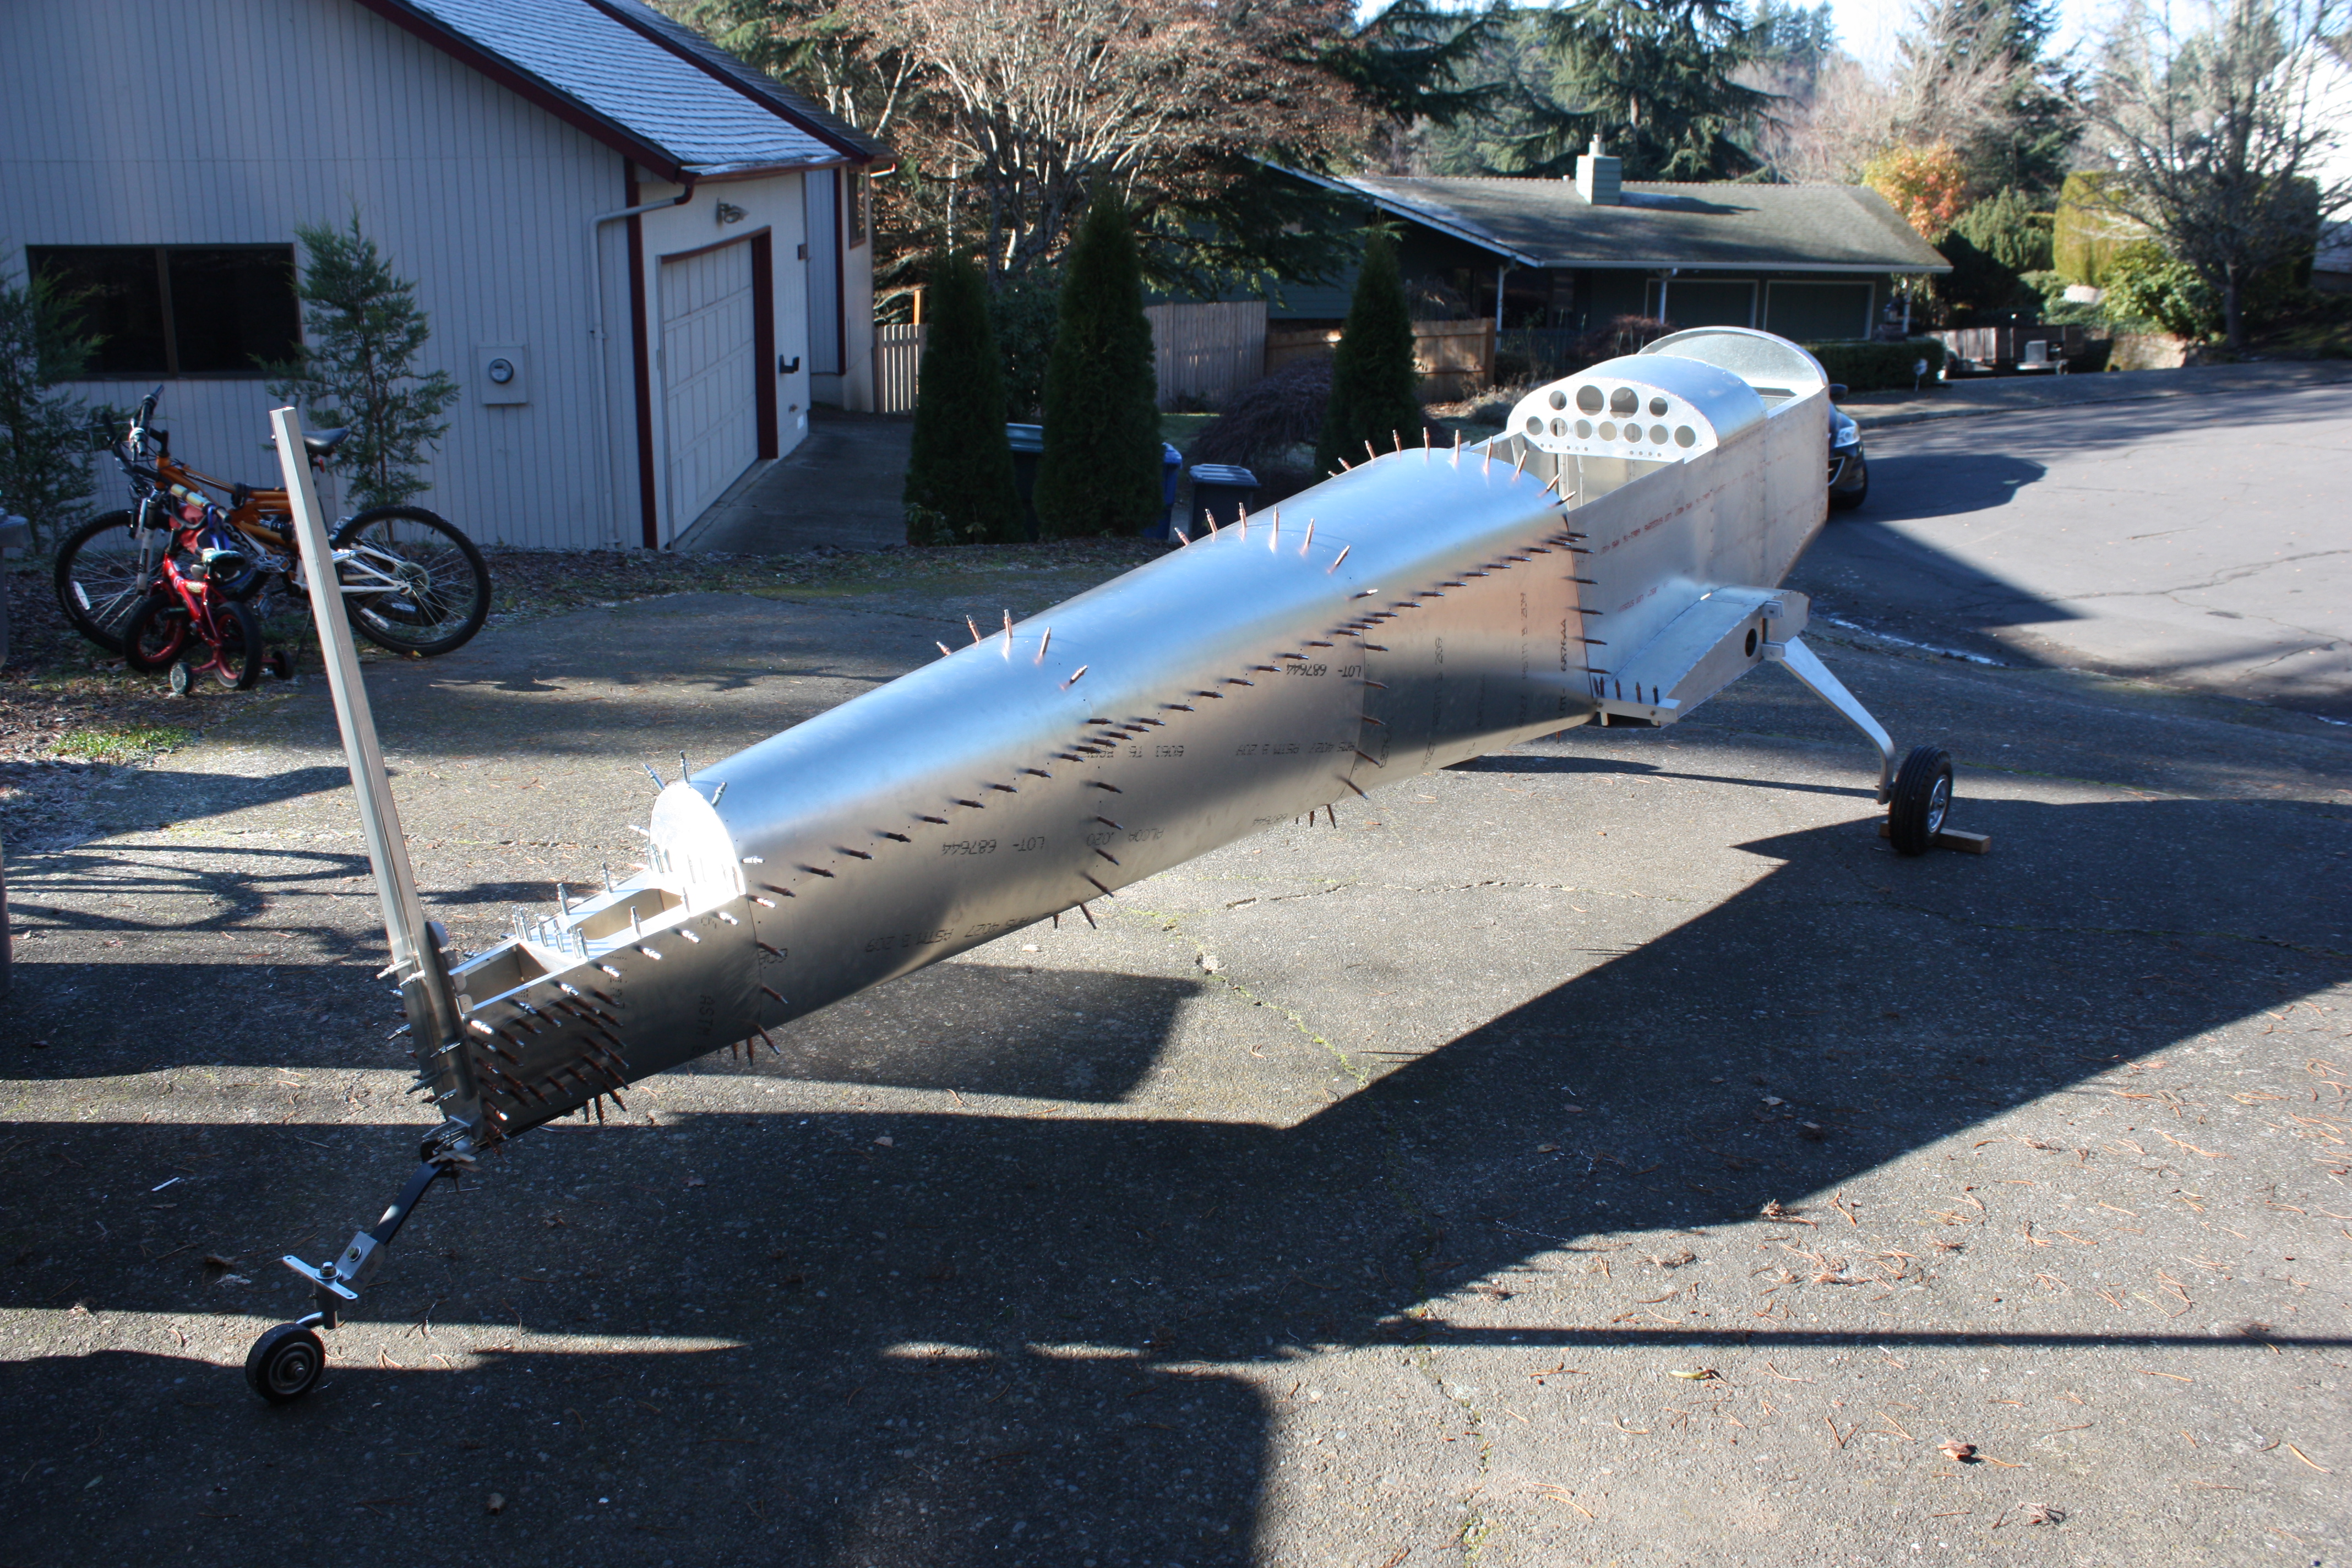
And now I can move the fuselage. This was the first it saw the light of day:
Fuel Tank
February 2014
I have been working on the fuel tank on and off over the last eight months, but I'll try to keep the story short and put all of the pictures in one place...
Tank #1
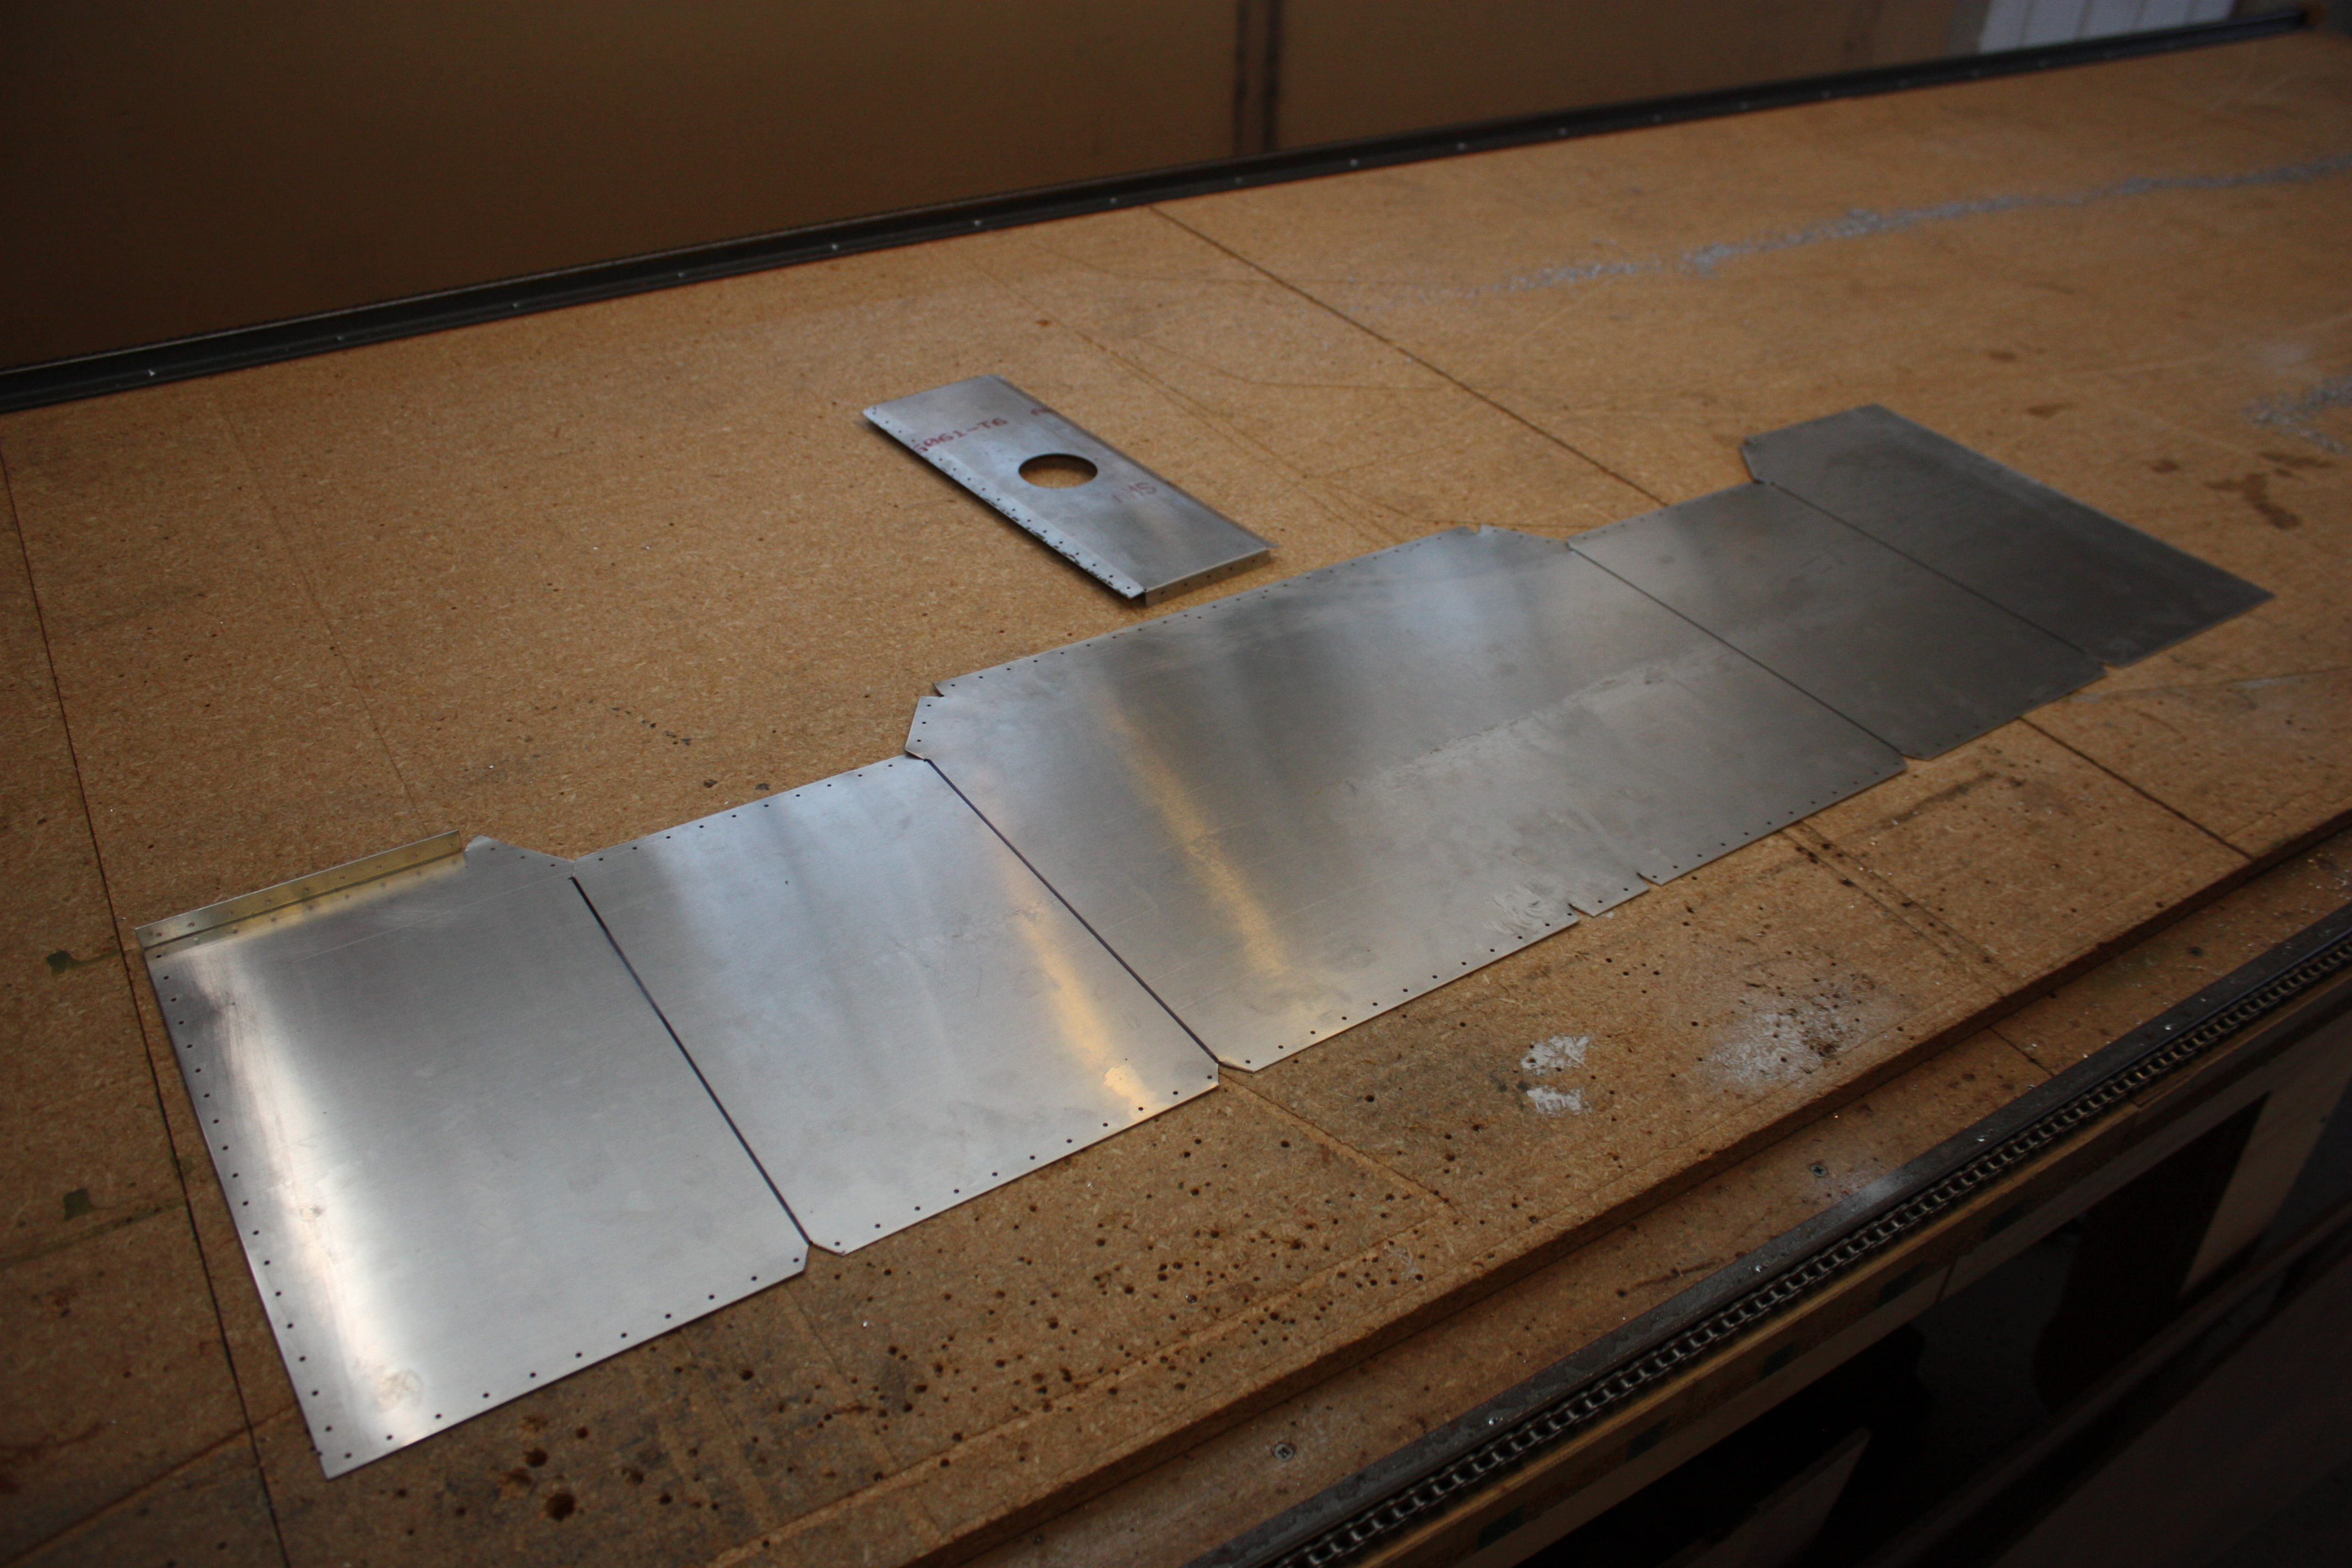
My first thought was to rivet and seal the tank. So I created a drawing of my tank, had my CNC drill everything out, and in a two days I was ready to bend it up. Like a noob, I started making bends on the EAA Chapter's brake (without the proper bend radius) and started cracking the flanges. In the picture below is the first bent and cracked flange (in other words, it's a picture of scrap metal):
Tank #2
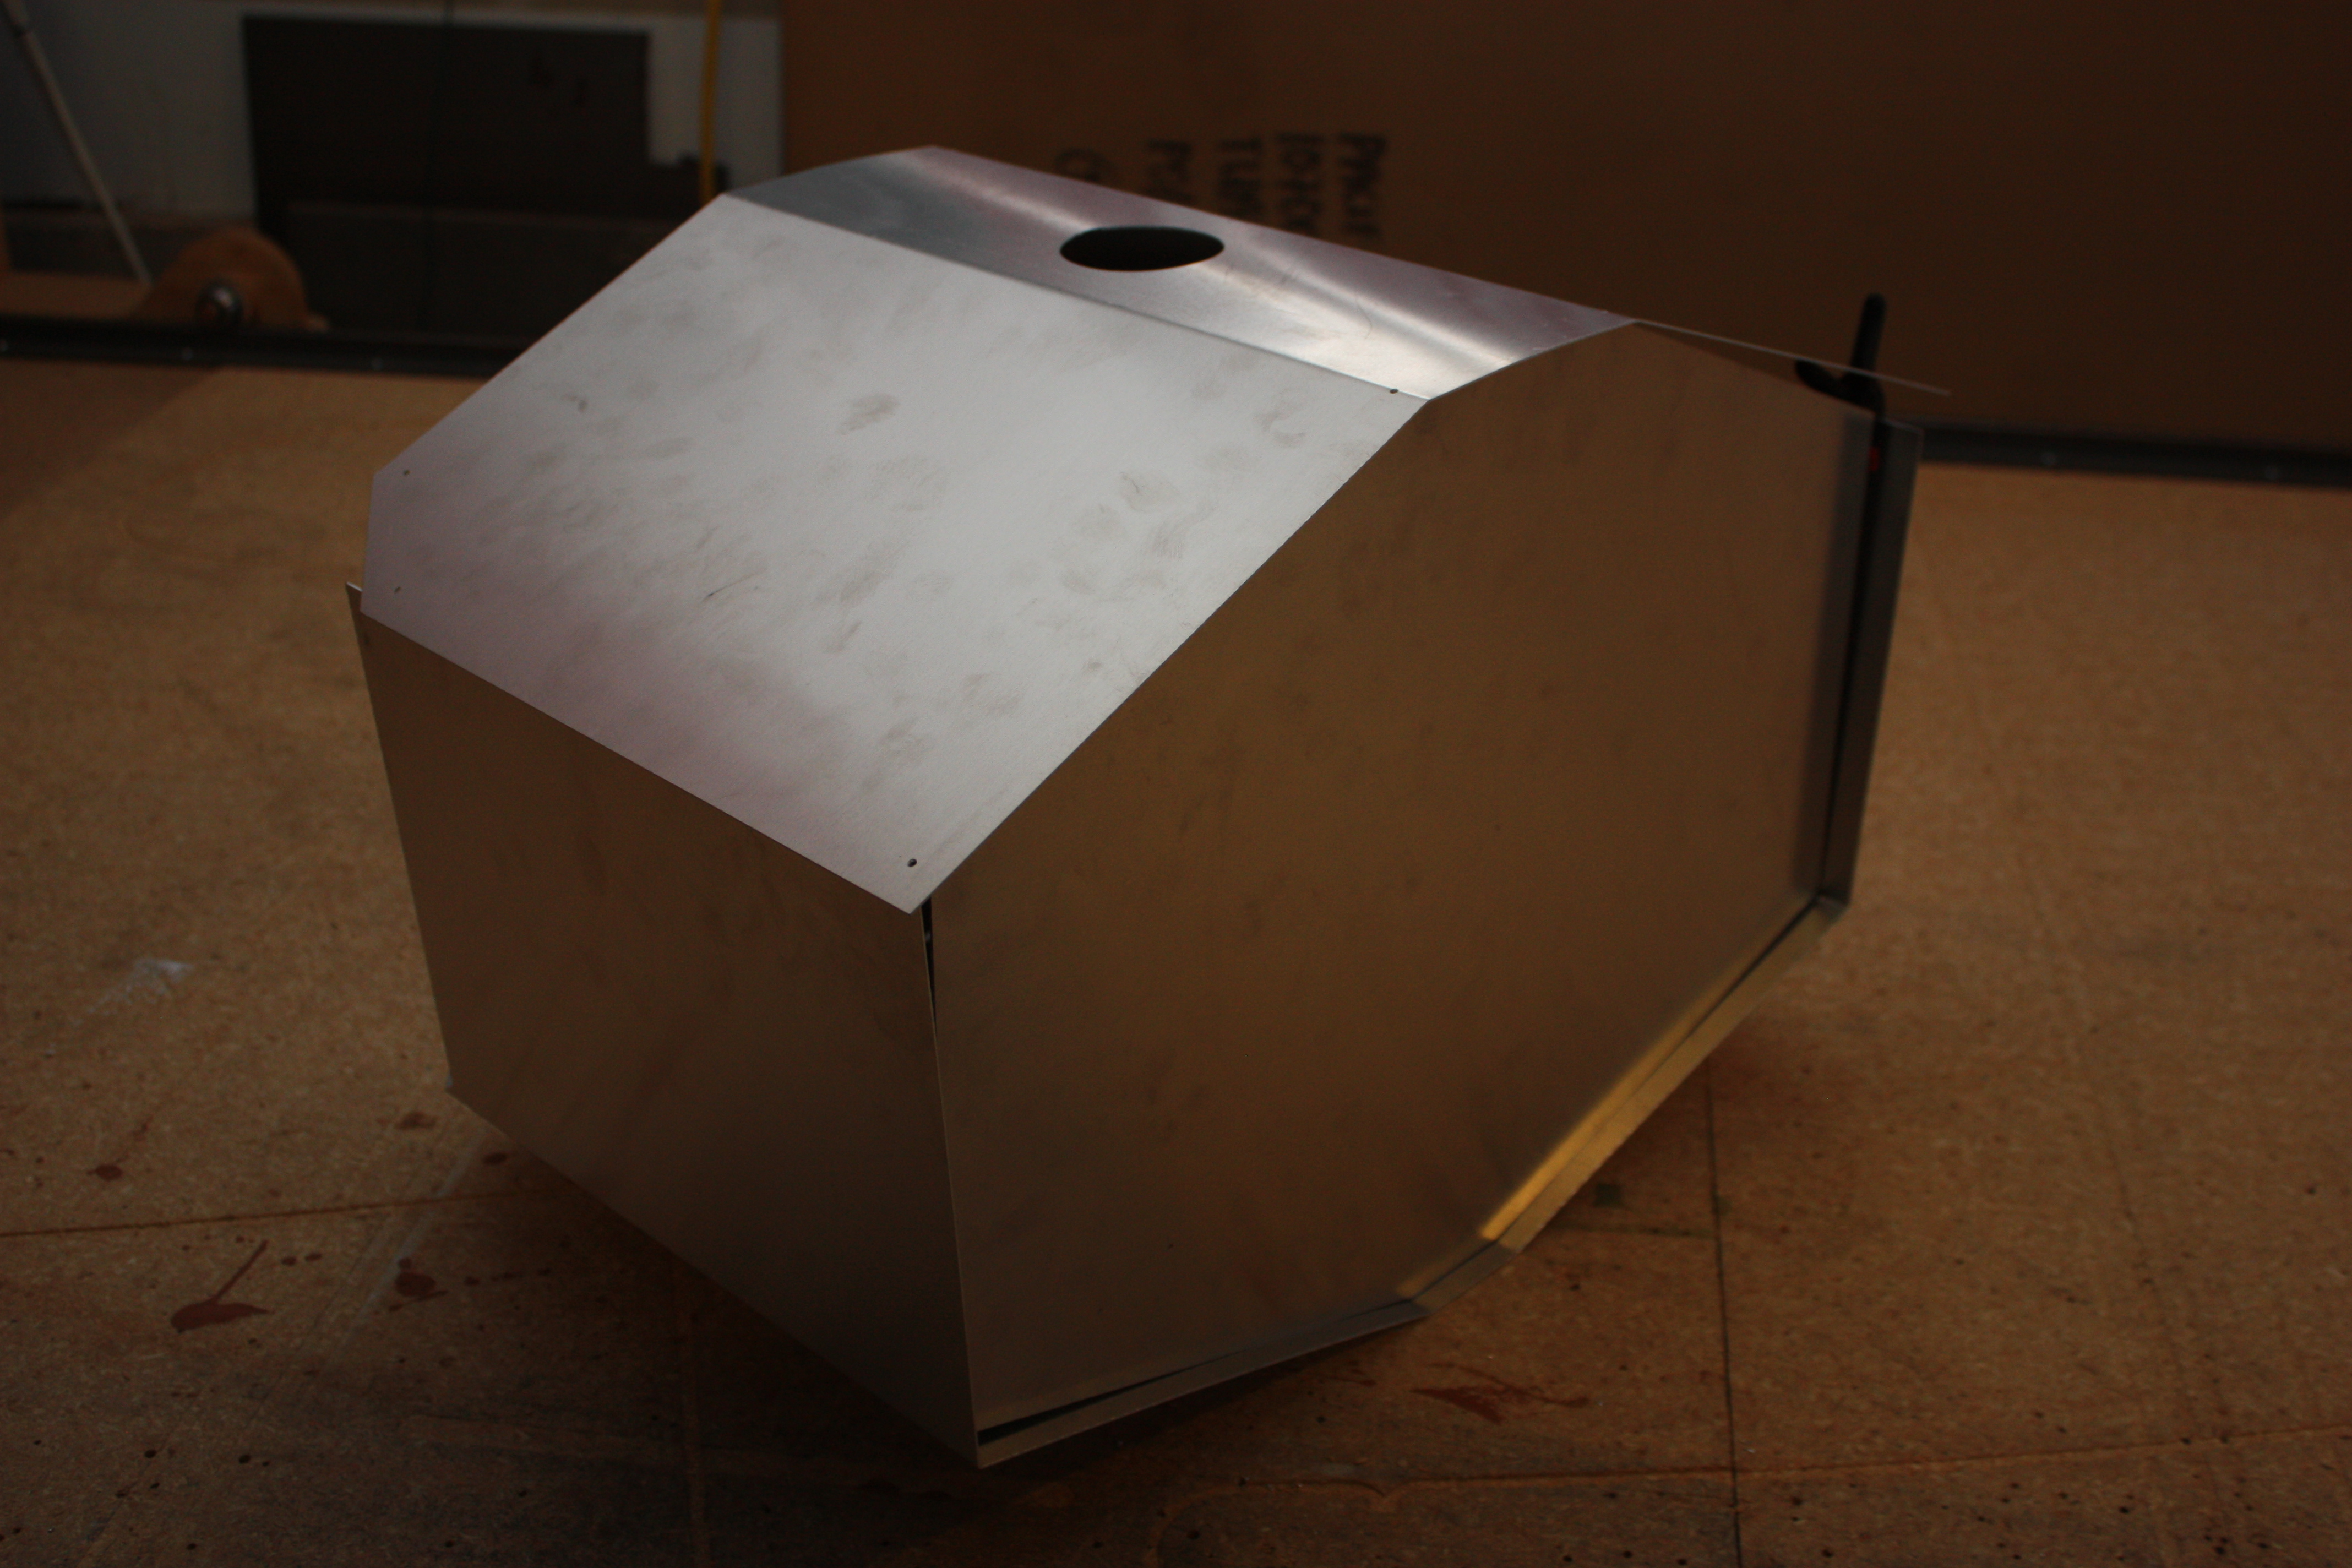
I then thought it might be easier to TIG weld a tank (you can start laughing now). A welding guru instructed me to wrap the top and sides and weld in the fillet. It looks so pretty before it gets buggered up with my welding... and it didn't take long before I screwed it up (something like my third tack weld). And it was just impossible for a beginner to keep the TIG arc in that little fillet. So this tank turned into a practice session:
Tank #3
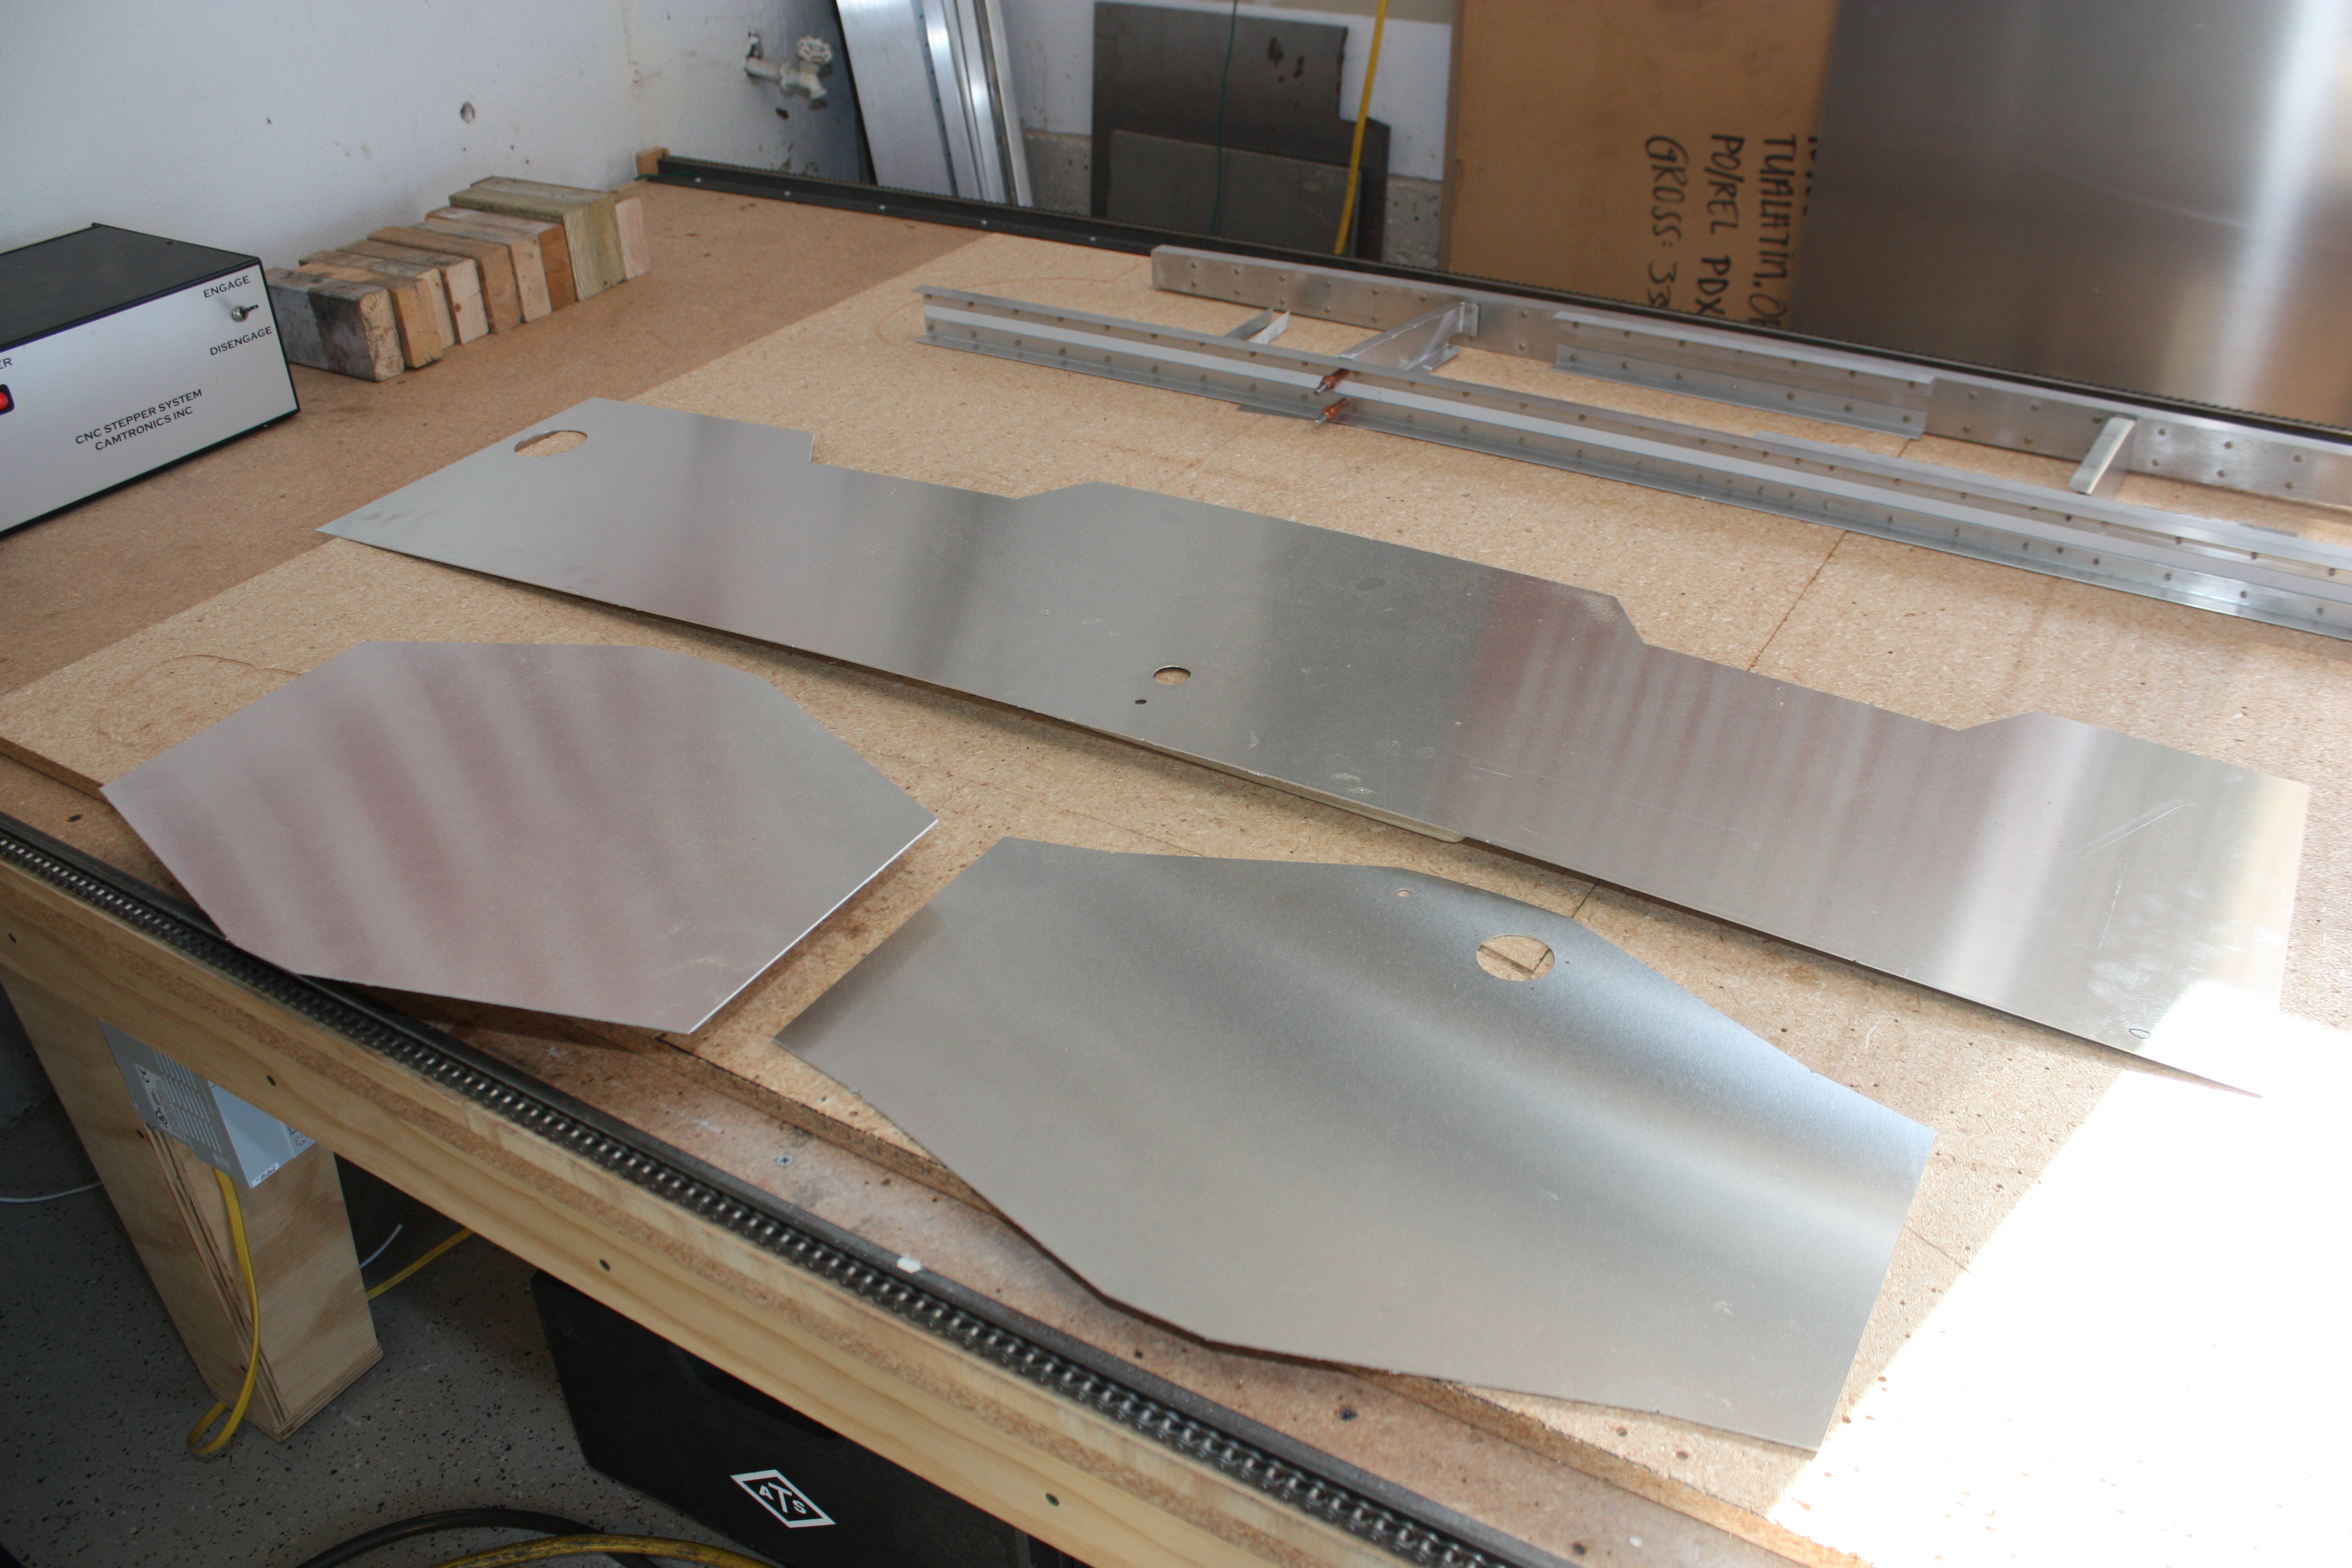
So I decided to try an edge welded tank. This turned out a little better, but it was still a failure. Cut the parts:
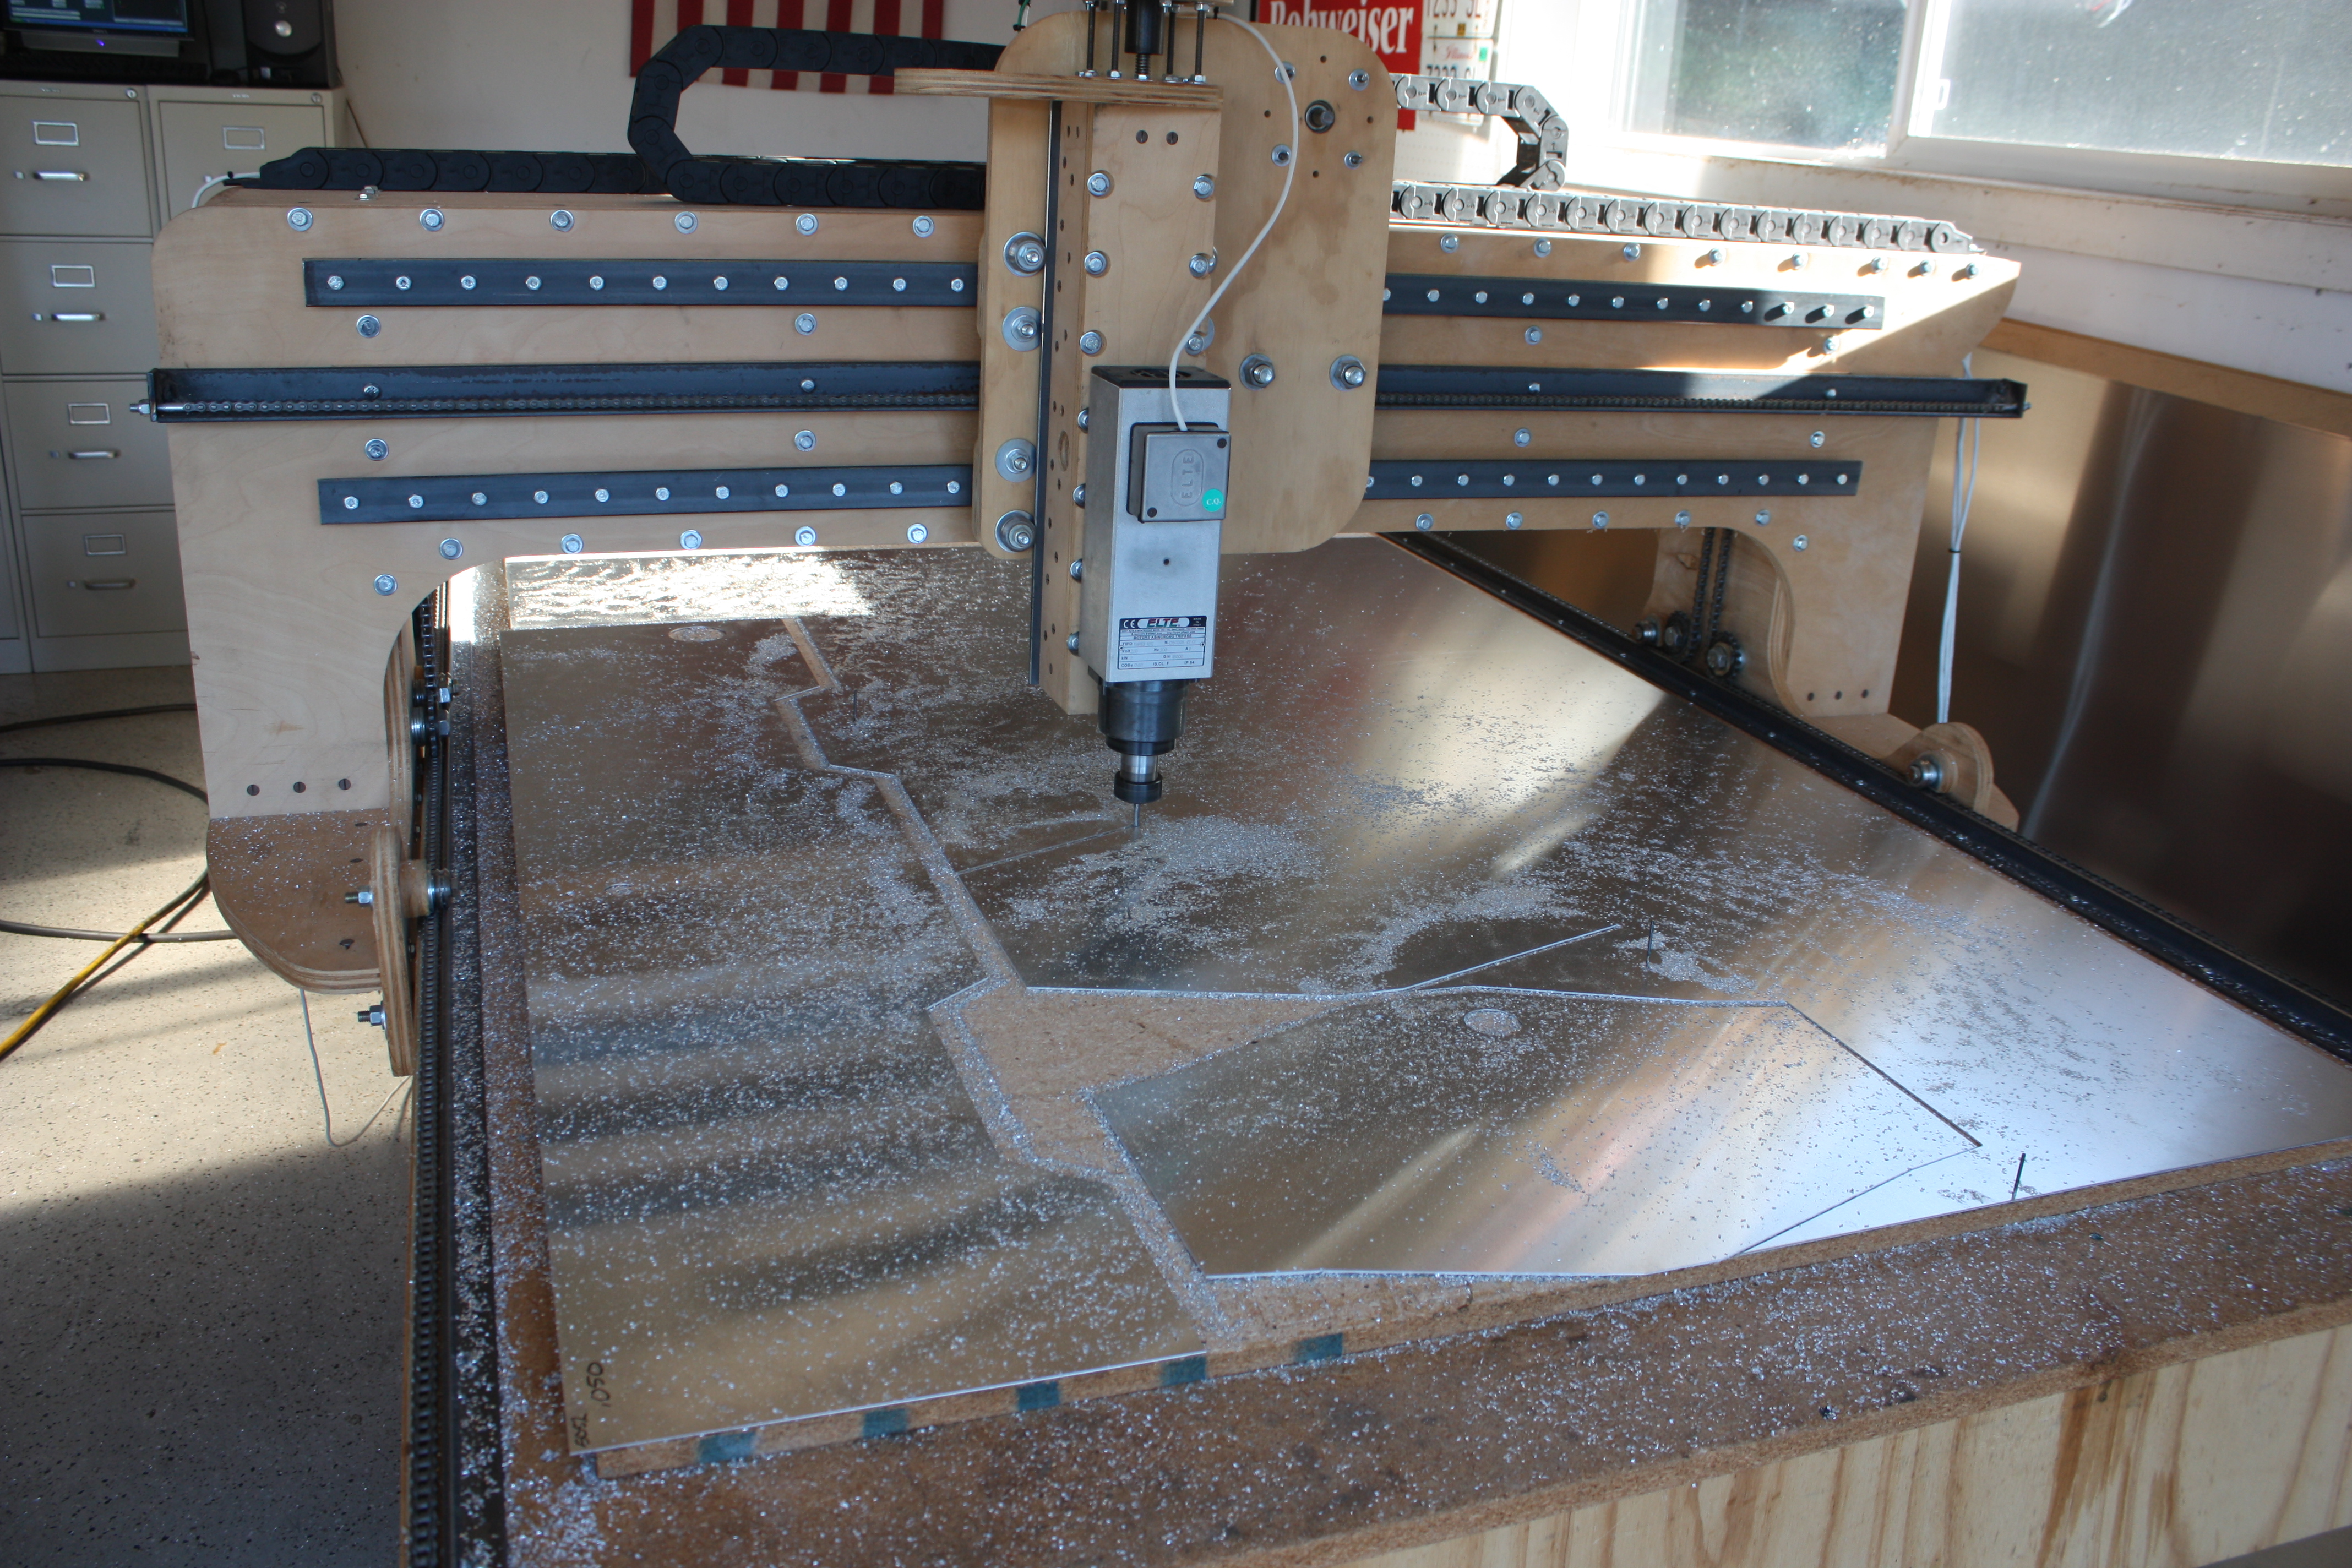
Clean the parts. Bend the parts. Ruin the parts:
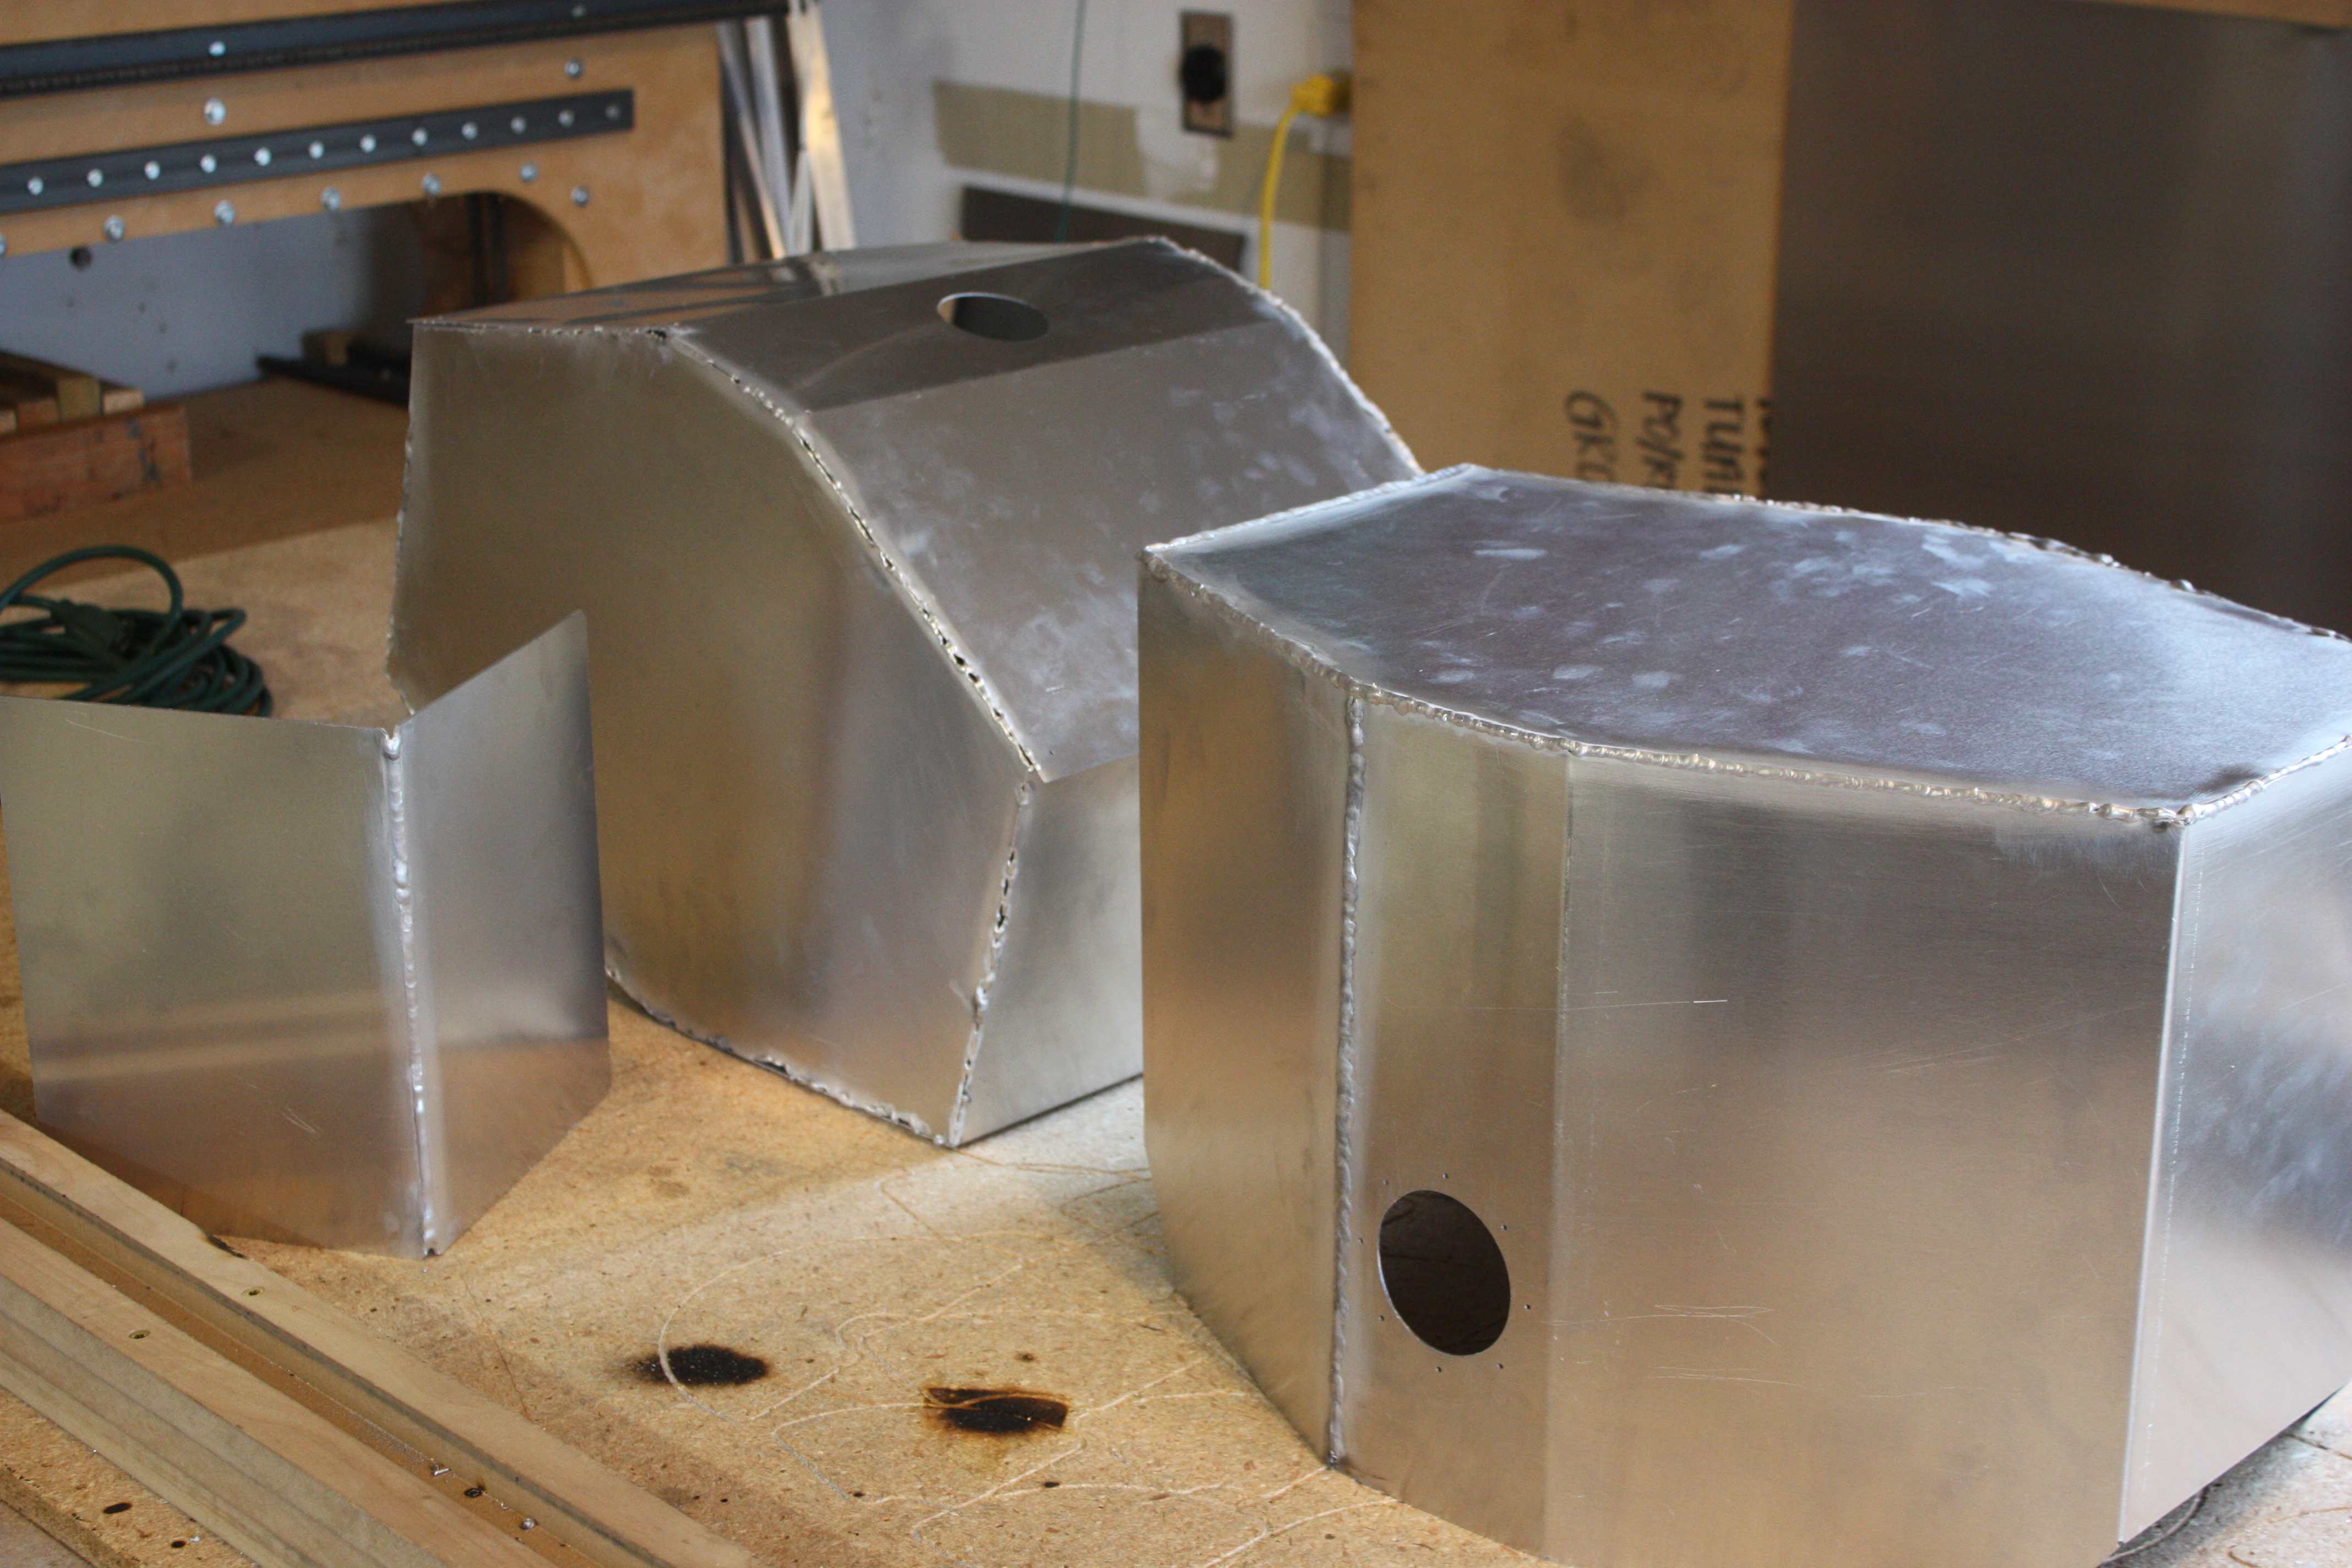
Below is a picture of my first welding tank (in the back) and my second try. Notice that the second try was pretty good, but was still full of mistakes:
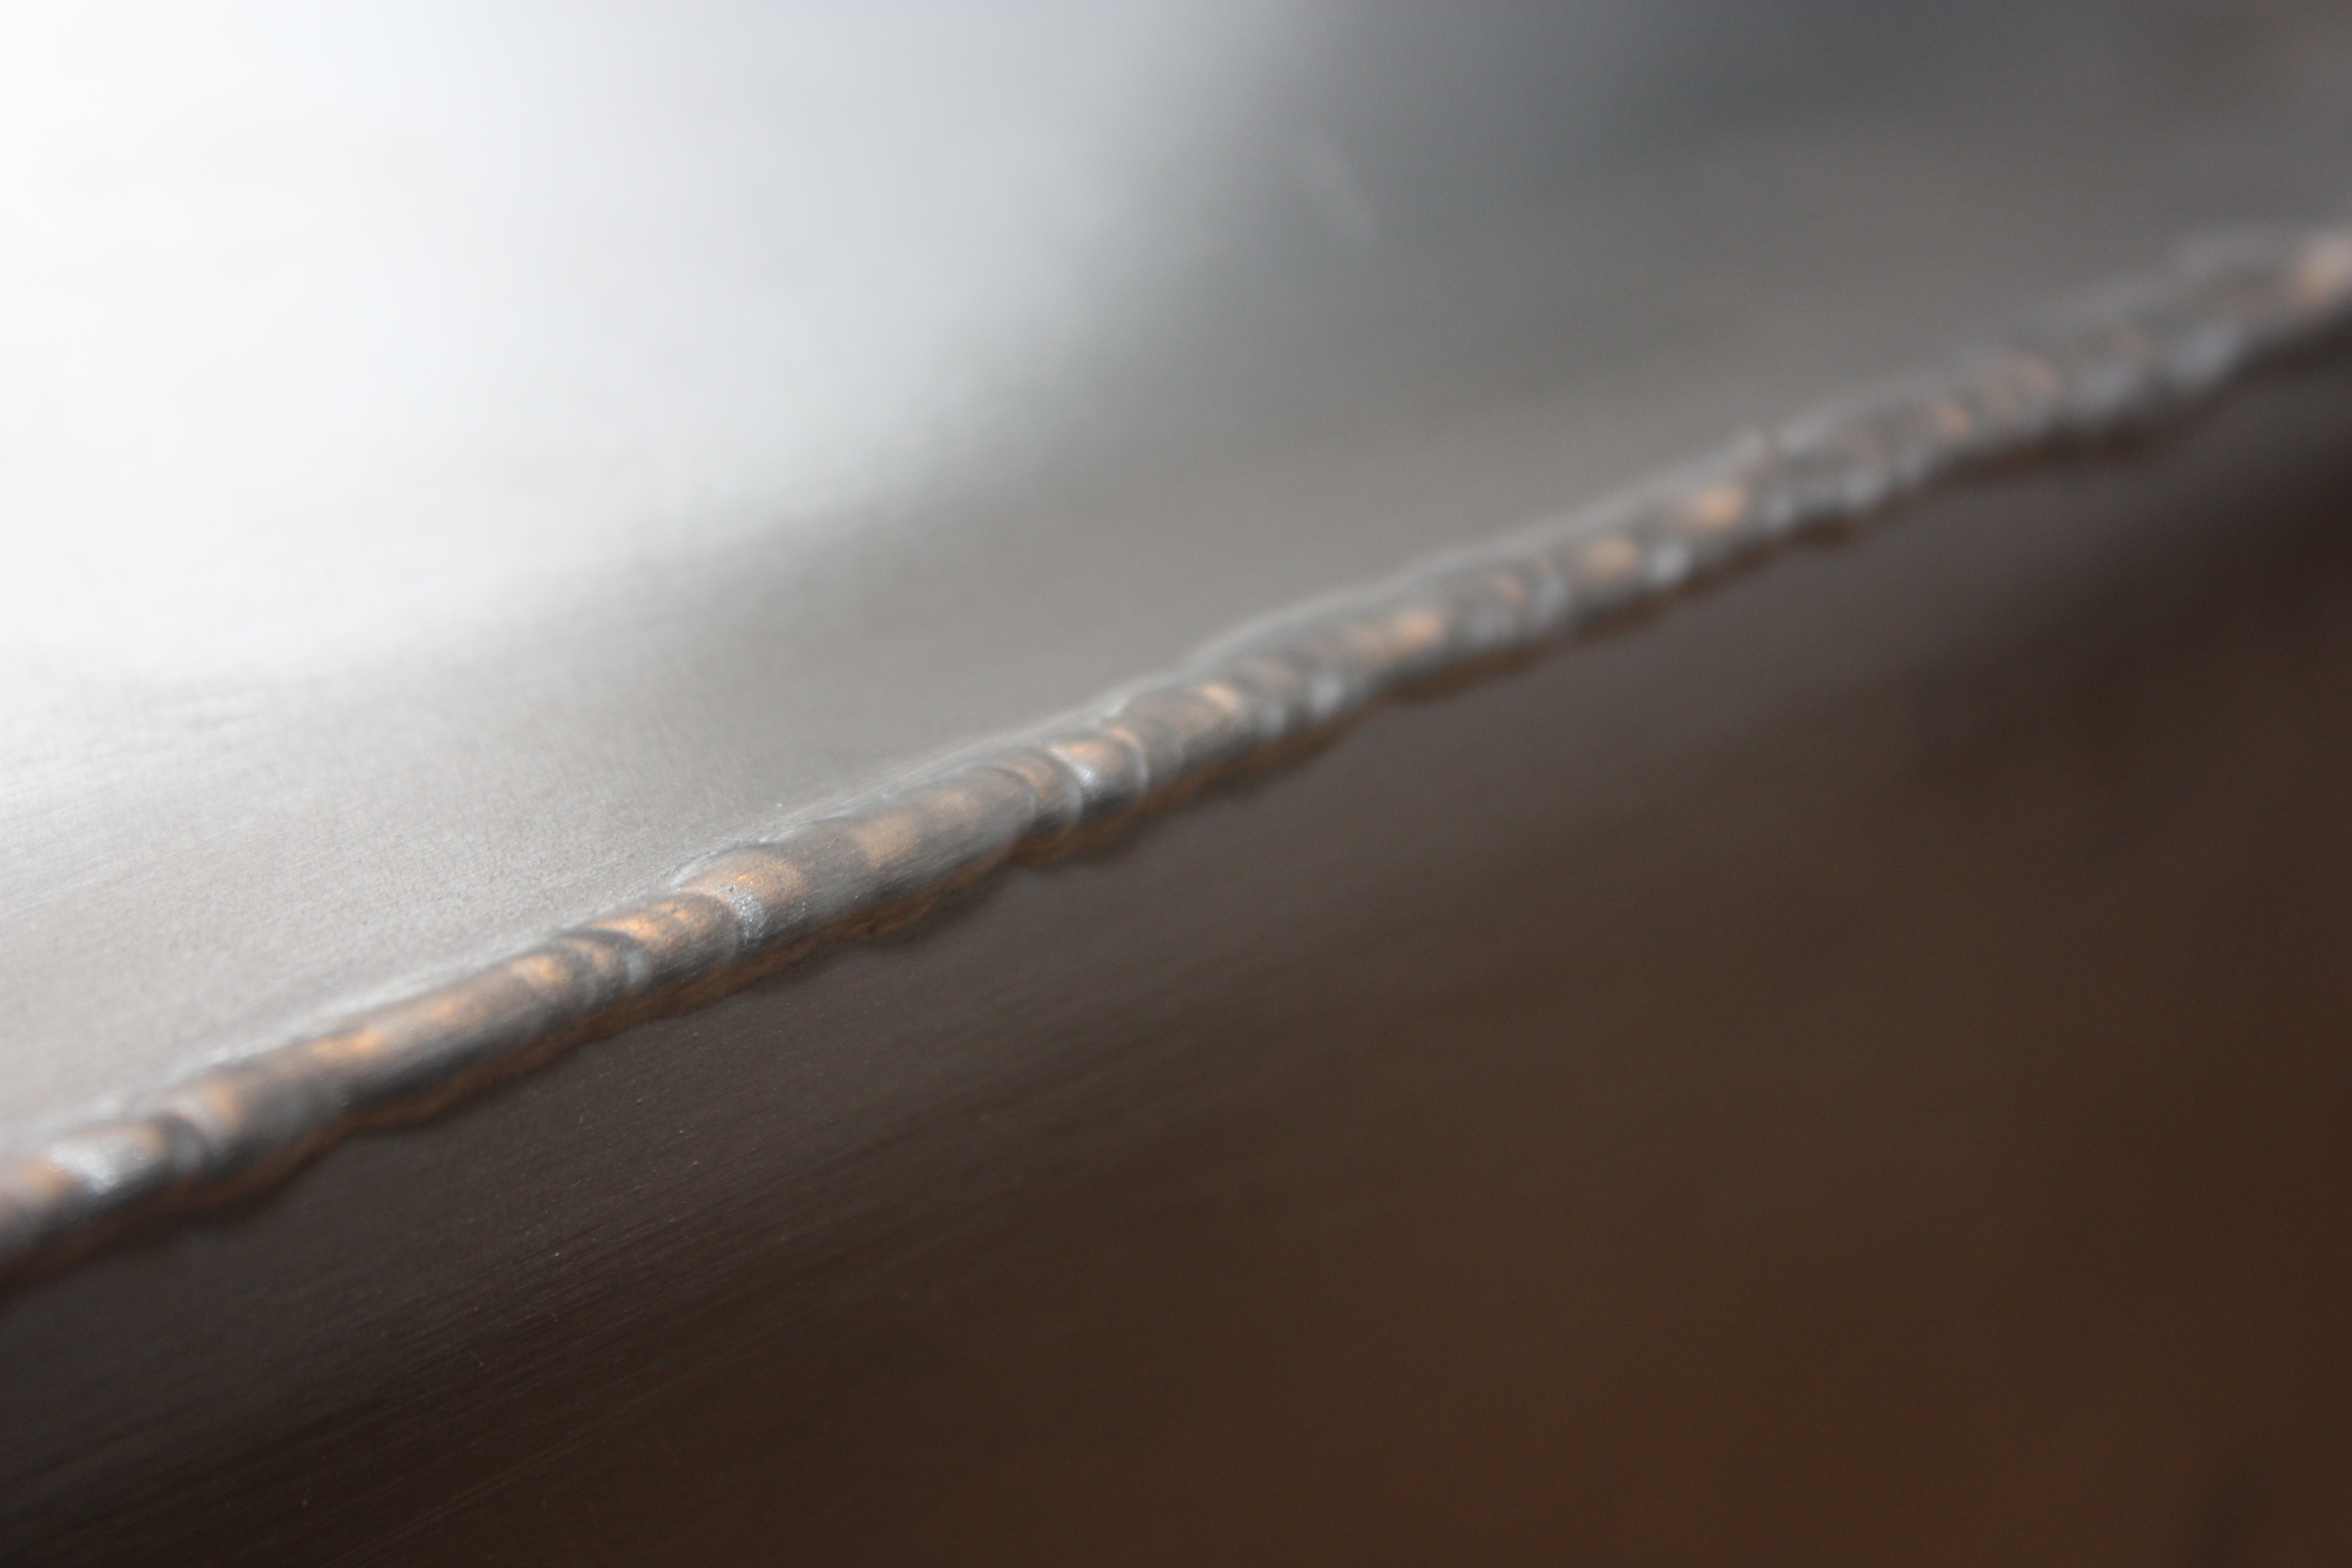
This is butt welded 0.050" aluminum and looks really nice. But you should see the other side... yikes!
Tank #4
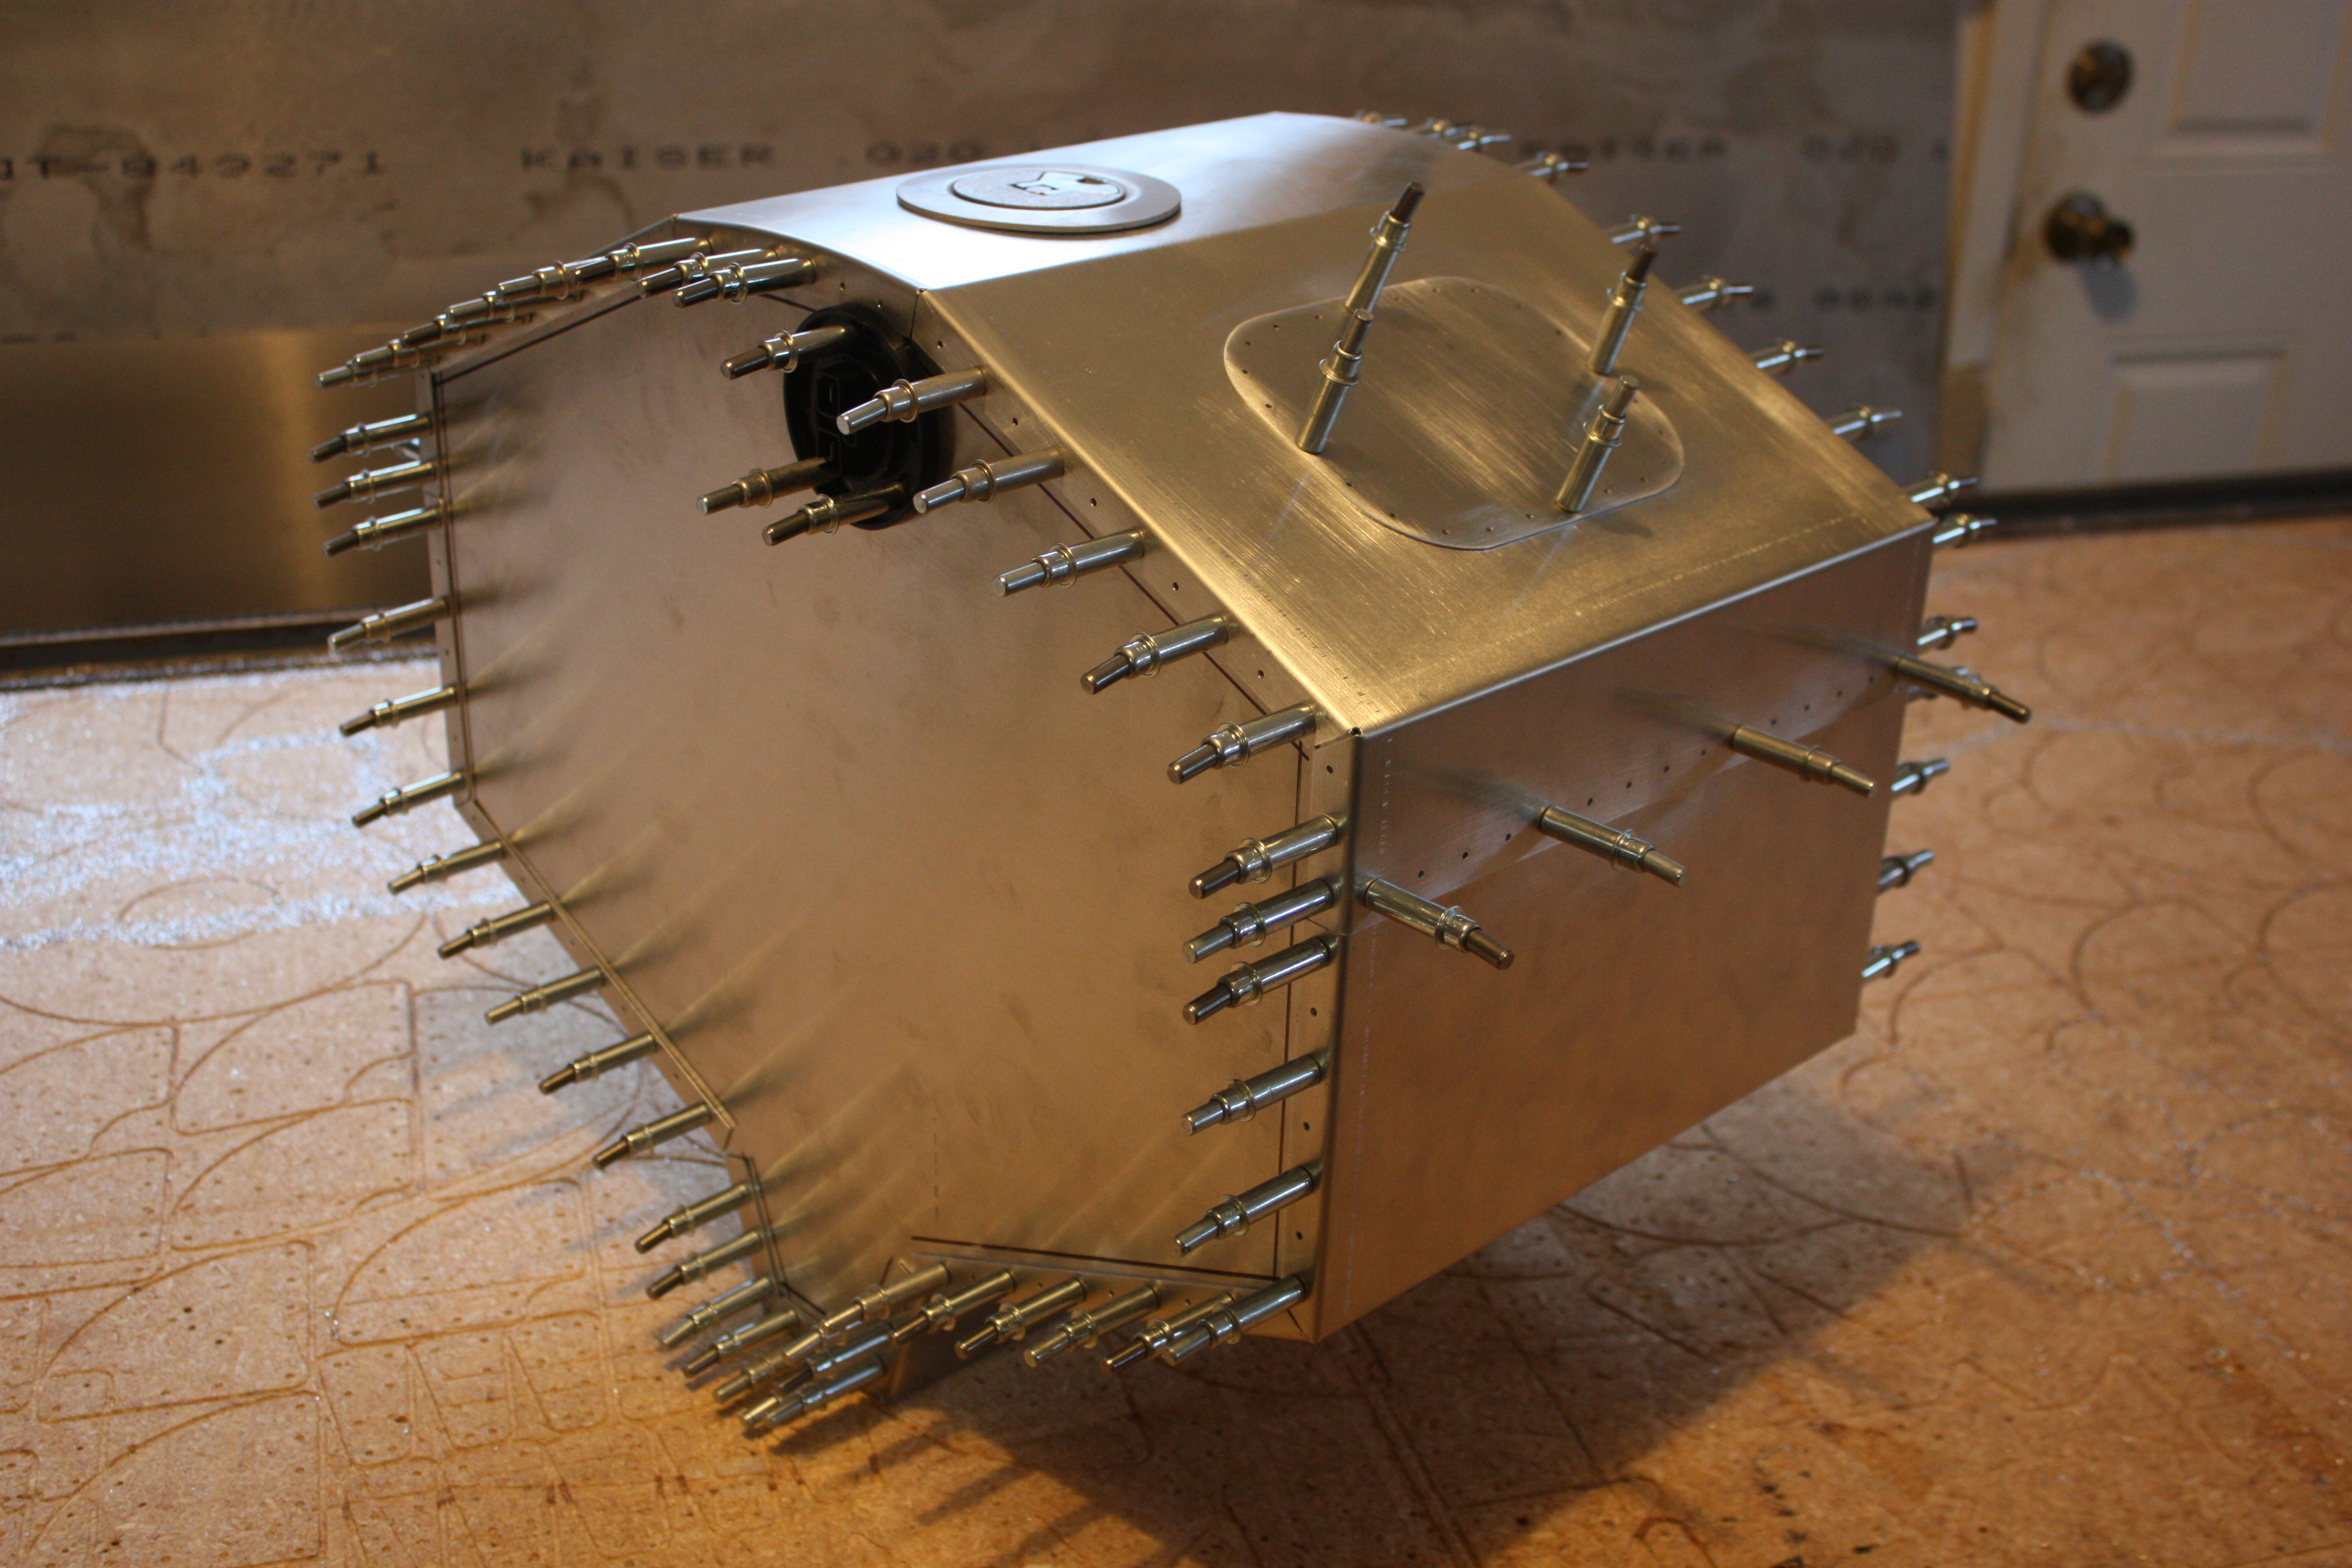
After much education in a class from the School of Hard Knocks... I decided to just go back to my original plan and rivet and seal the tank. I also decided to include a sump in this design:
Using the proper bend radius and a little more planning ahead, this one turned out just fine:
Engine Mount
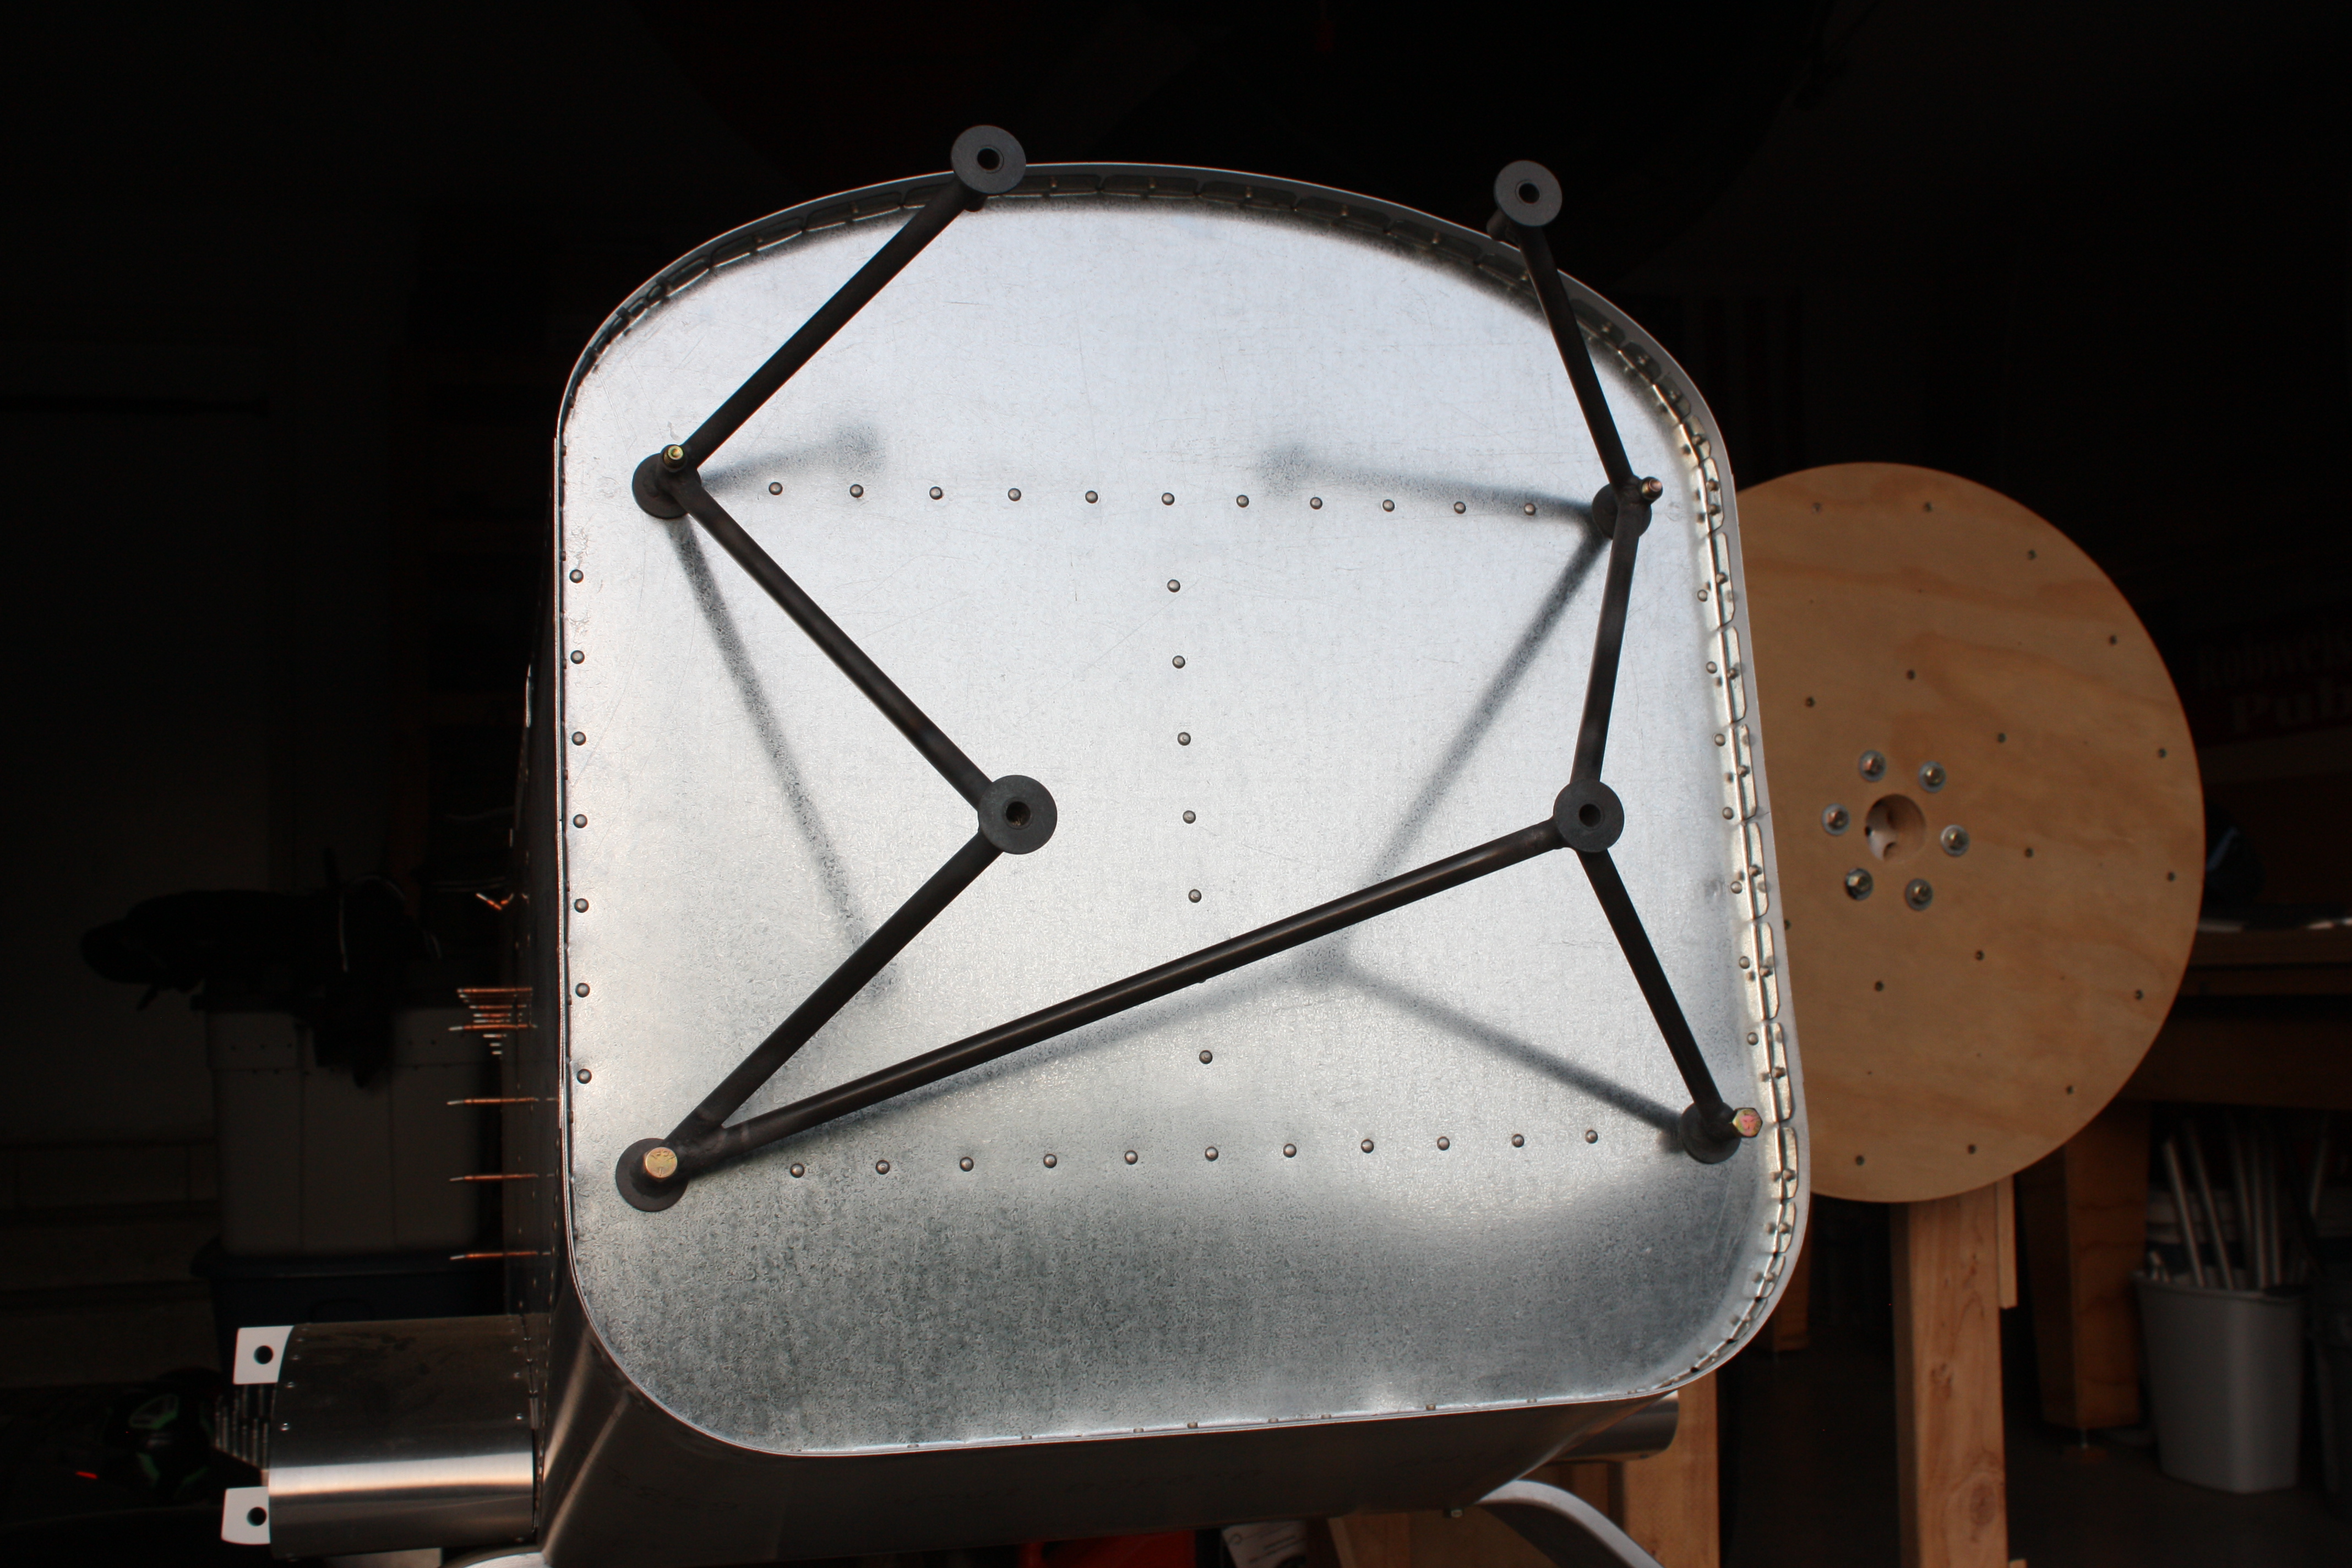
April 2014
Mount Spools
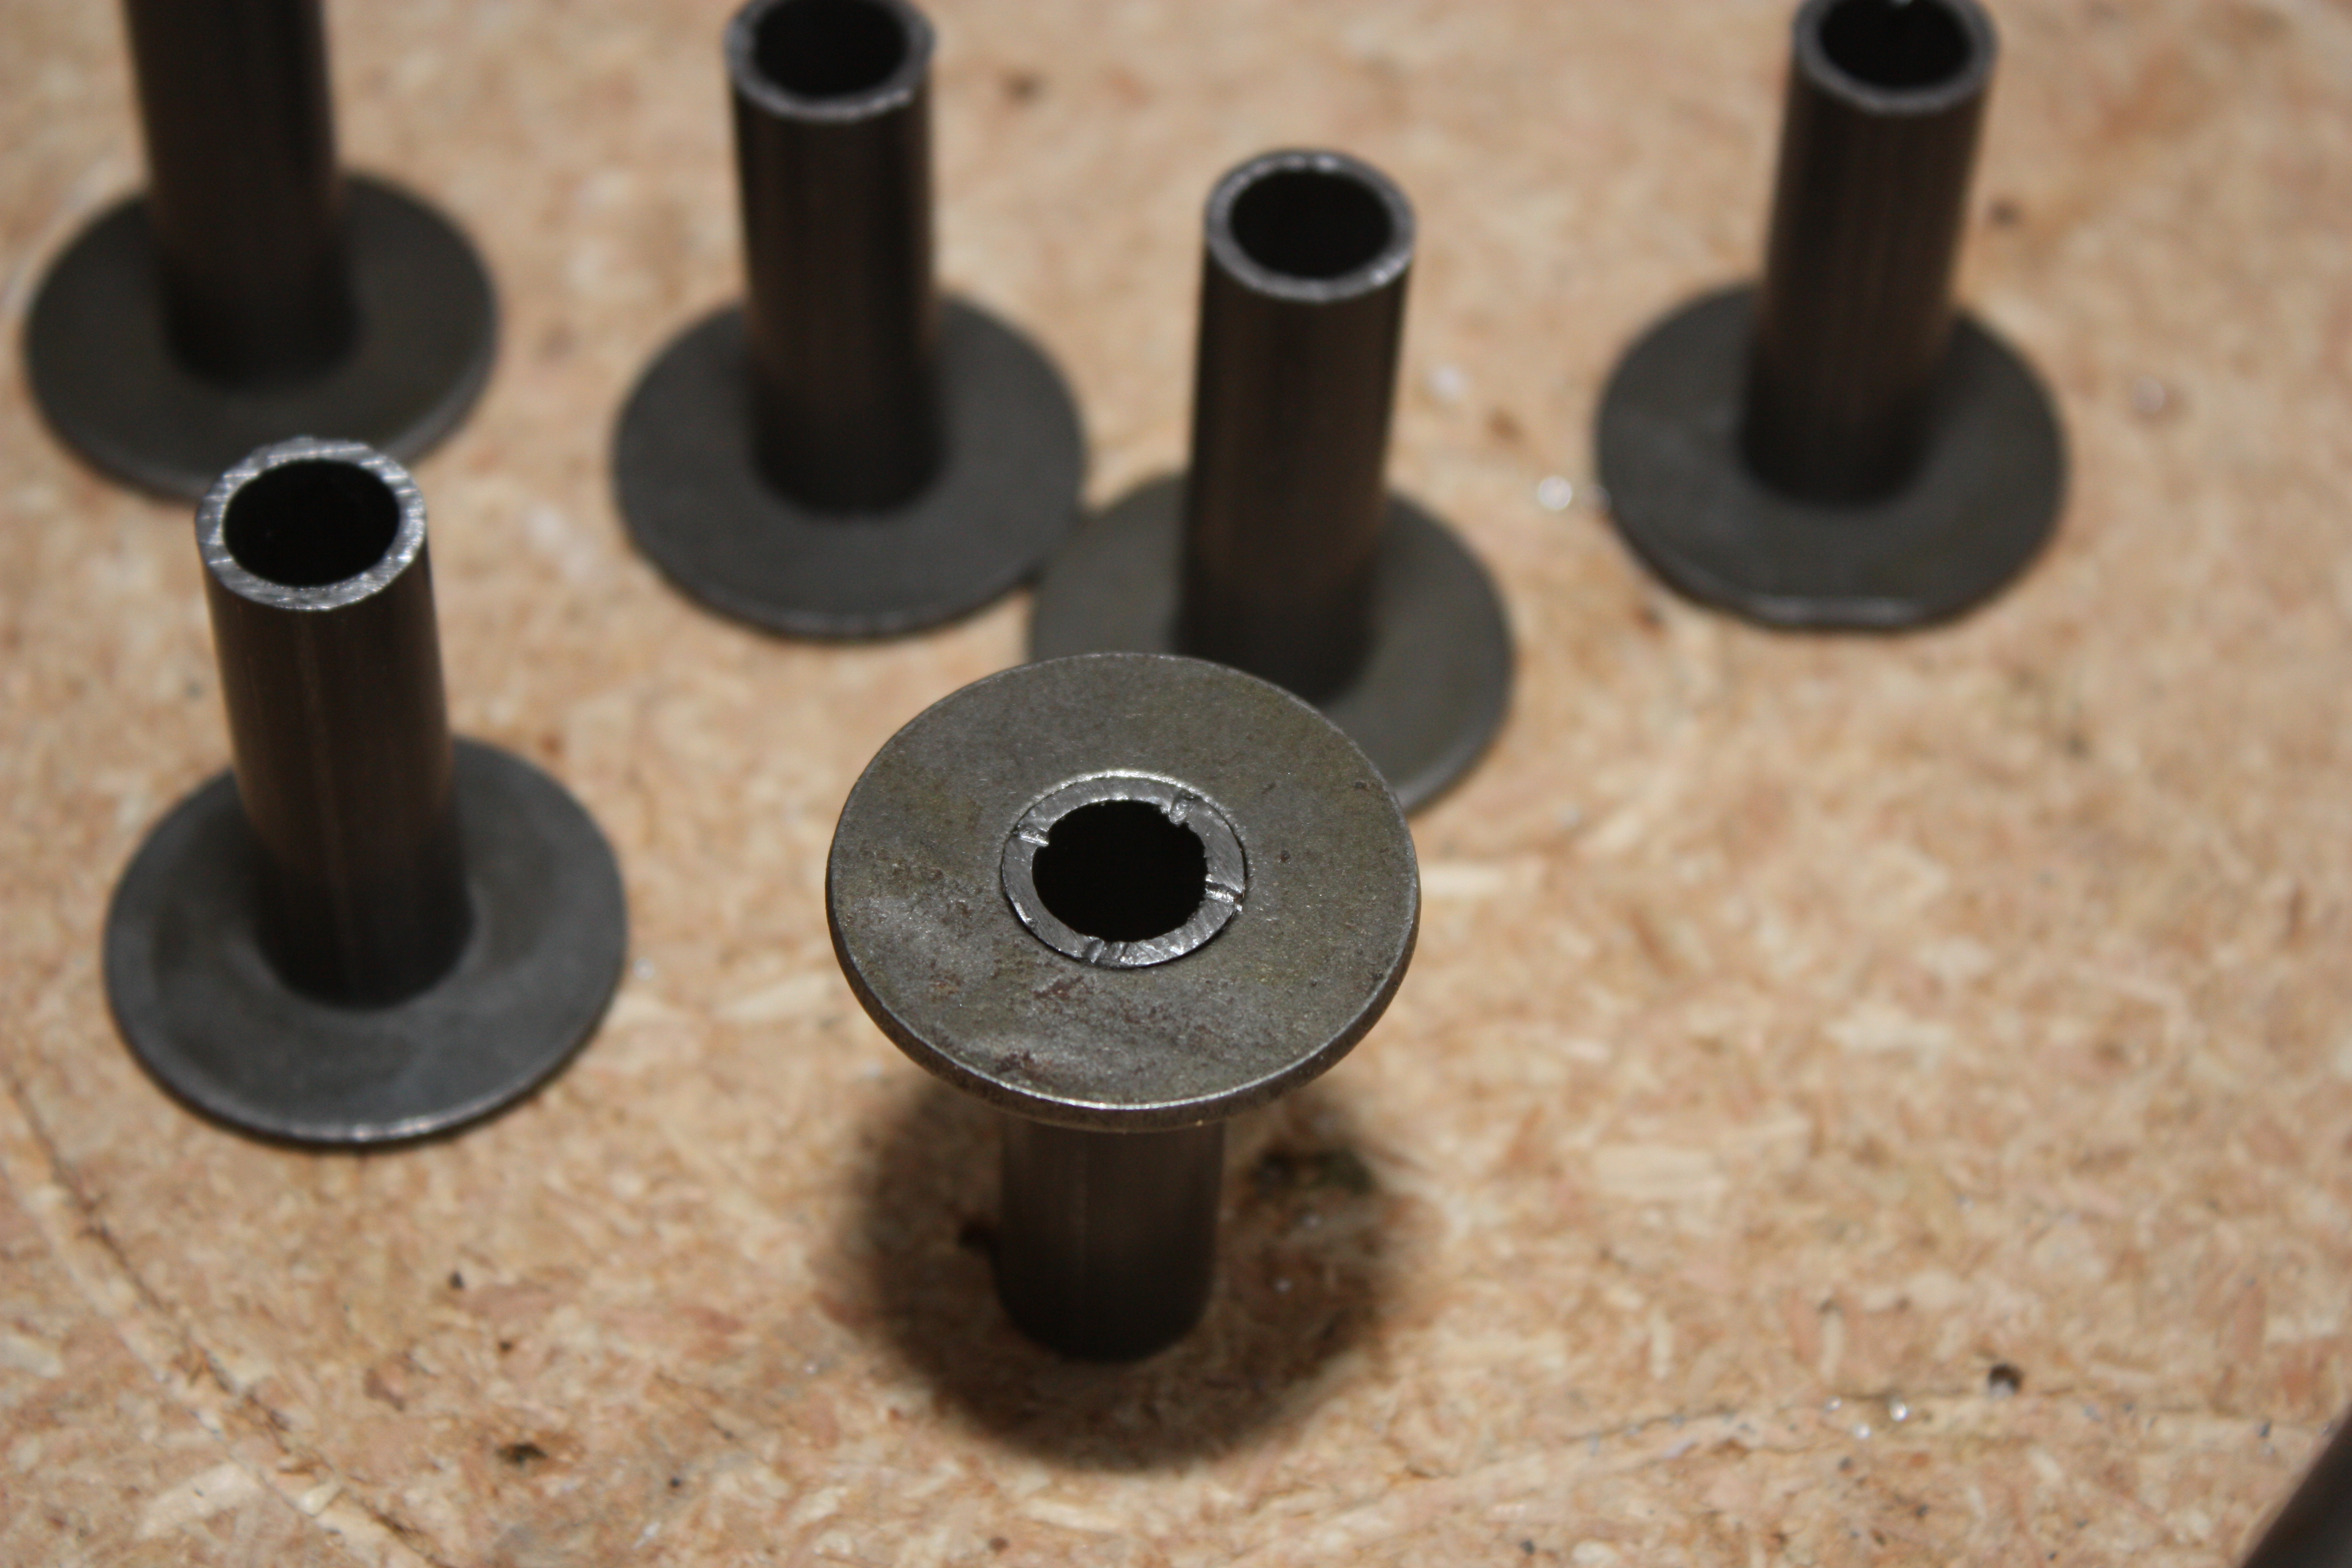
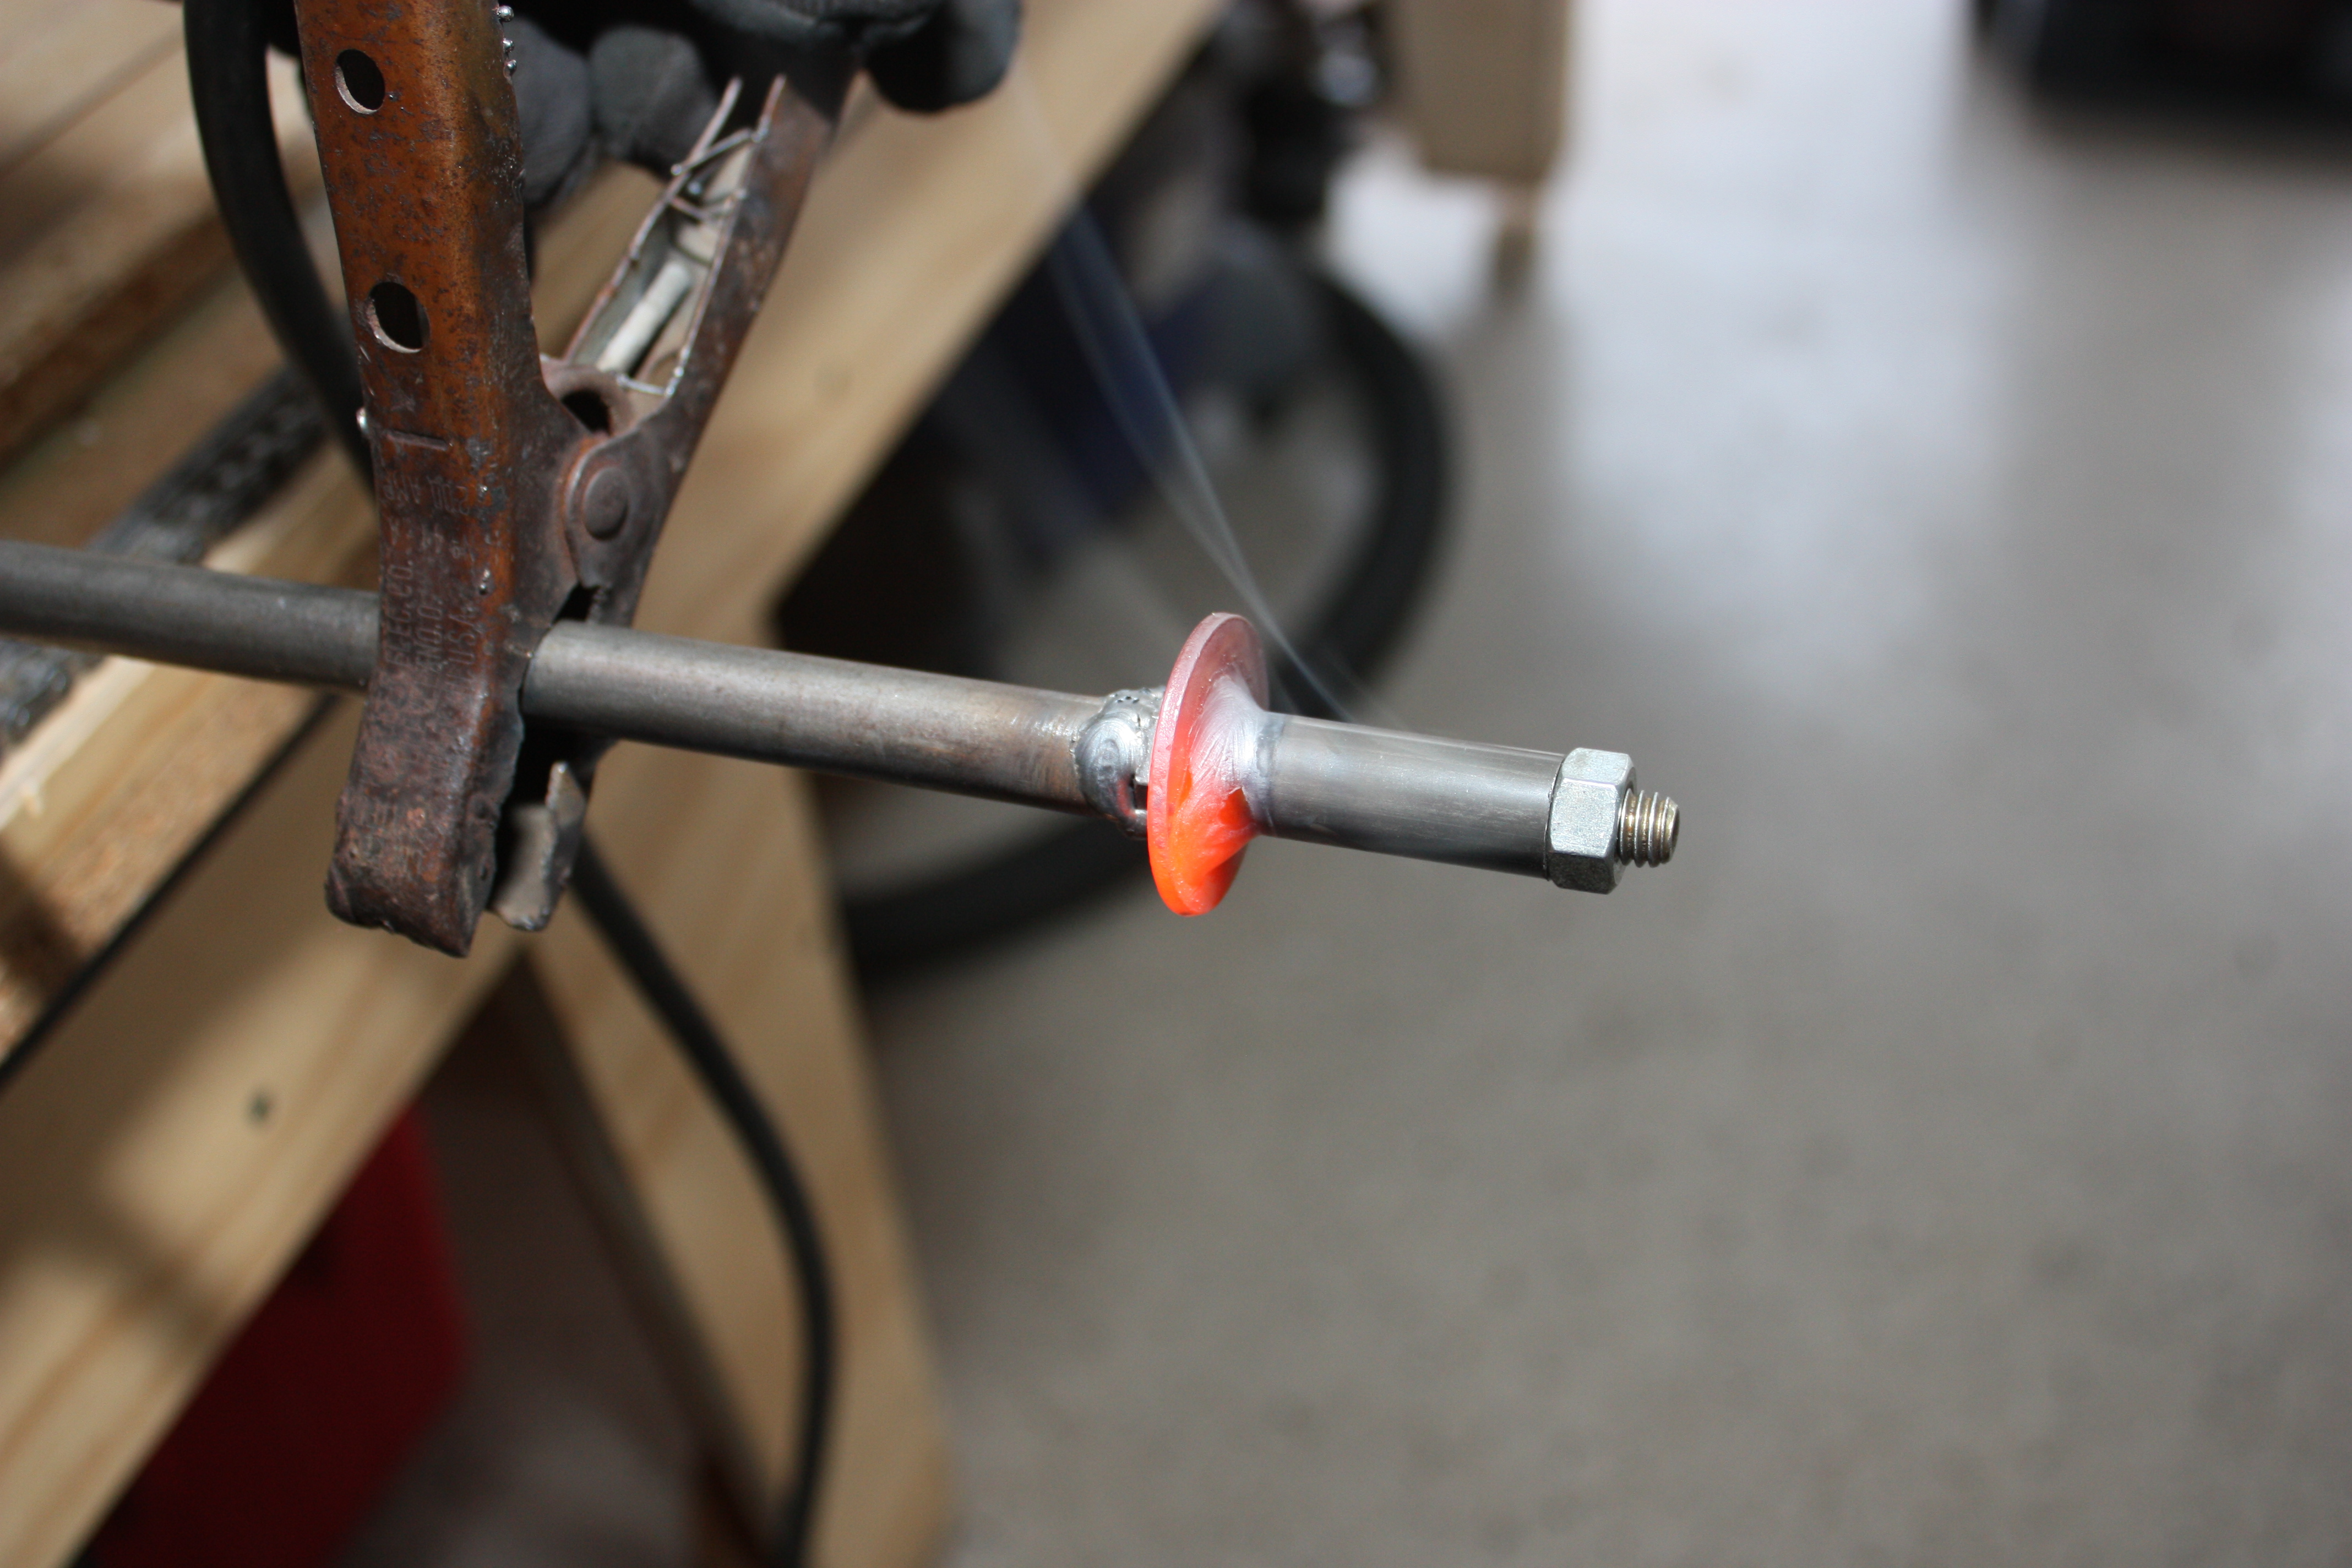
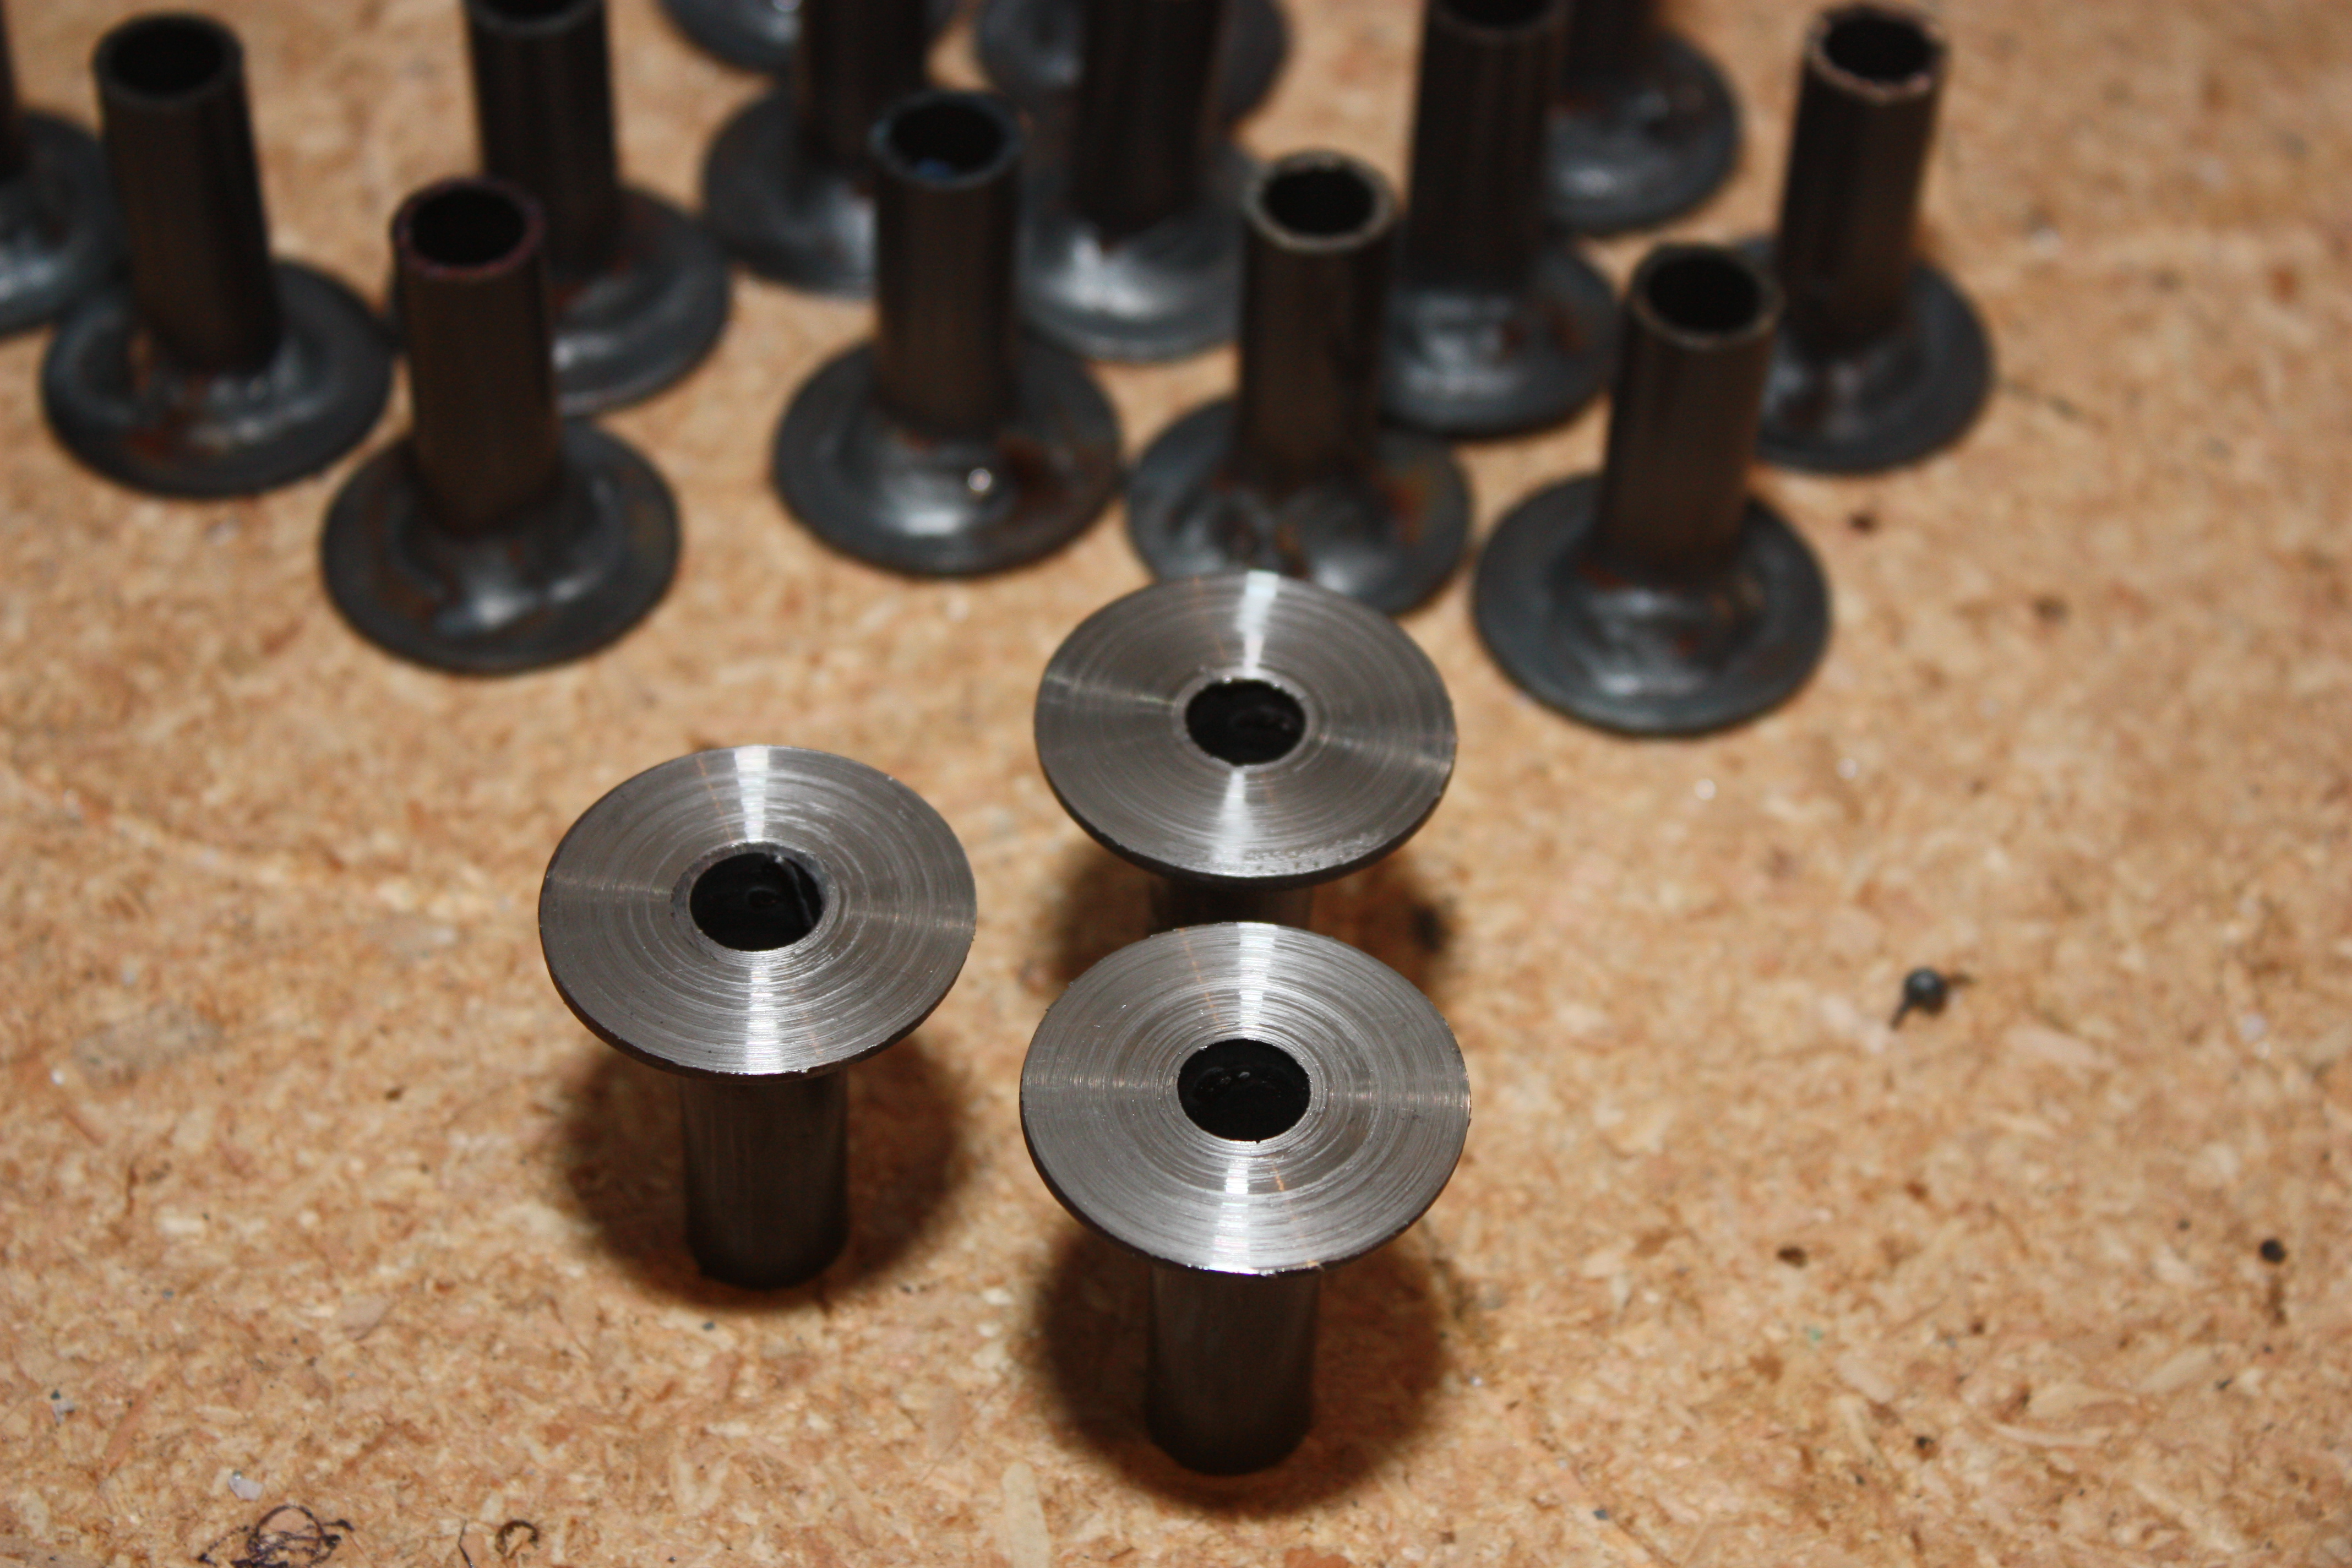
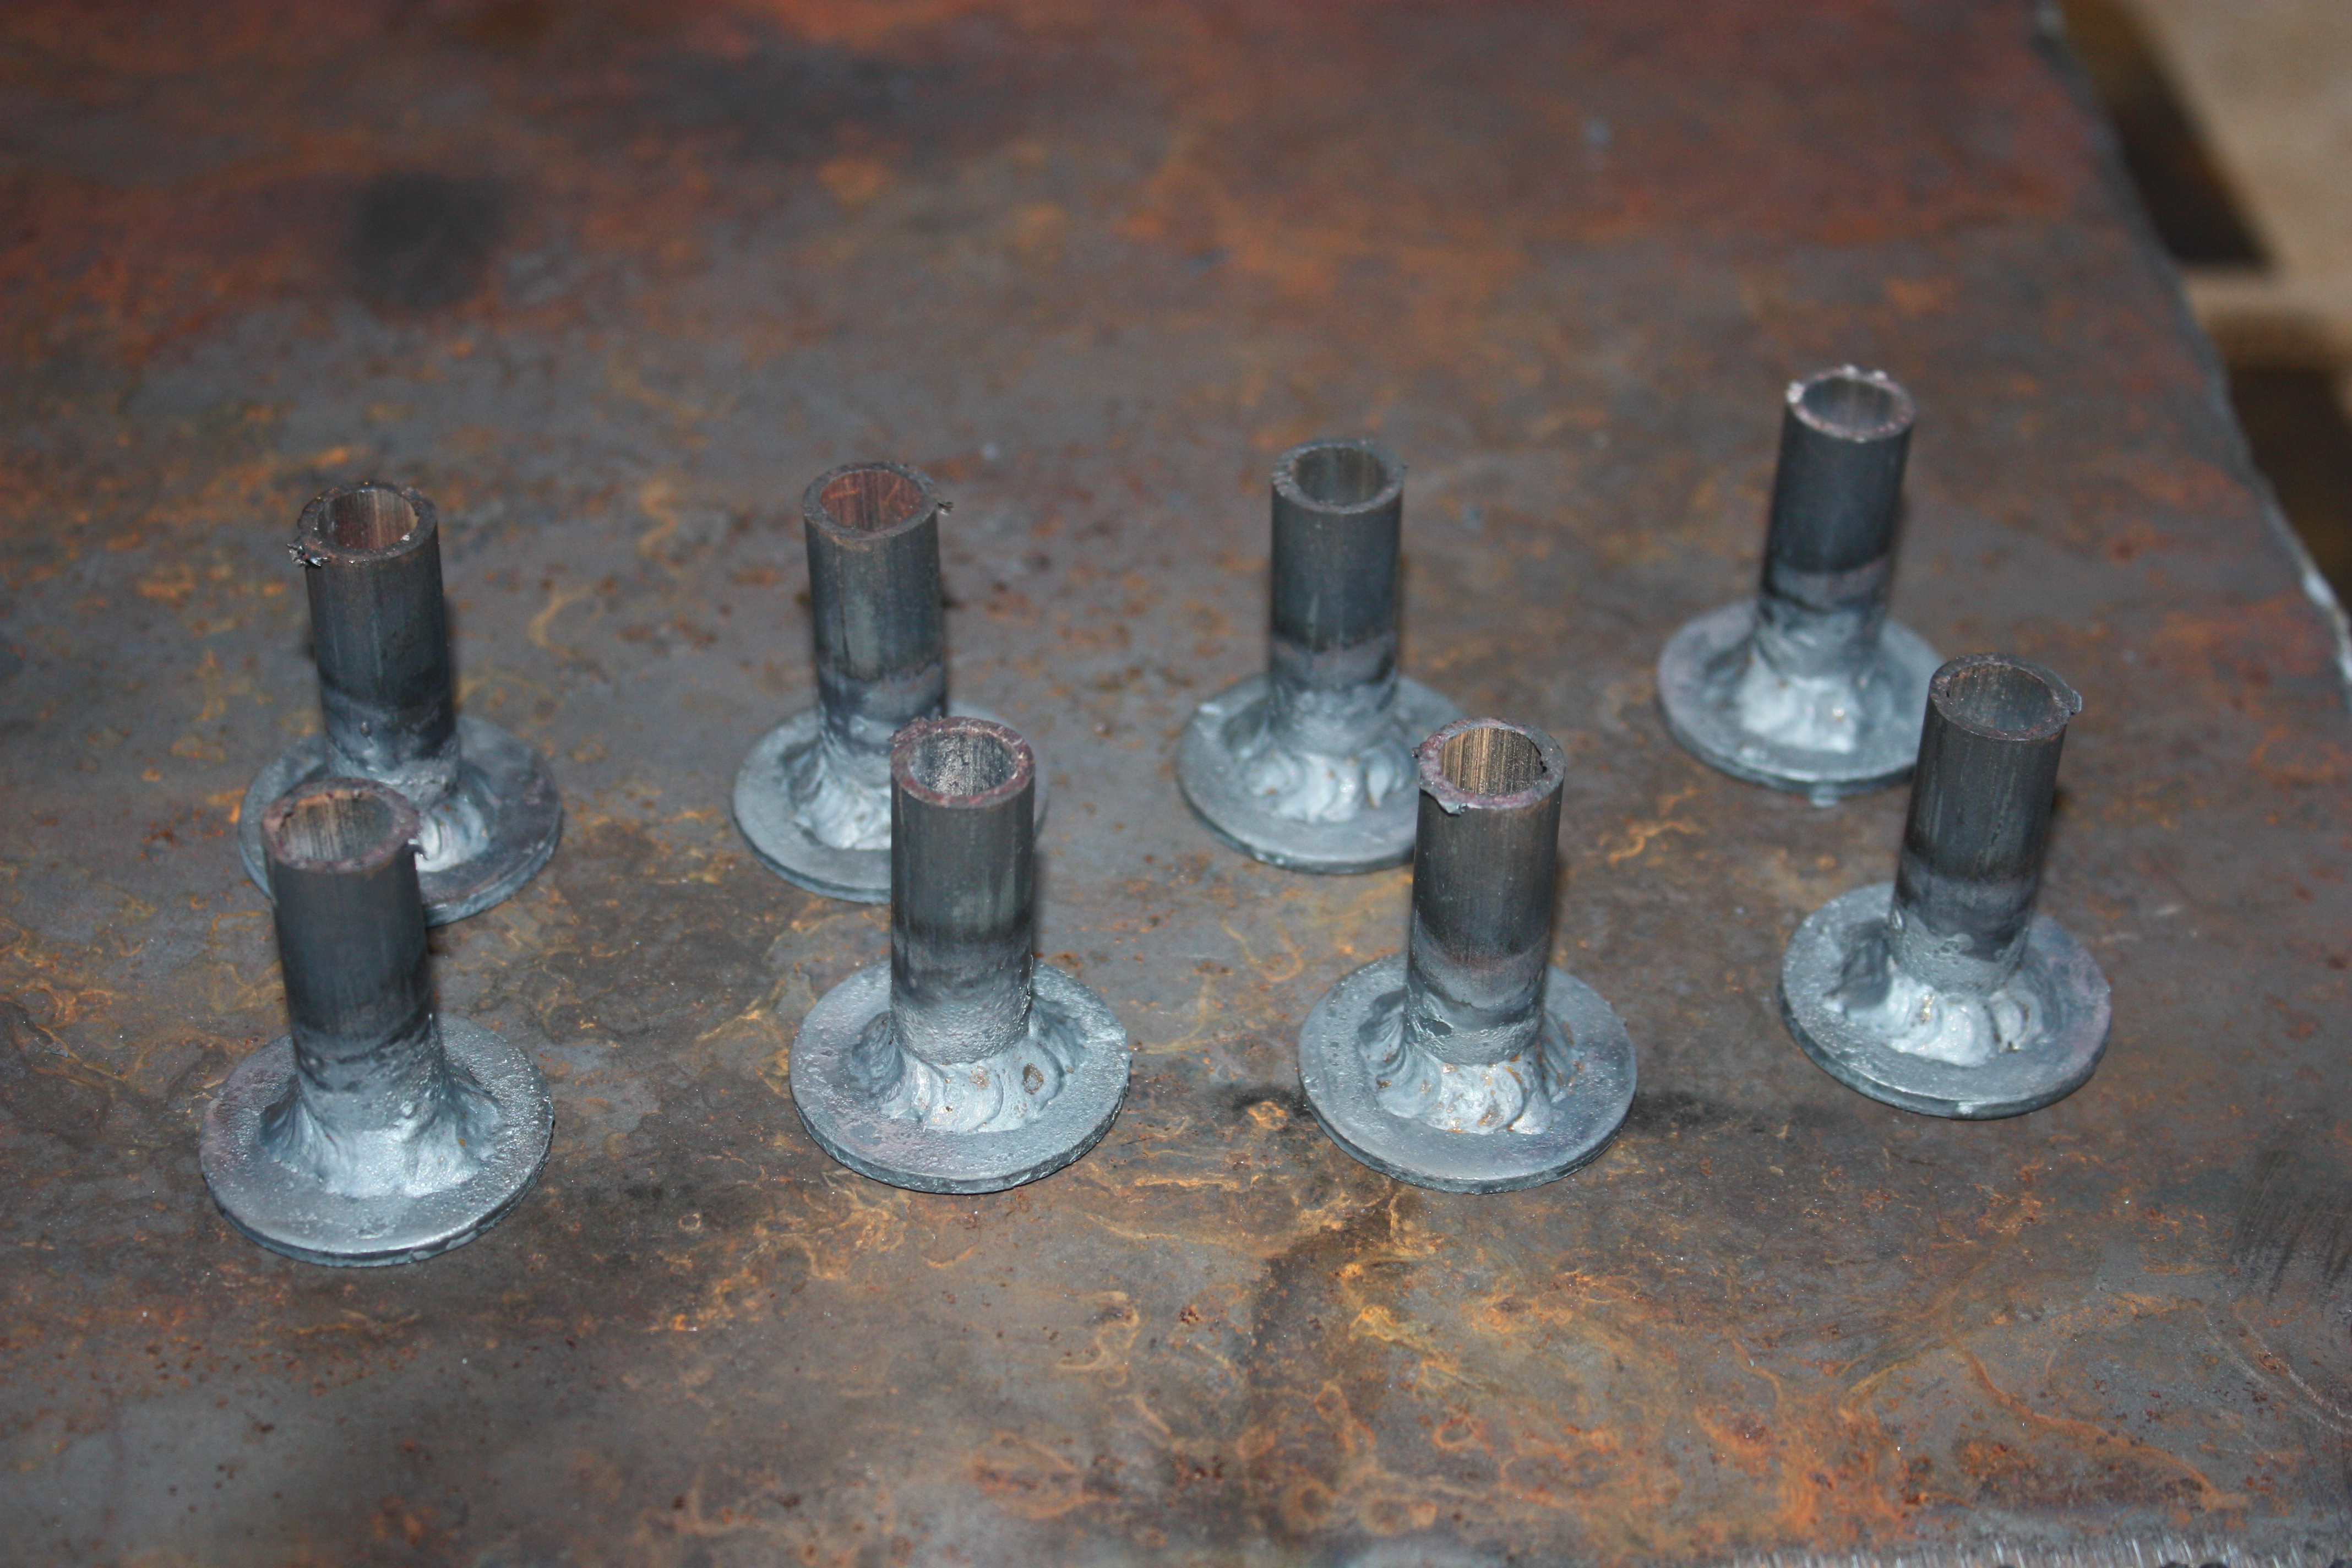
So this project started with cutting a bunch of tubing and purchasing some extra thick and unplated washers. To hold the washer, I hammered in some notches on the tube, and this deformed the tube just enough to wedge the washer in place.
I welded a bolt on the end of a long steel rod and this gave me a jig to hold the spool for welding.
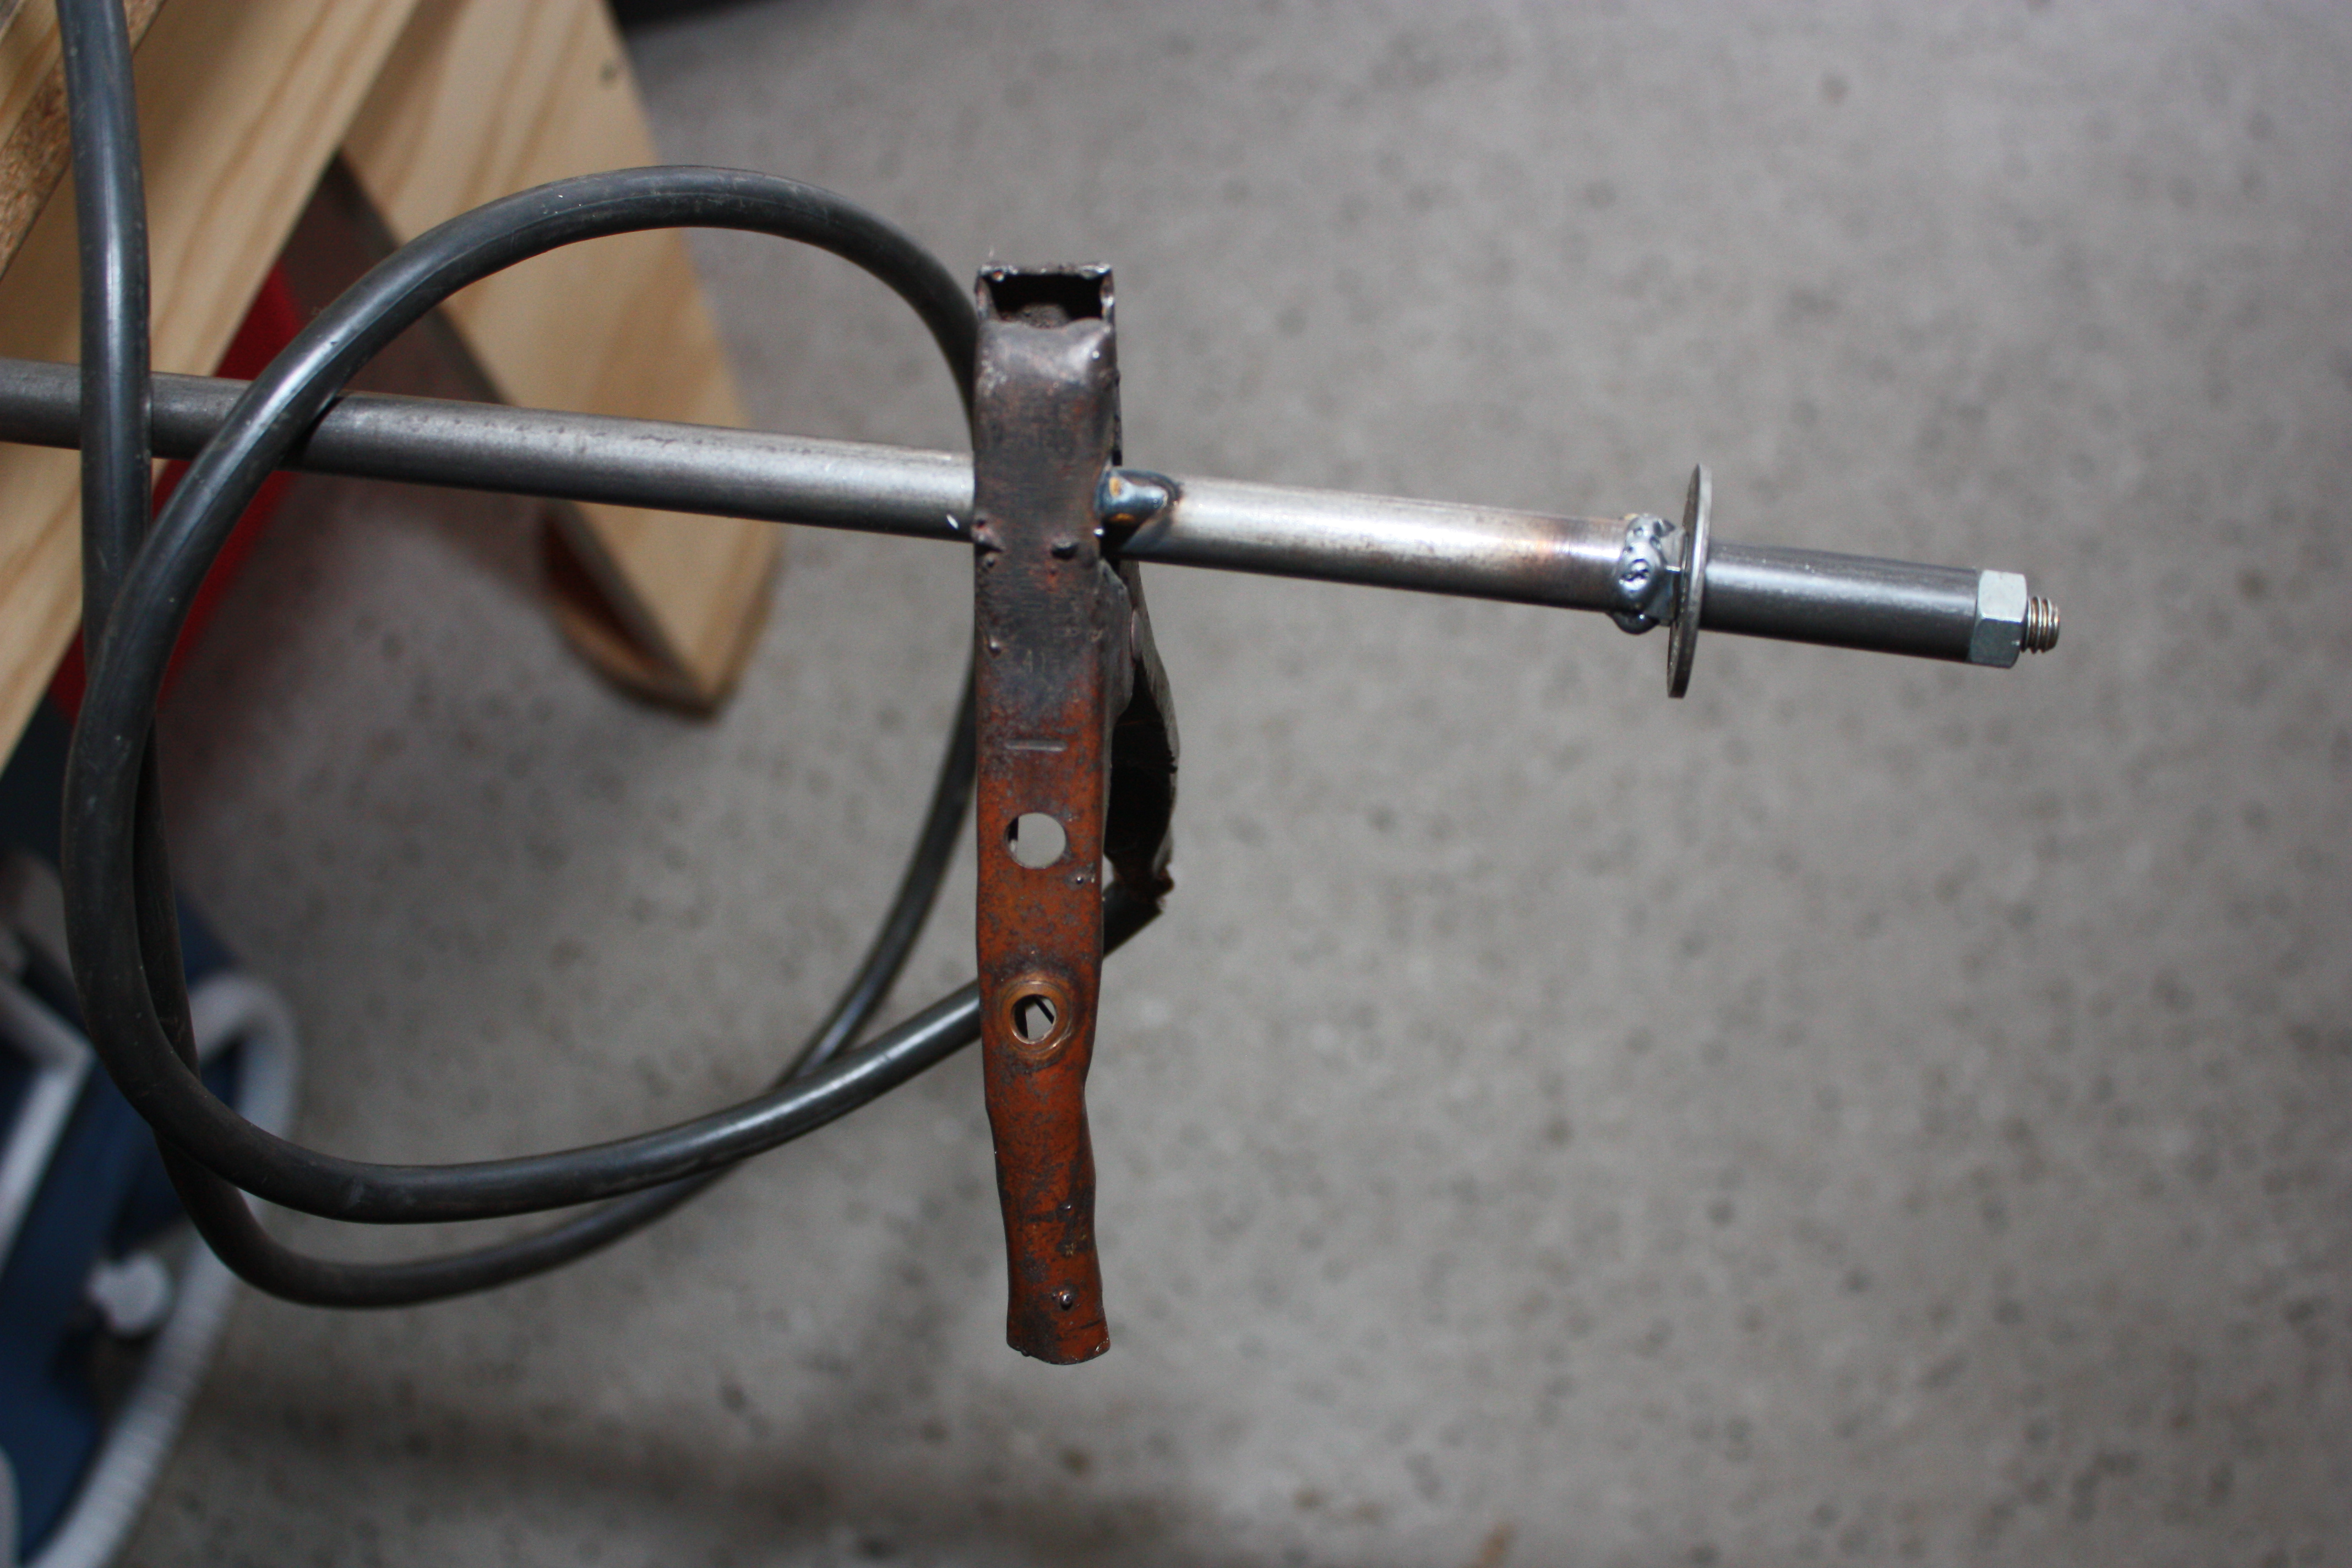
With this setup, I can simply weld all the way around by rotating the rod.
Once they were all welded, I faced the back side on the lathe.
Mount #1
OK, so the next several group of pictures only point out that importance of maintaining standards and perseverance over really screwing things up...
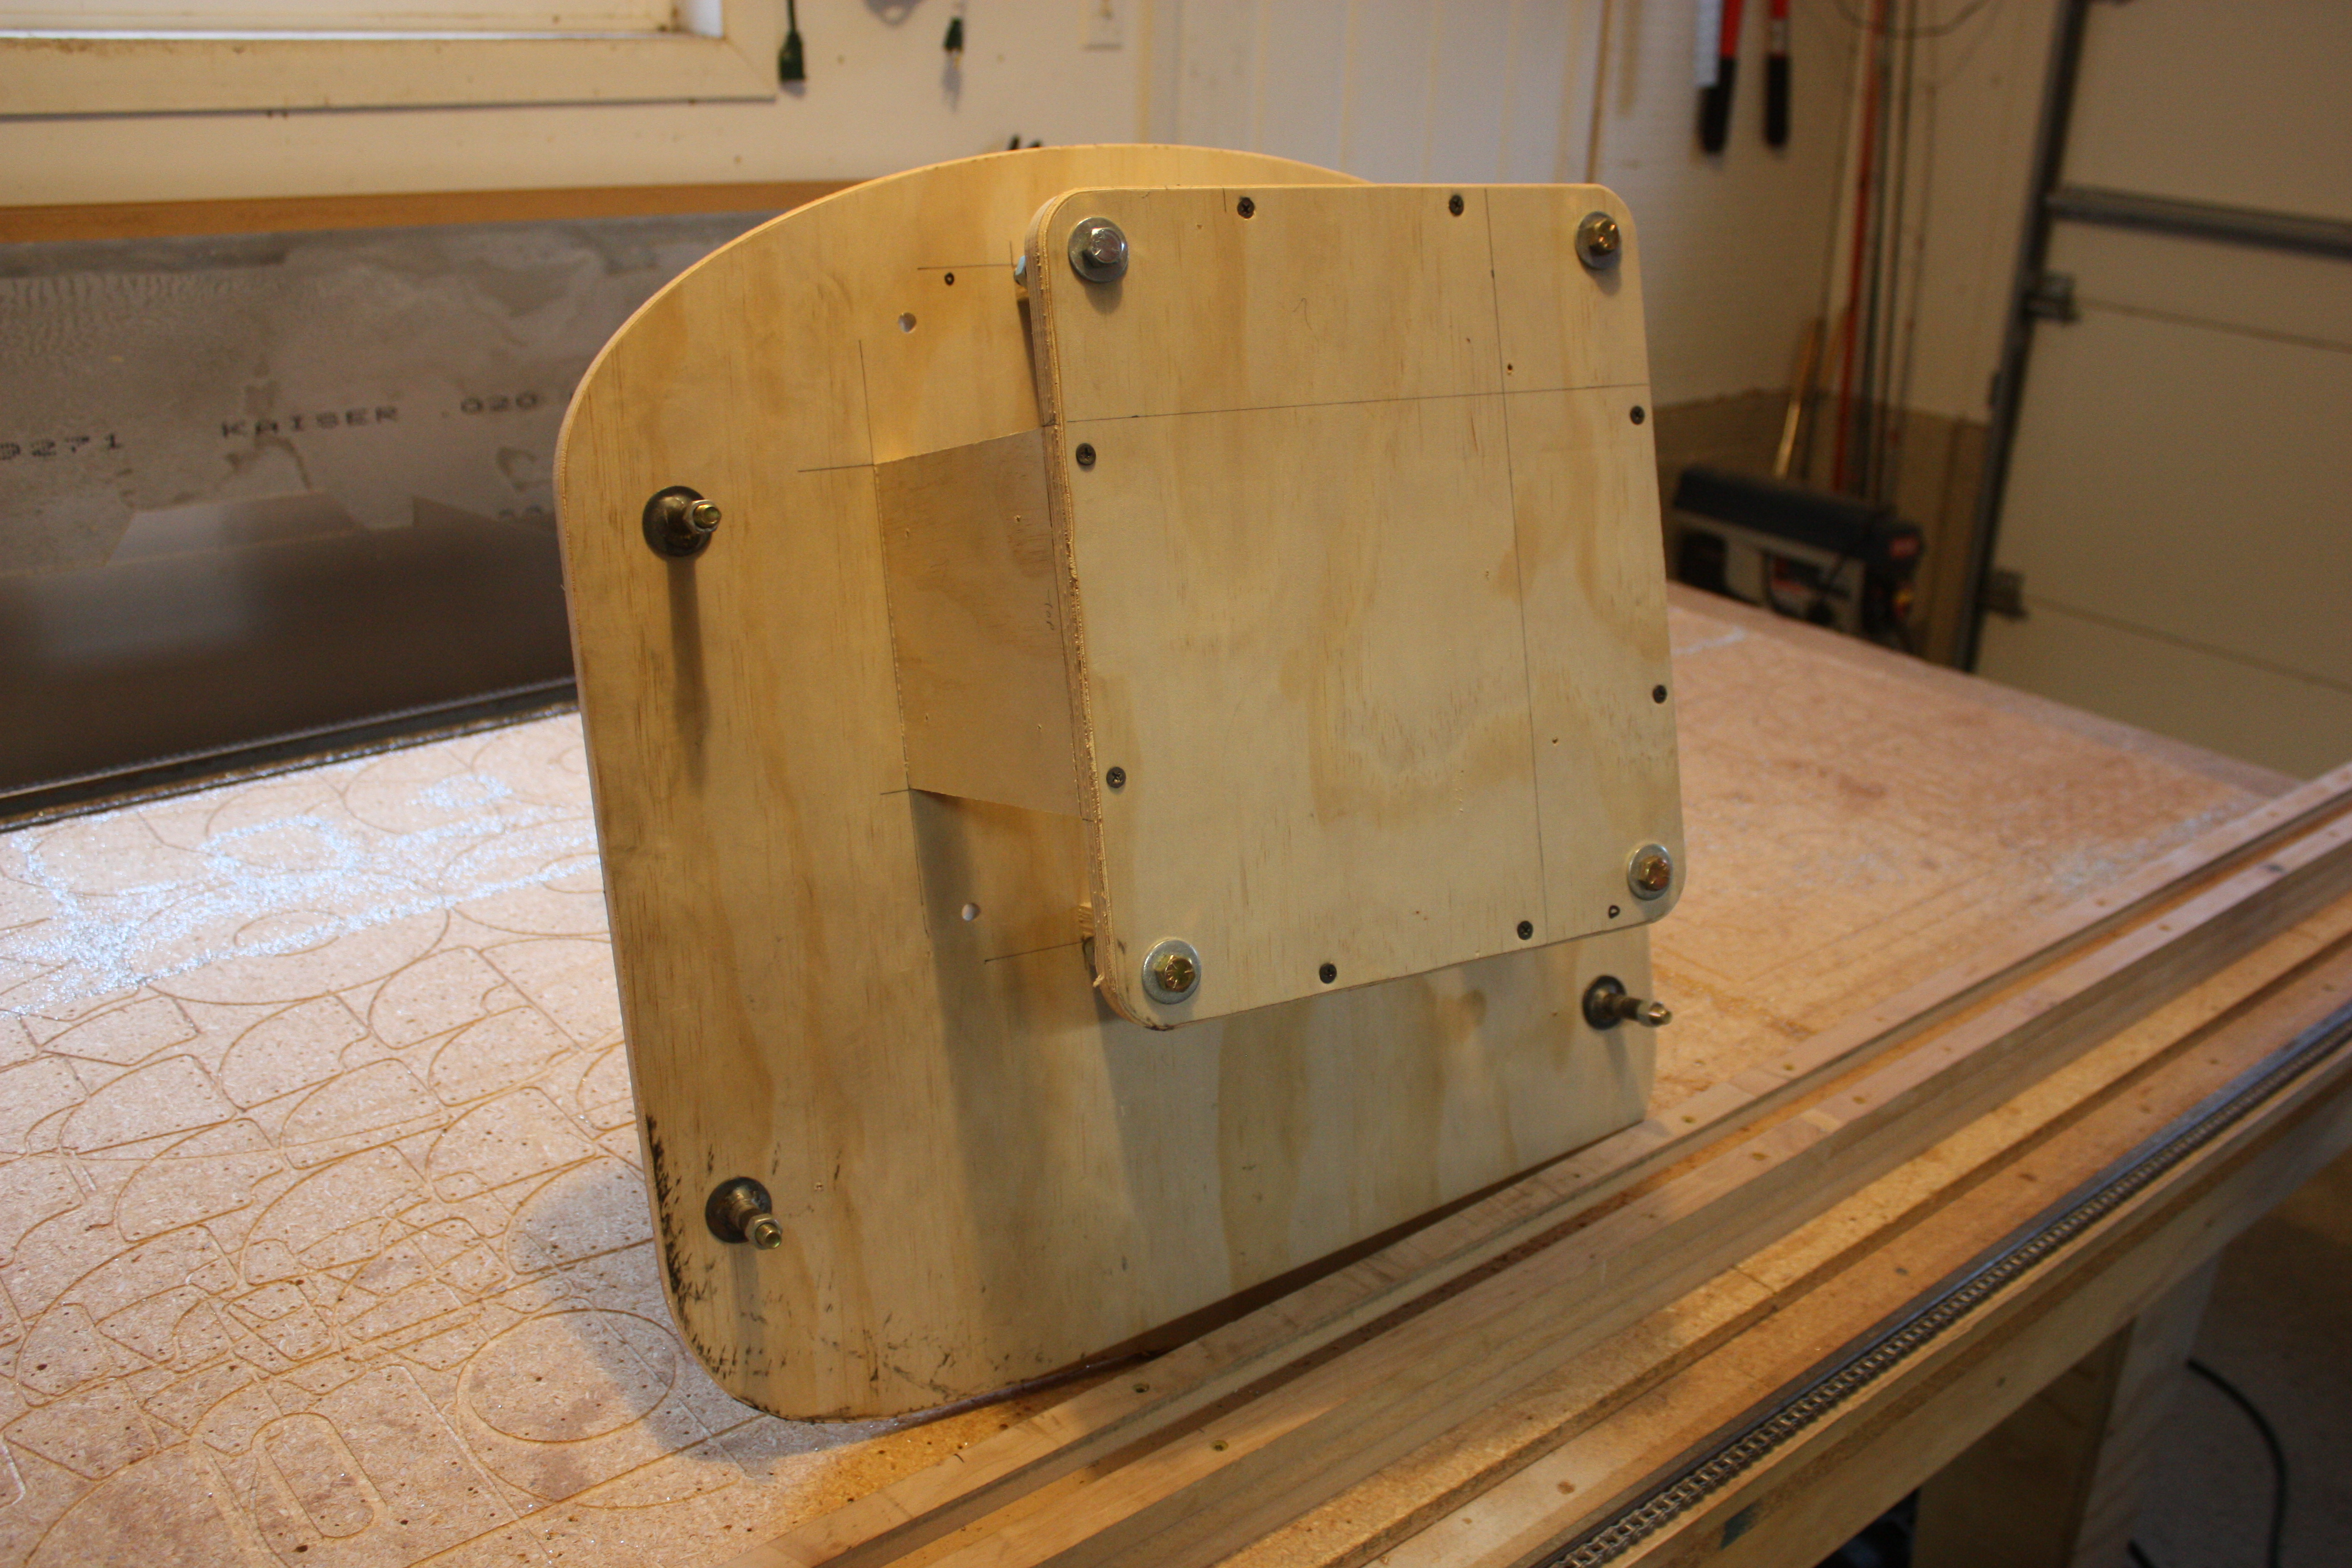
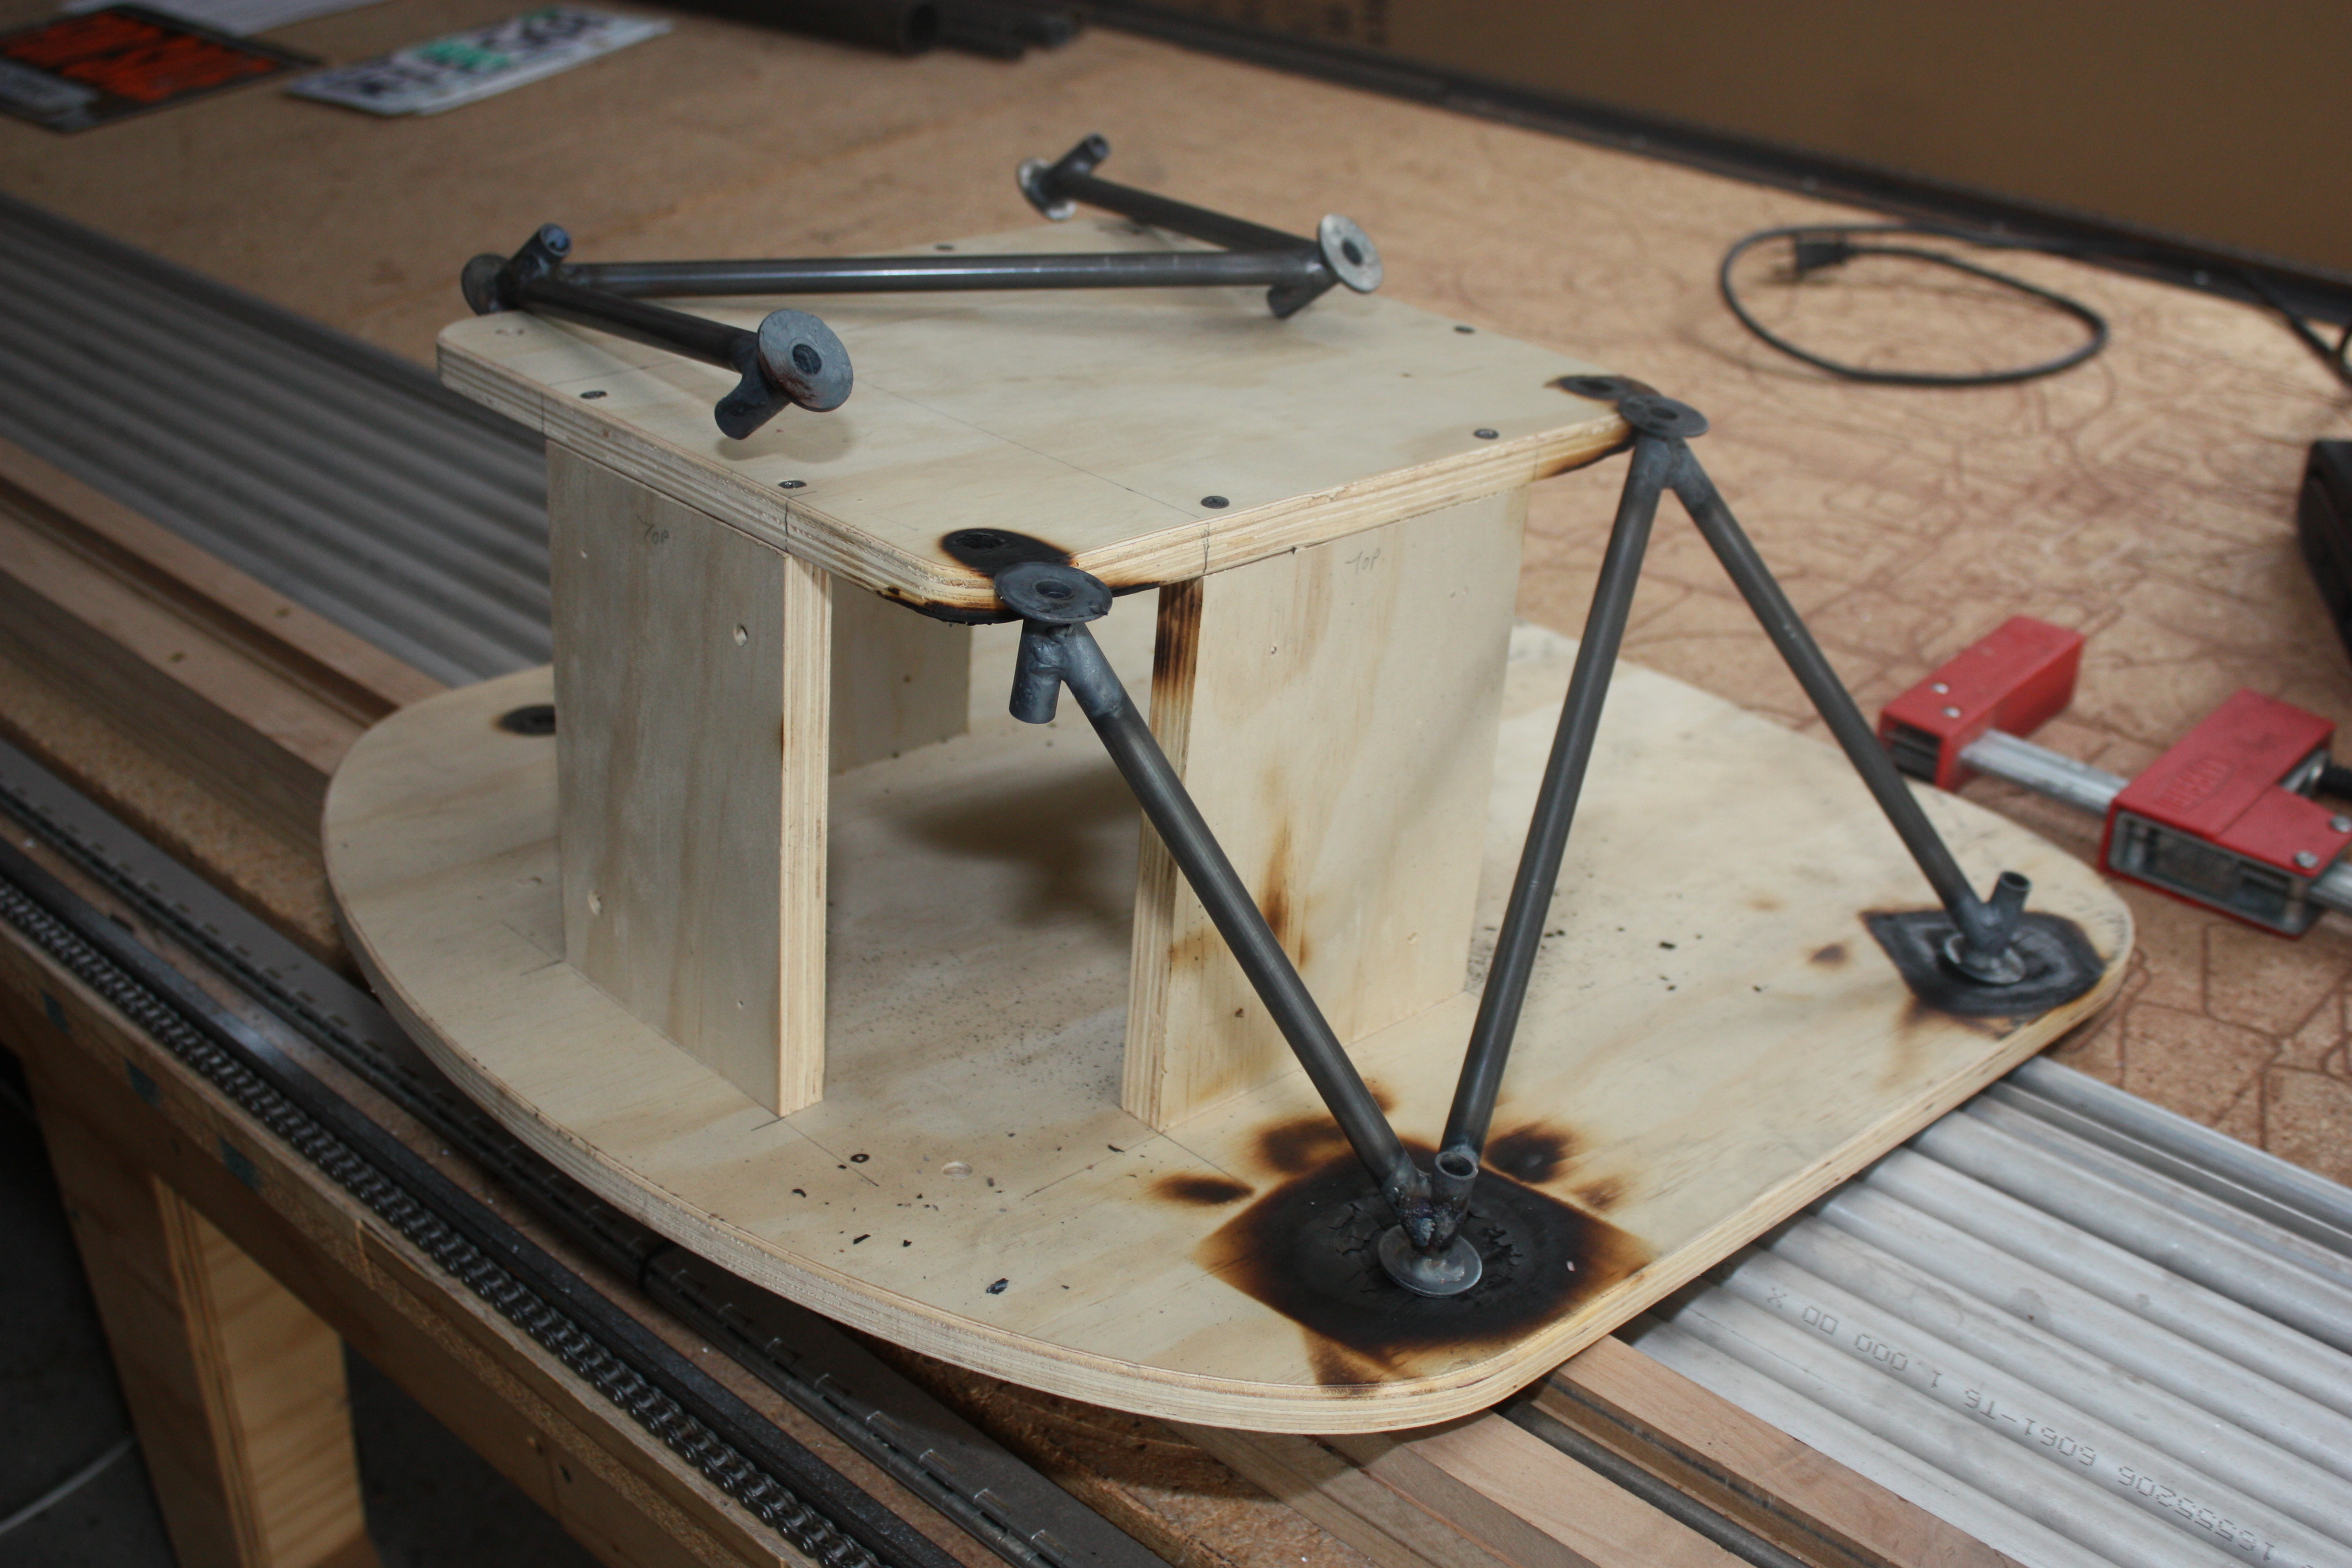
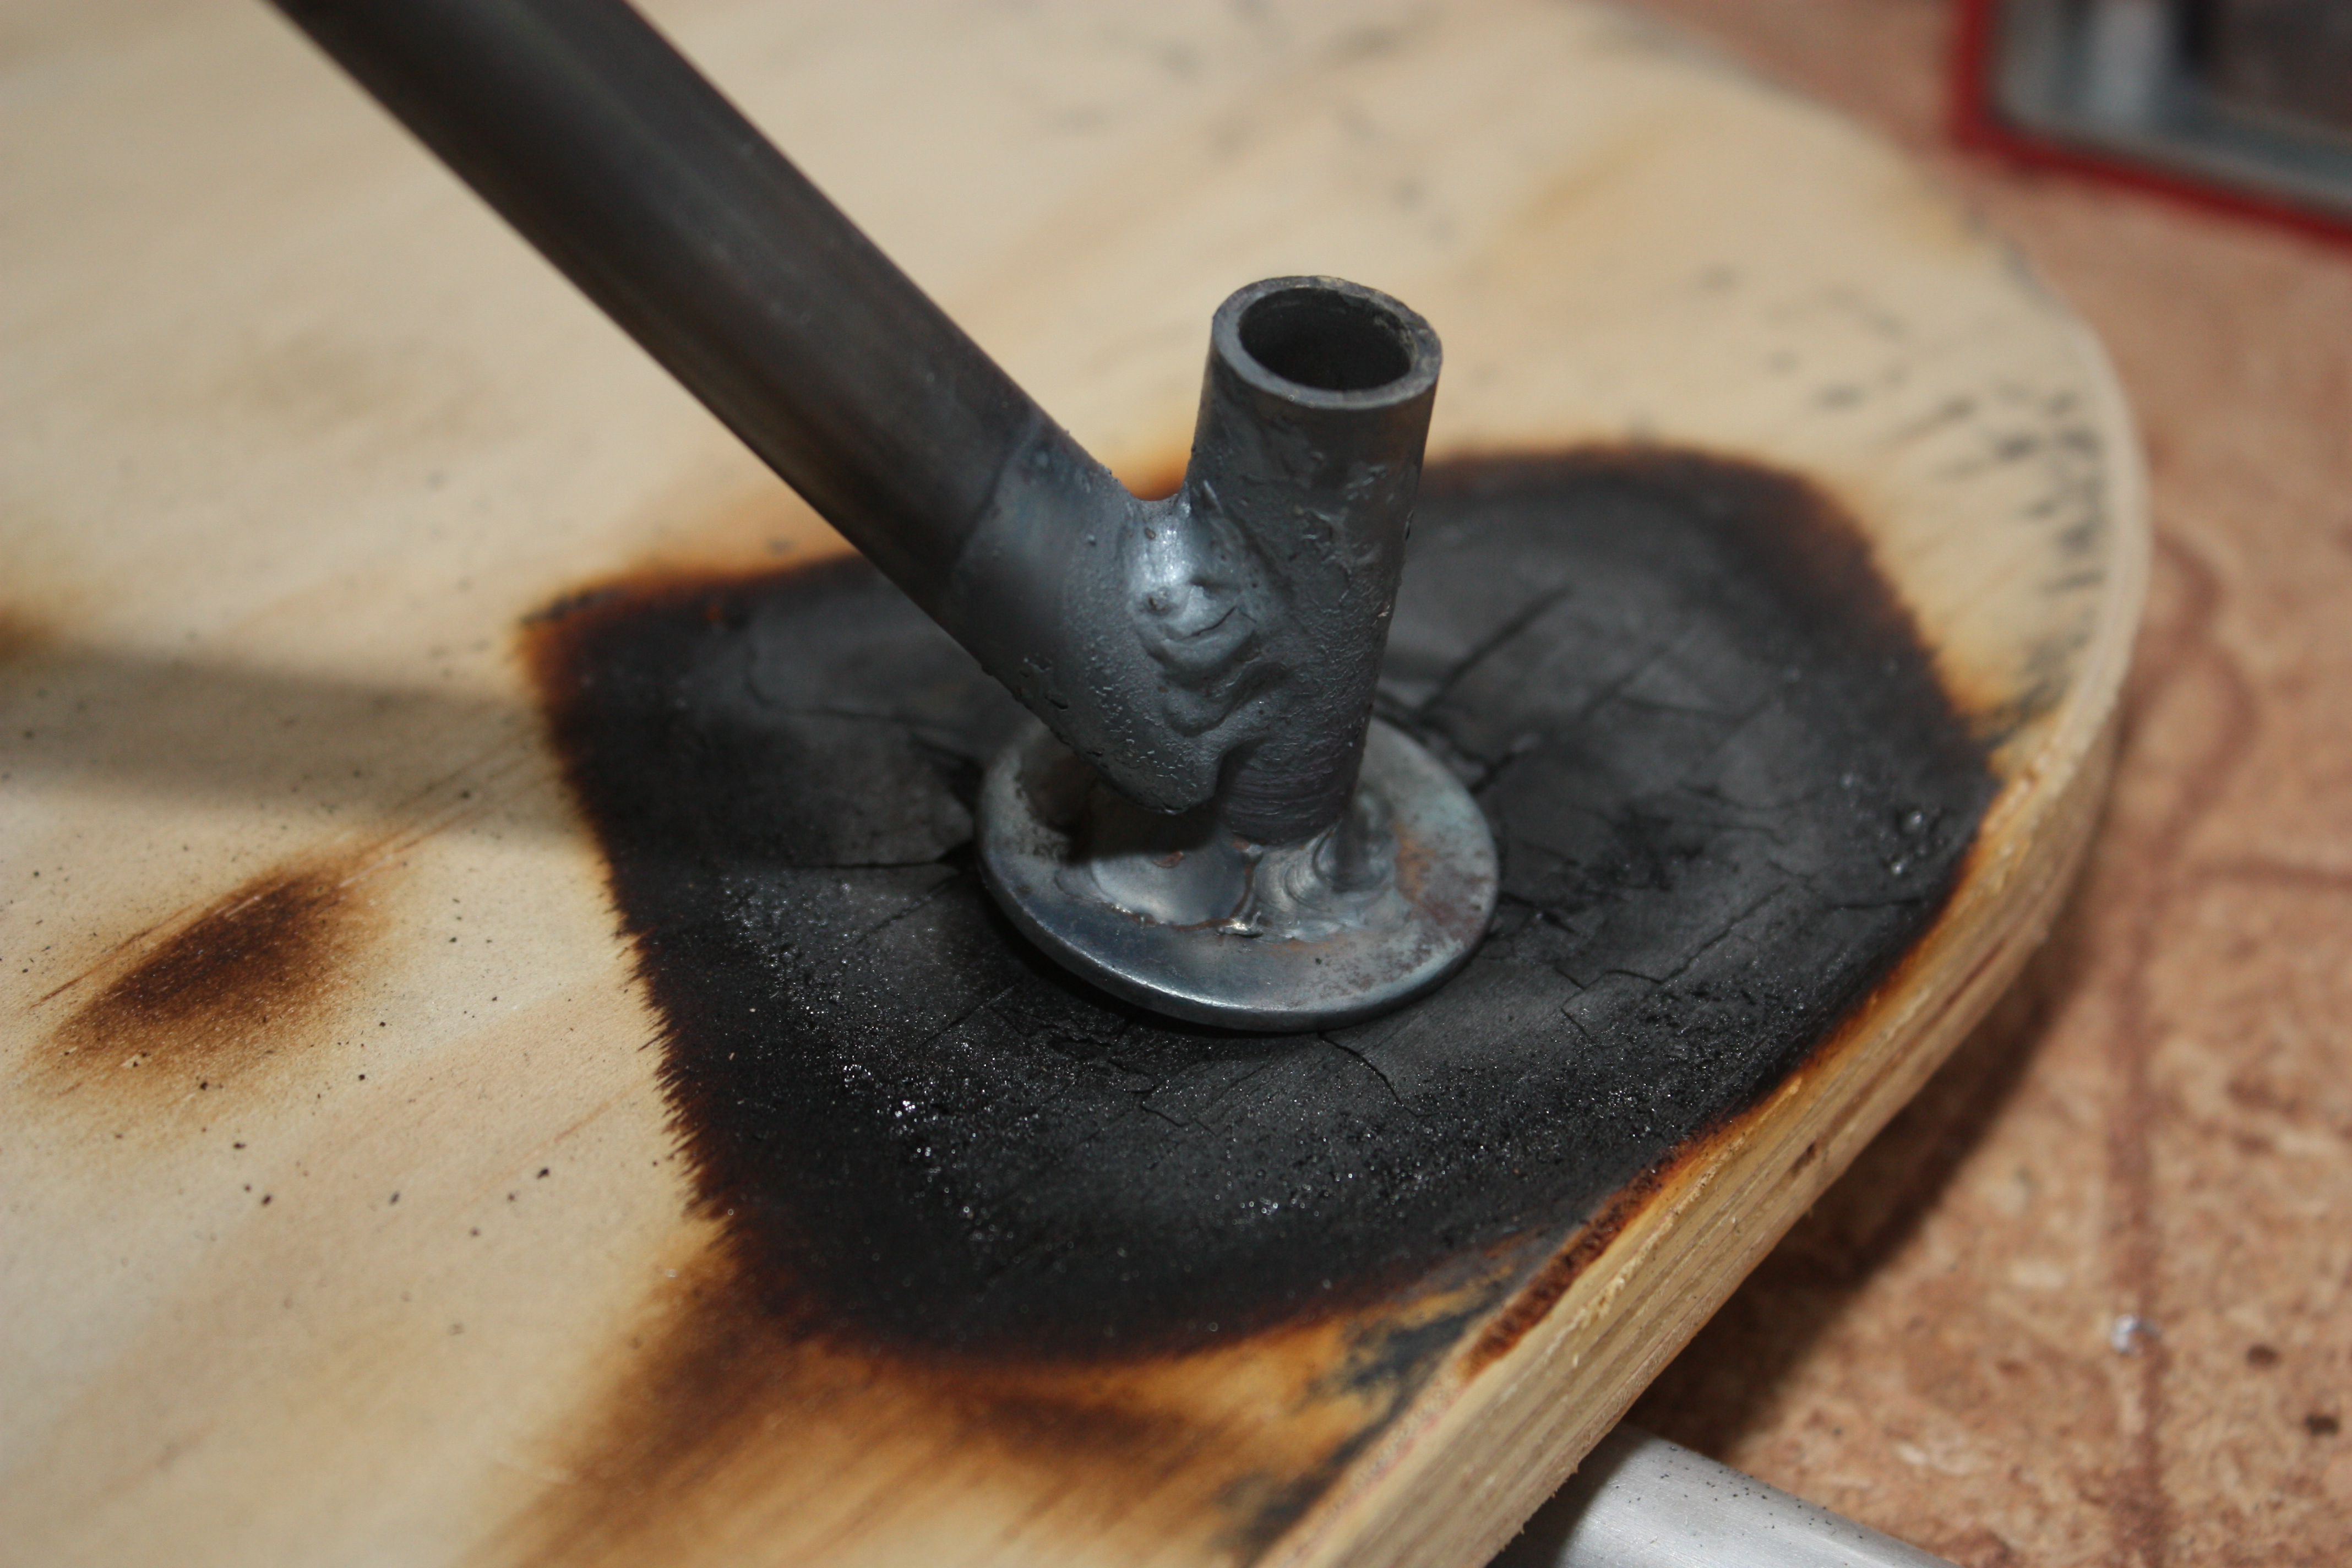
This started out looking good. I have seen others use wooden forms as welding jigs so I thought I would give it a try. The only problem is they tend to burn away, so at some point there's not much holding your work in place. I didn't get very far before they welded work was no longer dimensionally correct.
Mount #2
Let's try again. This time with a steel jig.
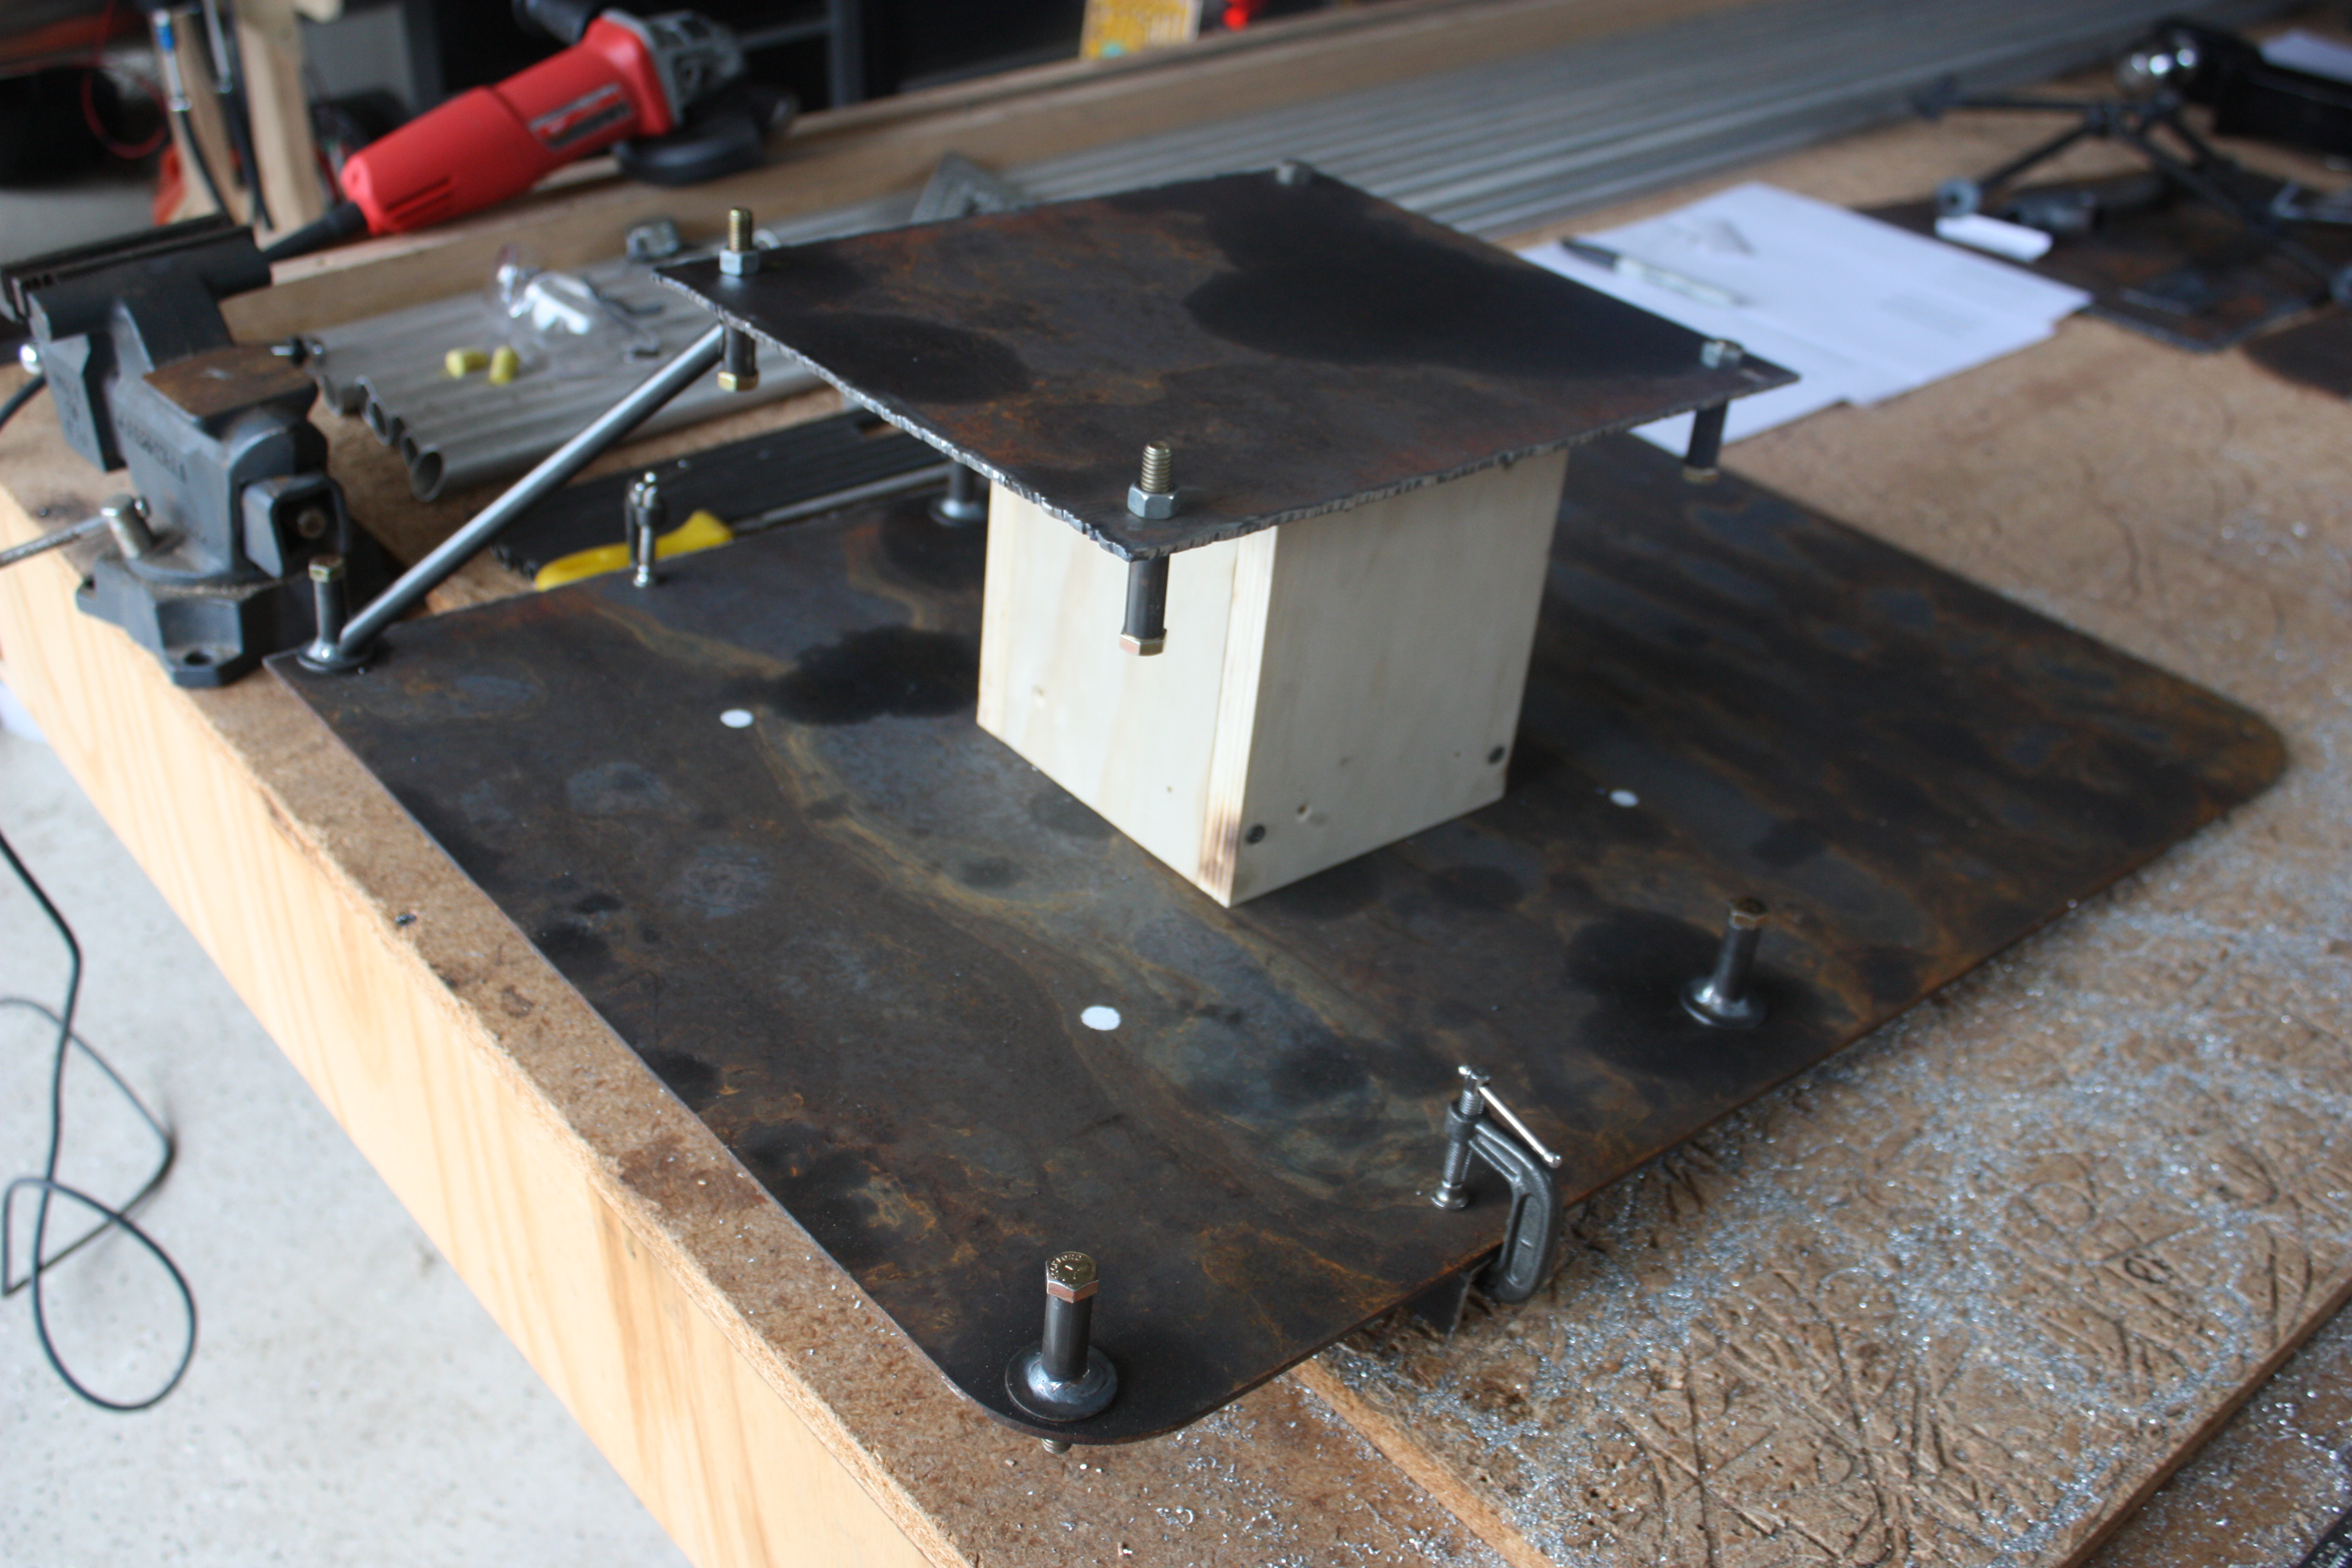
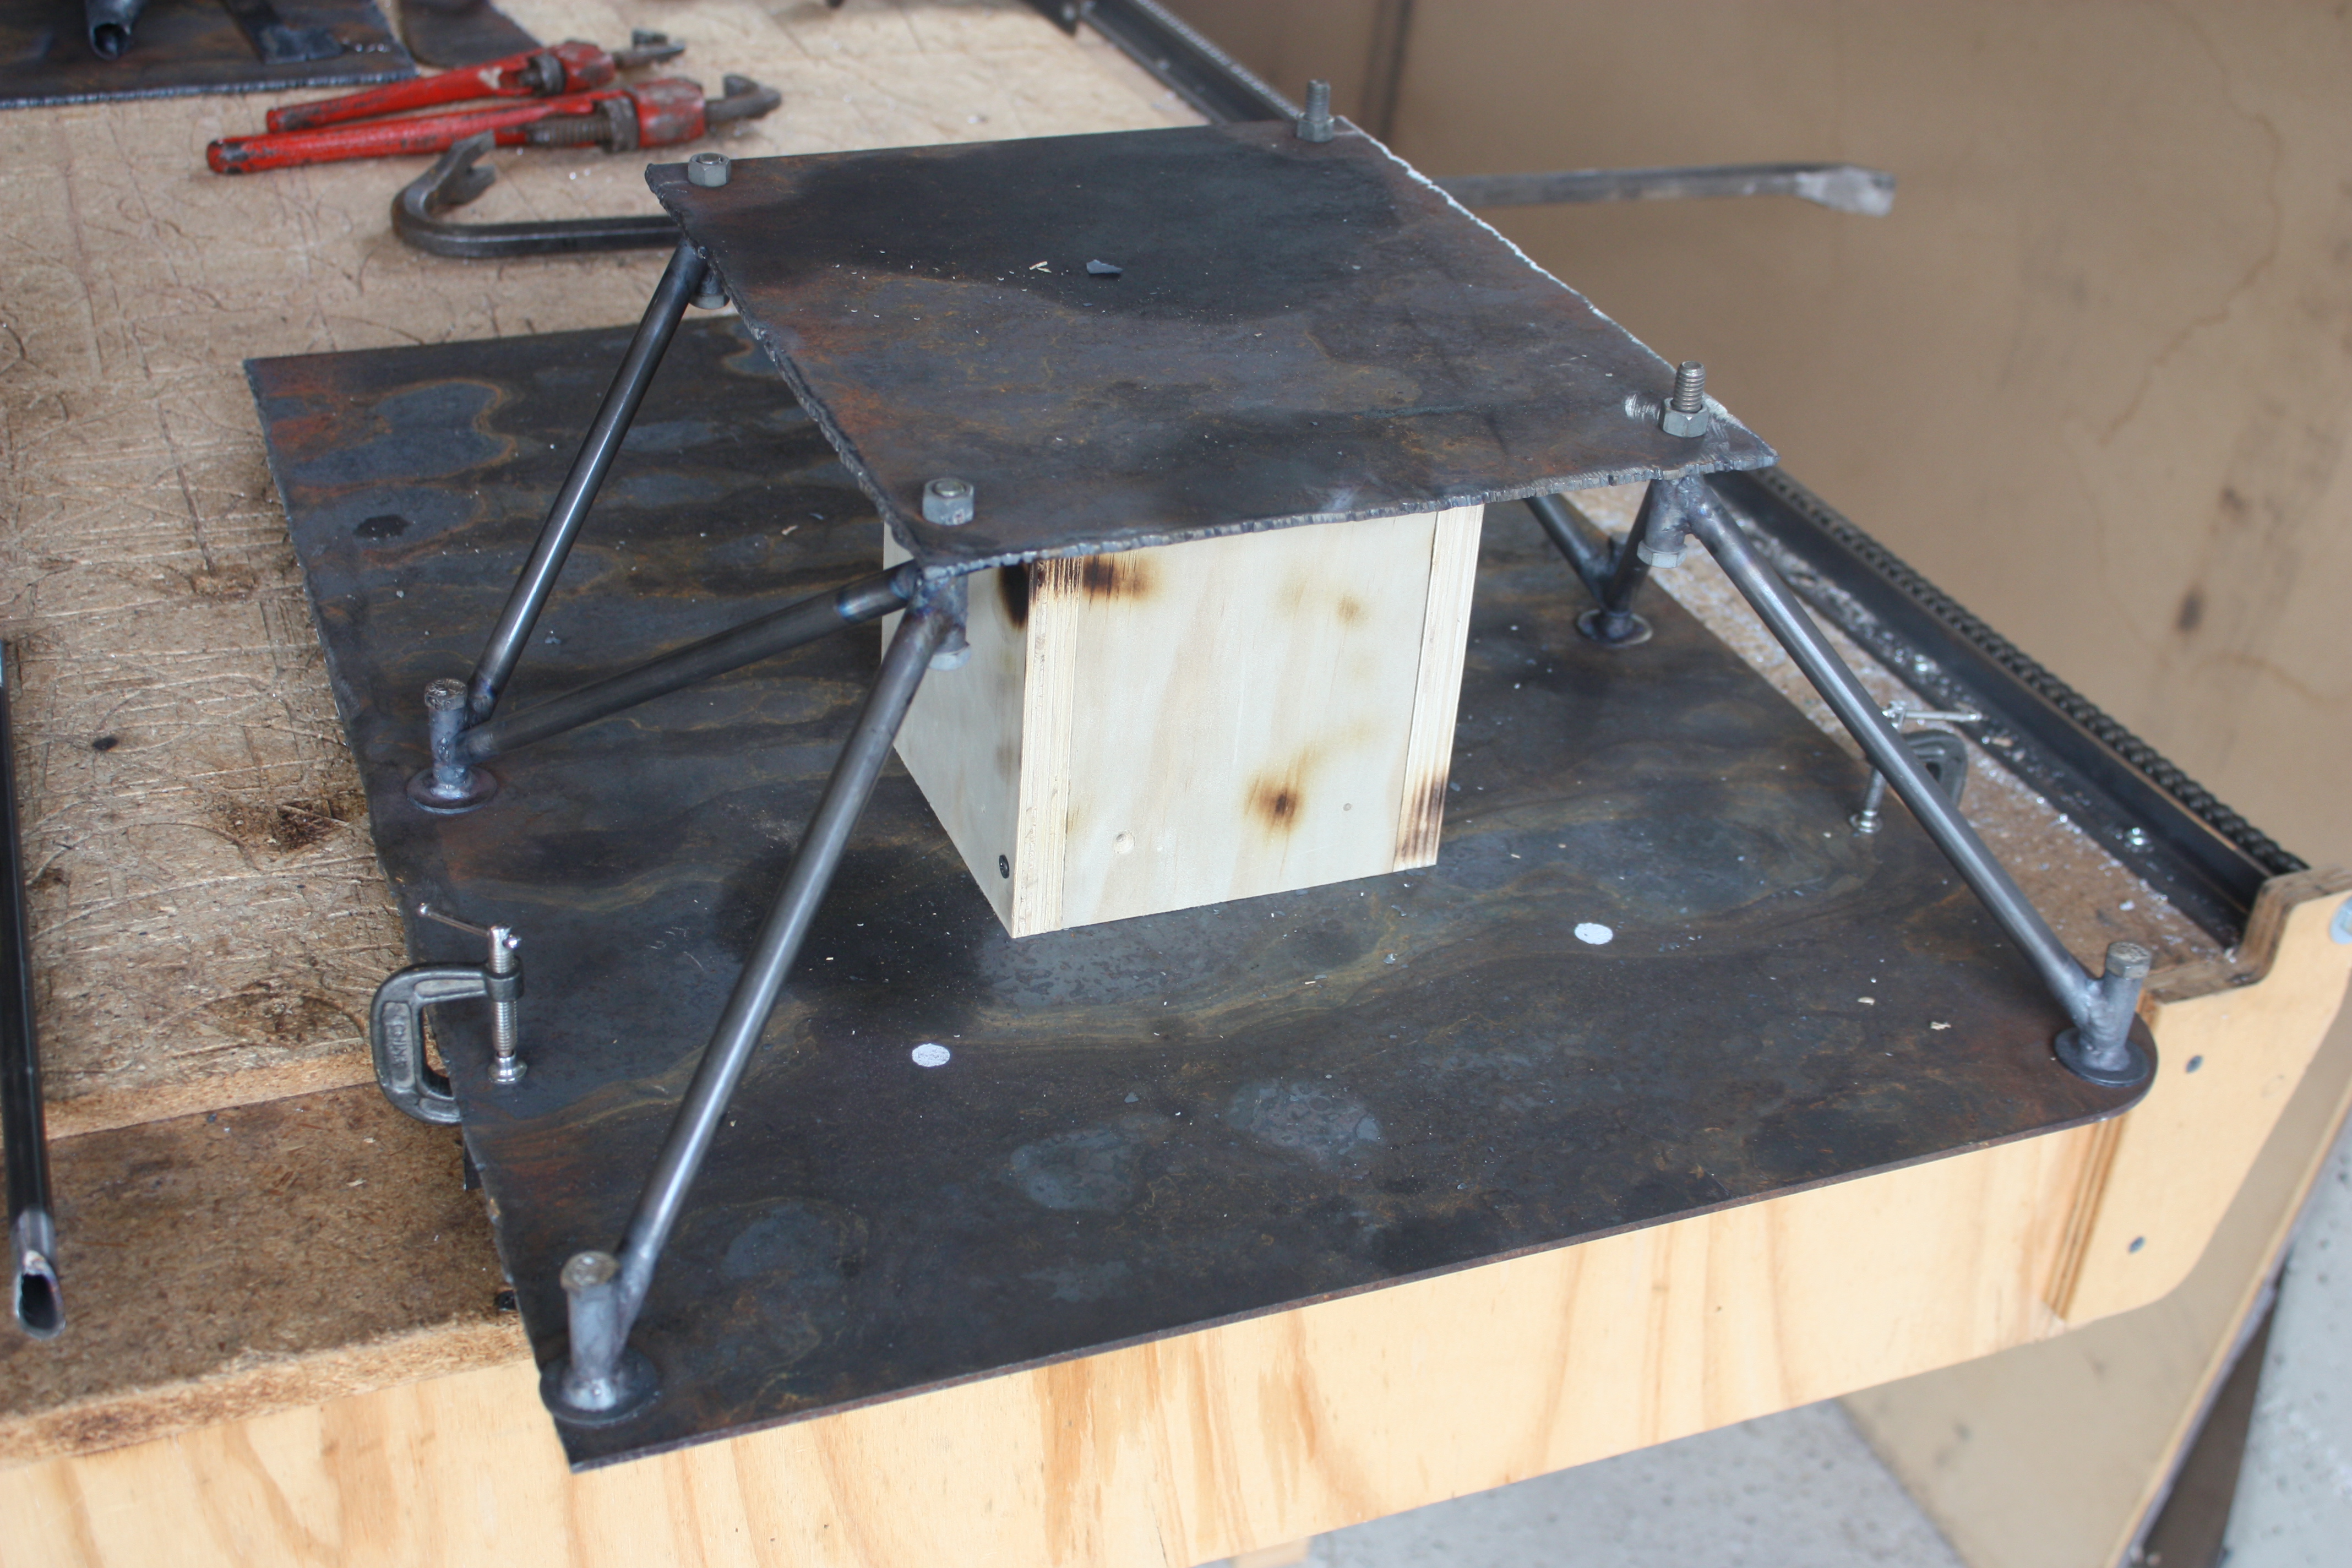
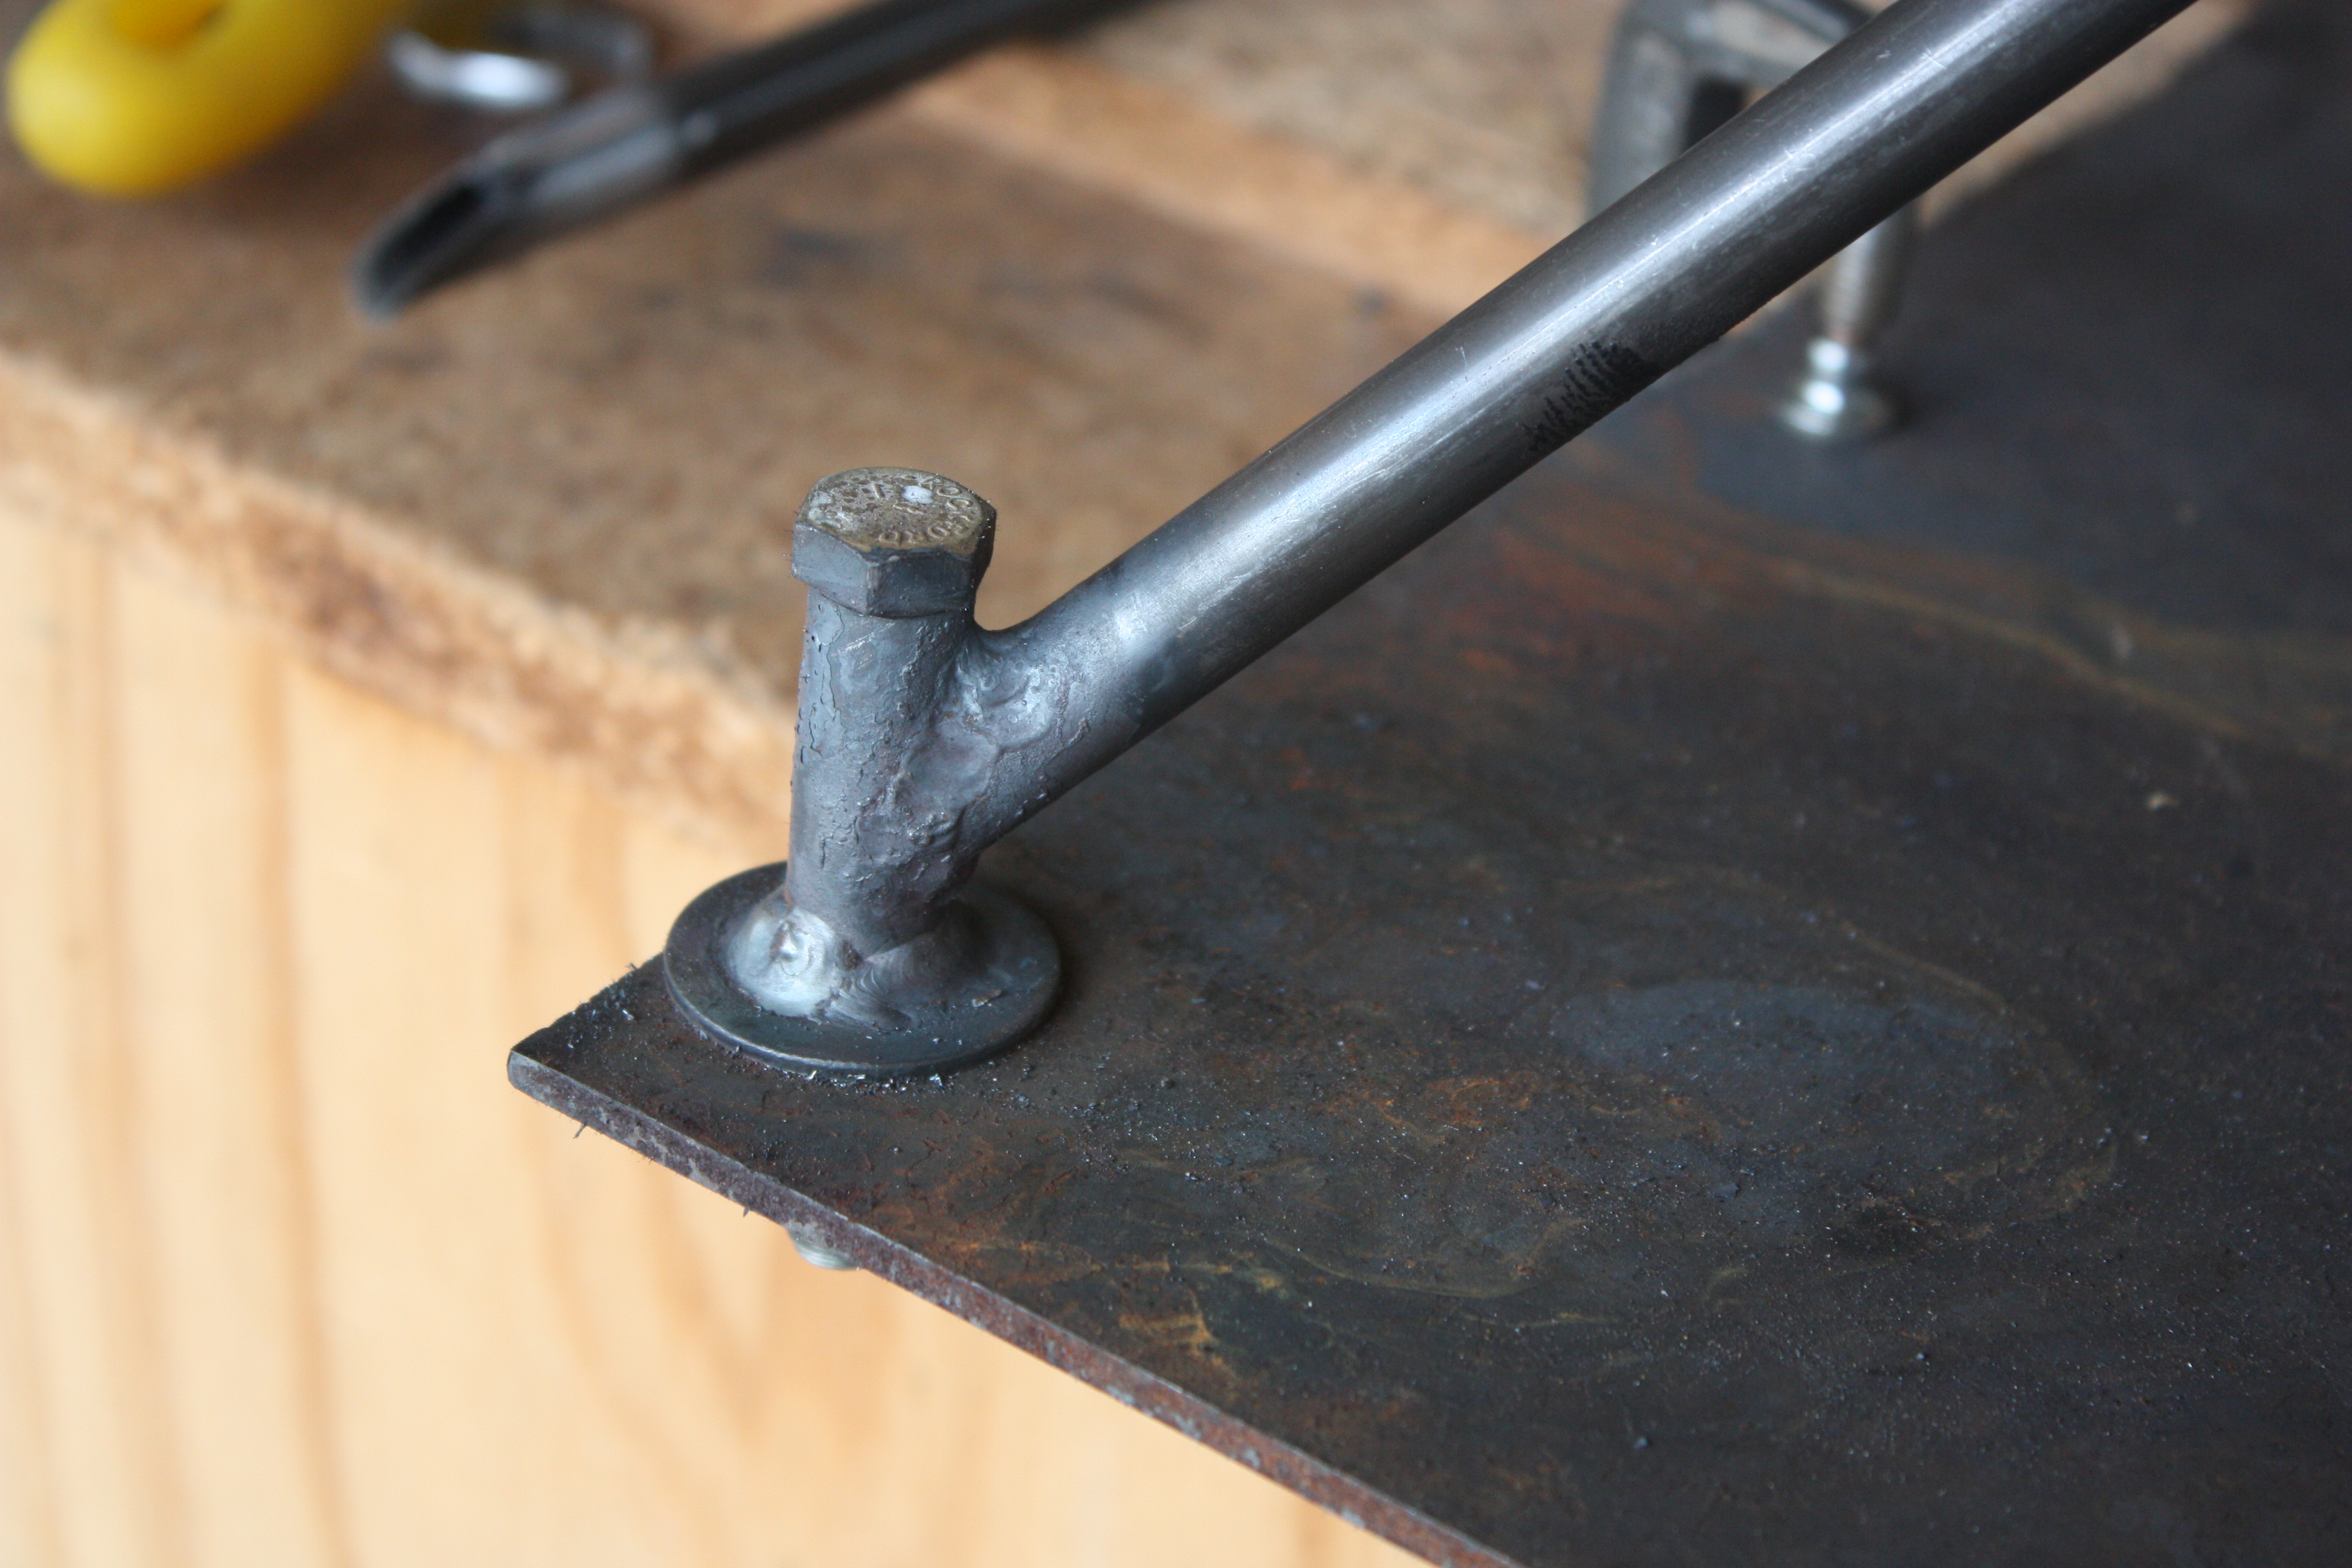
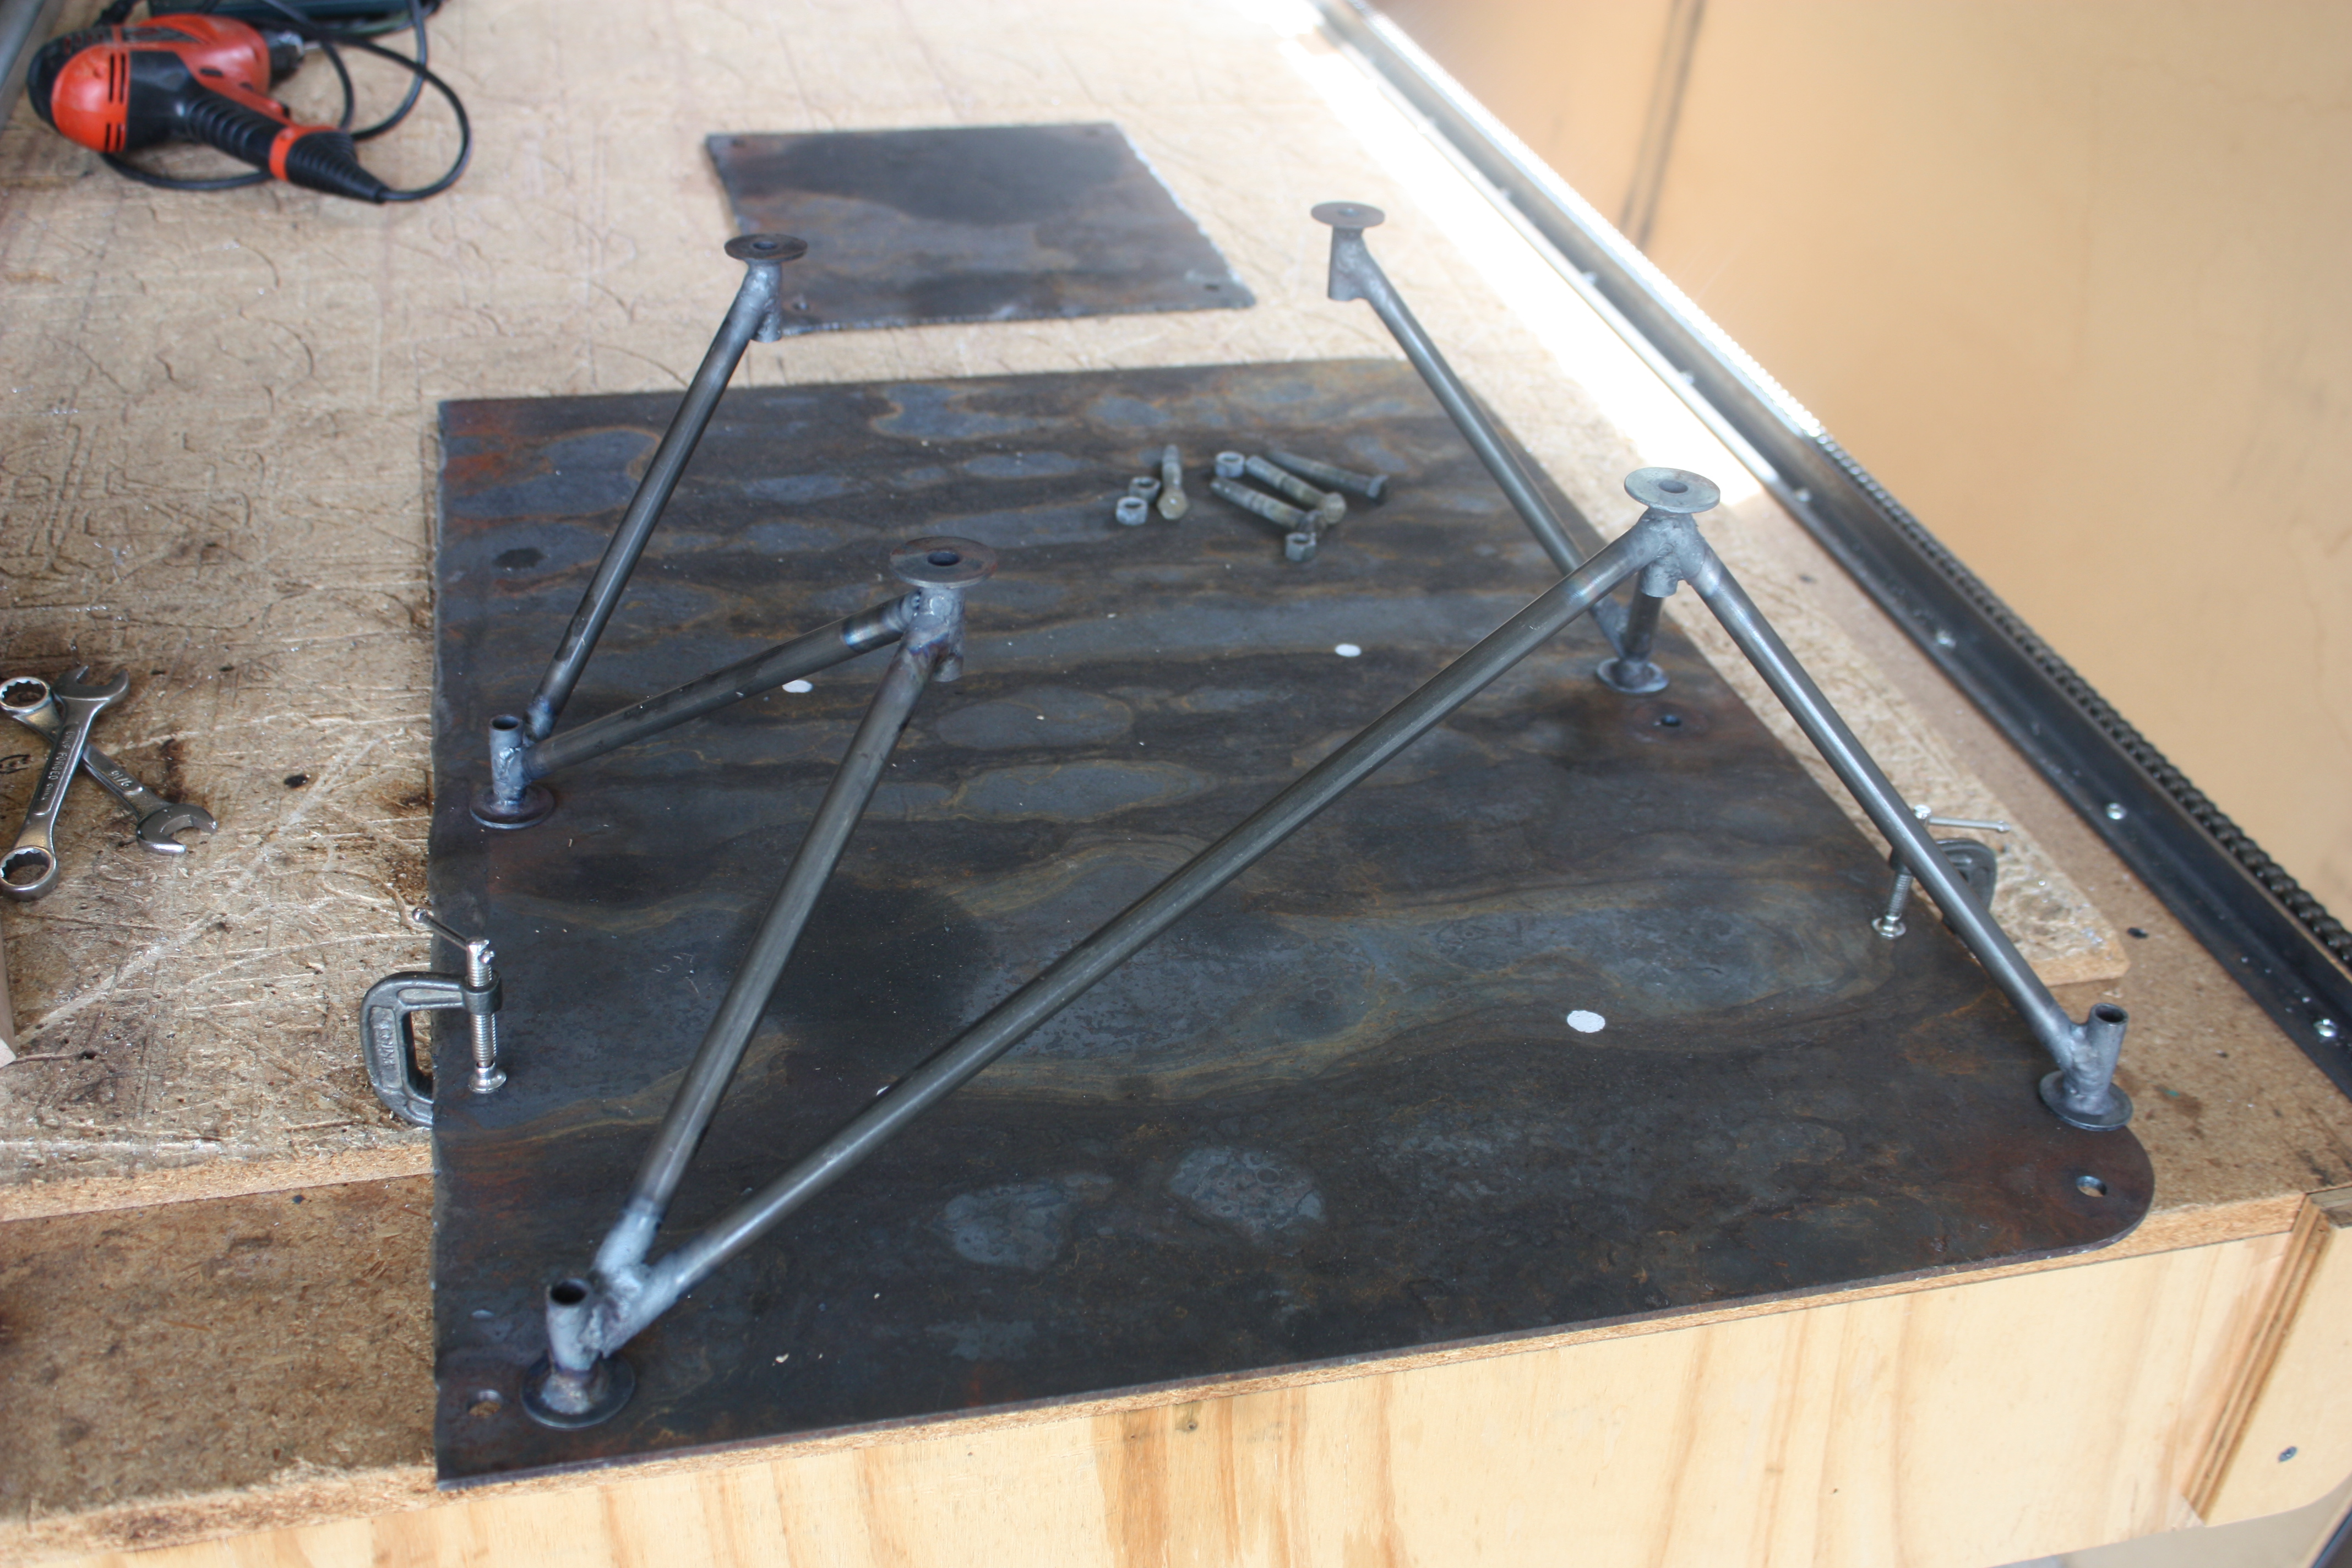
Yep, screwed up the second engine mount!
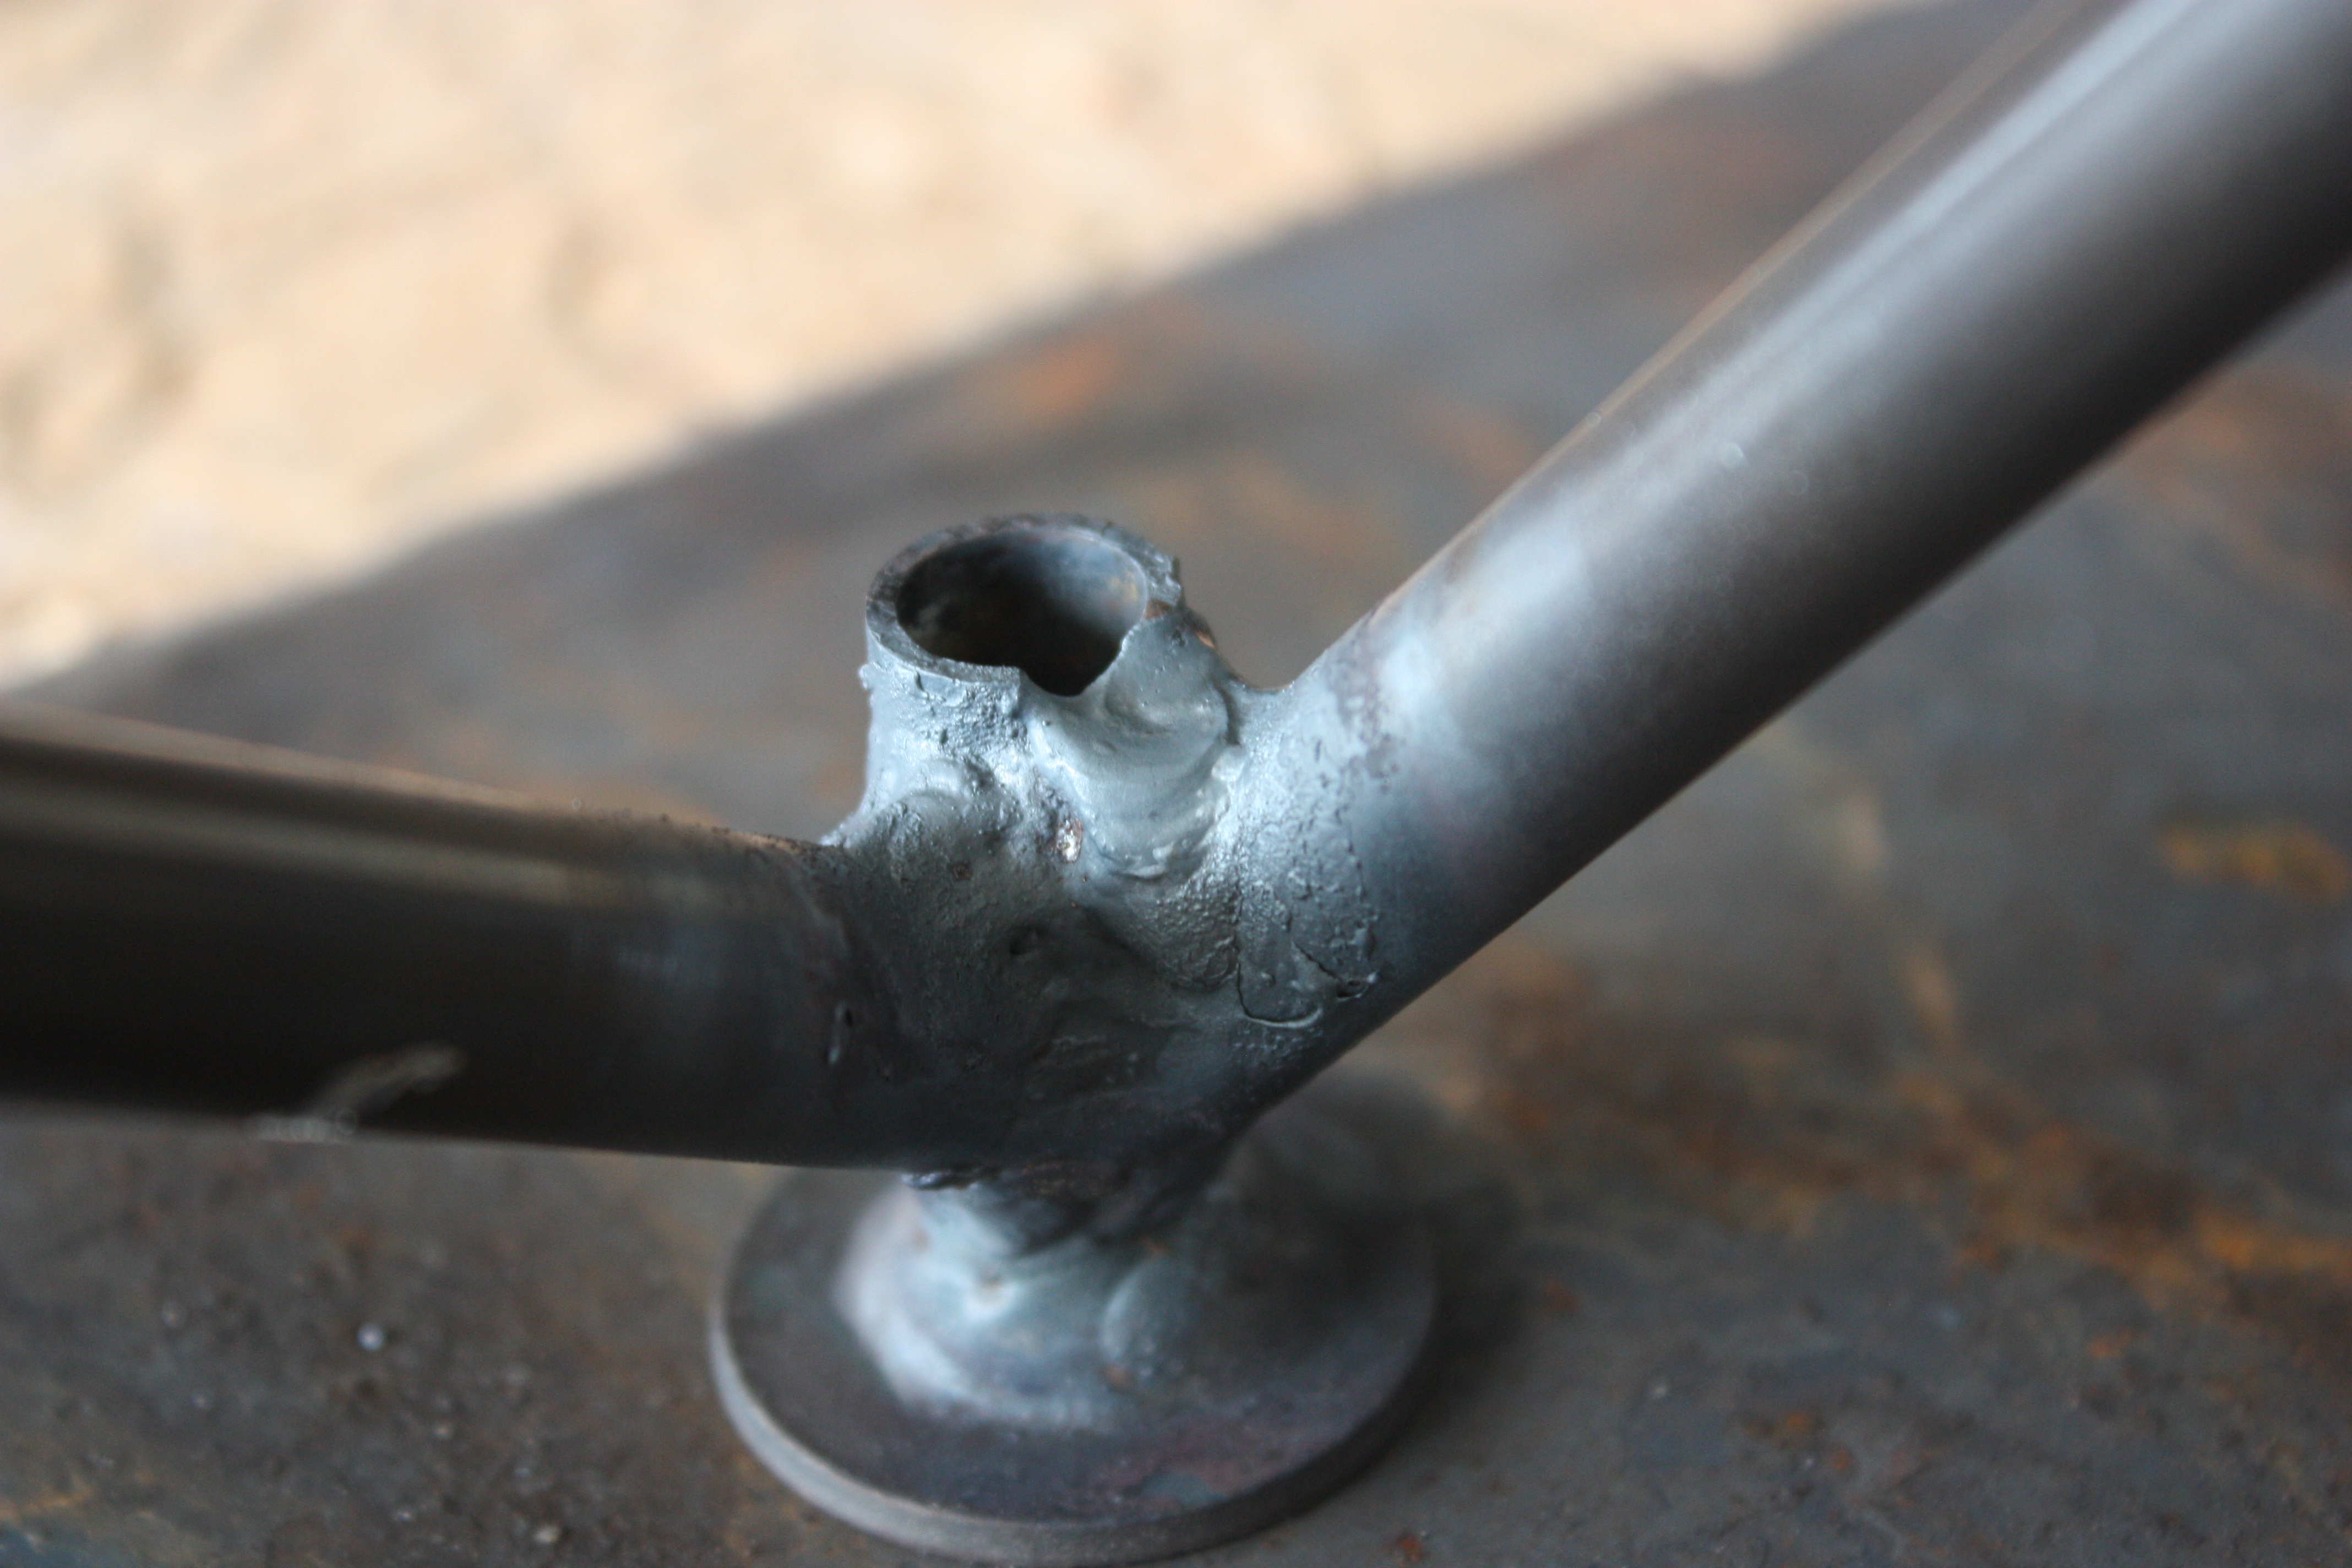
Mount #3
Let's try again. This time on a new day, and no coffee.
And, I needed to make more spools. This time, I made them a bit longer.
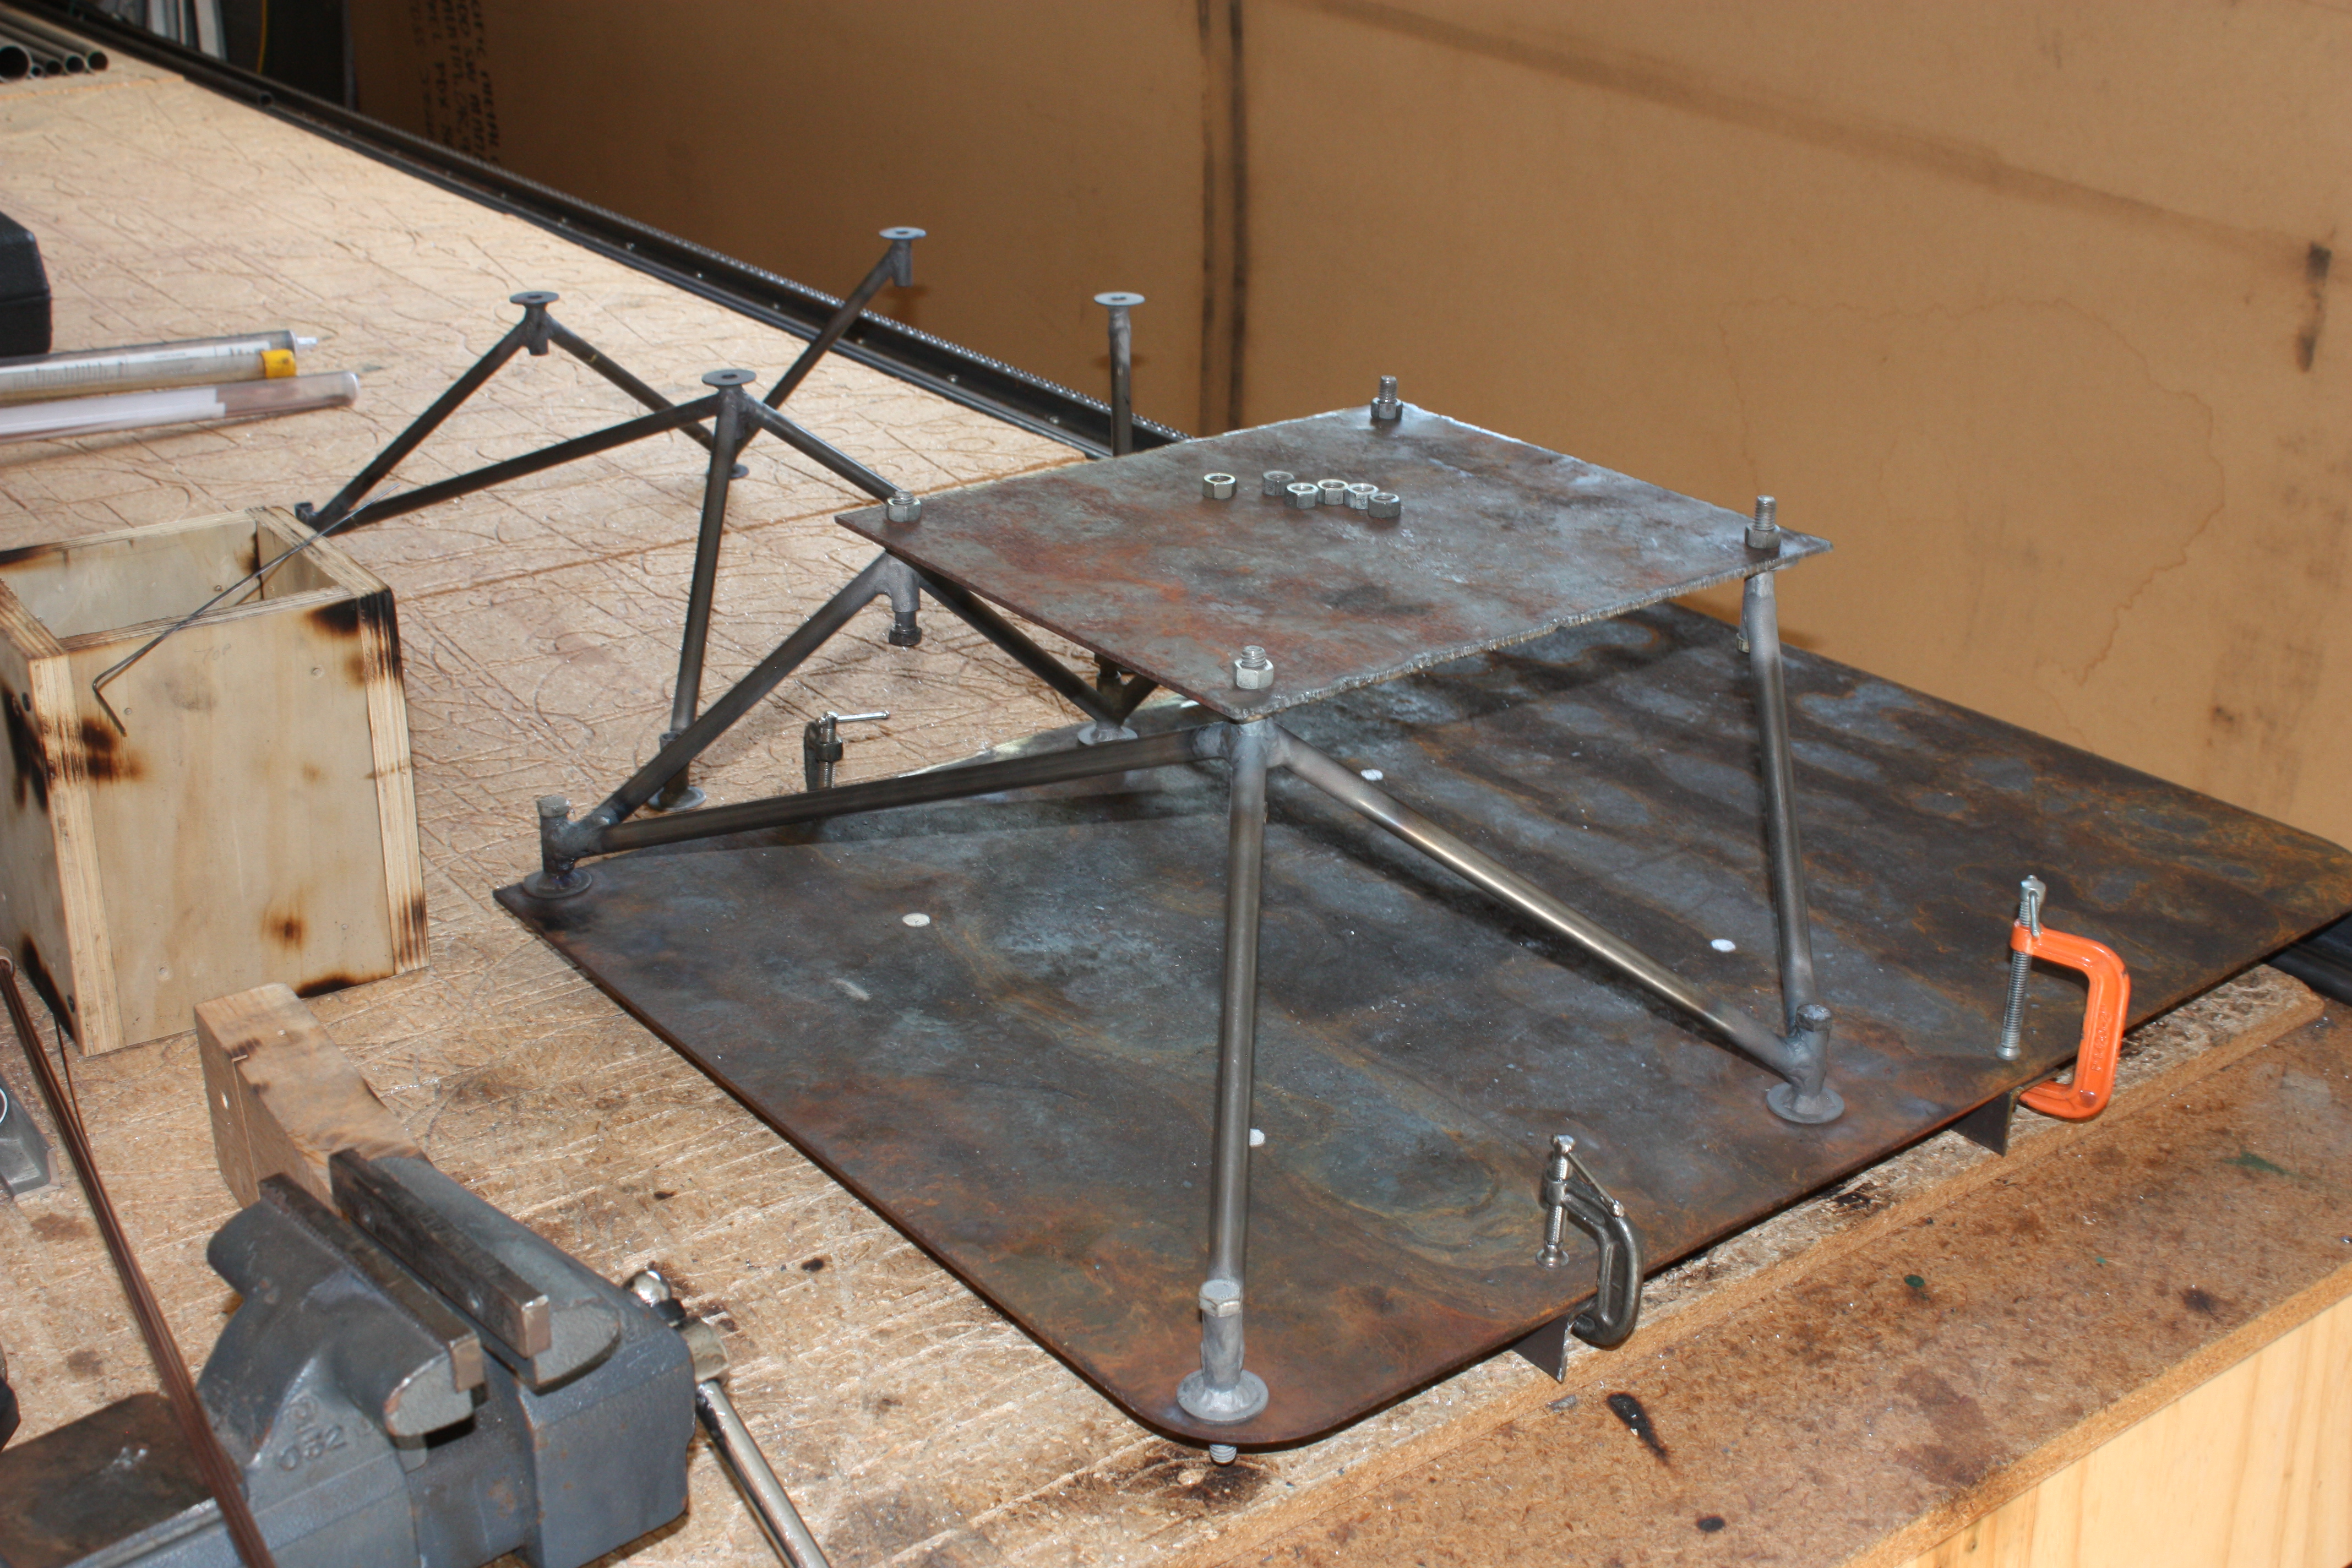
This one worked out! Third time's the charm.
Tail Feathers
2013
At the very beginning of the project I started working on the horizontal stabilizer:
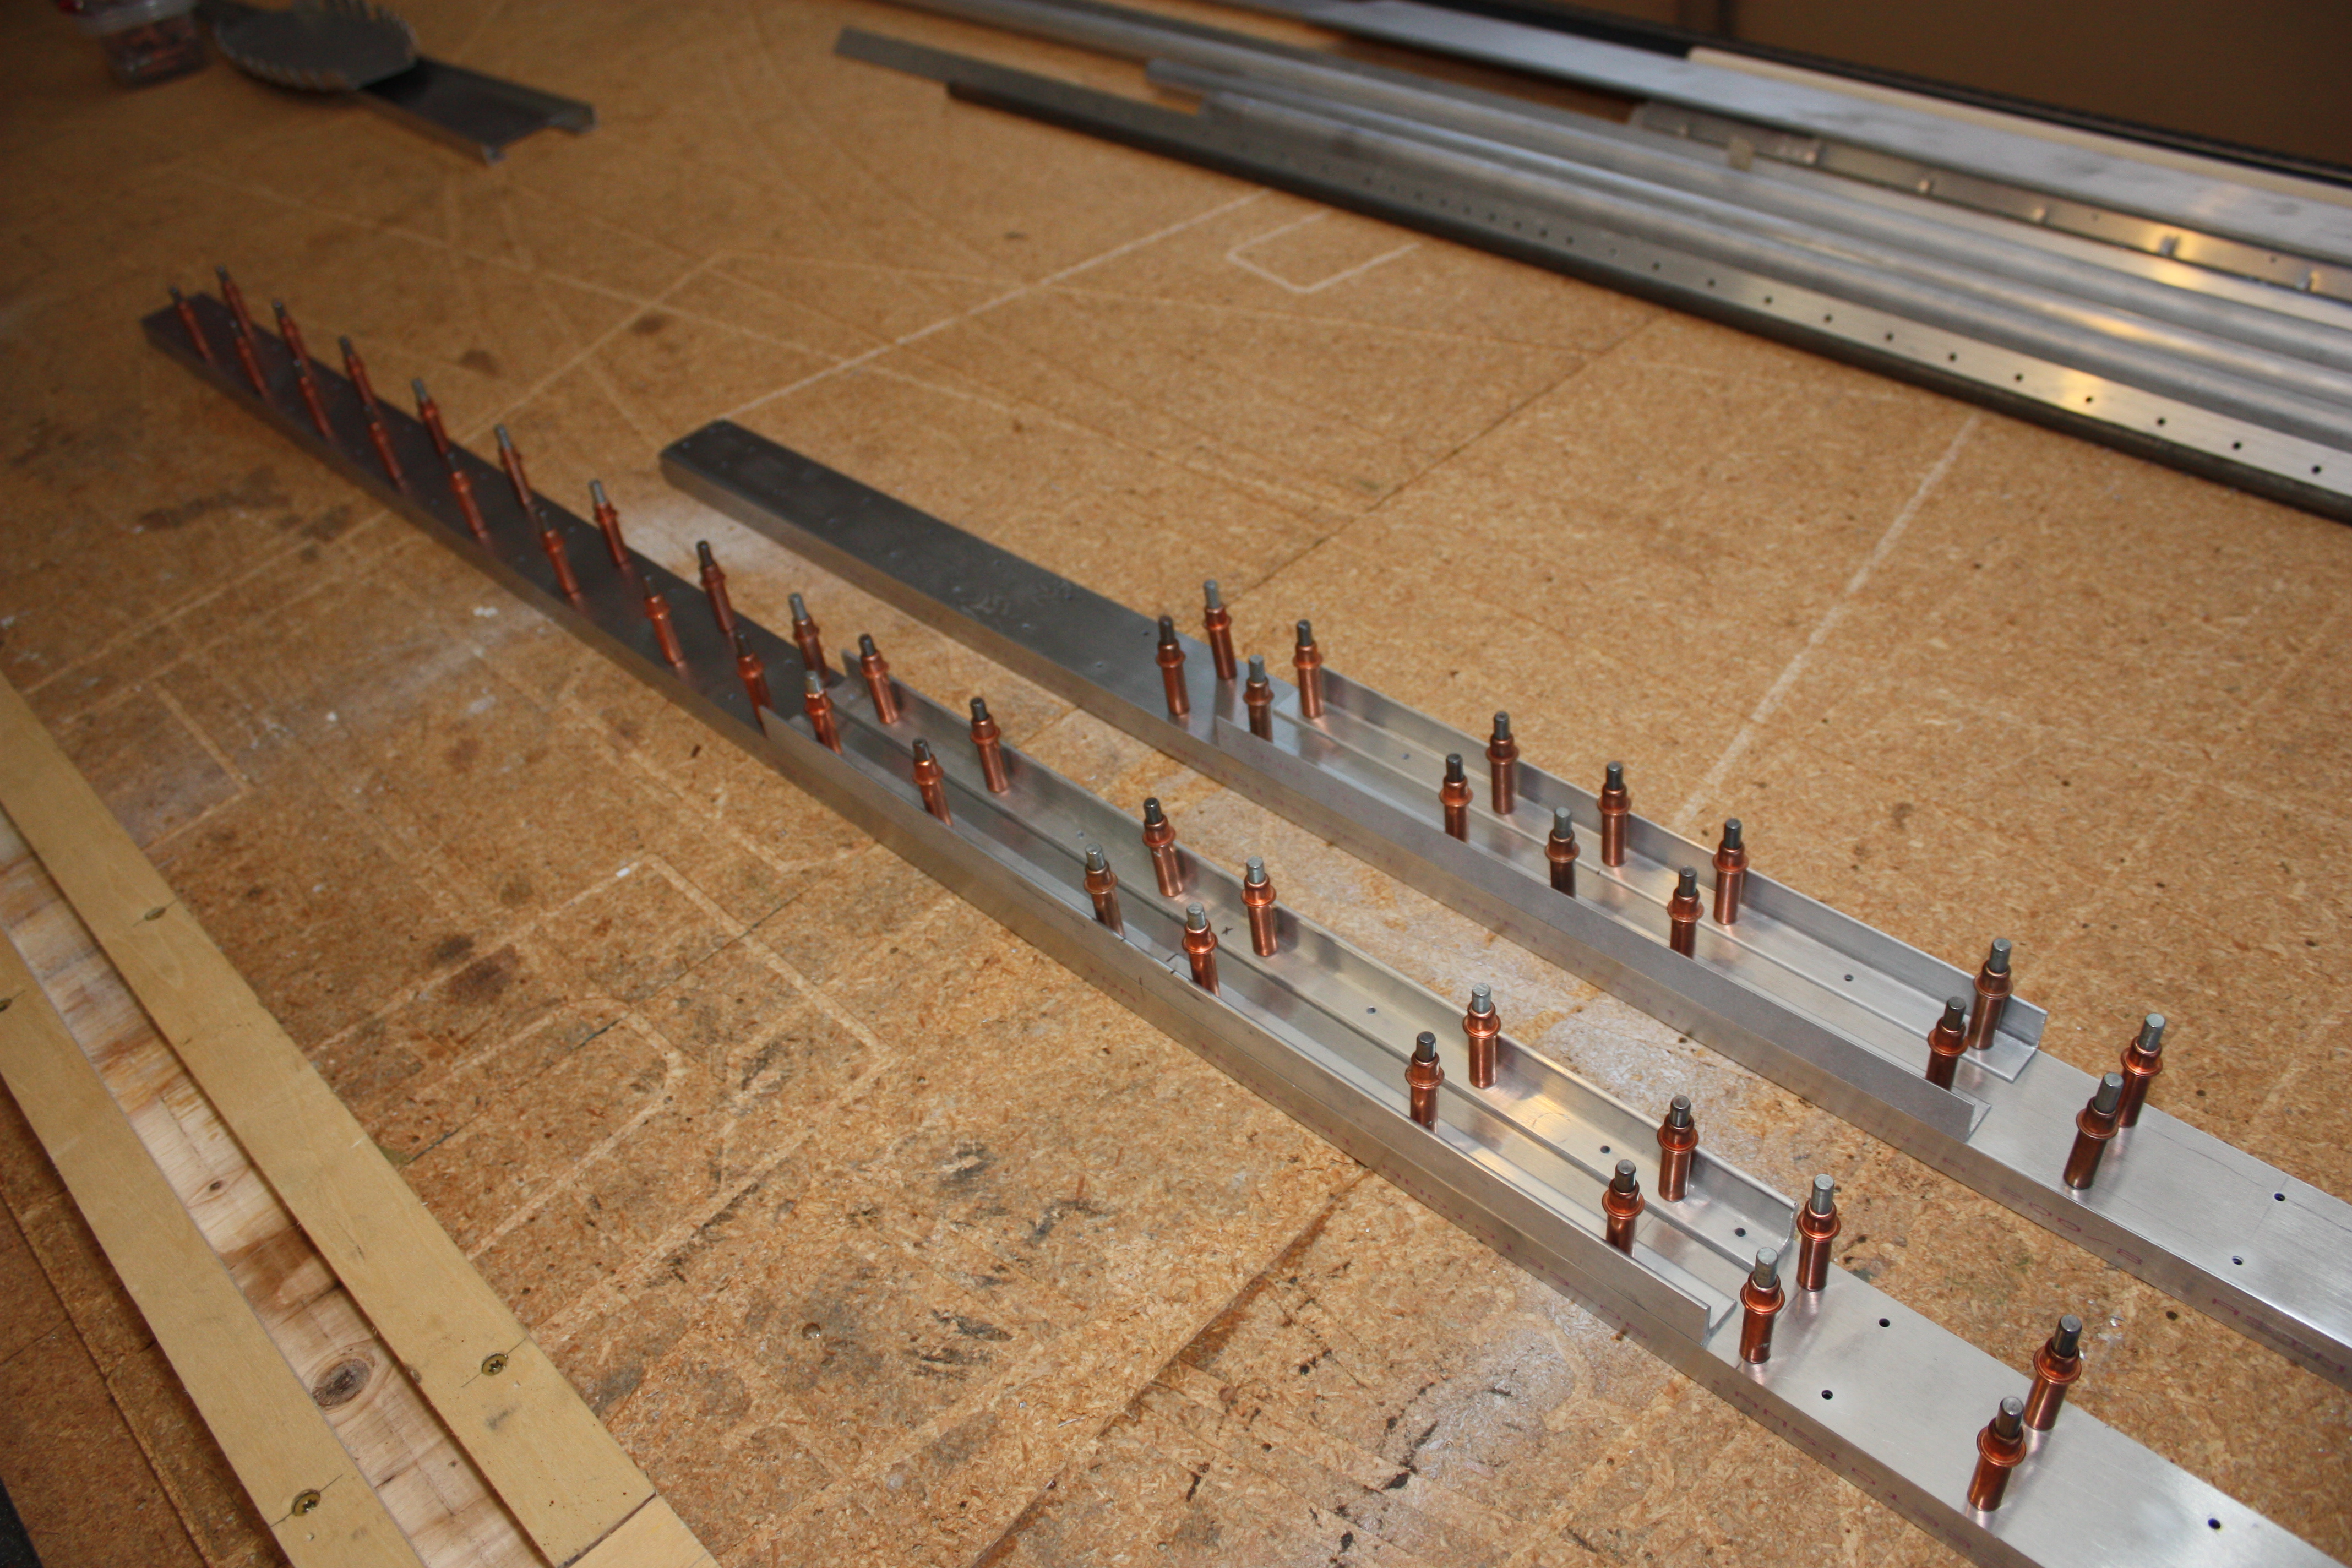
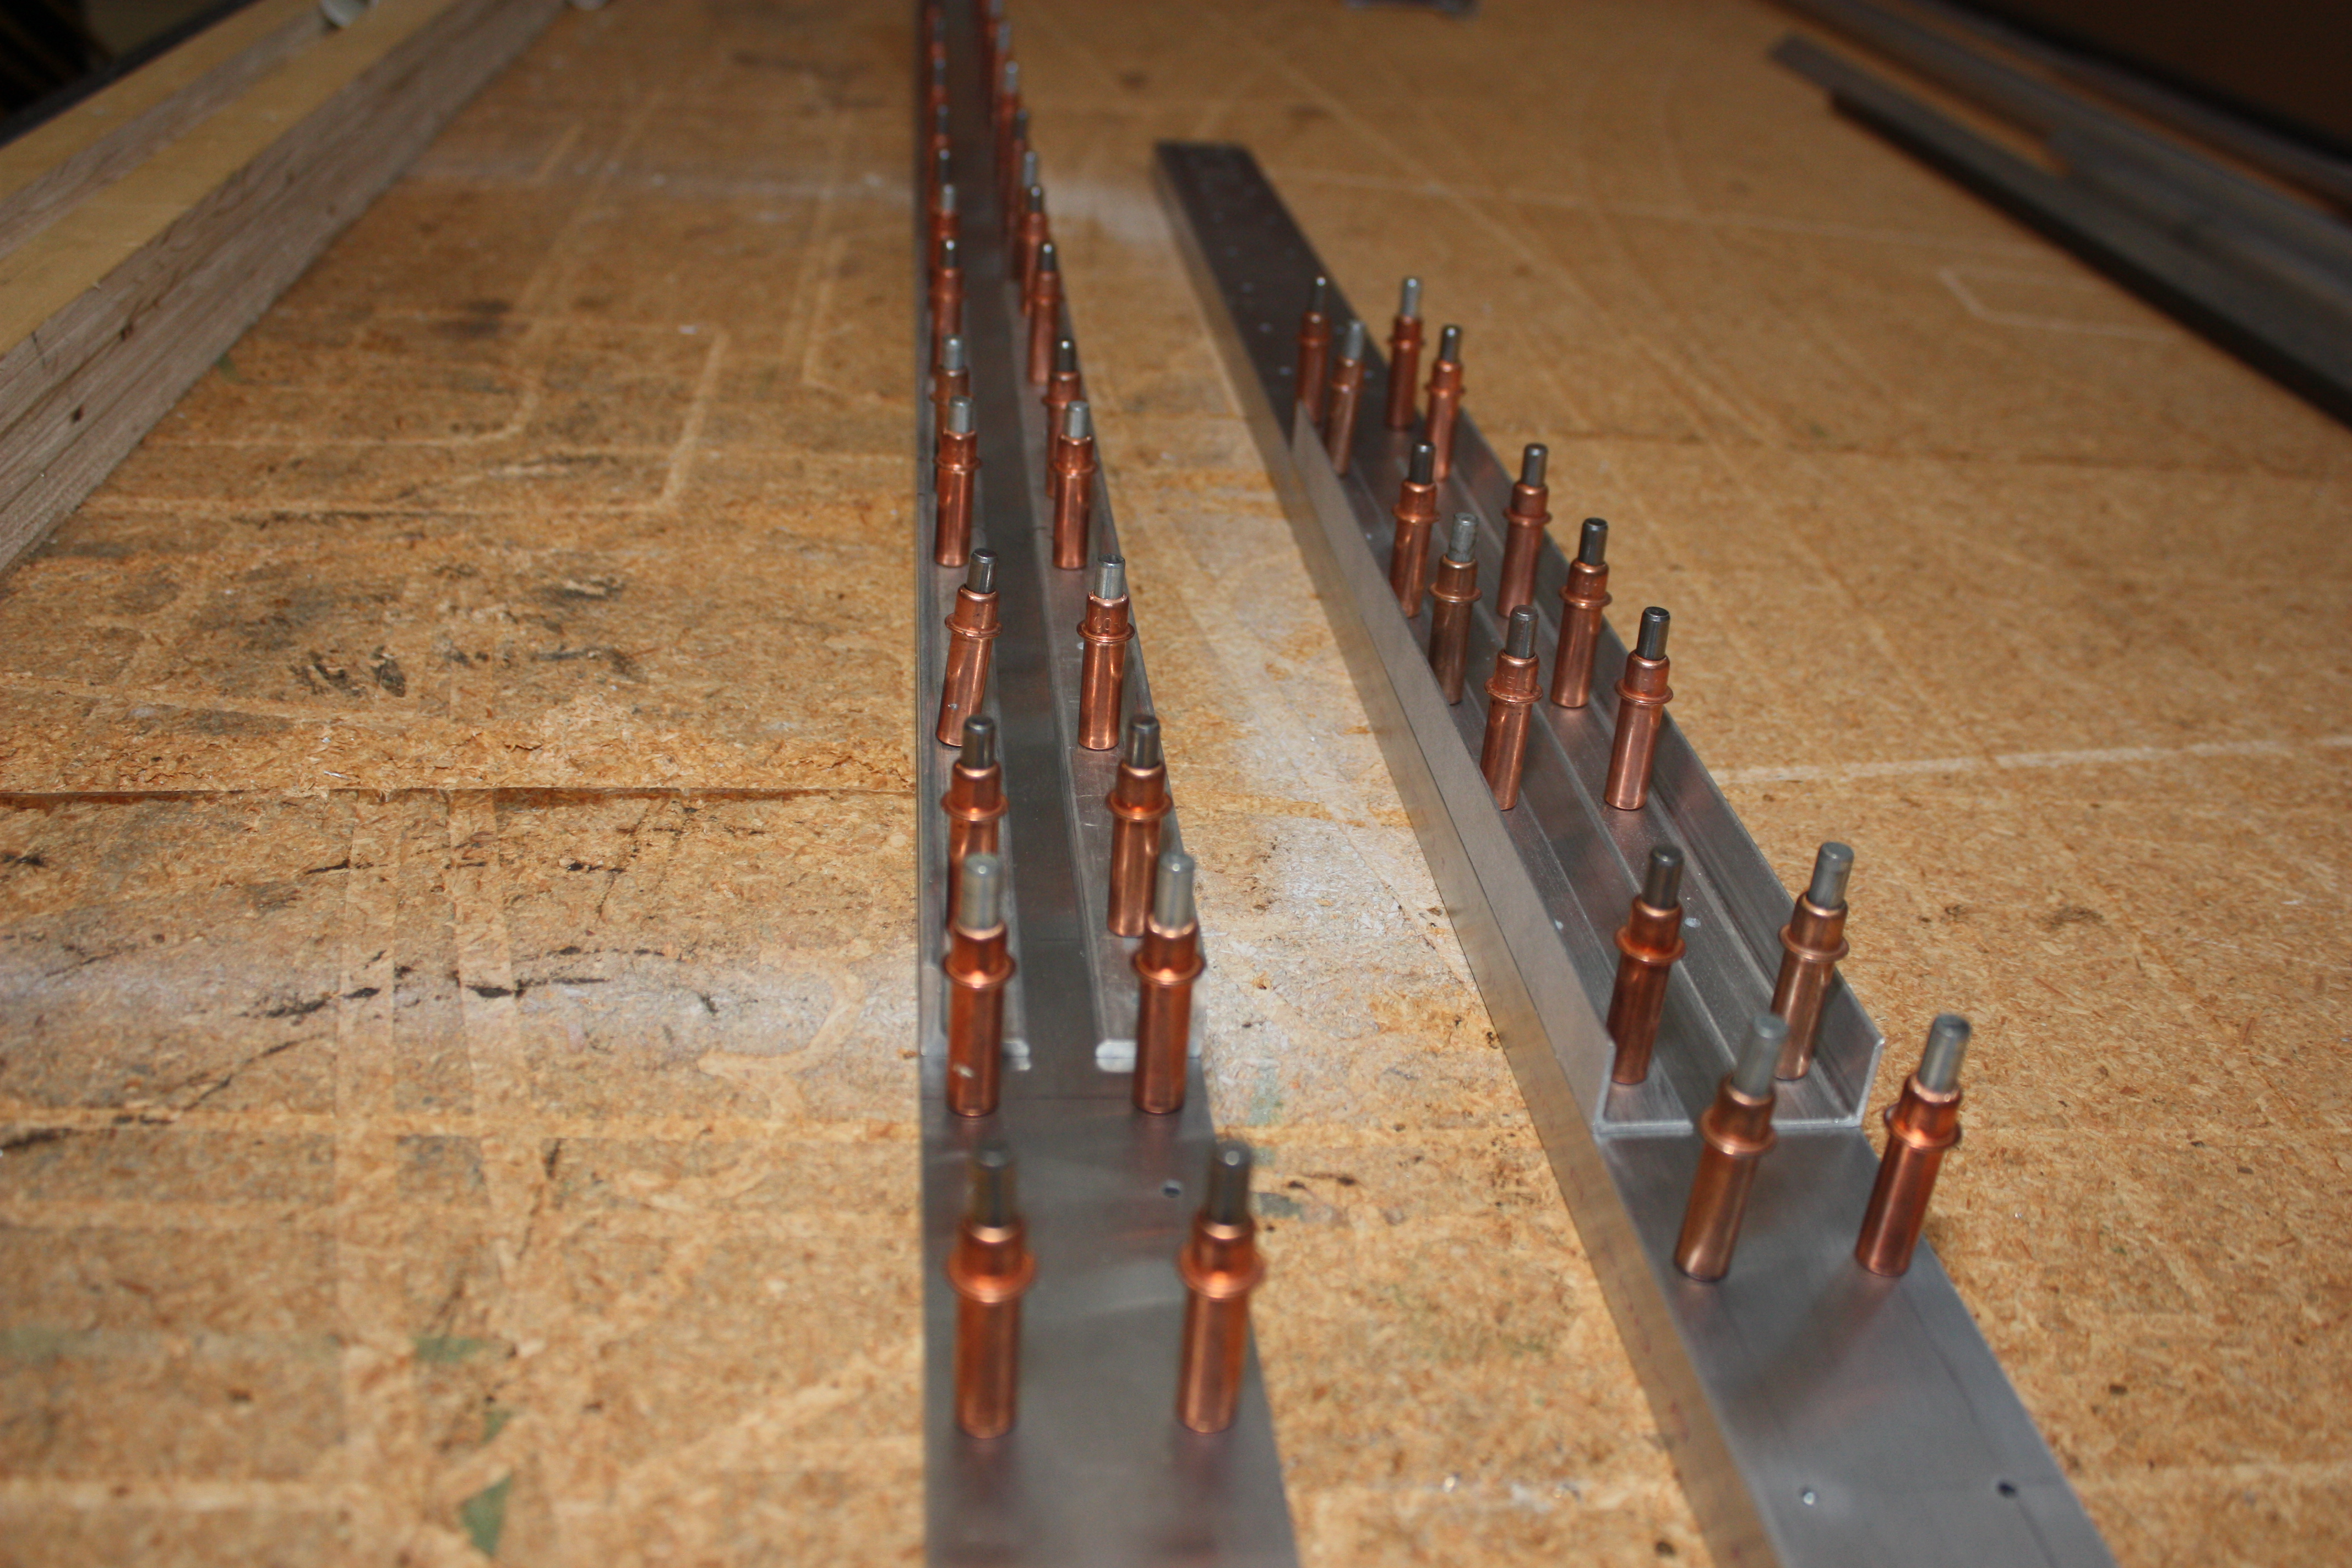
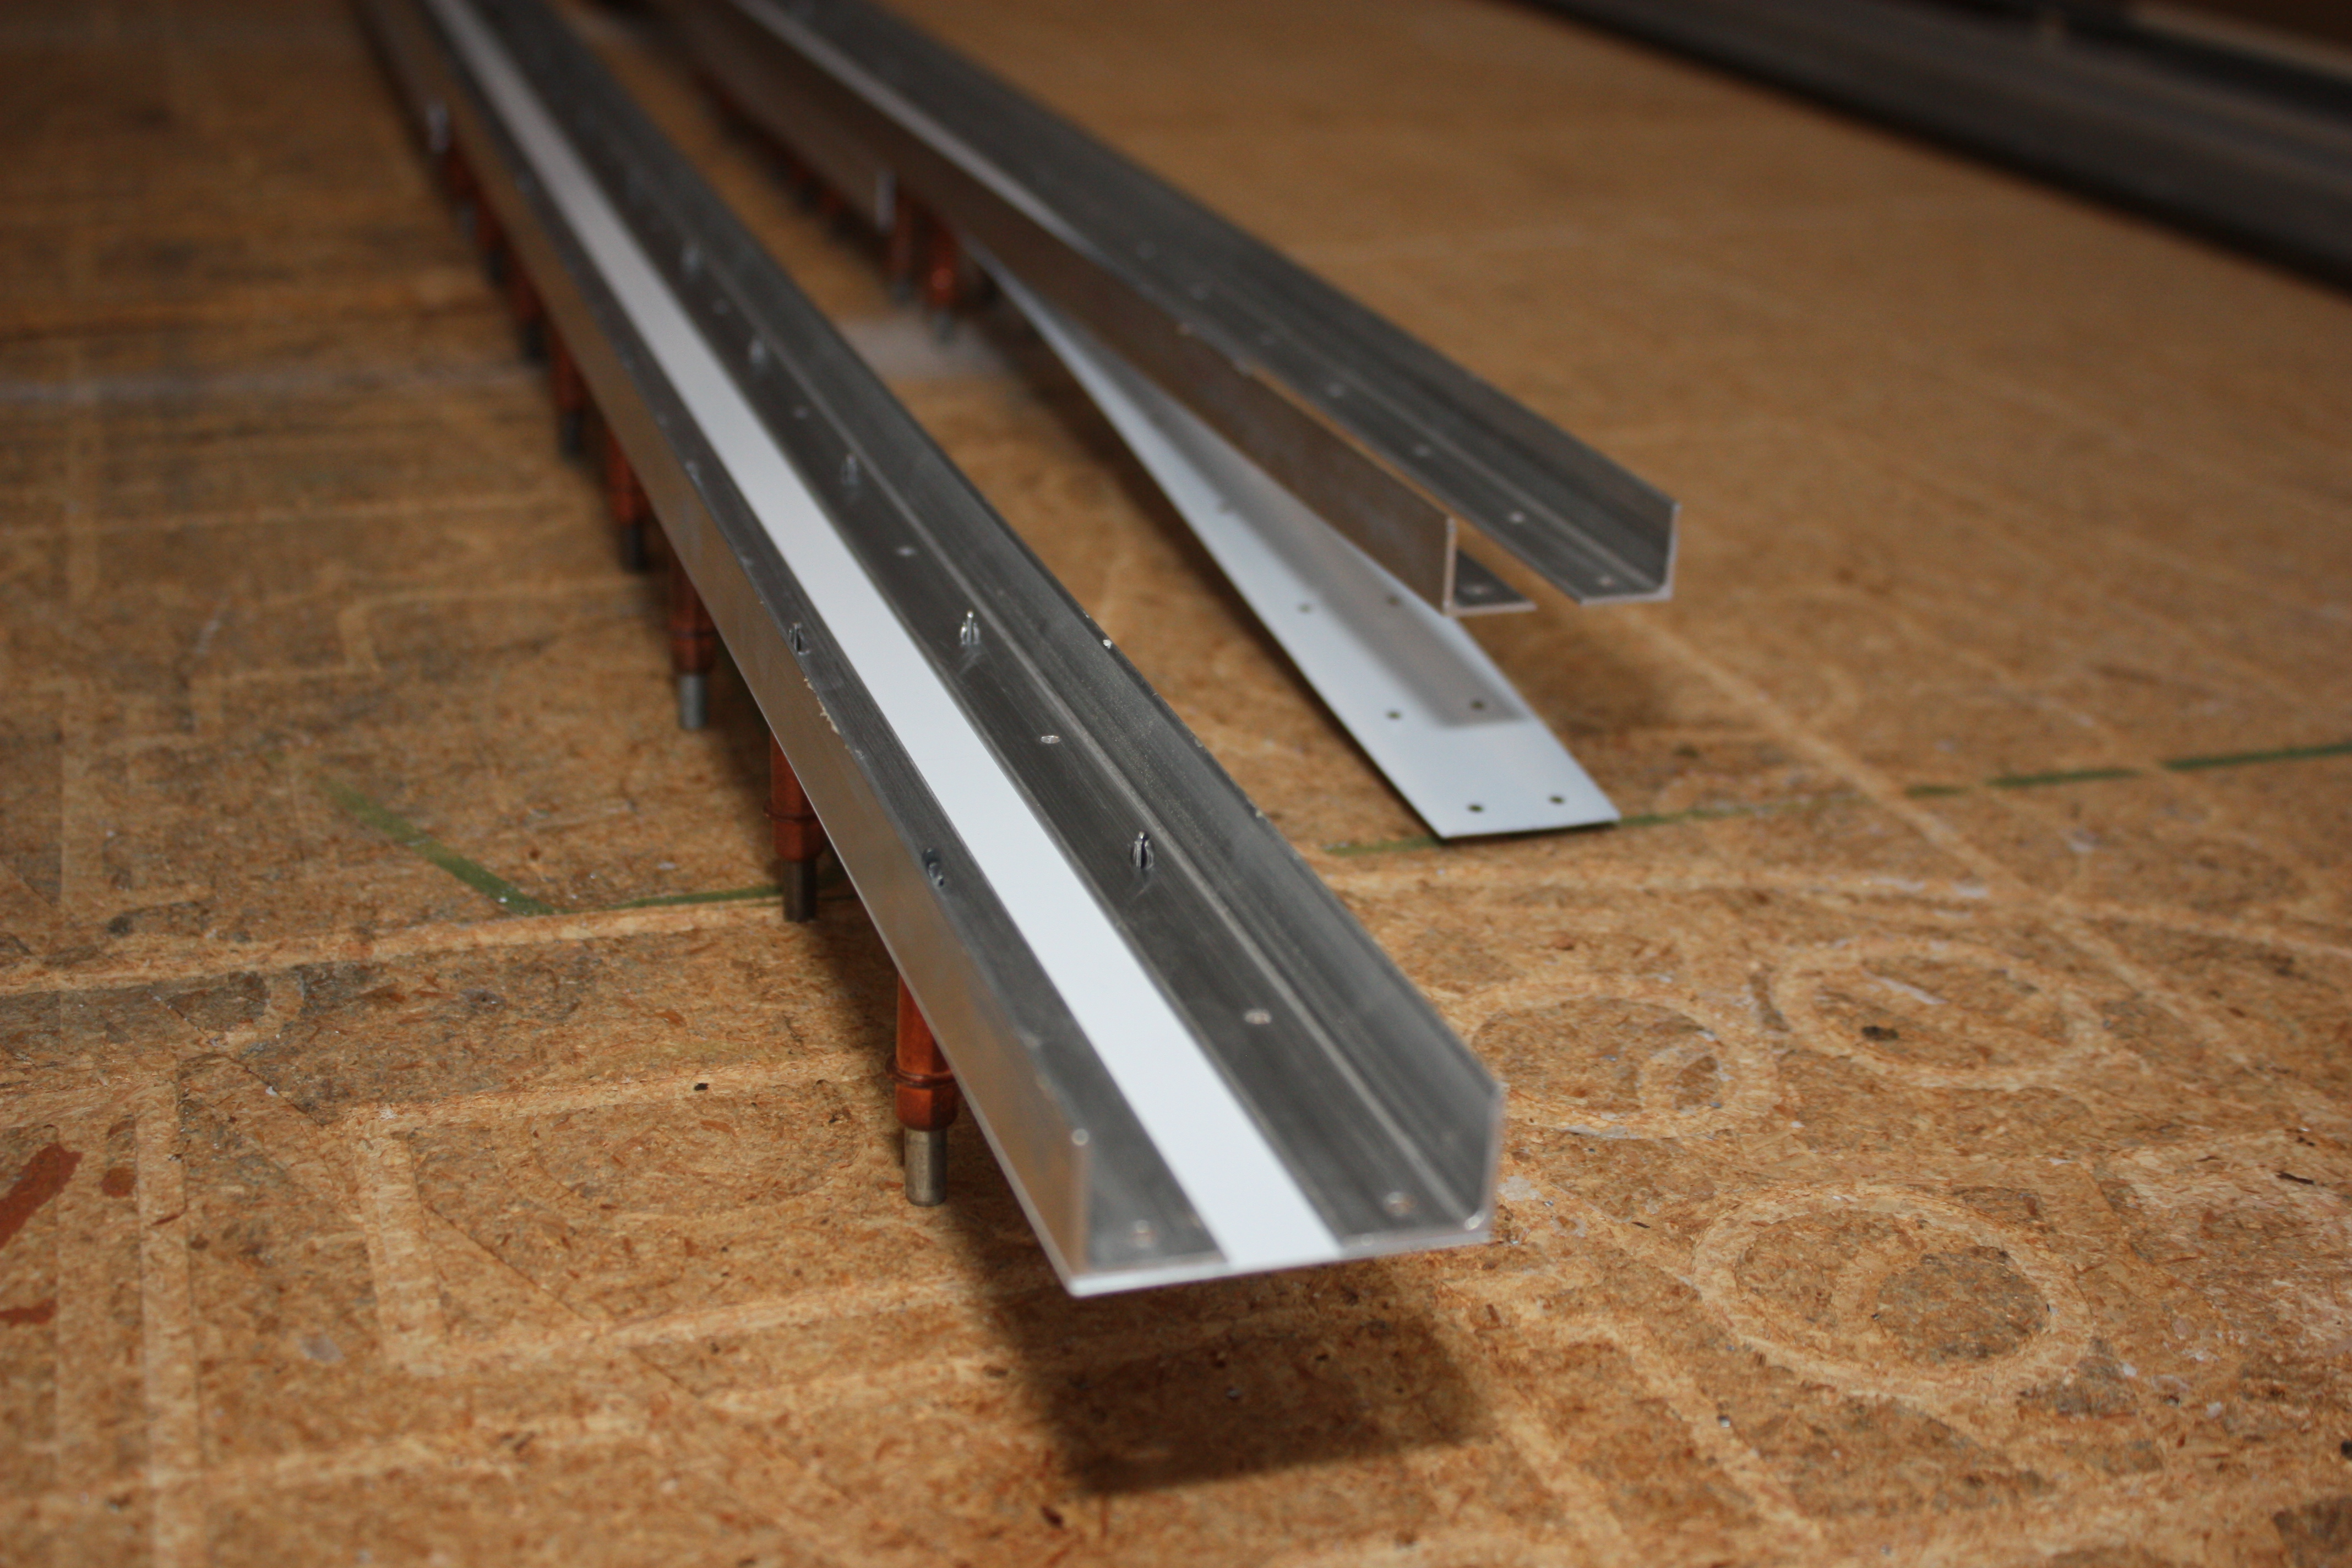
The above spar and ribs were cut on the CNC based exactly on the plans. The skin we did by hand:
It turned out warped! Not by a bunch, but by enough that it bothered me.
2017 (Yes, four years later)
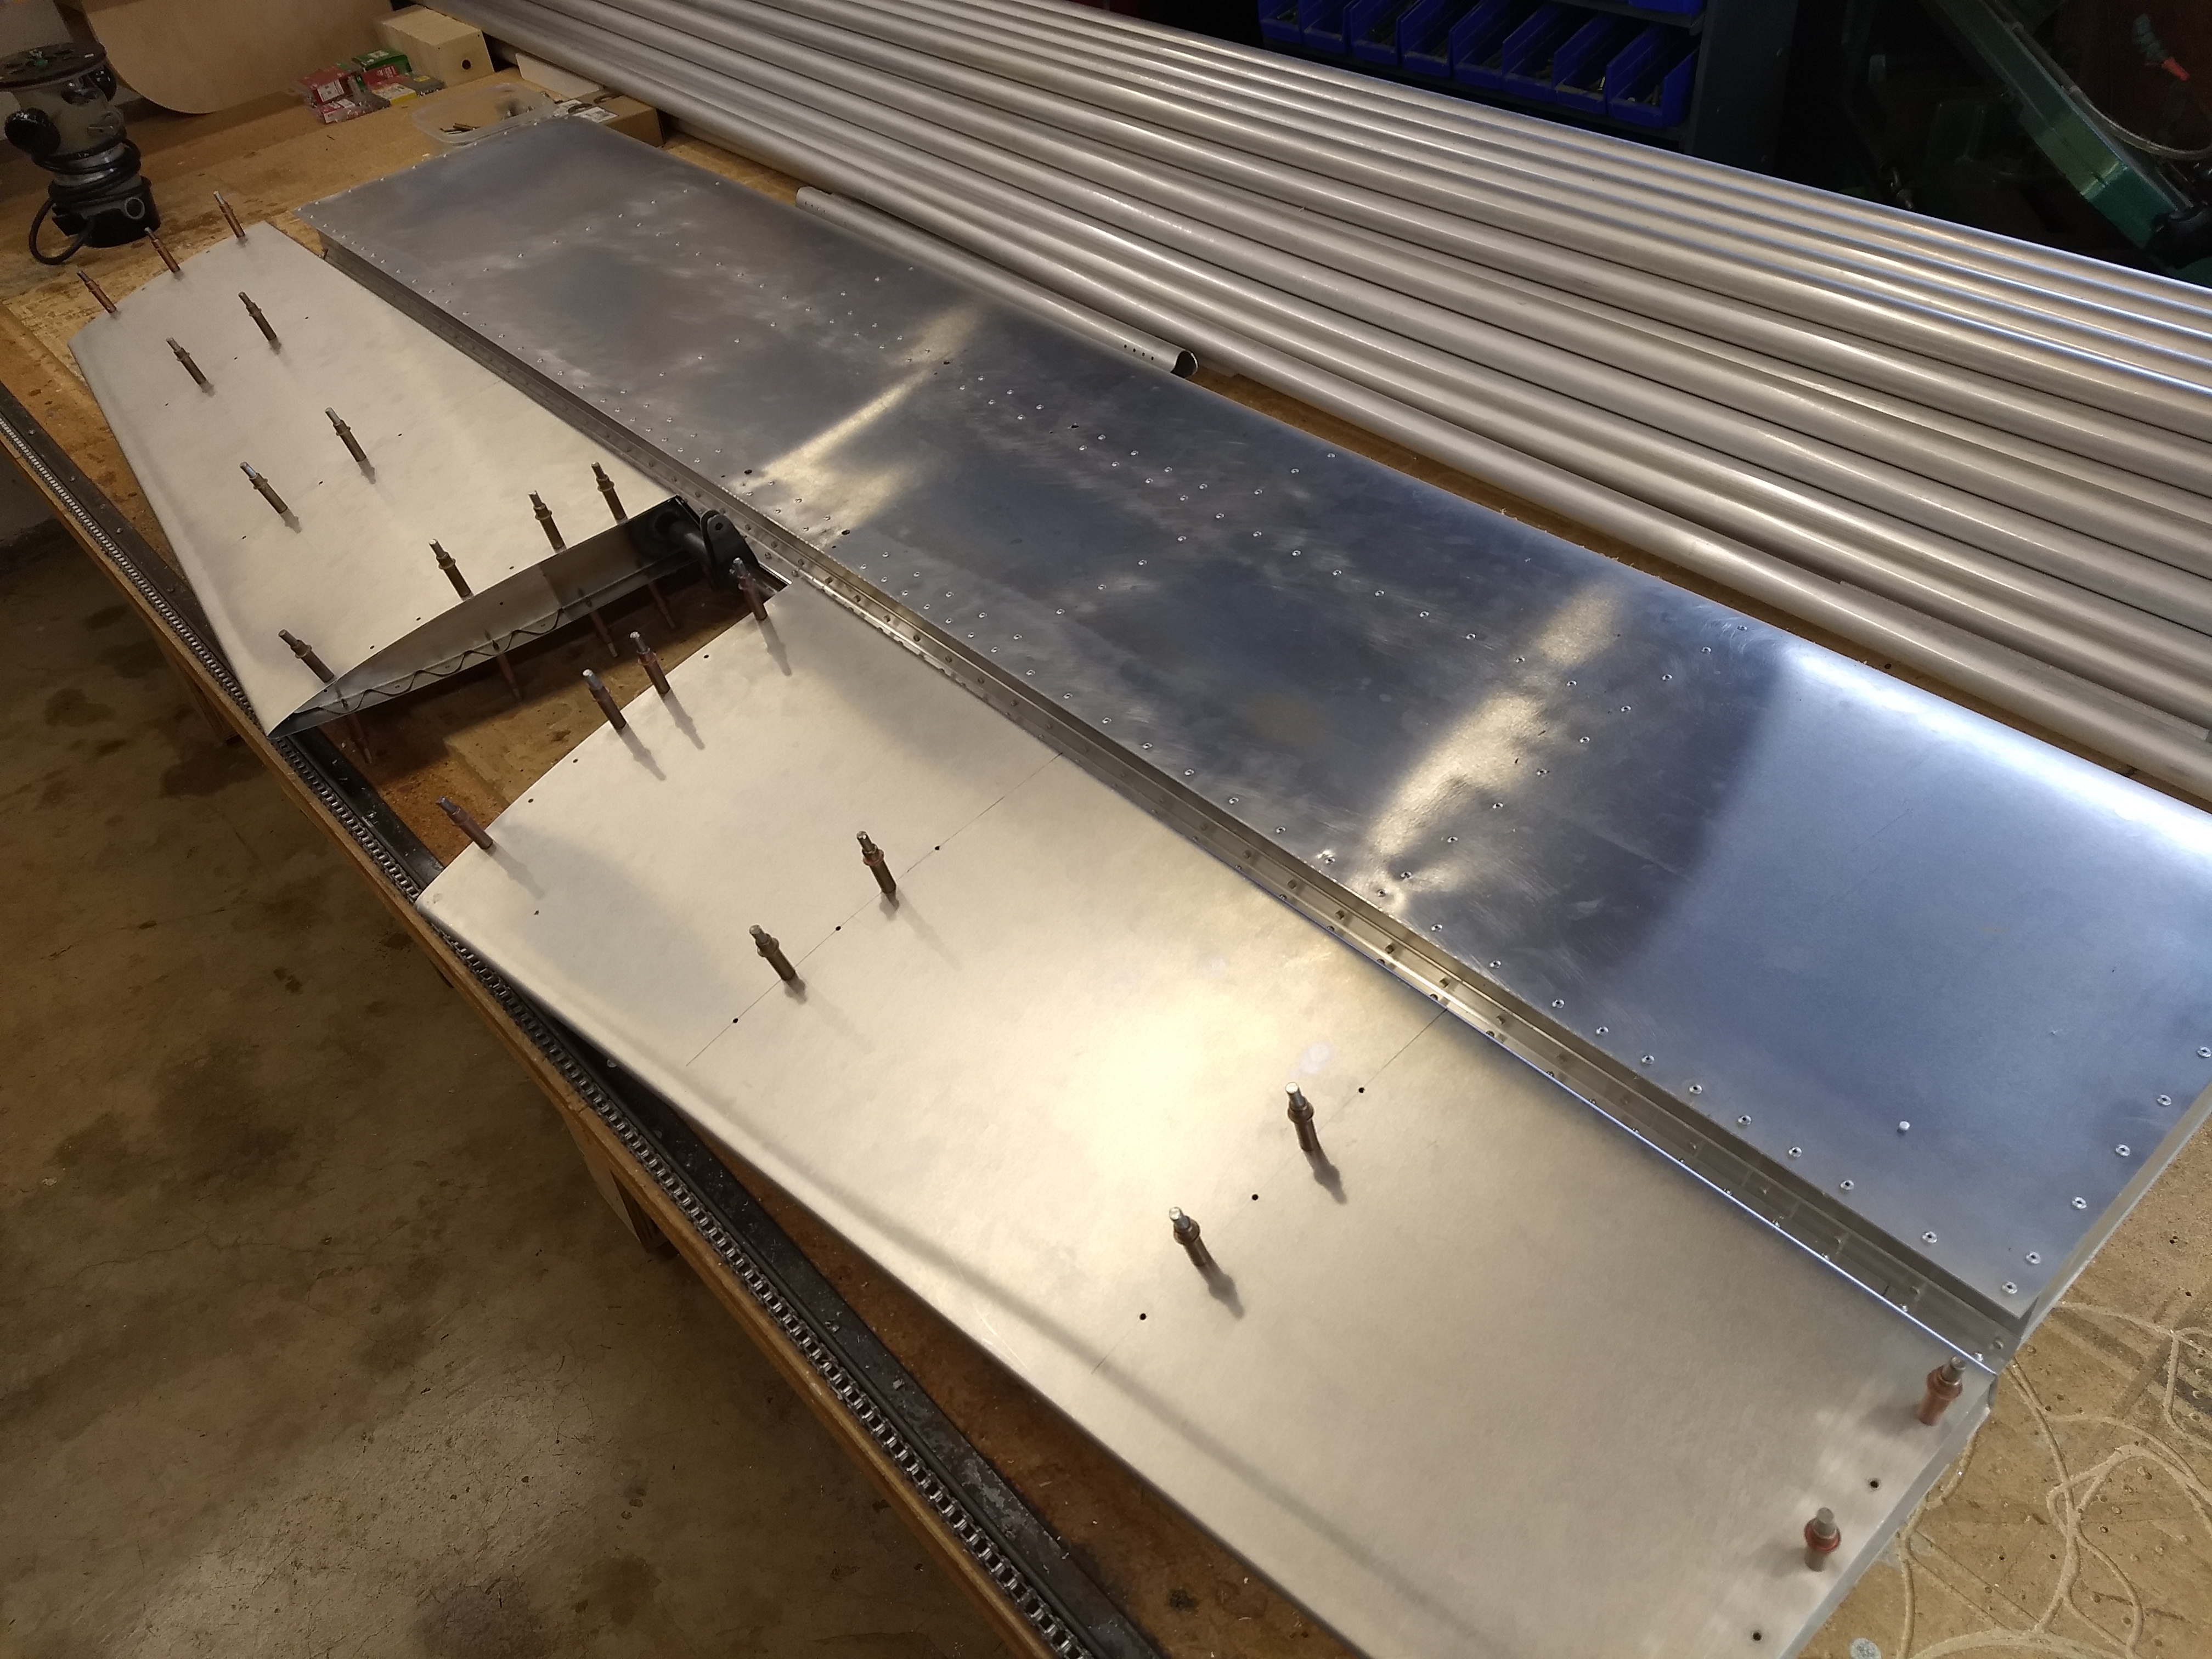
So I built the entire horizontal stabilizer again. This time, I straightened the leading edge and turned it into a slab wing. This was done to make it easier to draft and project the flattened skin in CAD:
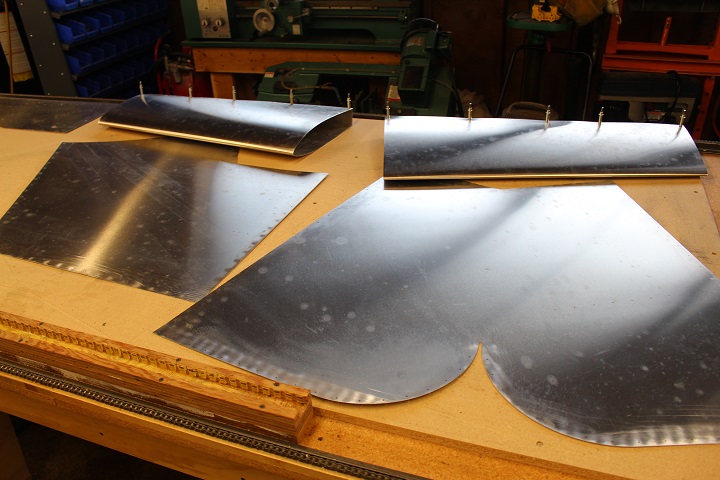
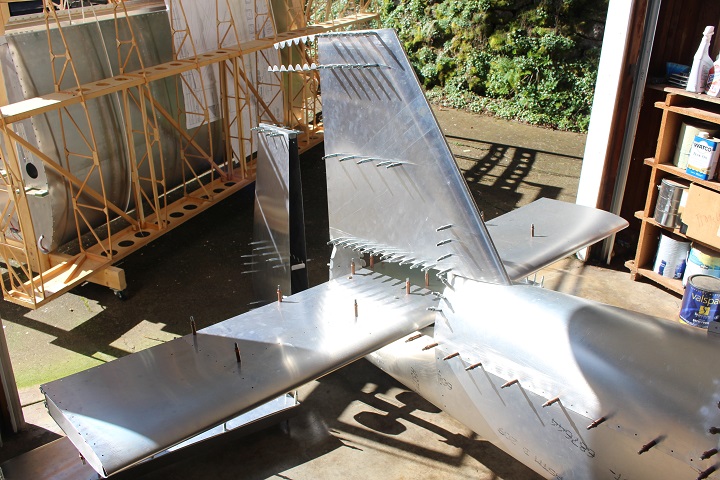
At this point I have most of the tail feathers cut and ready to finish:
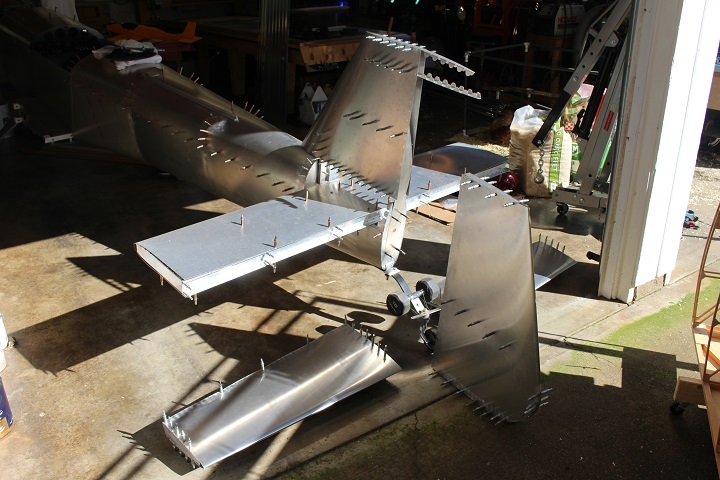
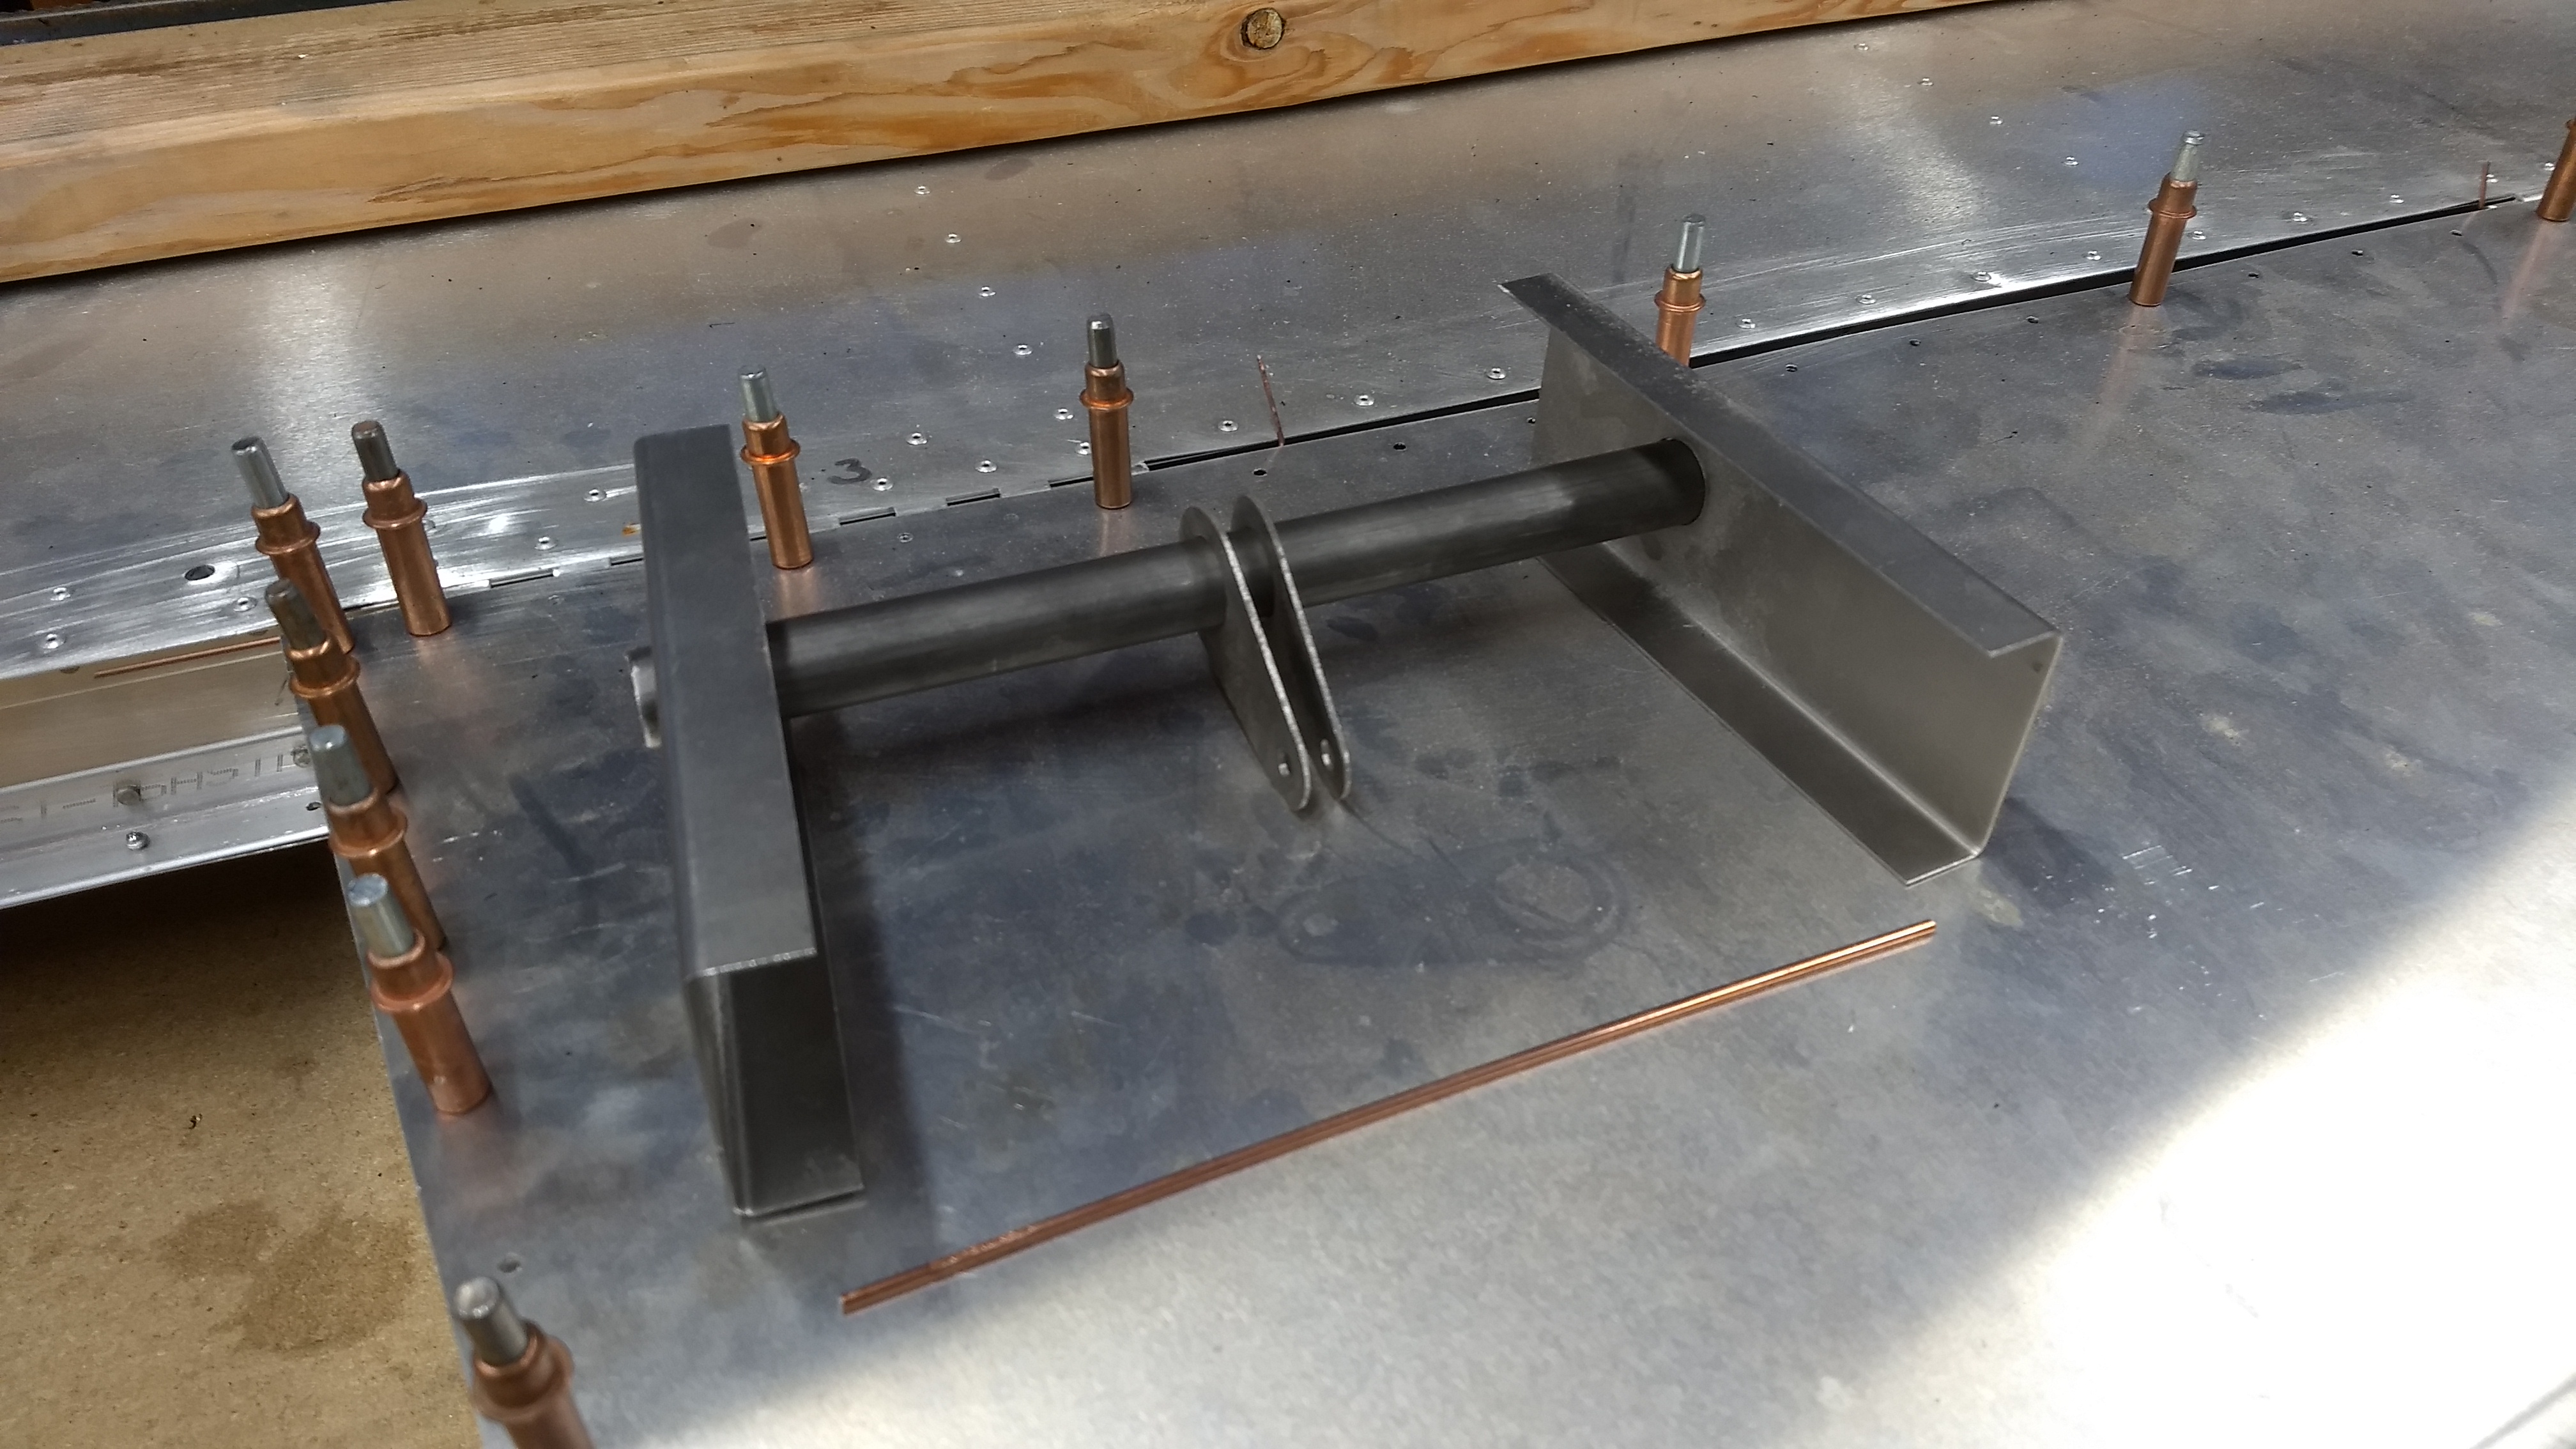
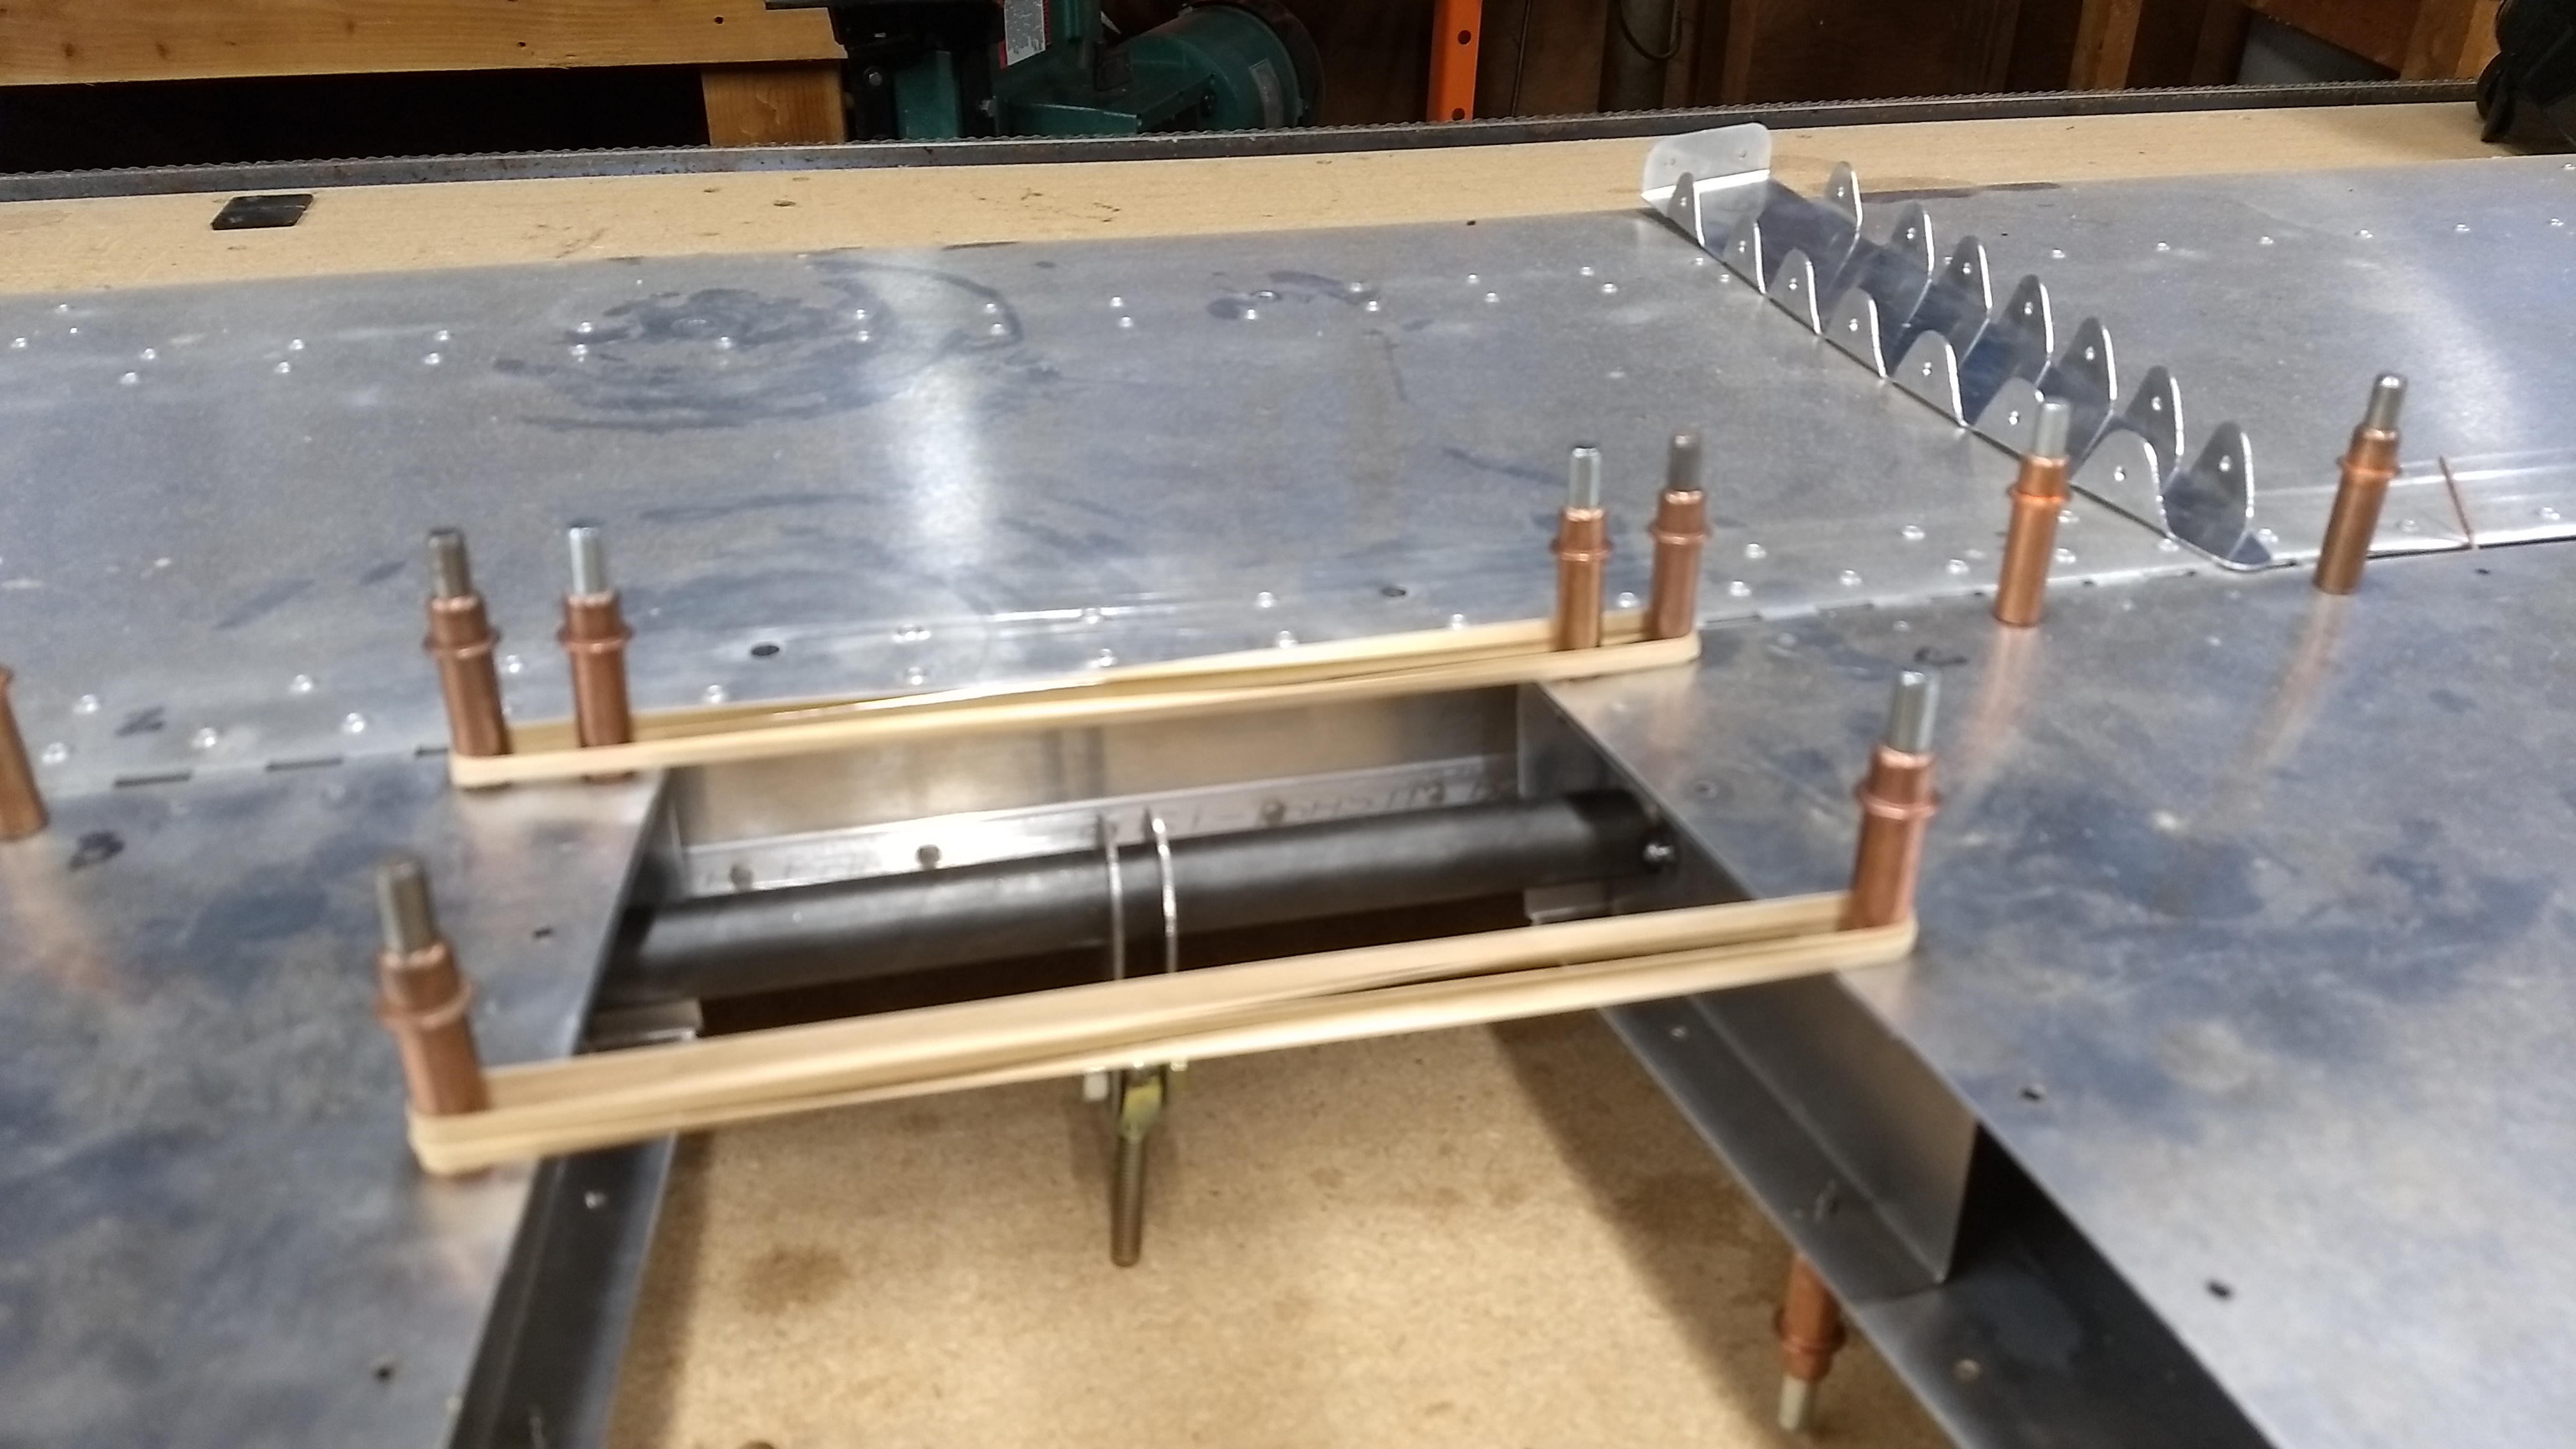
You need the horizontal stabilizer finished to weld up the center section of the rudder. With the two rudder halves in place, you can grind to fit the center section cross tube.
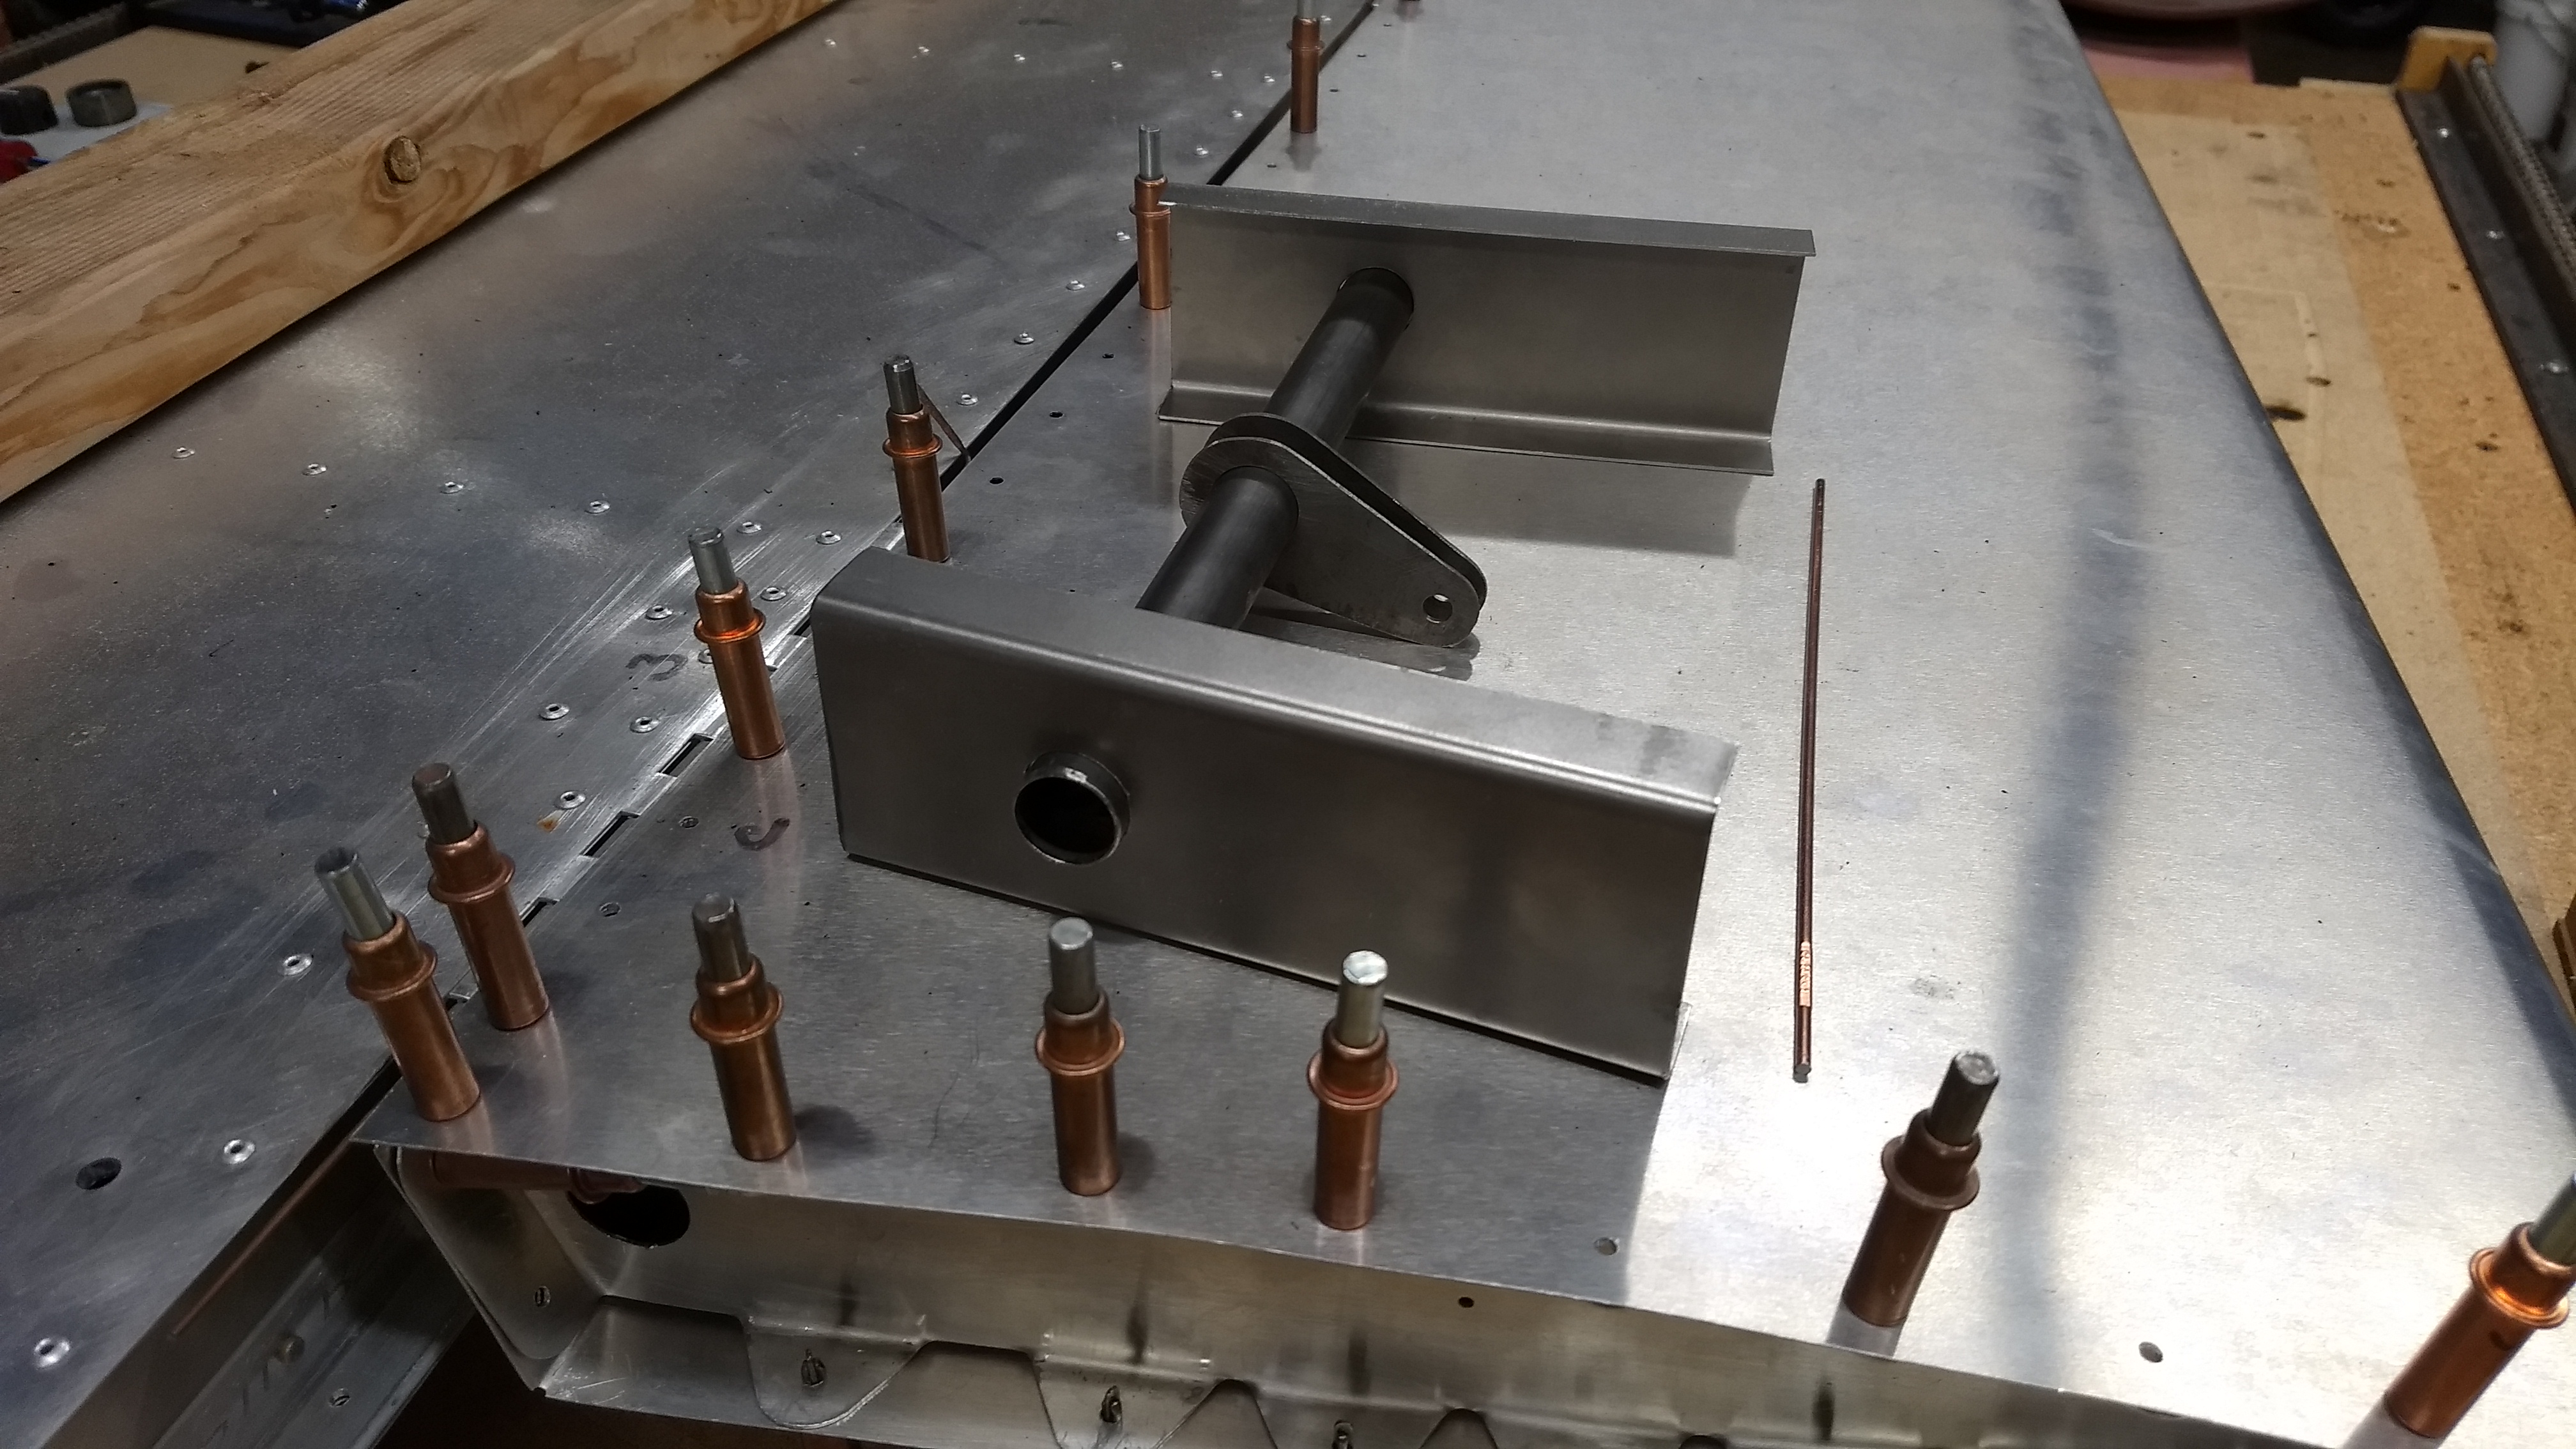
In the image below I am using rubber bands to pull the two halves tight against the tube:
After that, it was tack welded in place, removed, and finished welded.
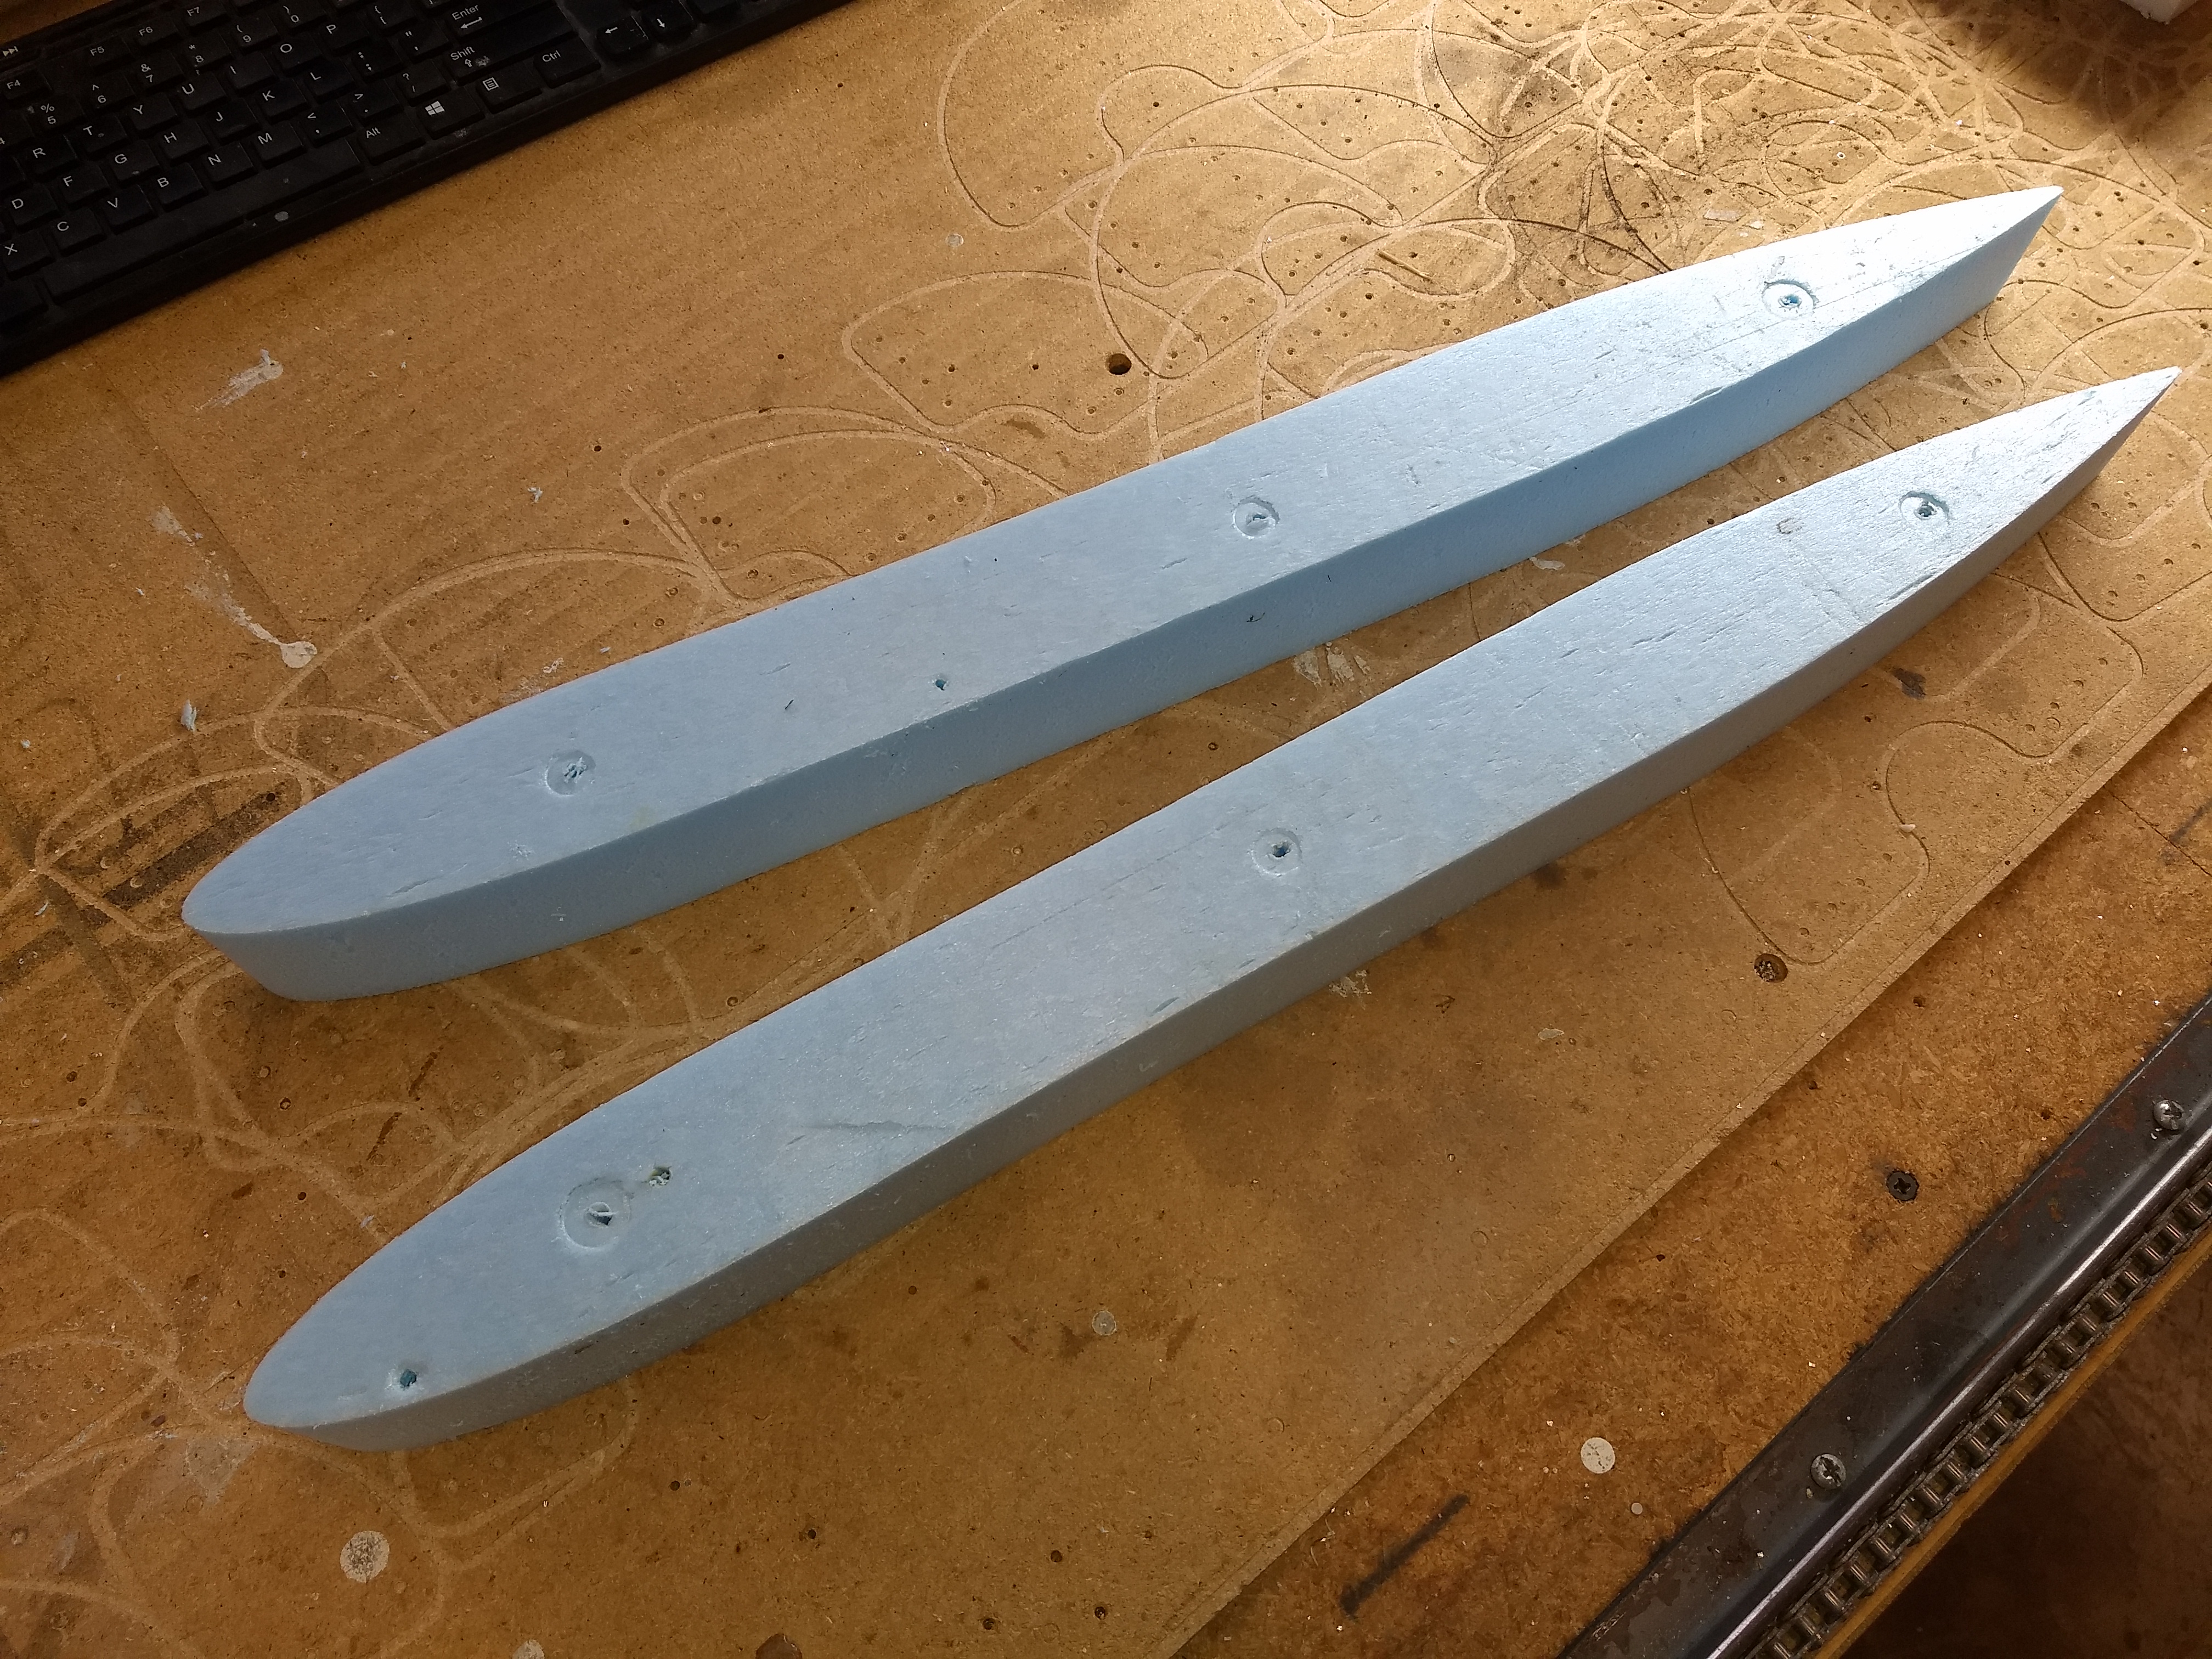
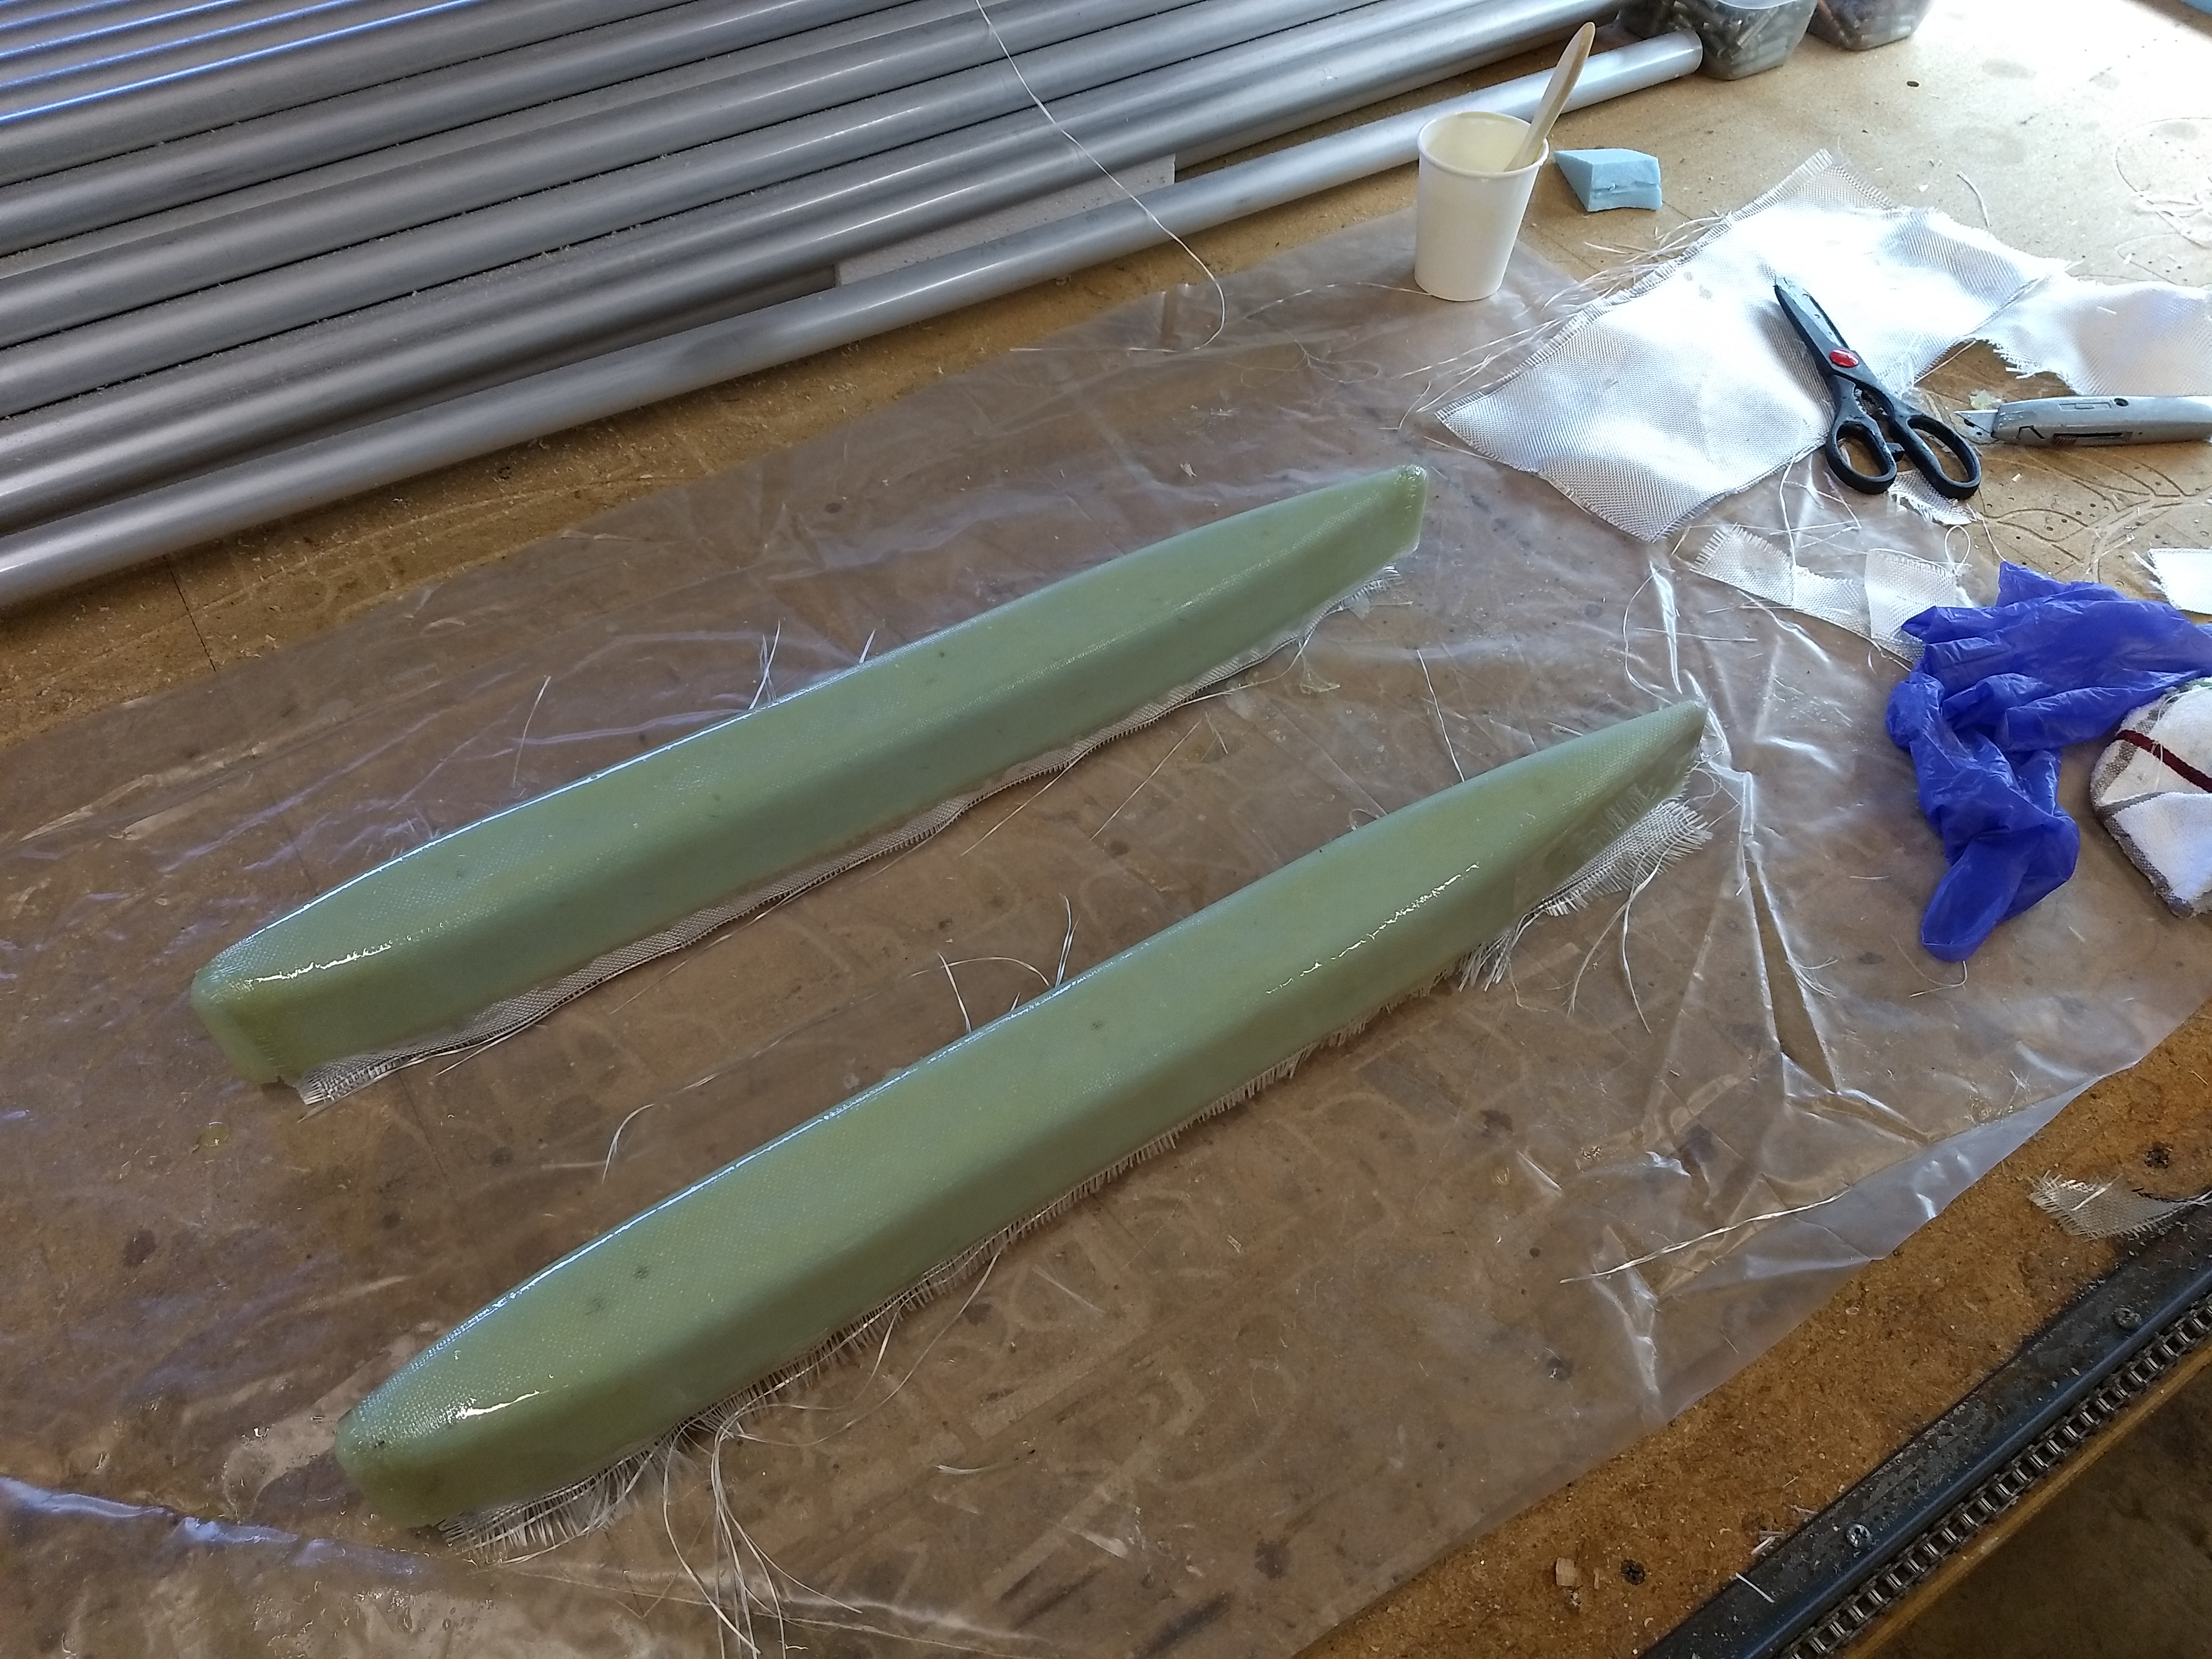
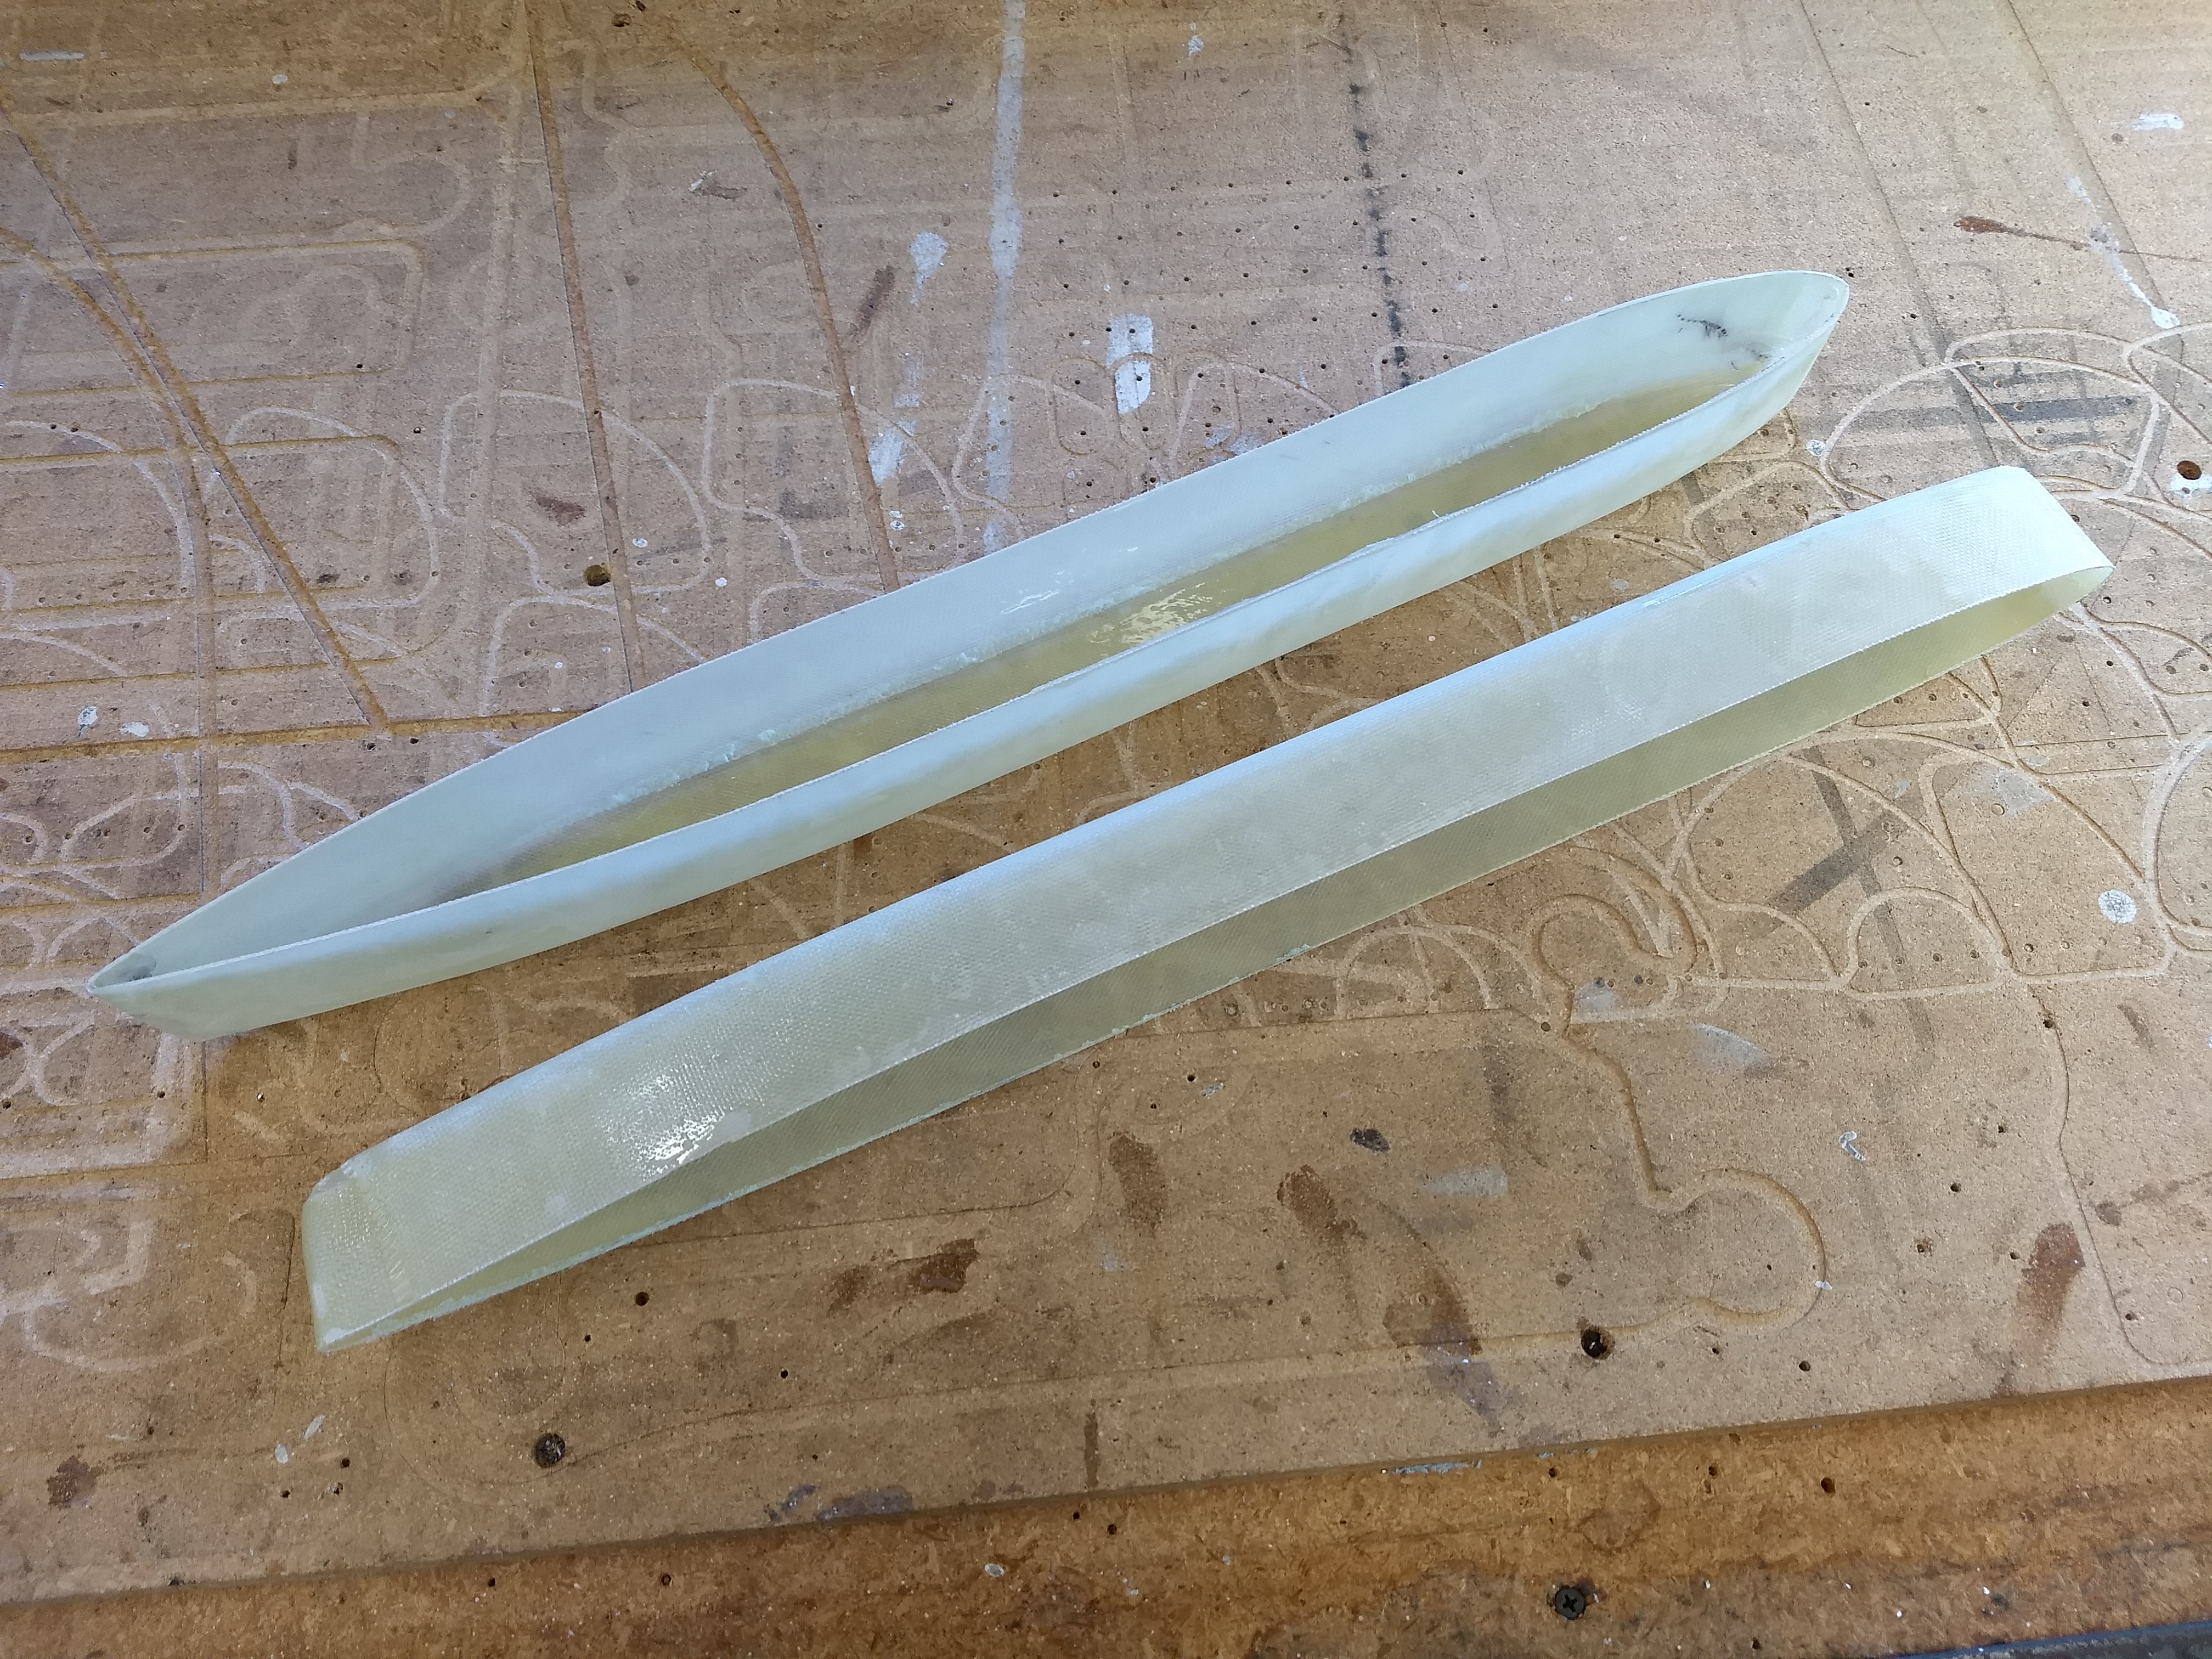
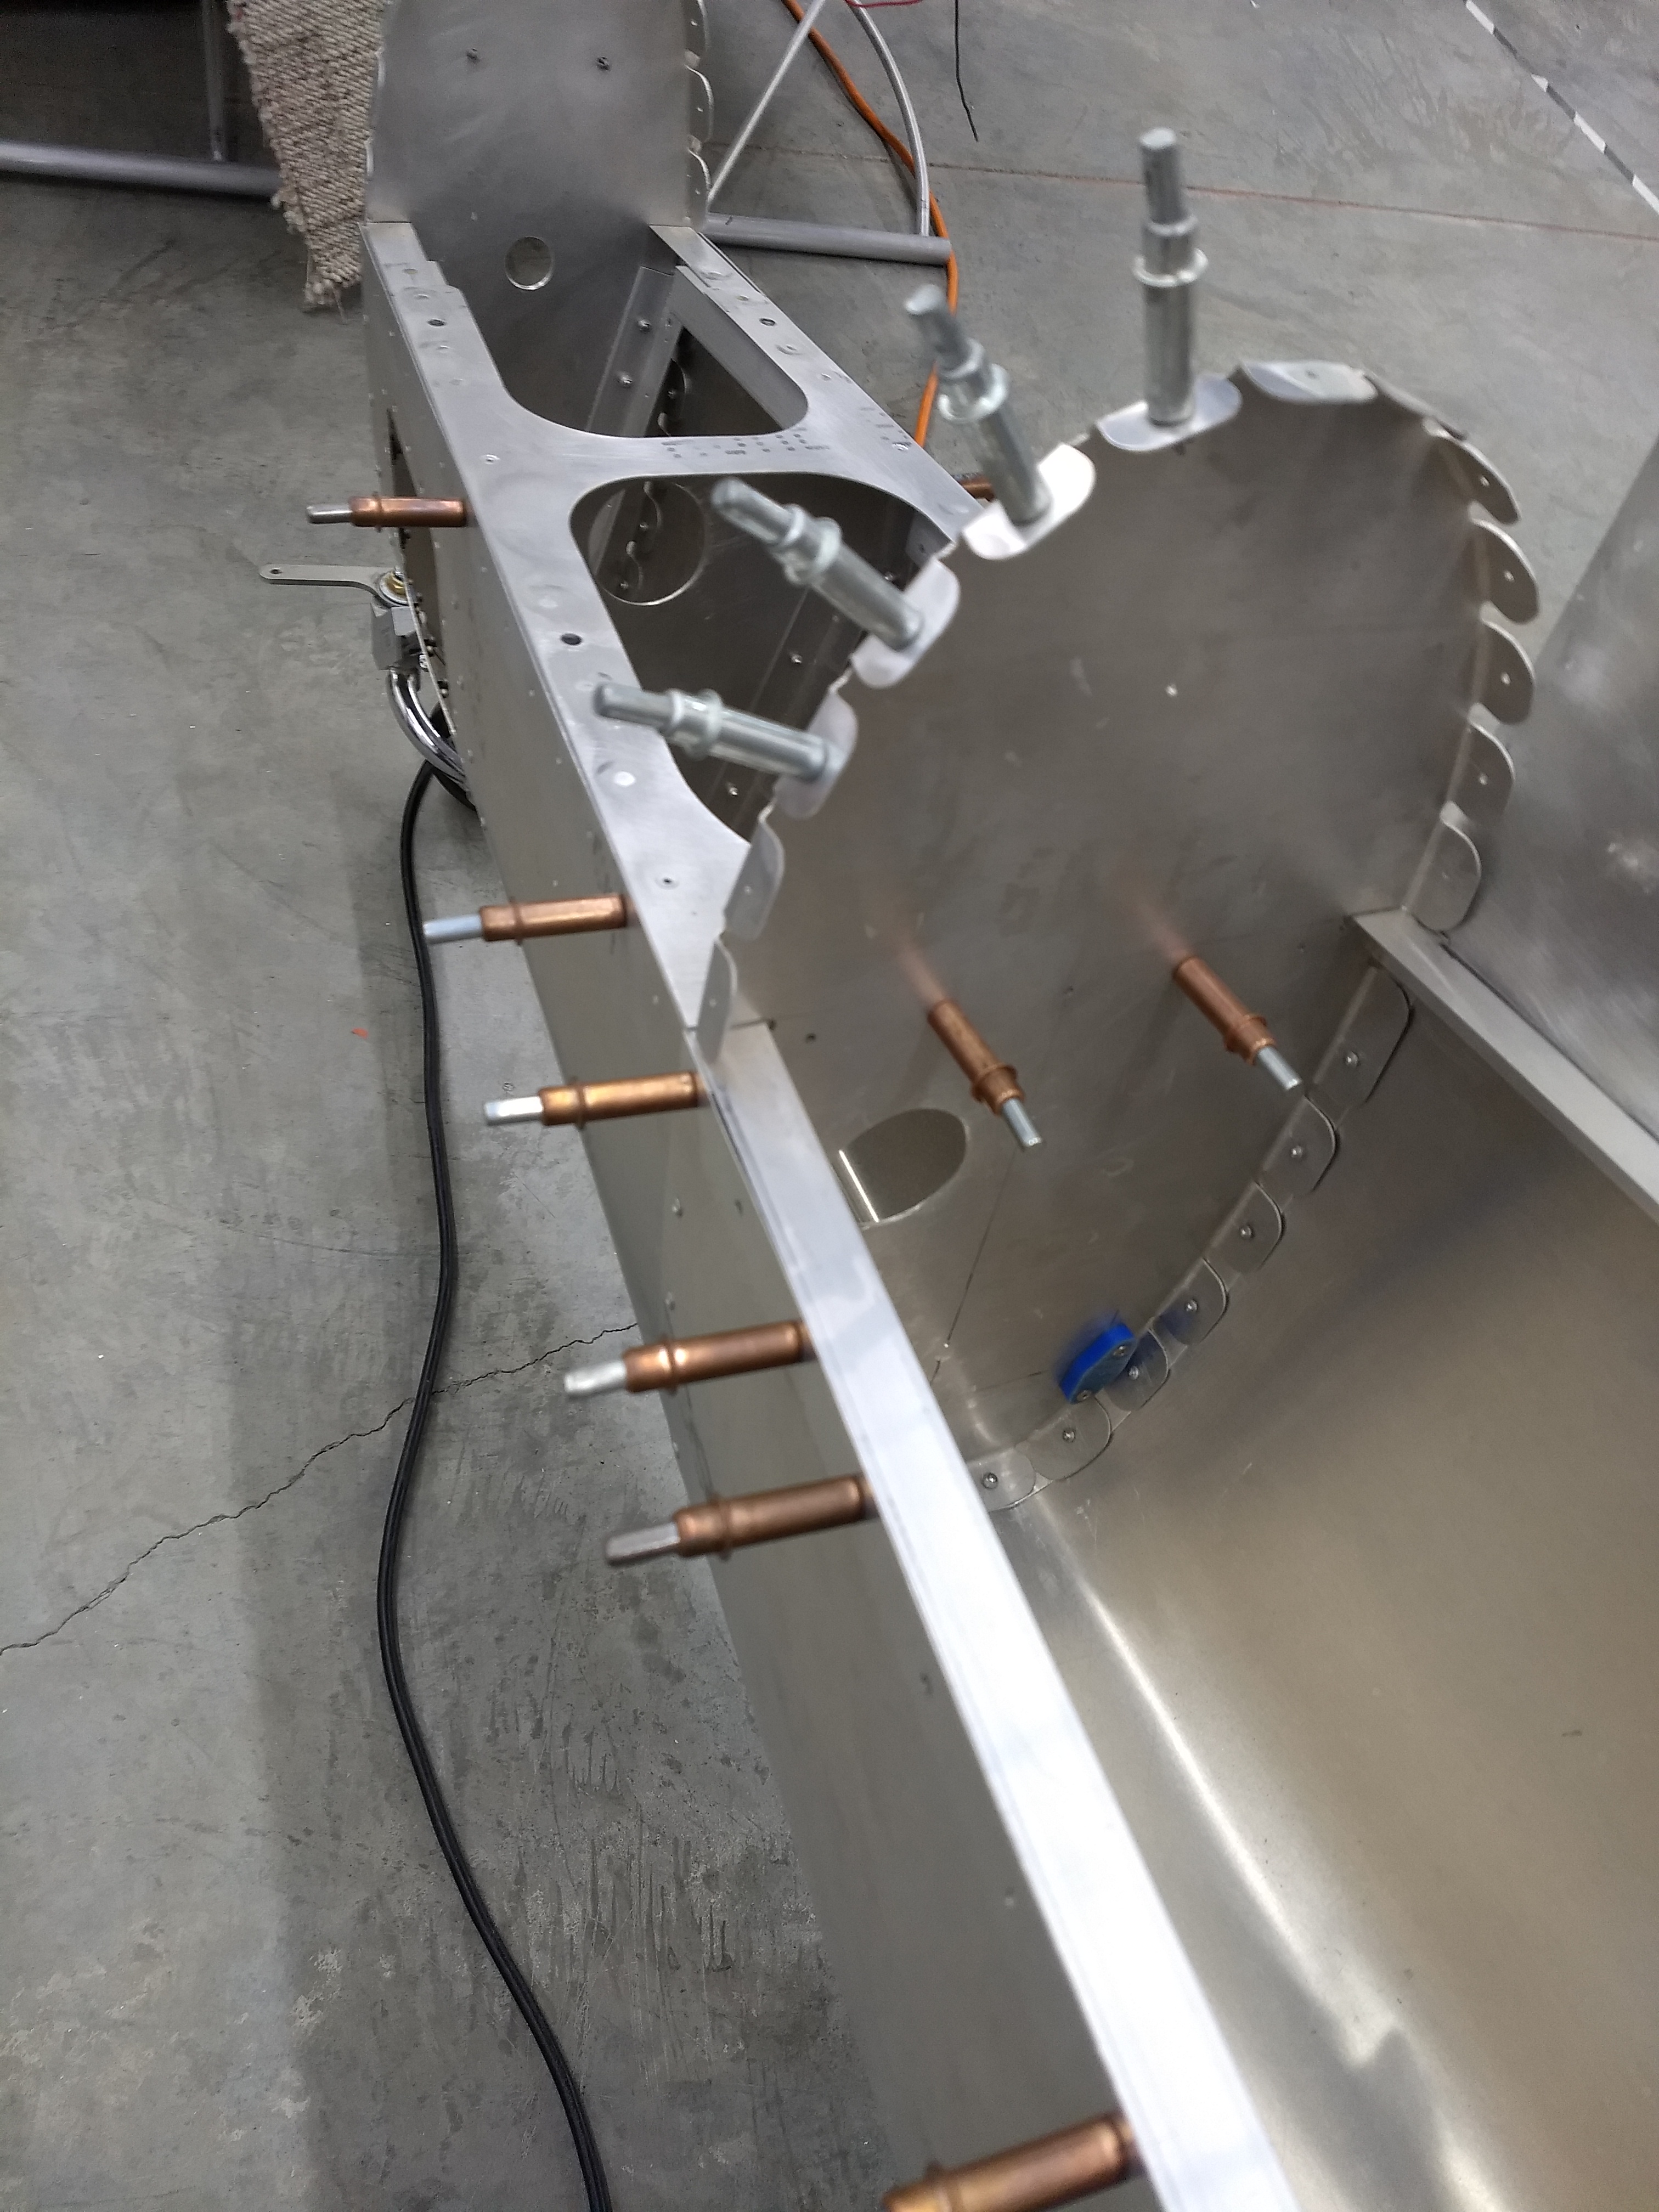
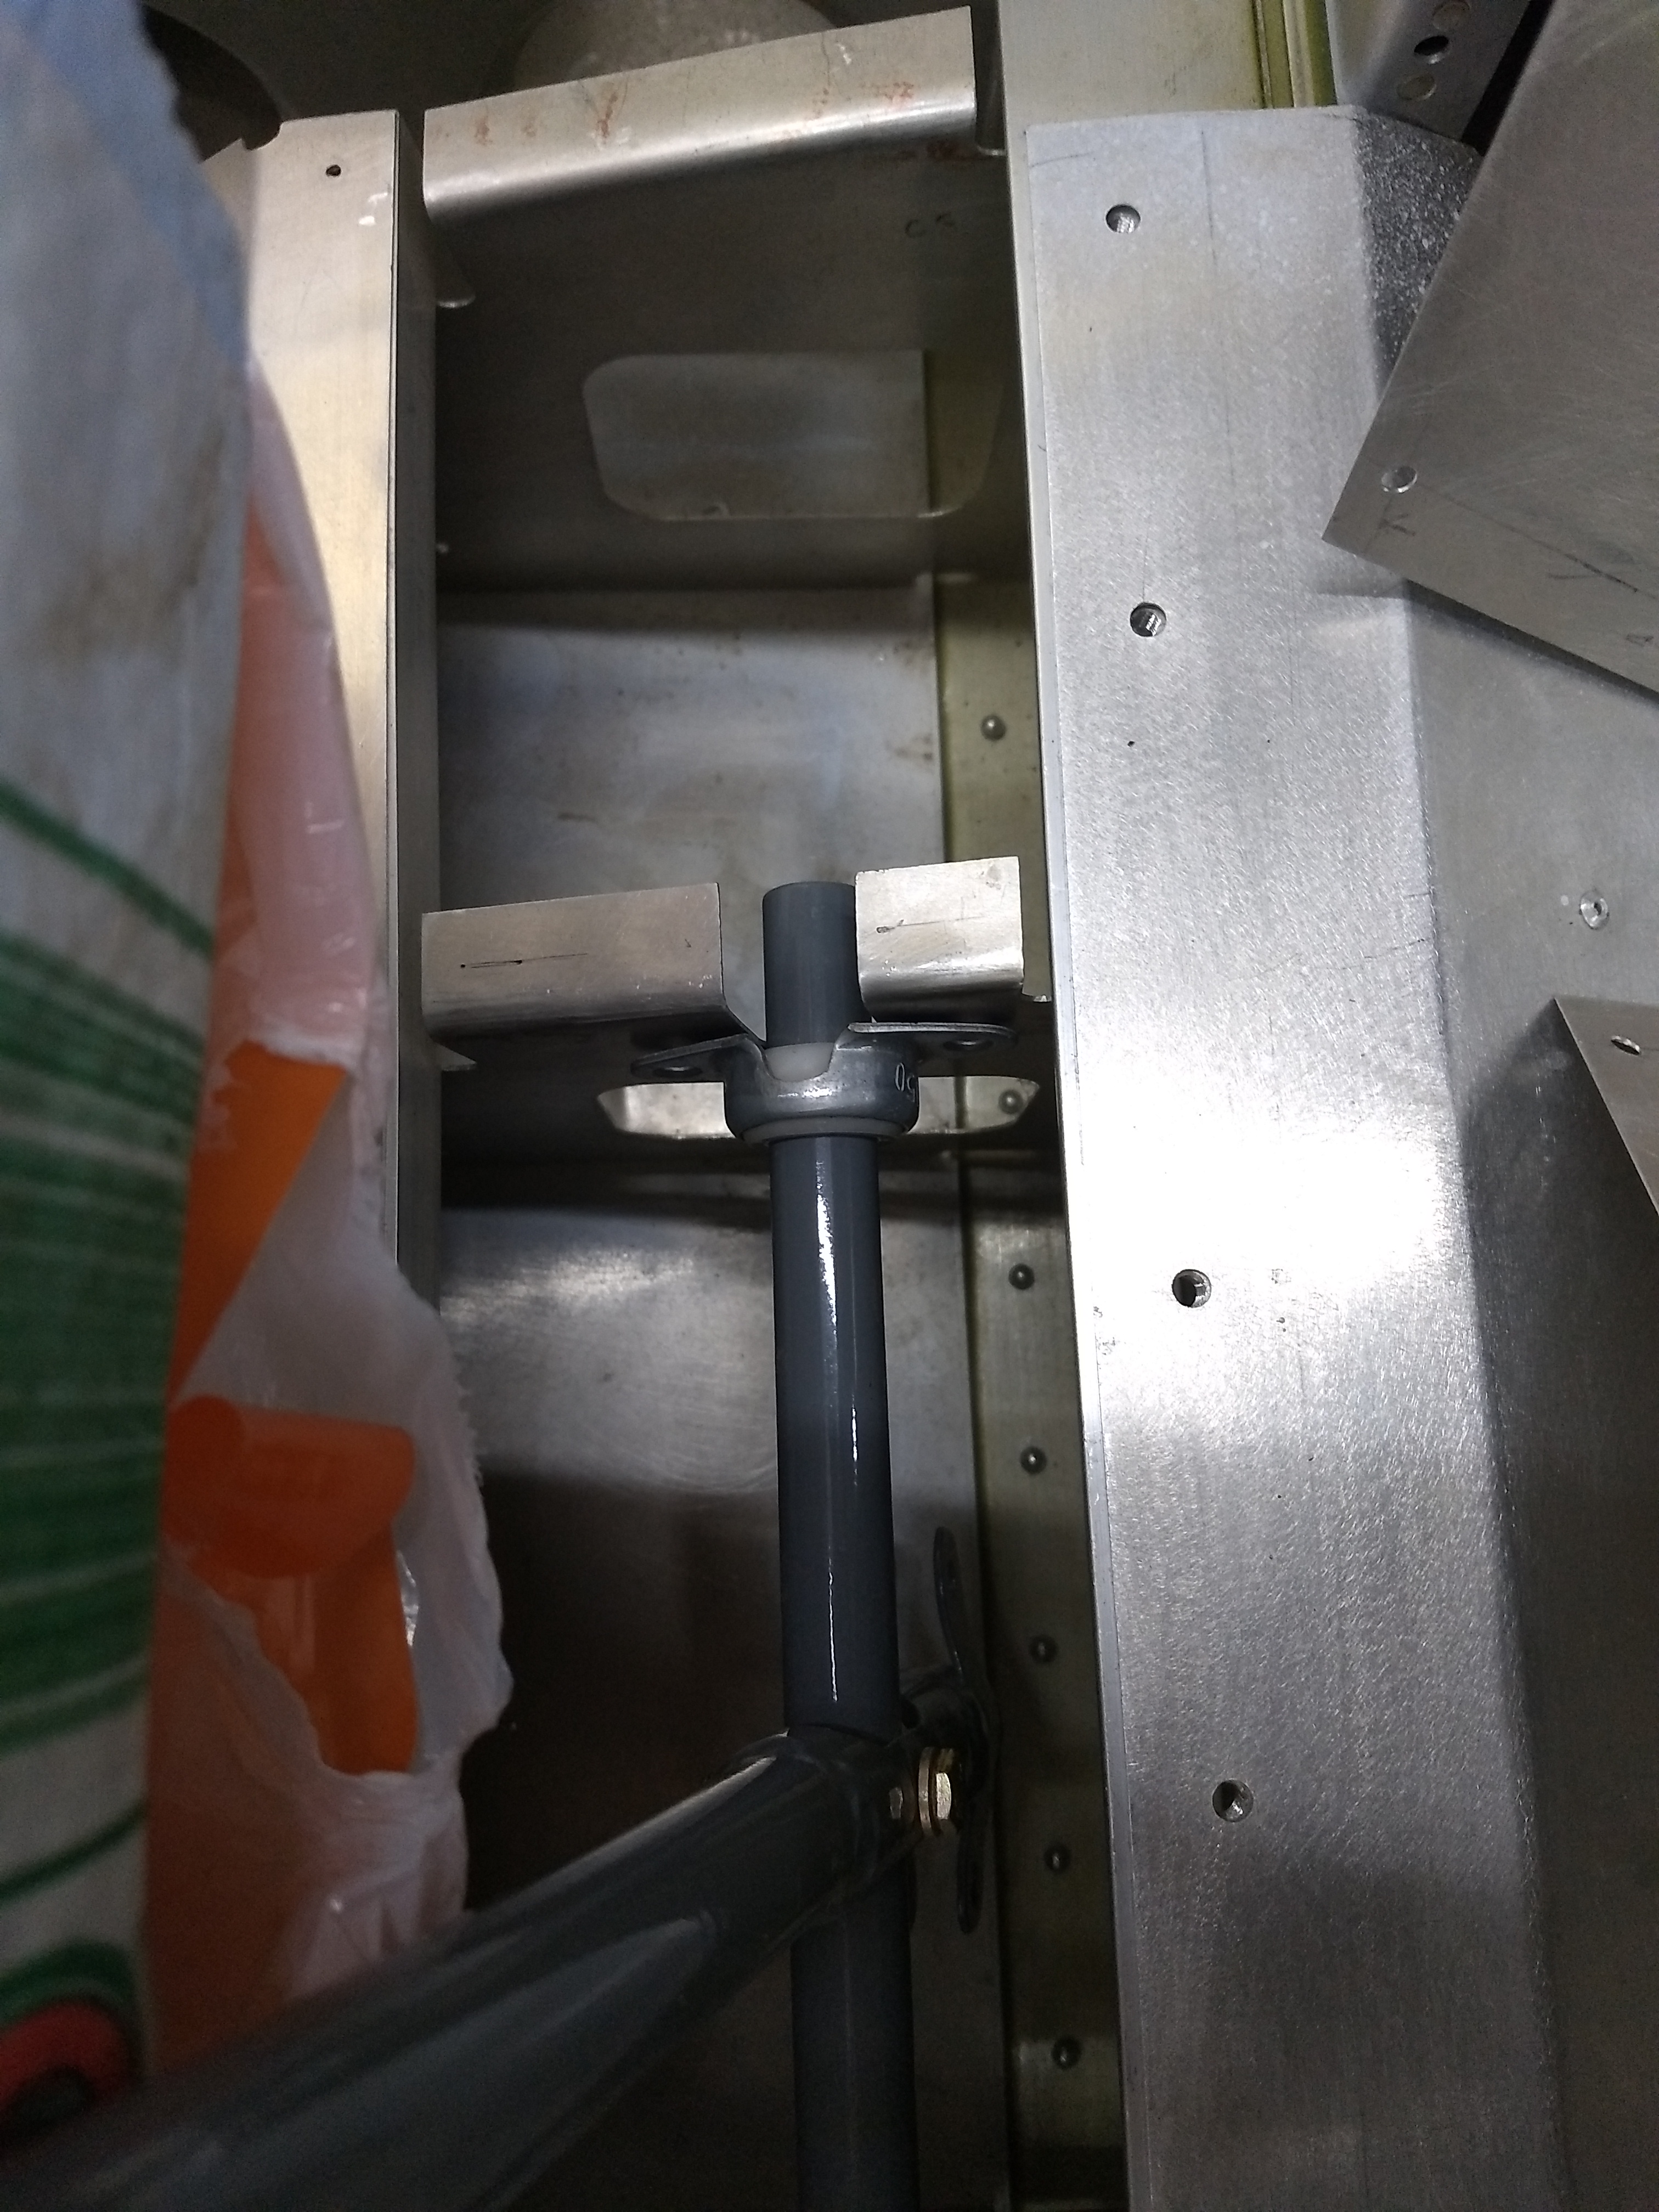
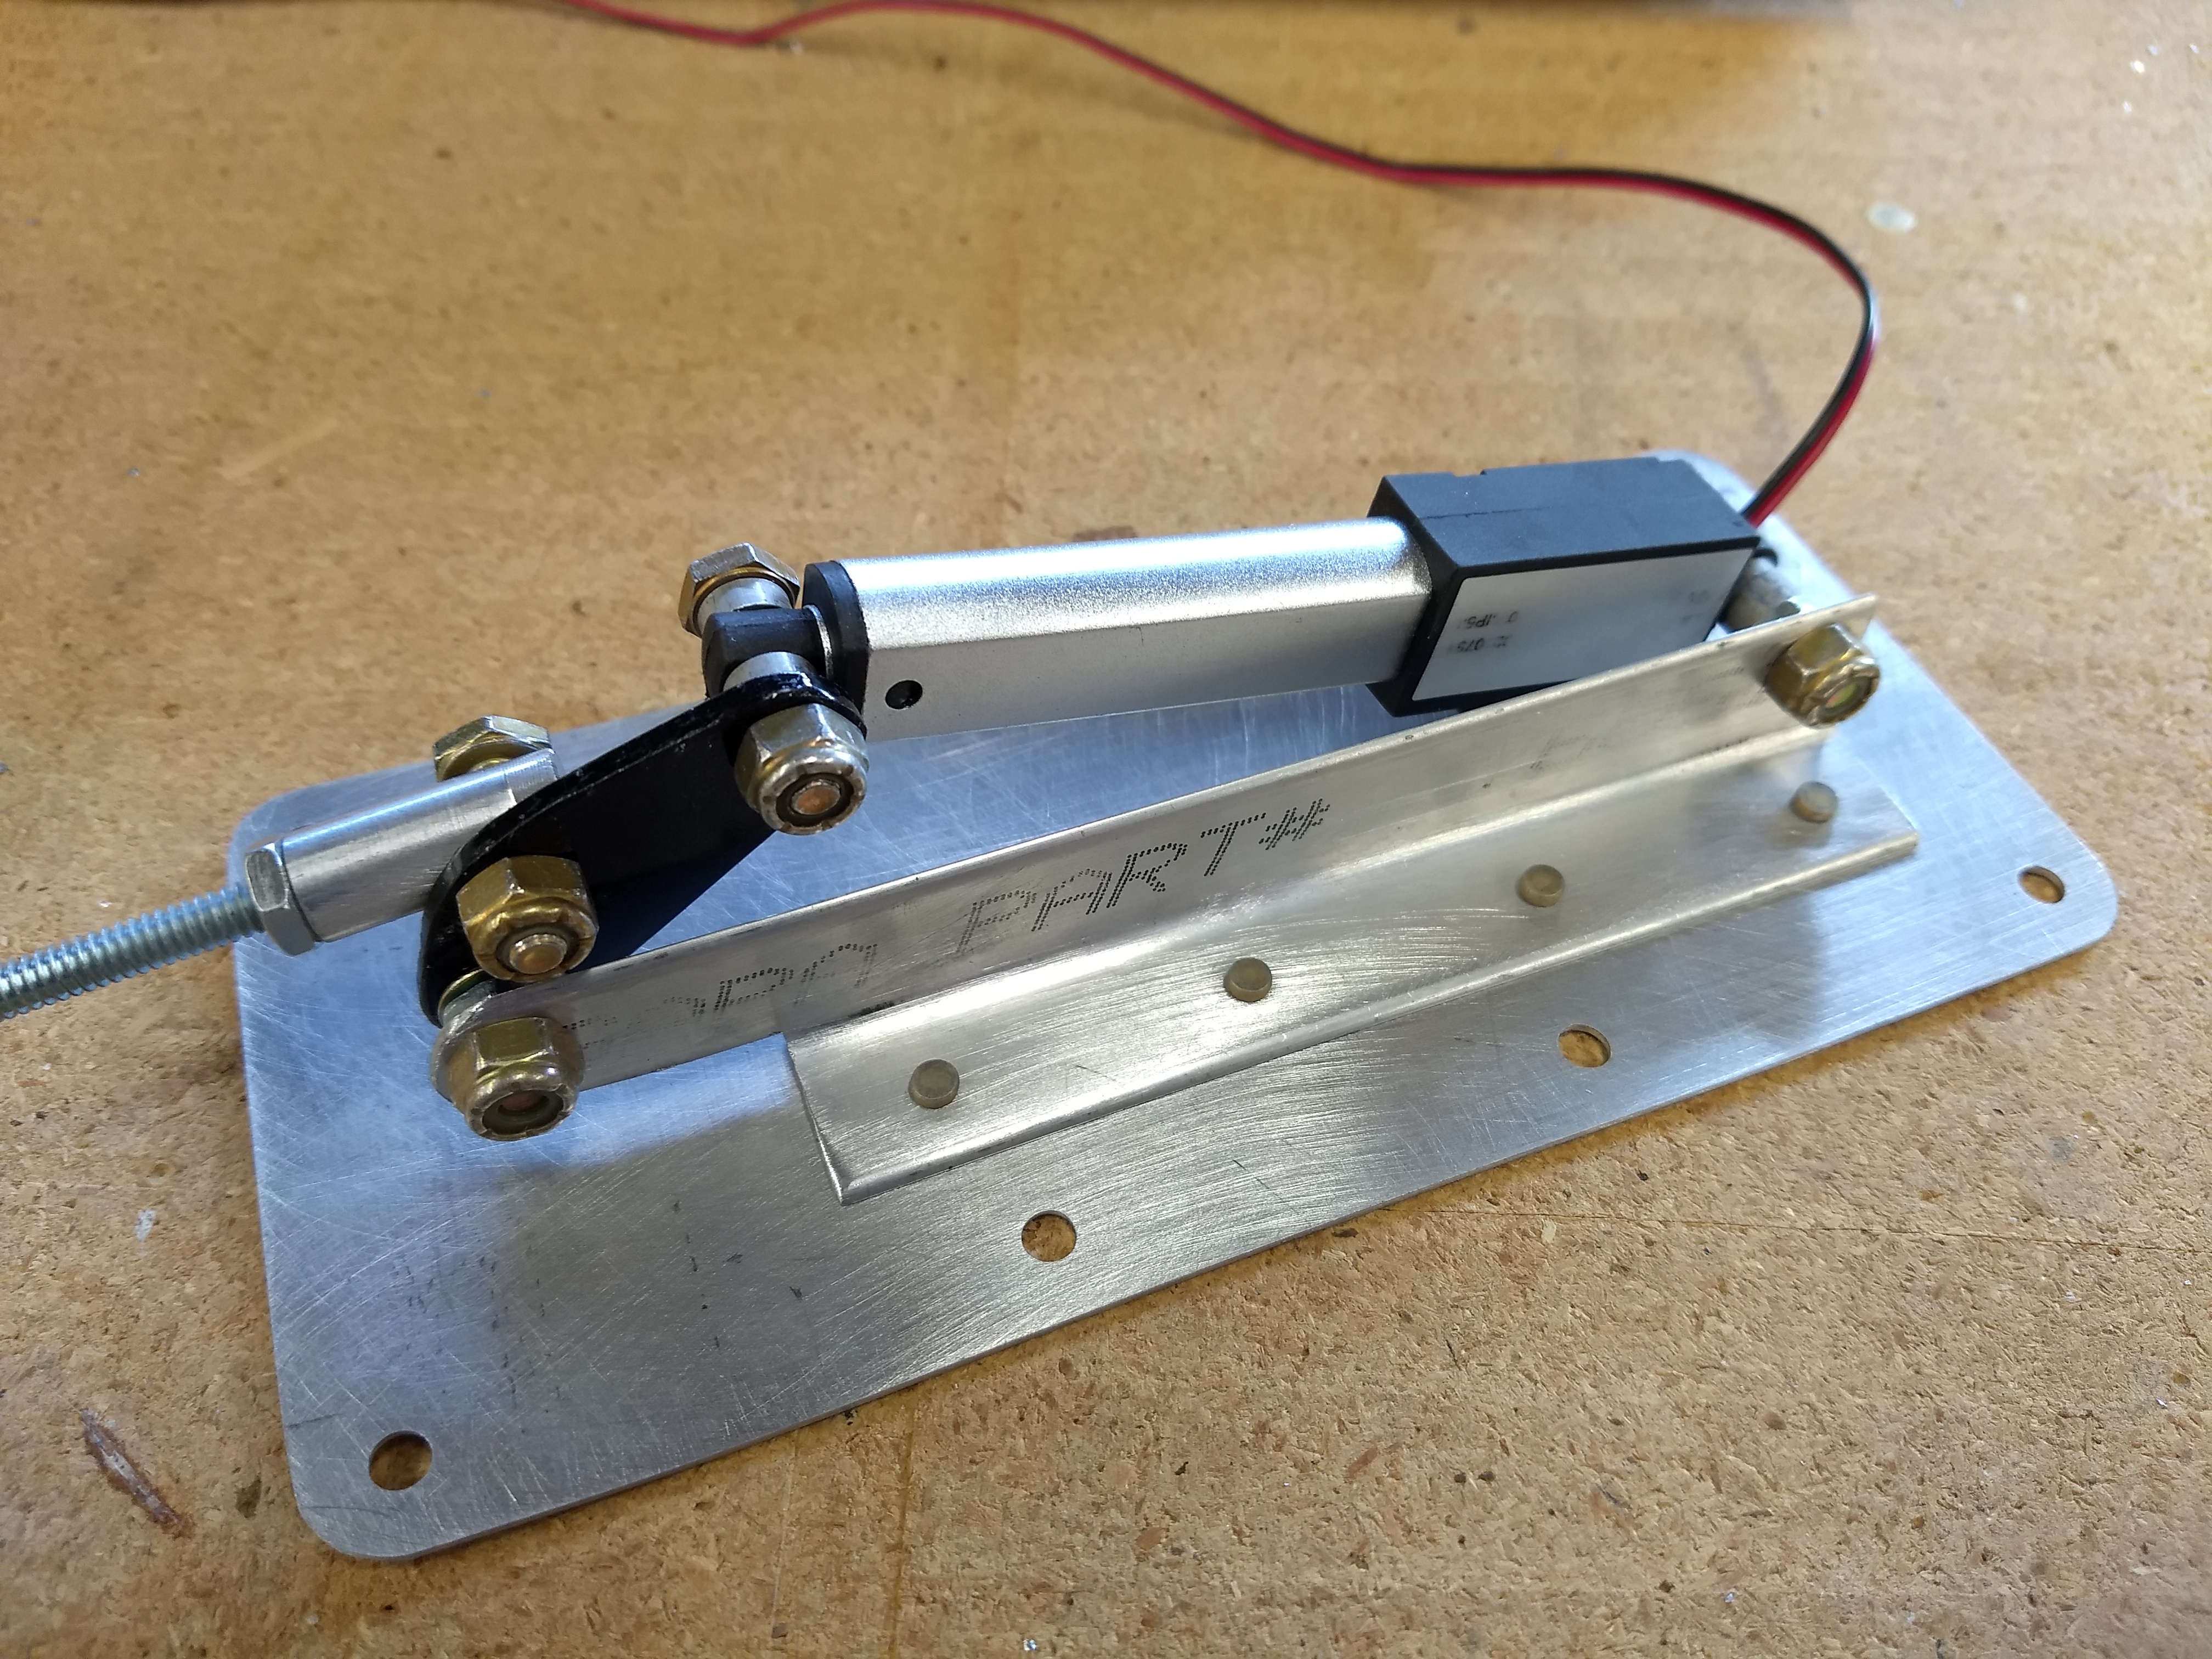
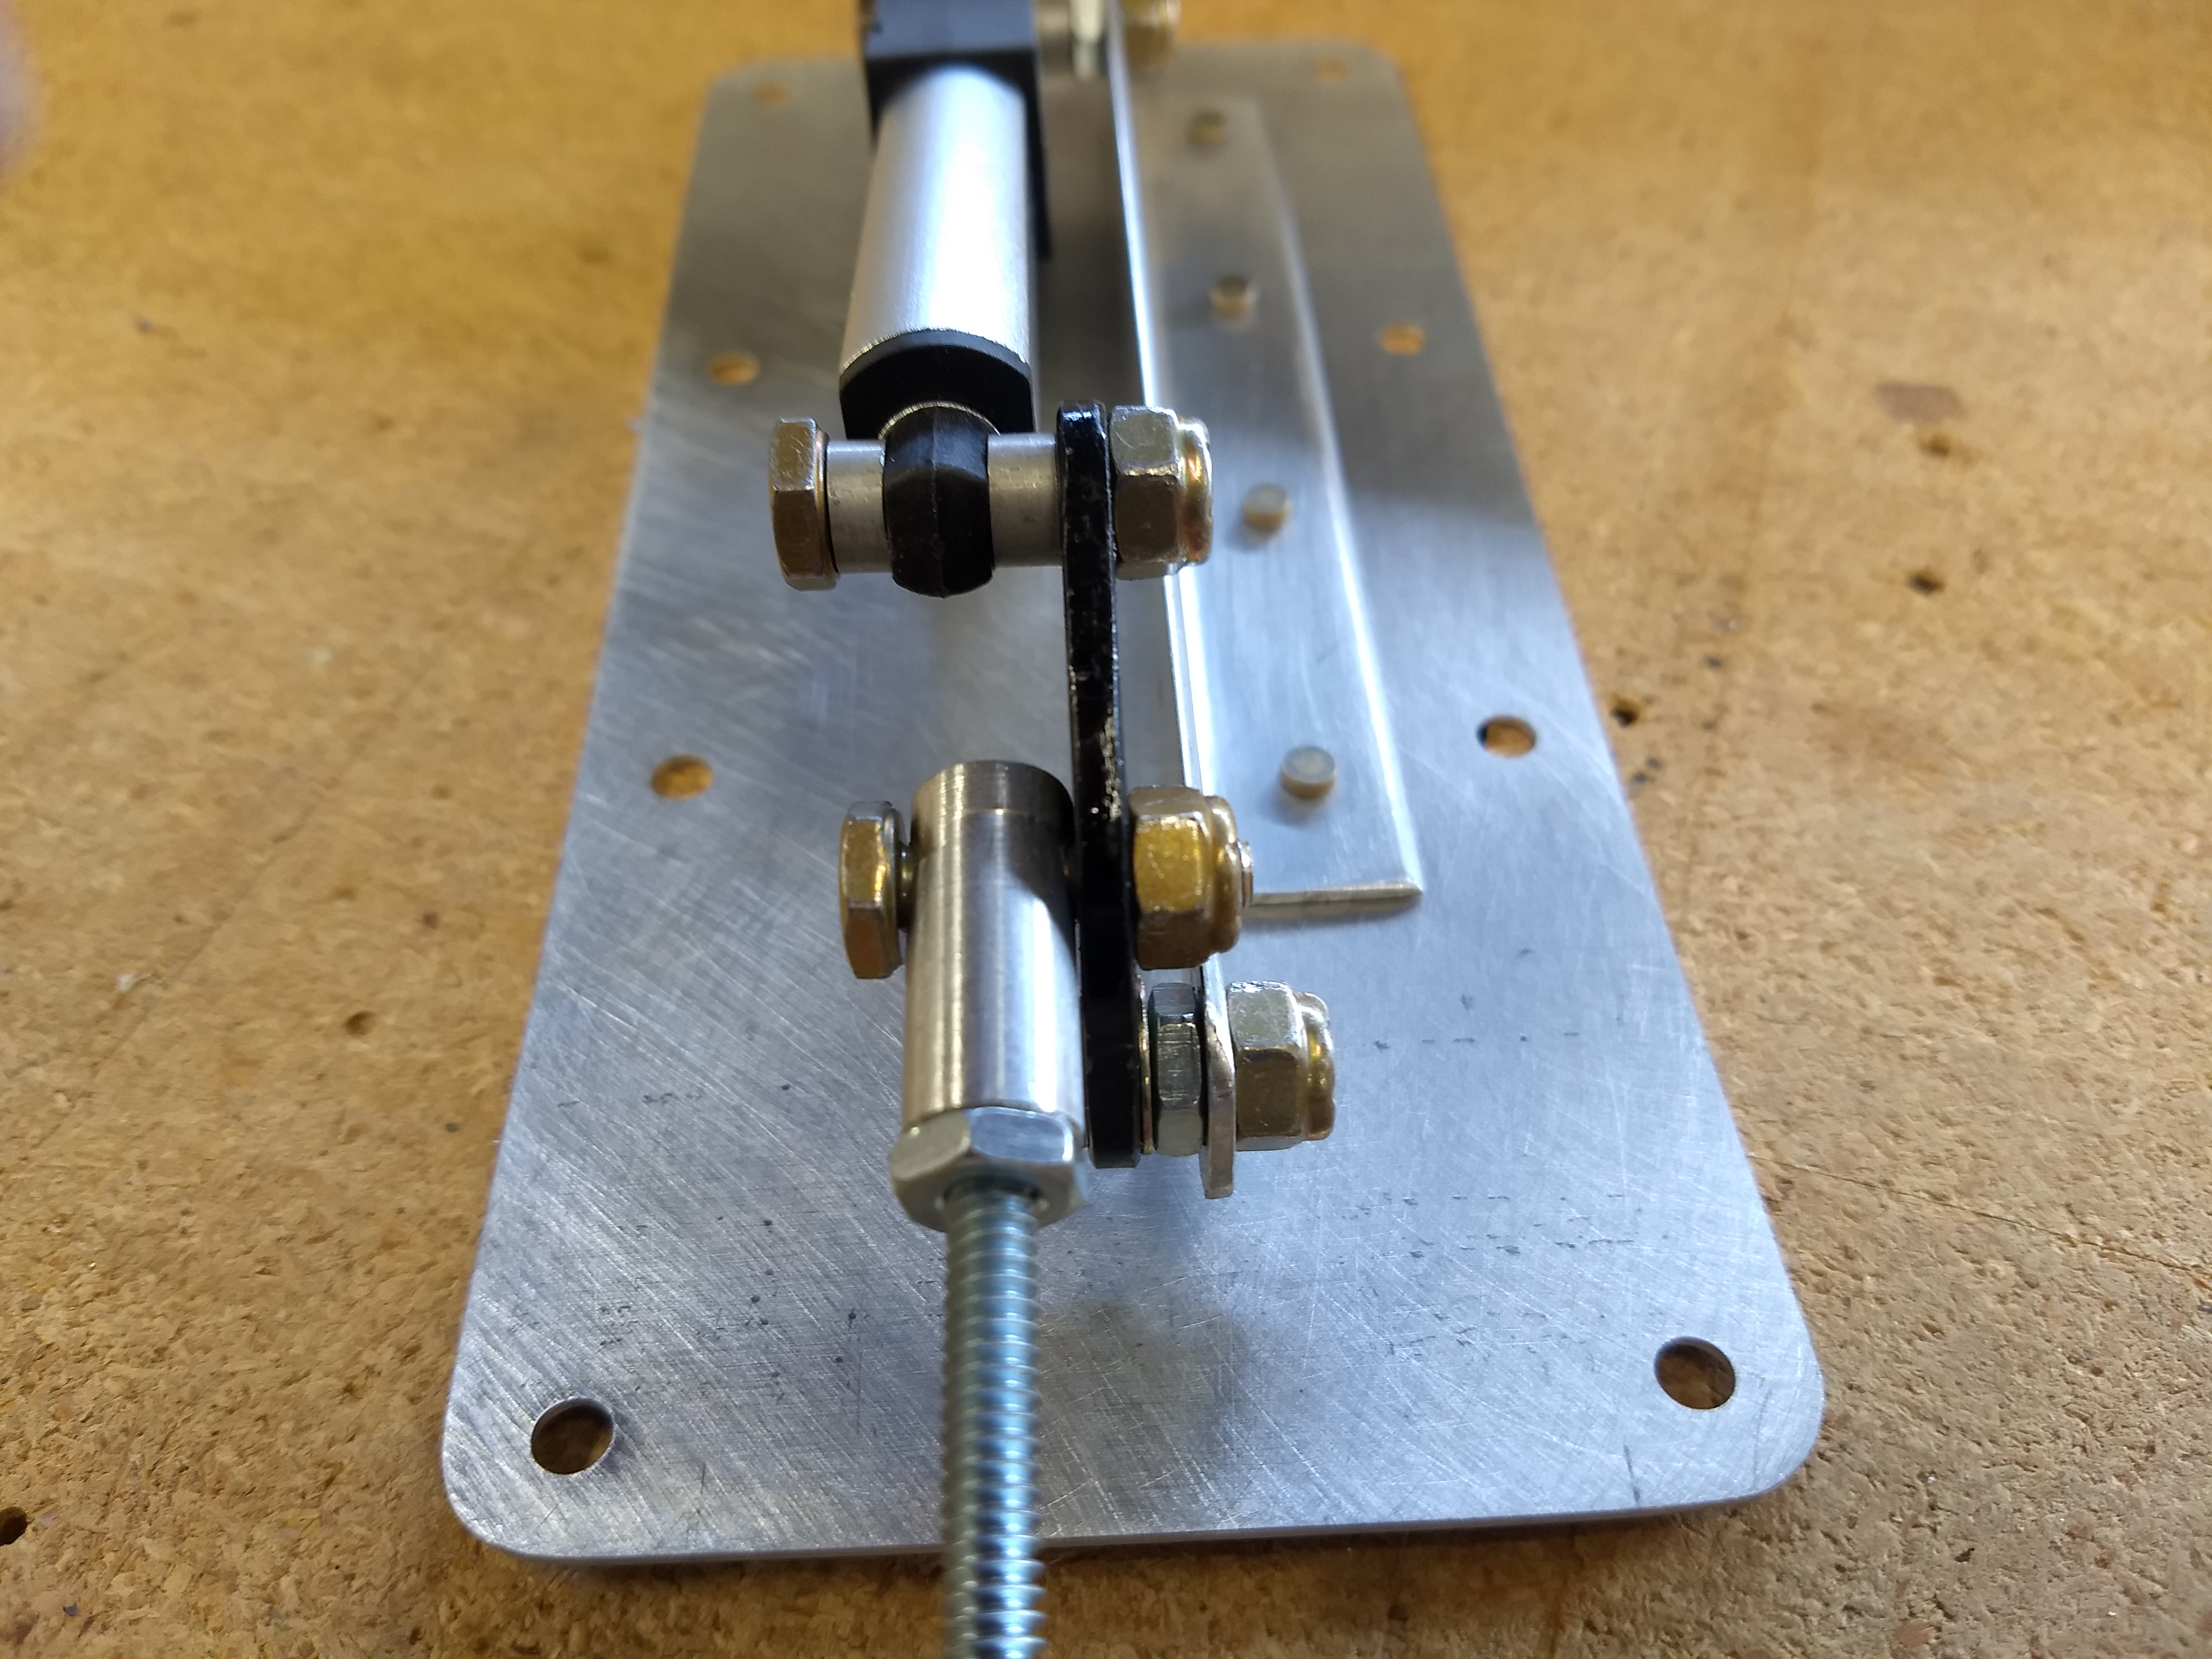
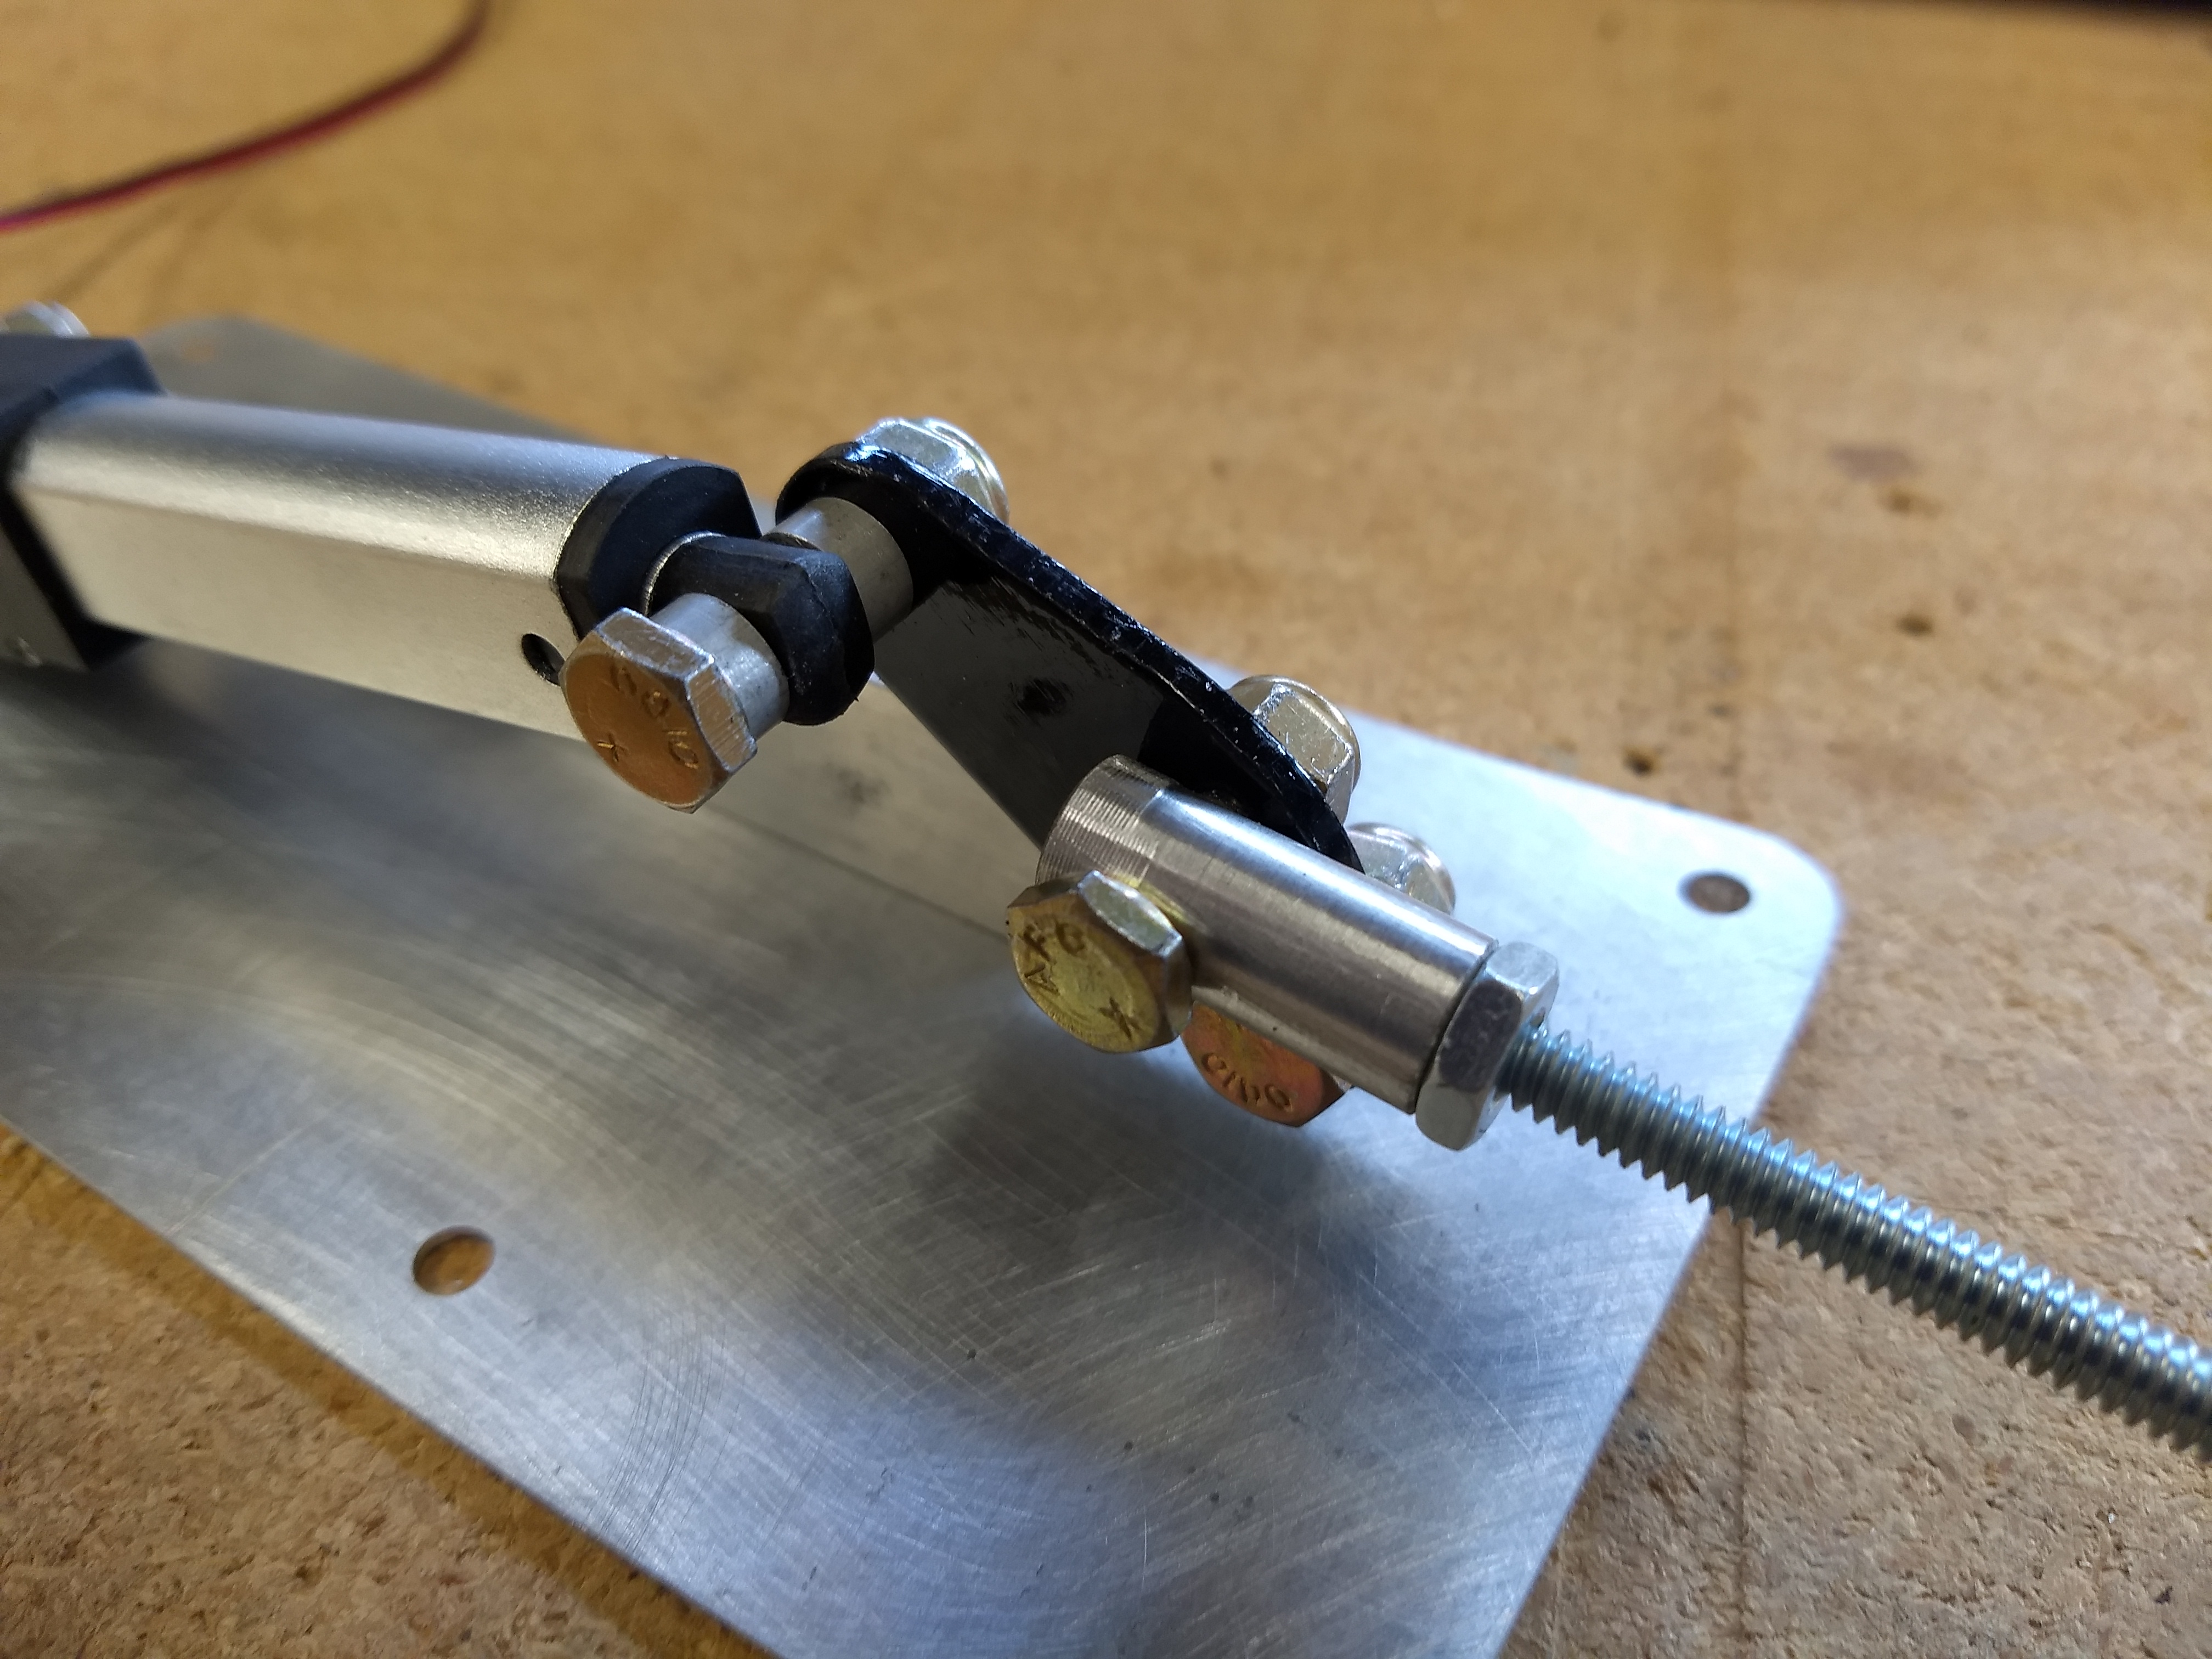
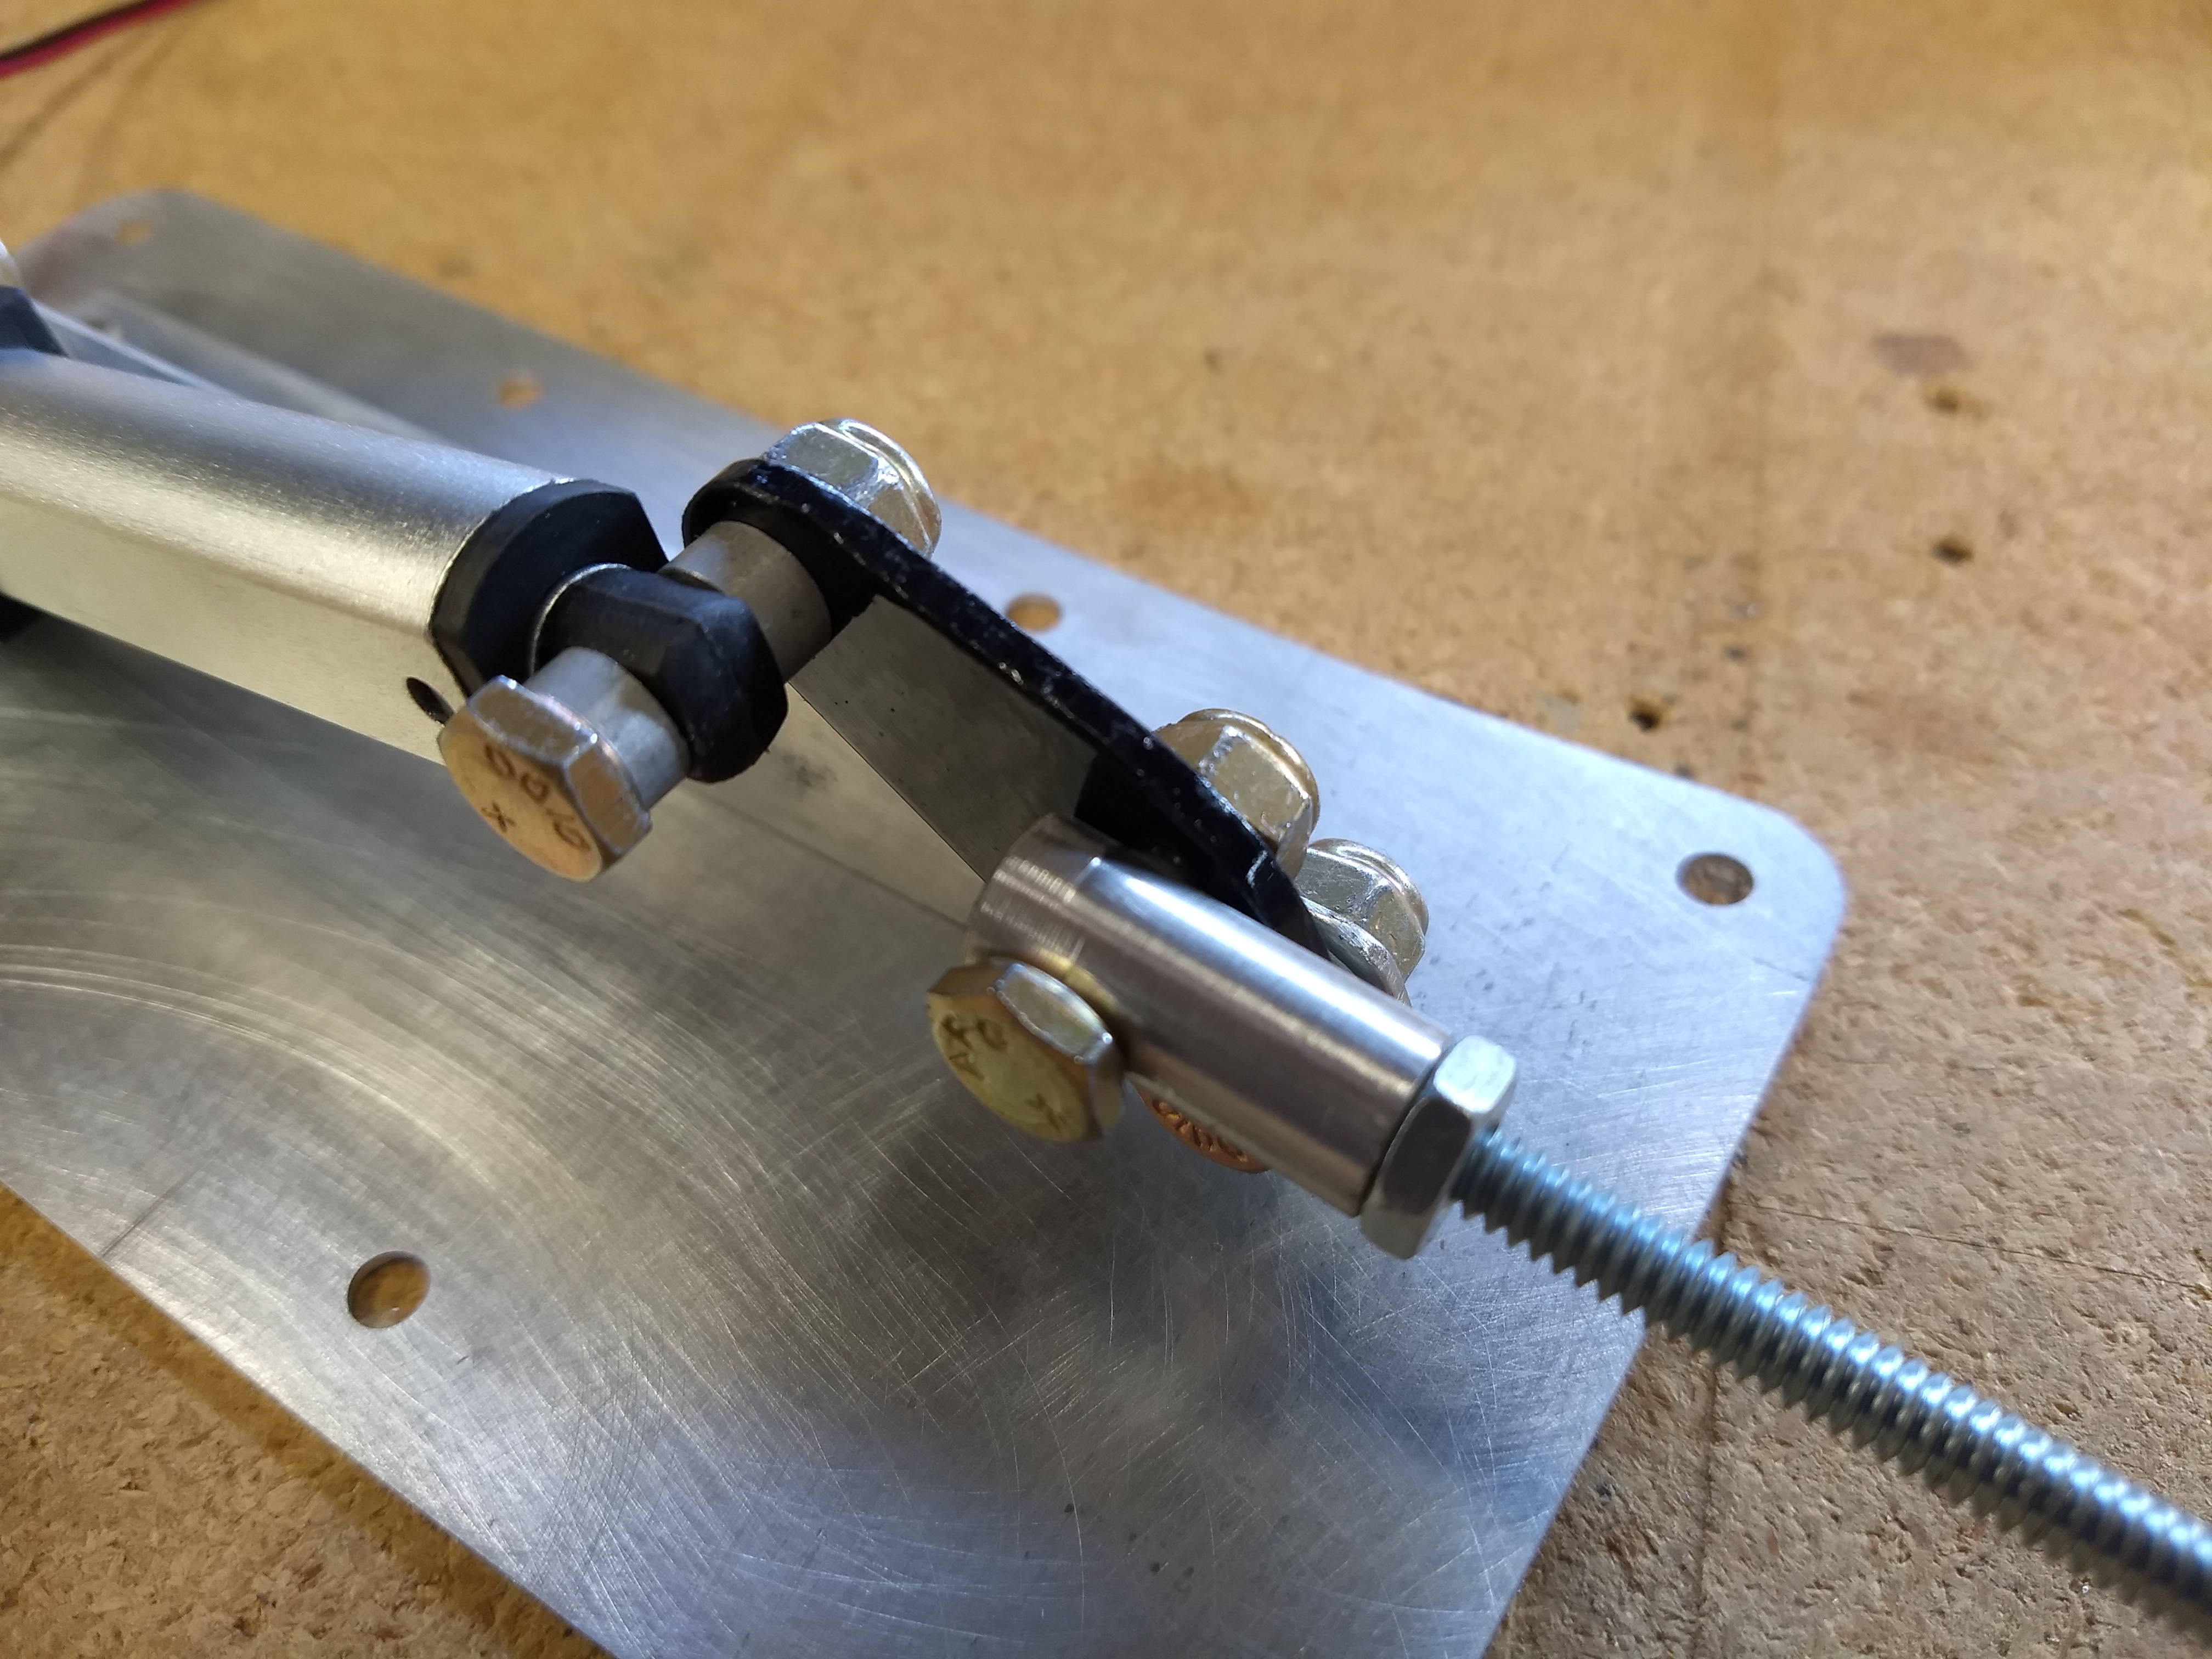
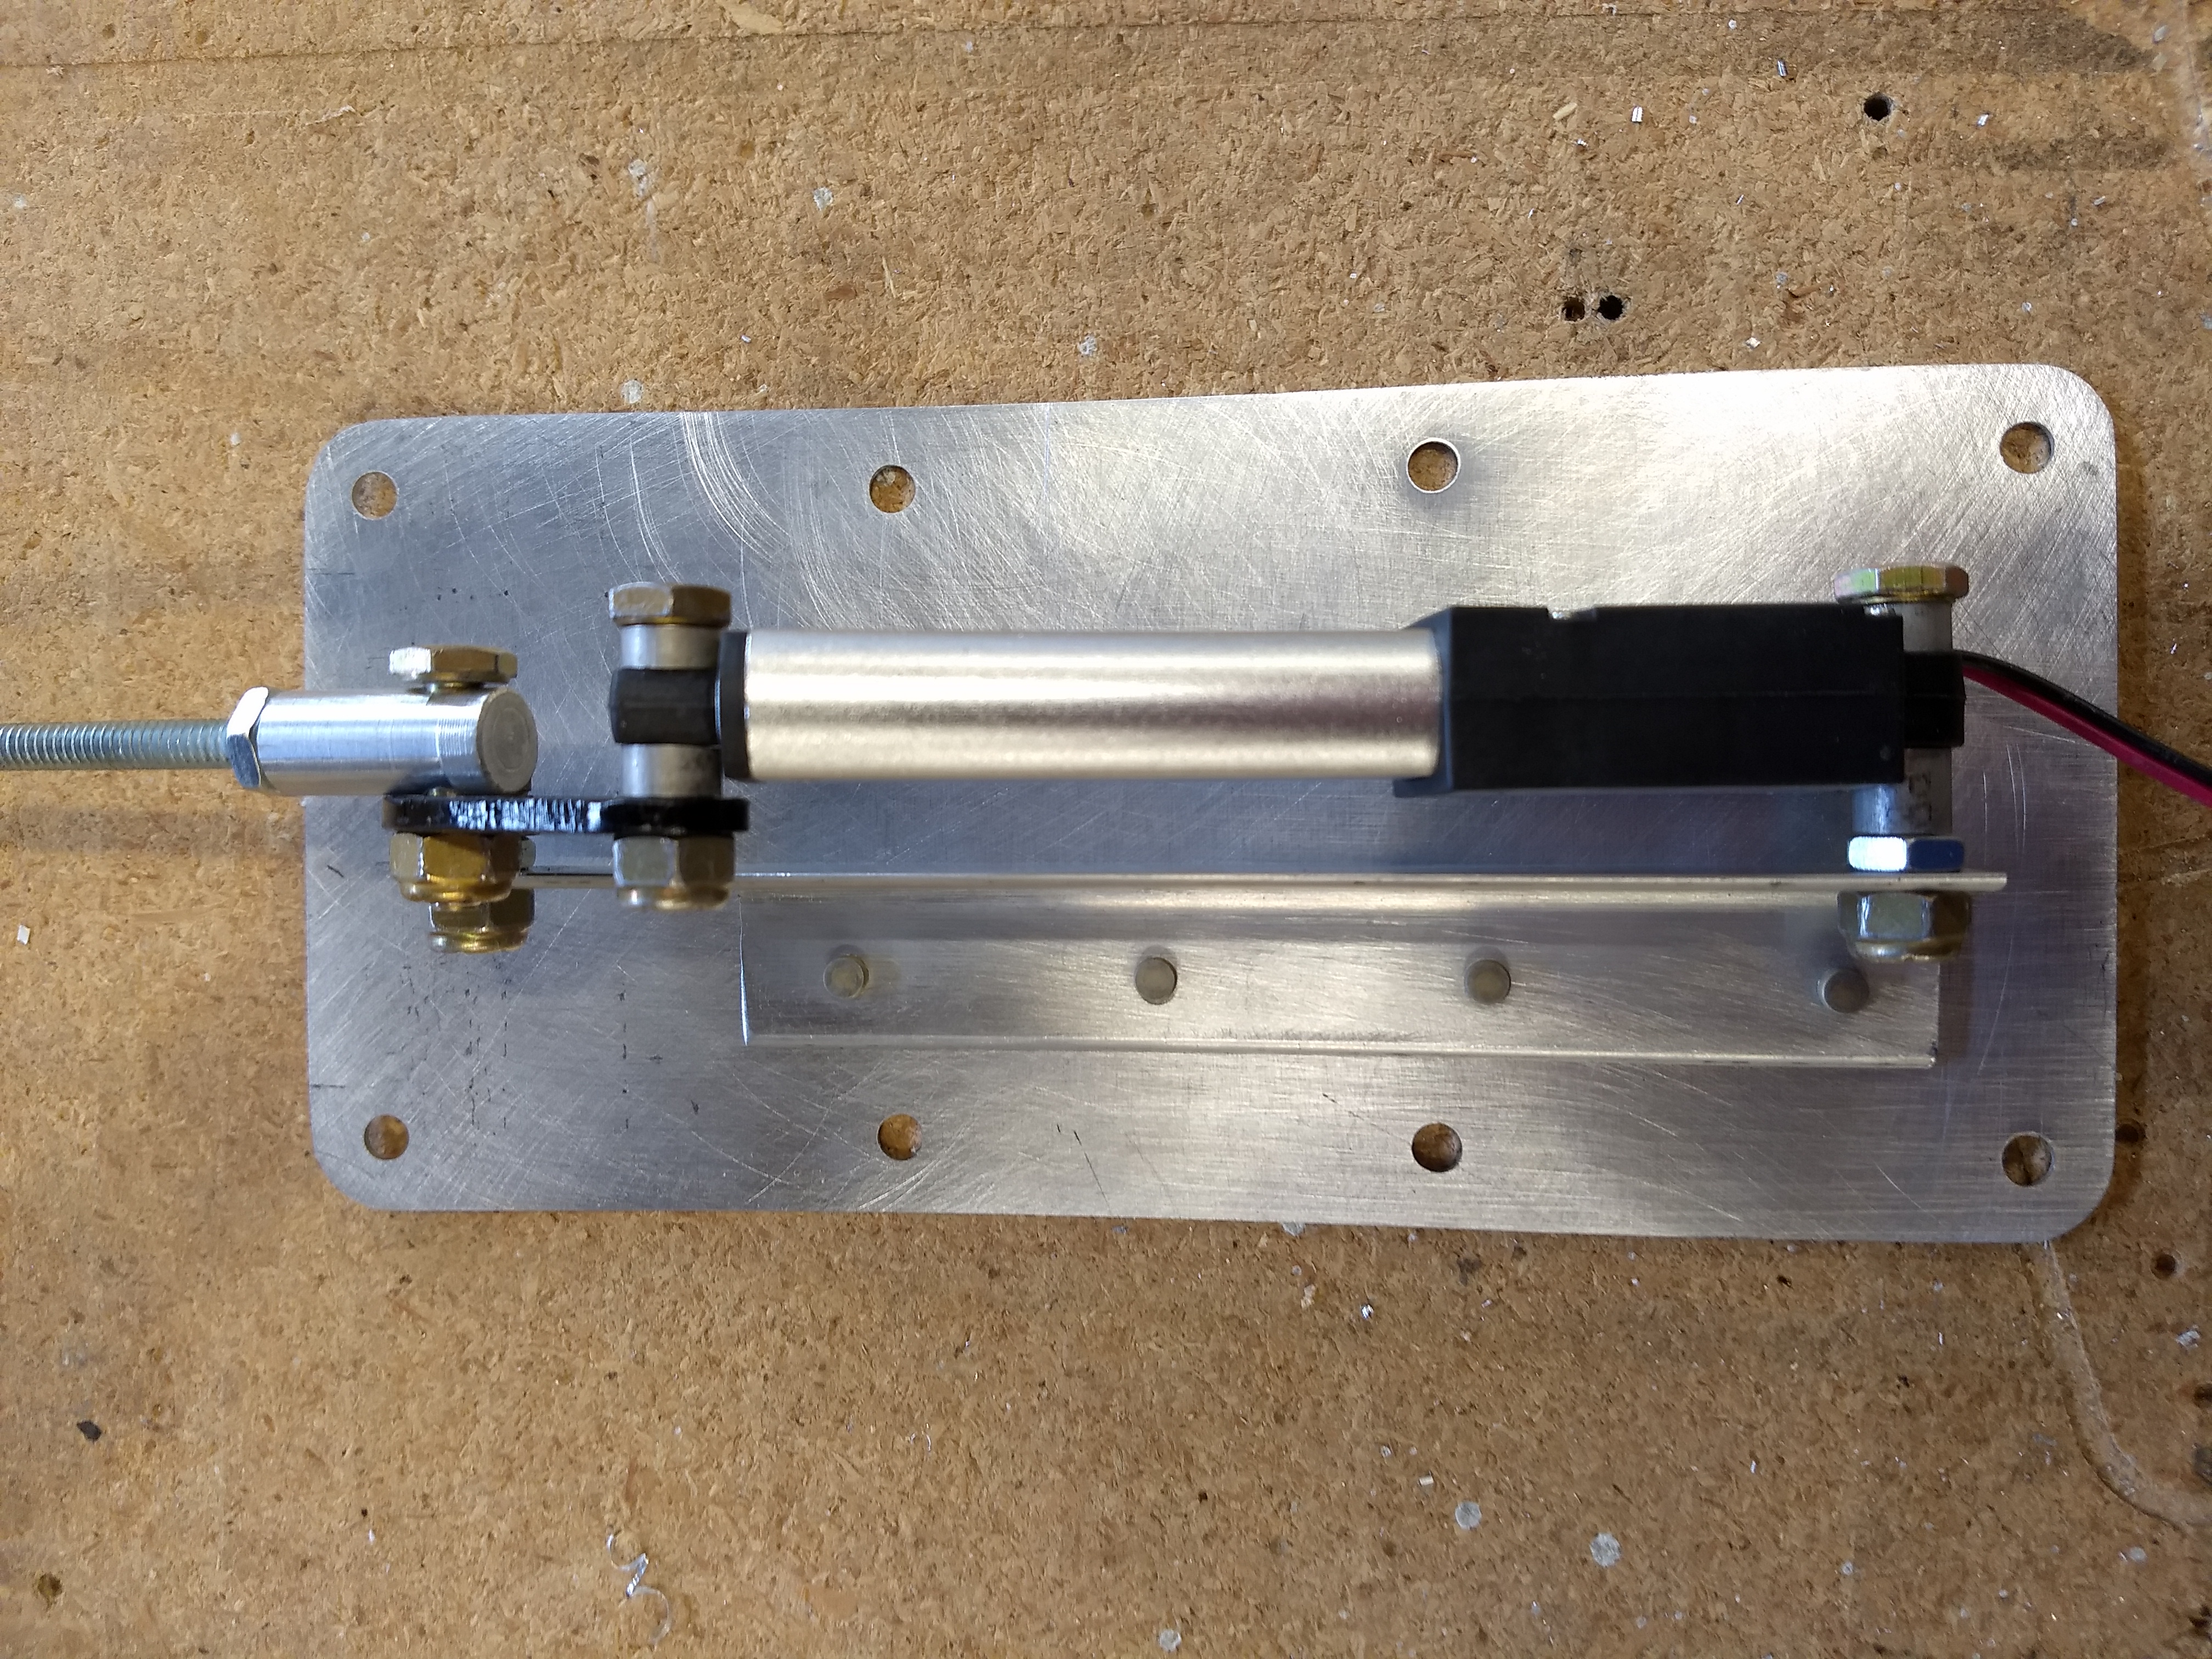
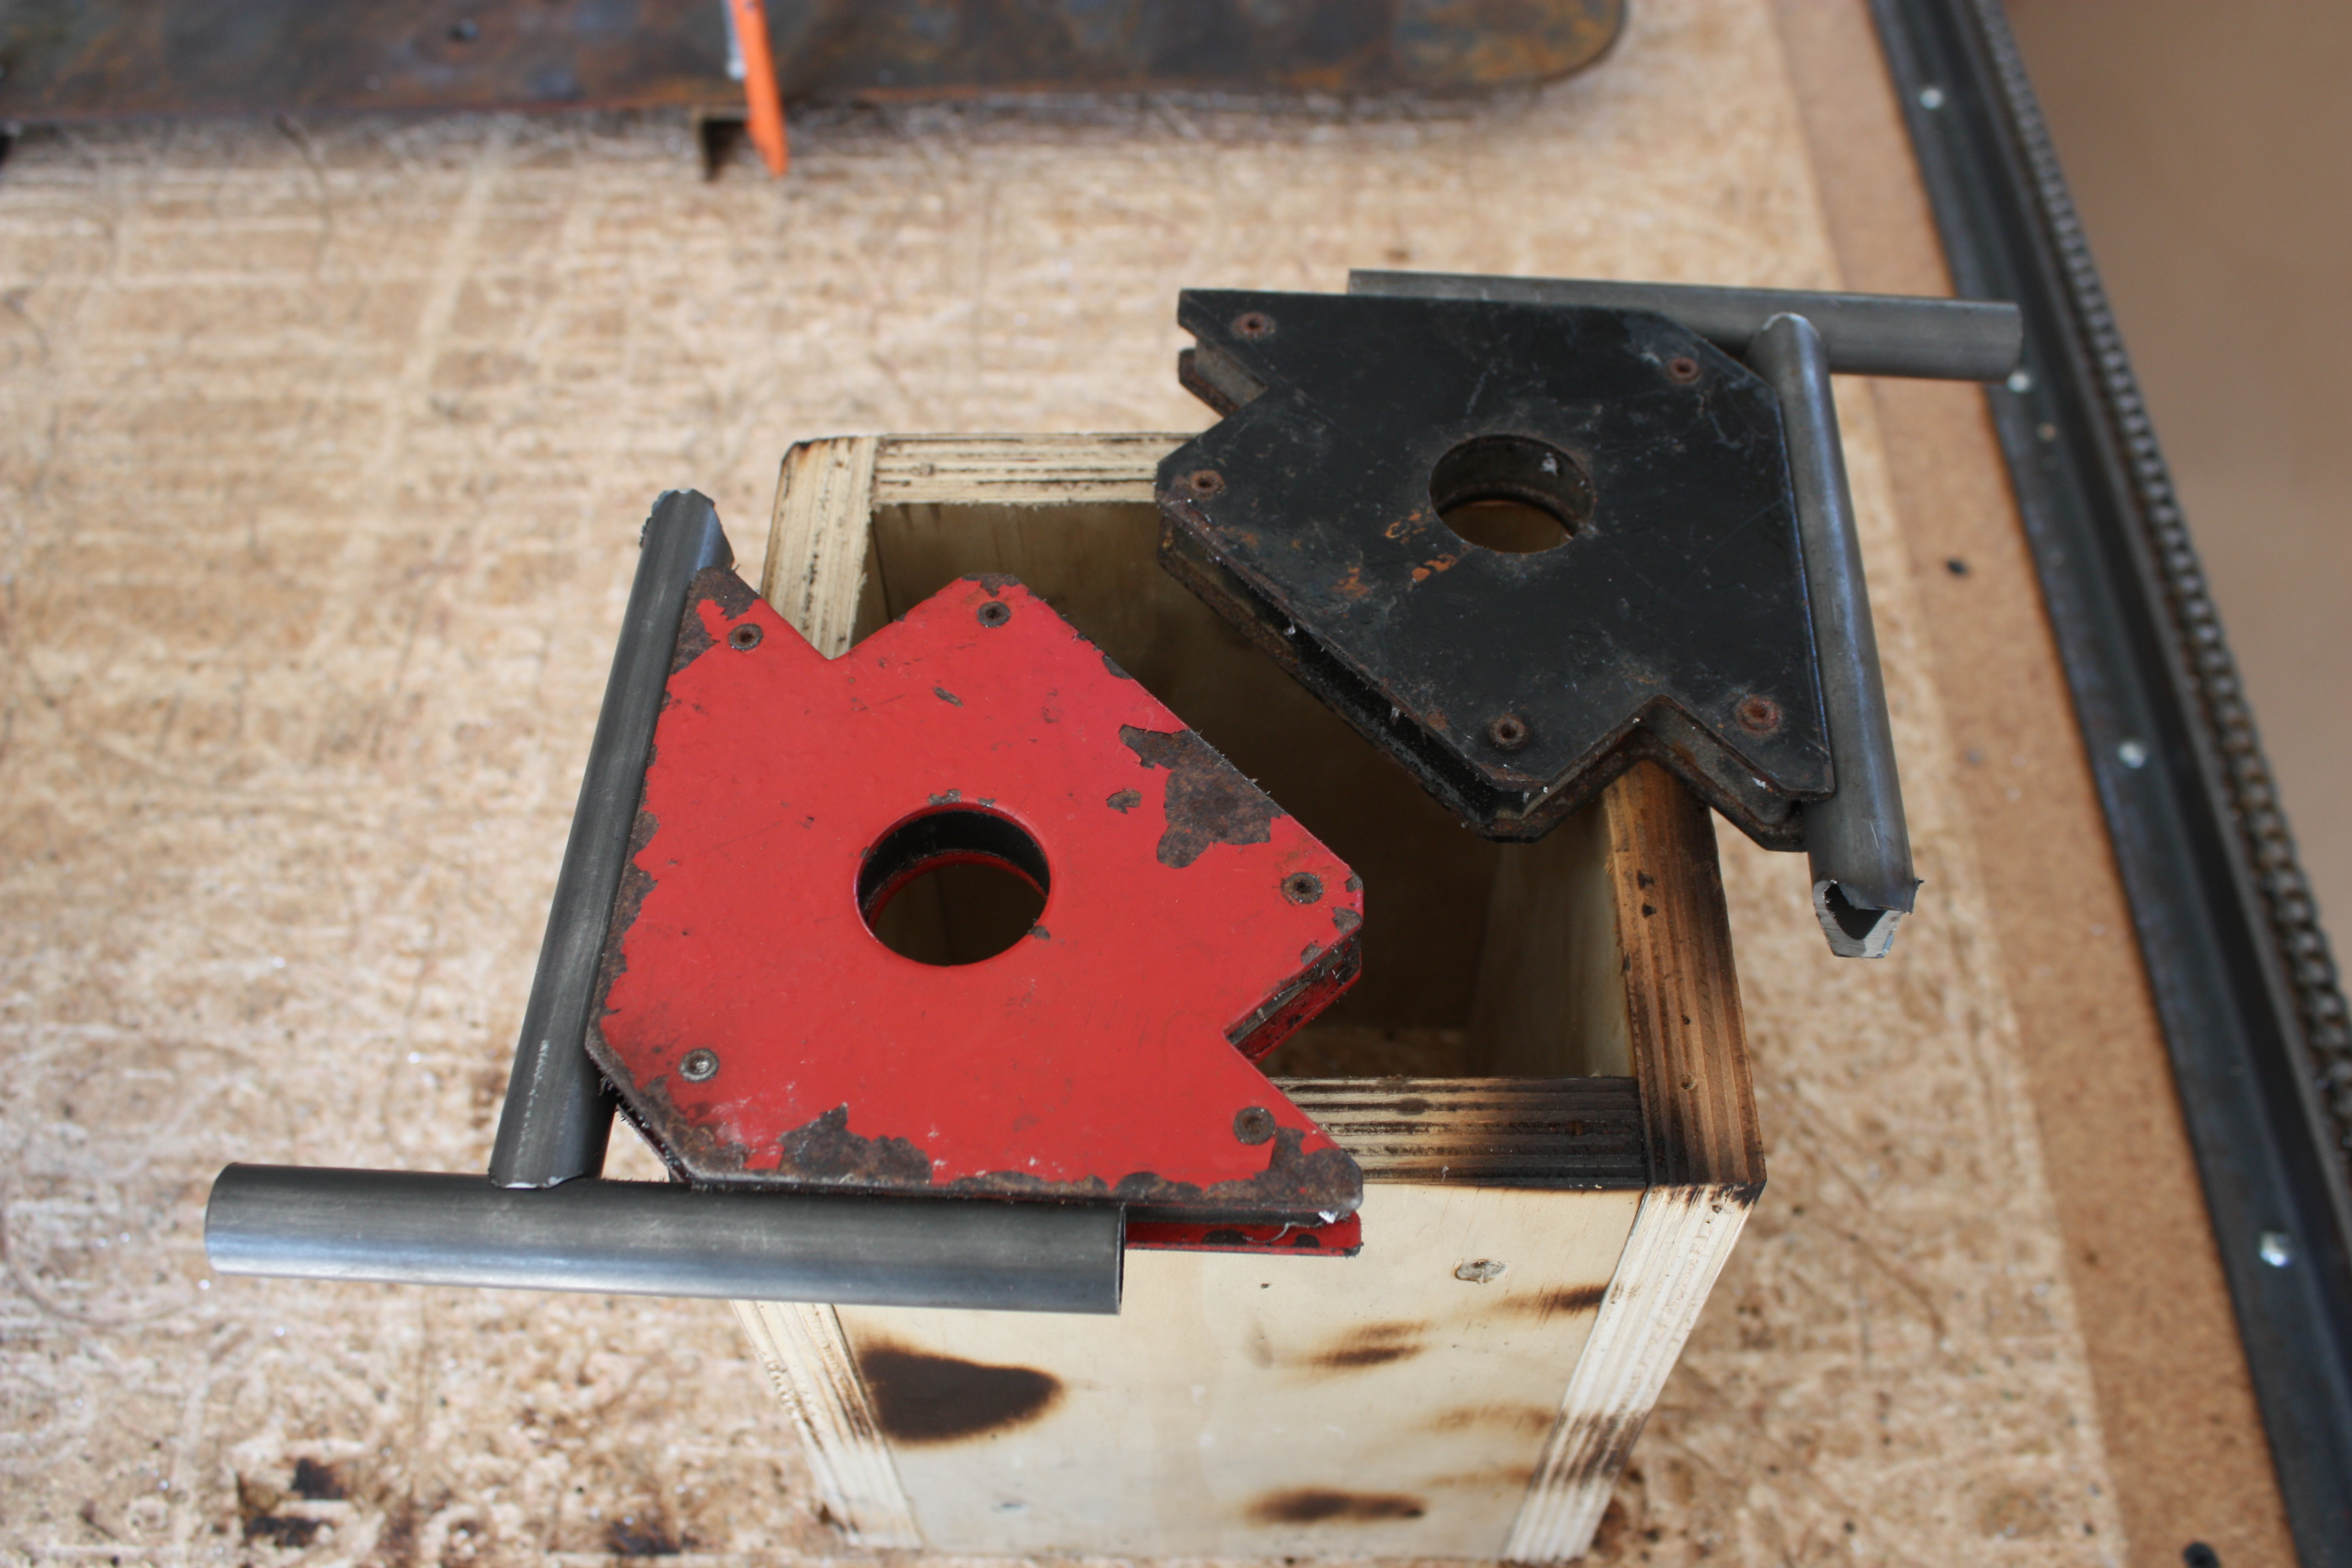
Rudder Pedals
2014
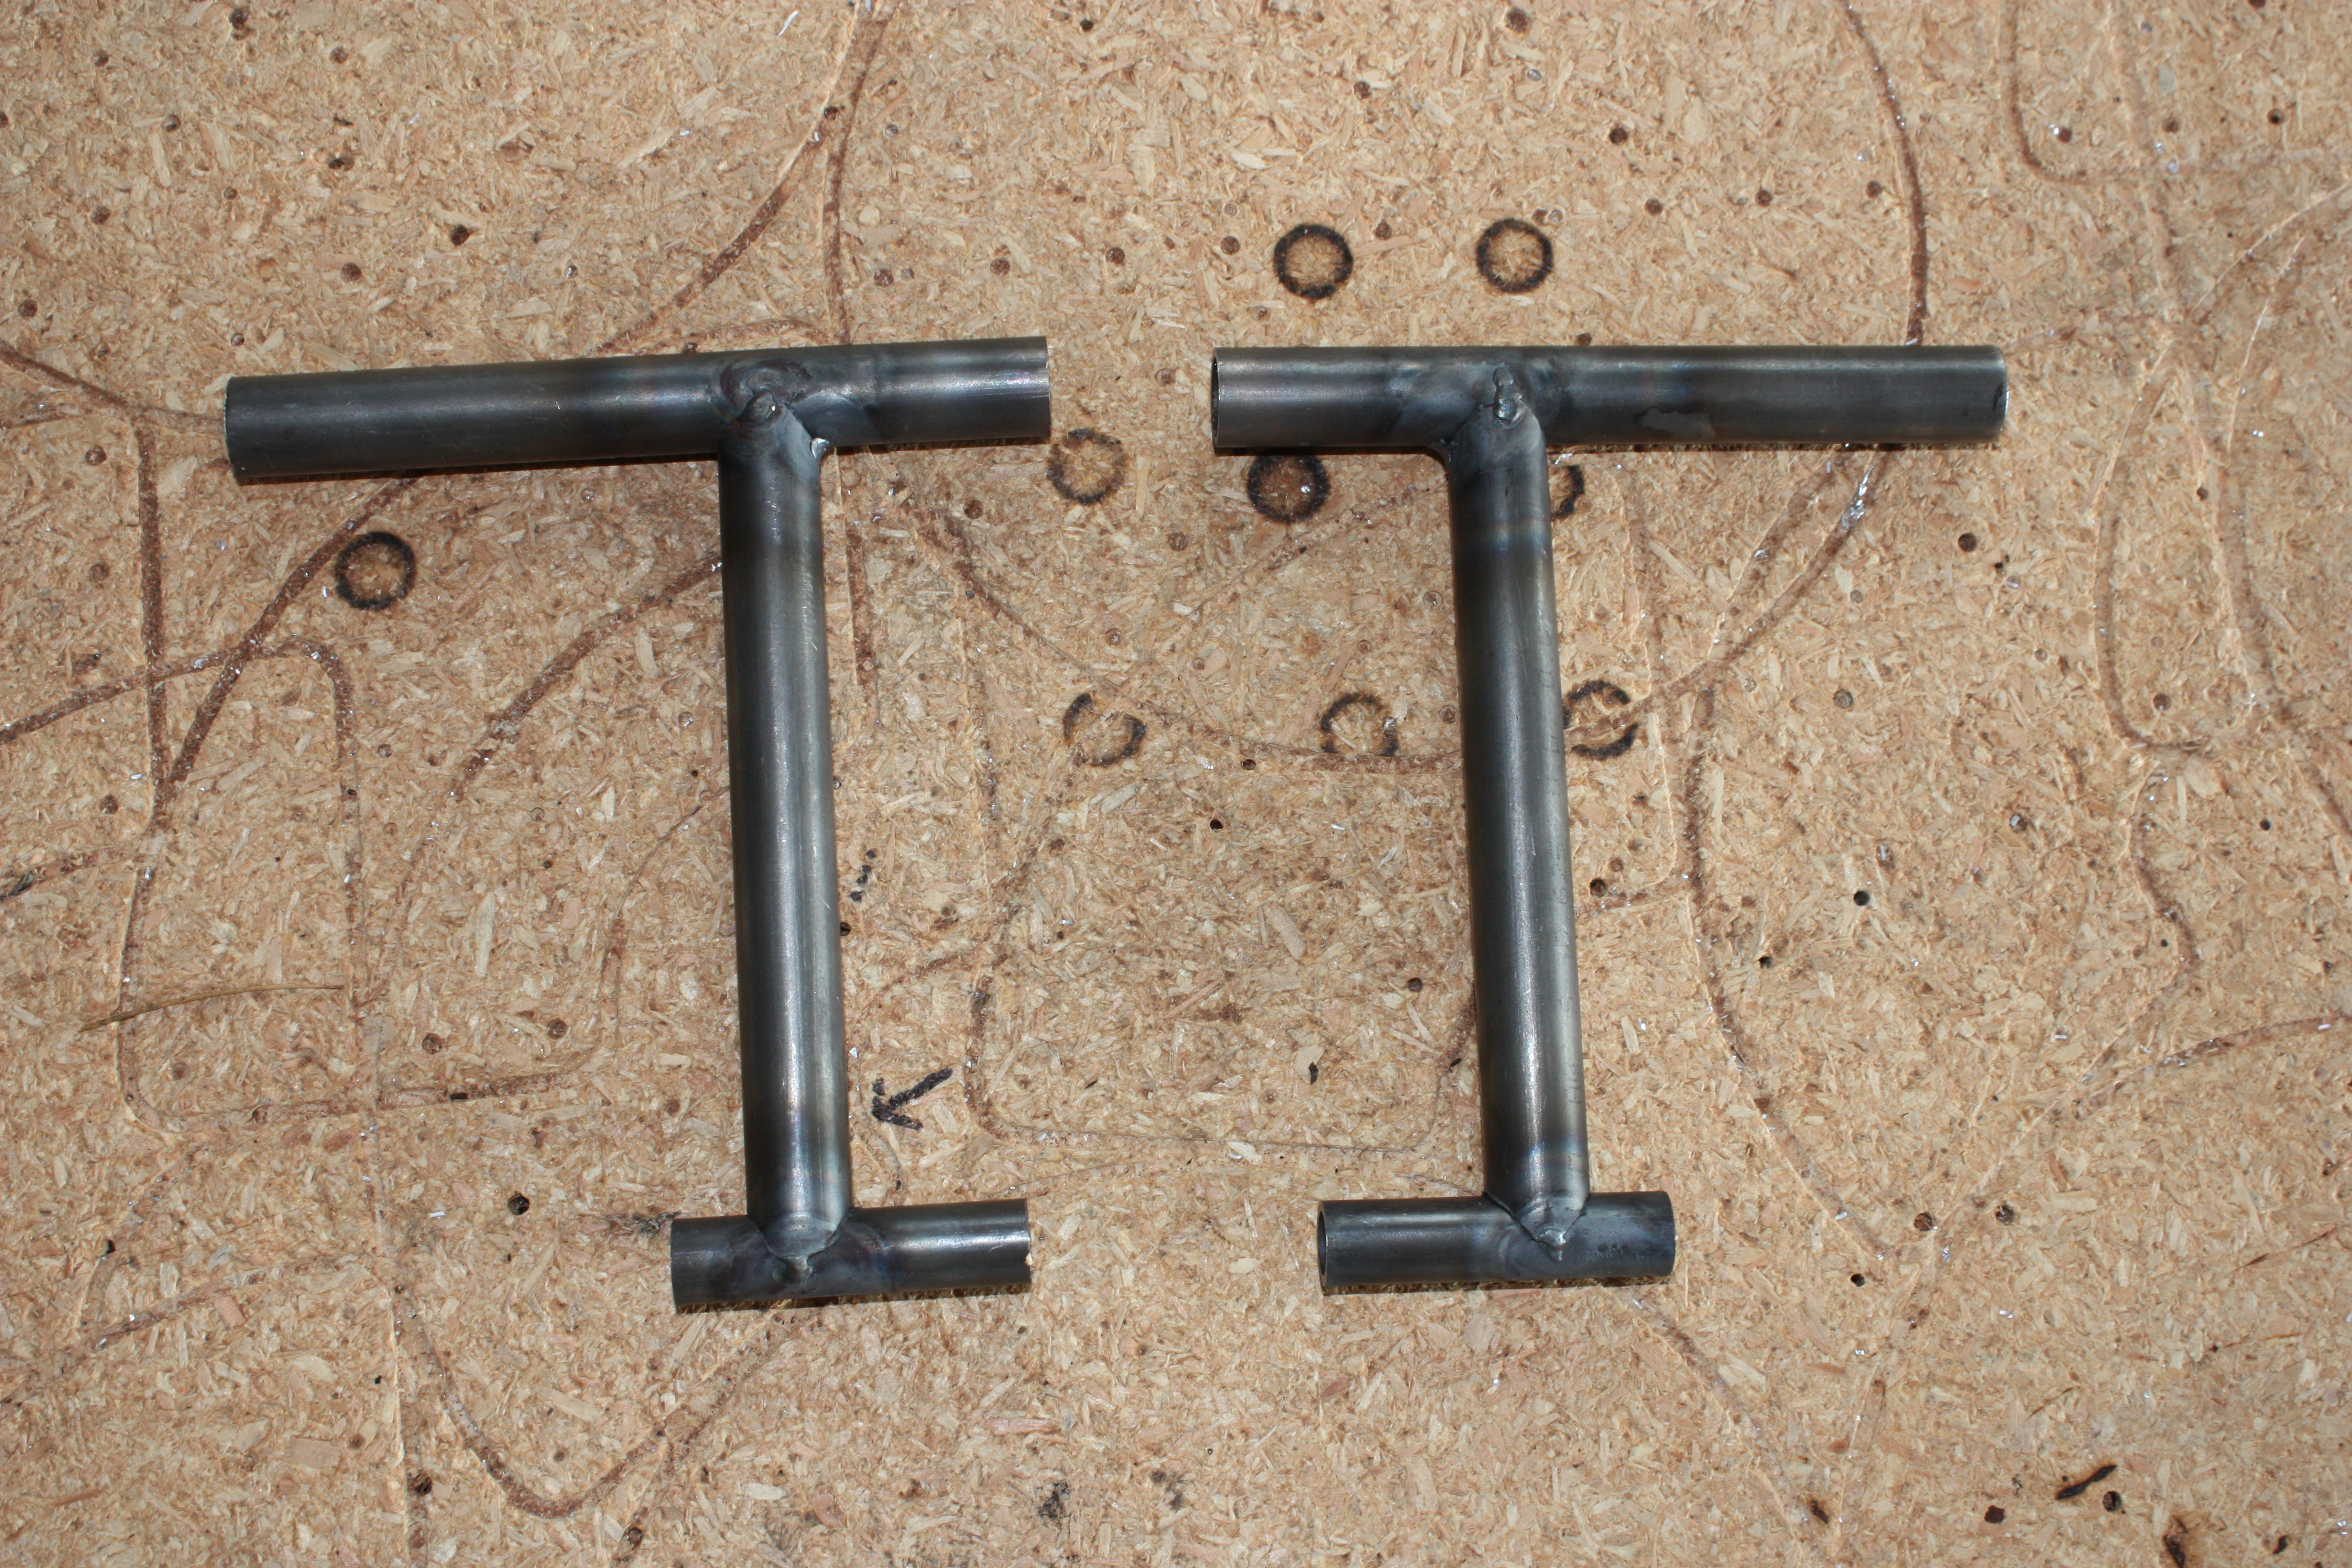
Panel
2014
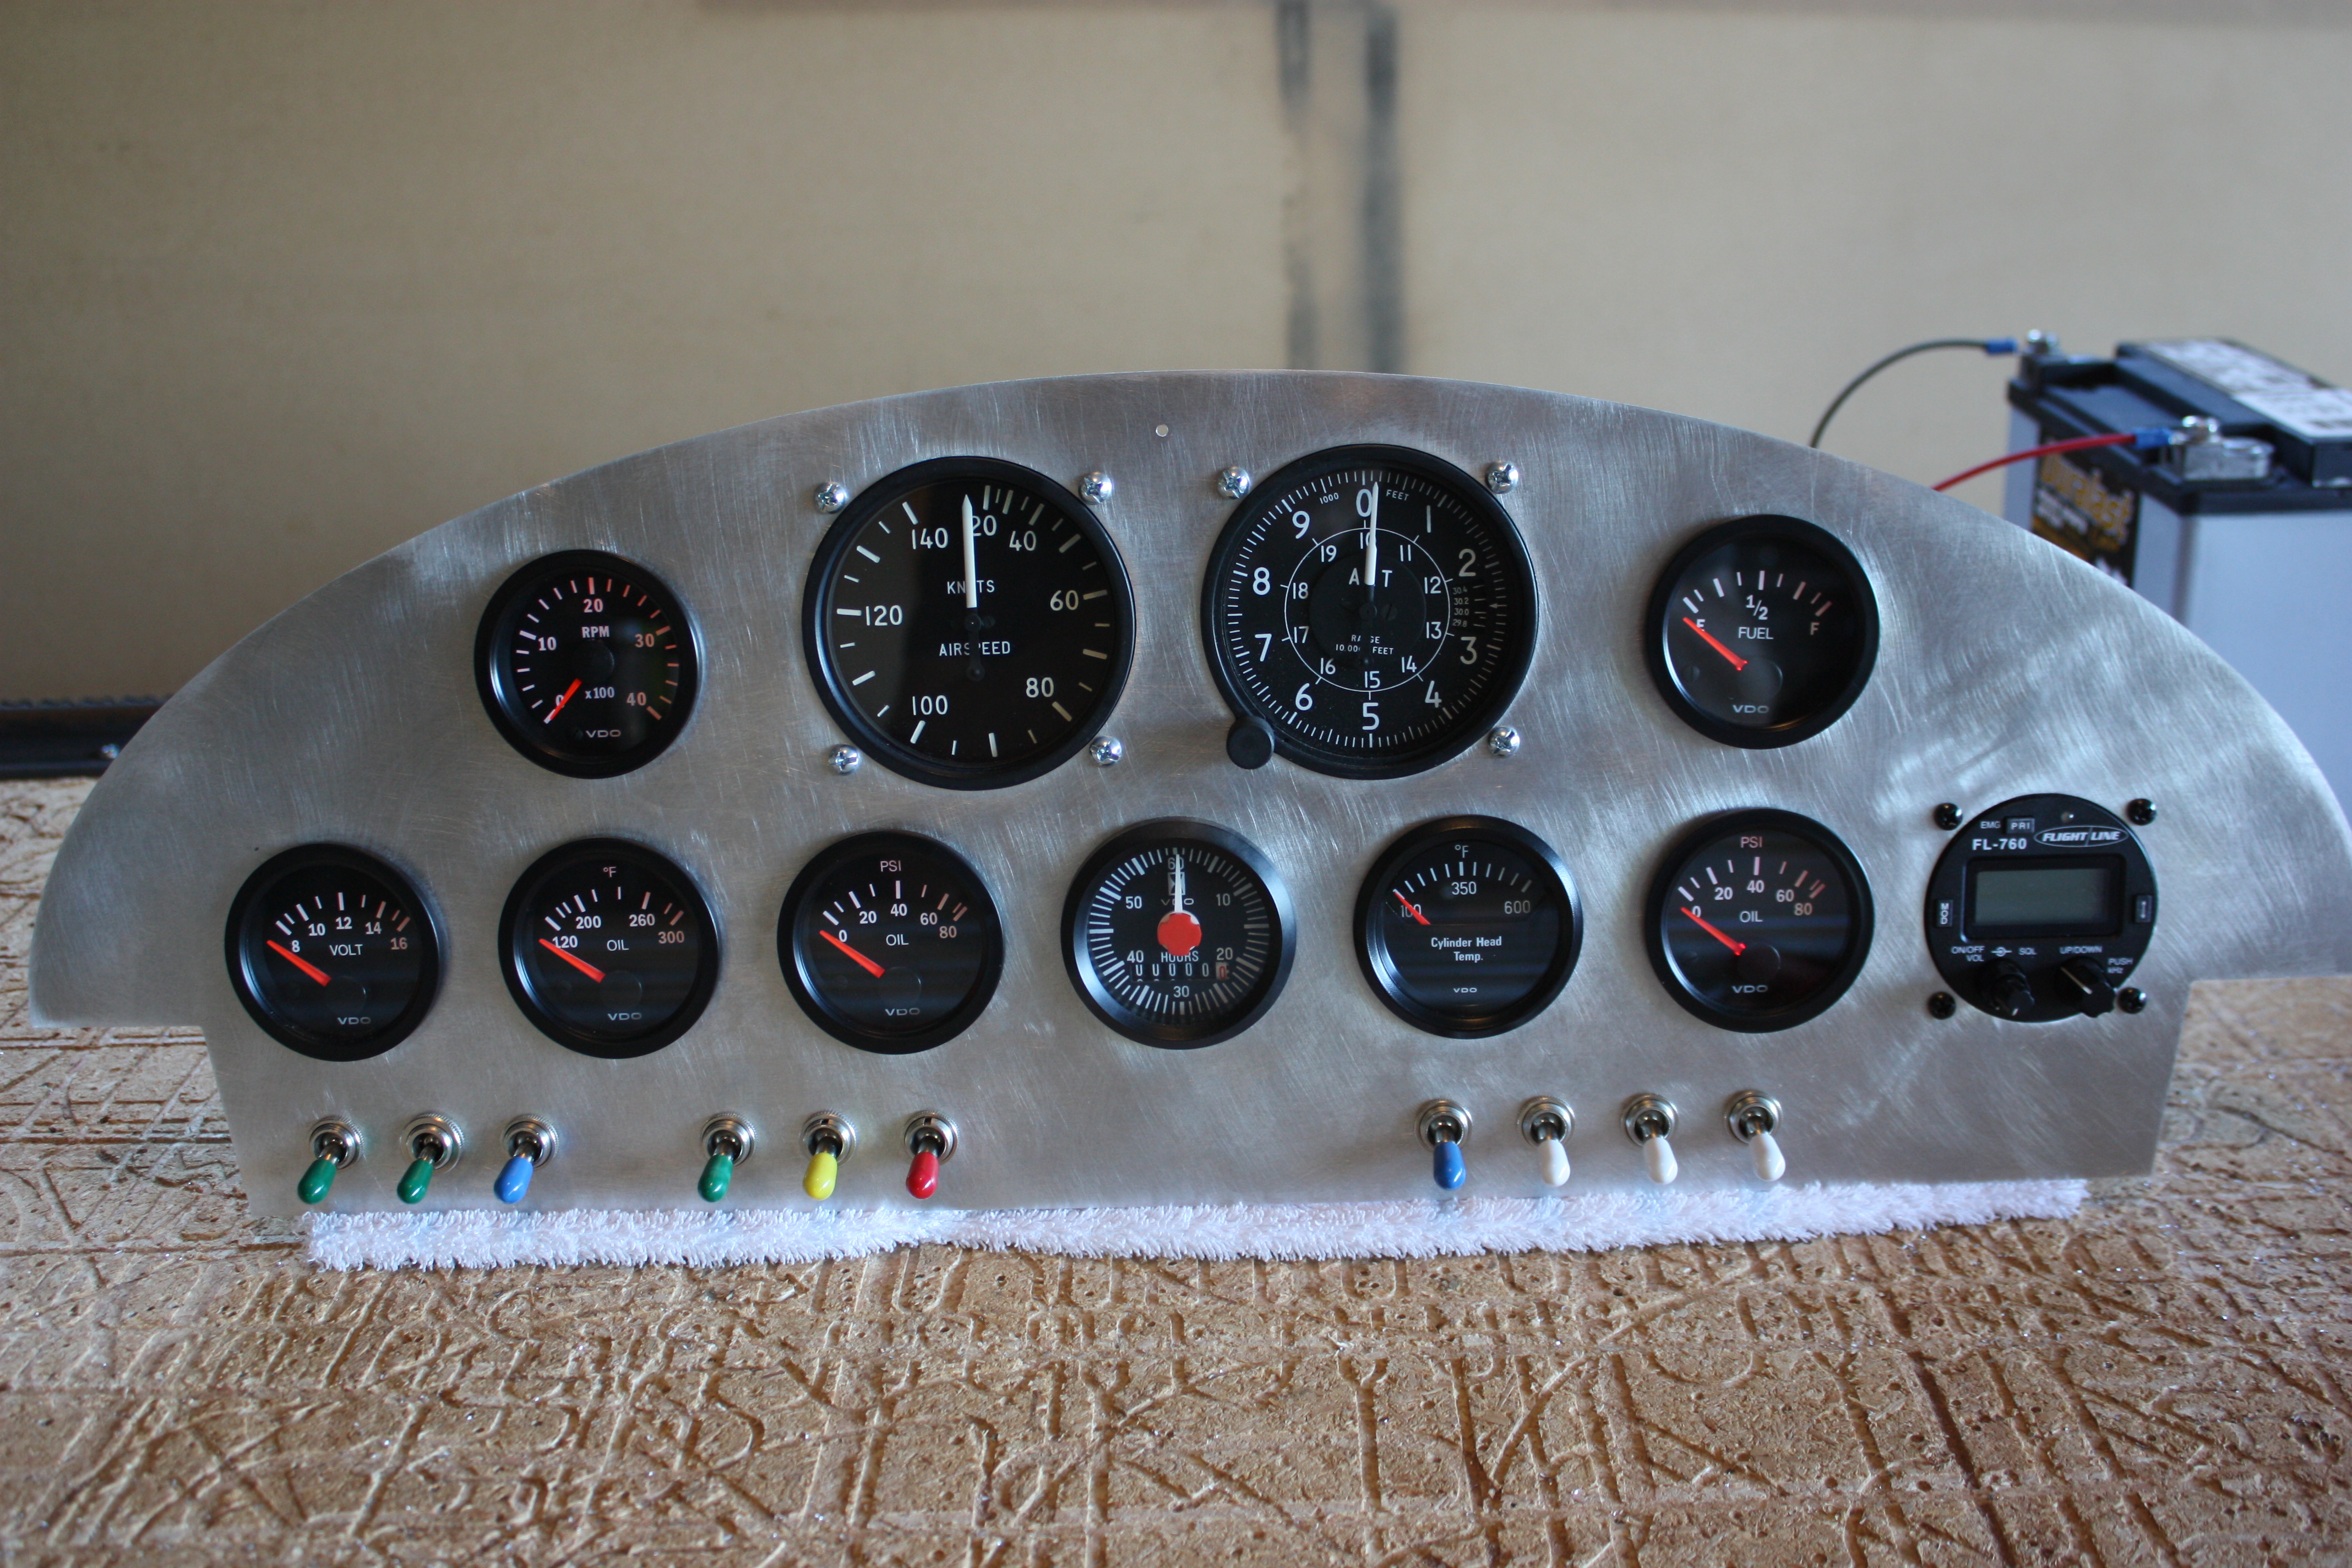
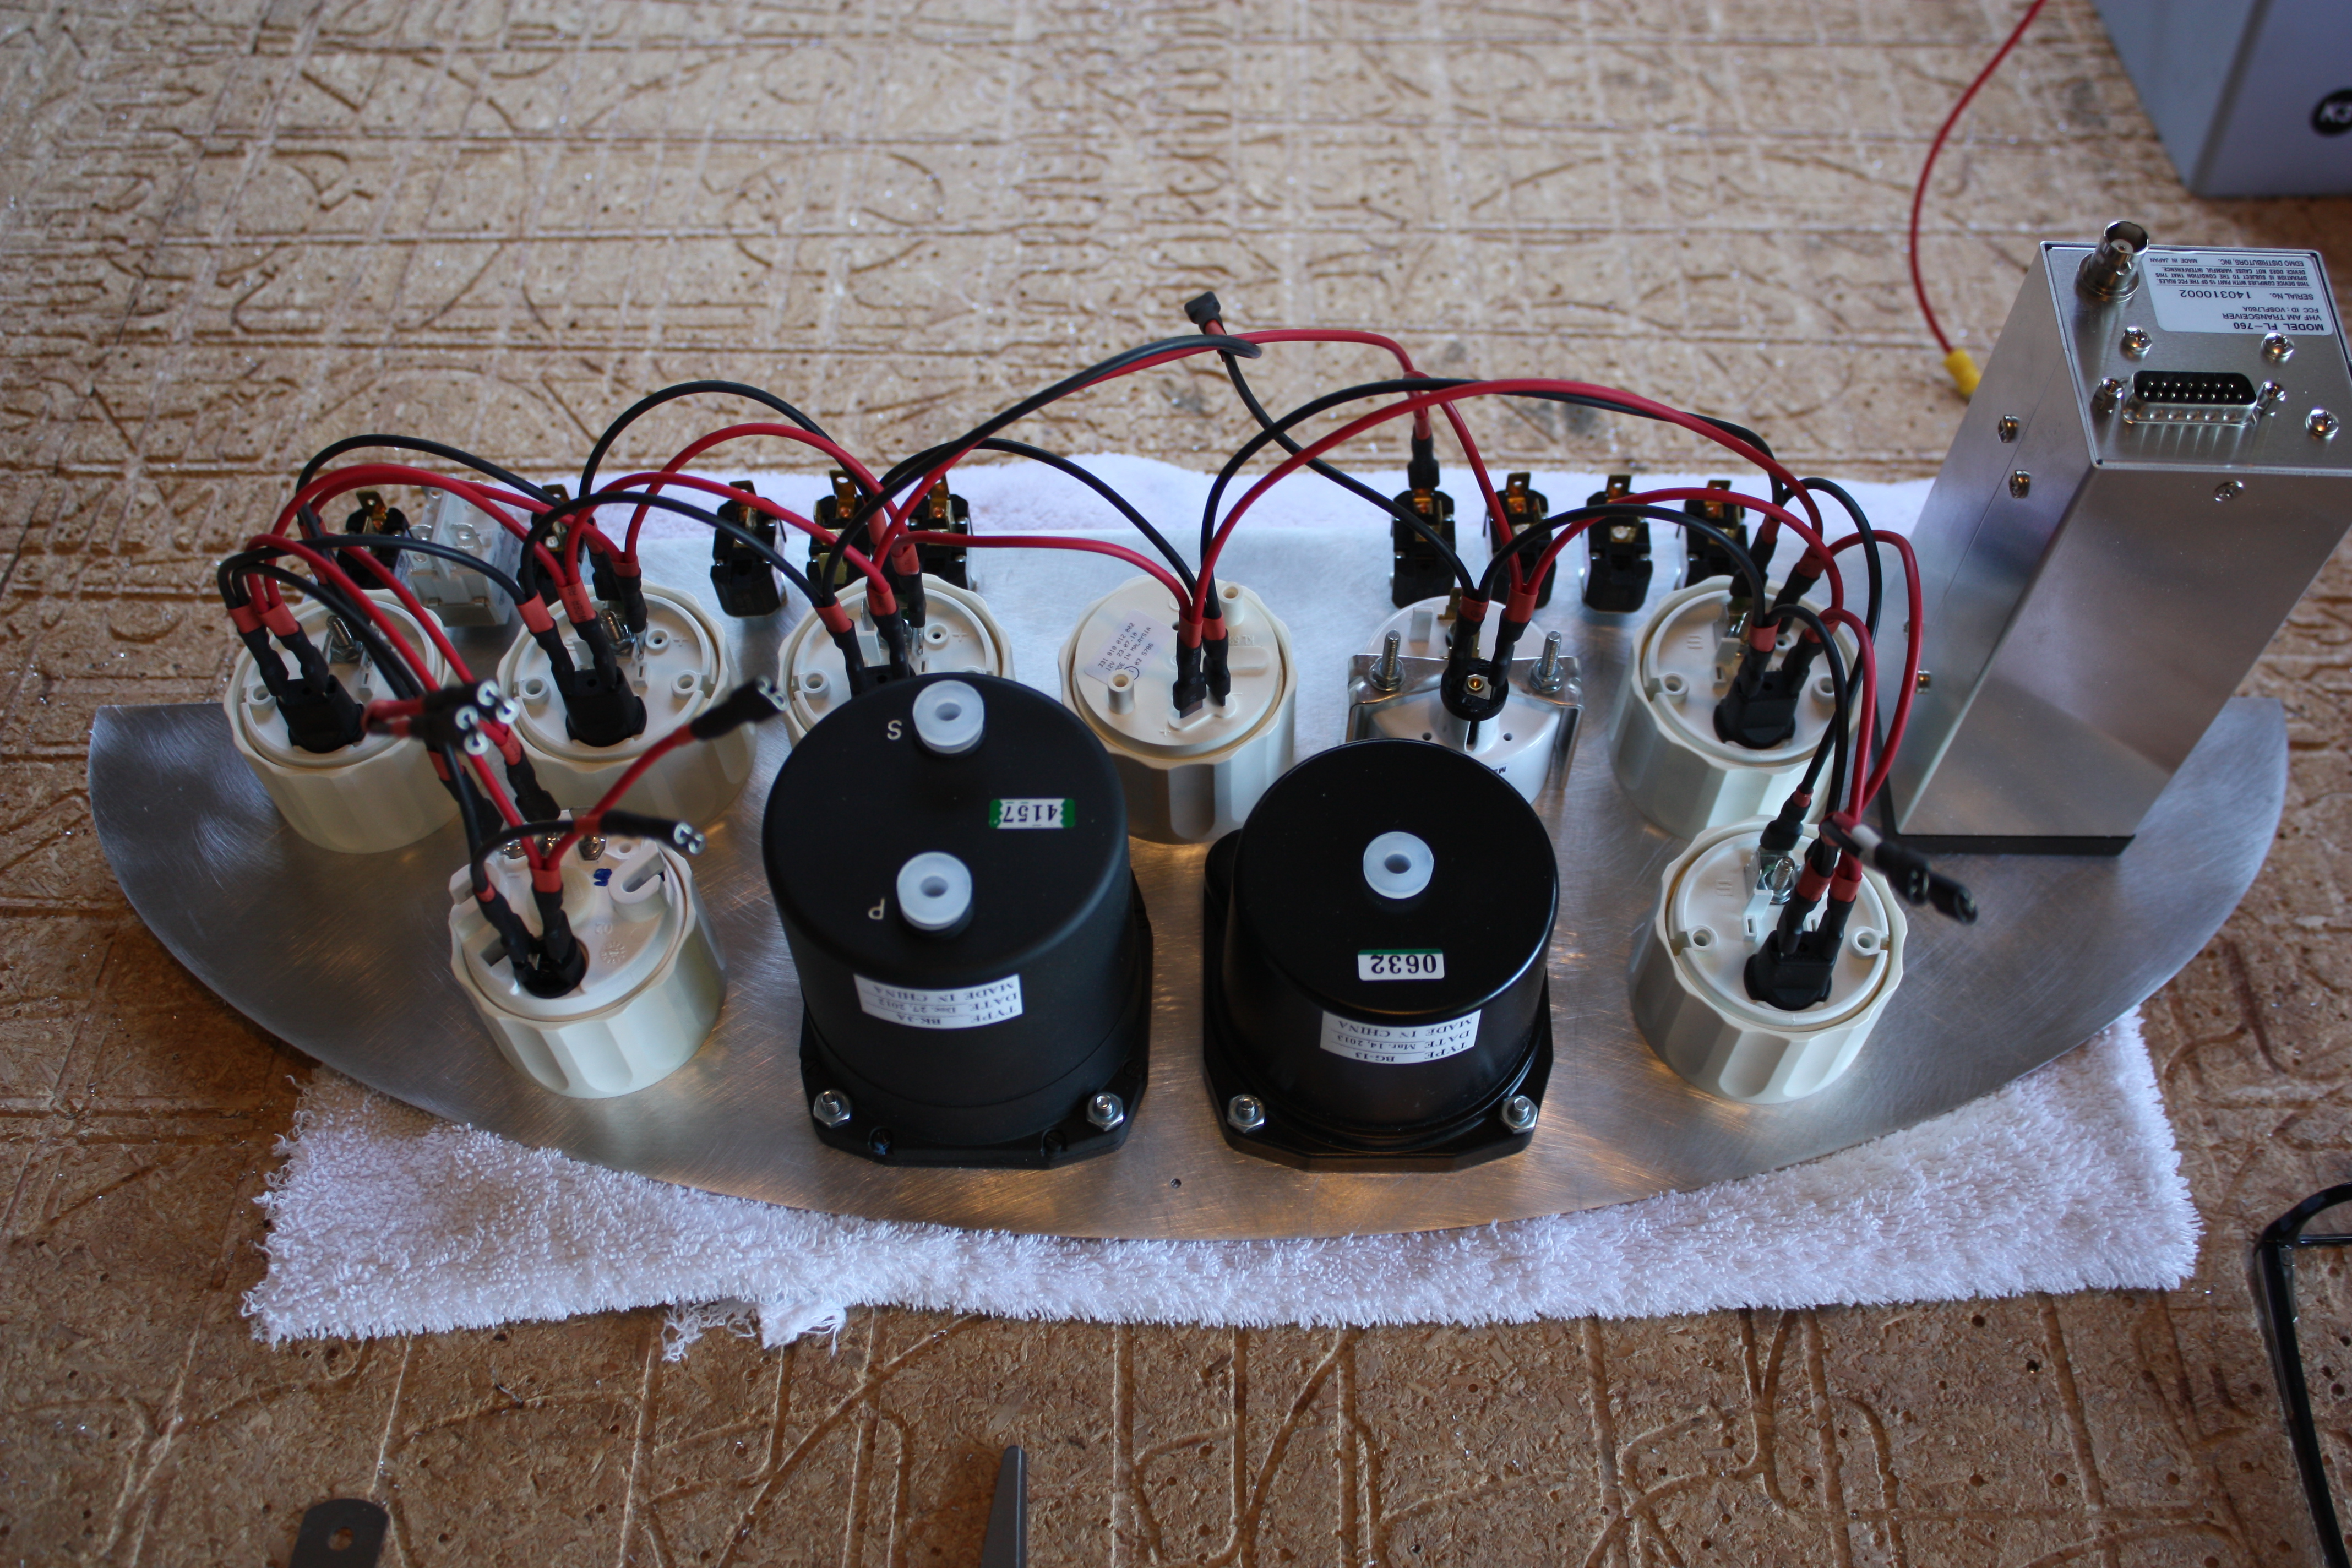
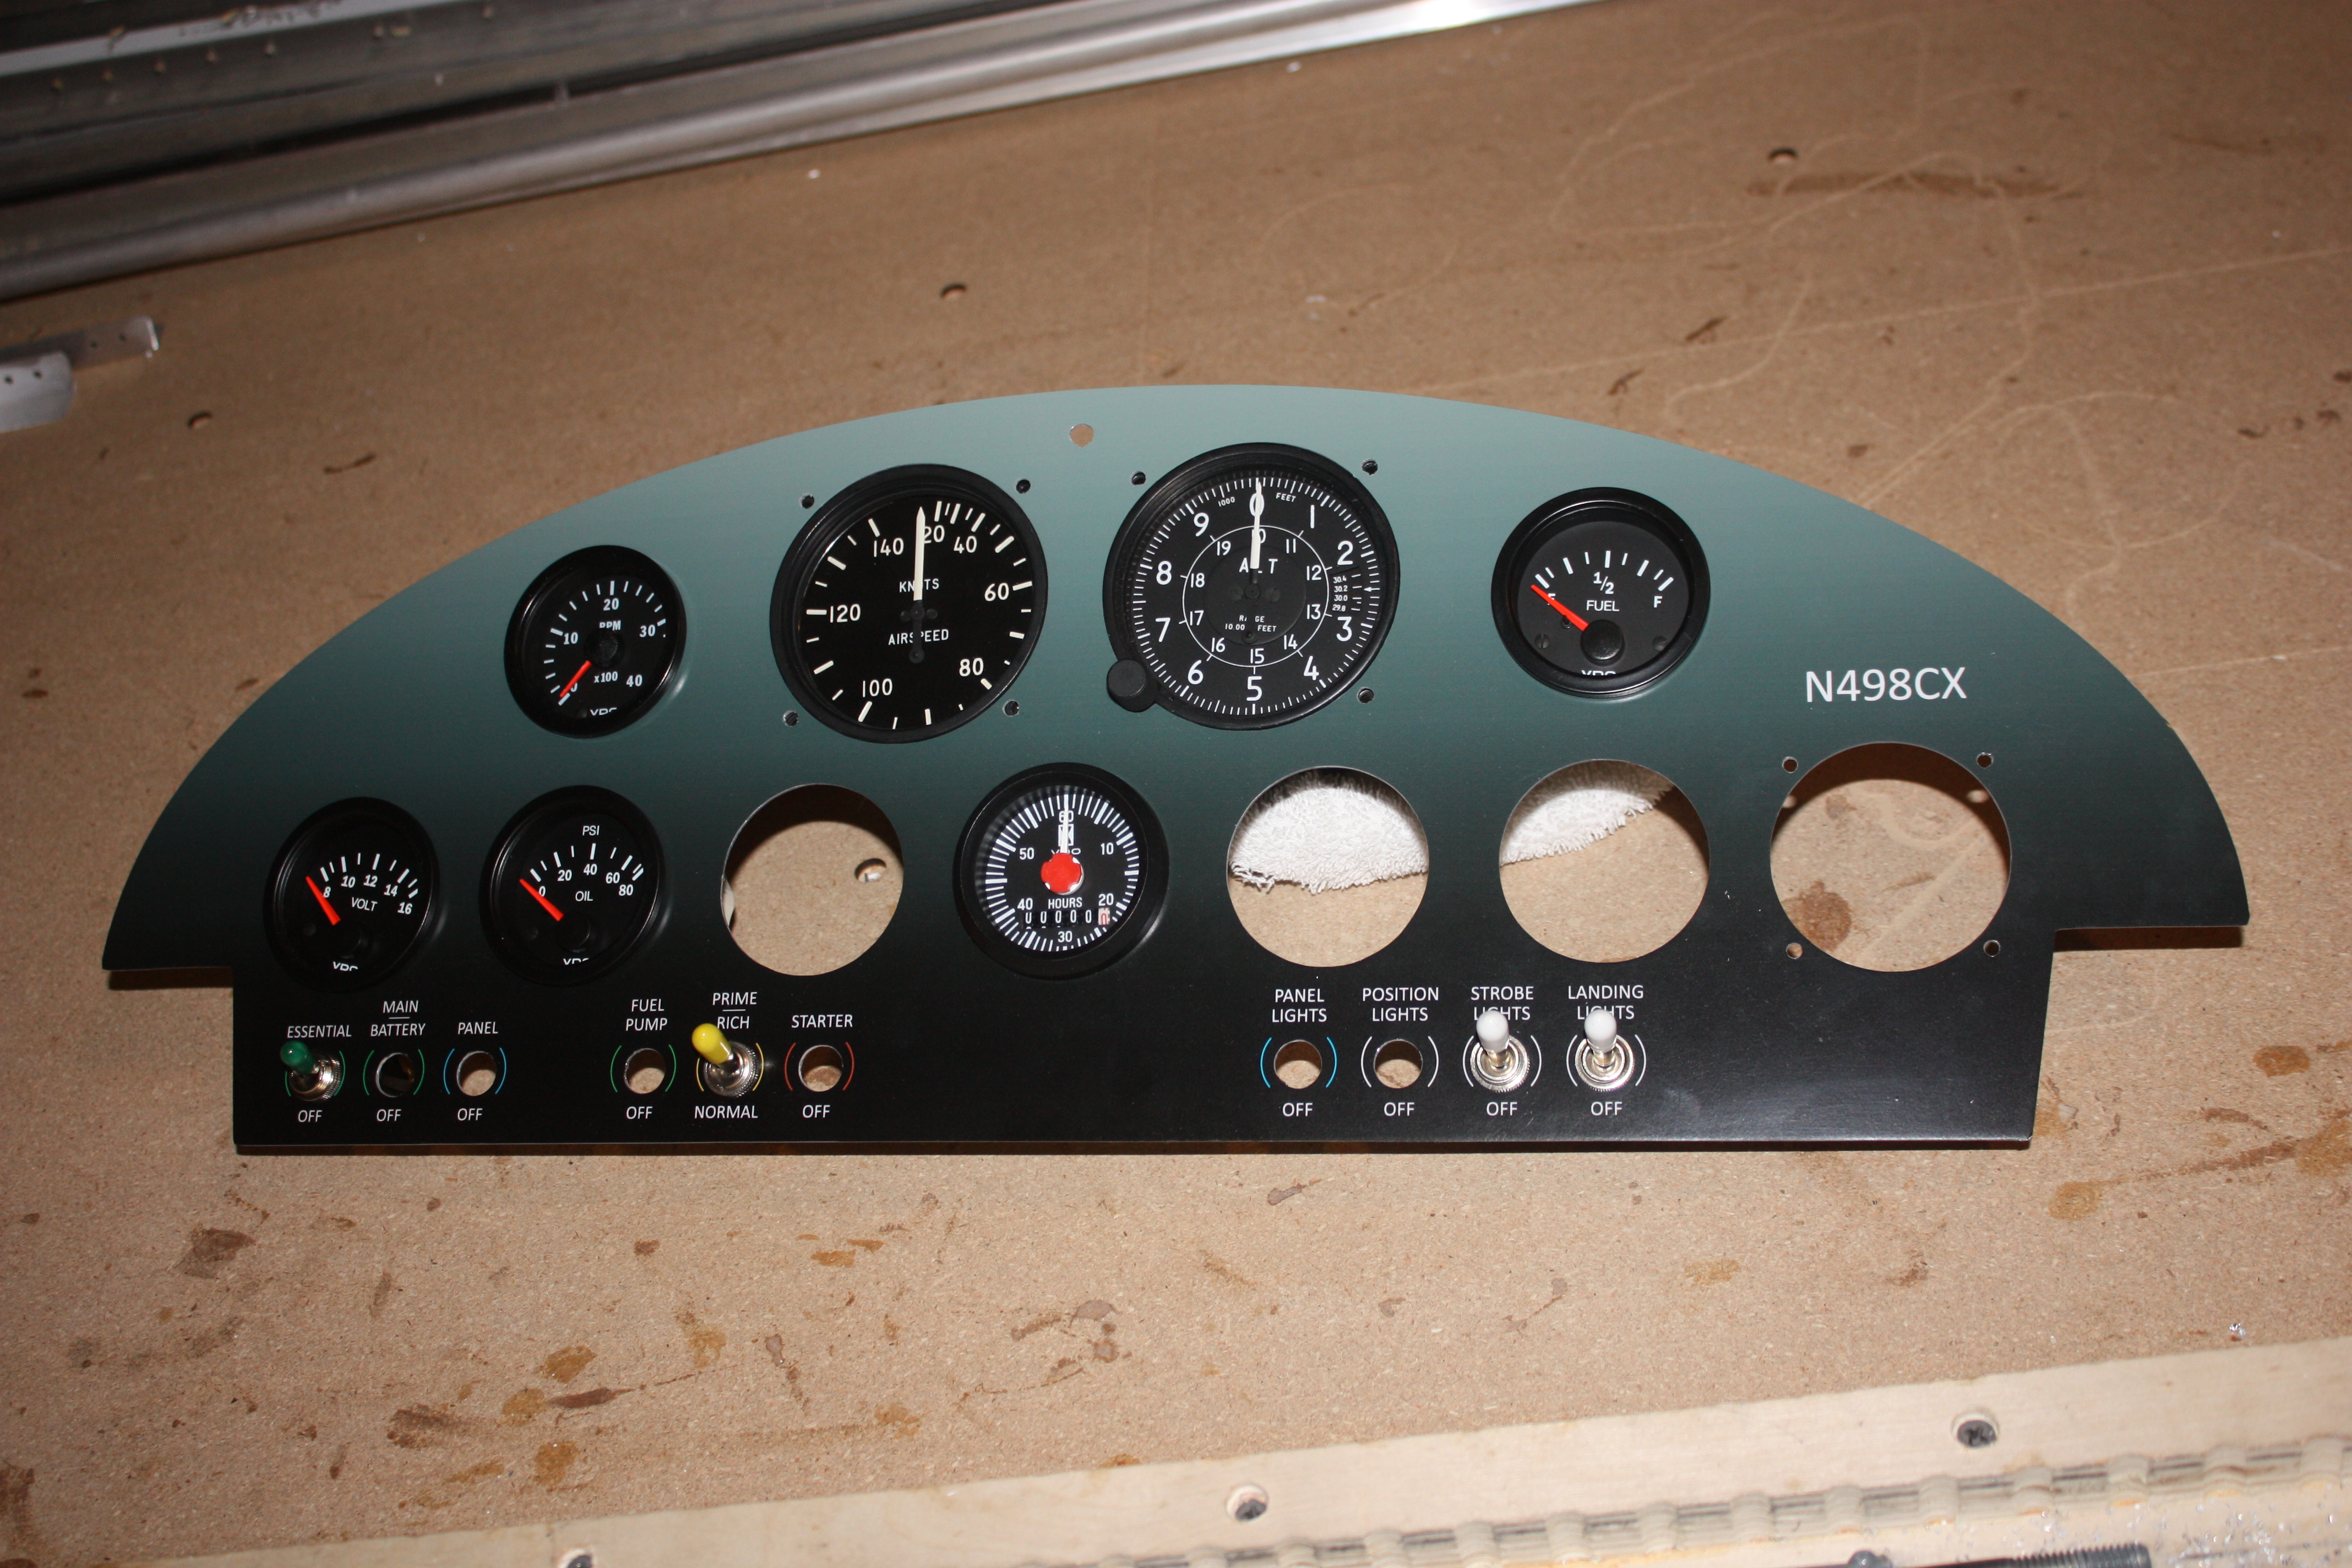
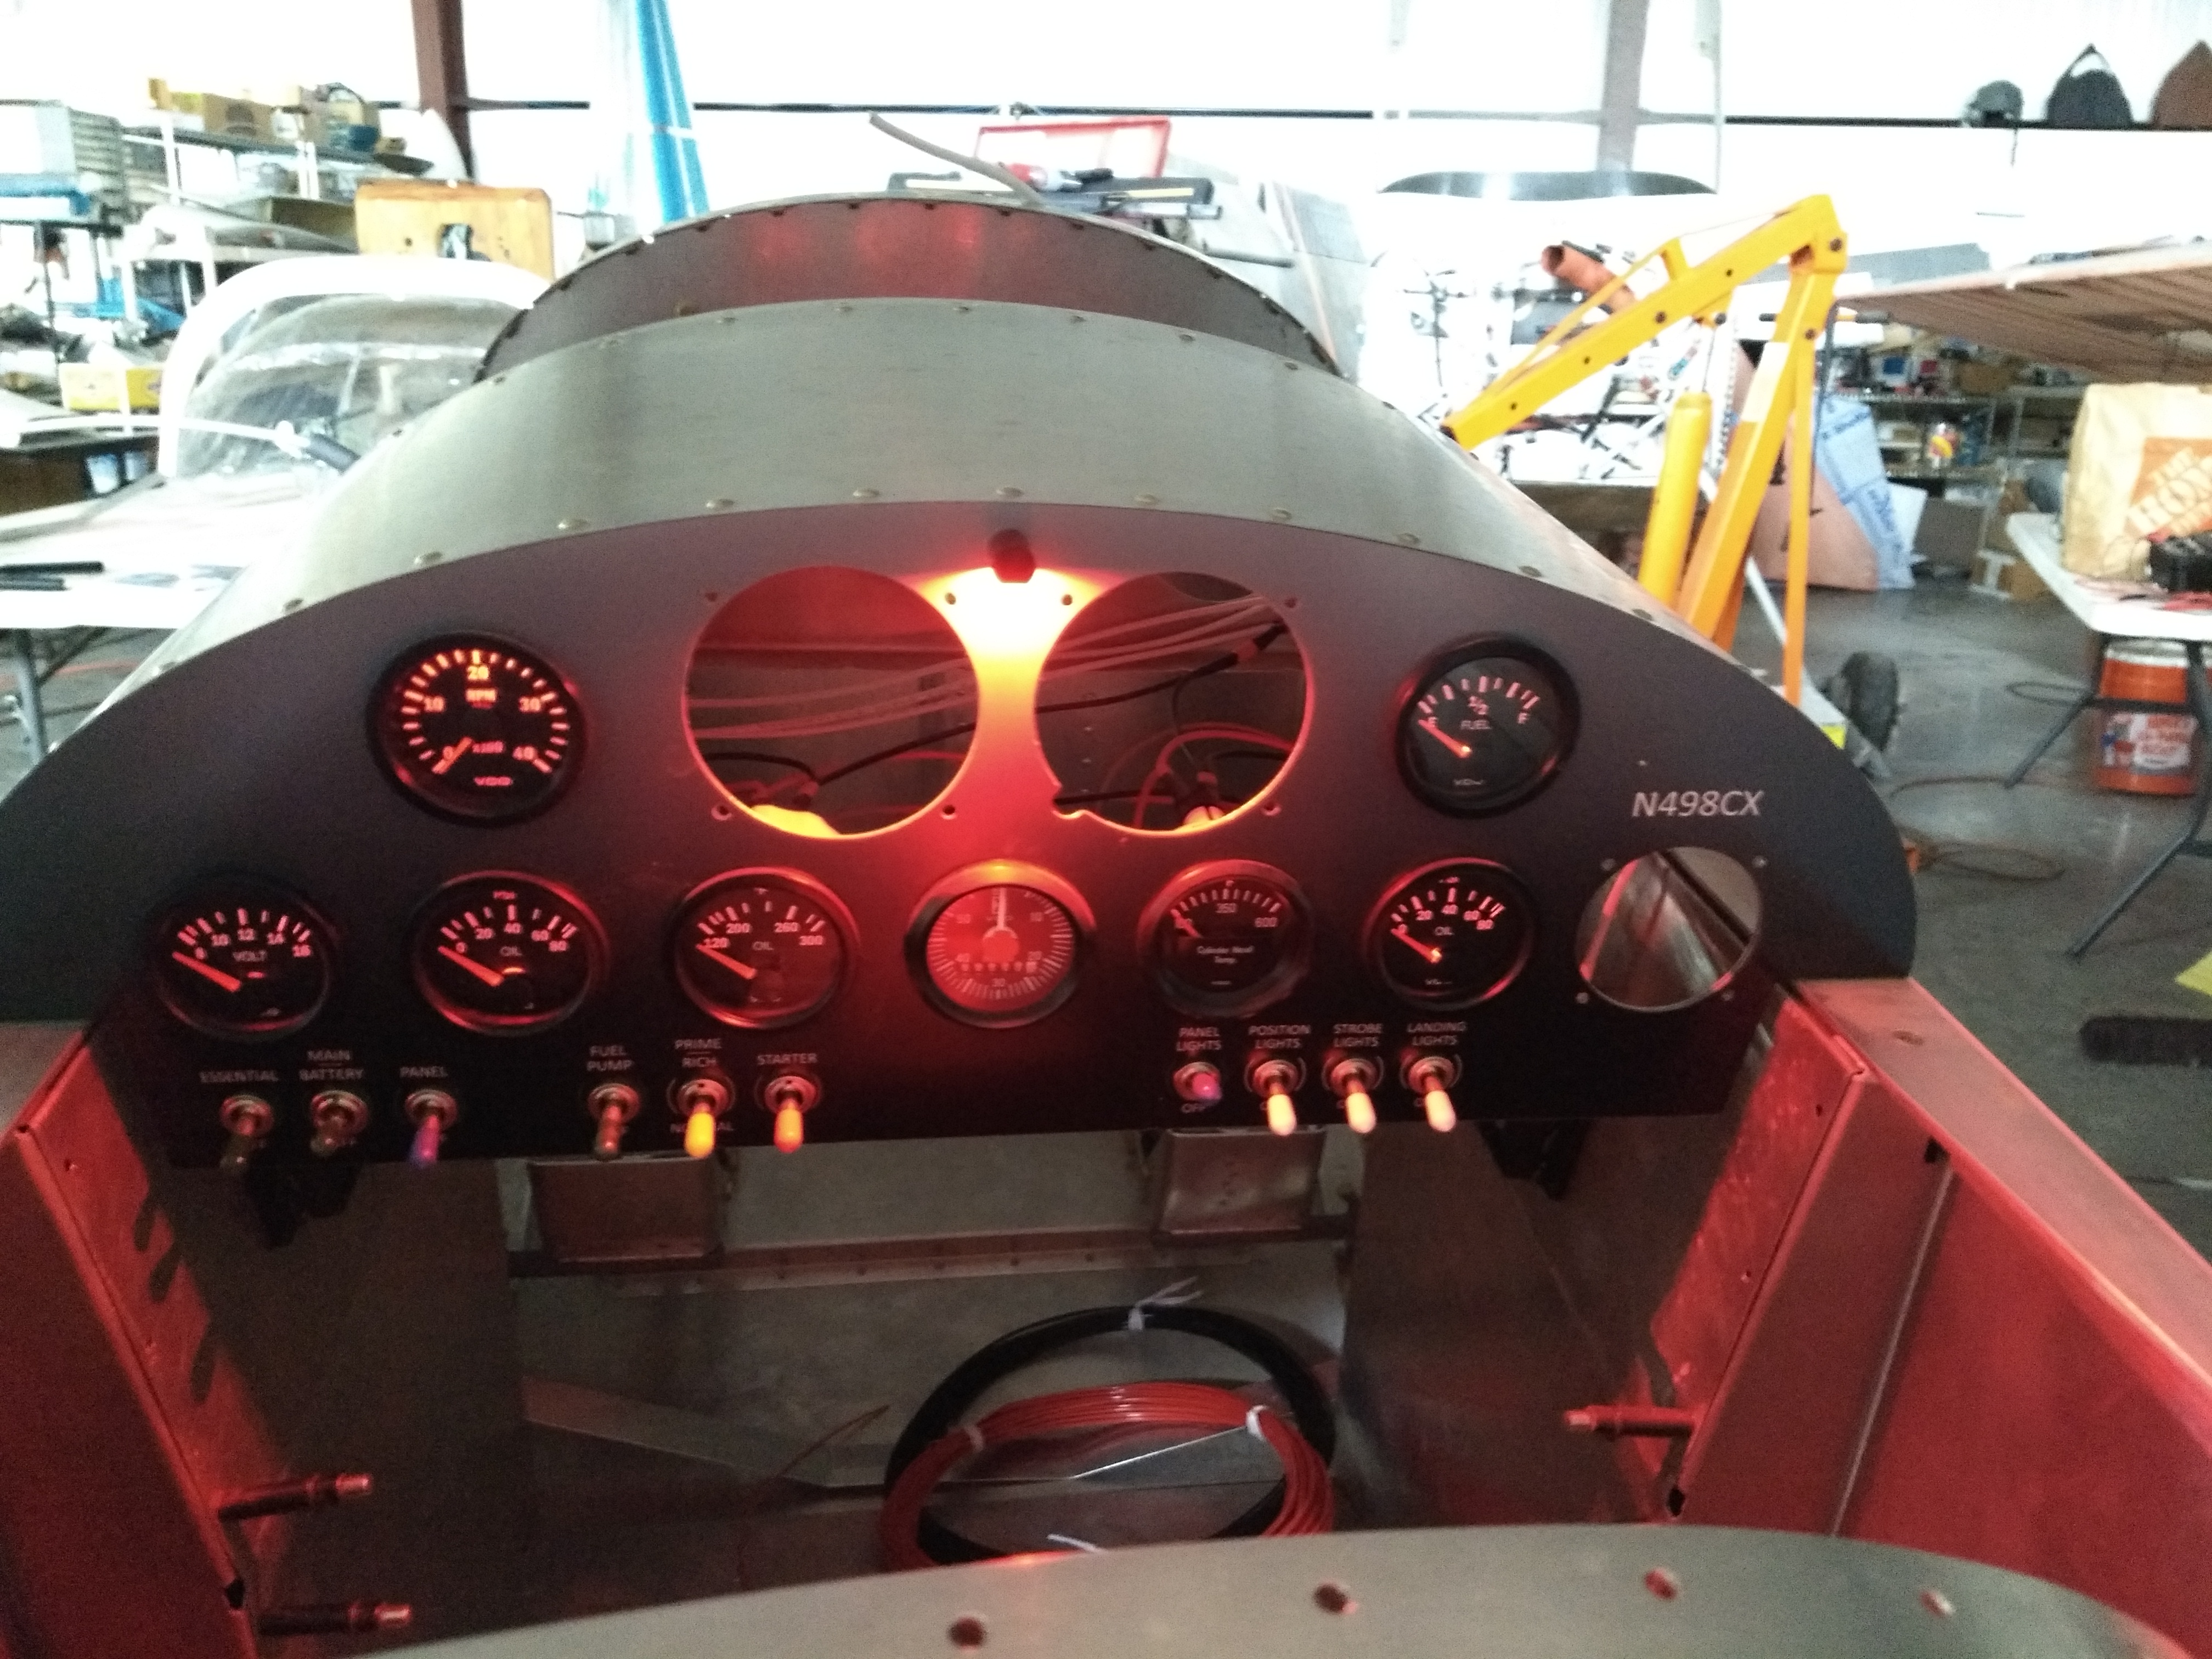
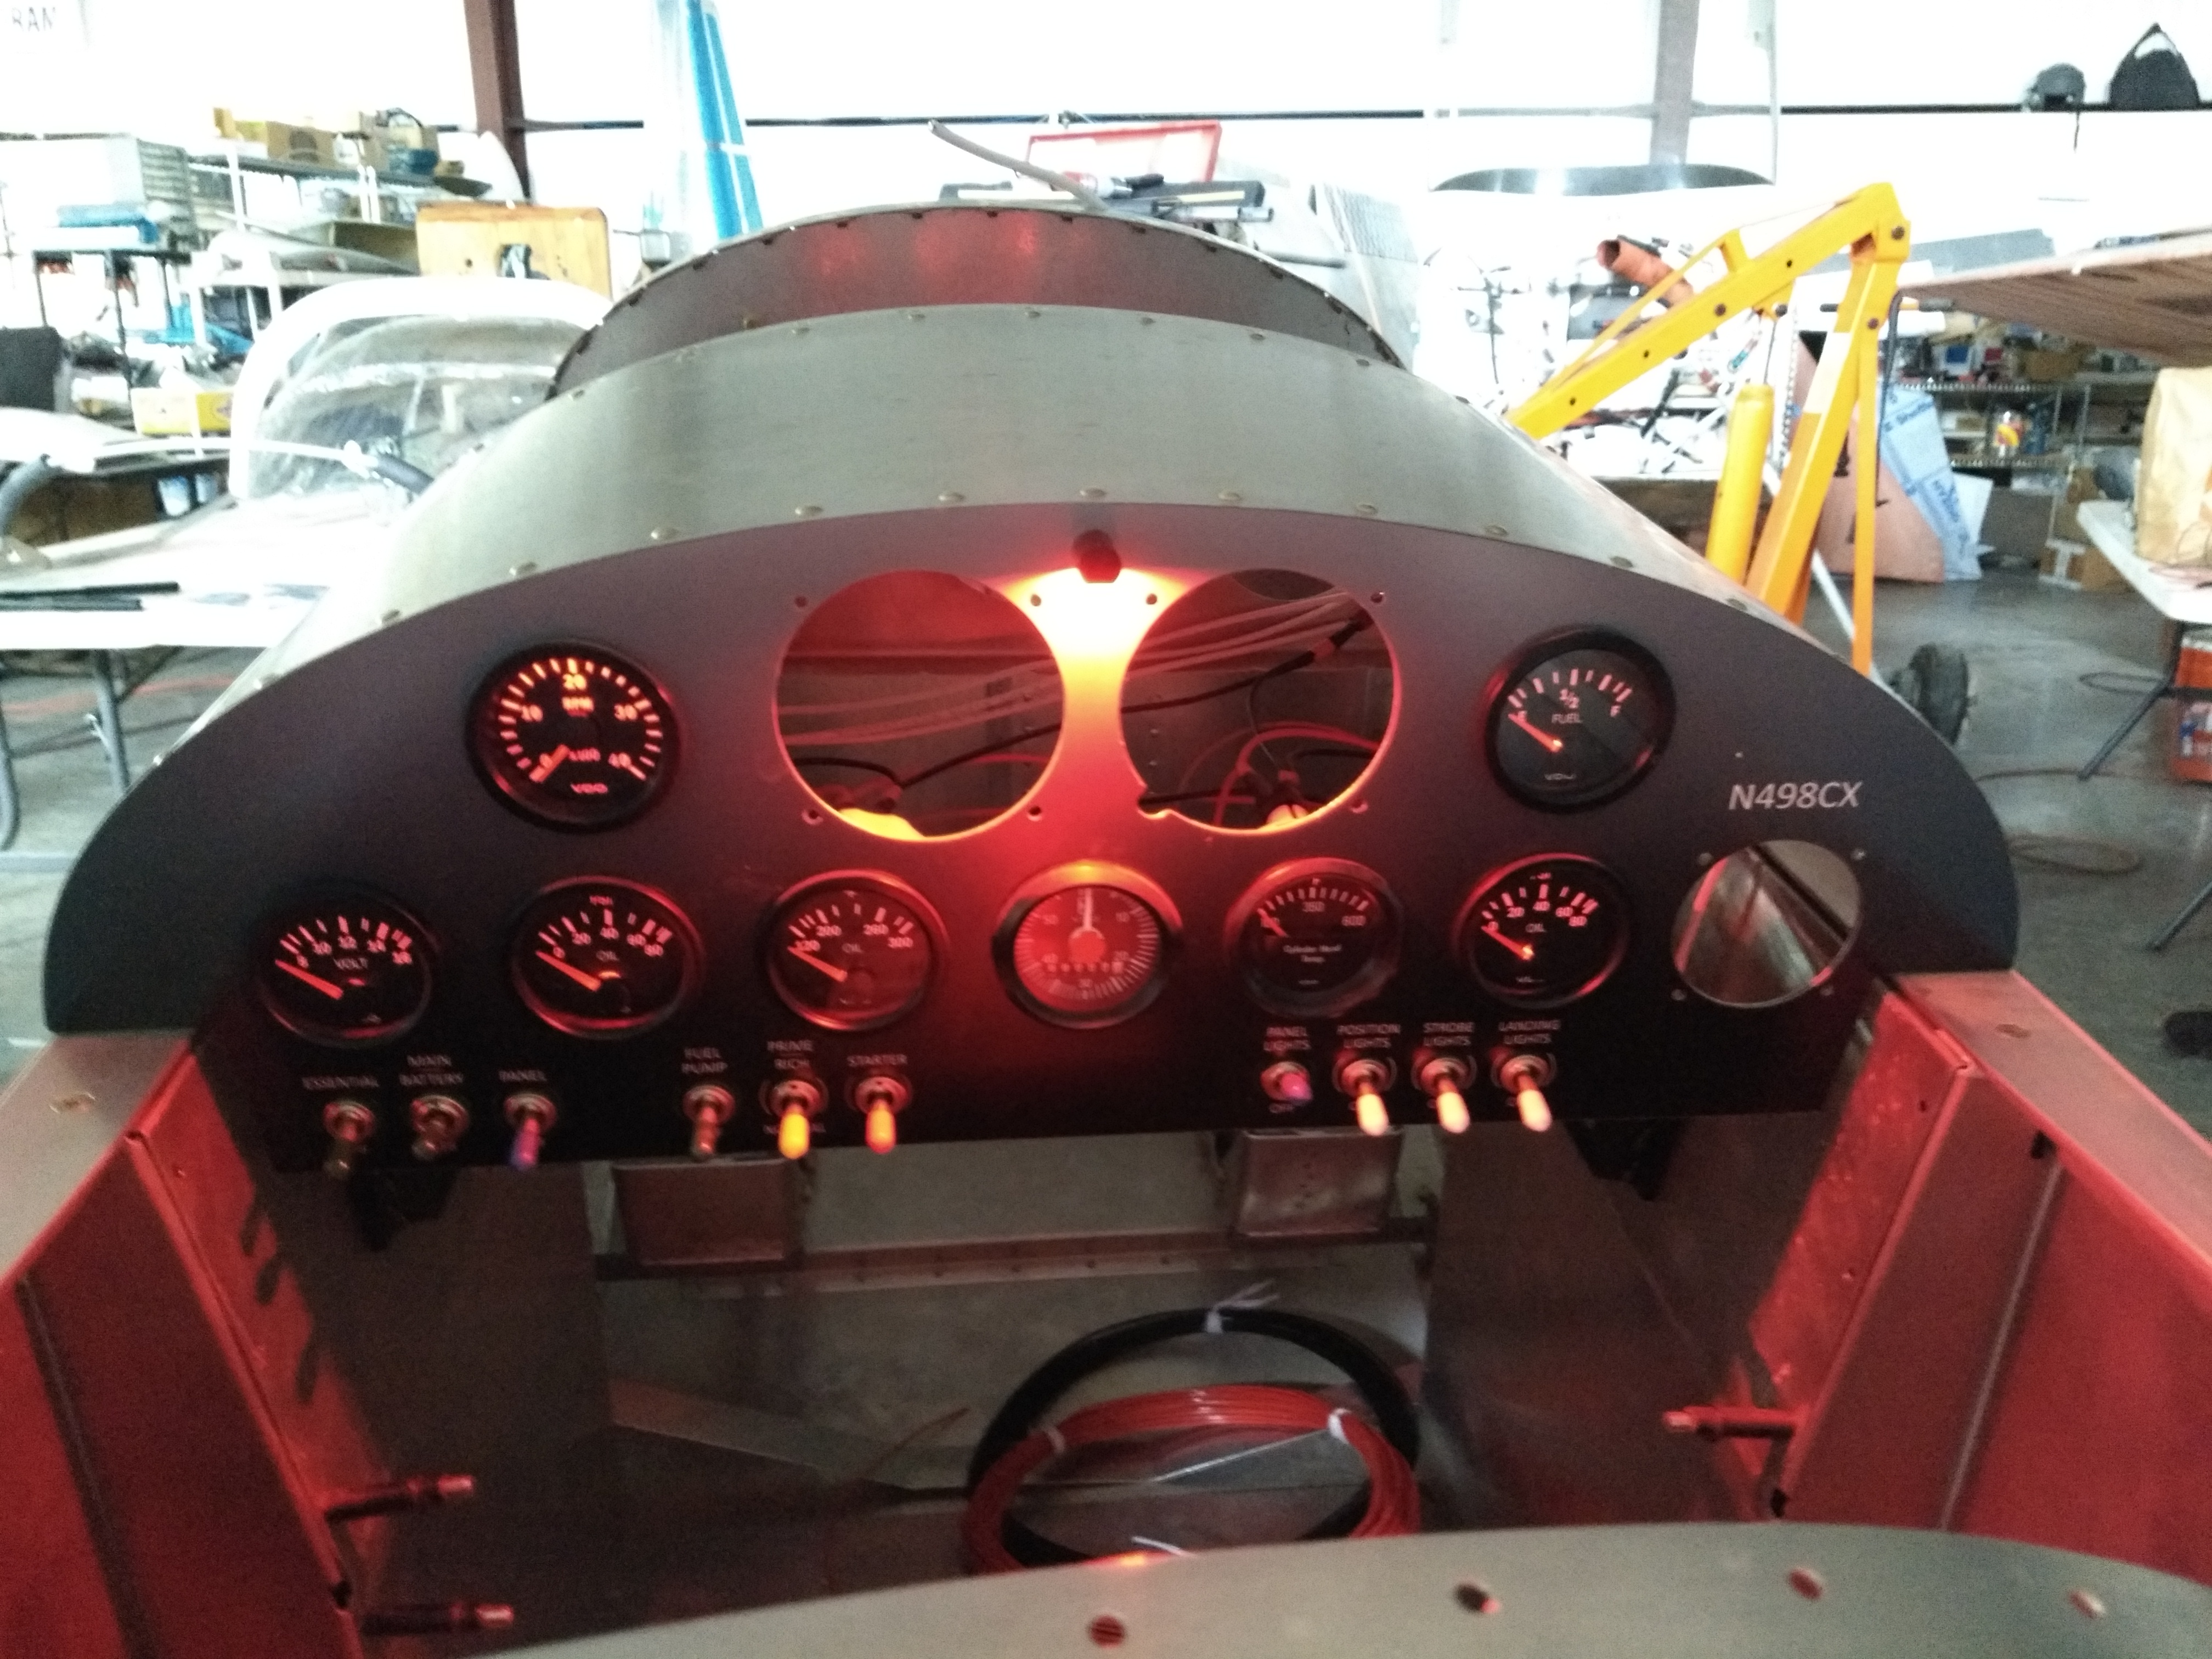
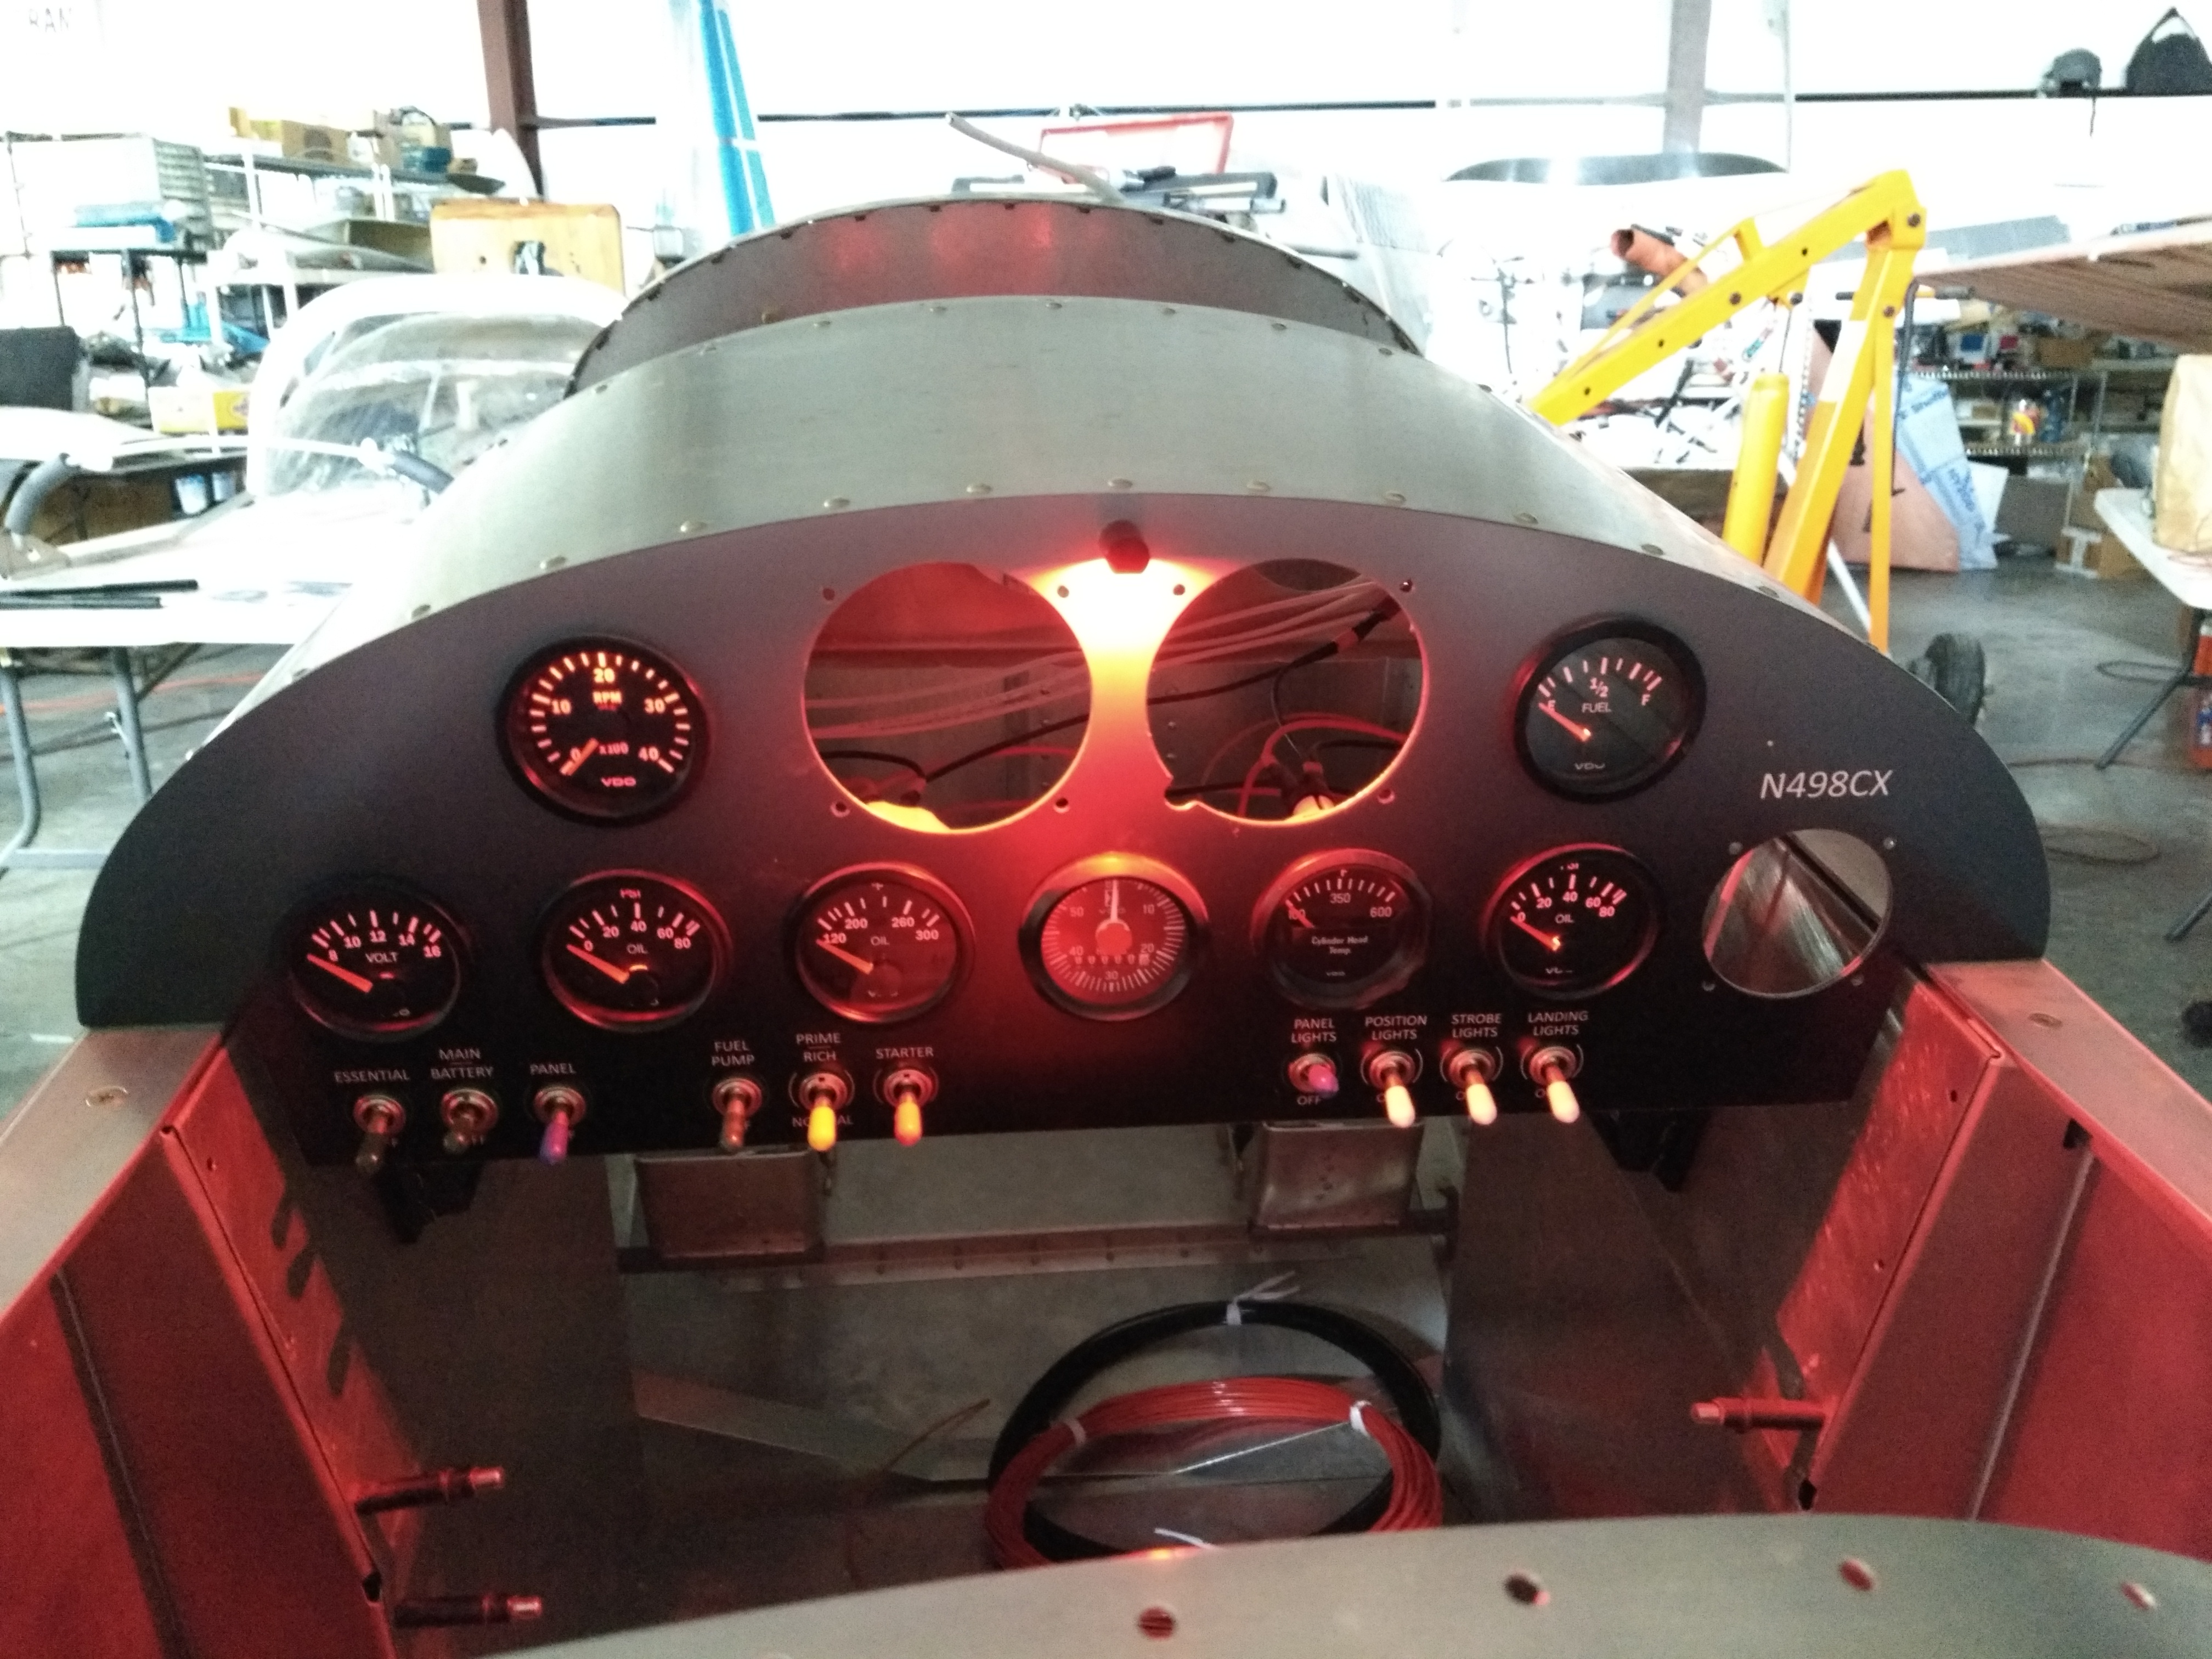
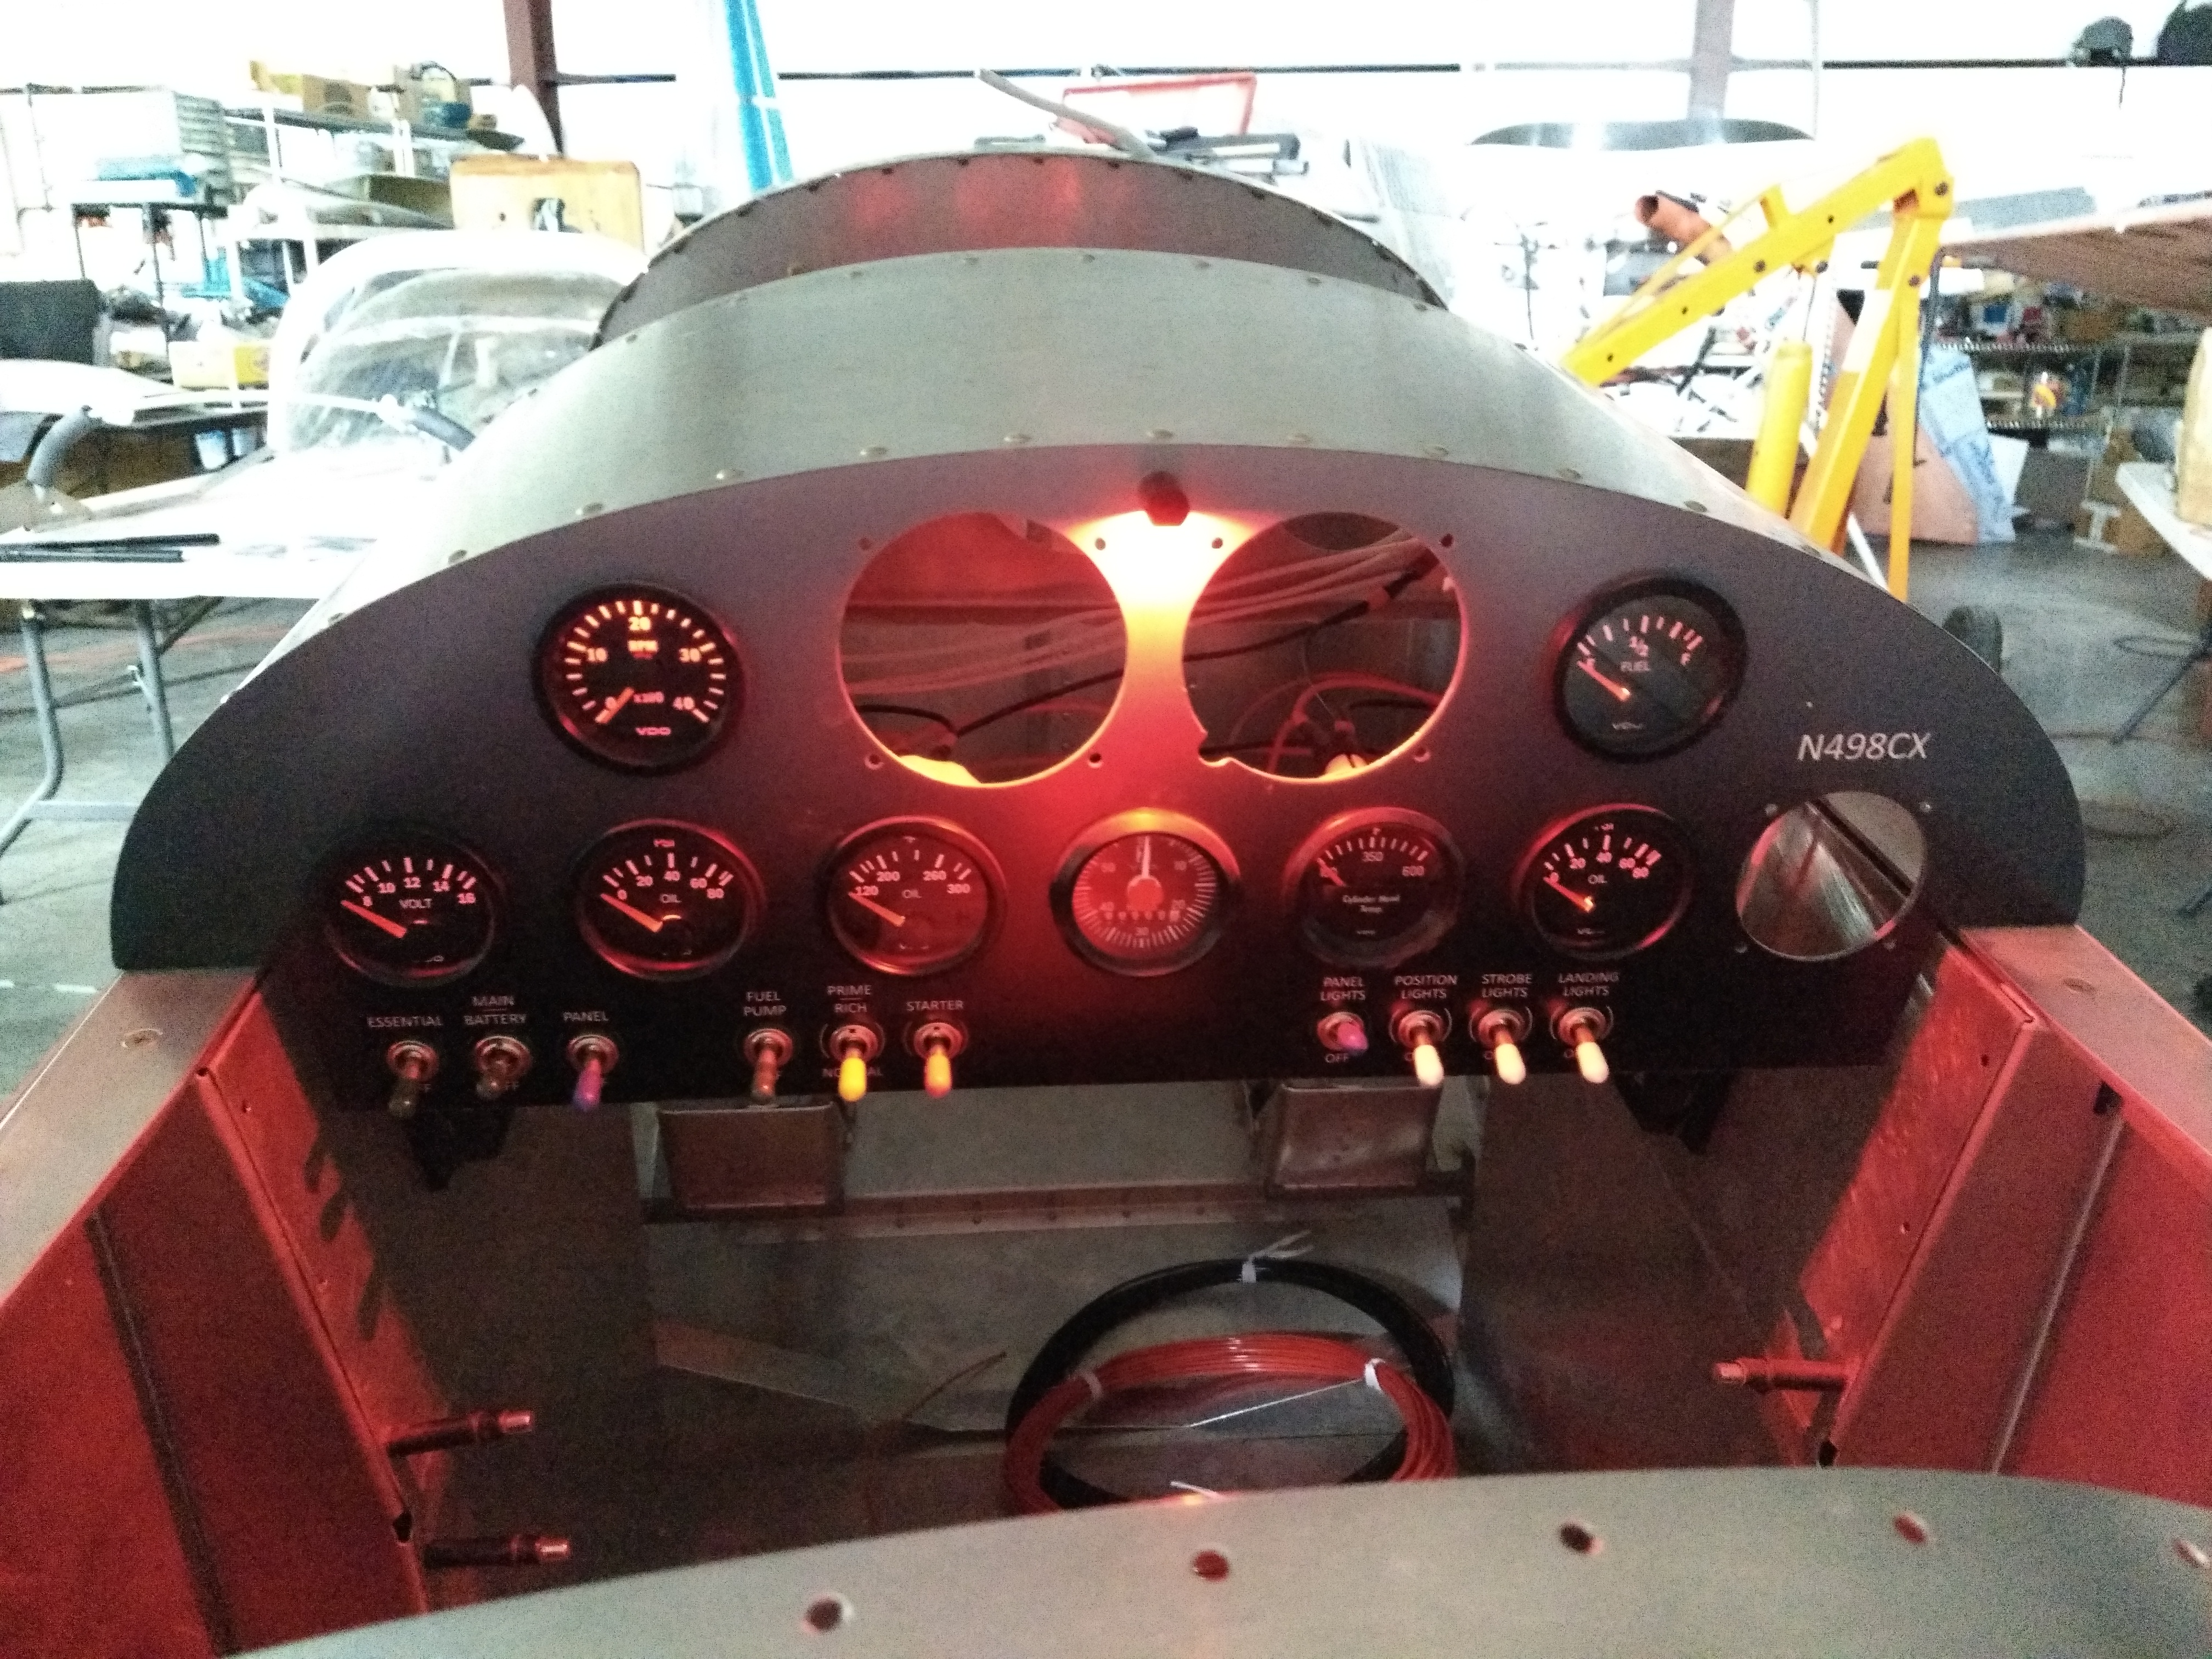
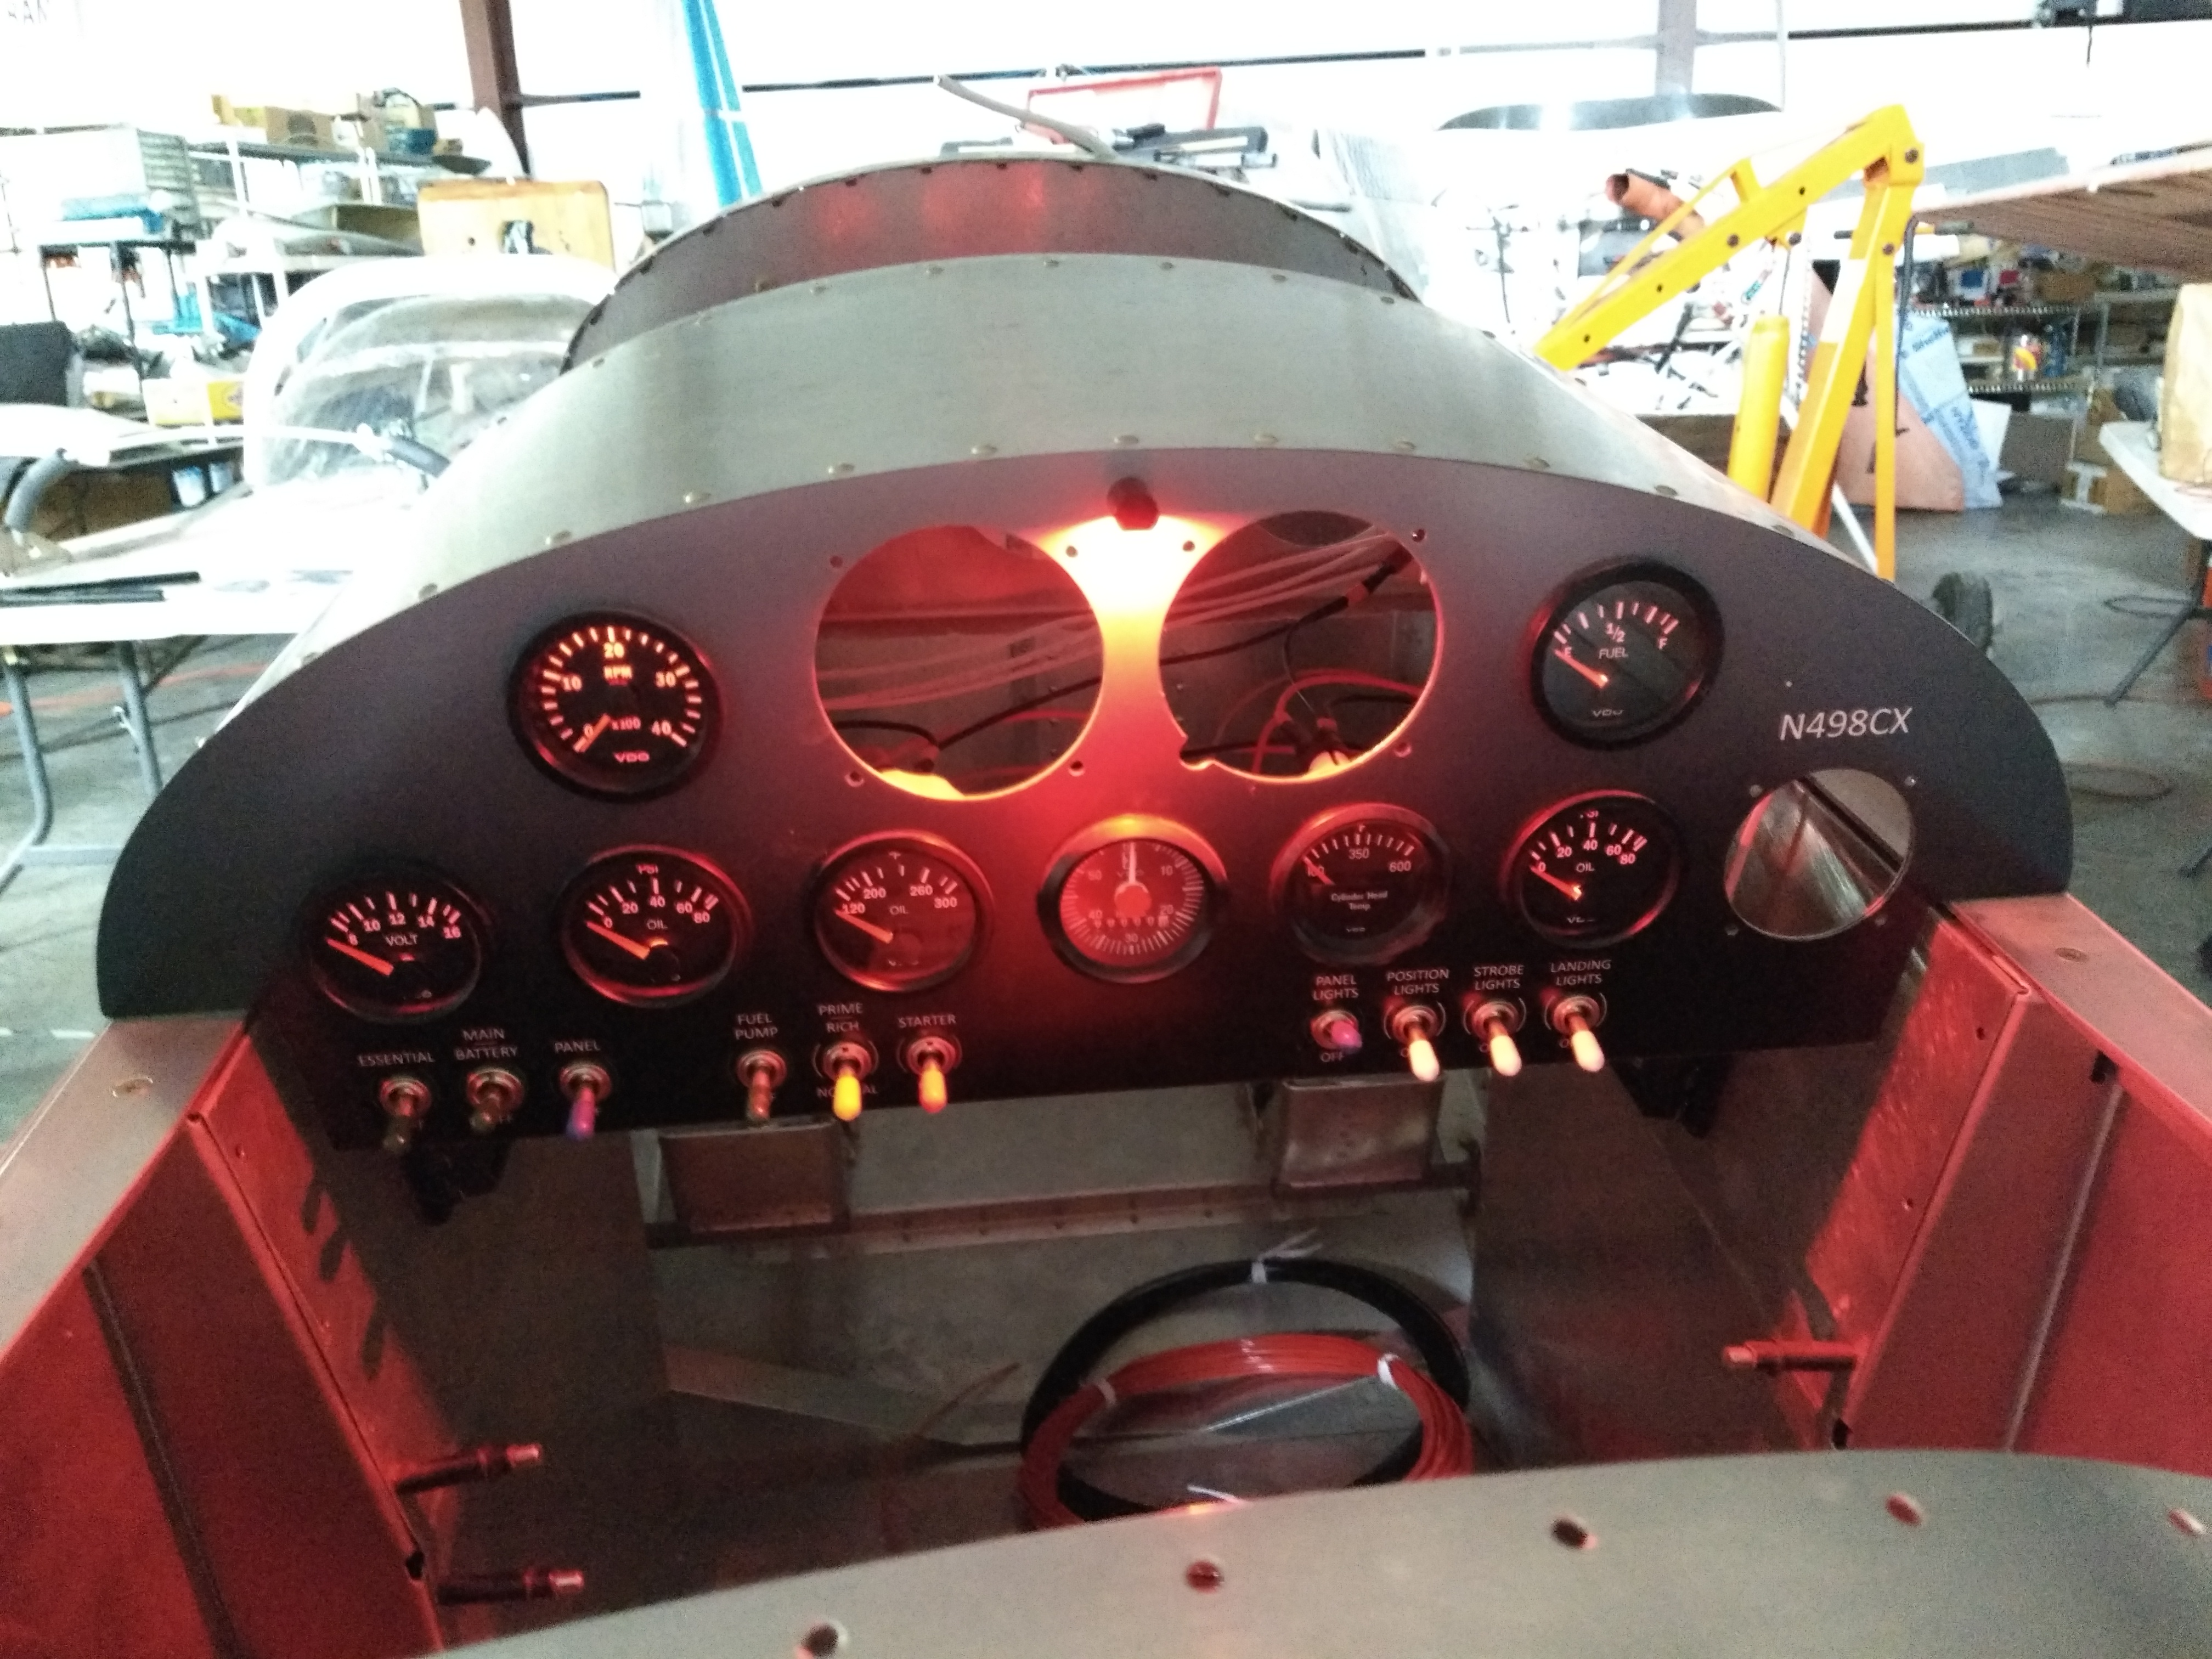
I took the panel and a CAD file to a local sign shop. They have a printer which can print on adhesive backed vinyl sheet (for wrapping cars, etc.). The background of the electrical panel is essentially one big sticker. It looks great!
Project Continuation
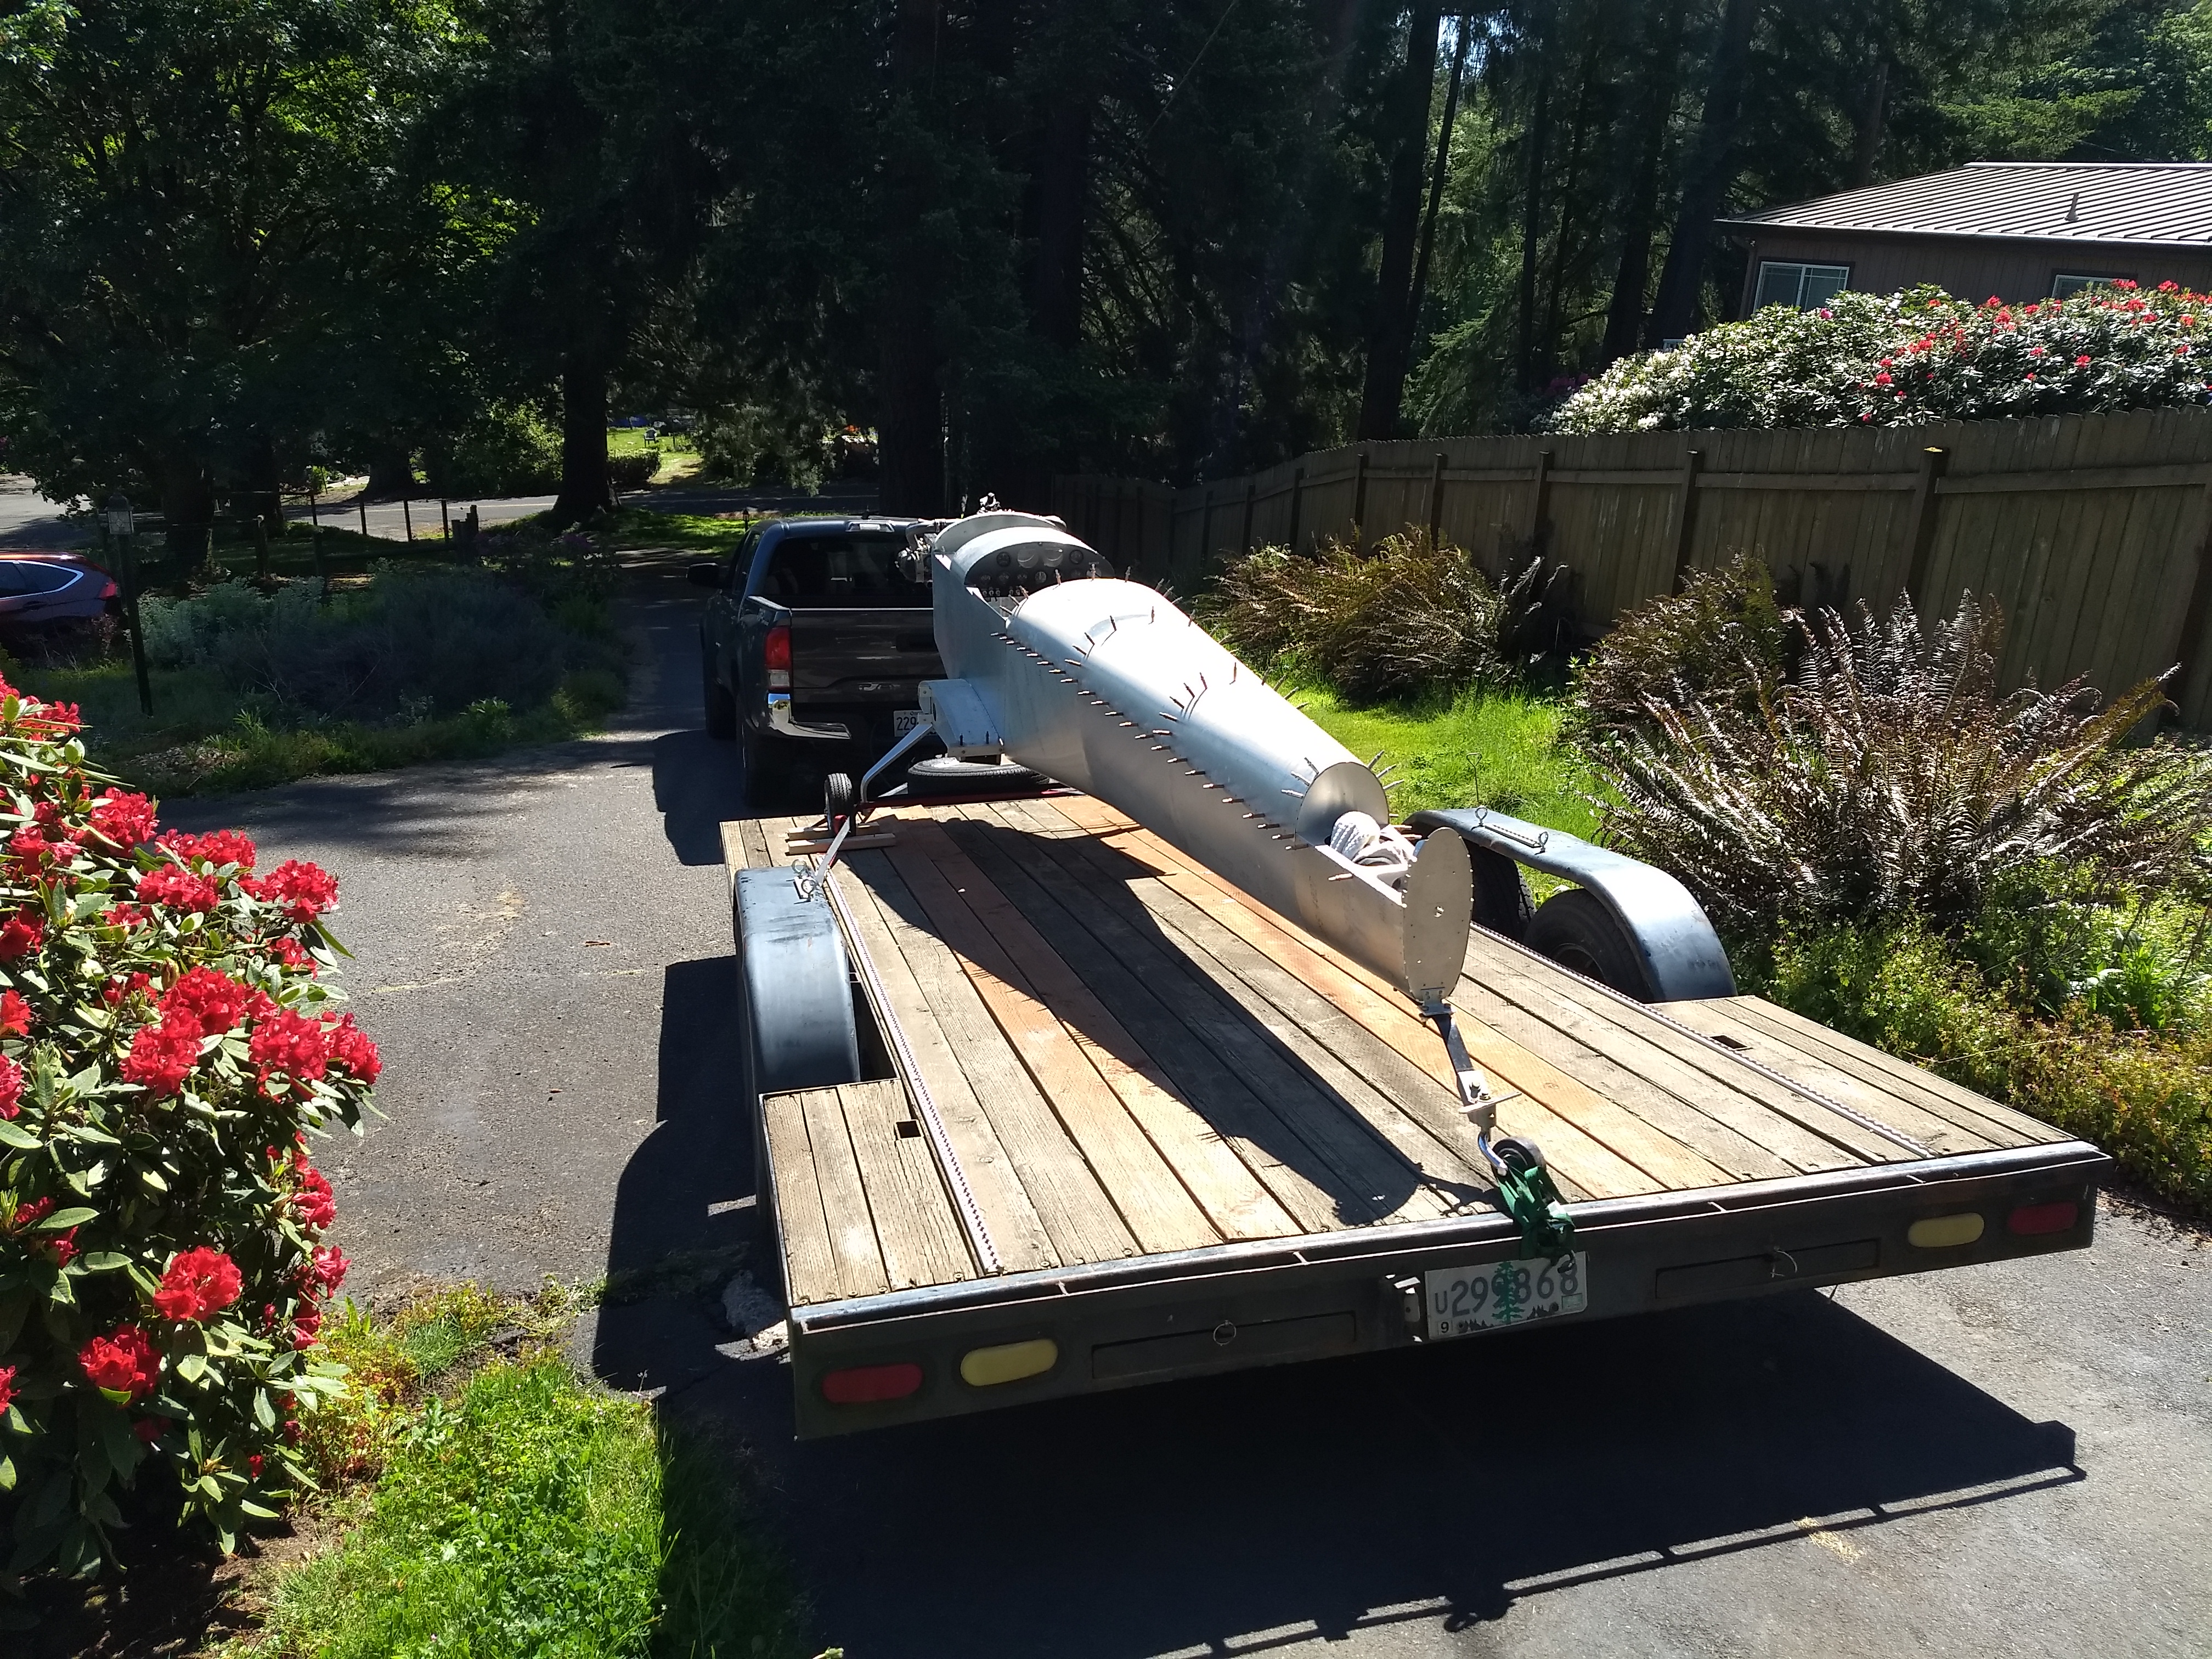
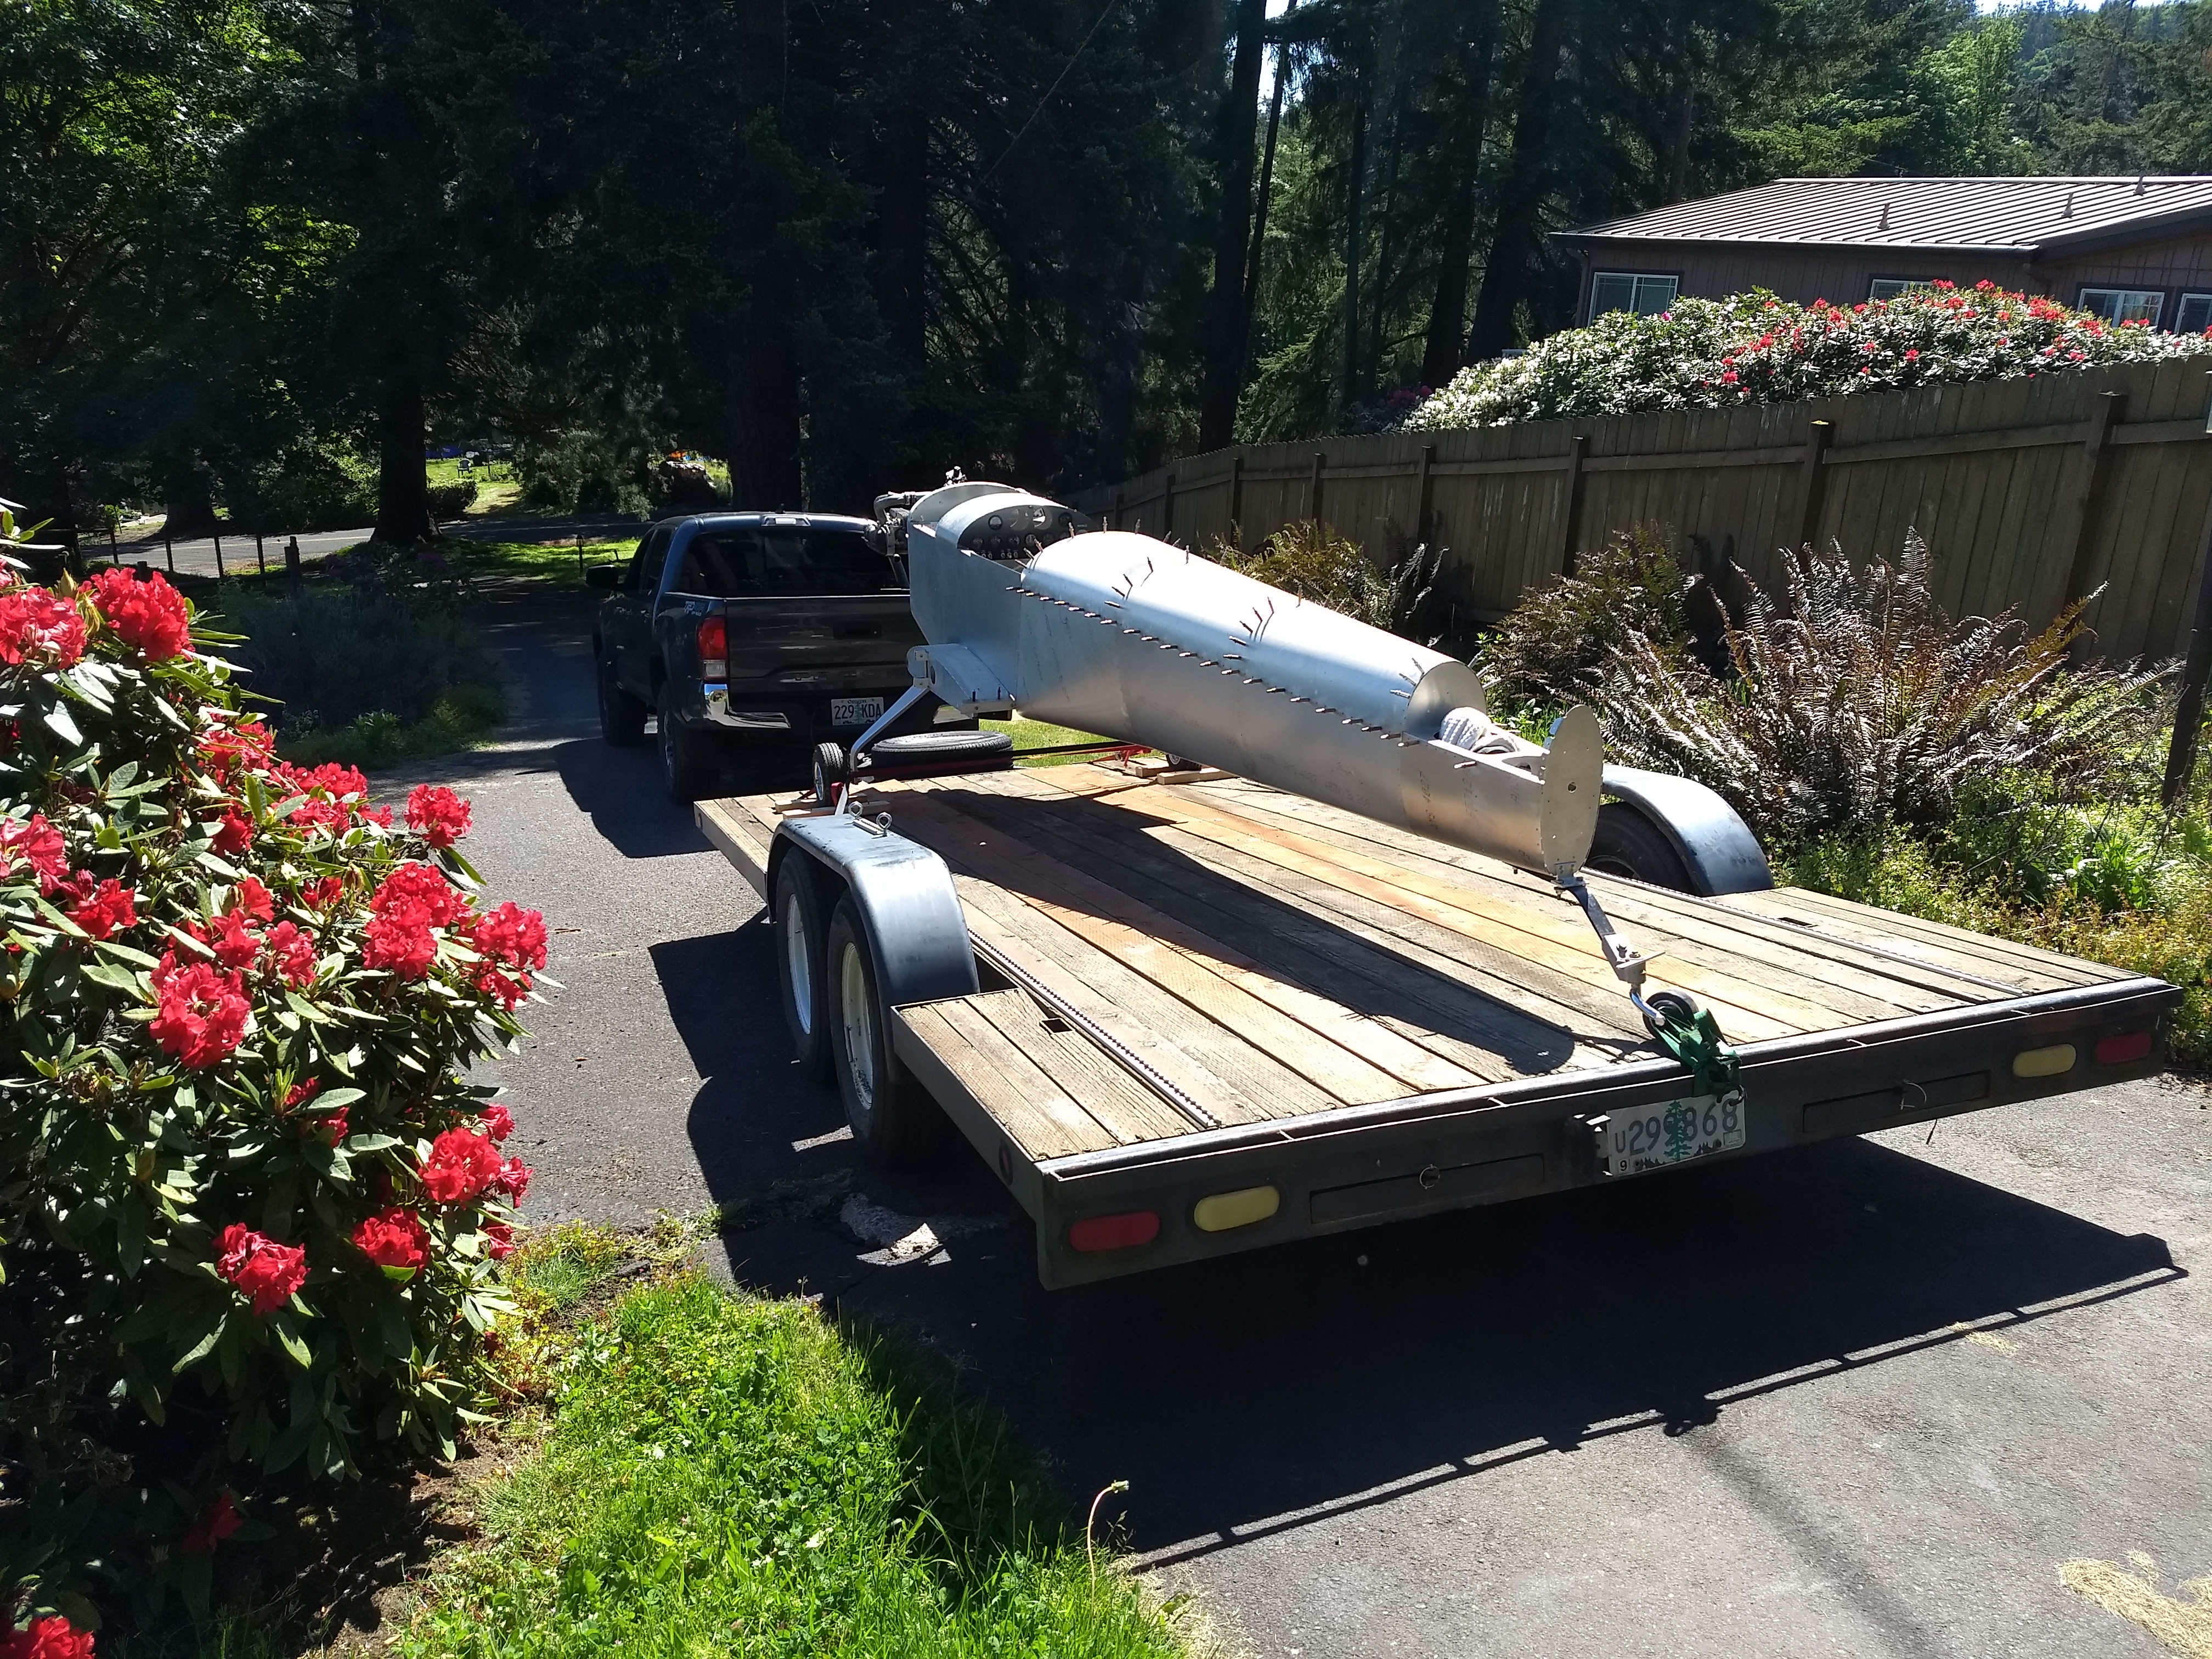
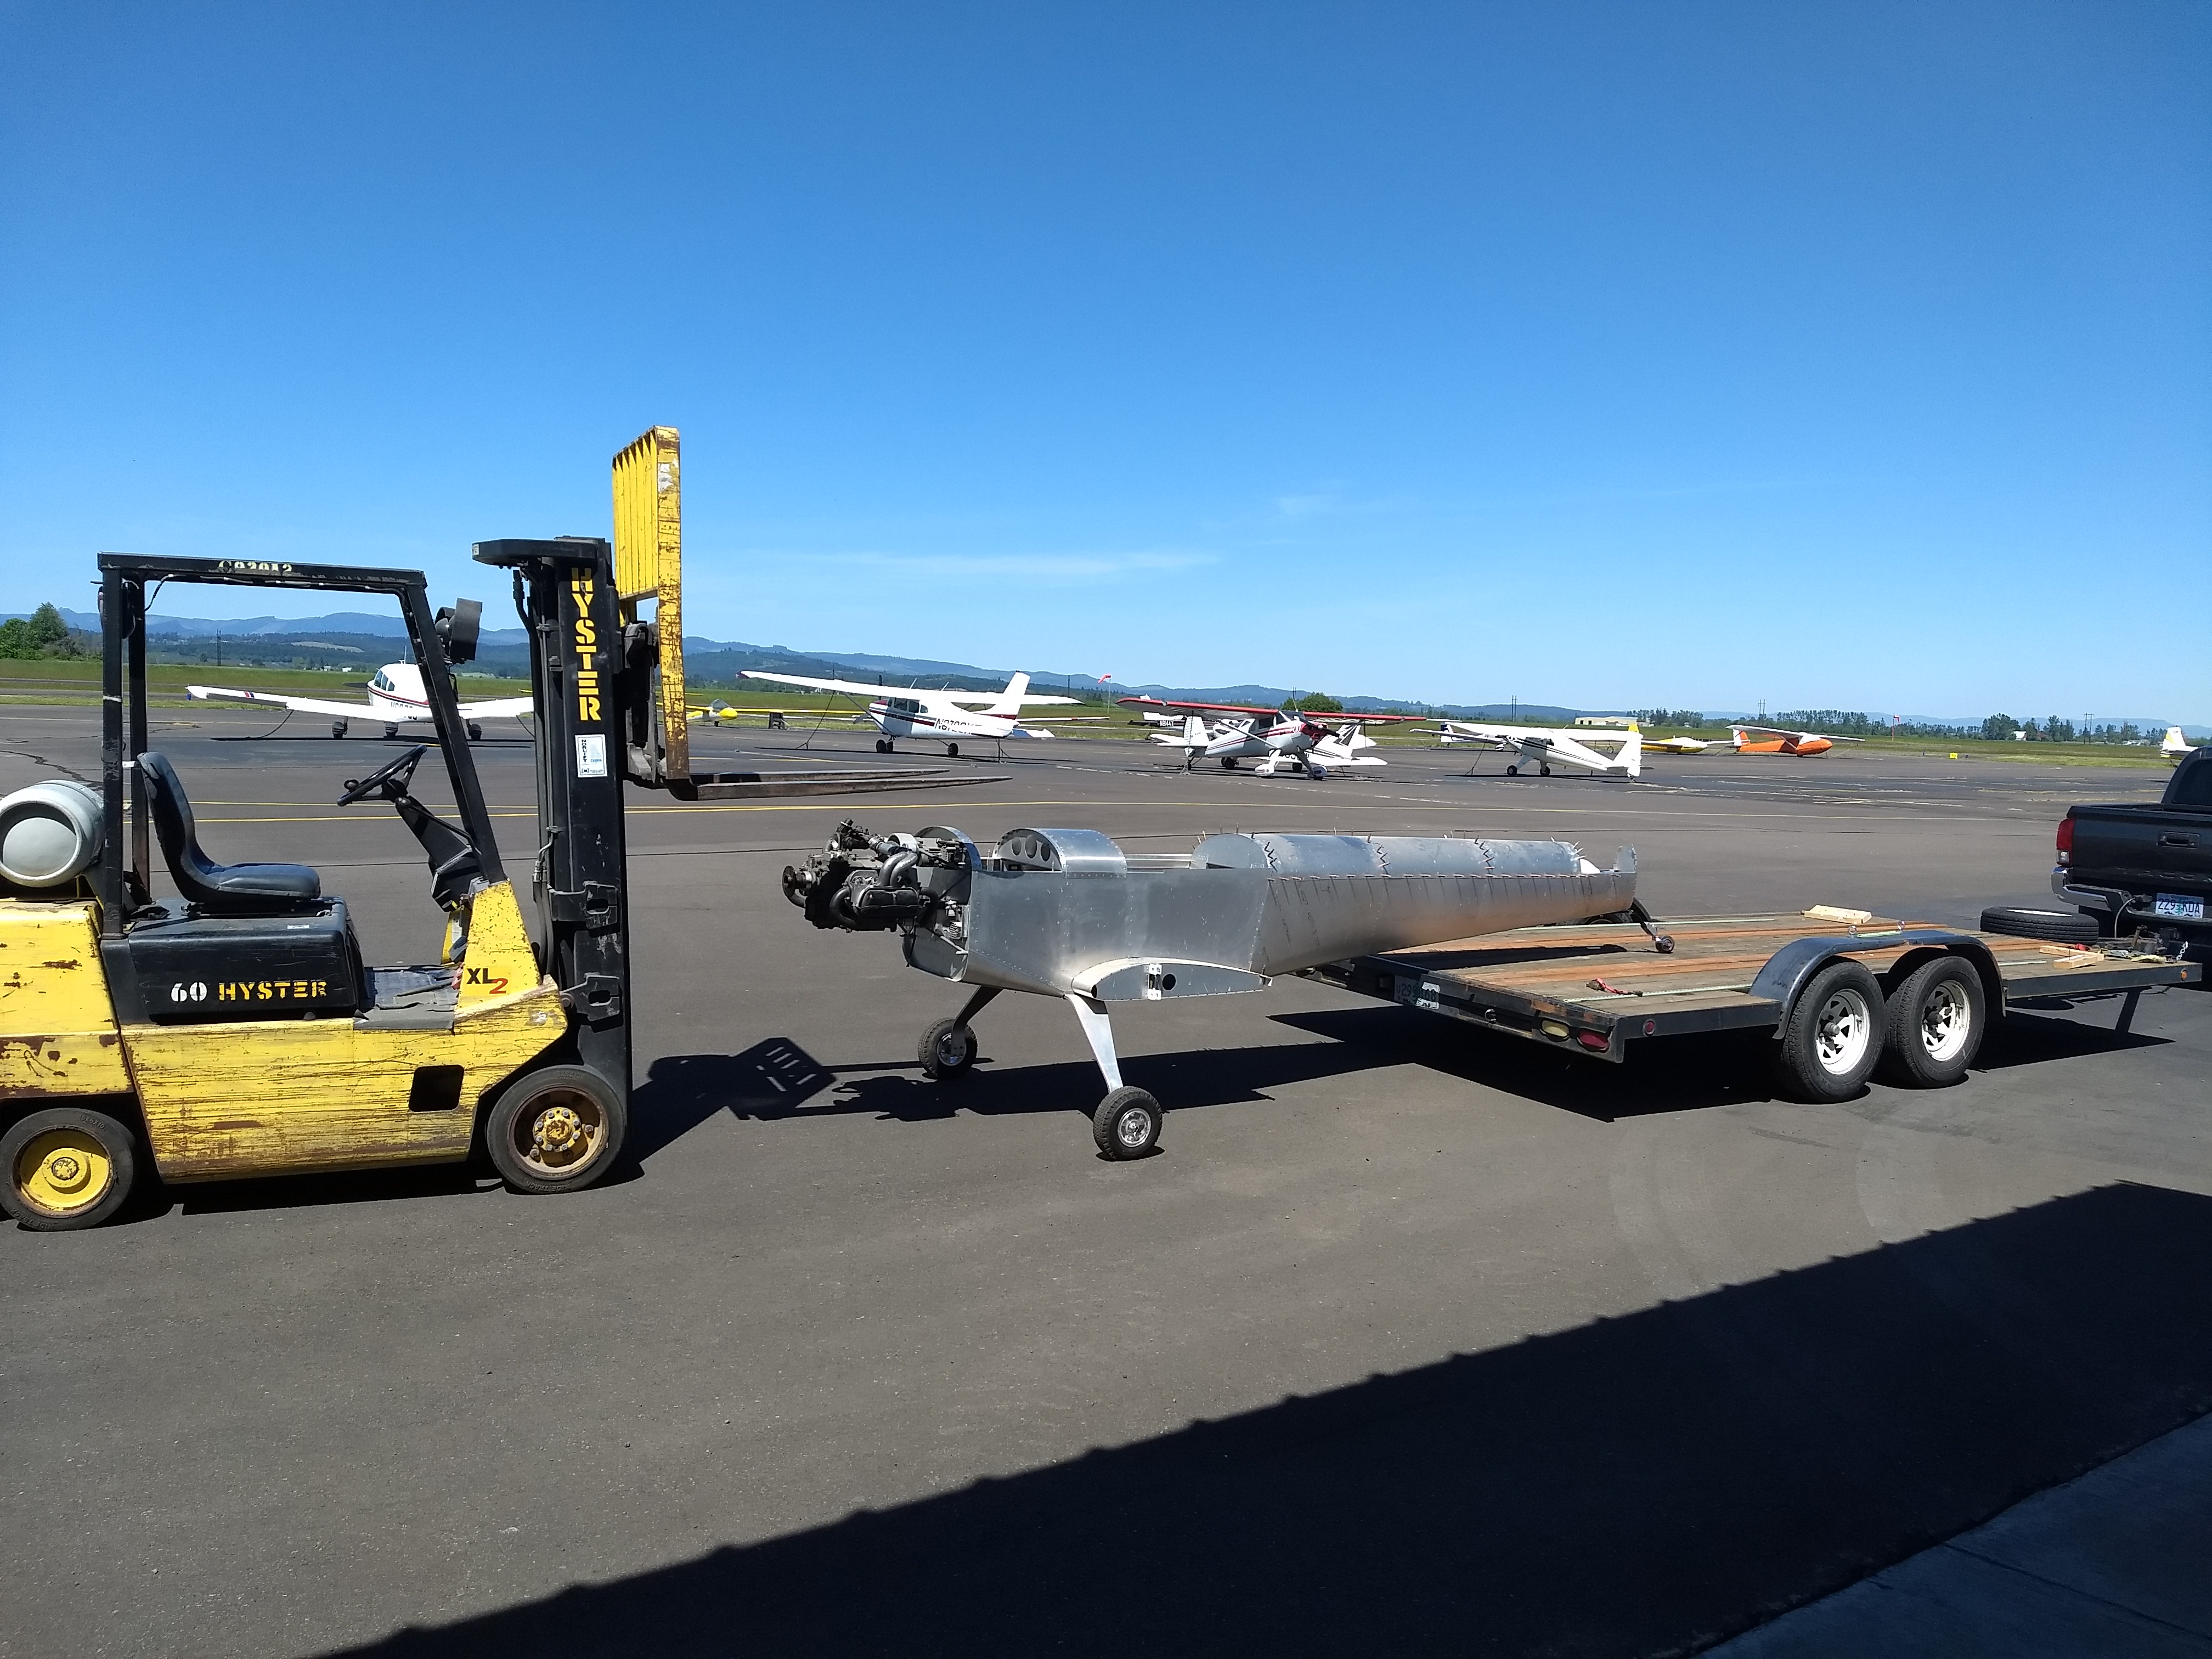
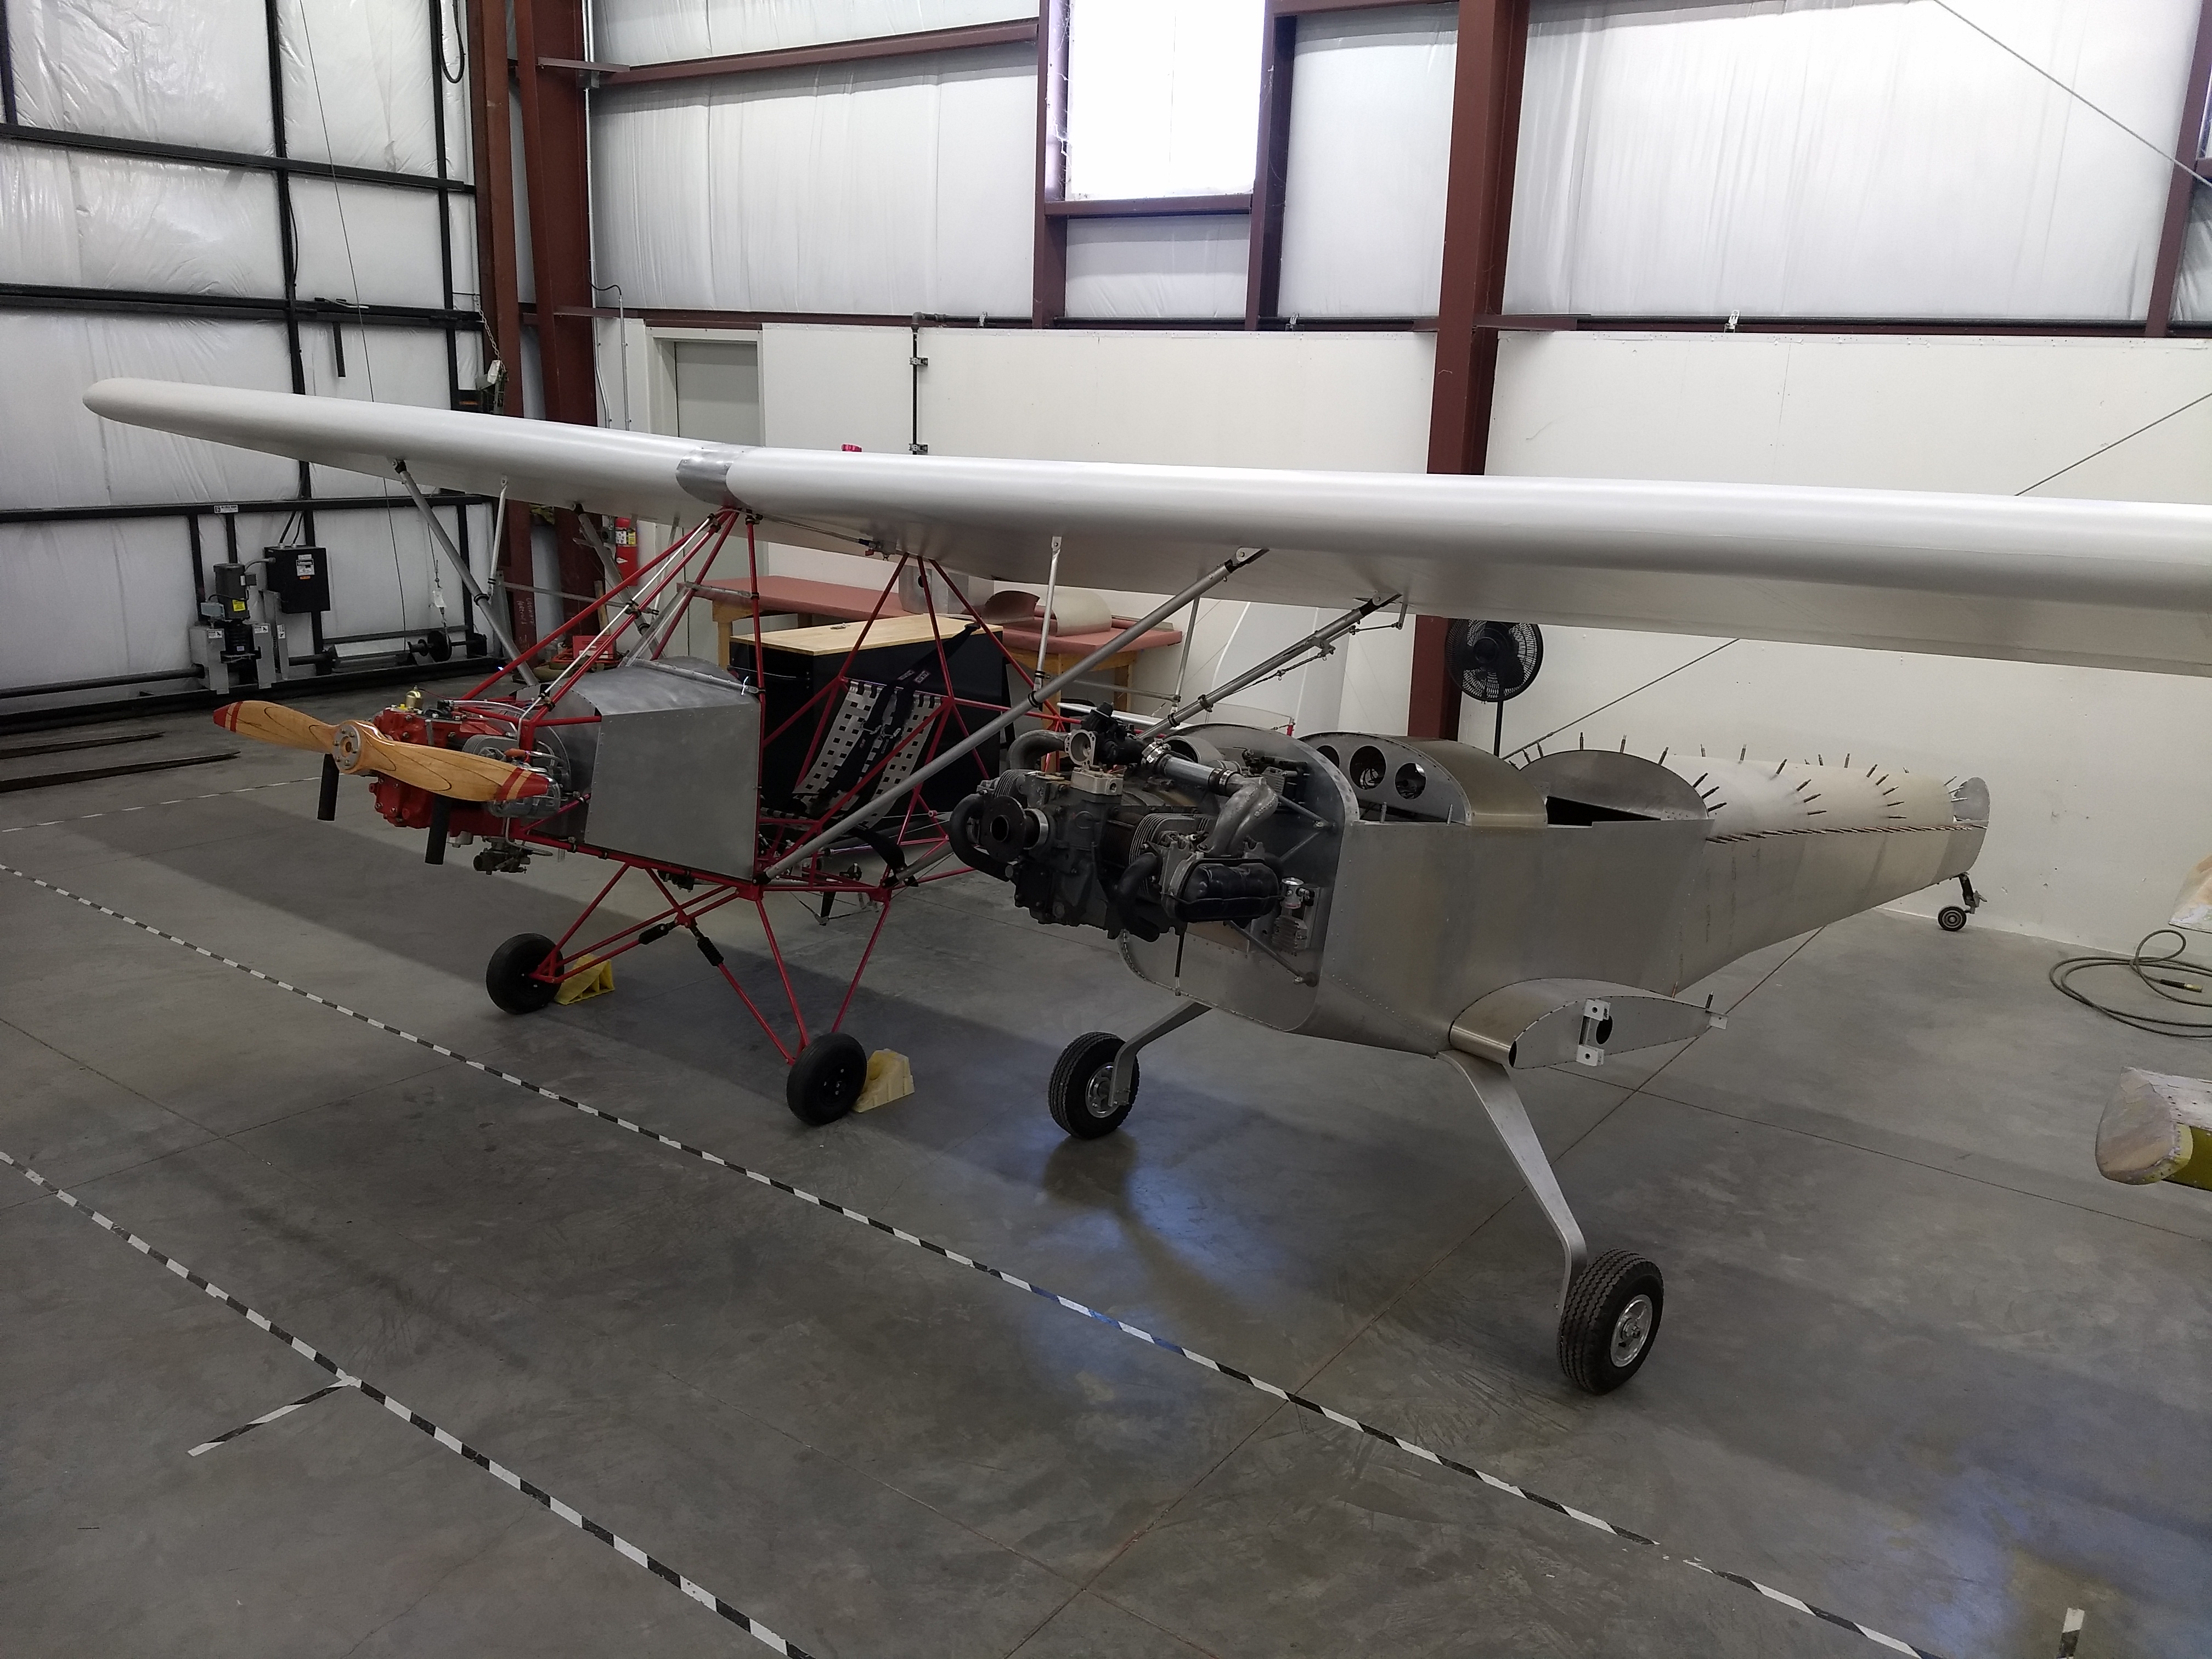
As you may be able to see from a few of the categories above, after 2014 this project paused a few years. At about that time I was very active in my older sons' activities, and one even wanted to build an ultralight! Check that out here: Legal Eagle Ultralight Build. Then the pandemic hit. Then my older sons went to college. Then I was very active in my younger son's activities. You know, basic life stuff.
Anyway, check out the next chapters of this build: Worktable CNC Projects
Keep Moving
ECU and Electrical
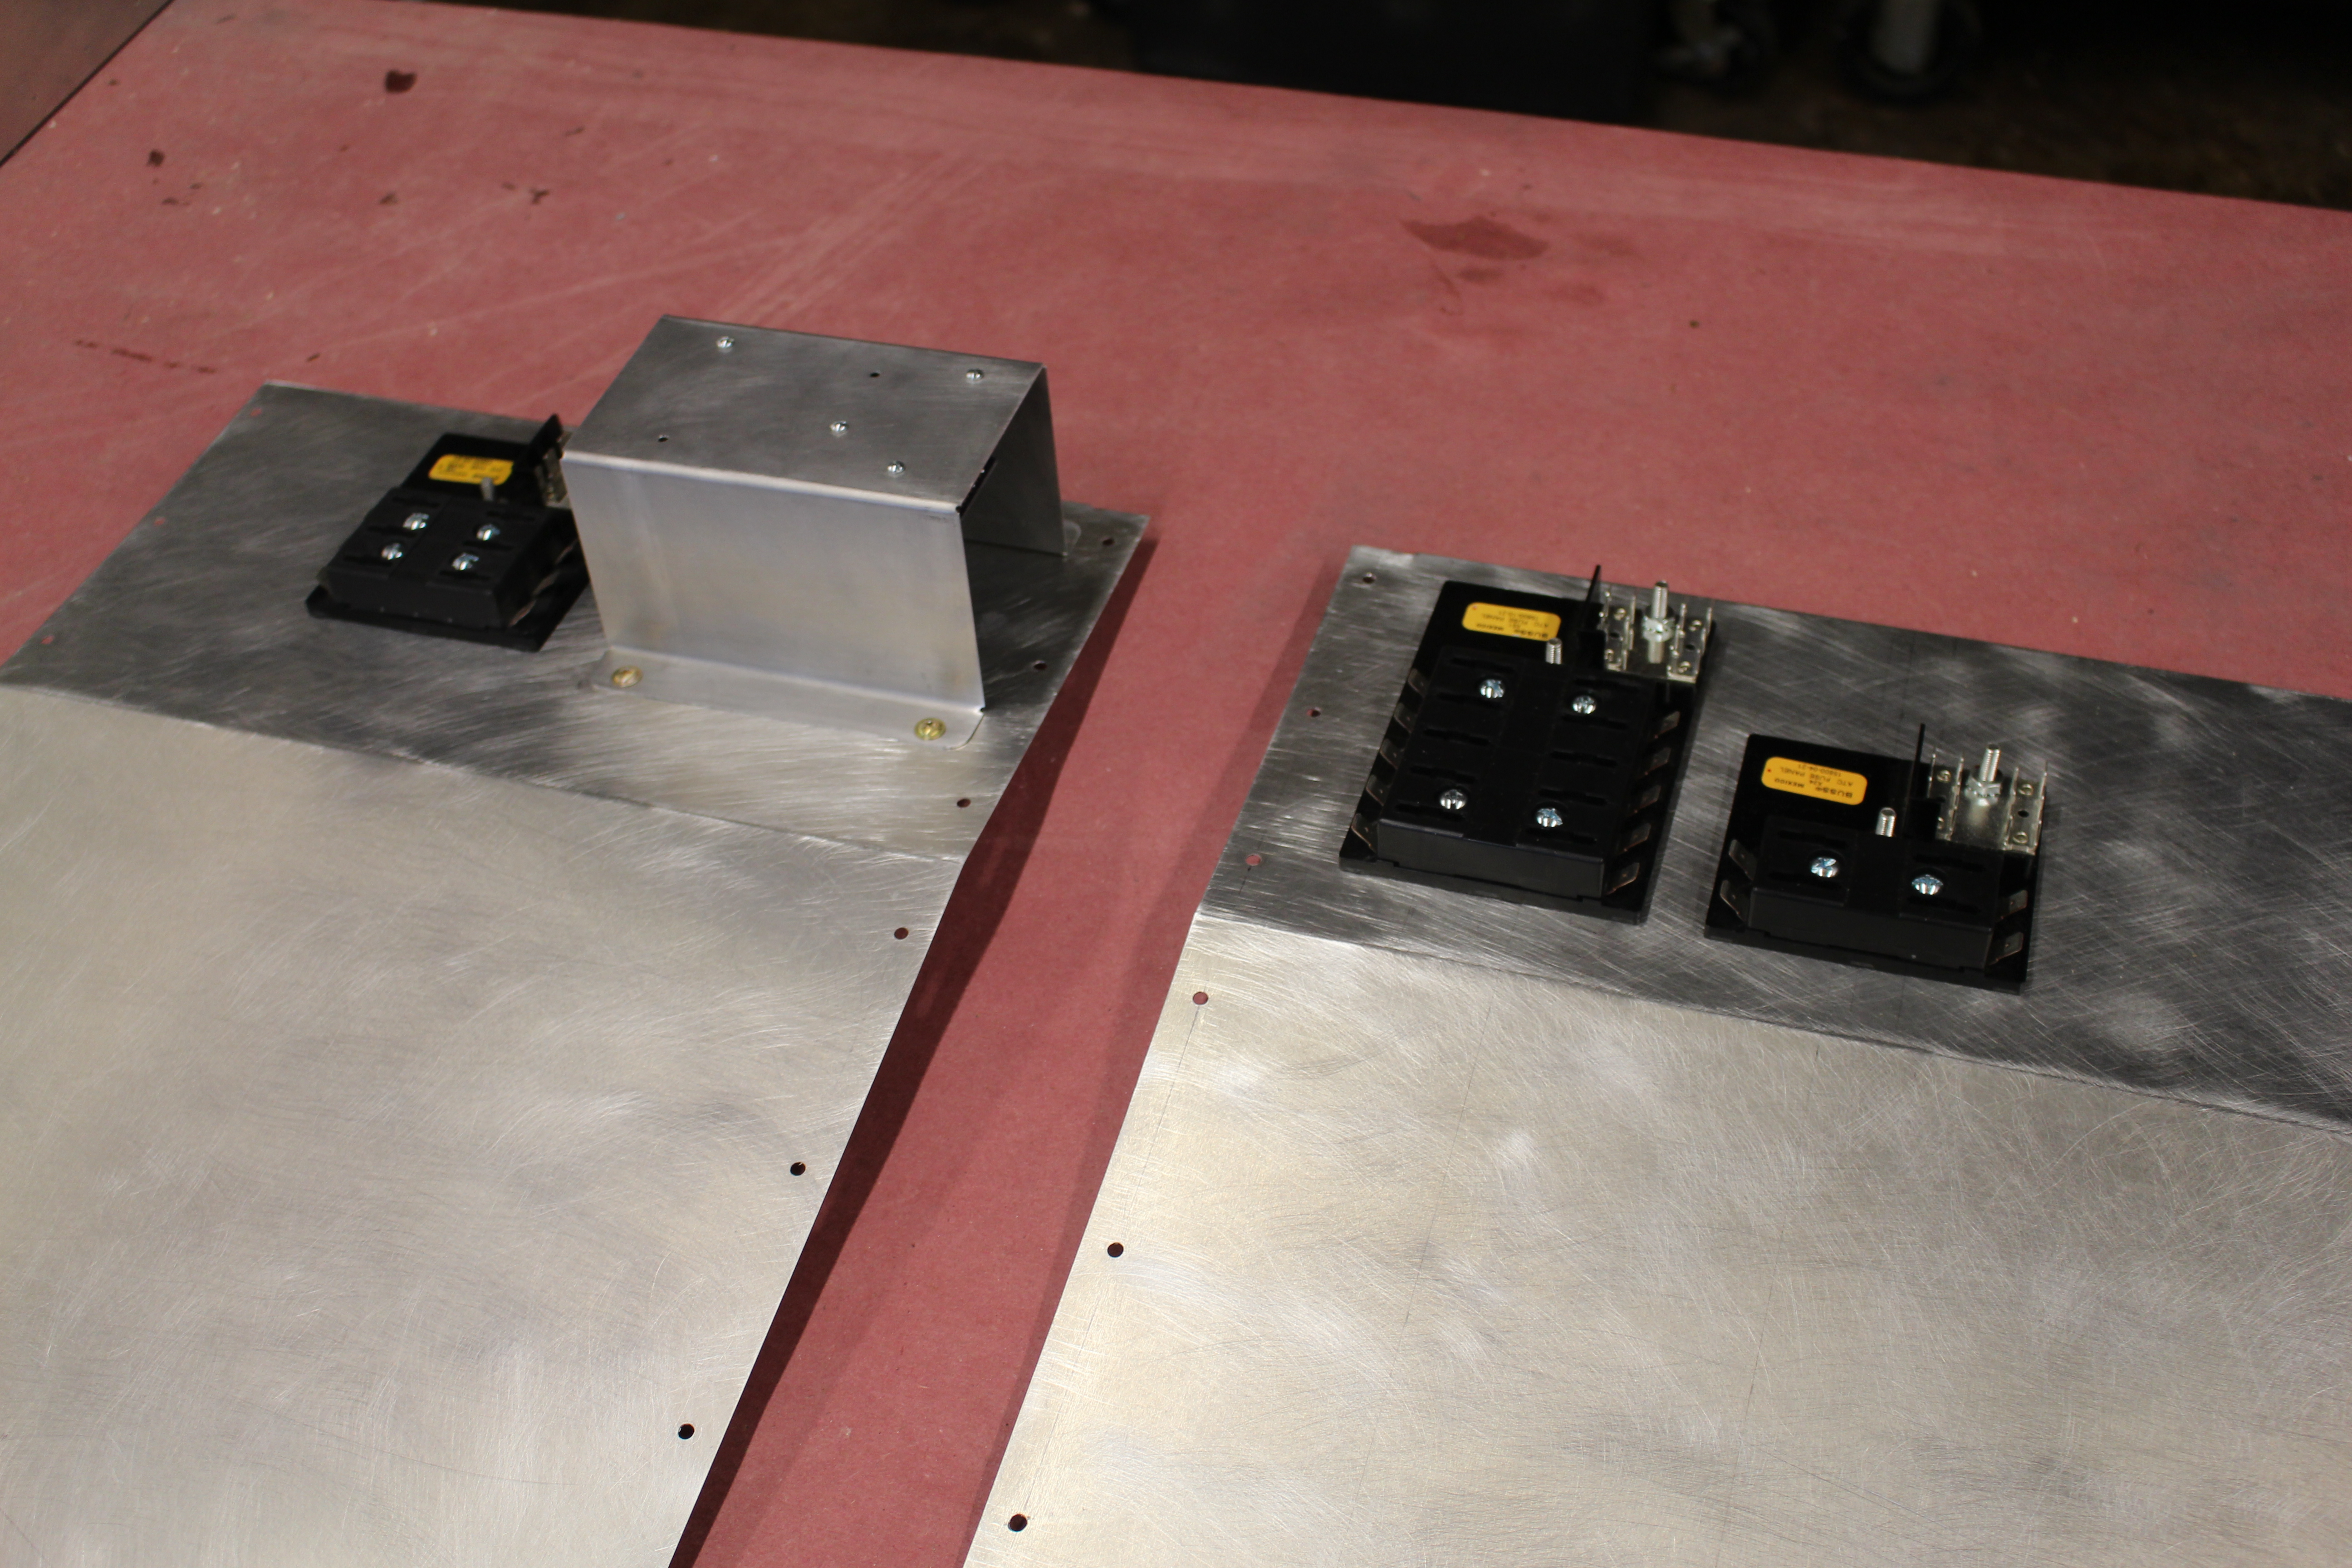
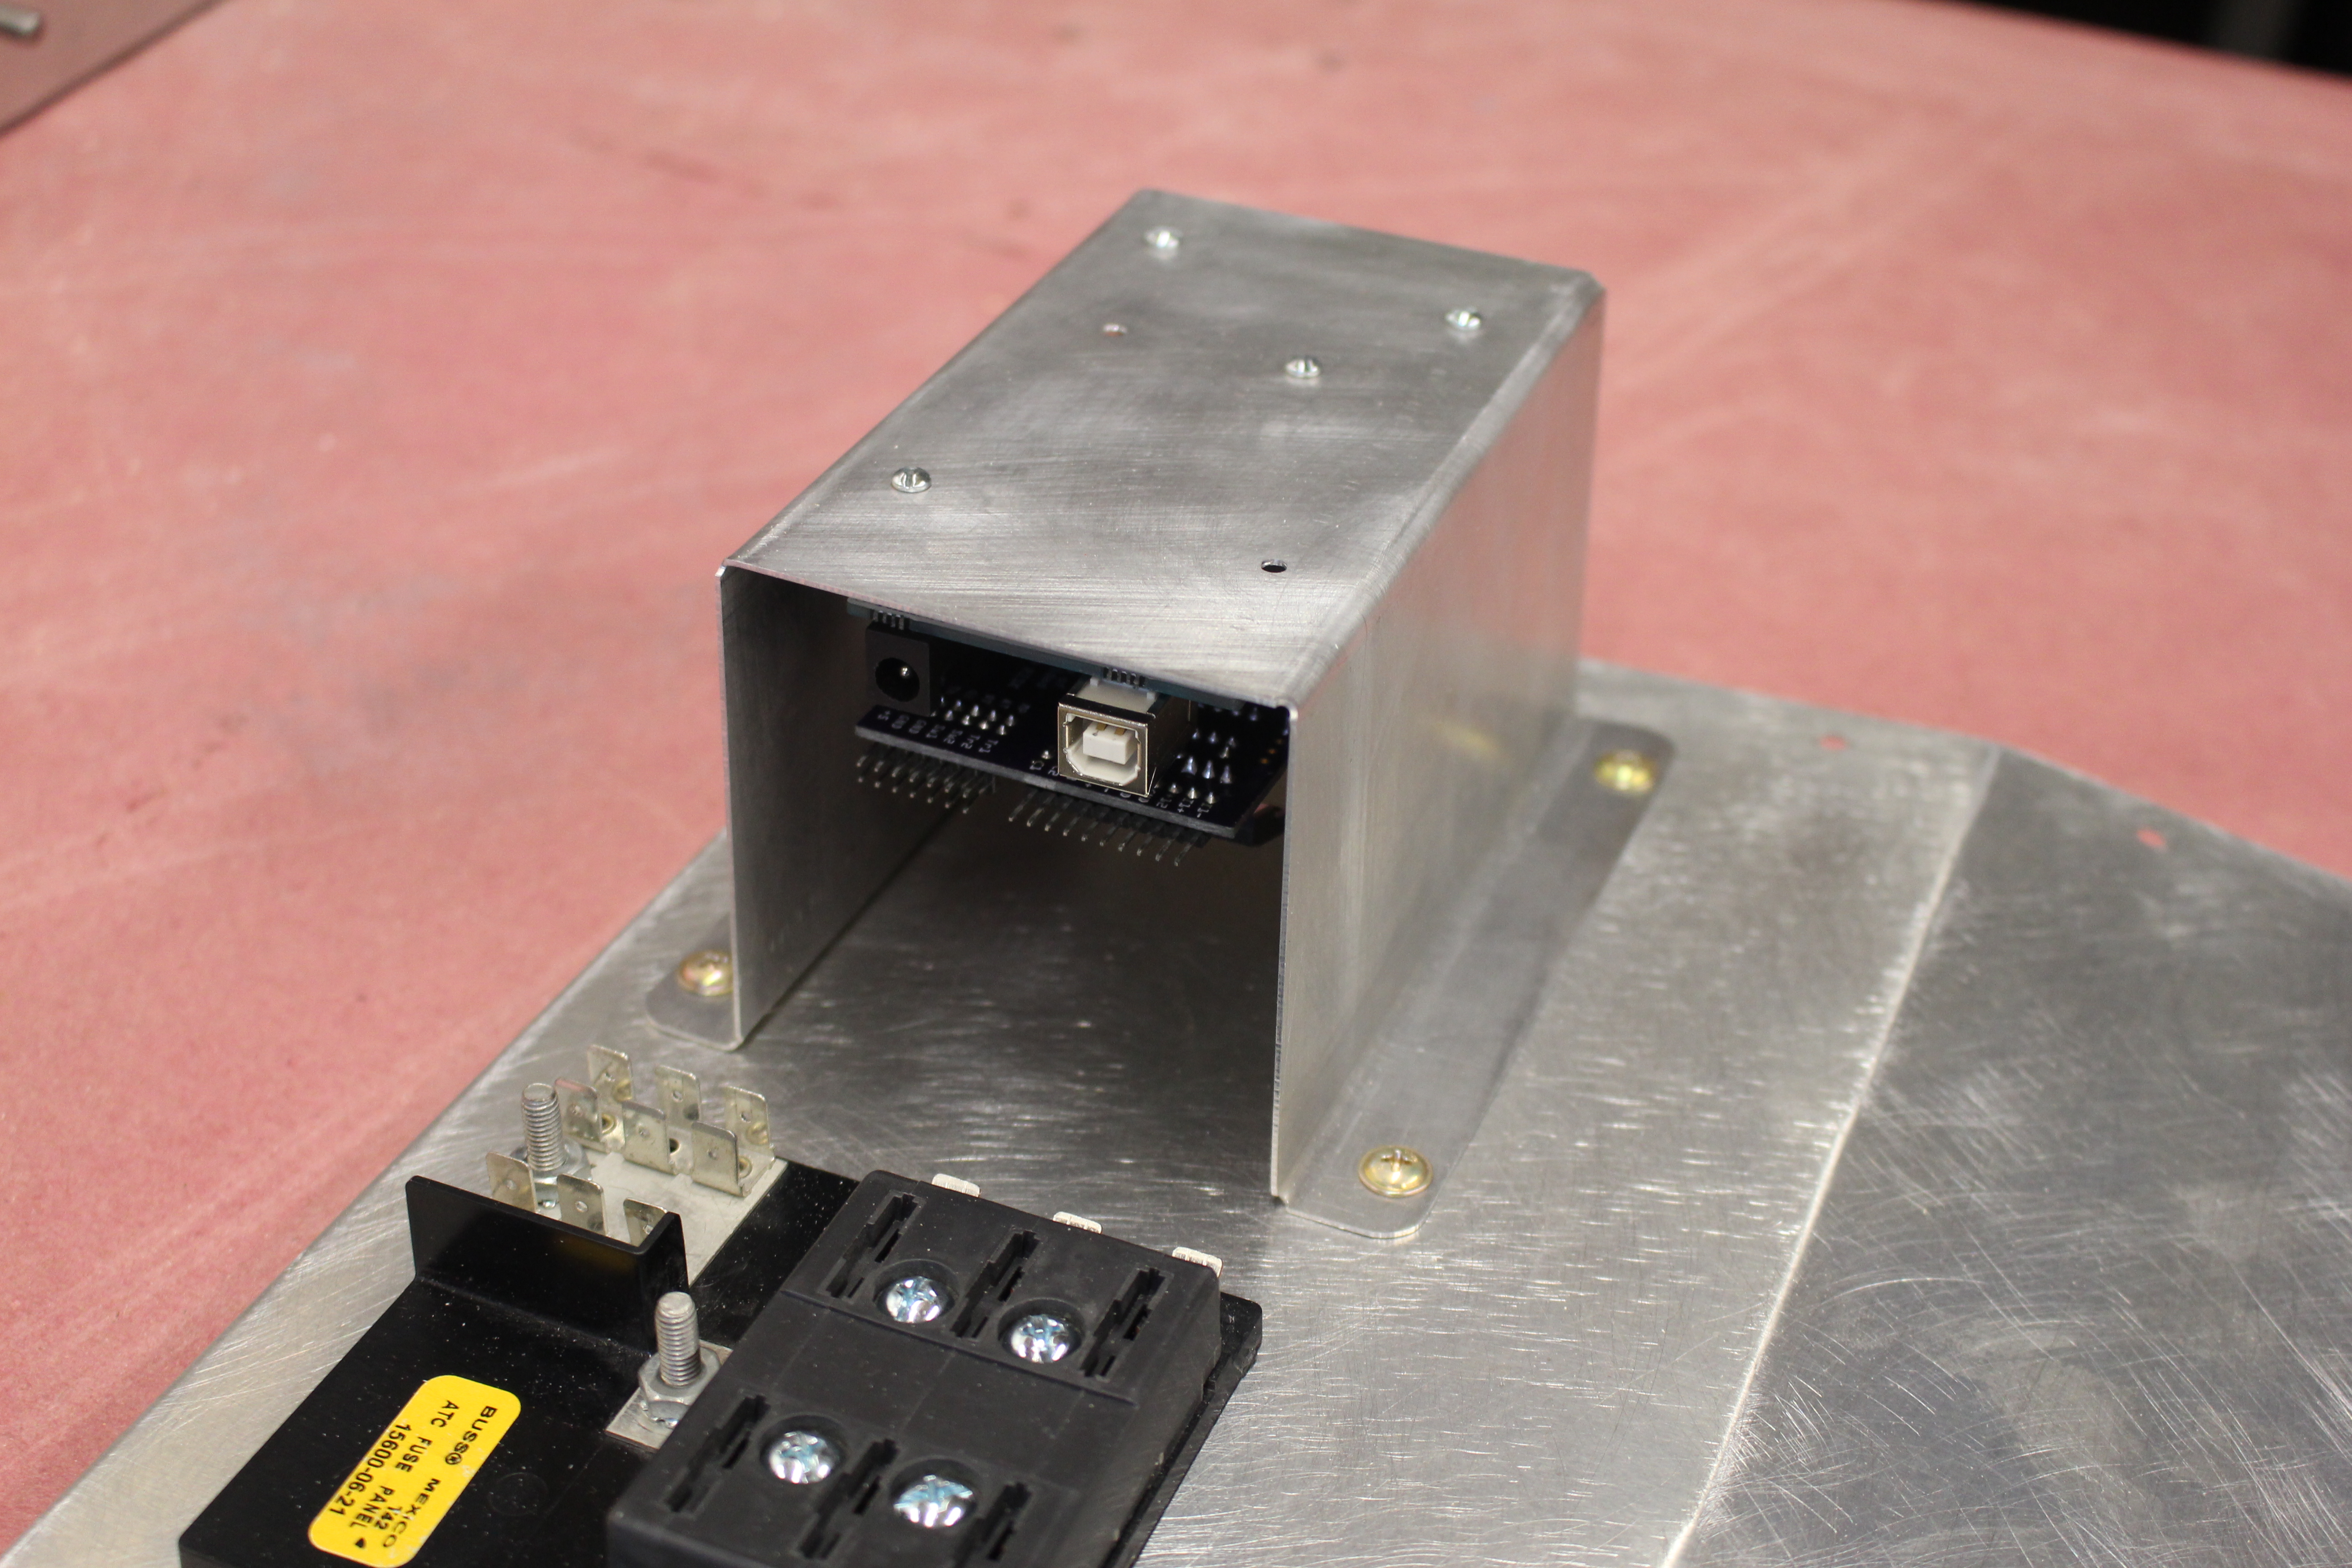
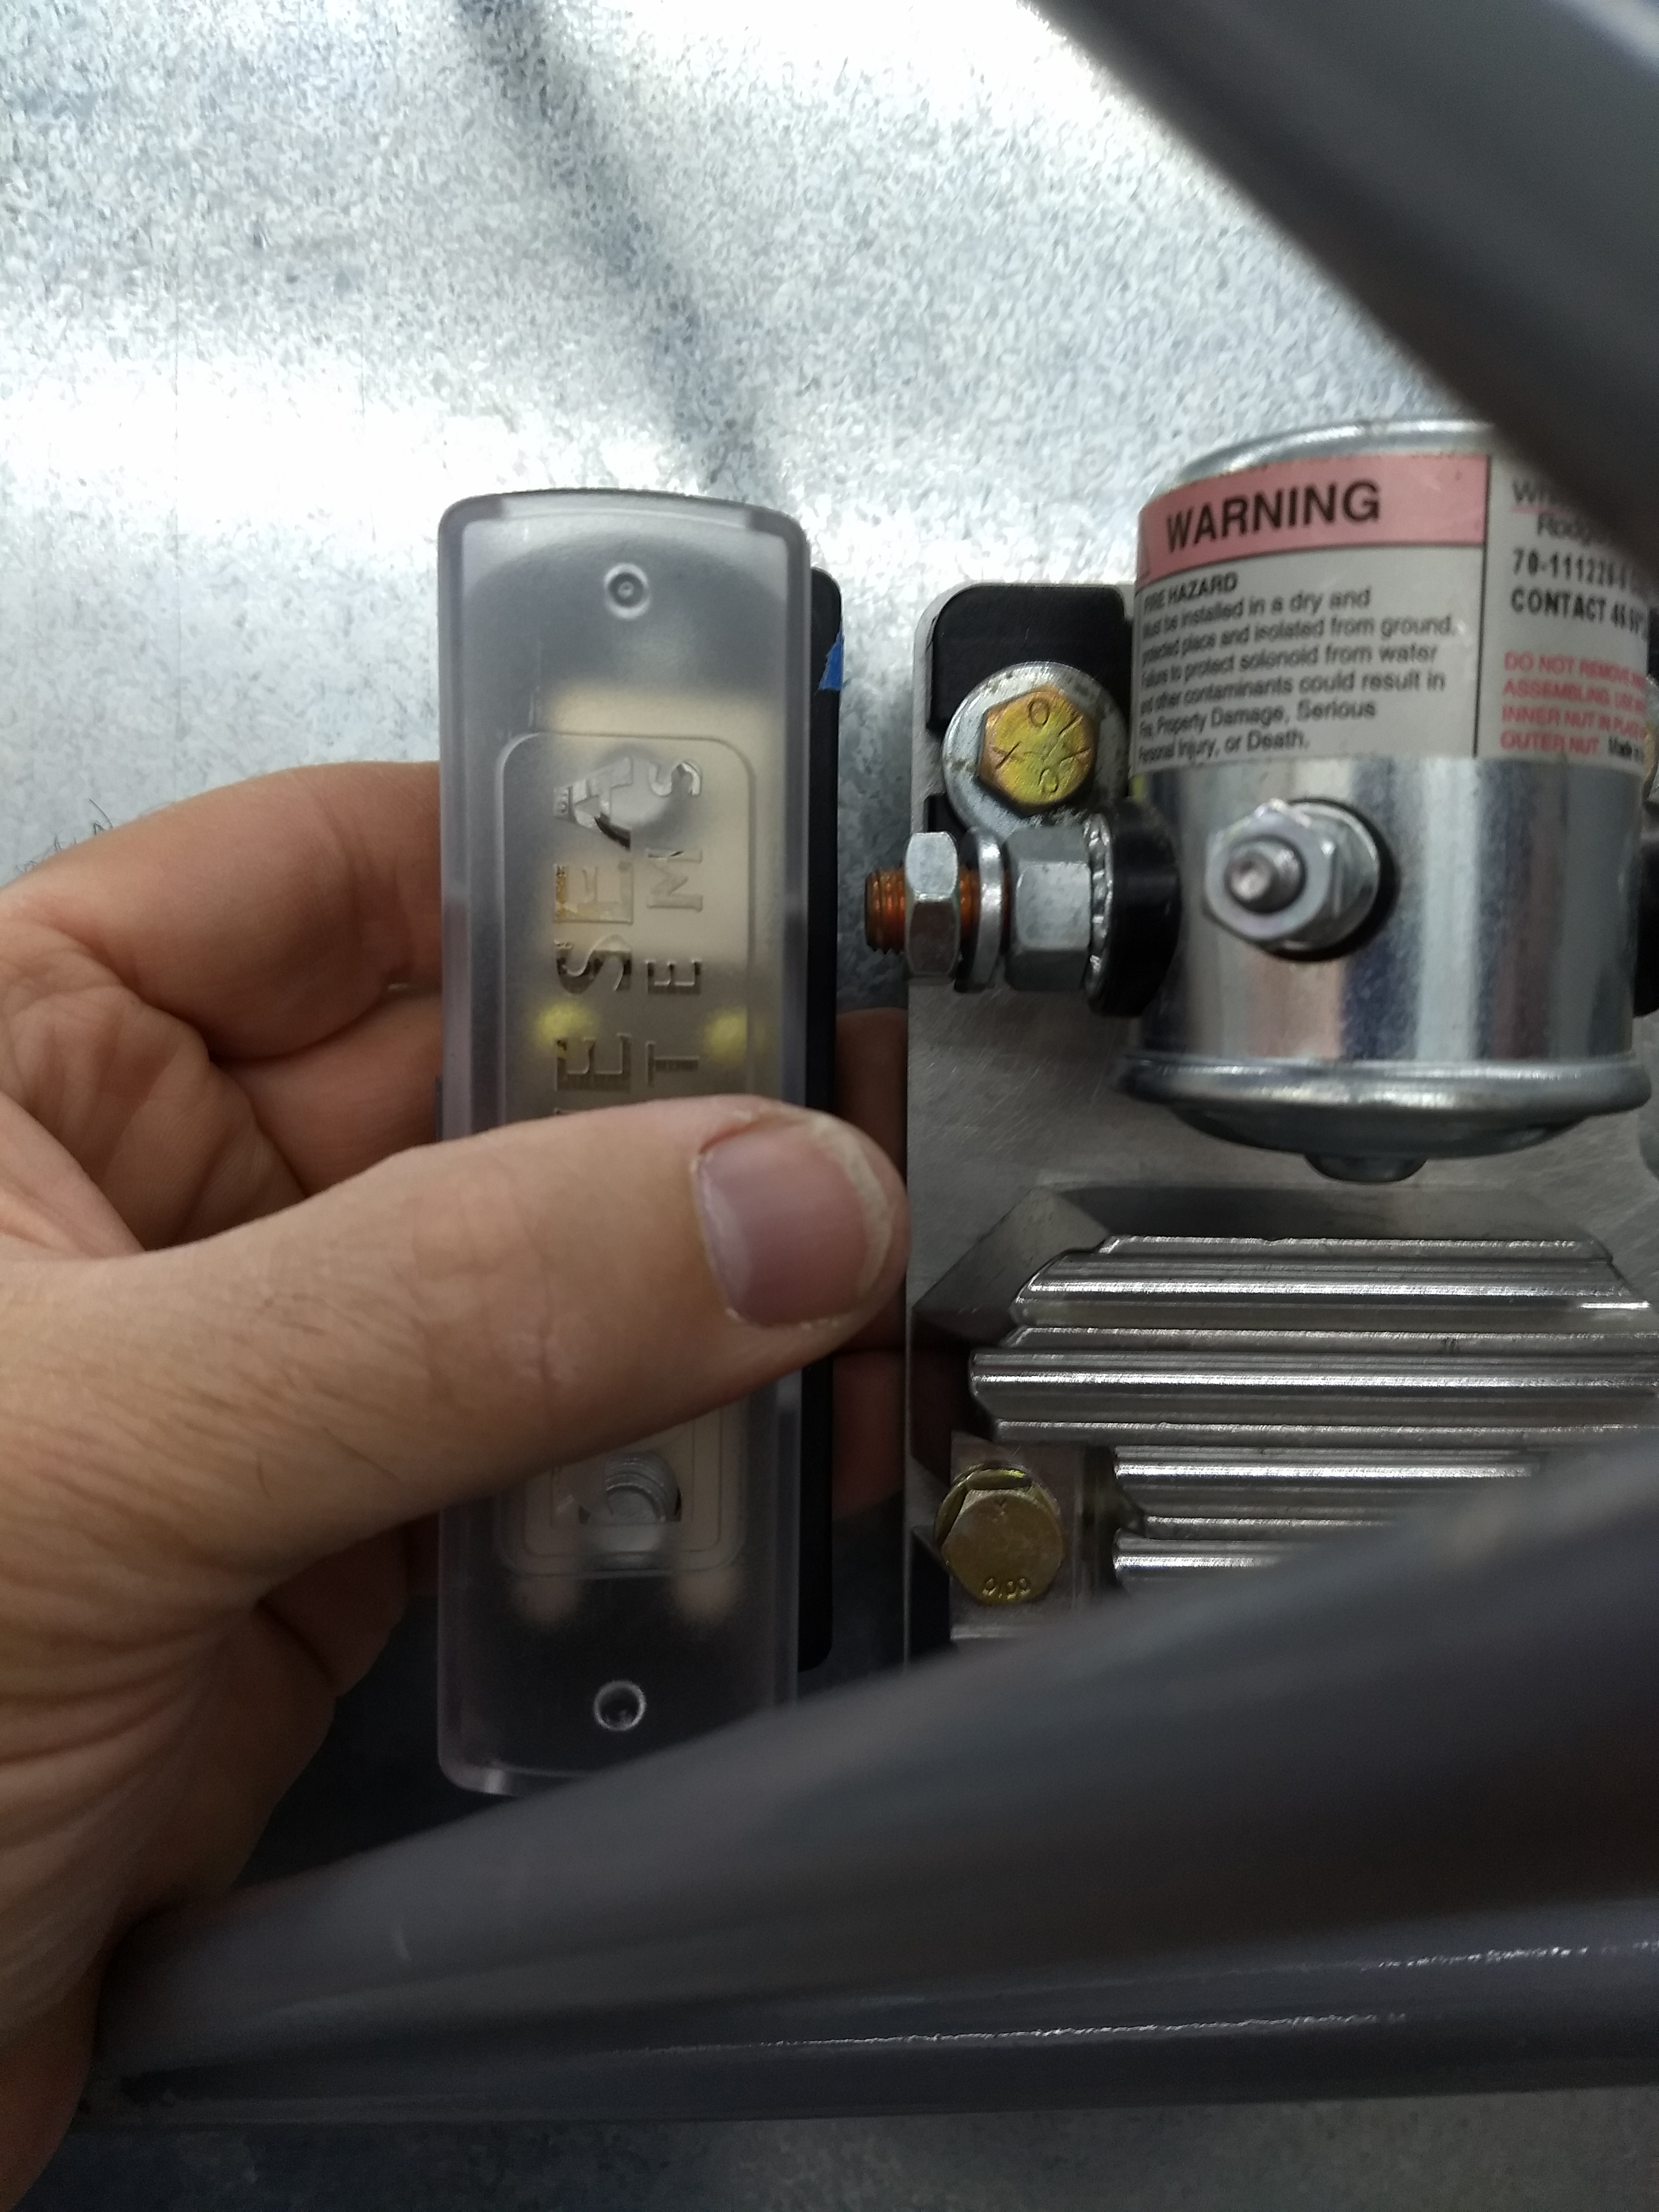
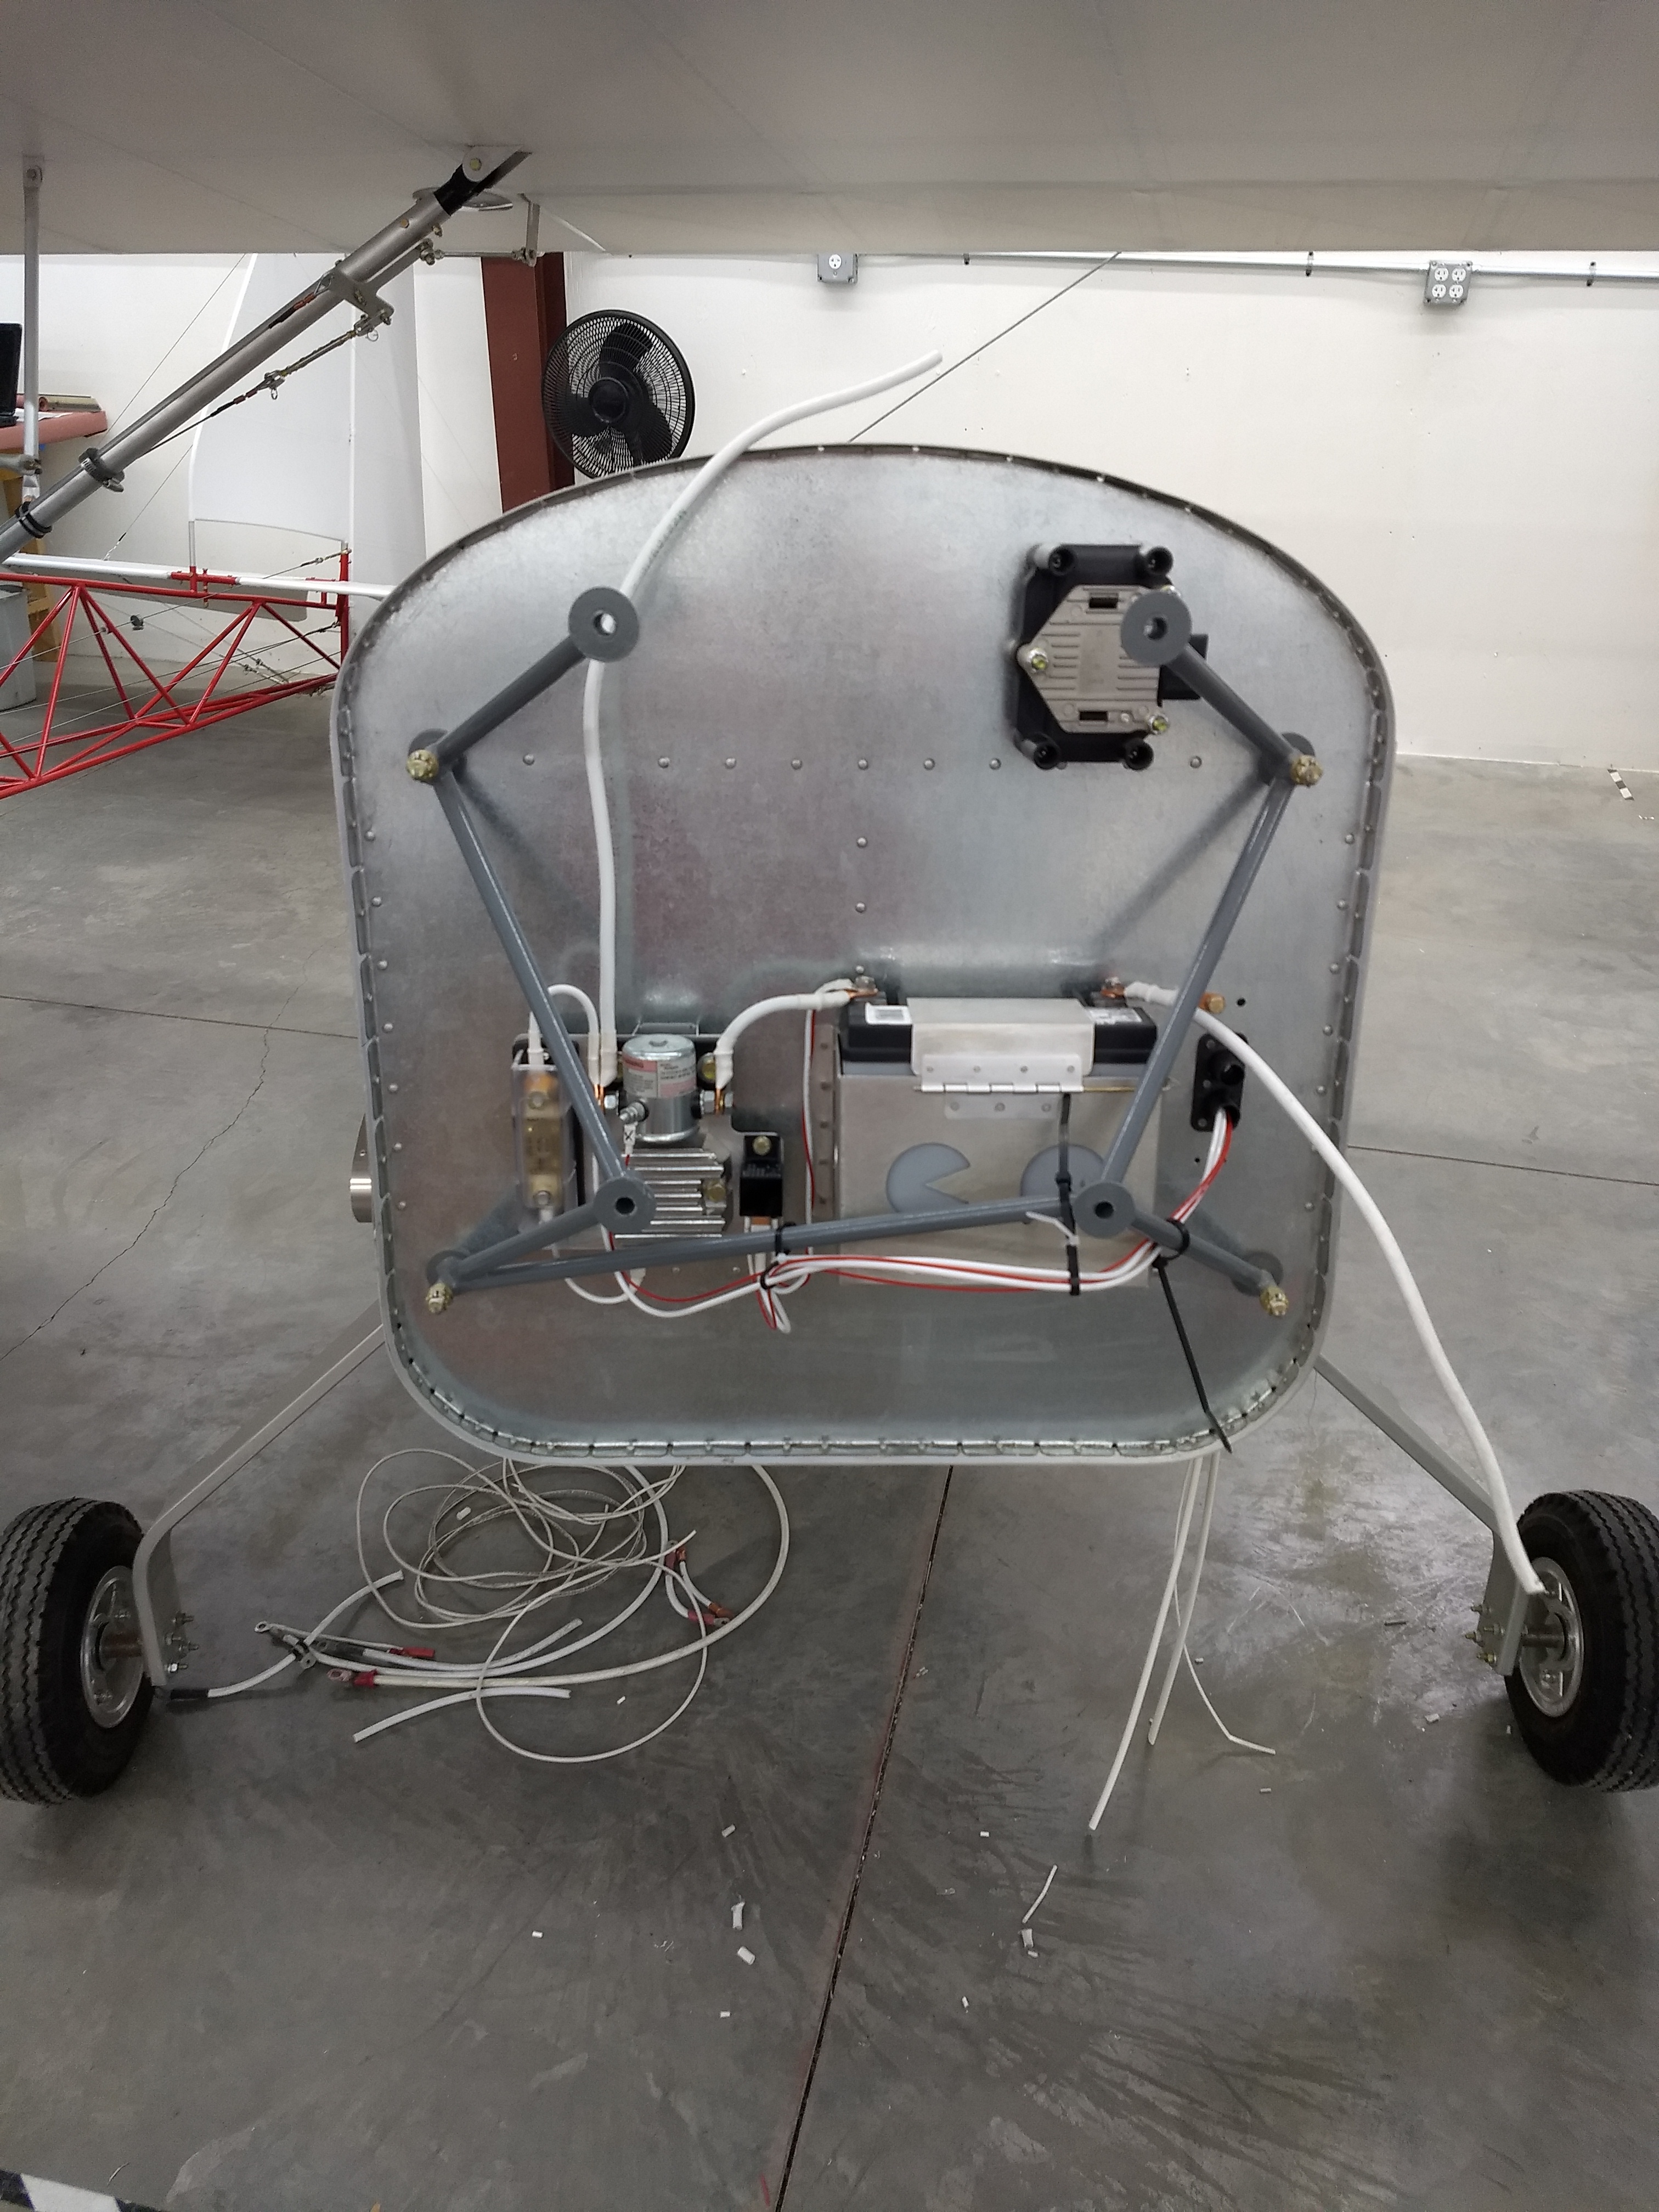
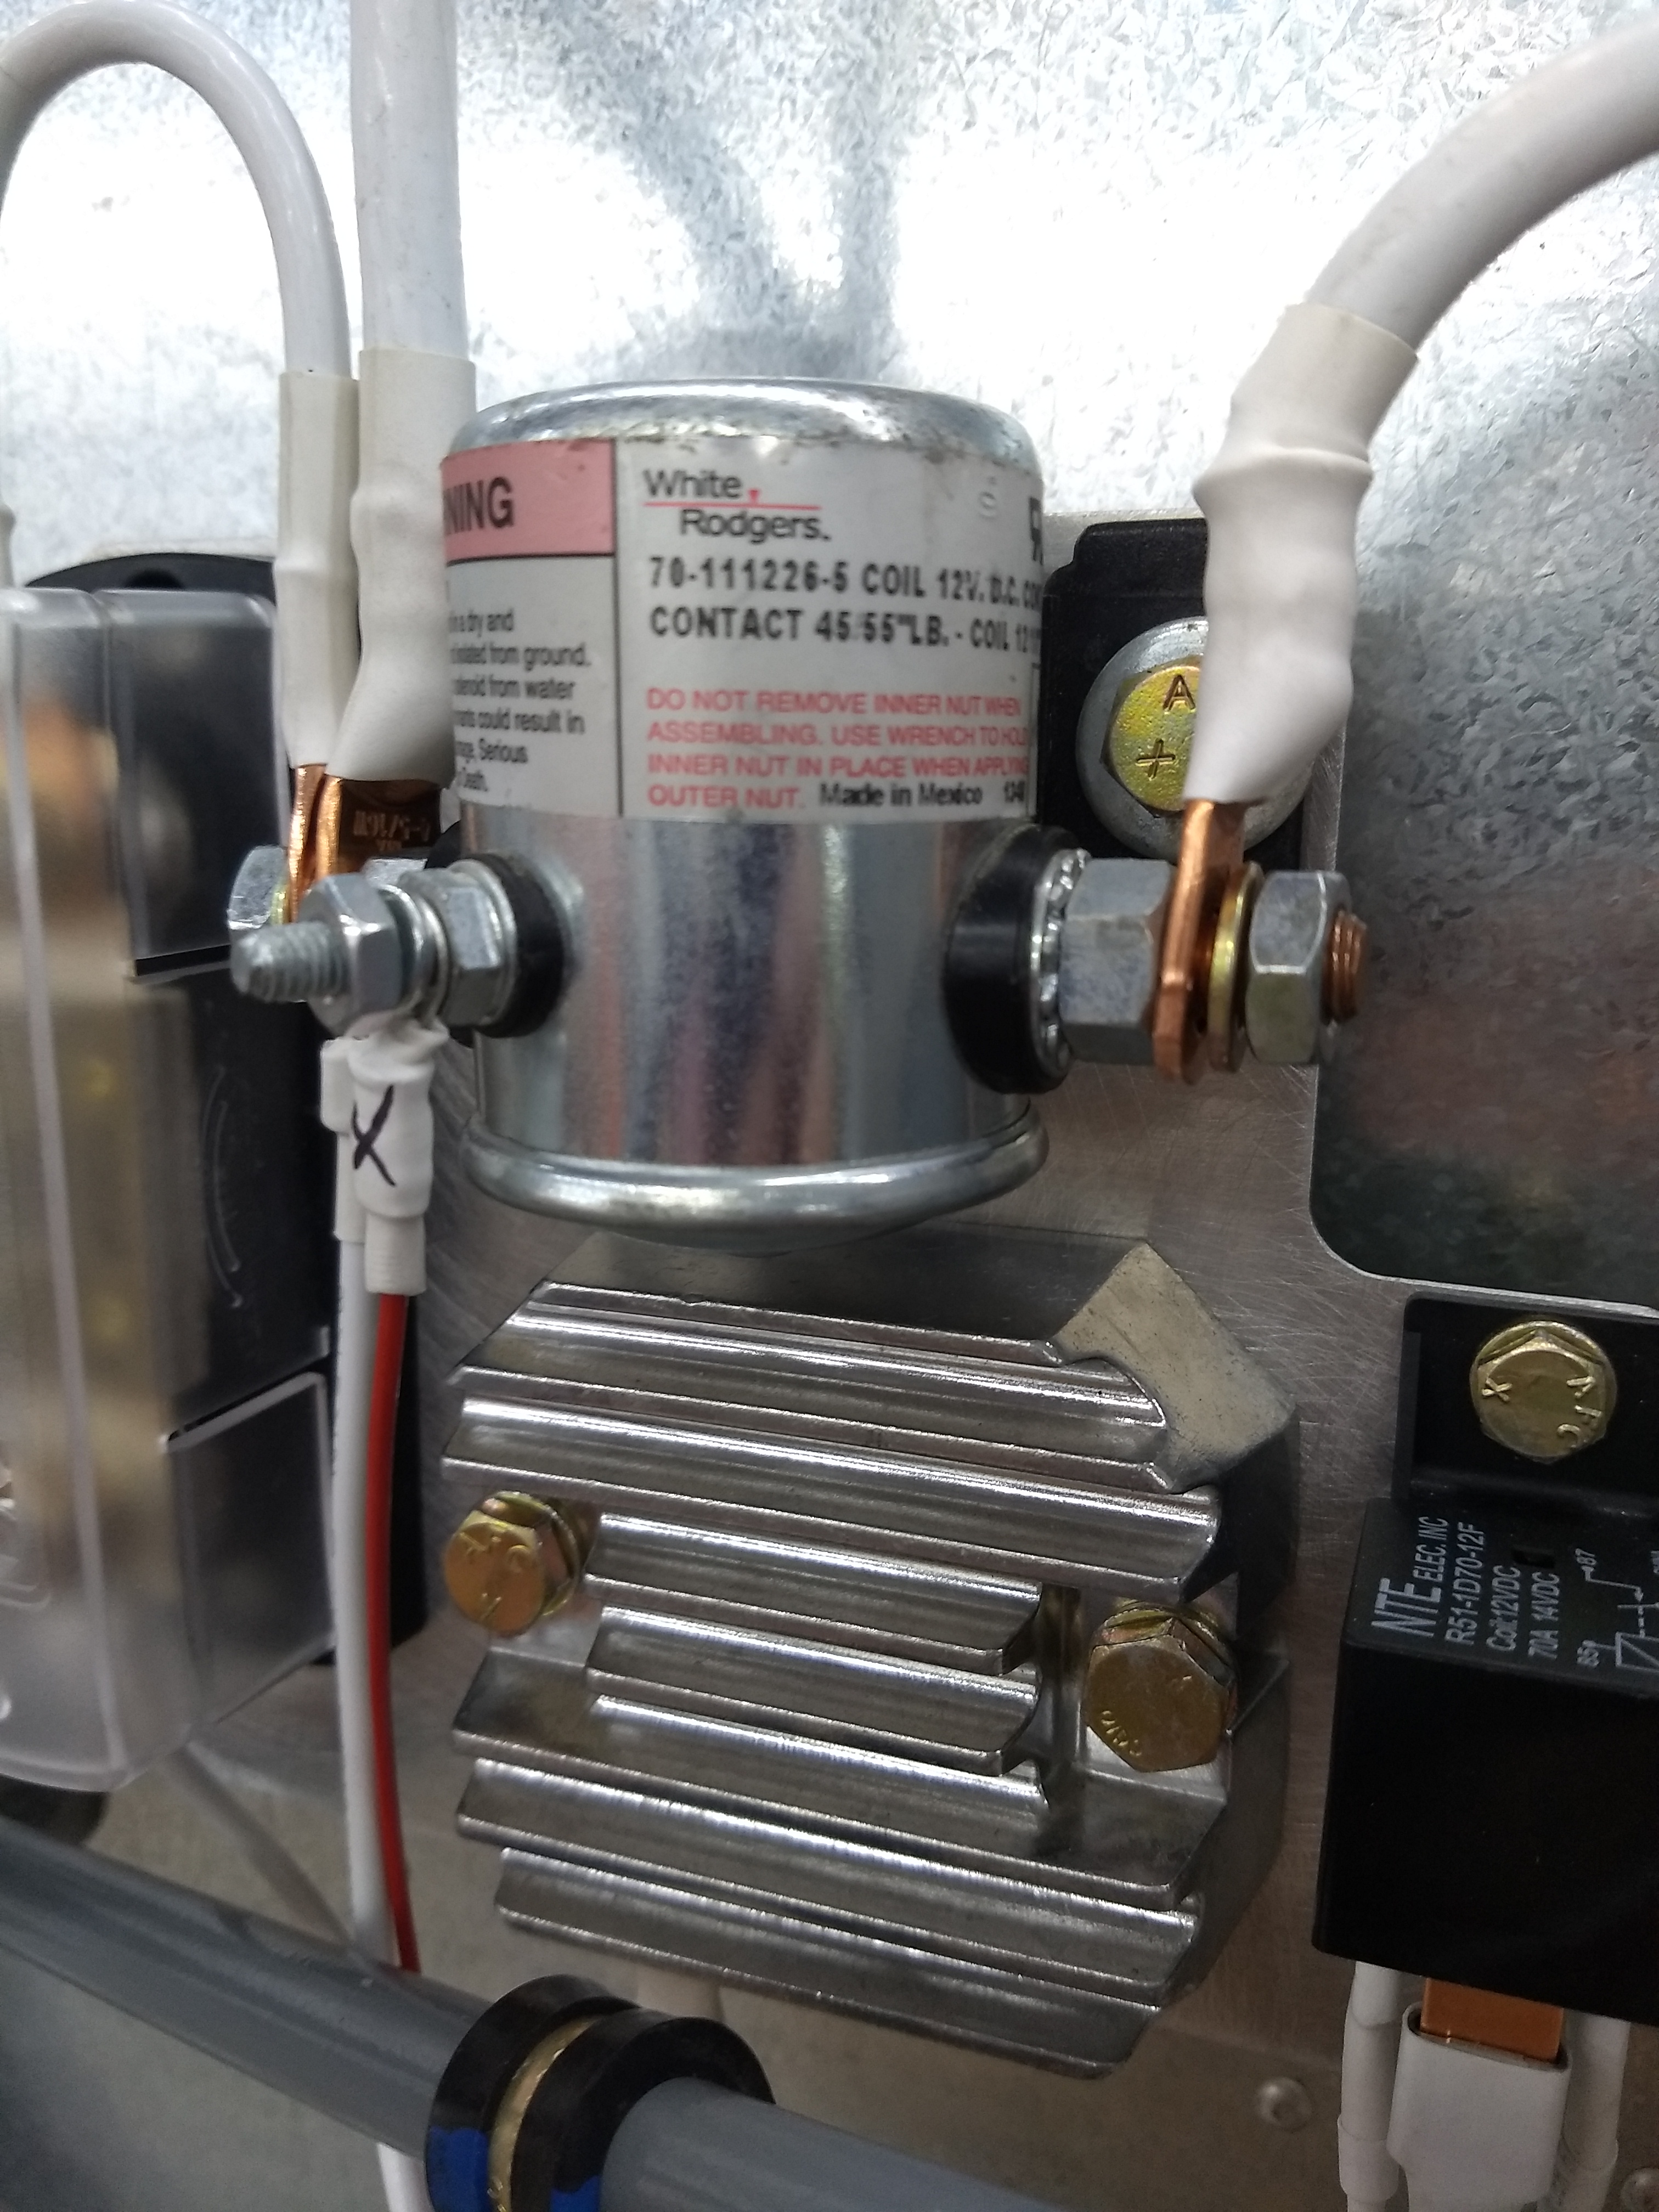
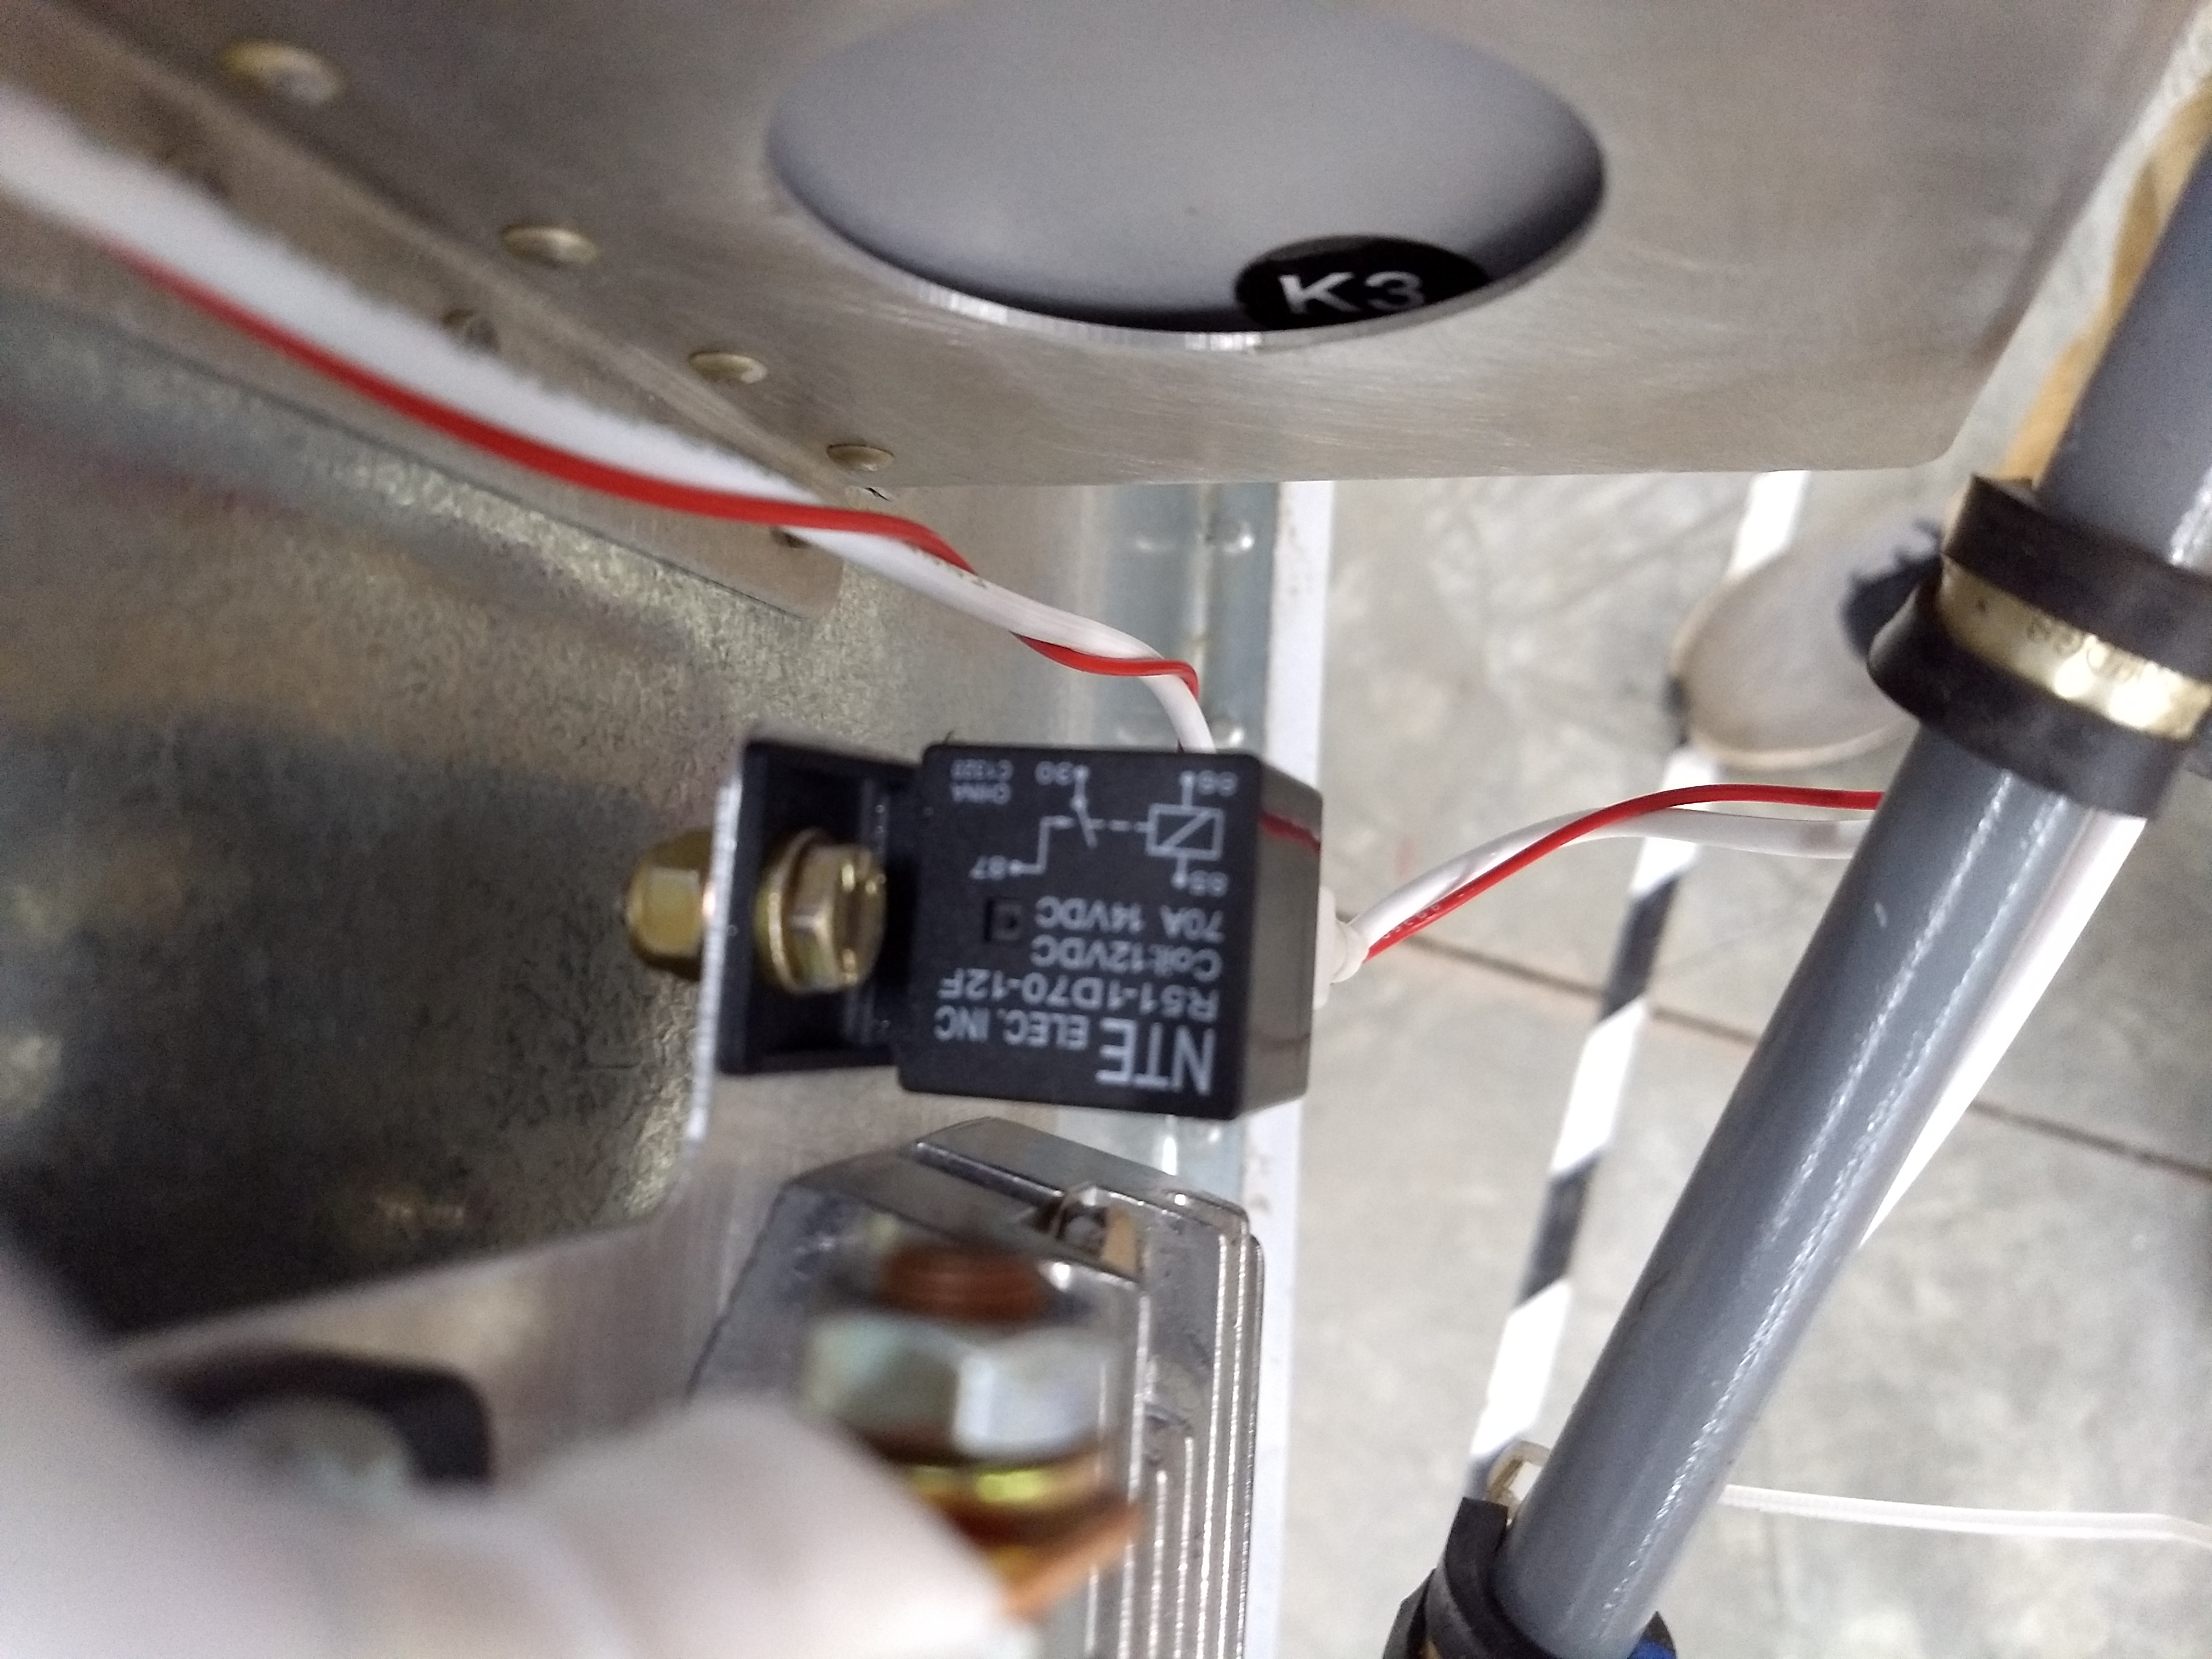
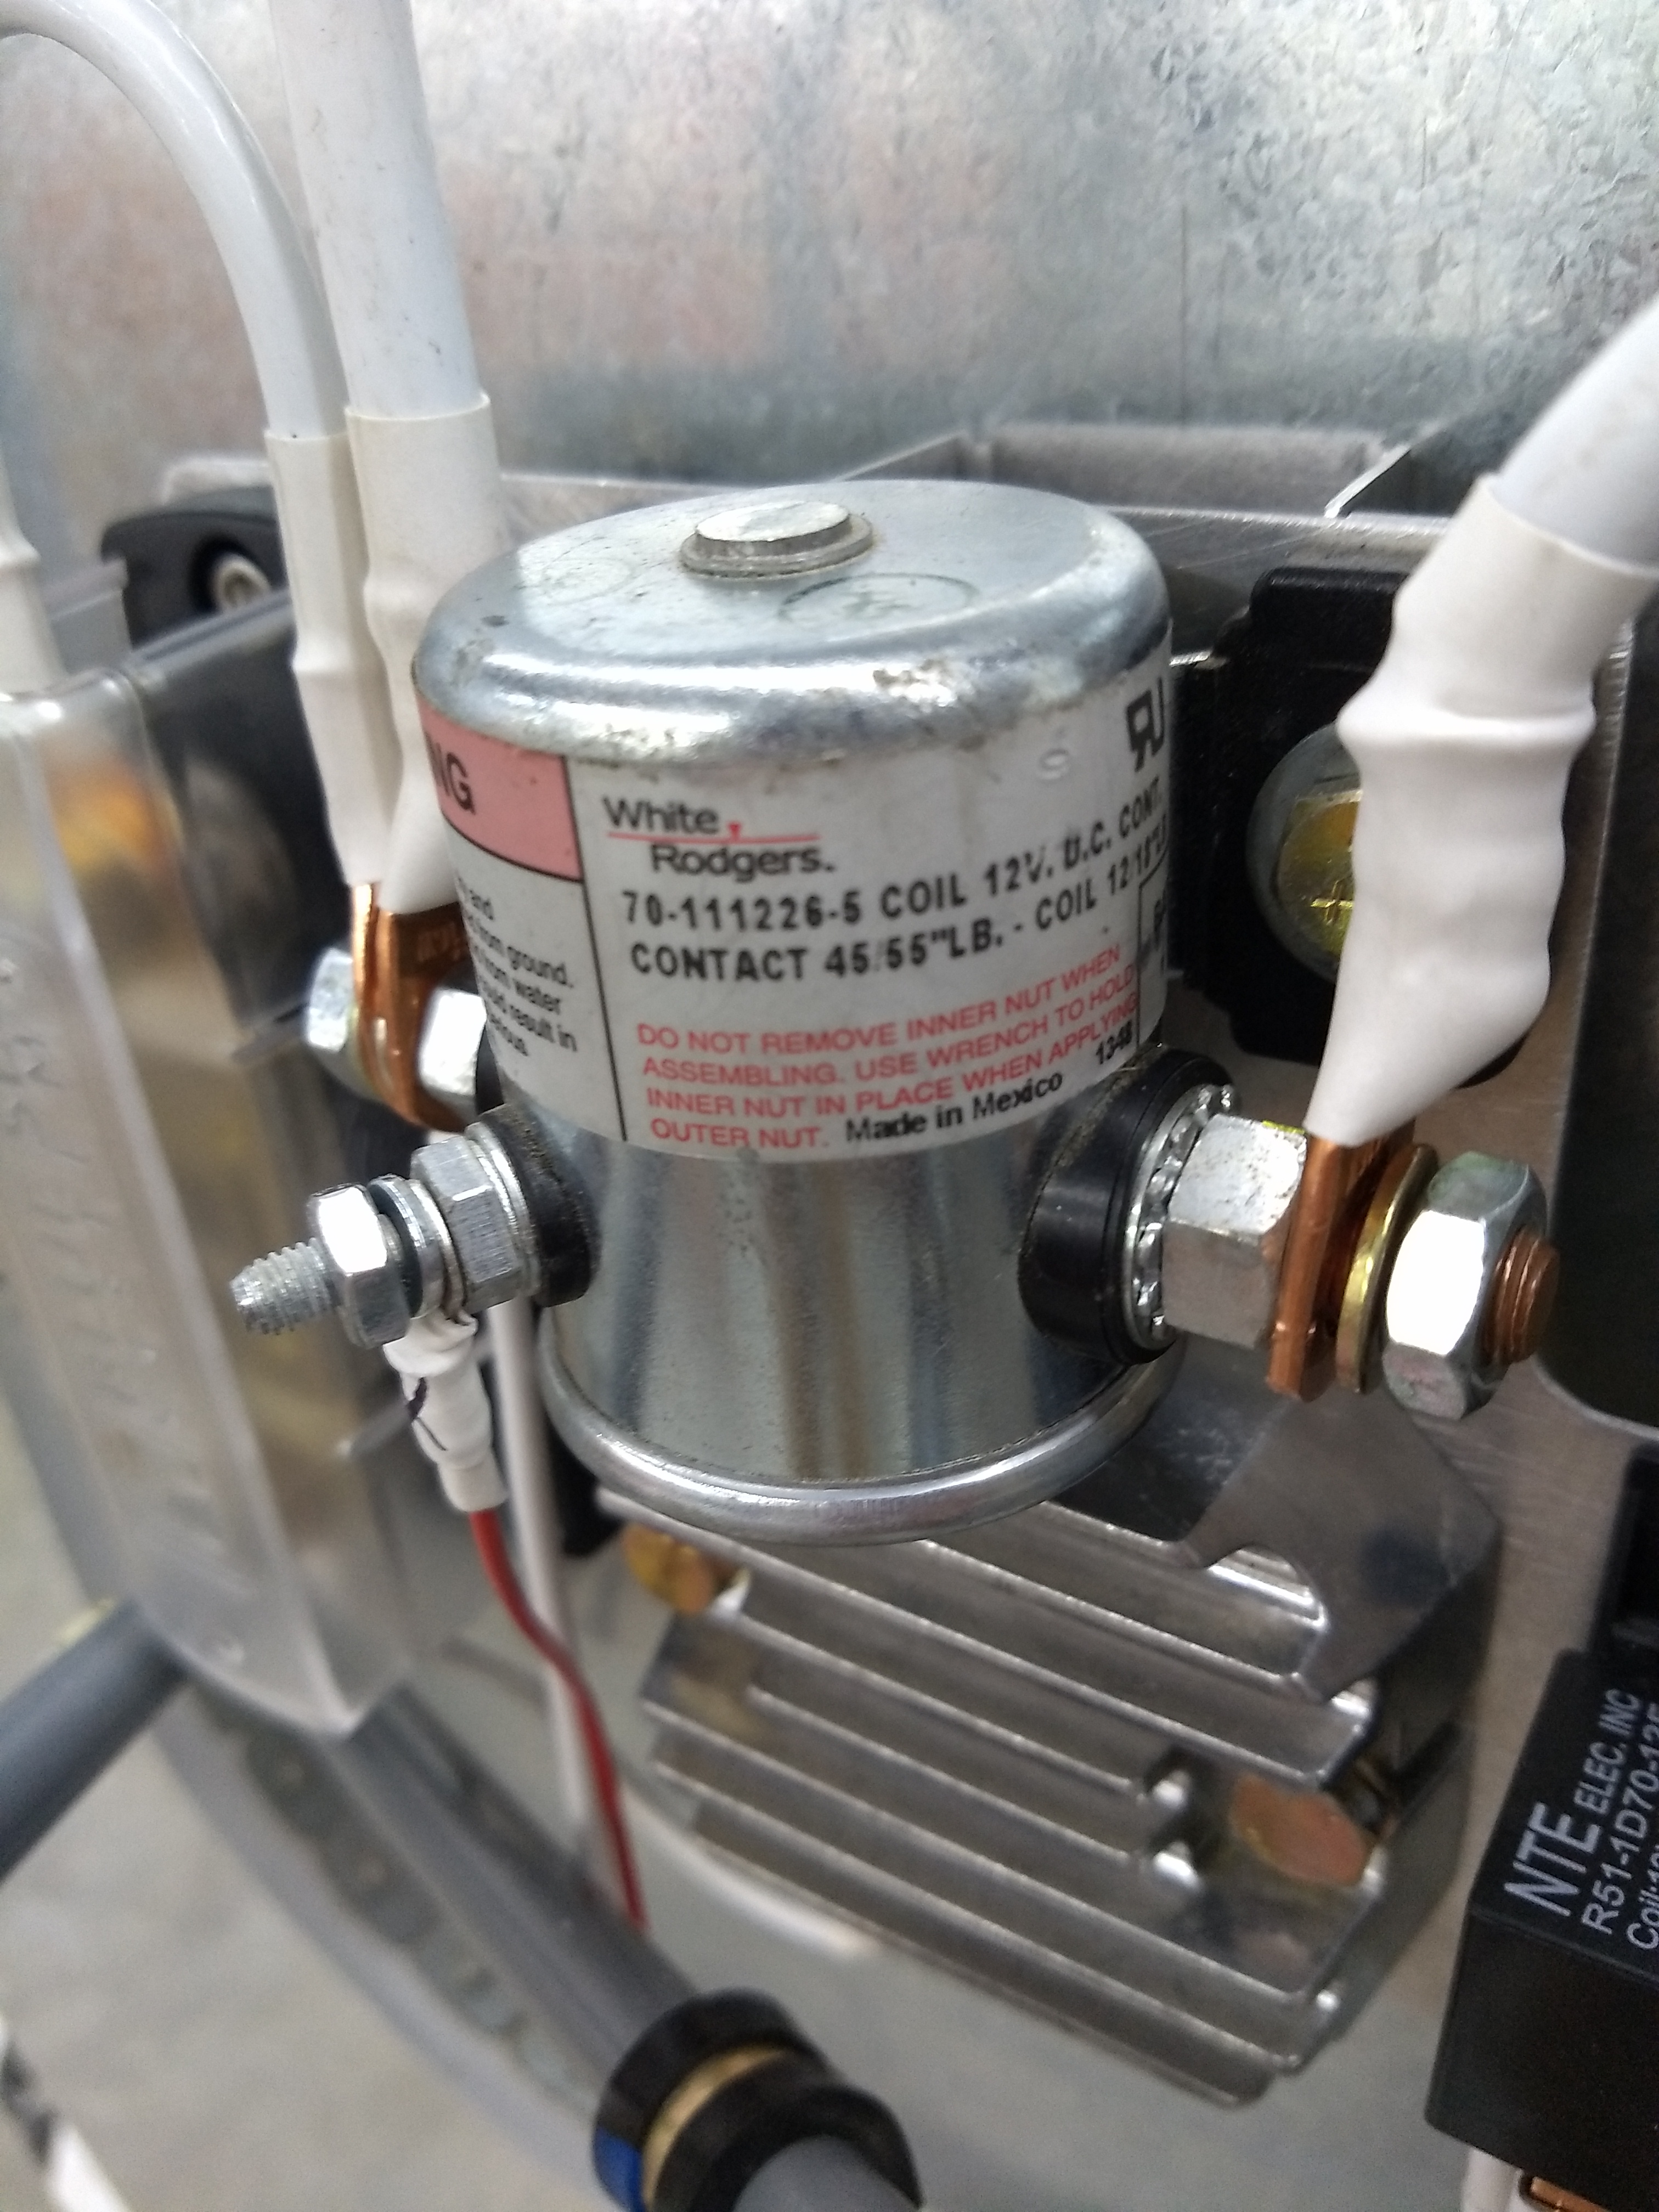
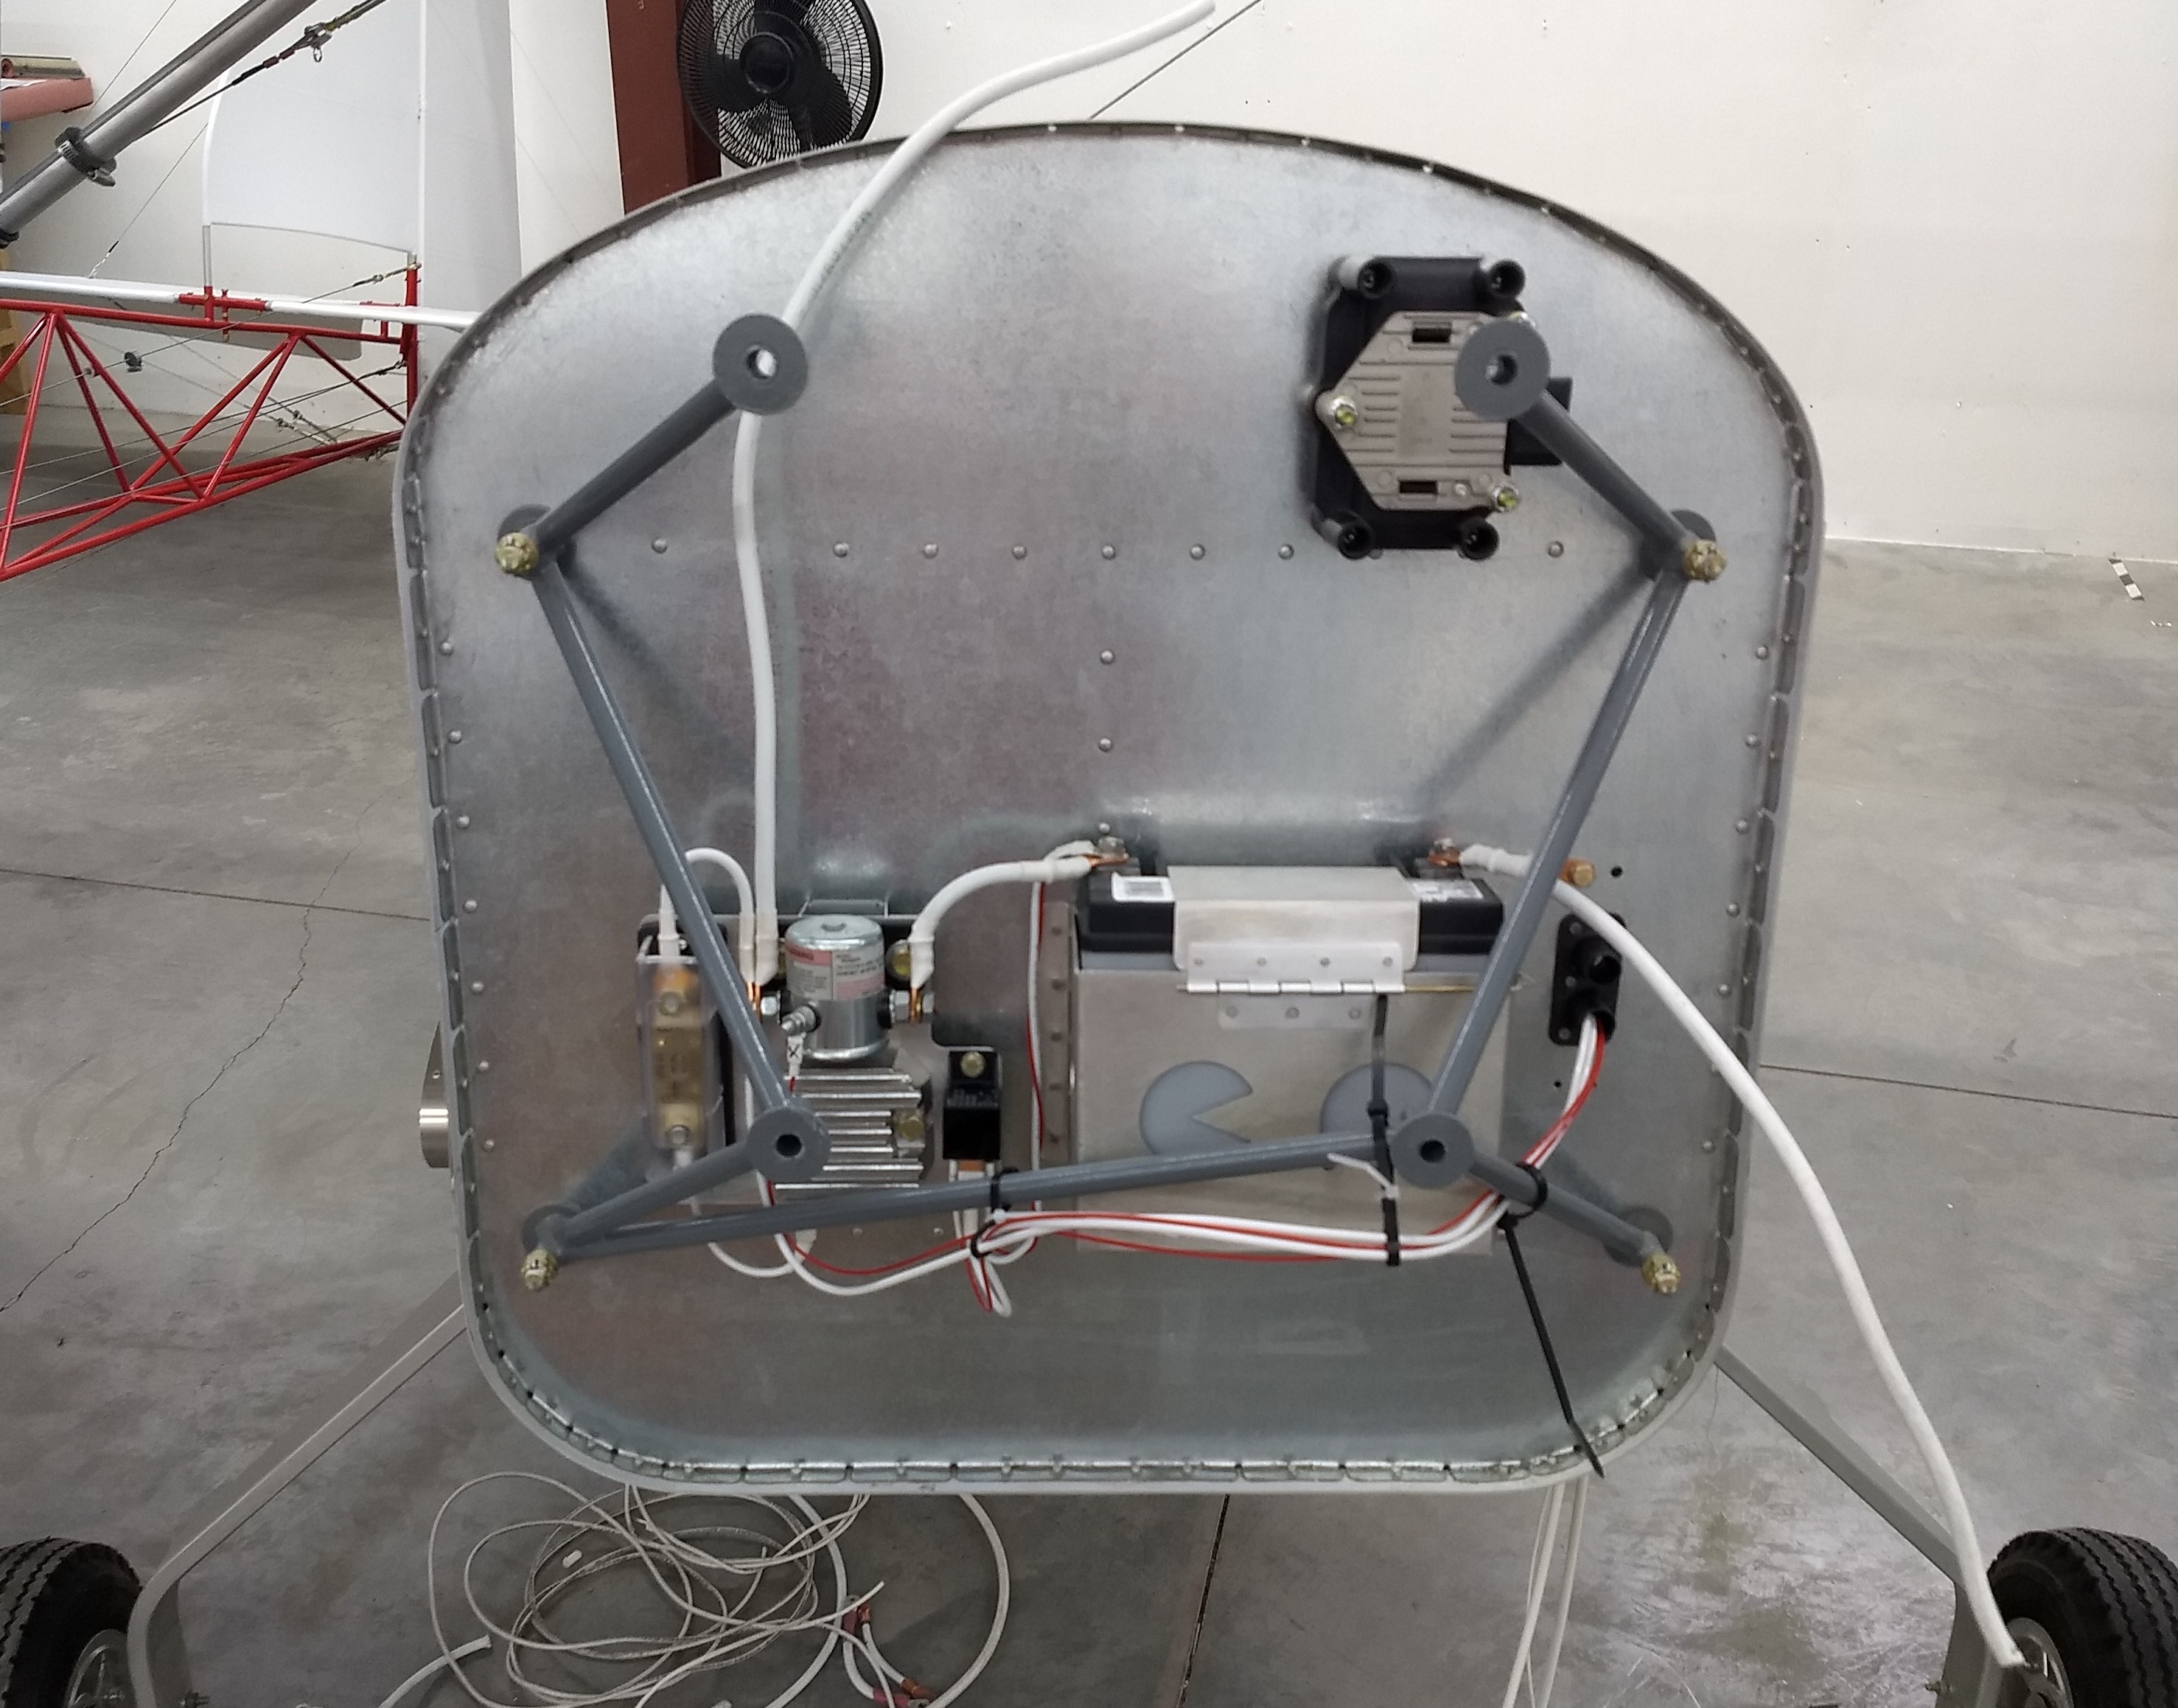
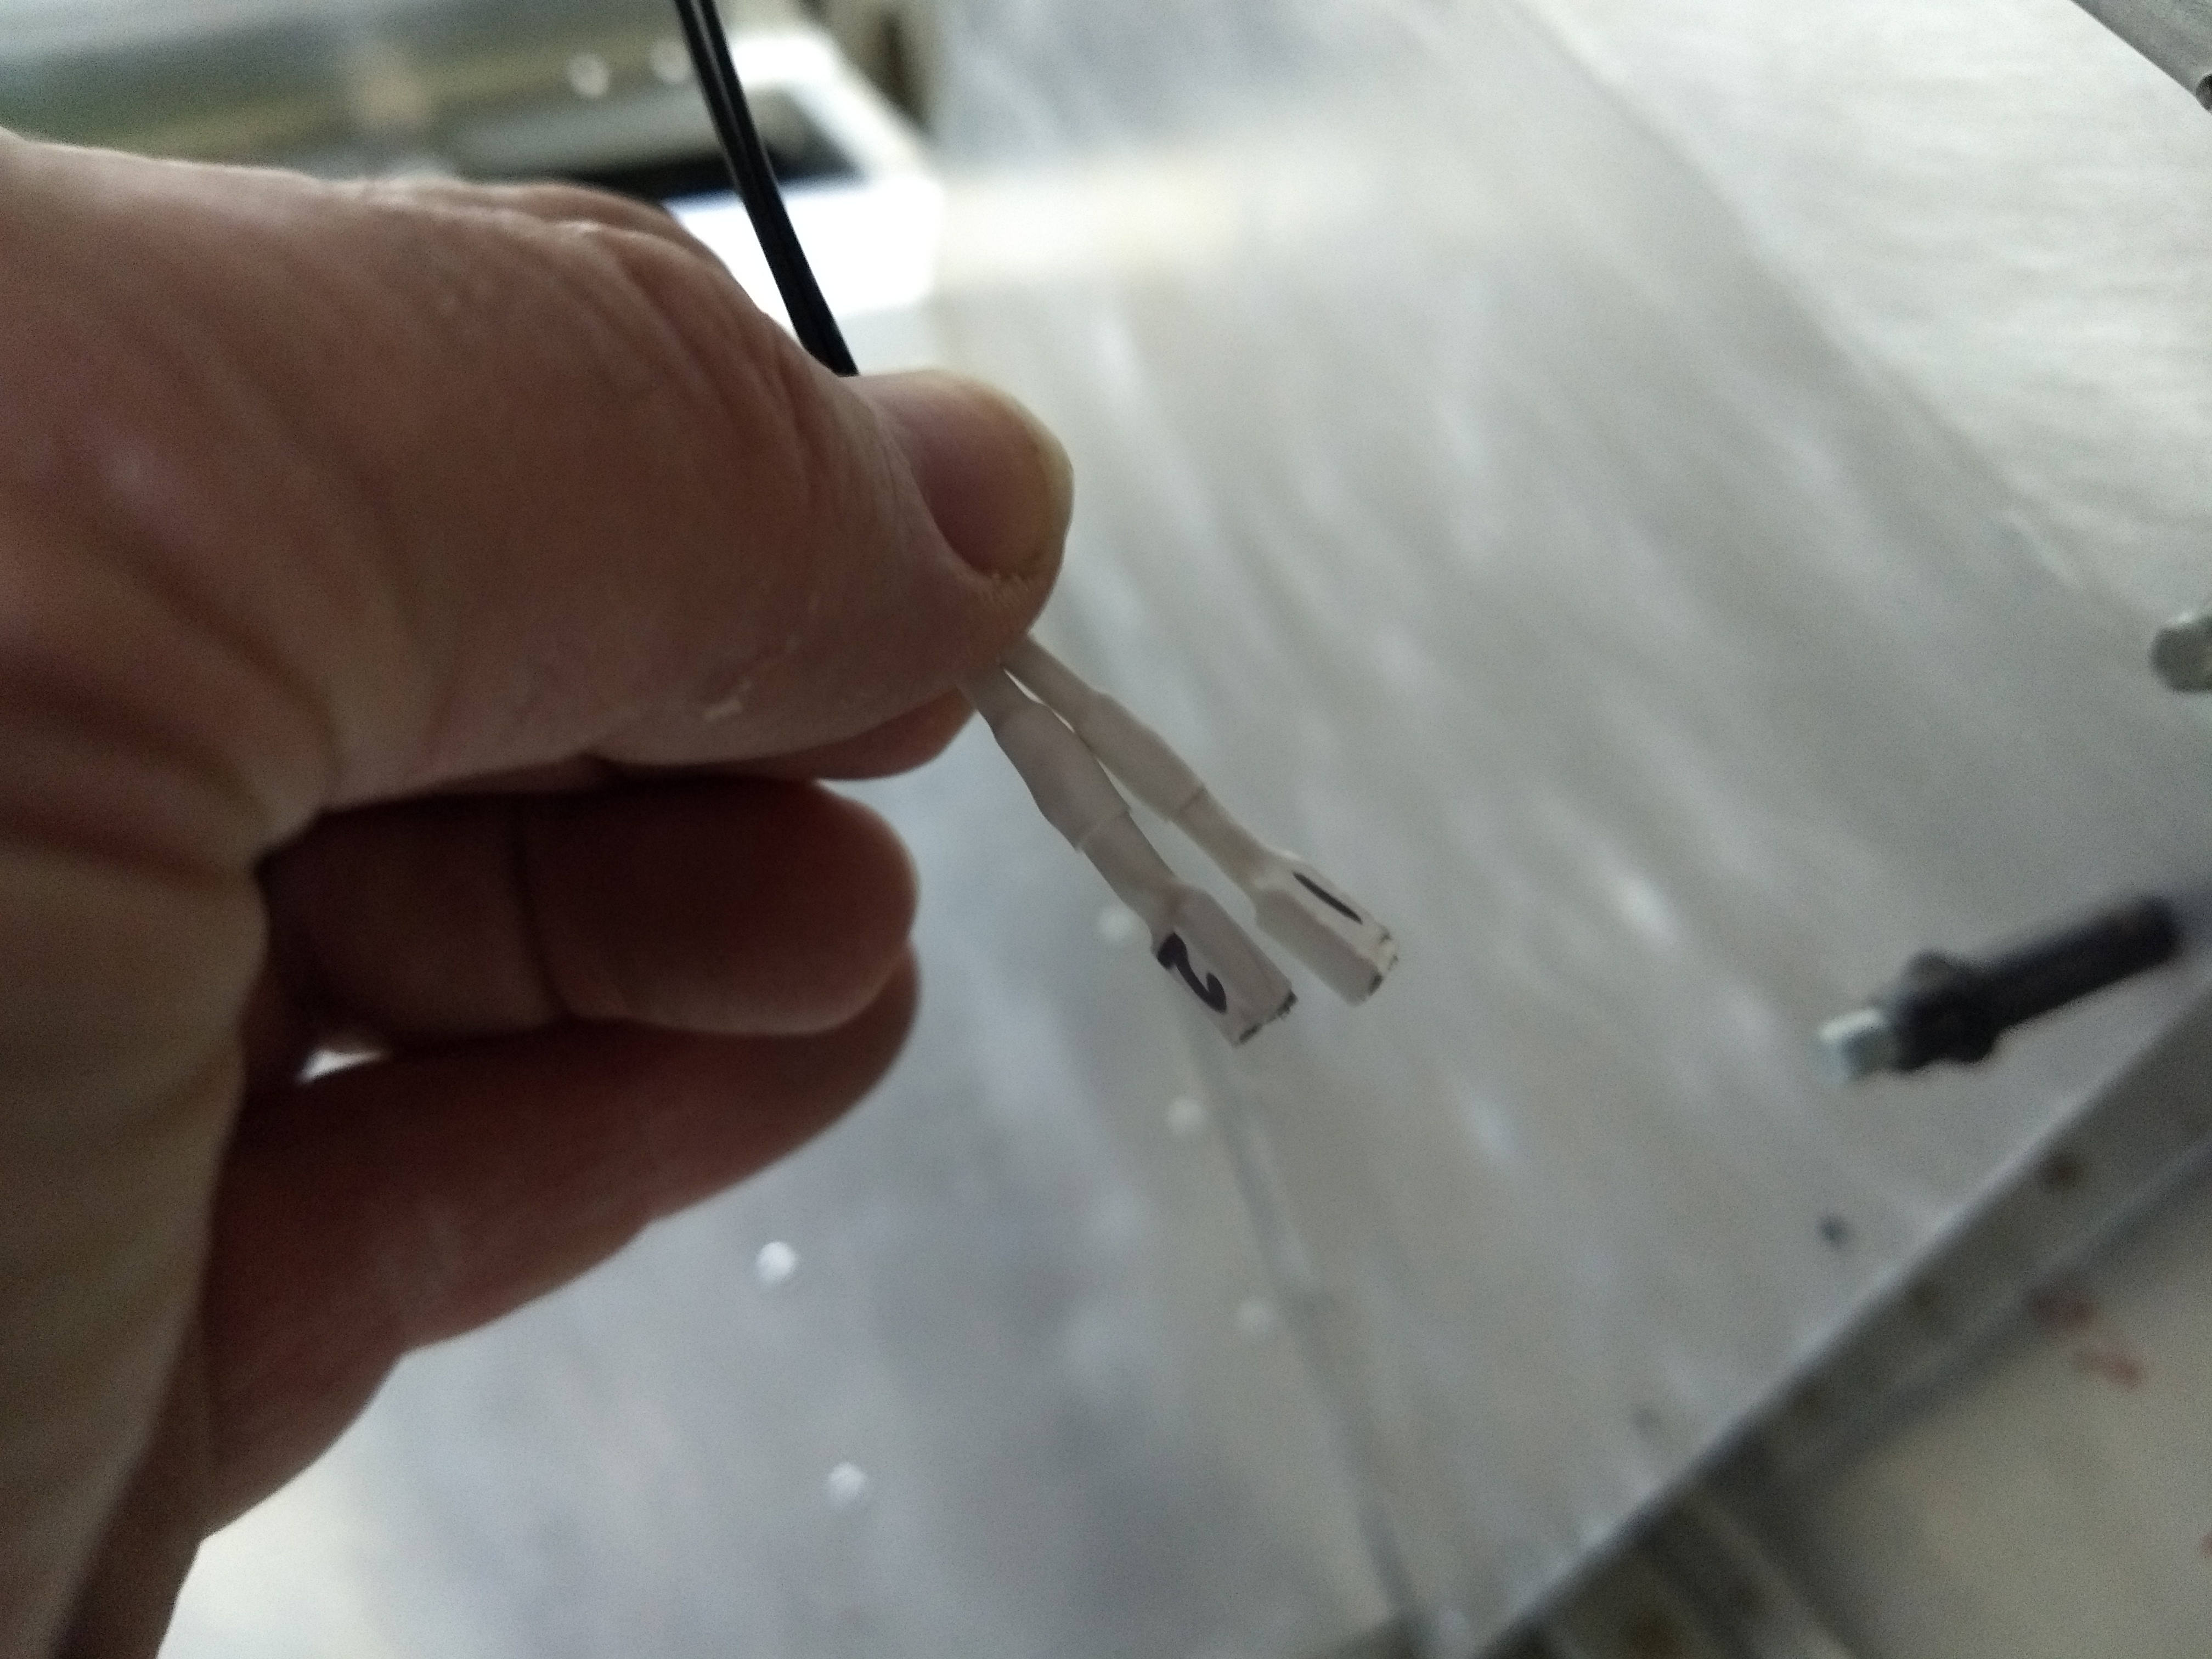
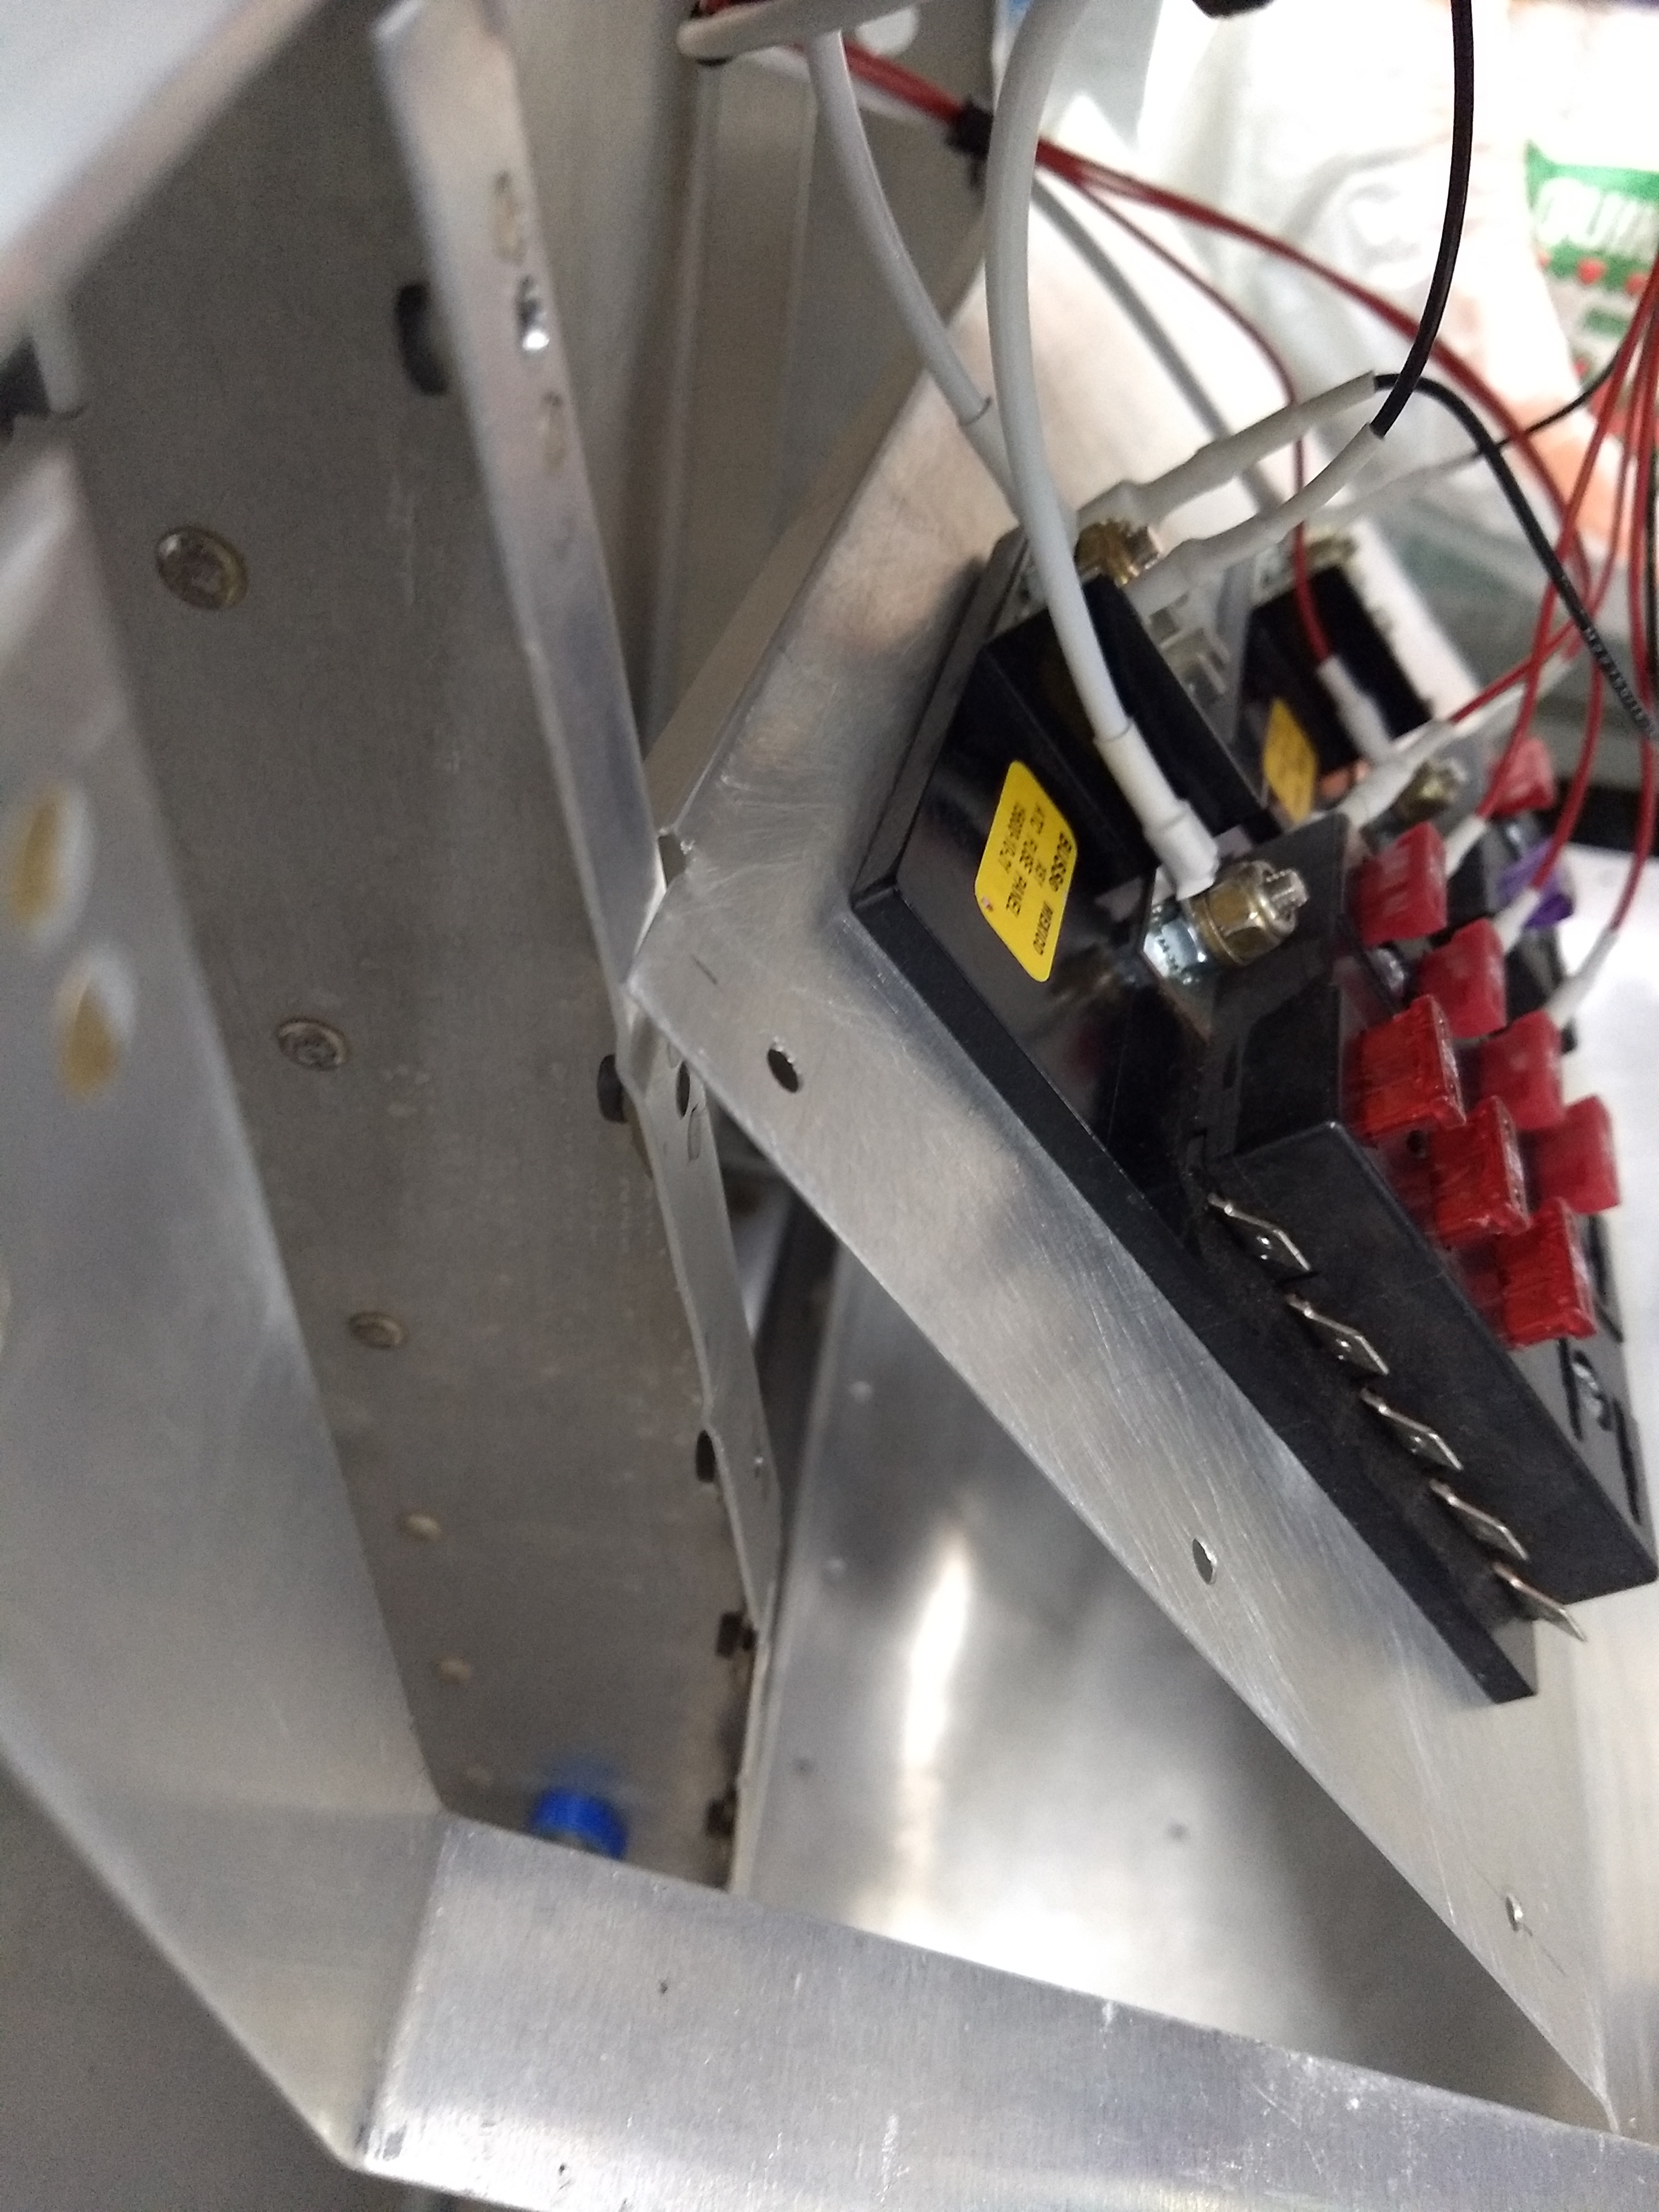
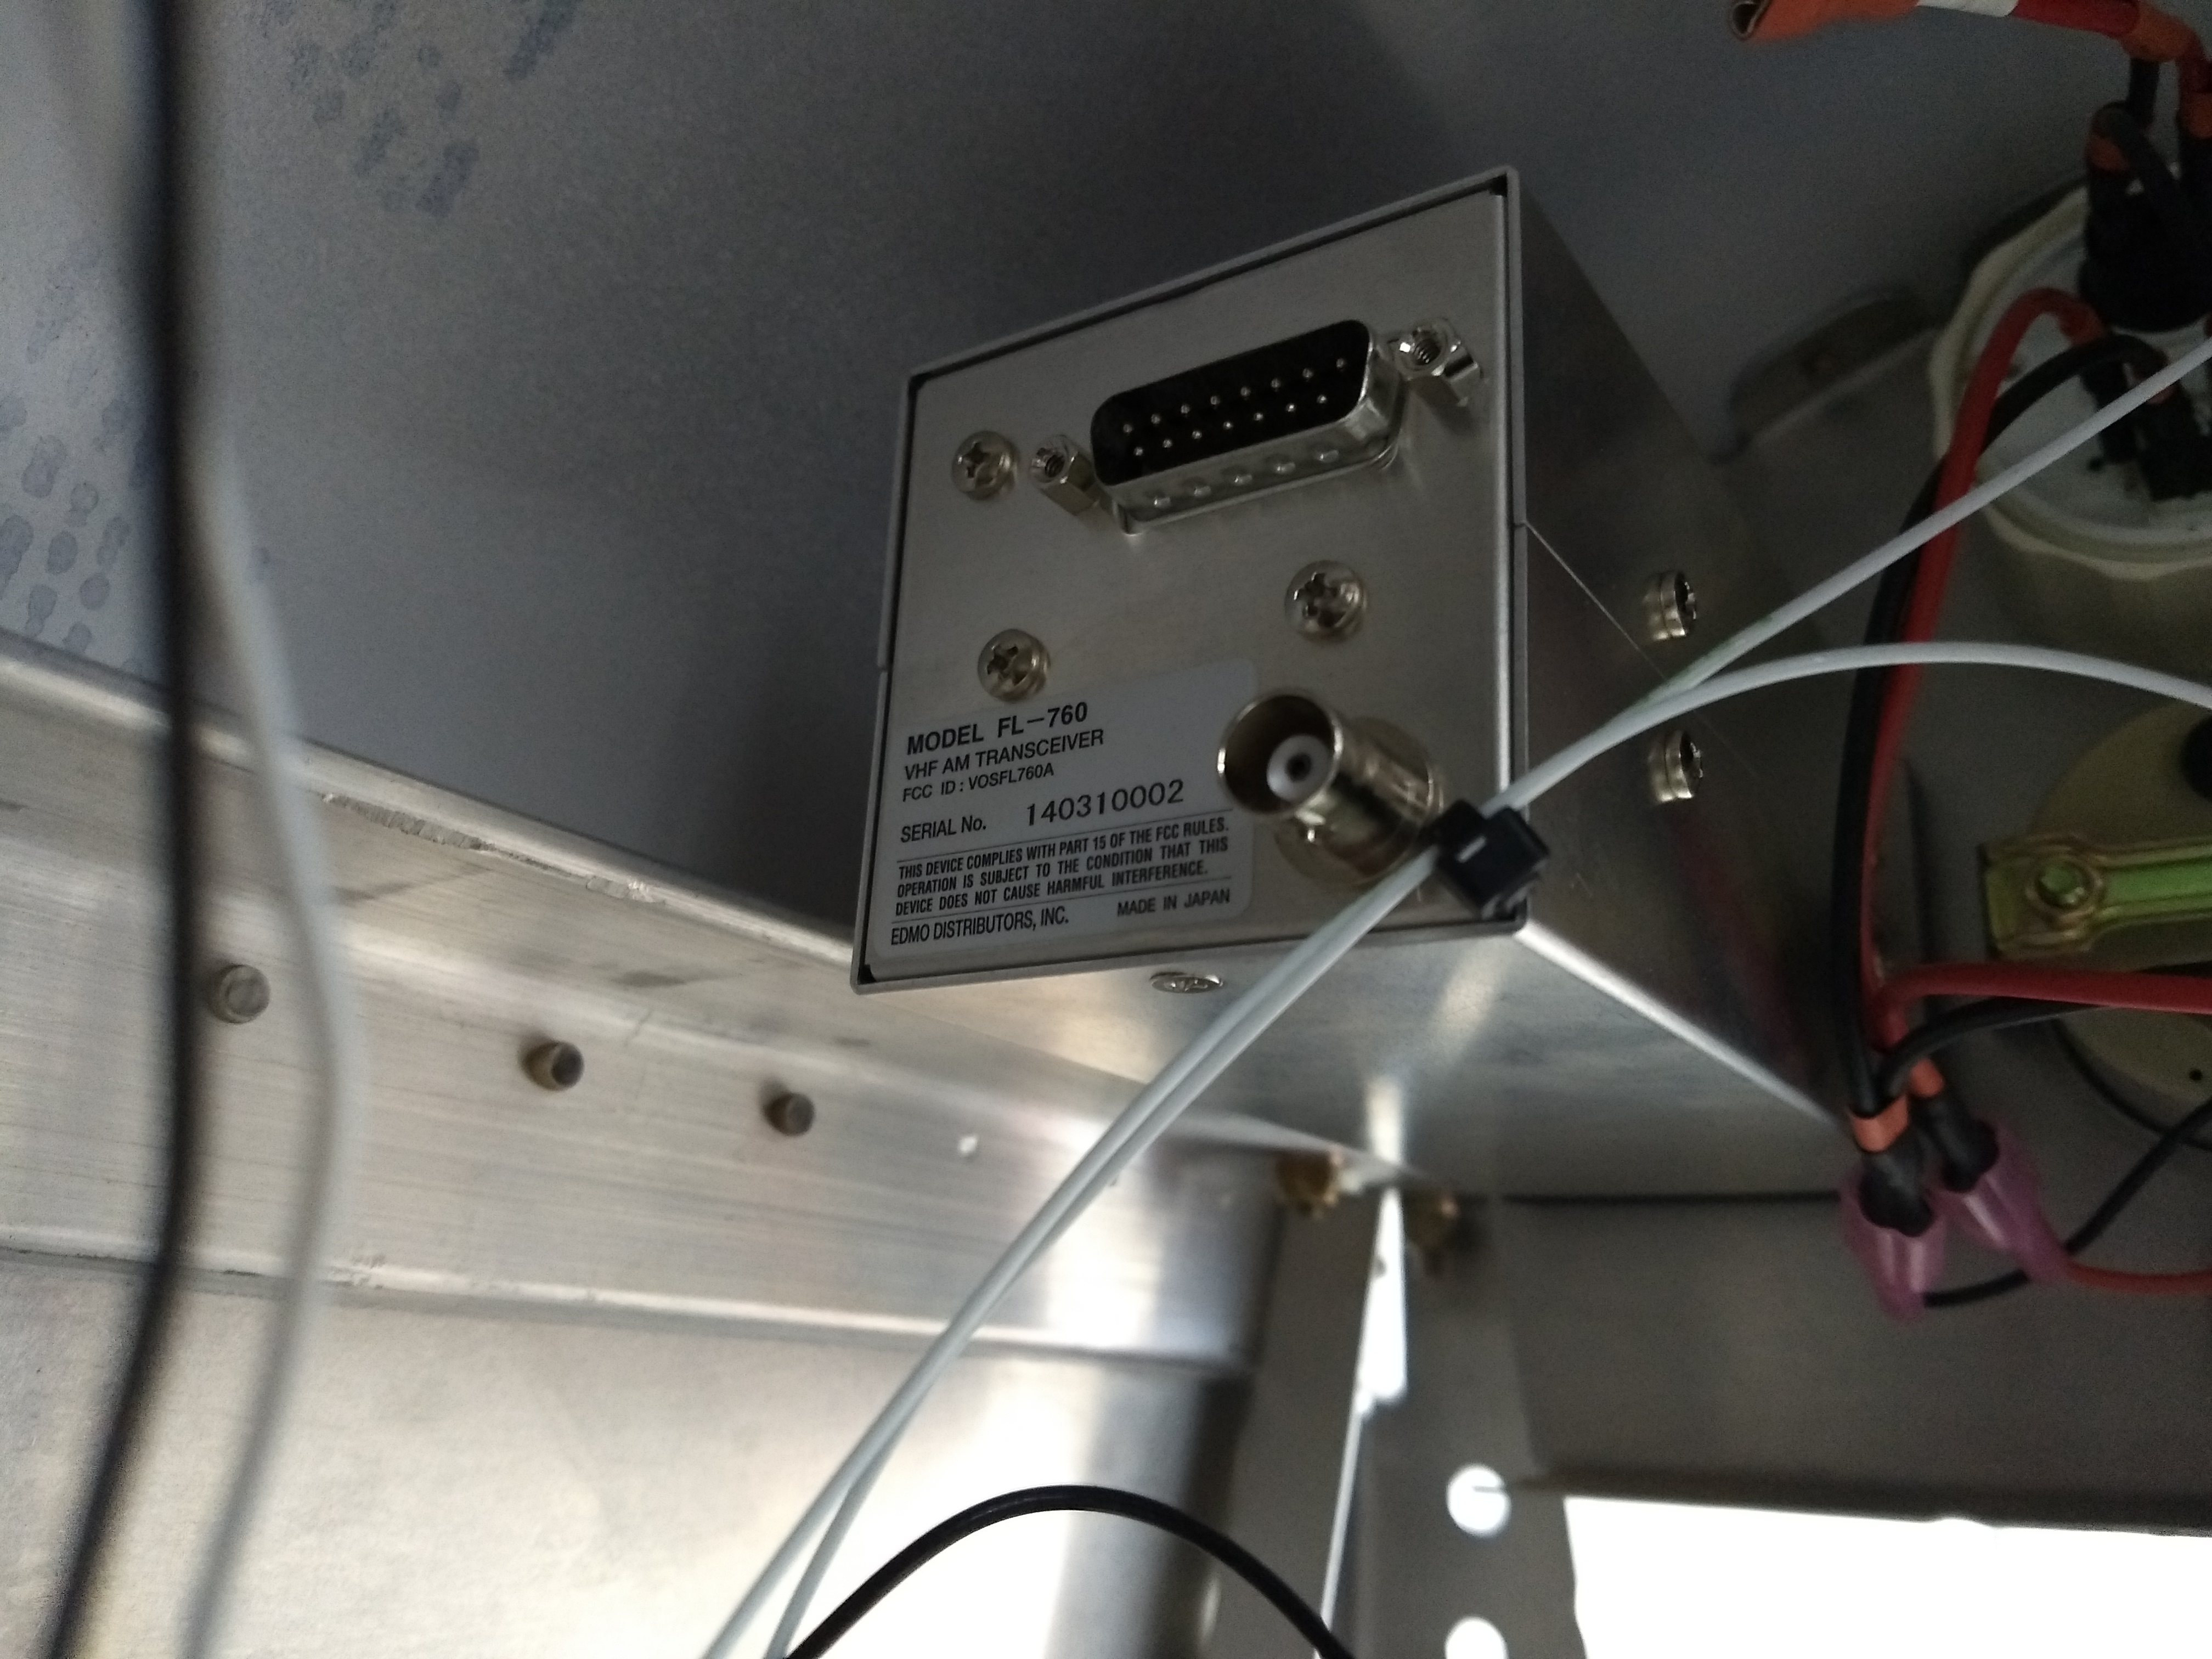
Mounted the electrical busses and built a frame for the engine computer.
Fuel Injection
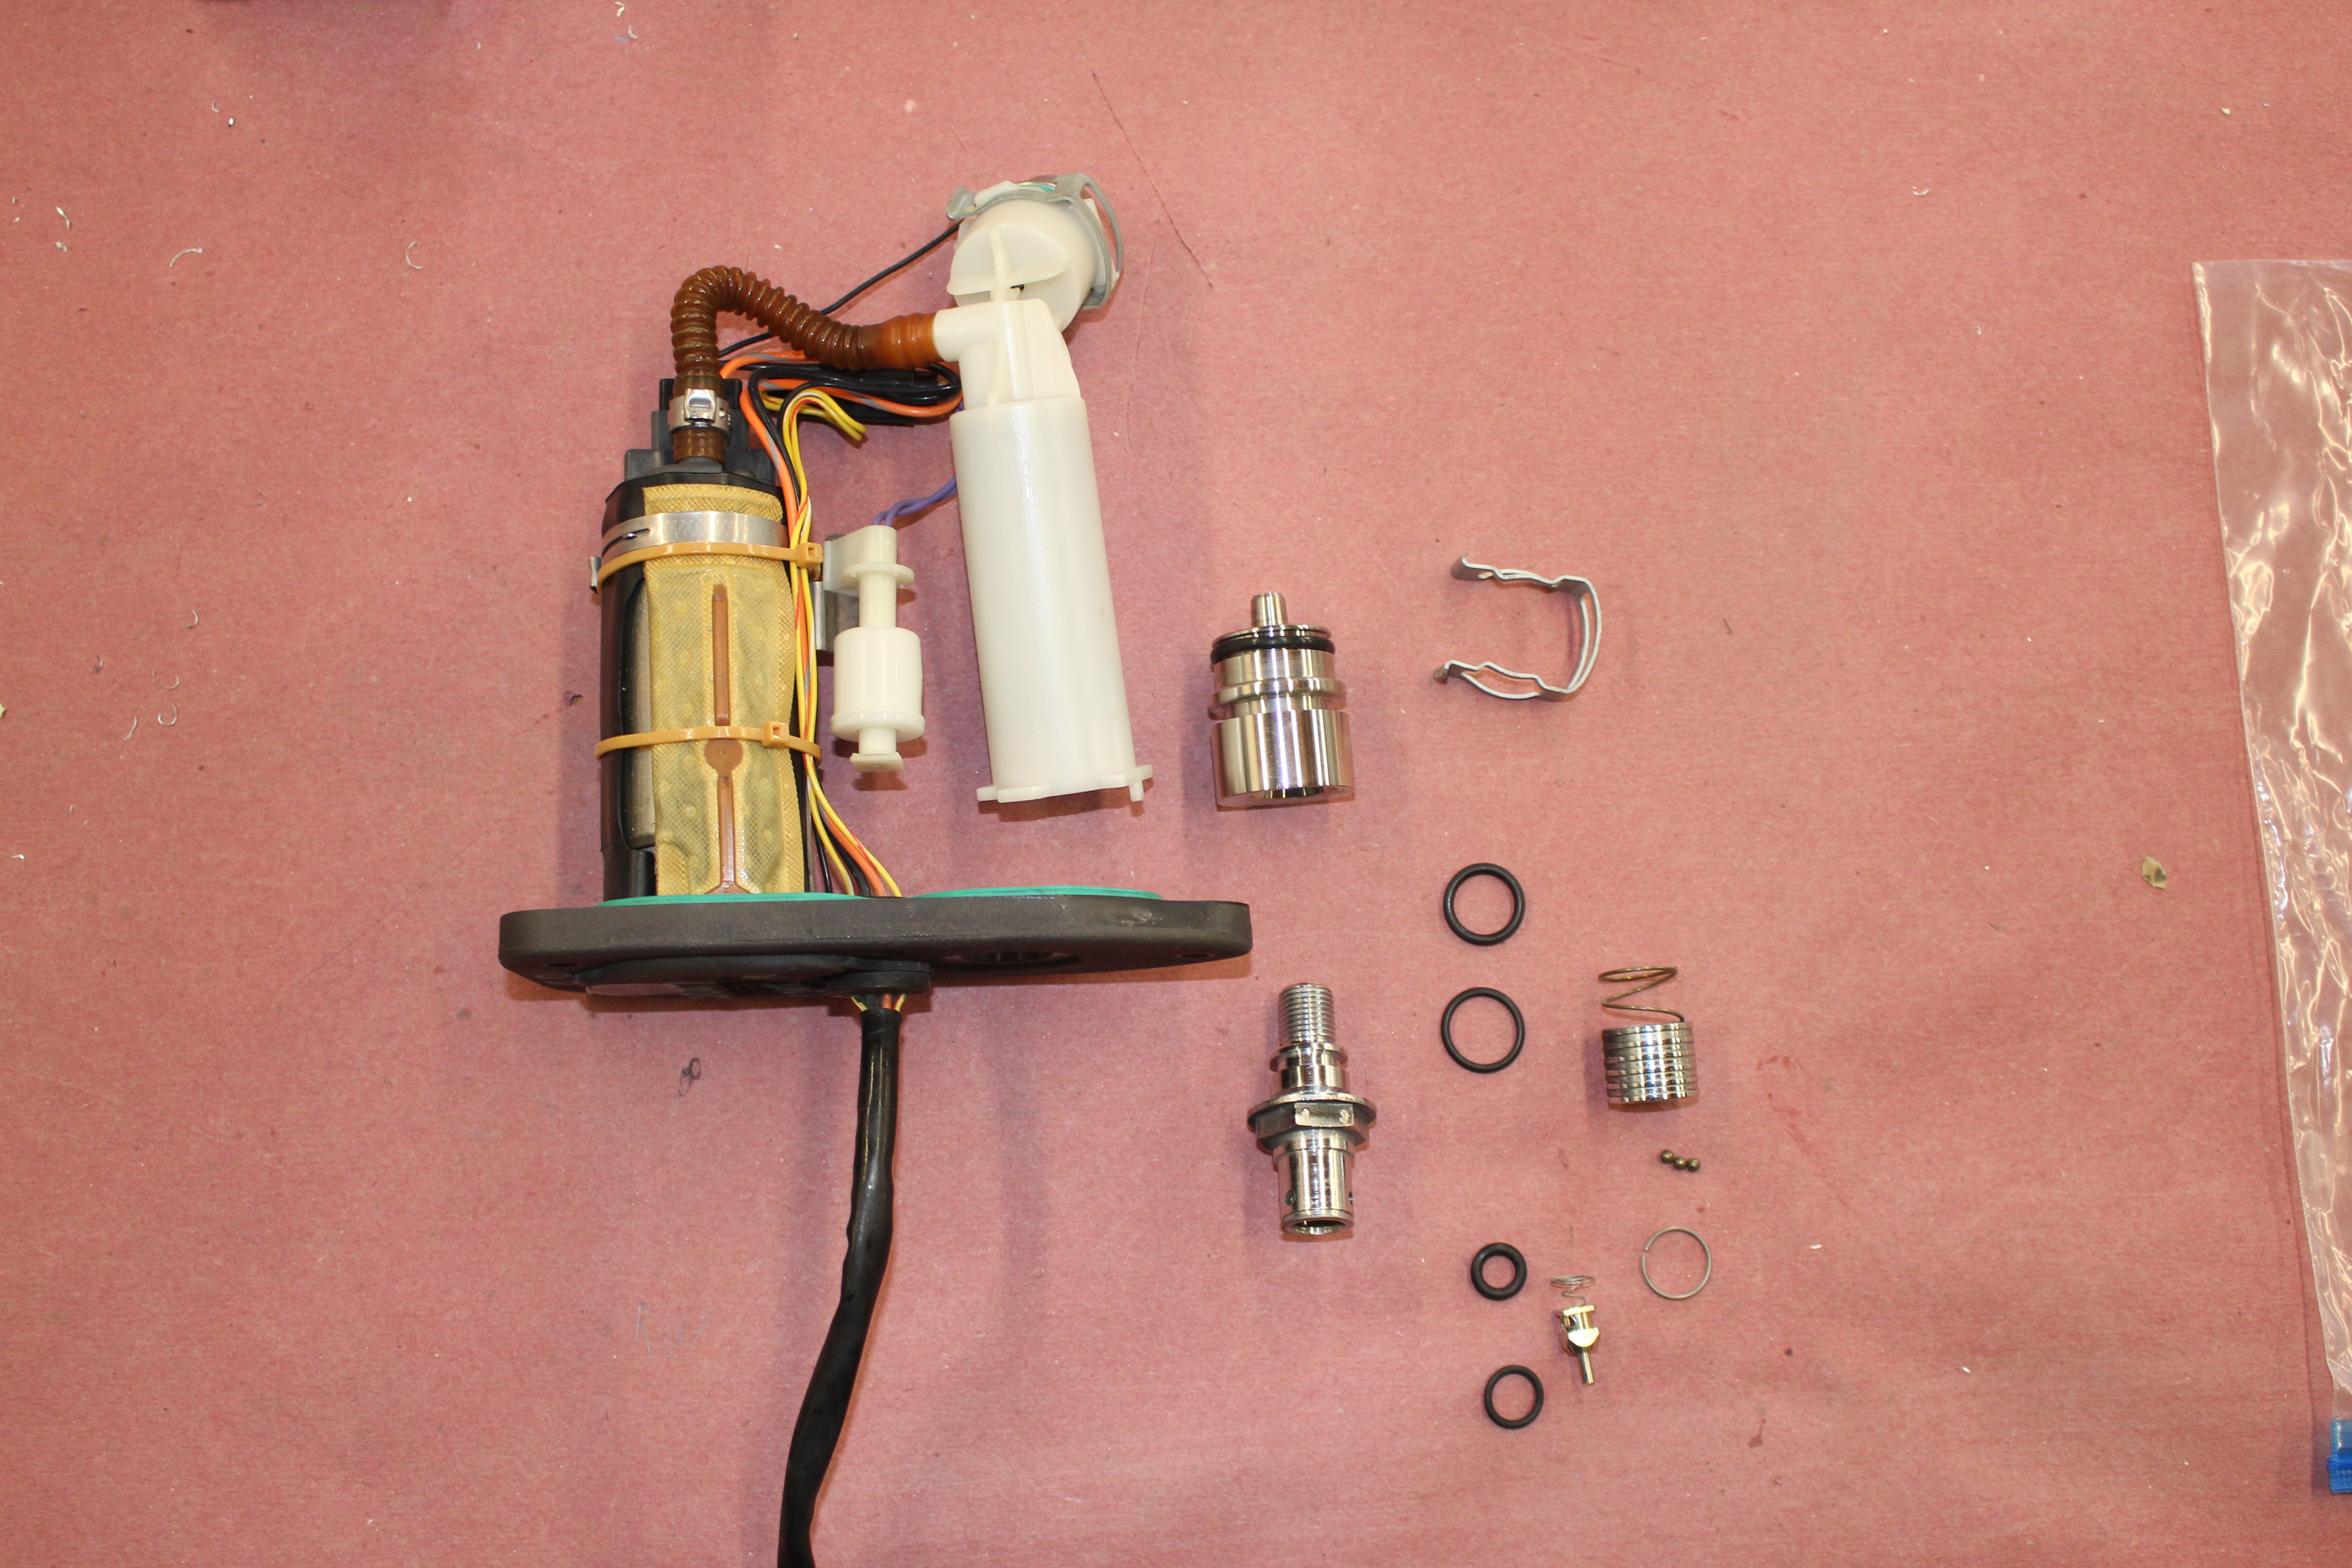
Fuel Pump
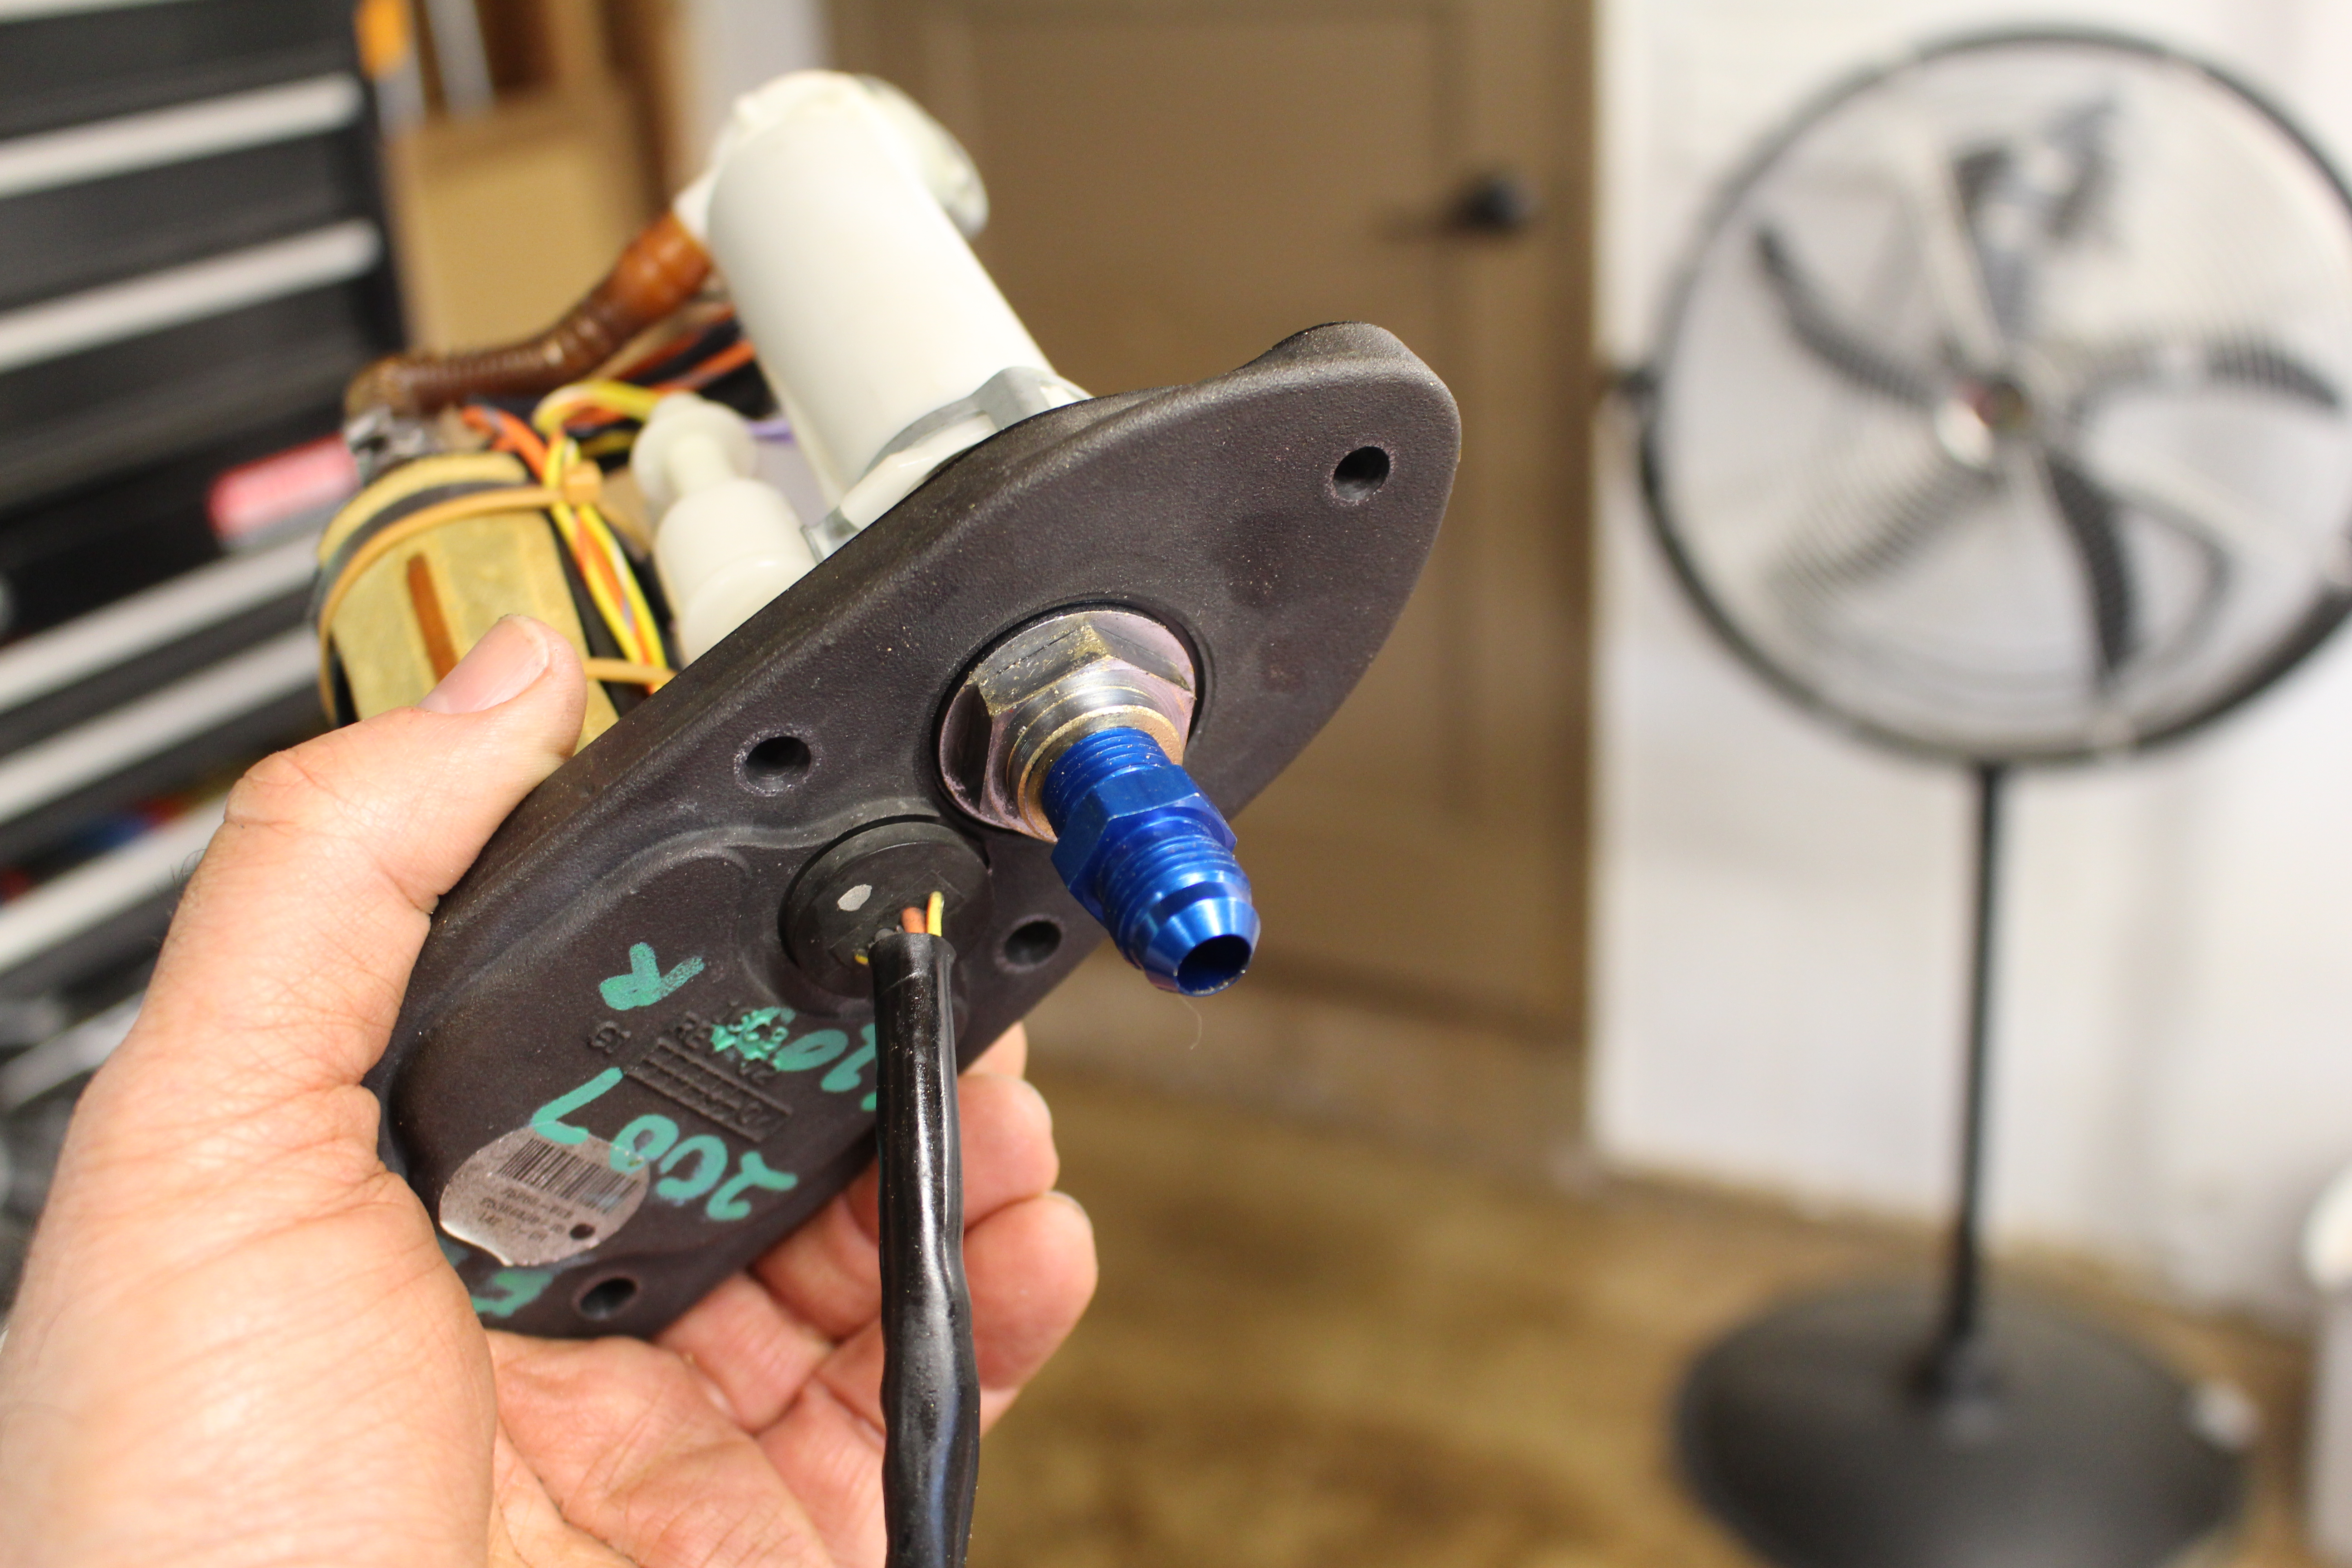
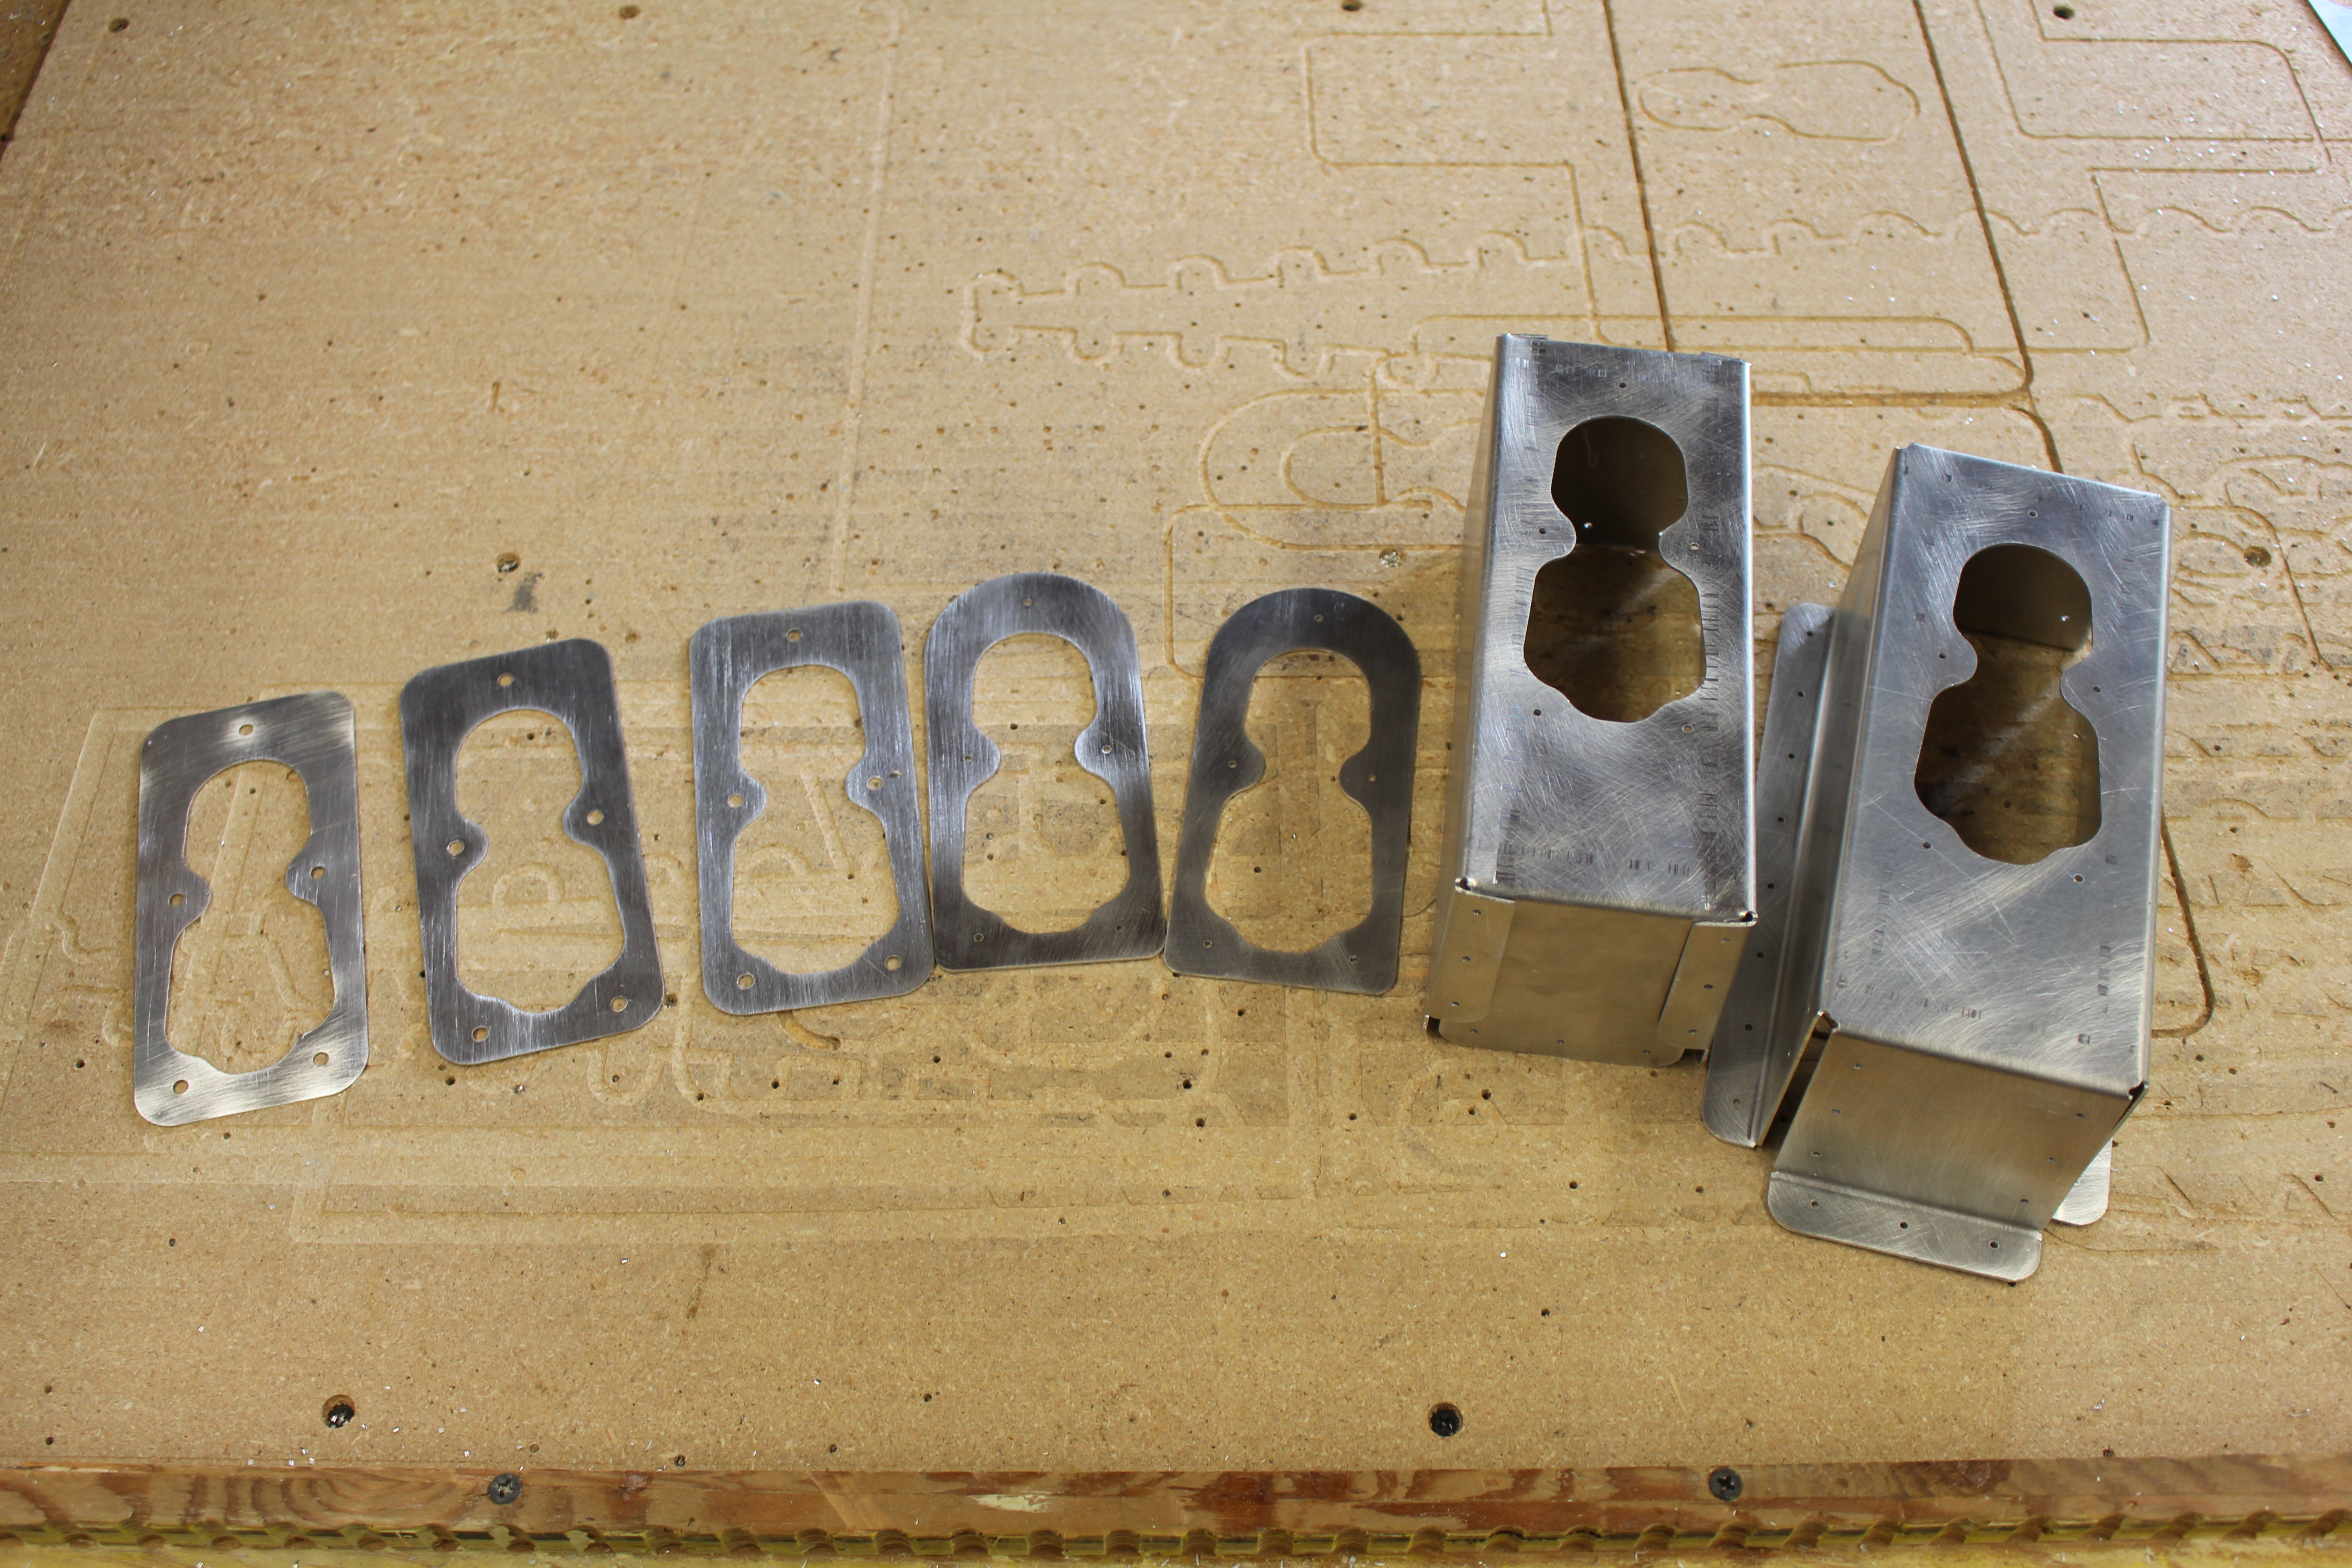
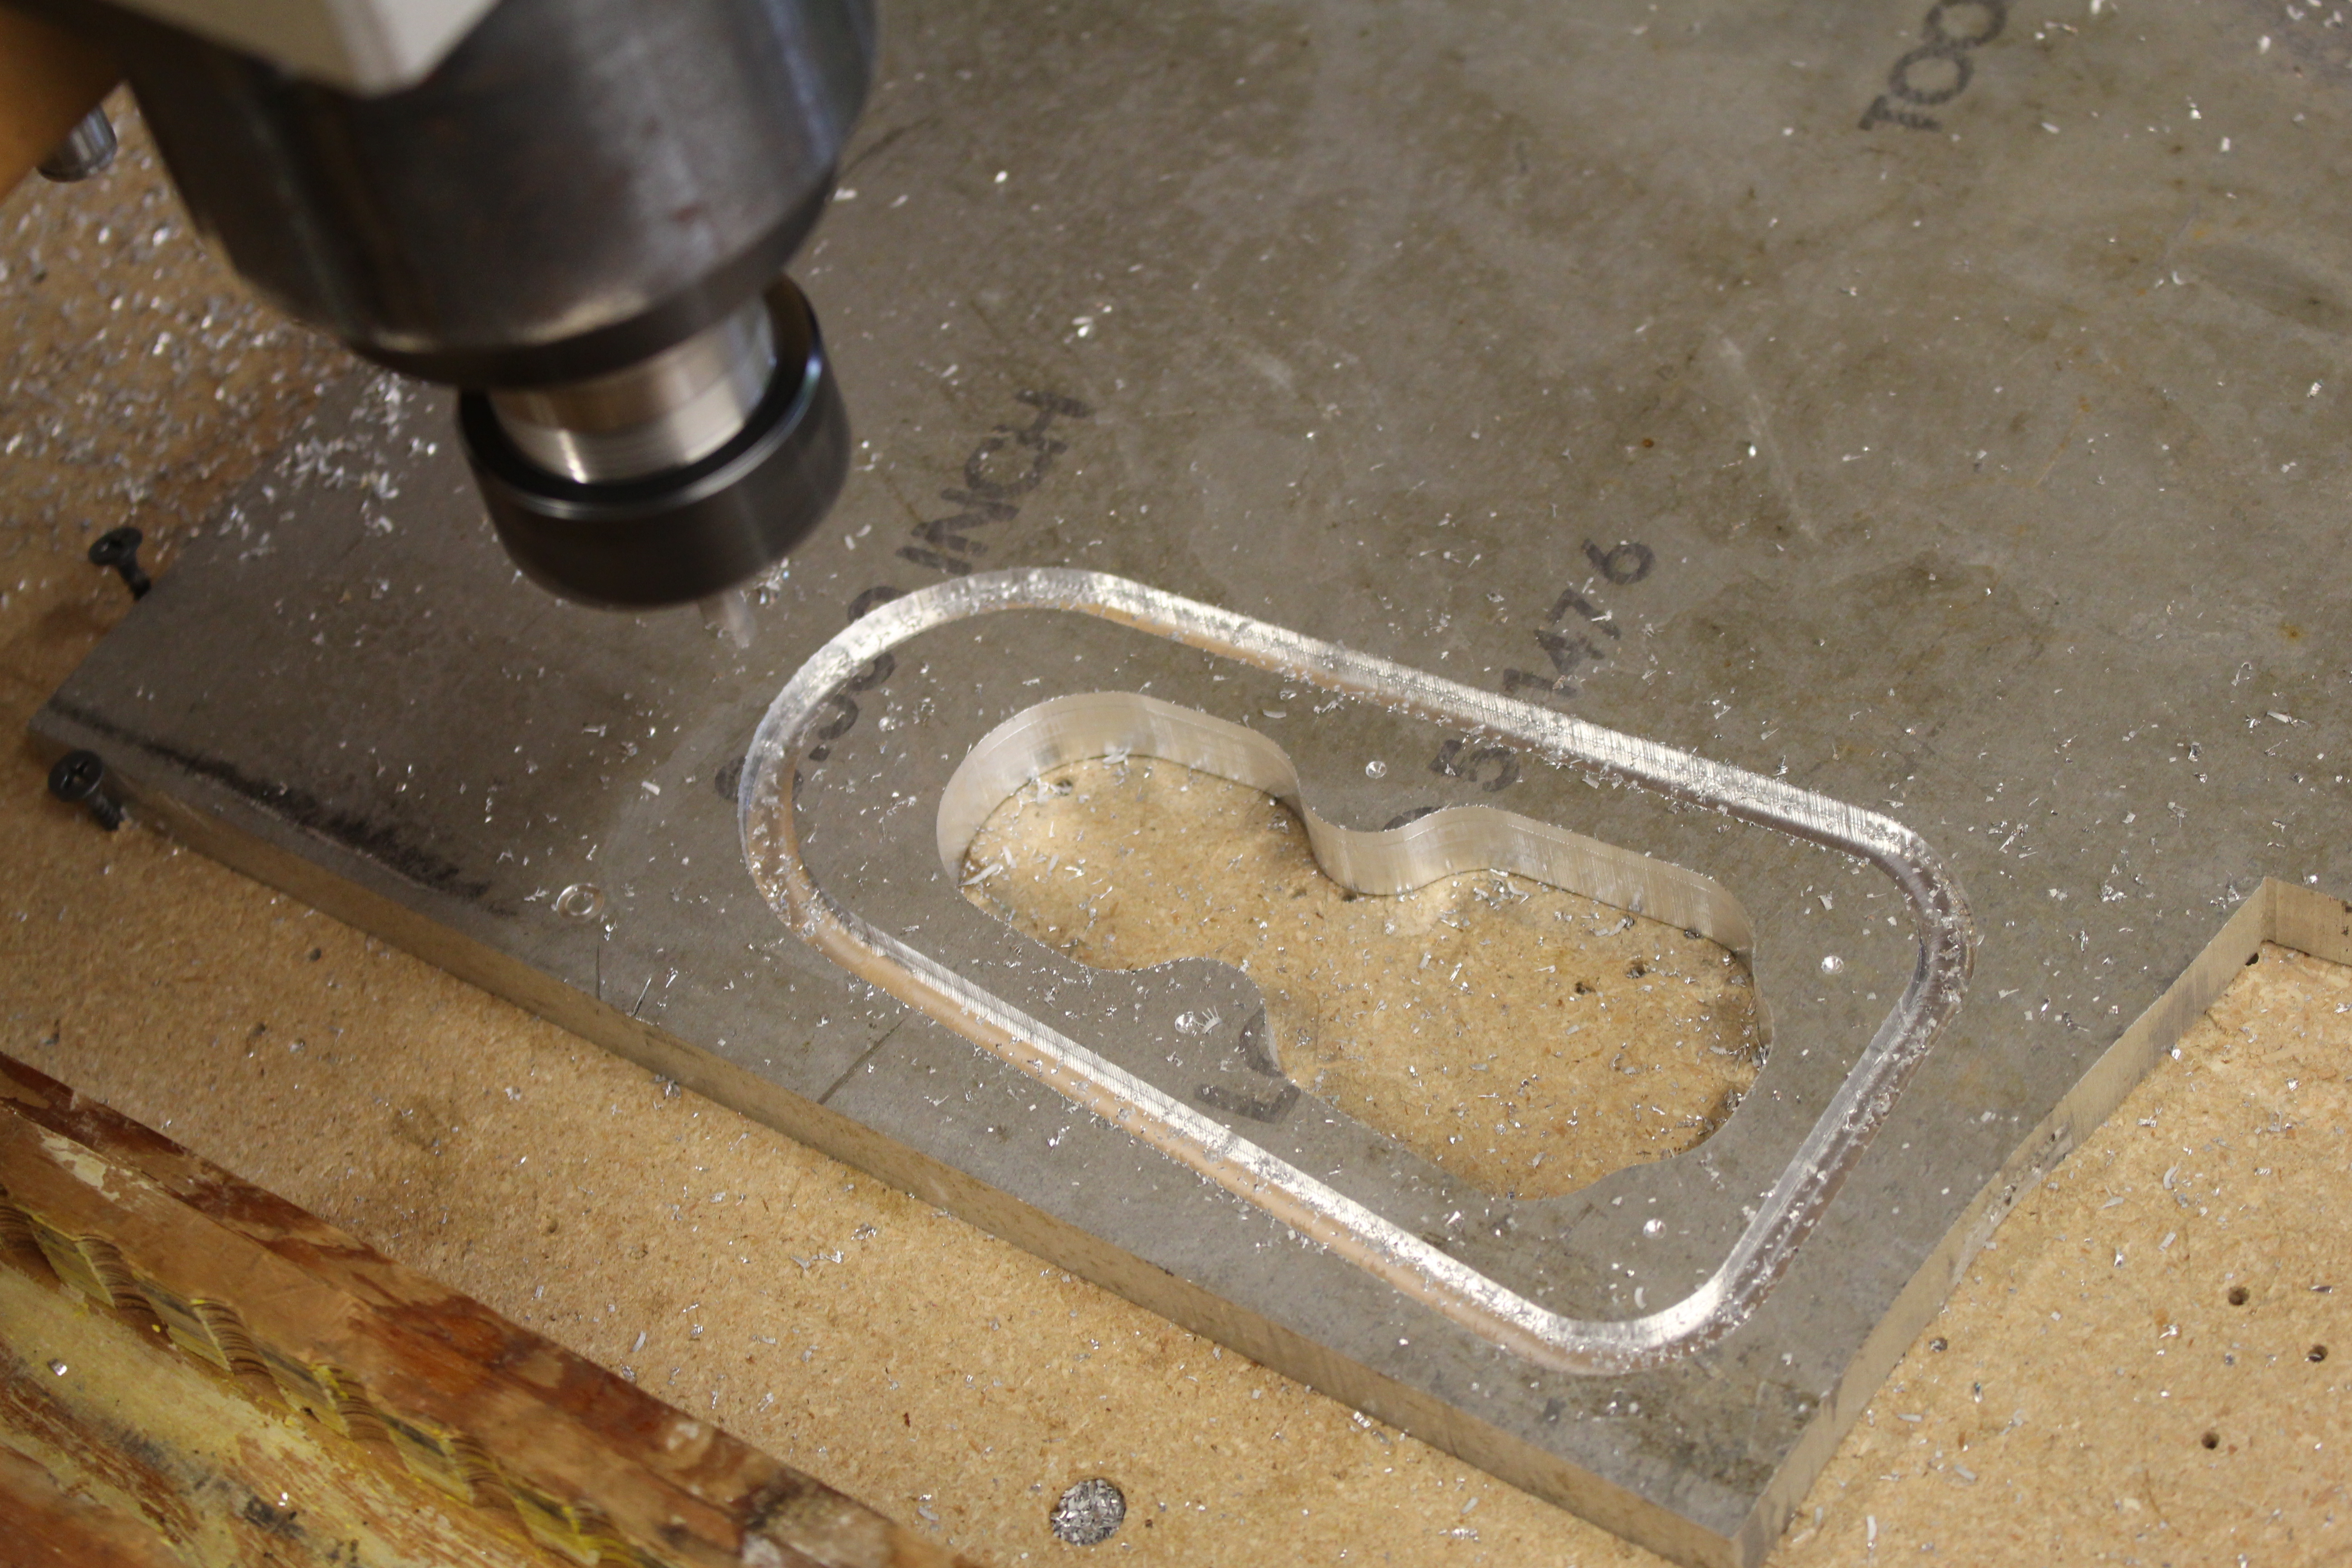
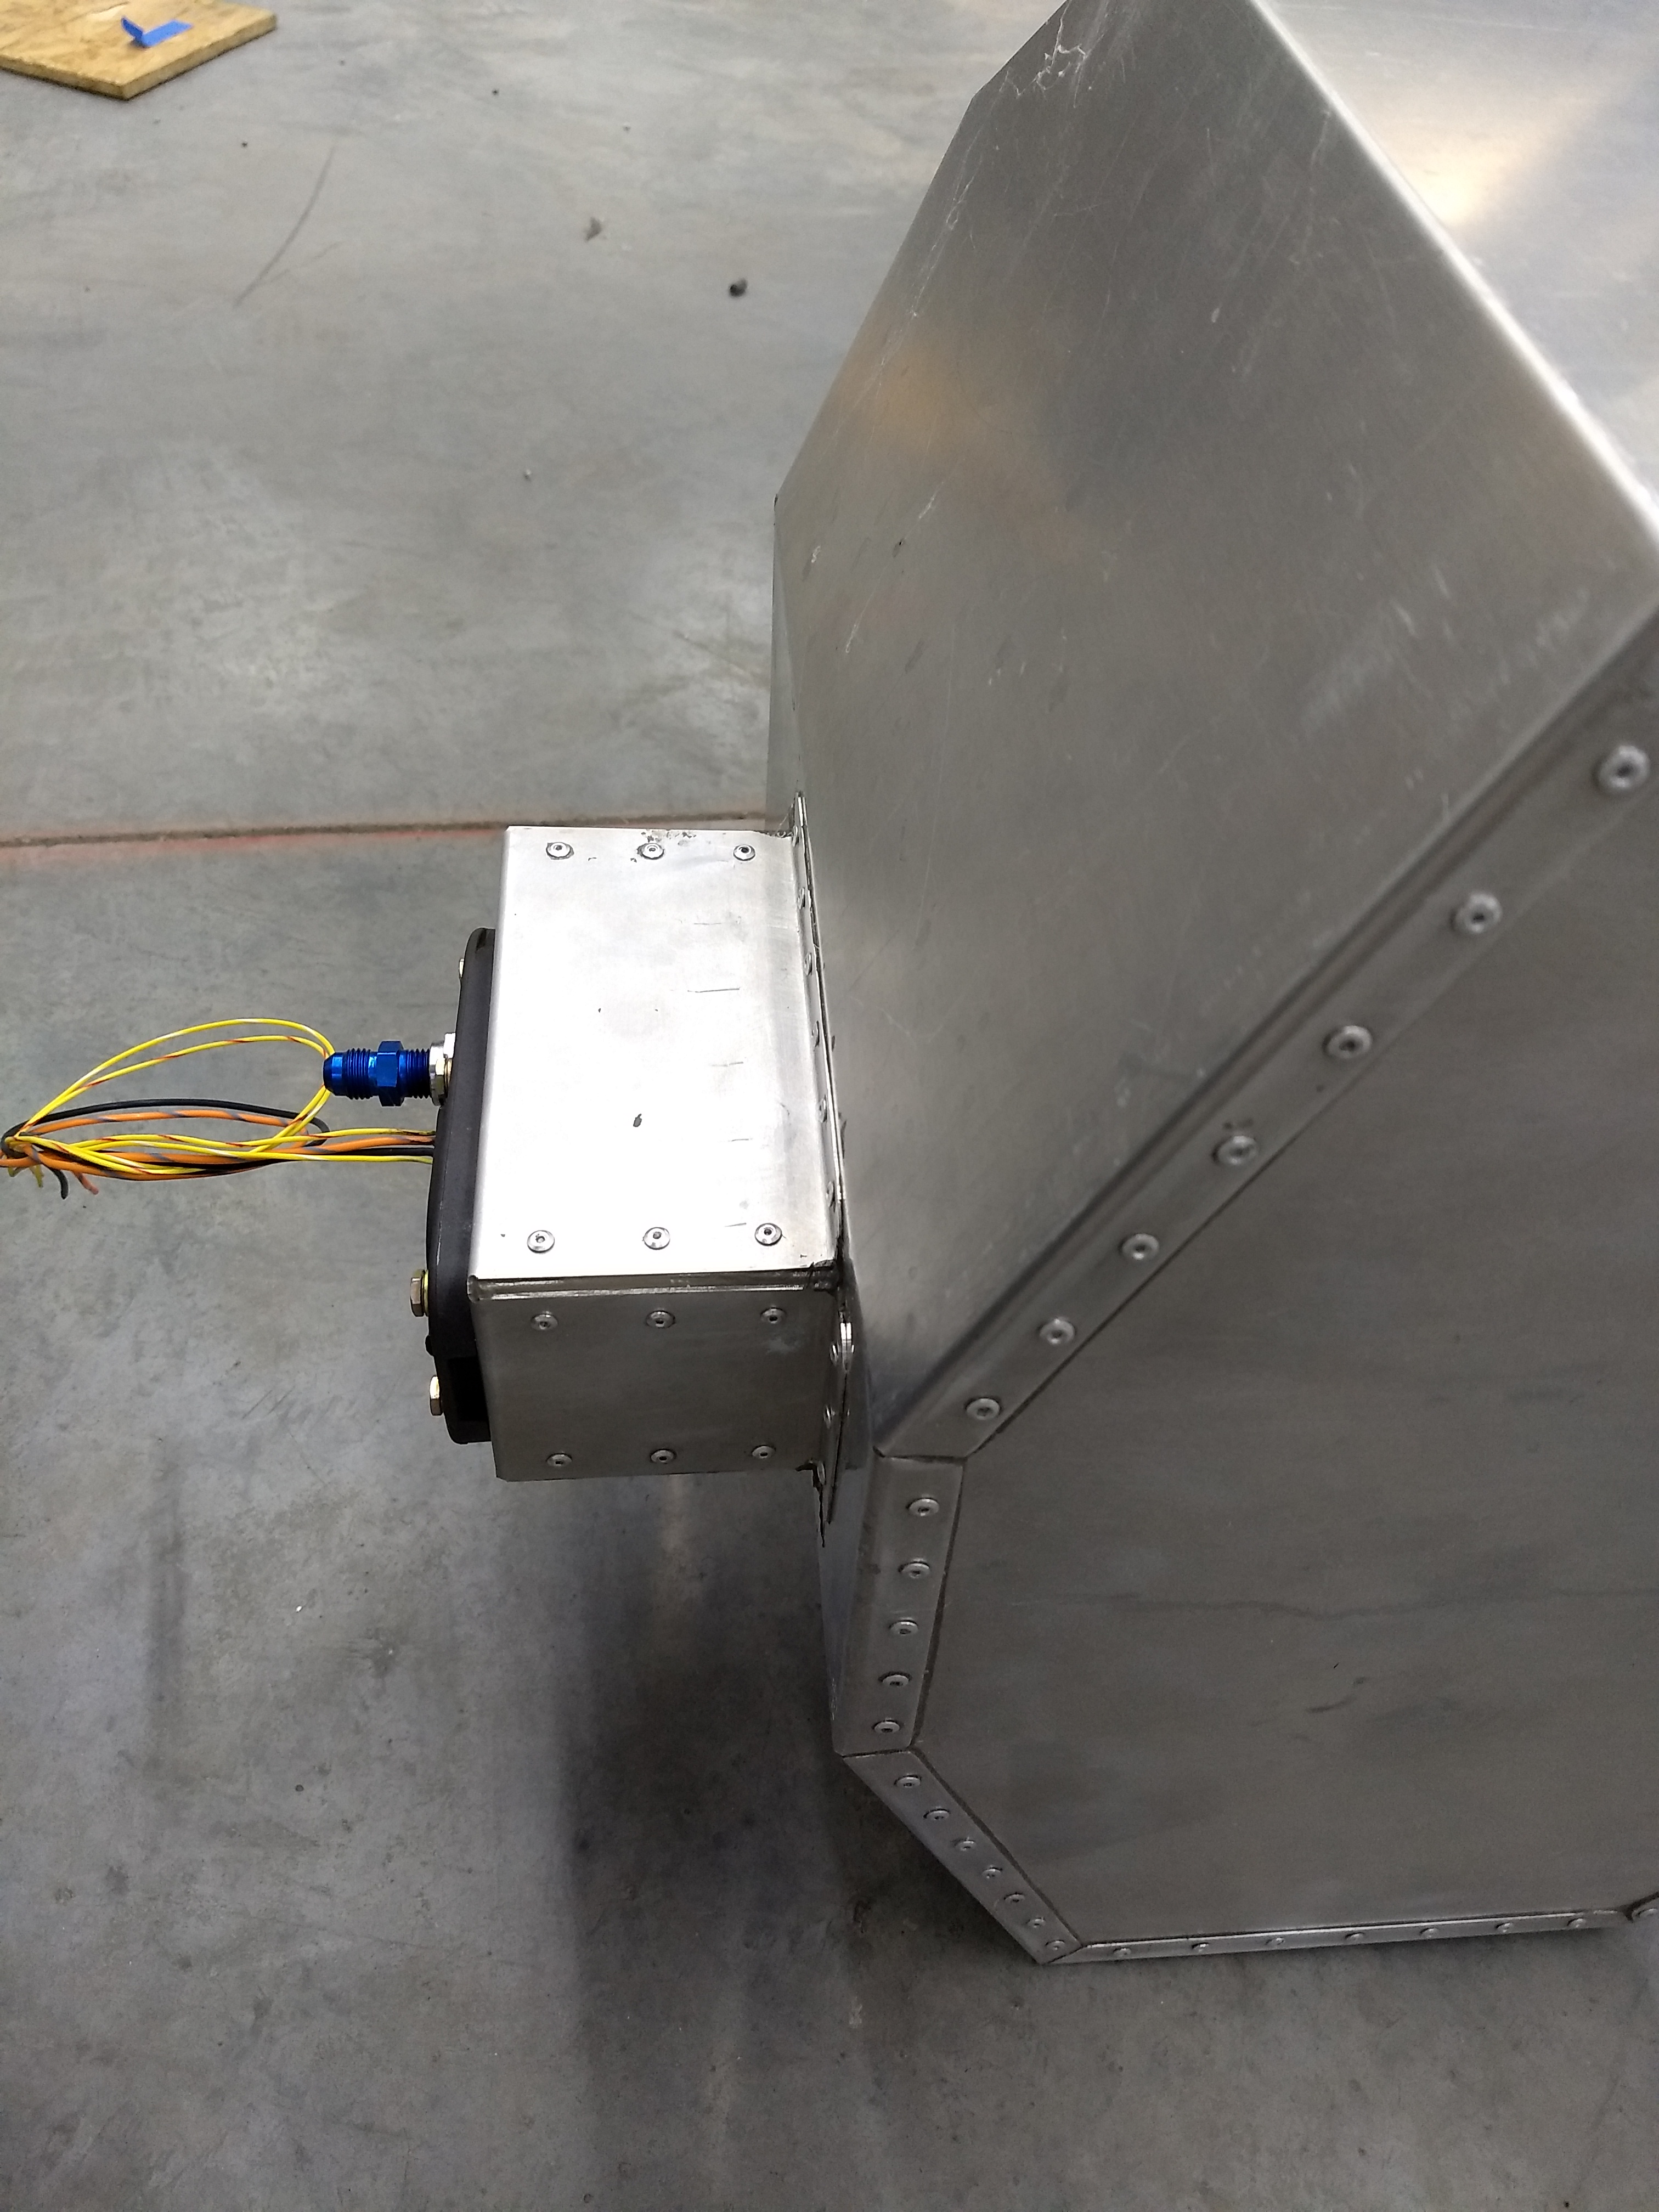
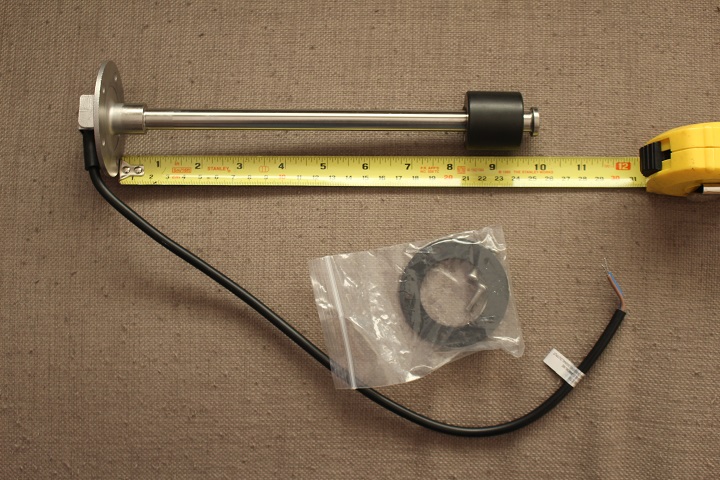
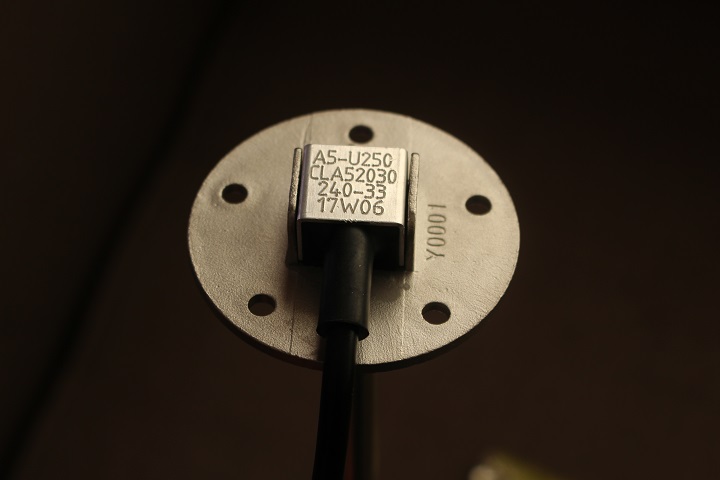
Fuel Level Sender:
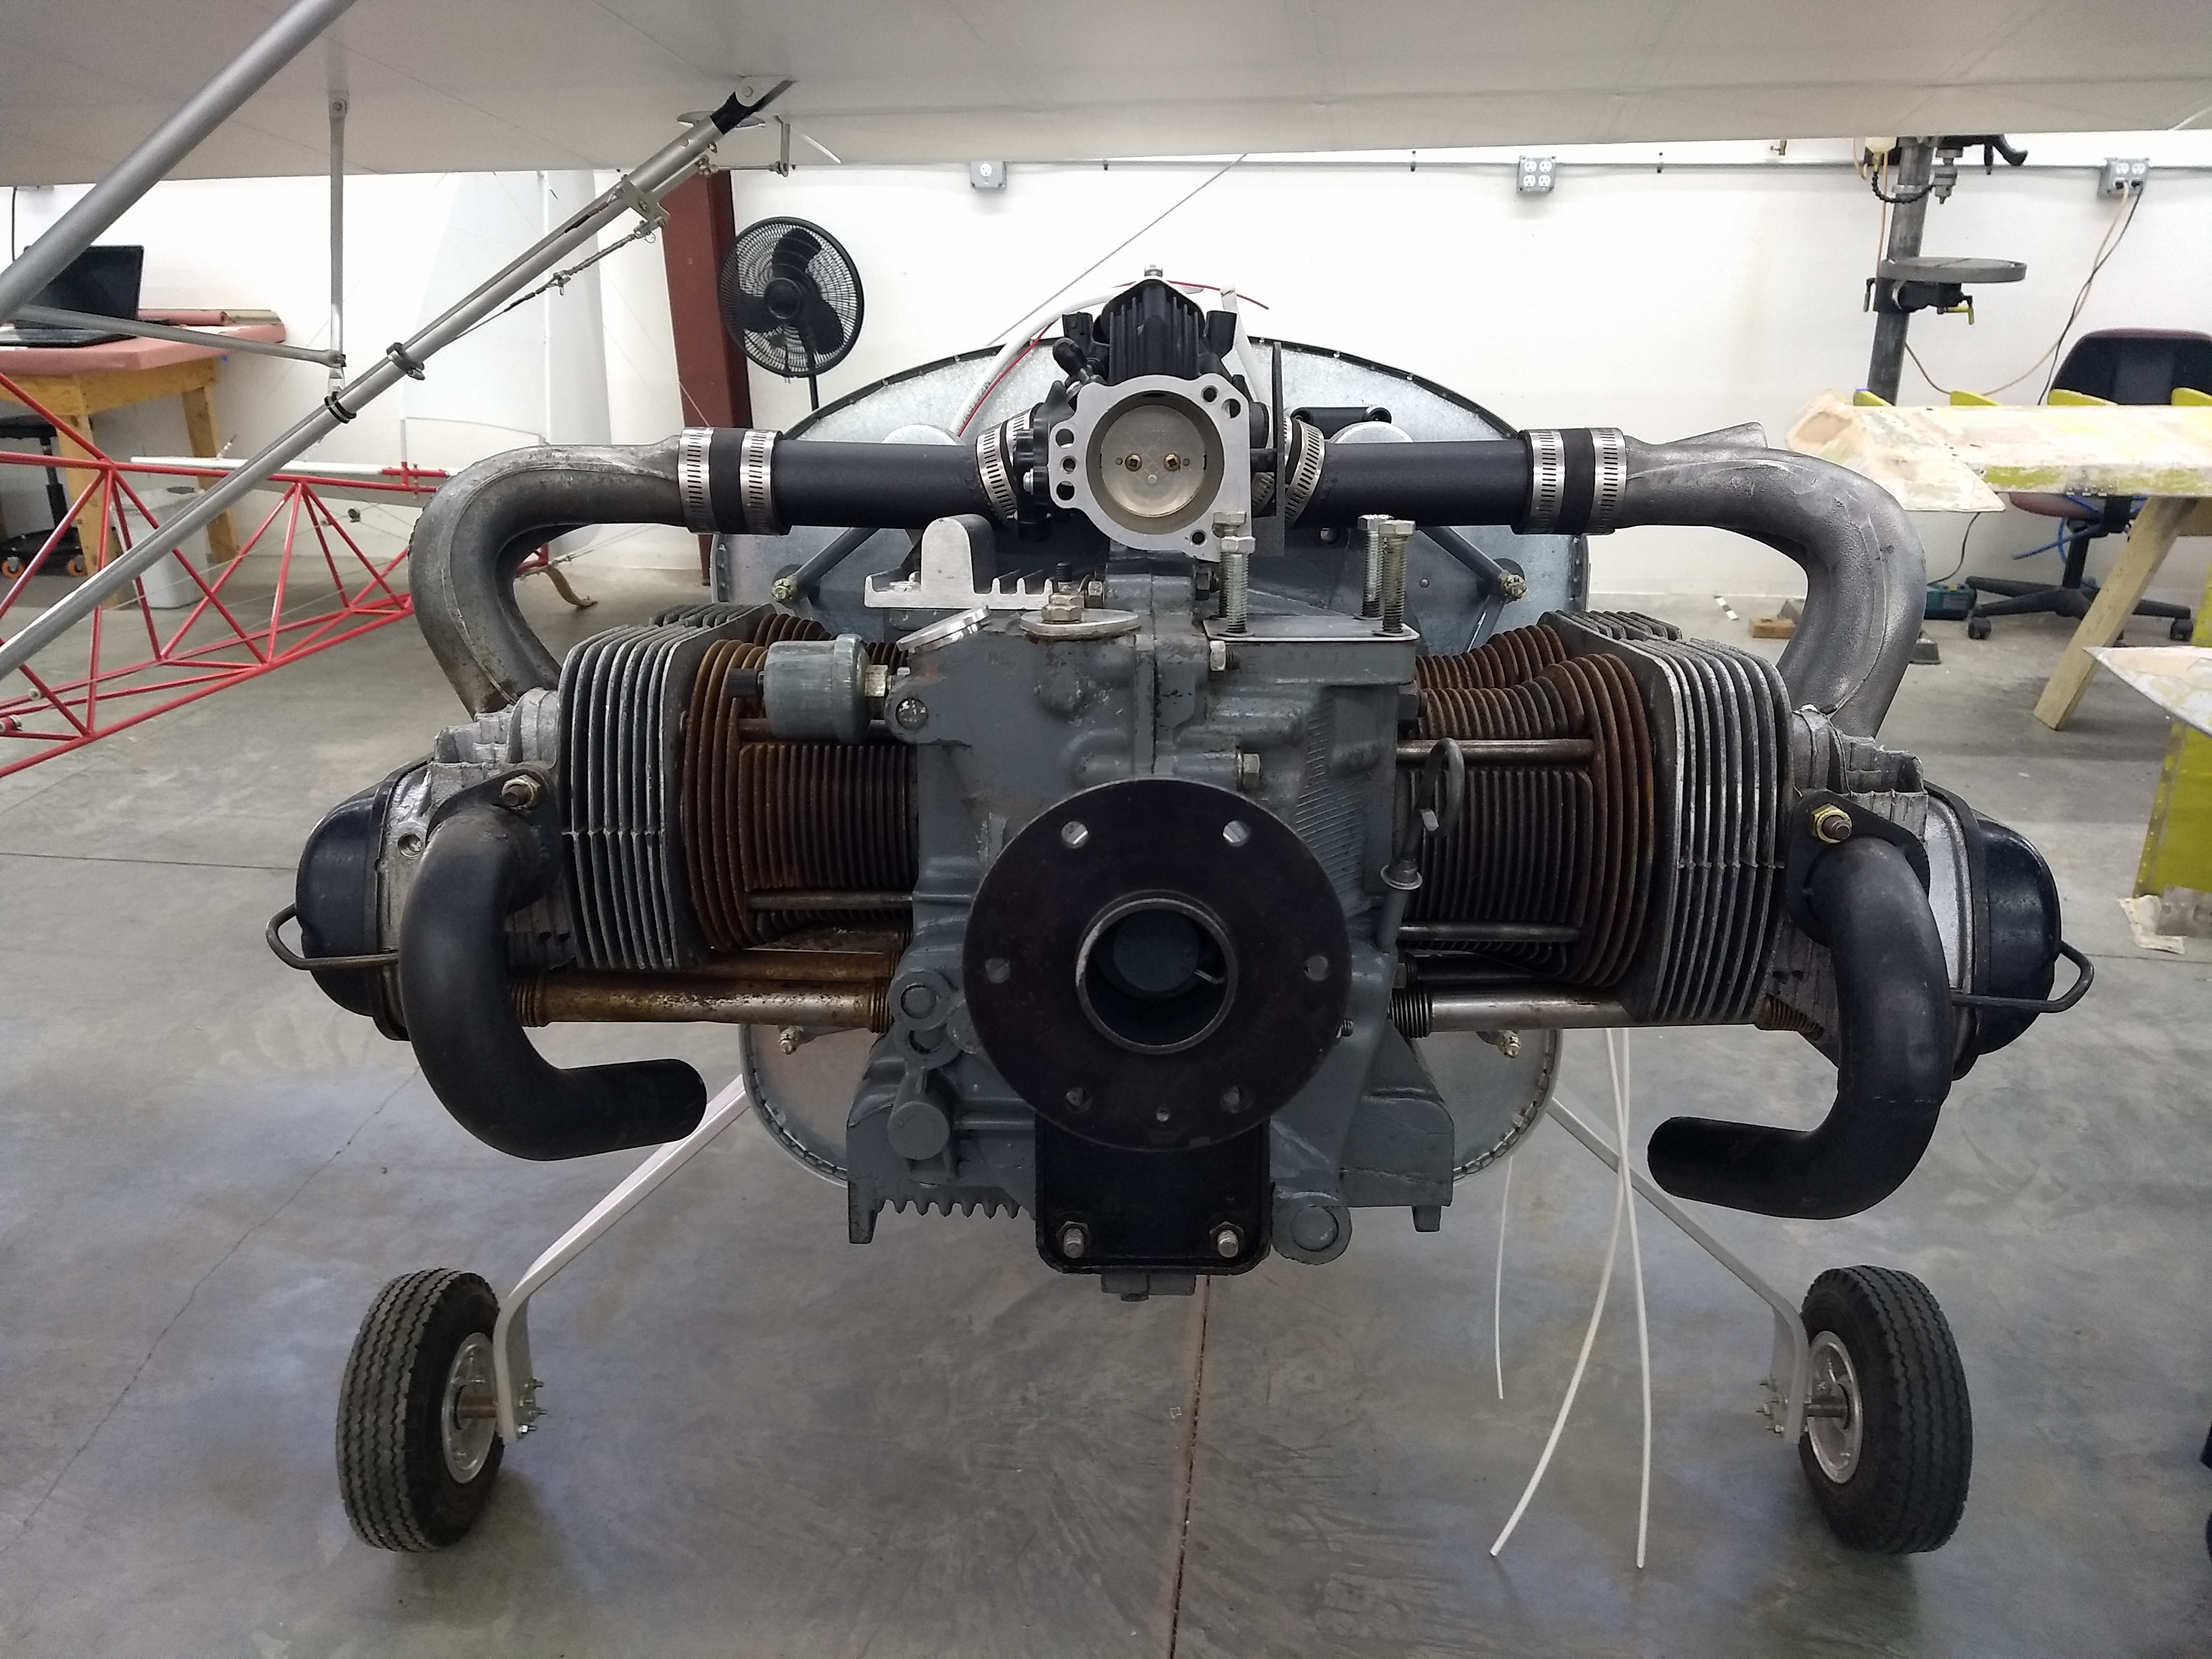
Throttle Body
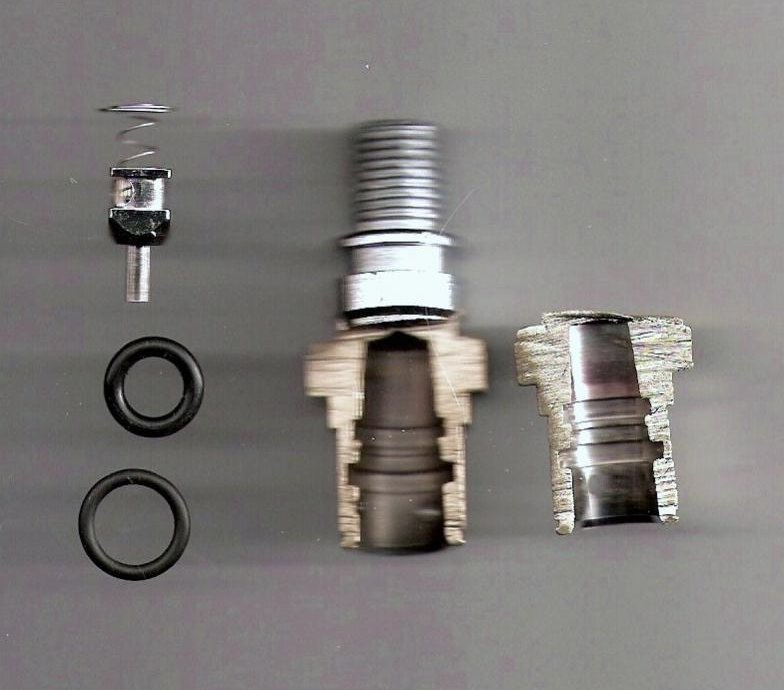
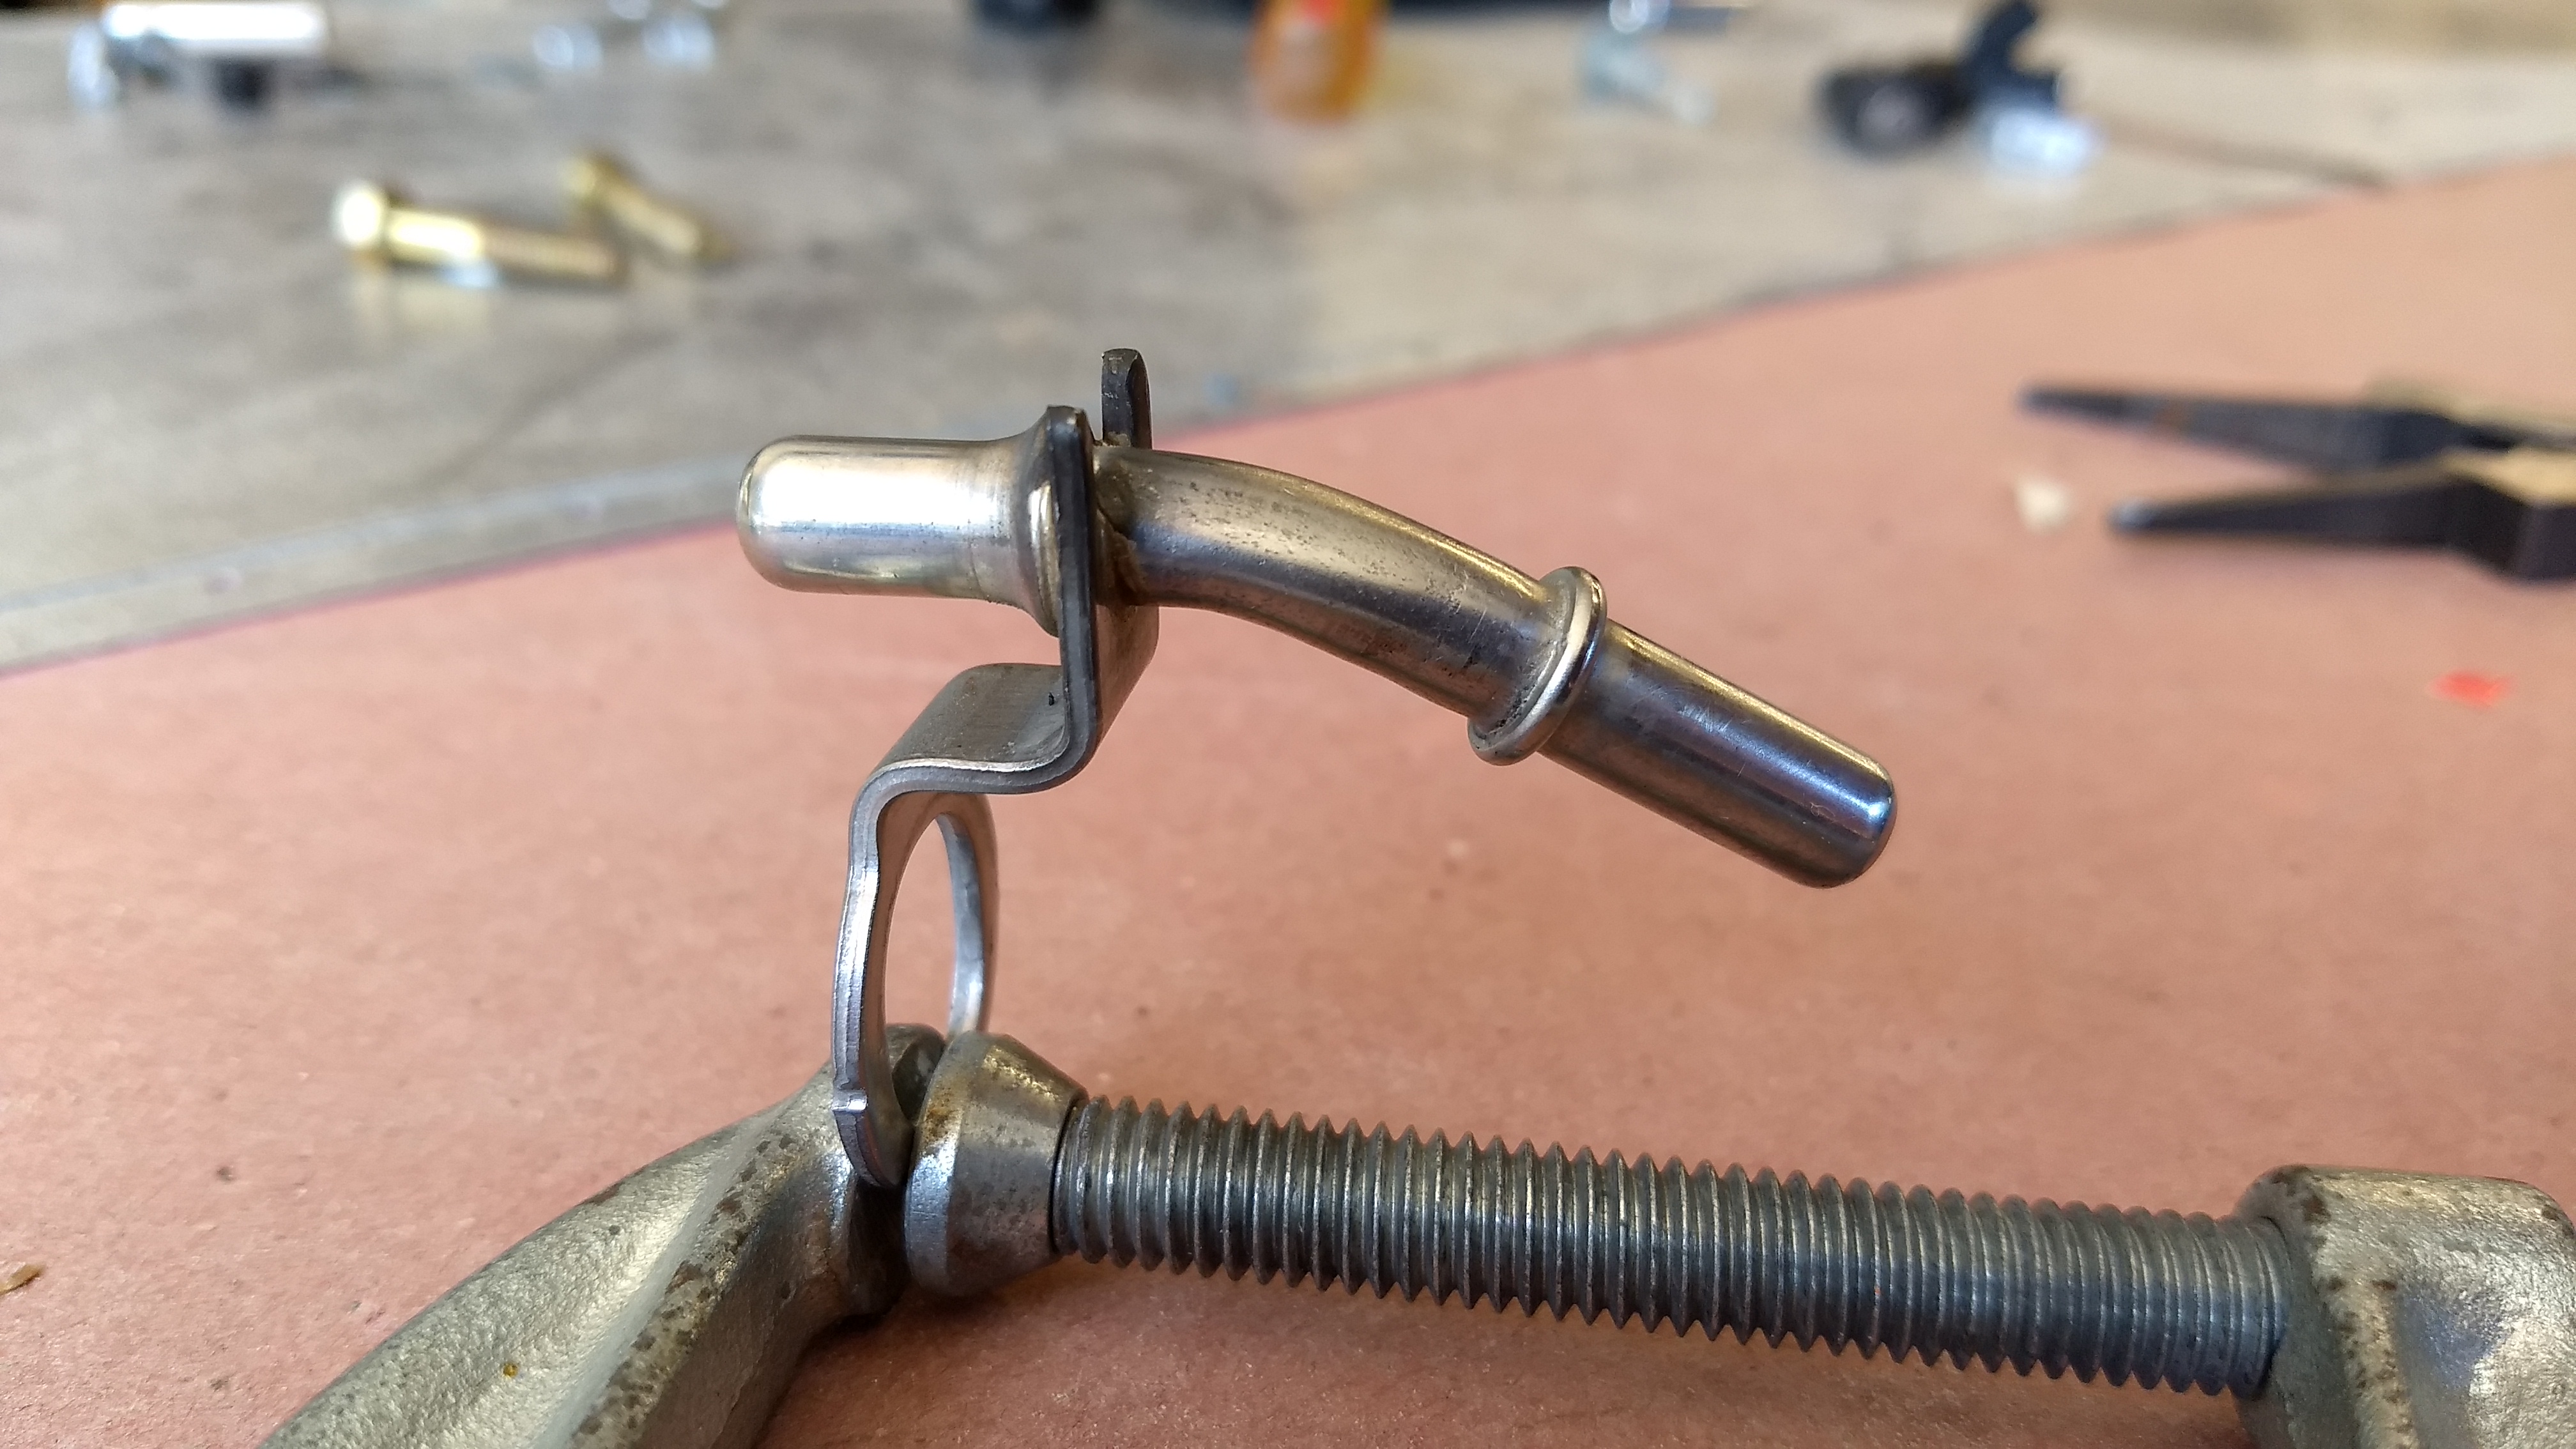
Fuel Connection Modification
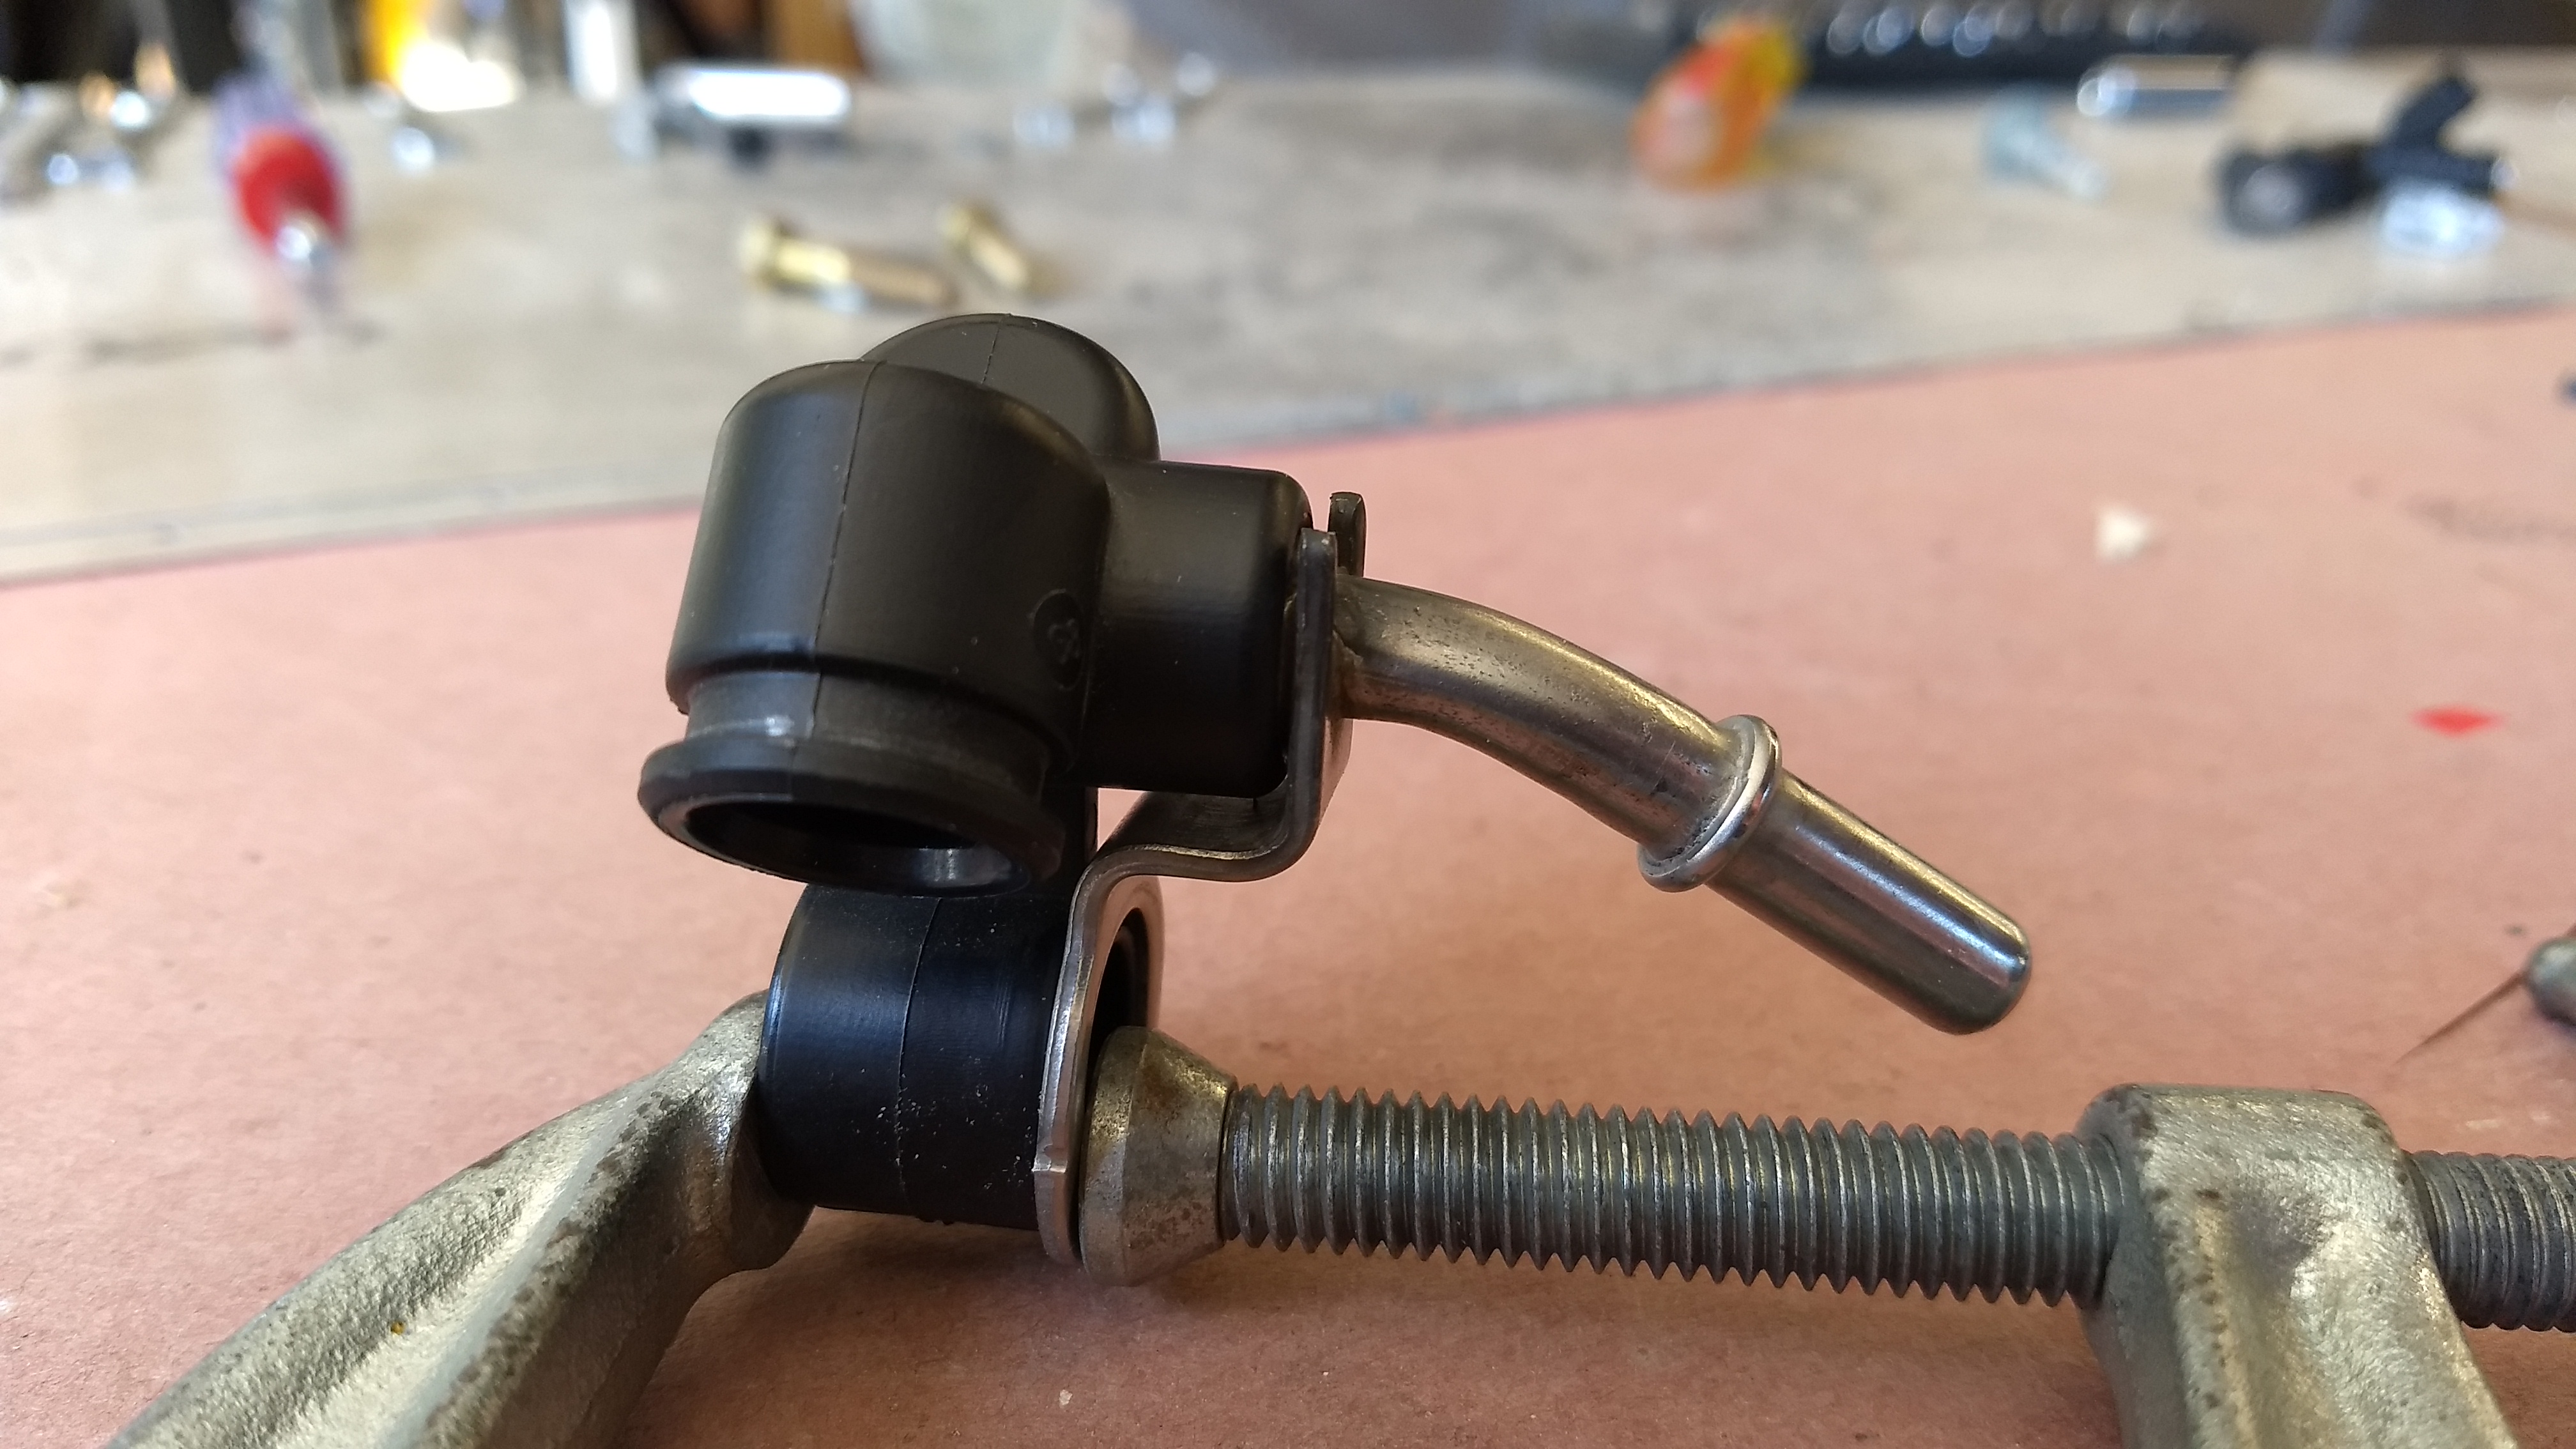
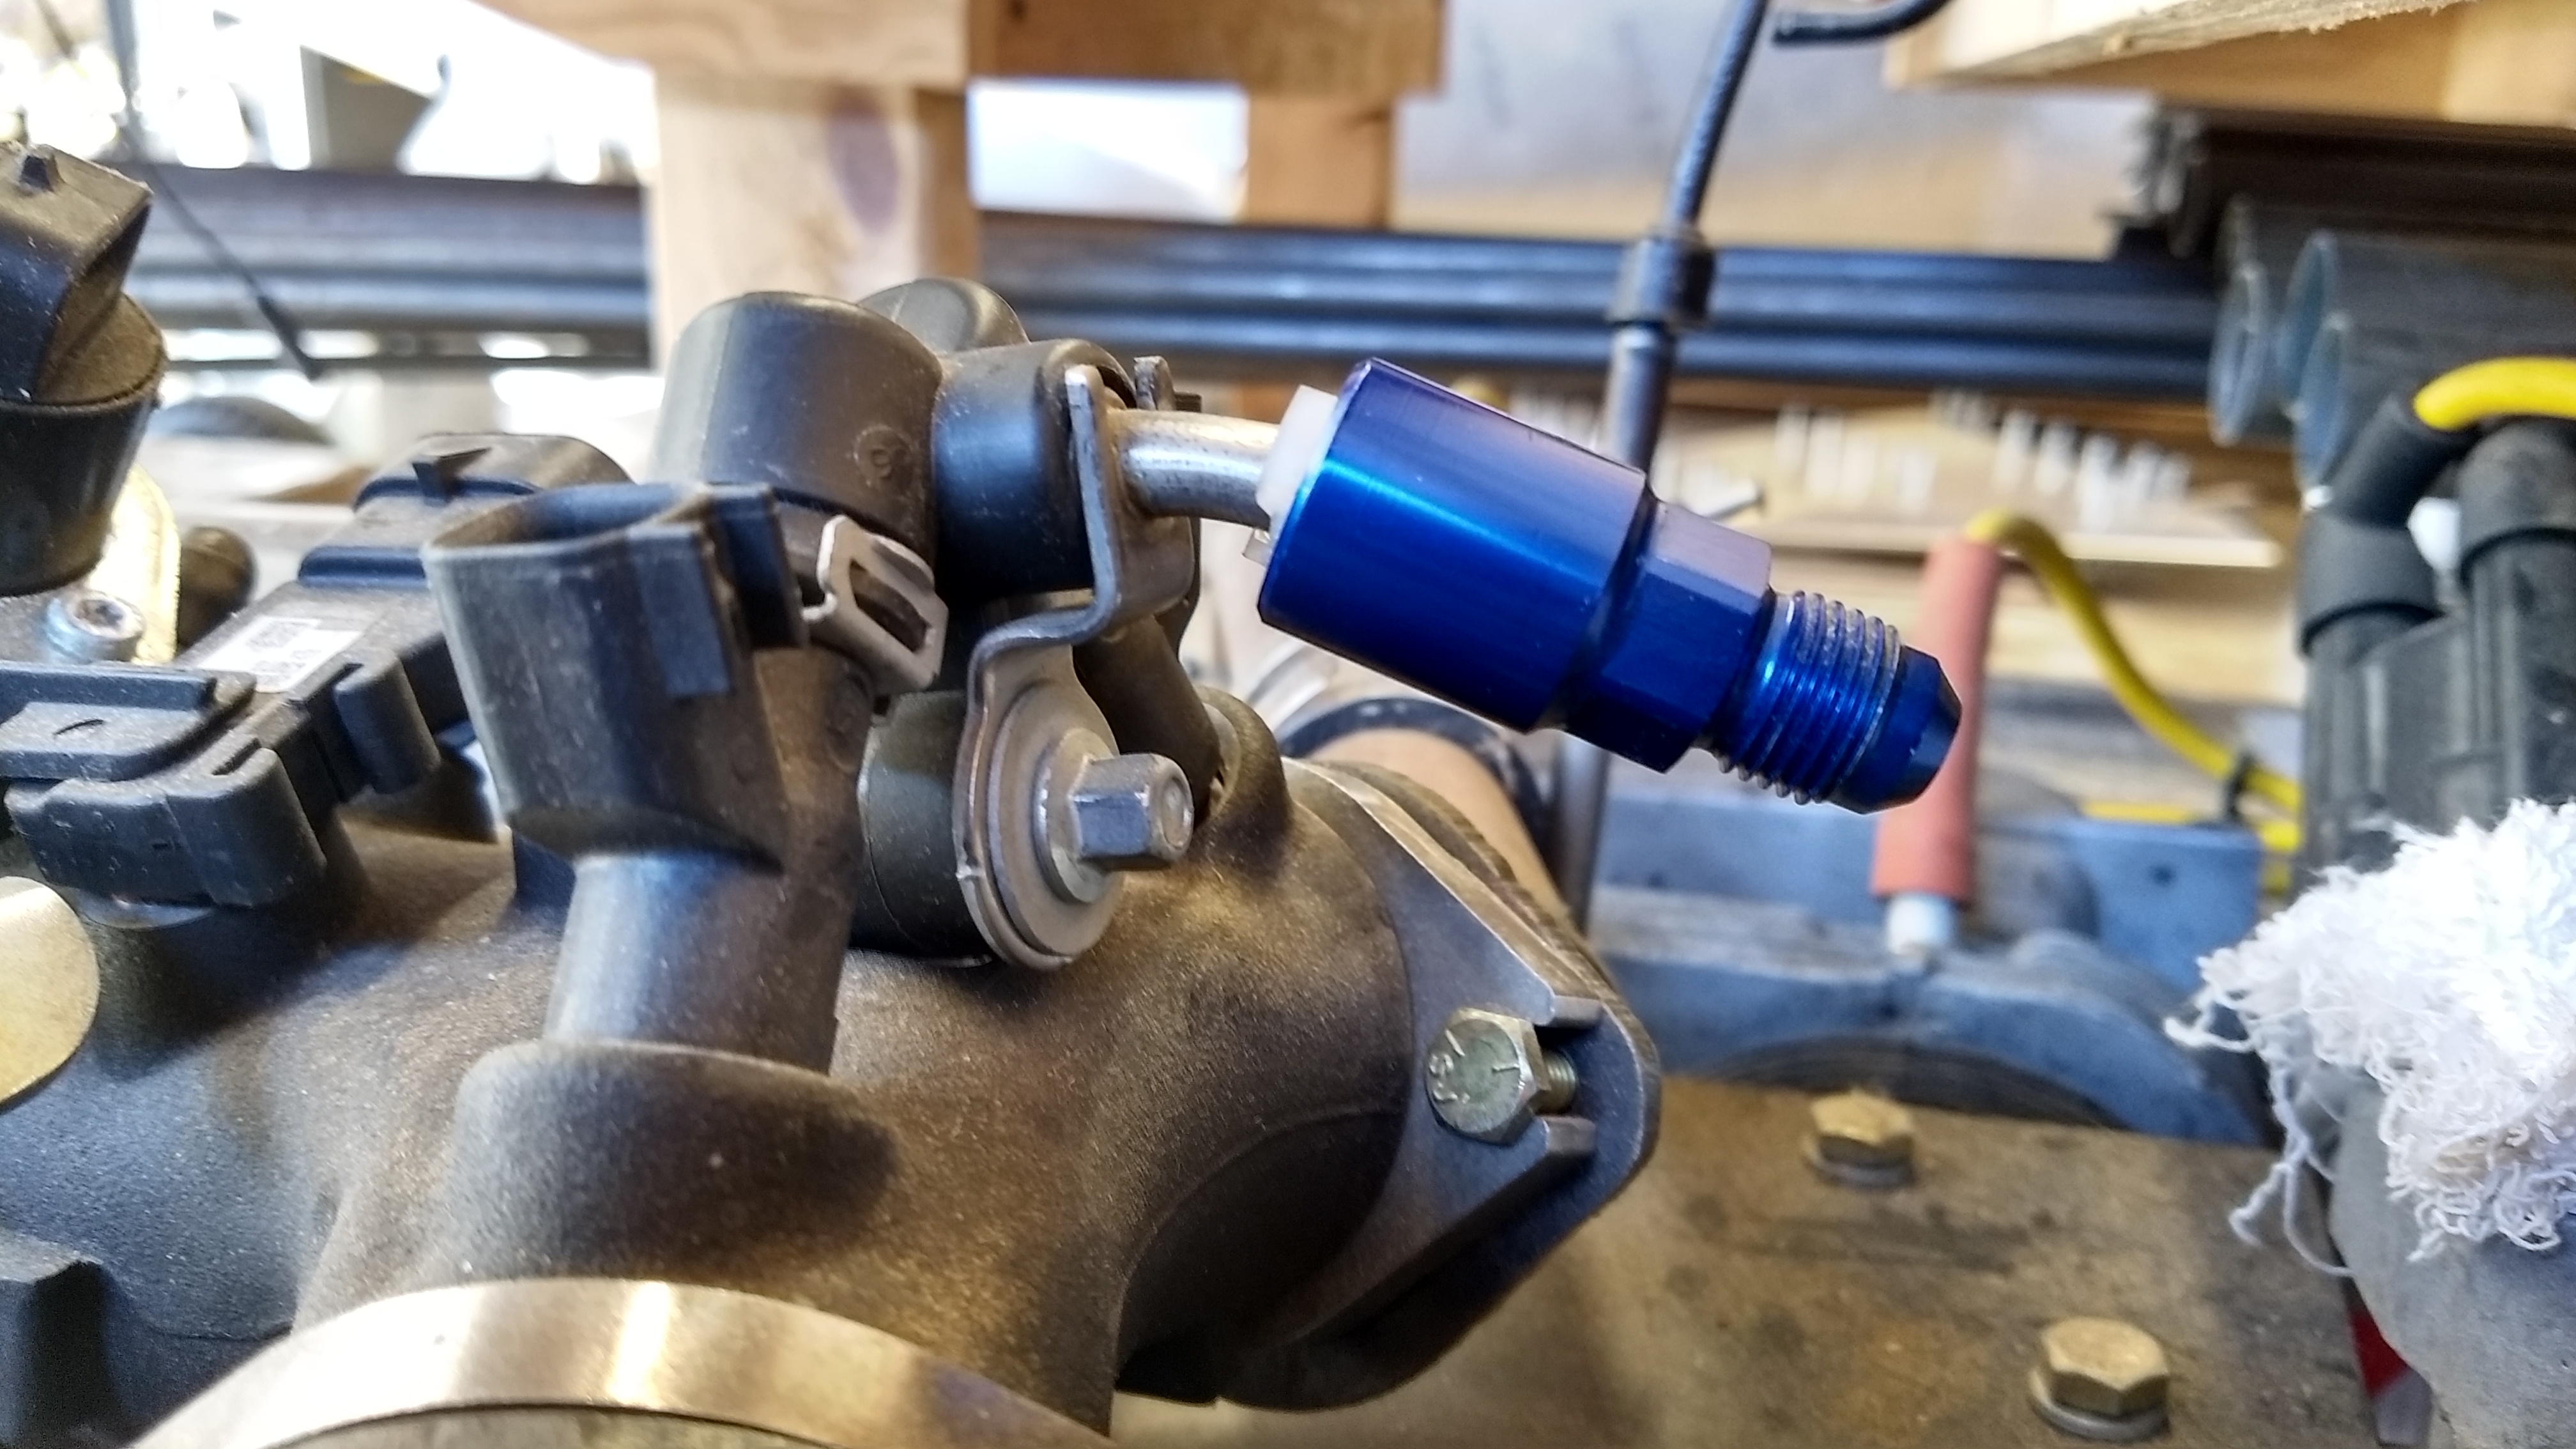
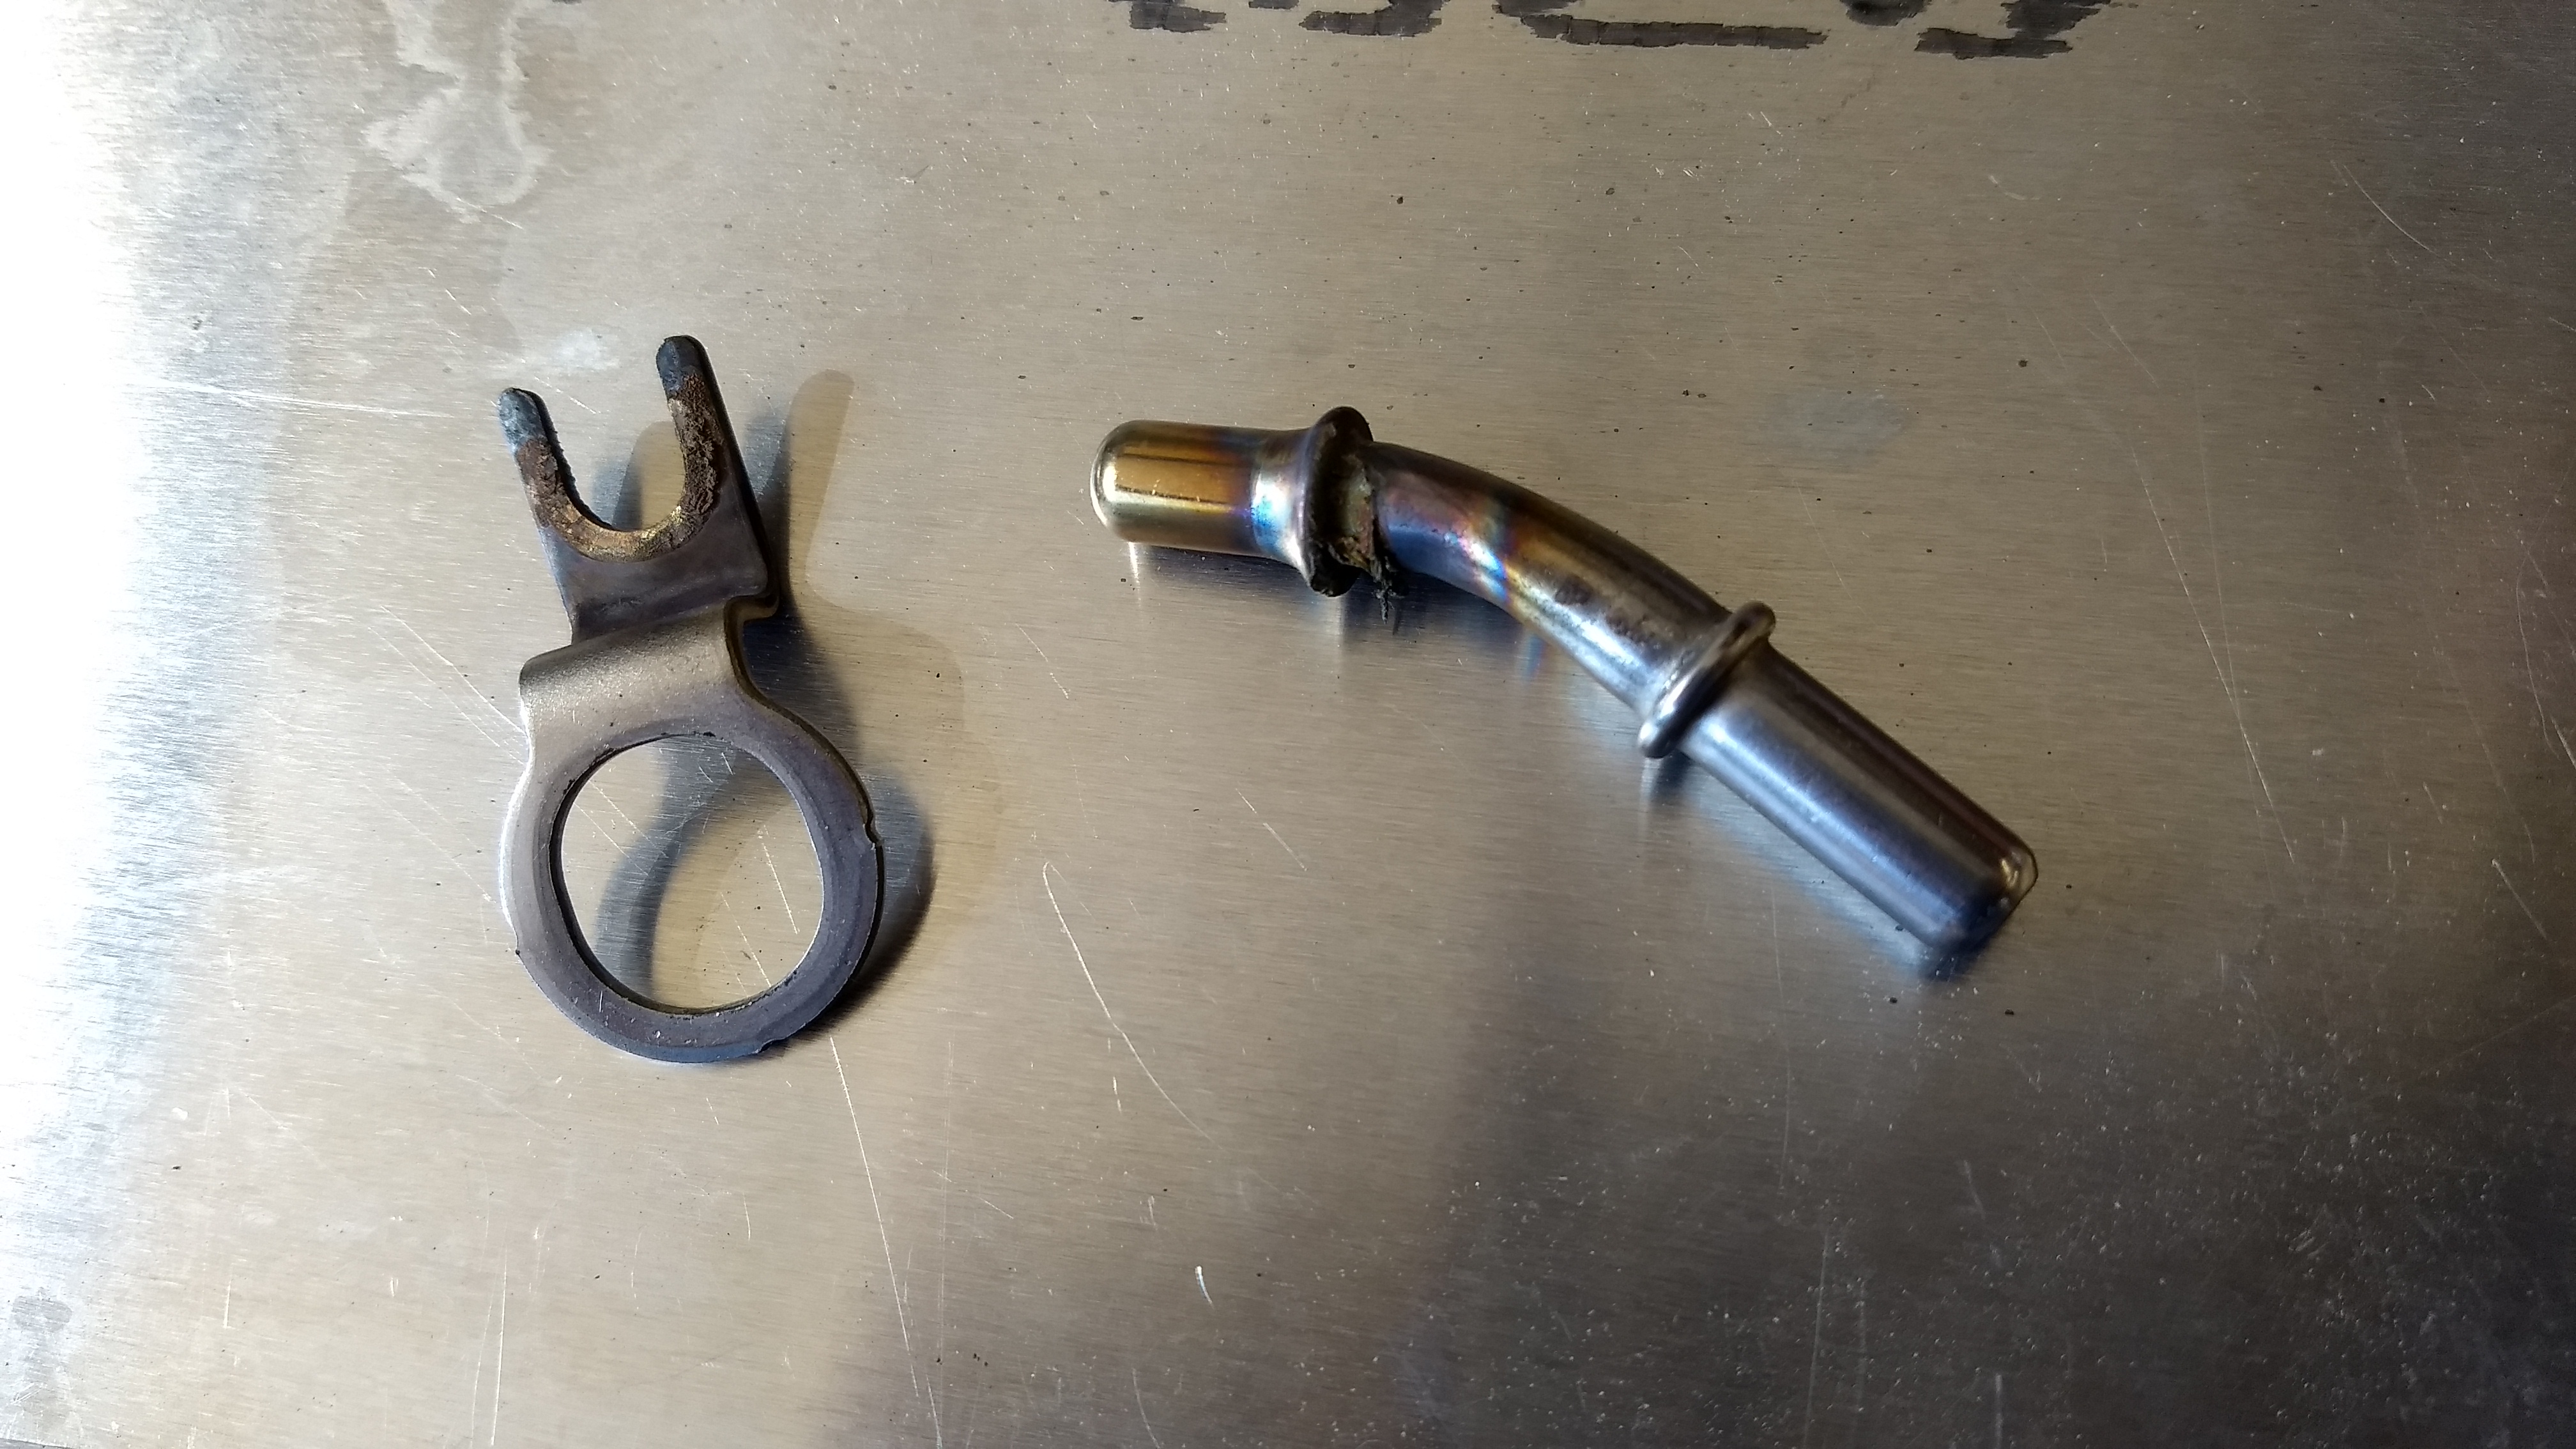
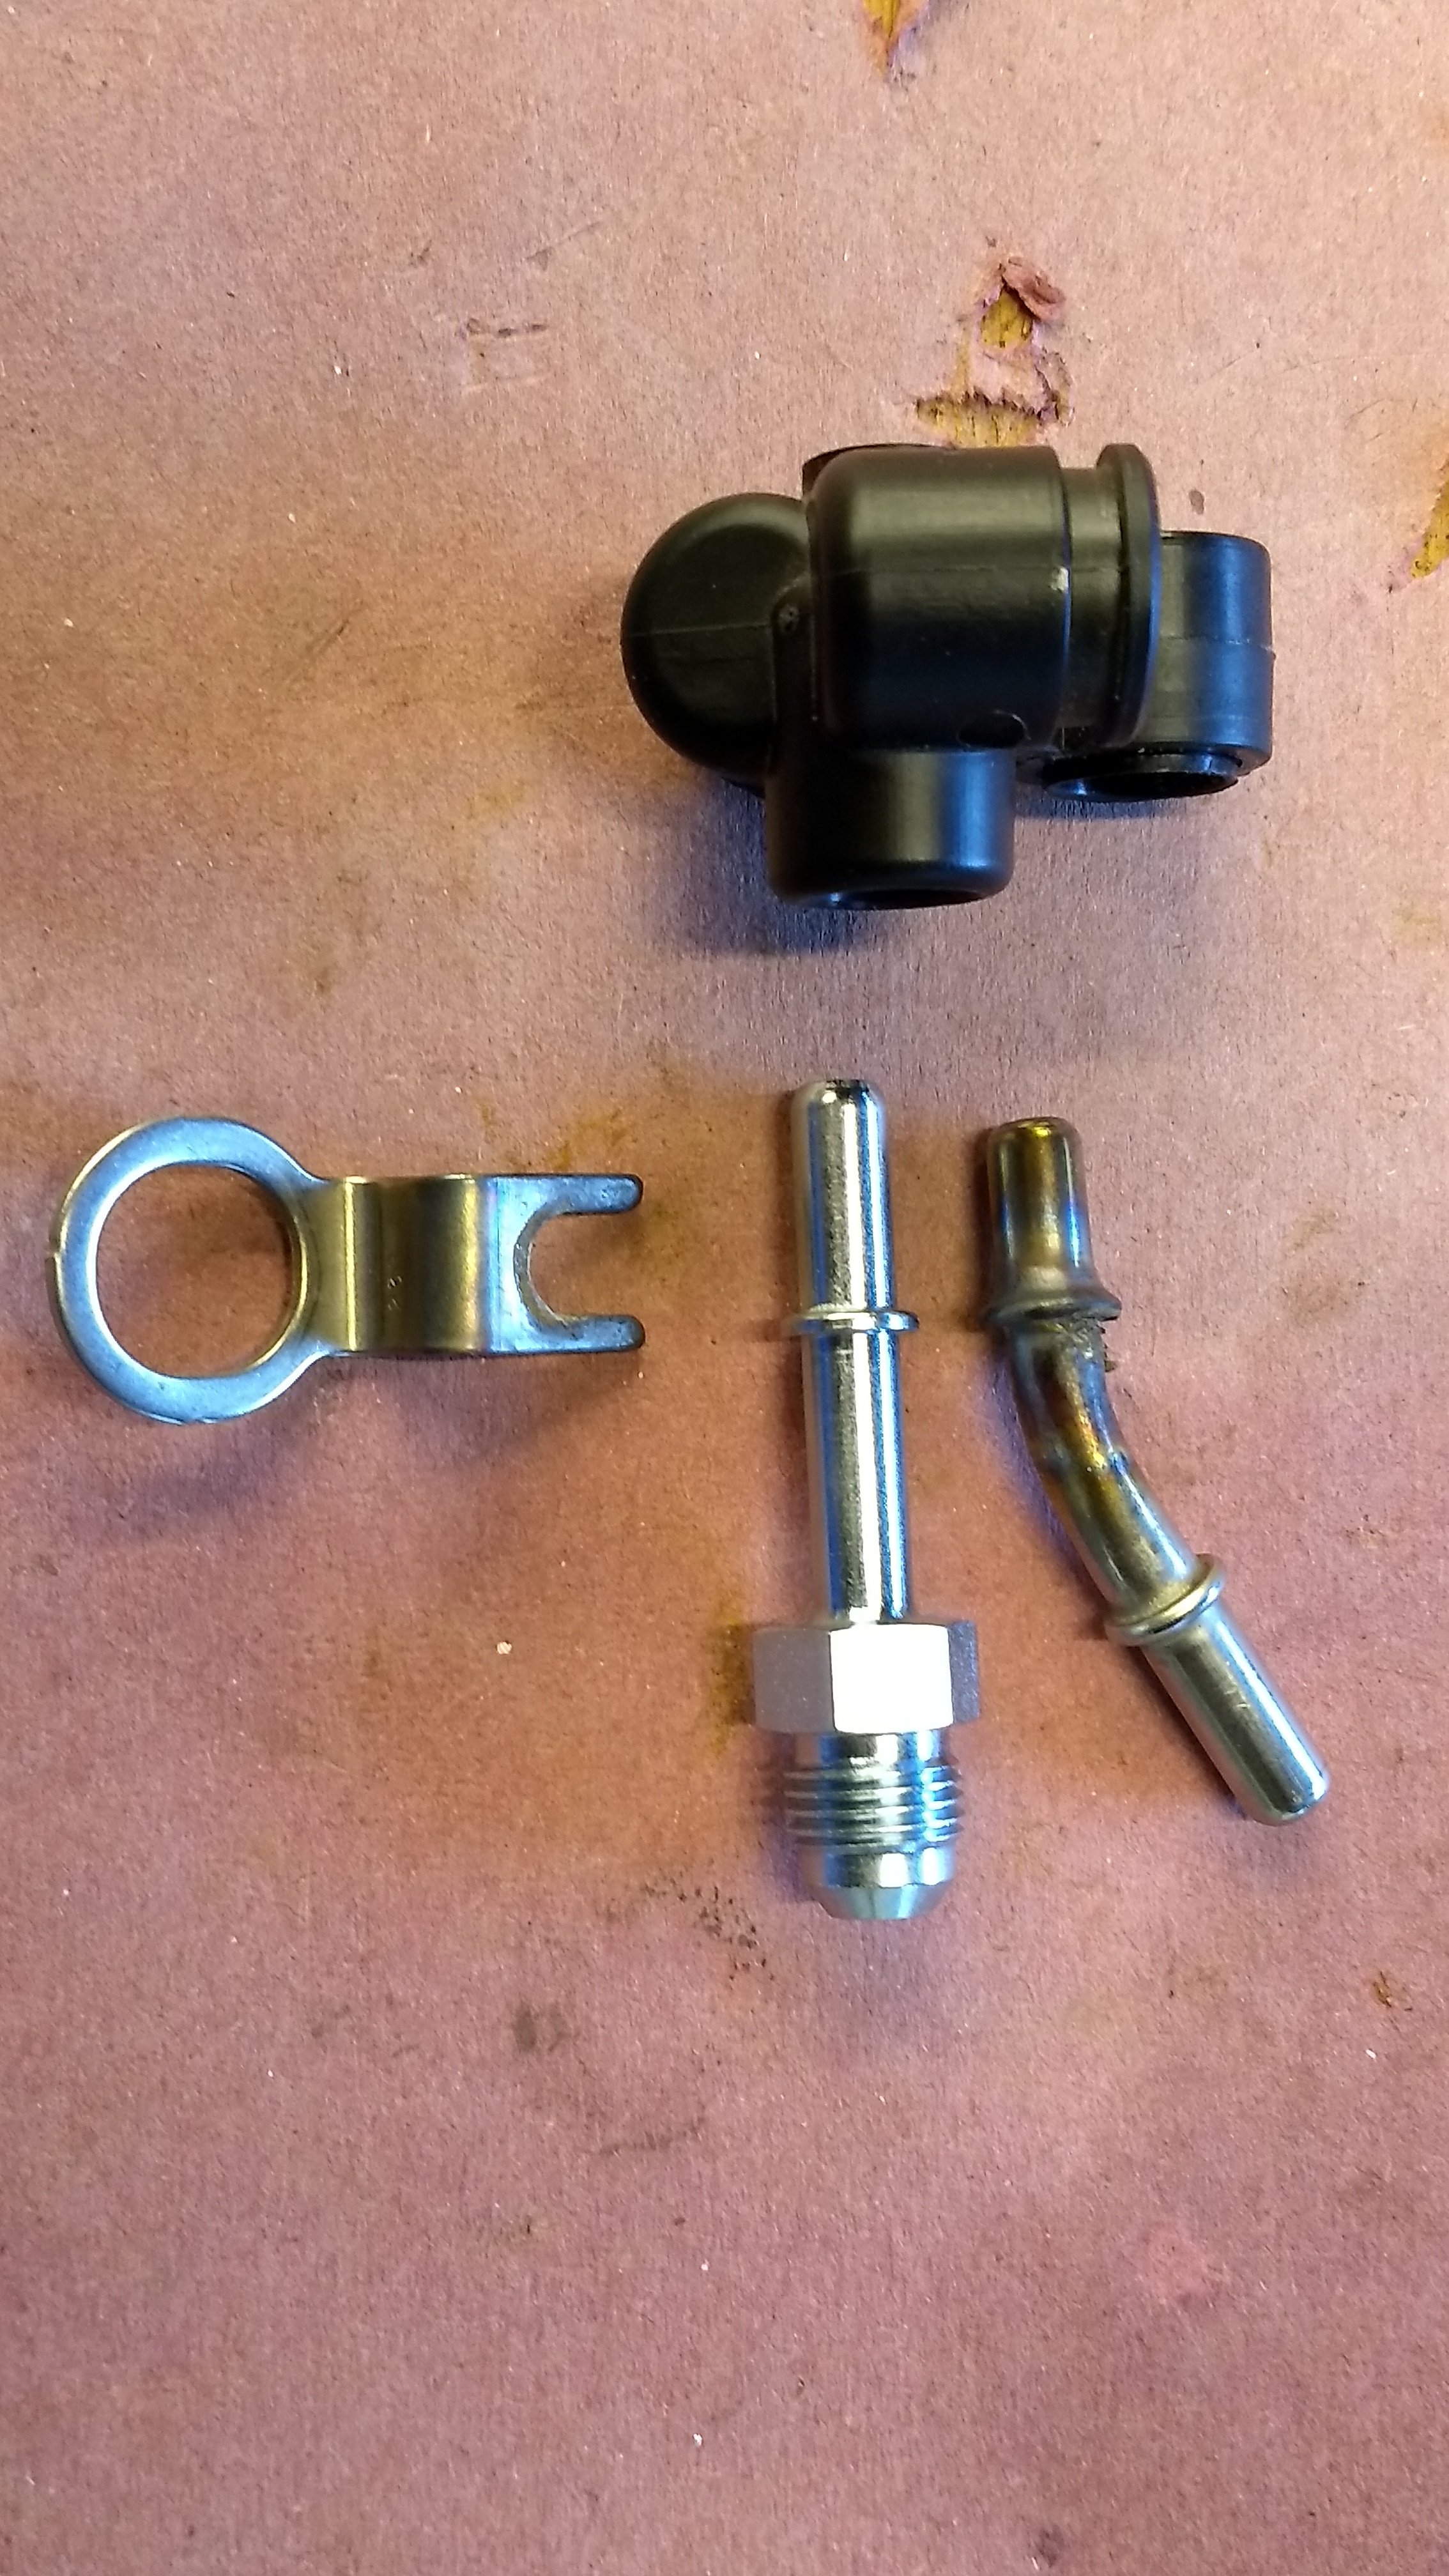
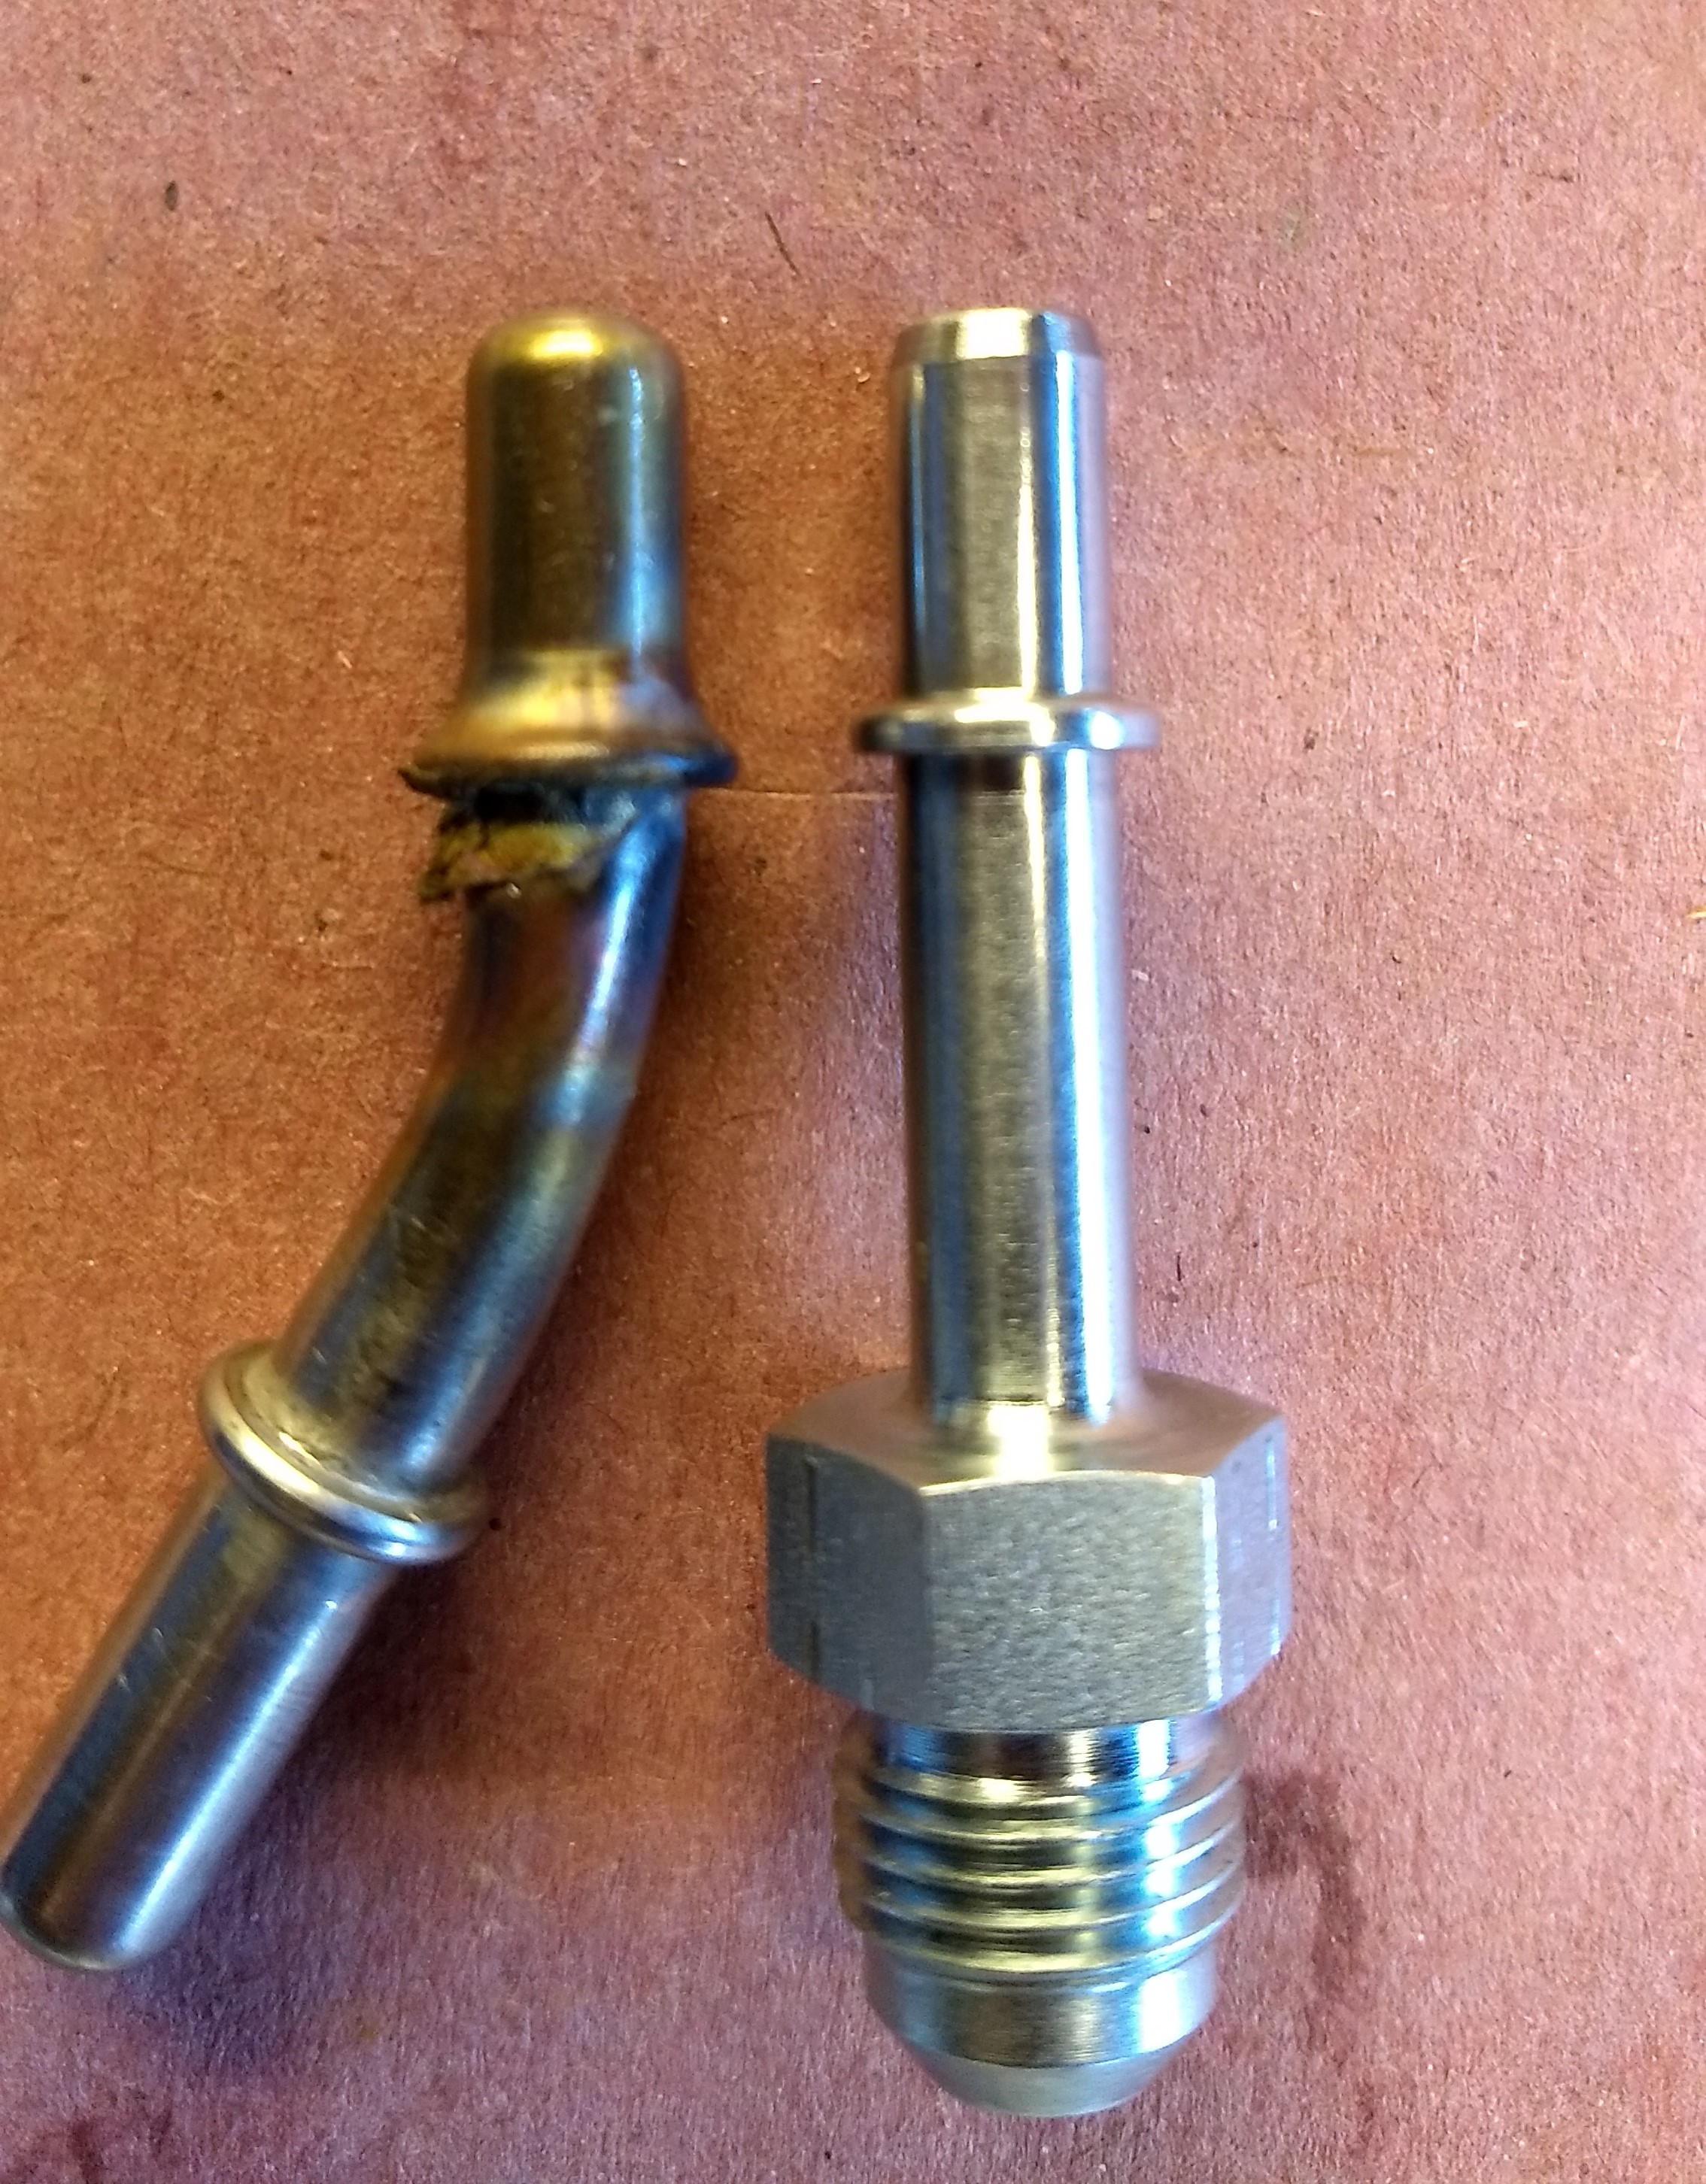
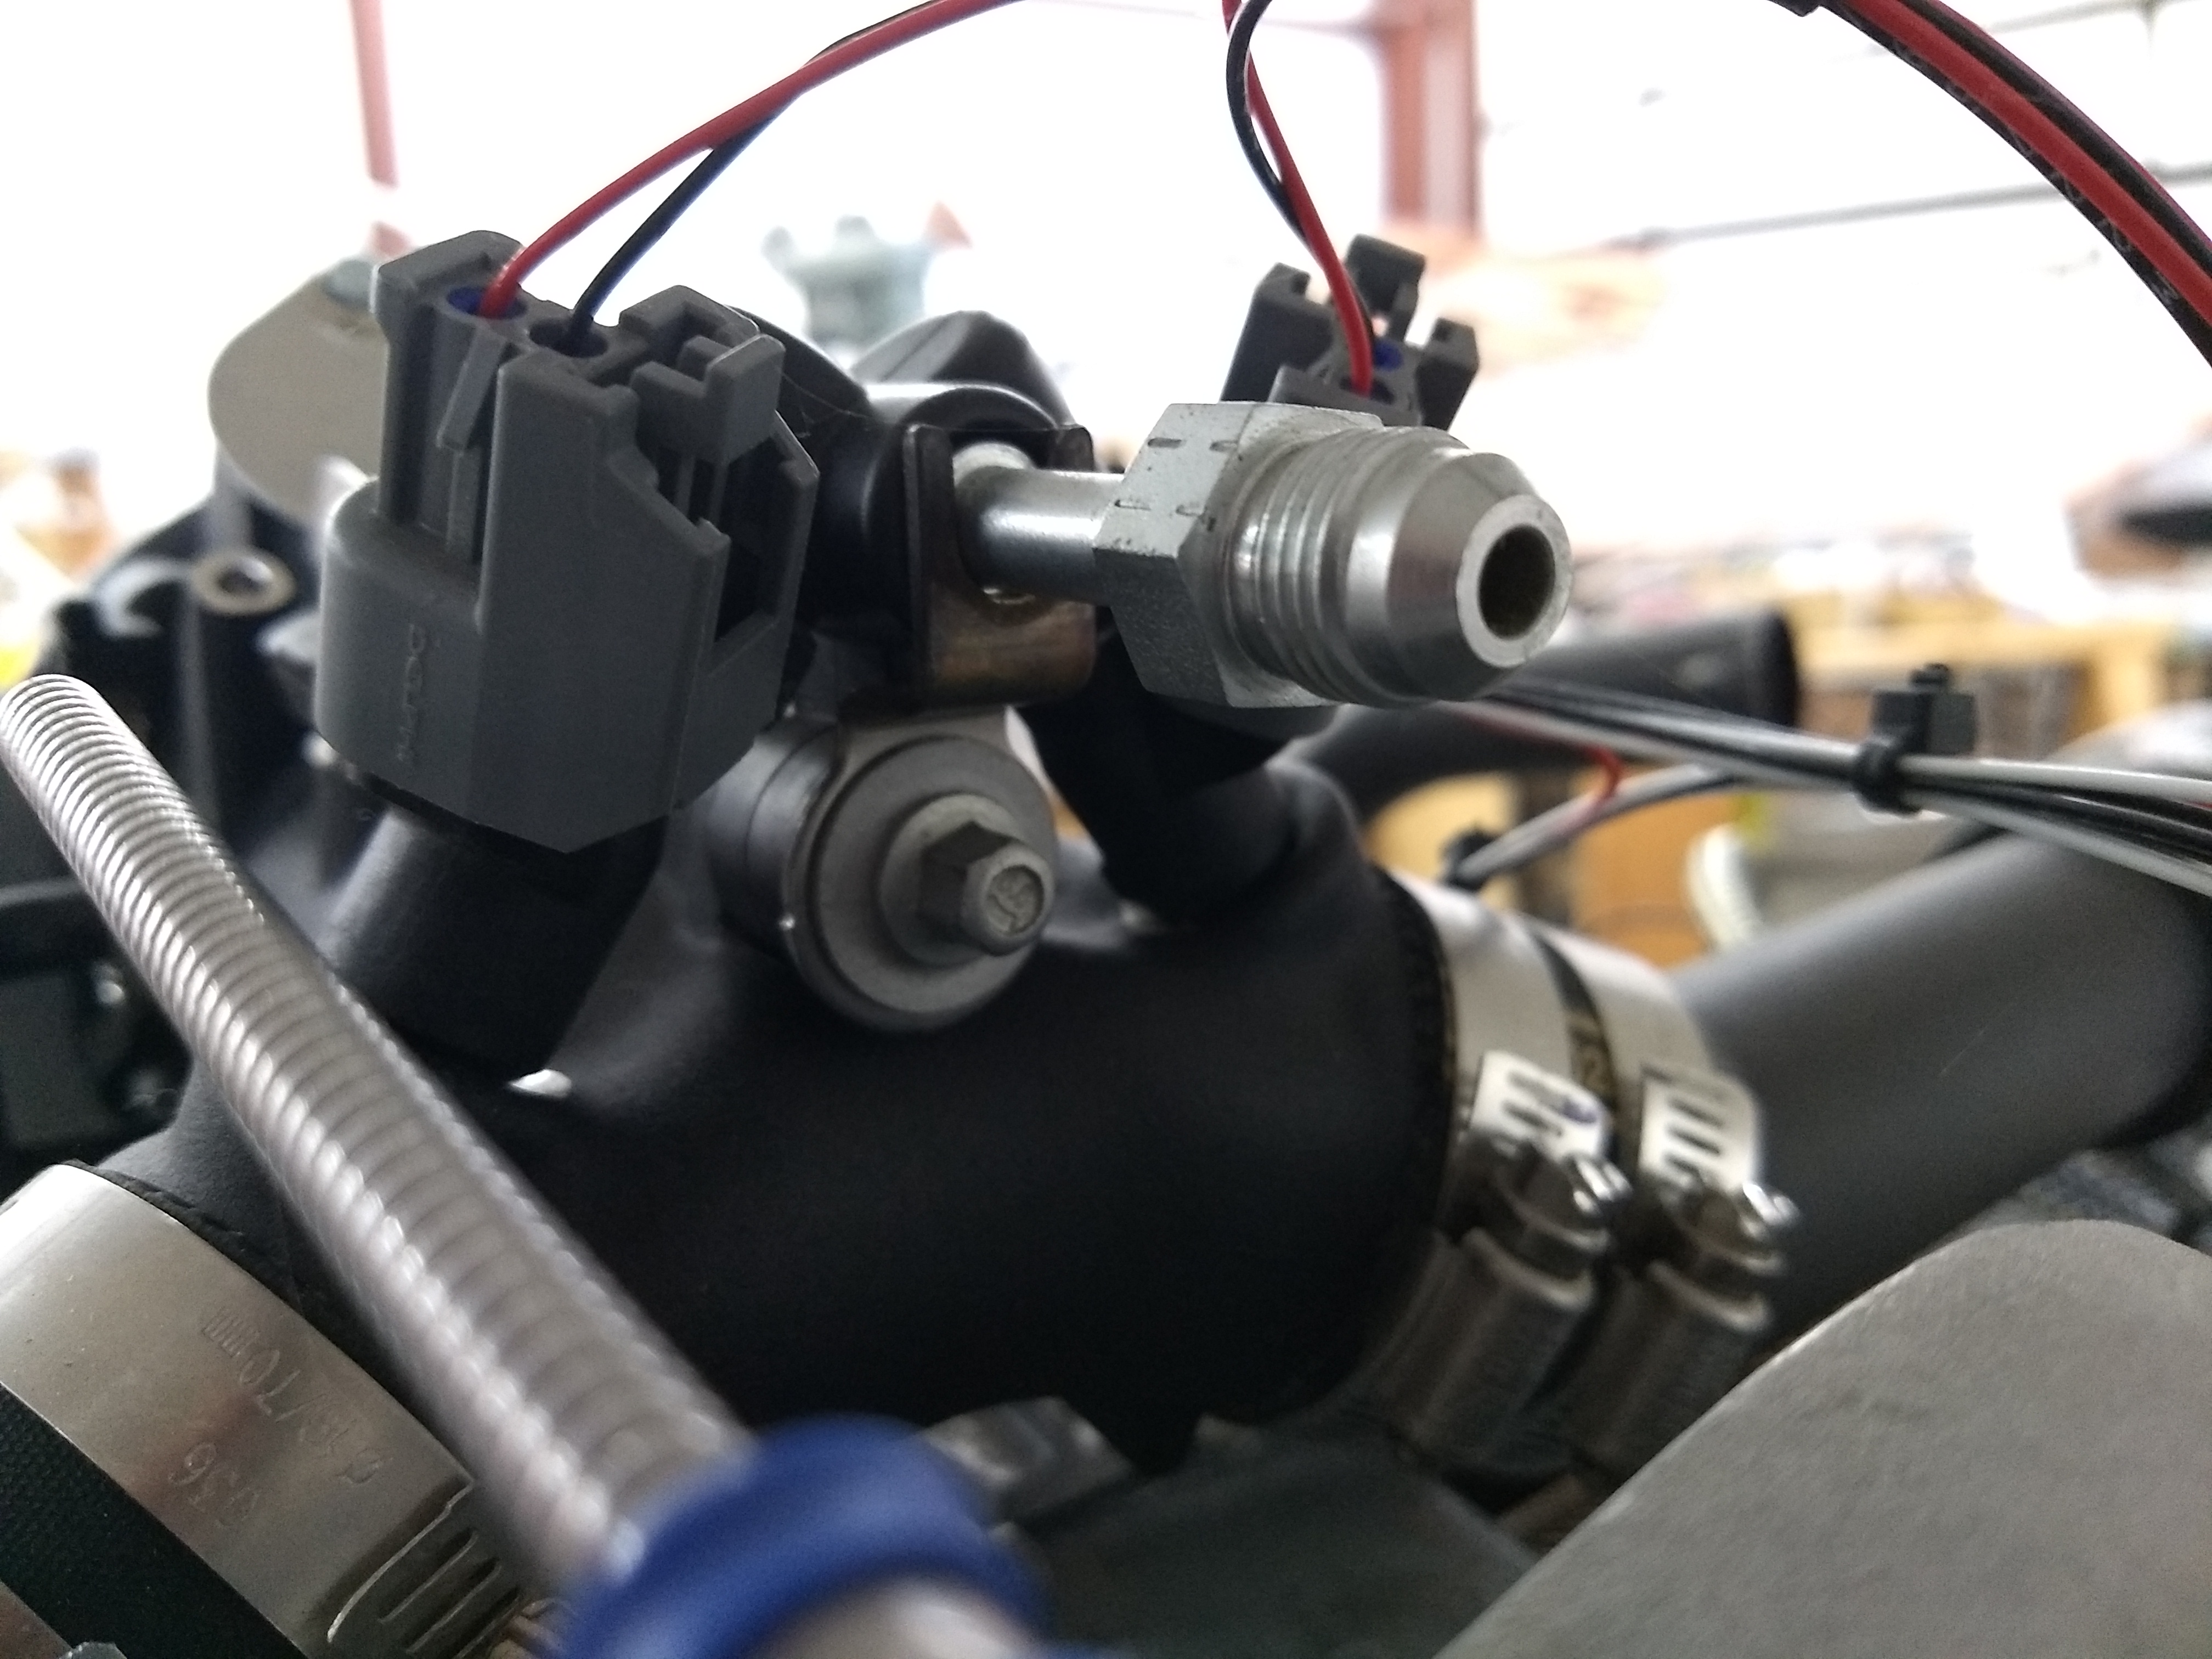
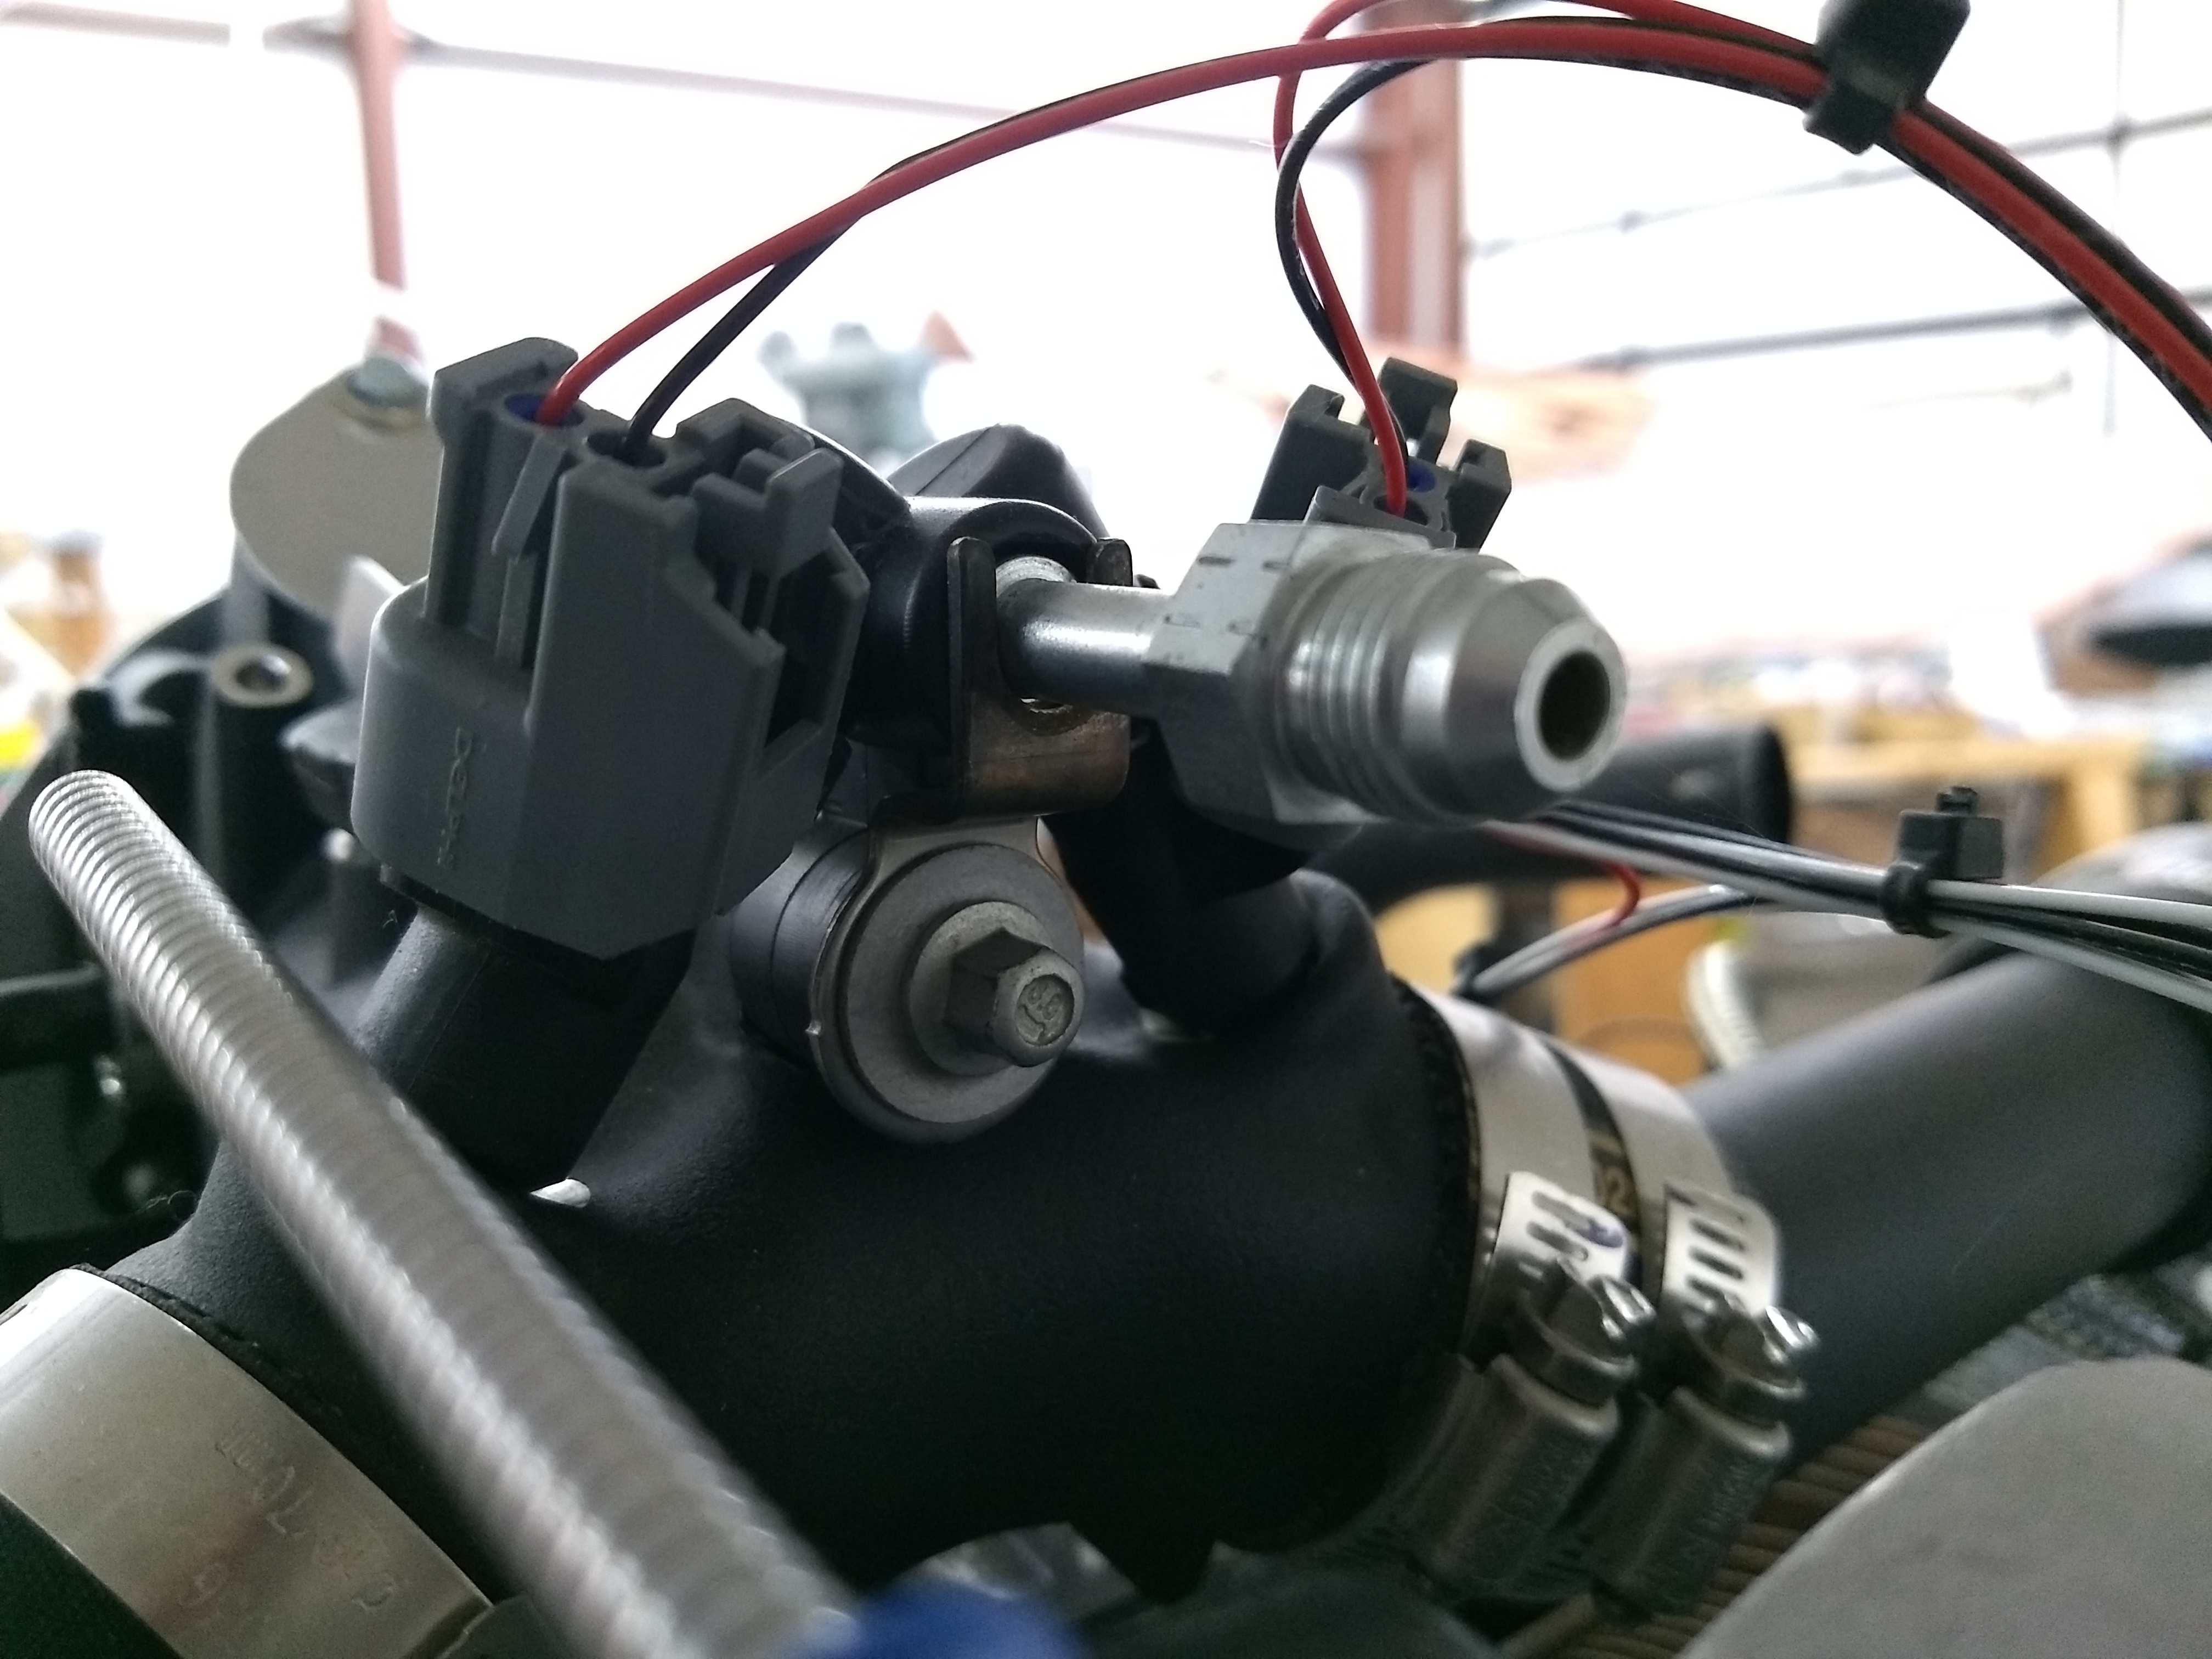
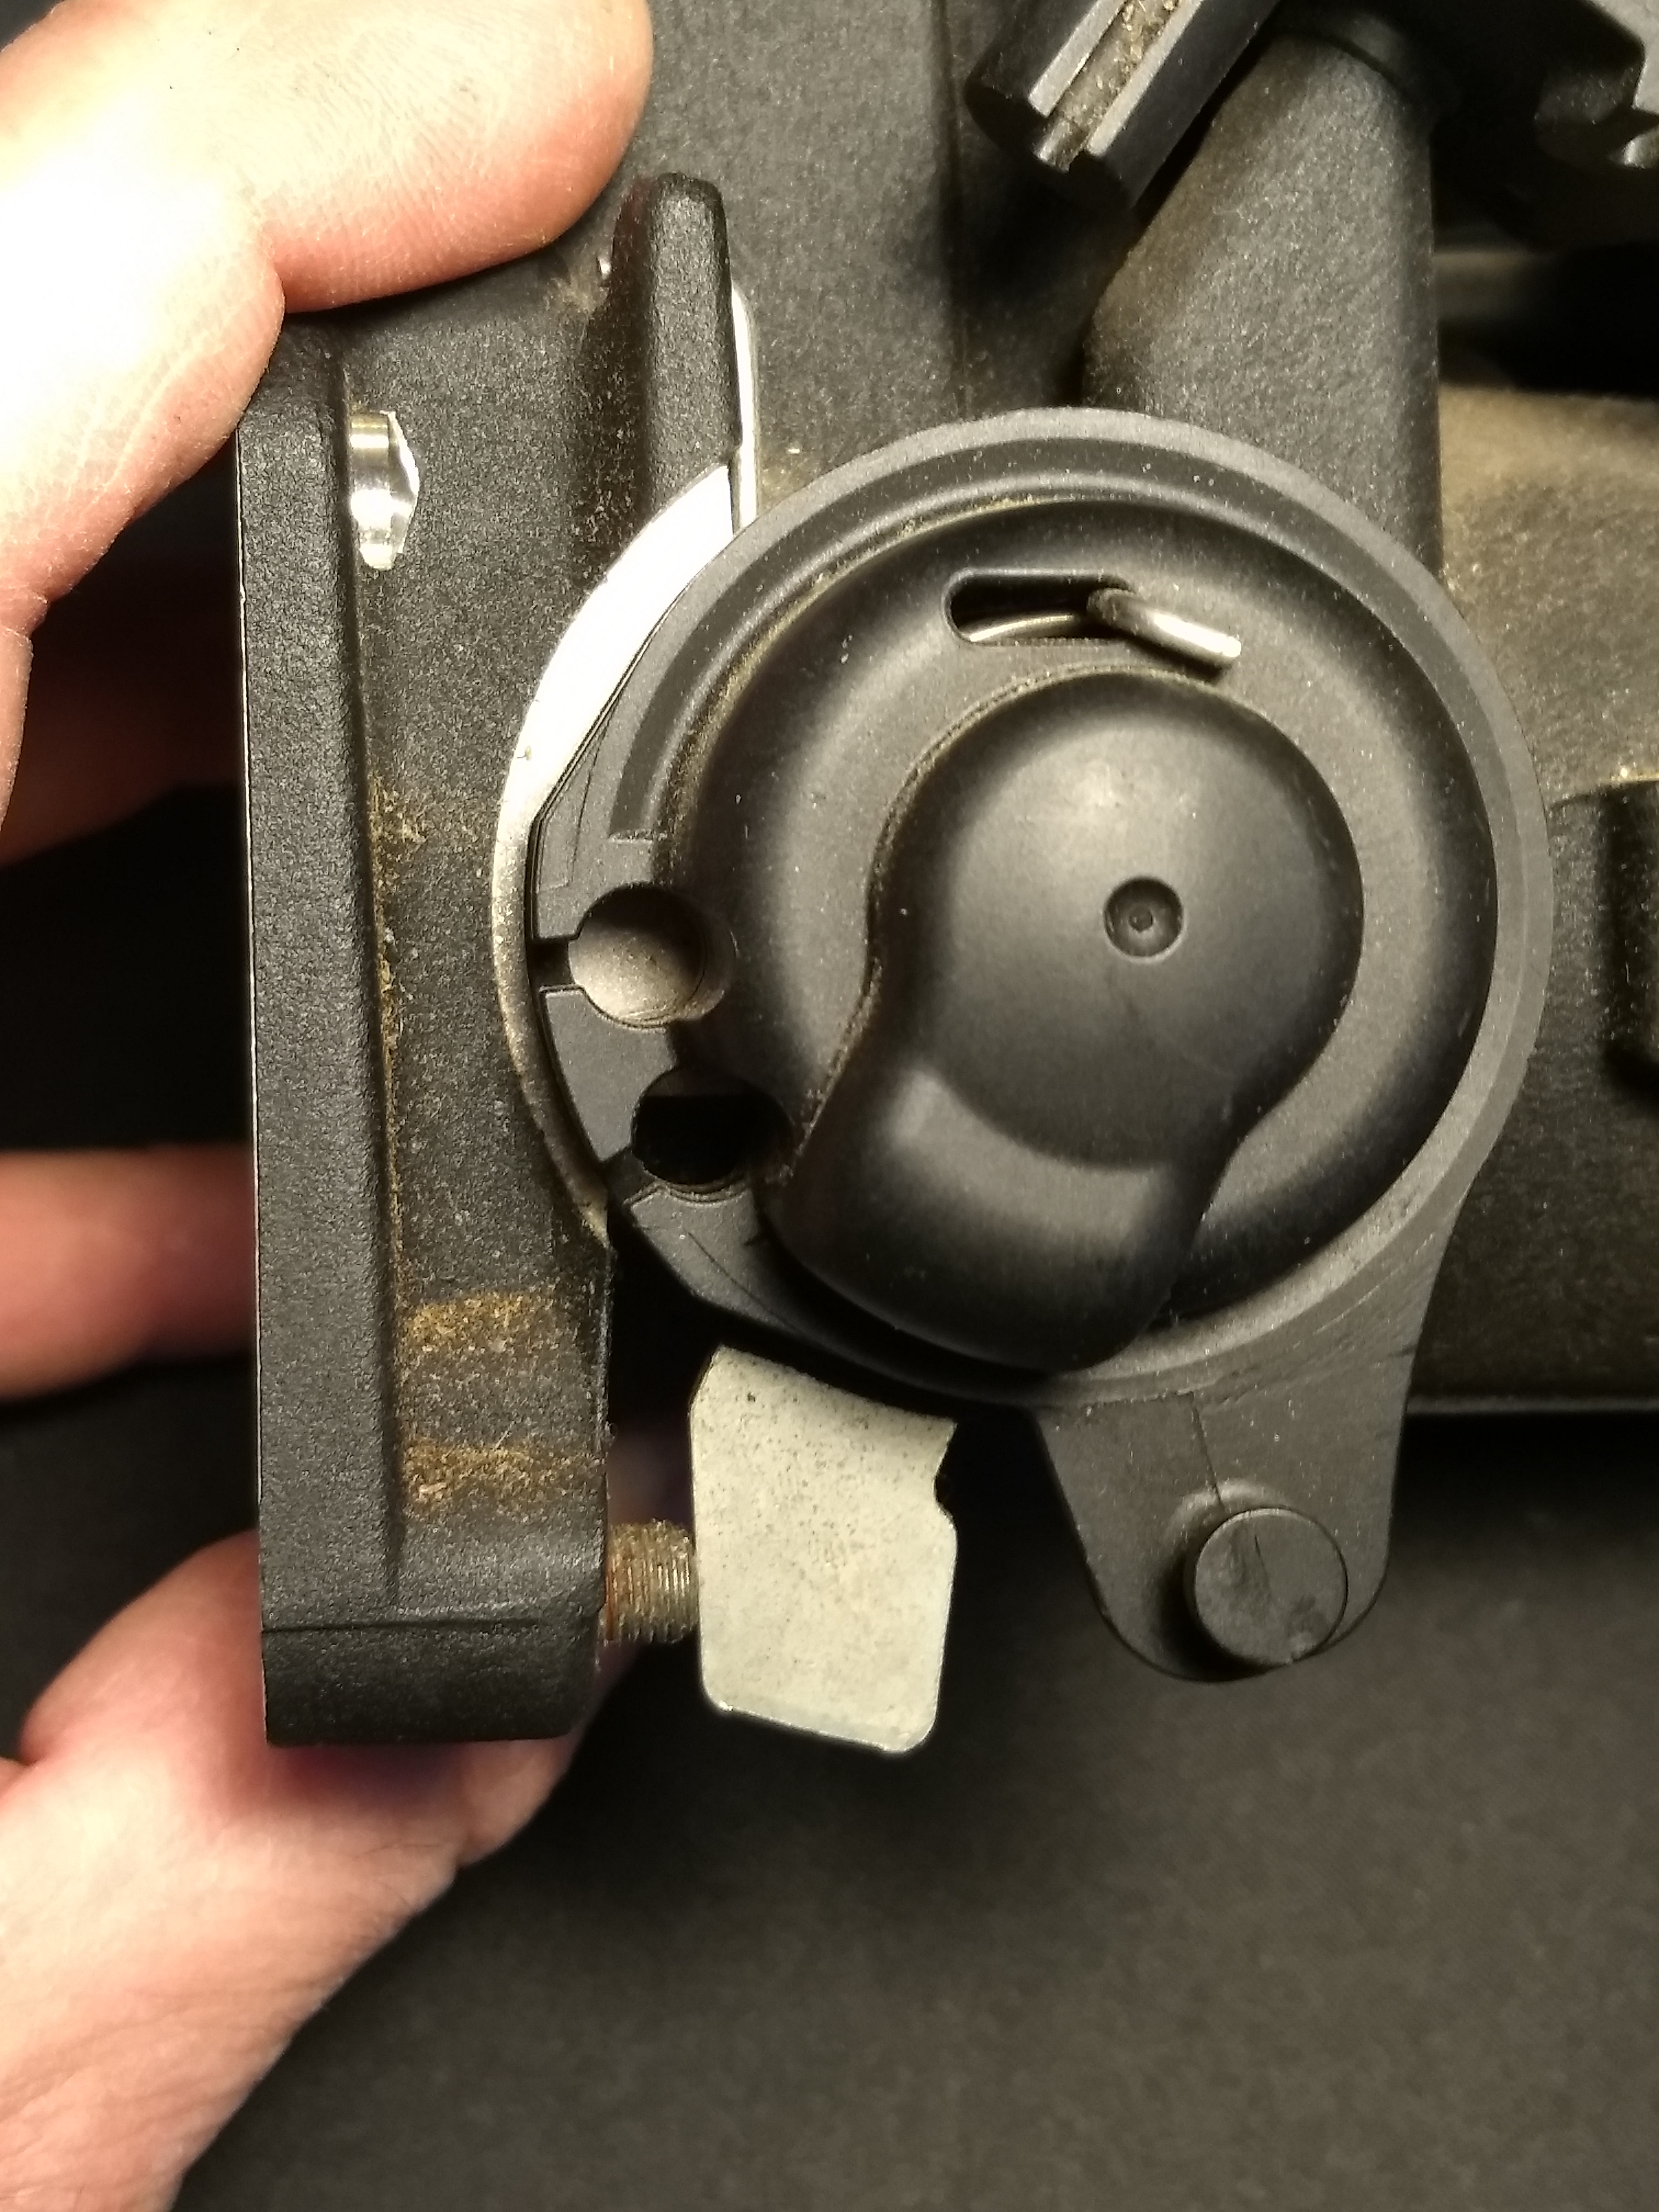
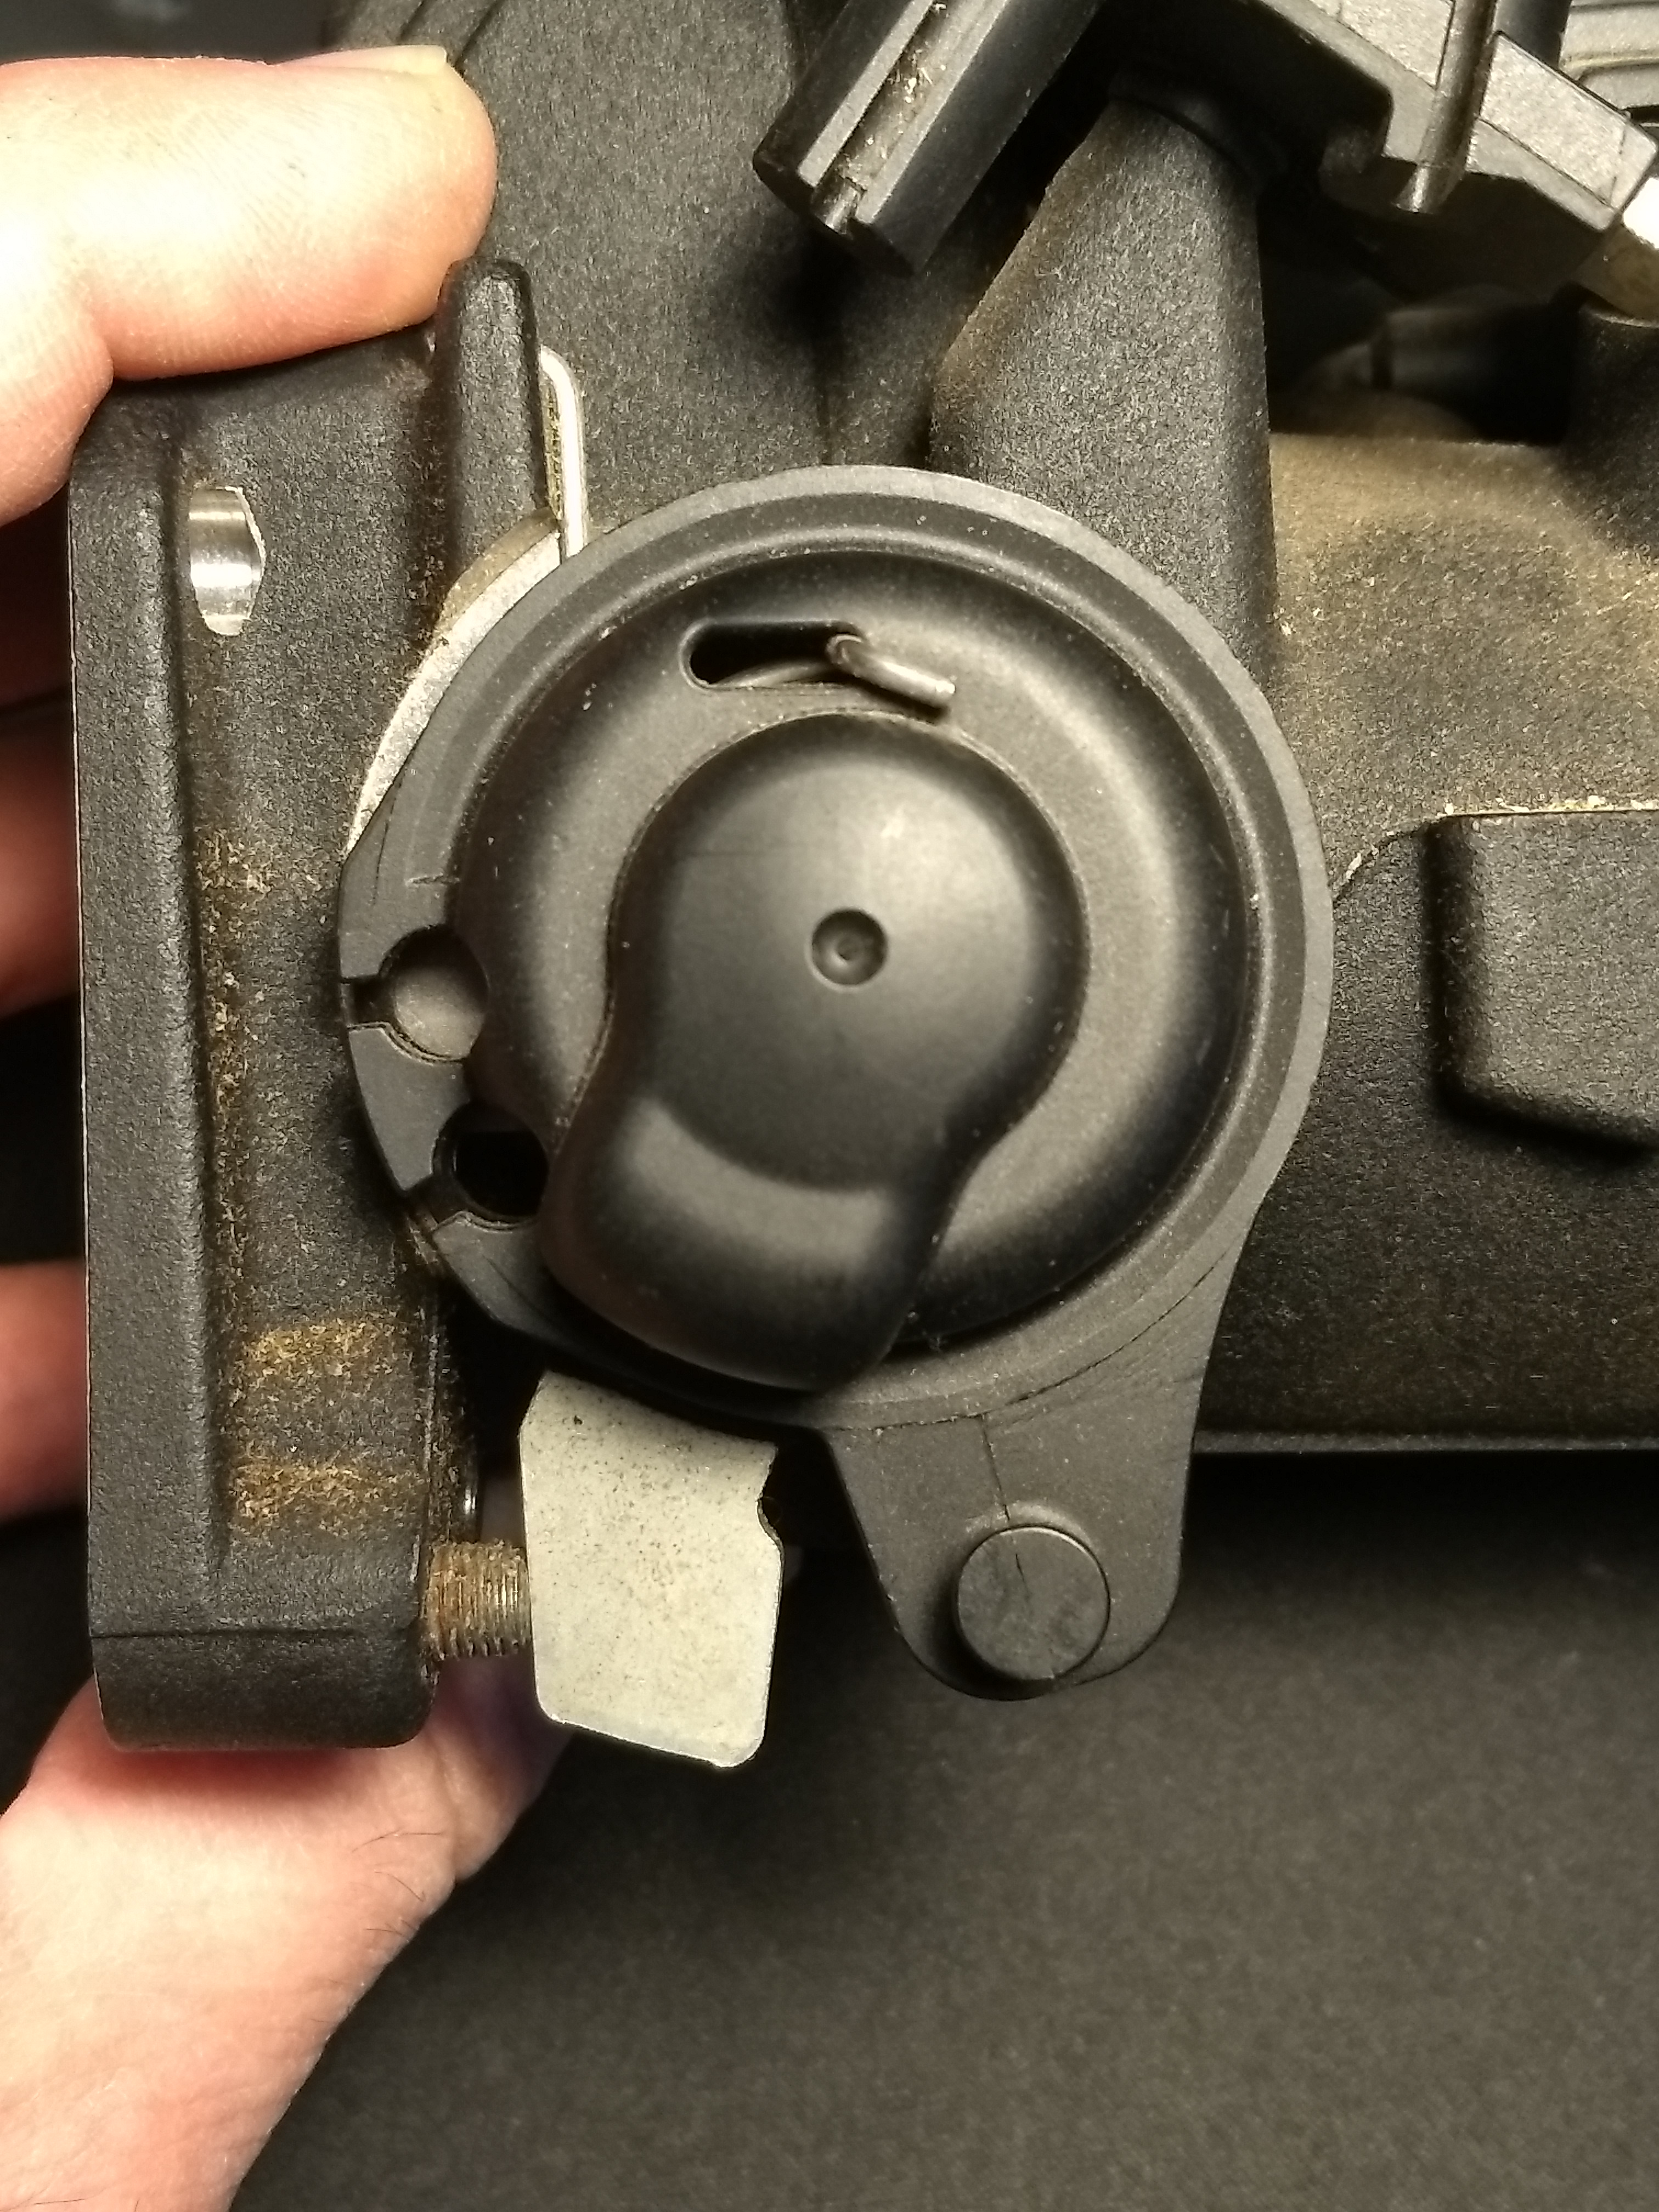
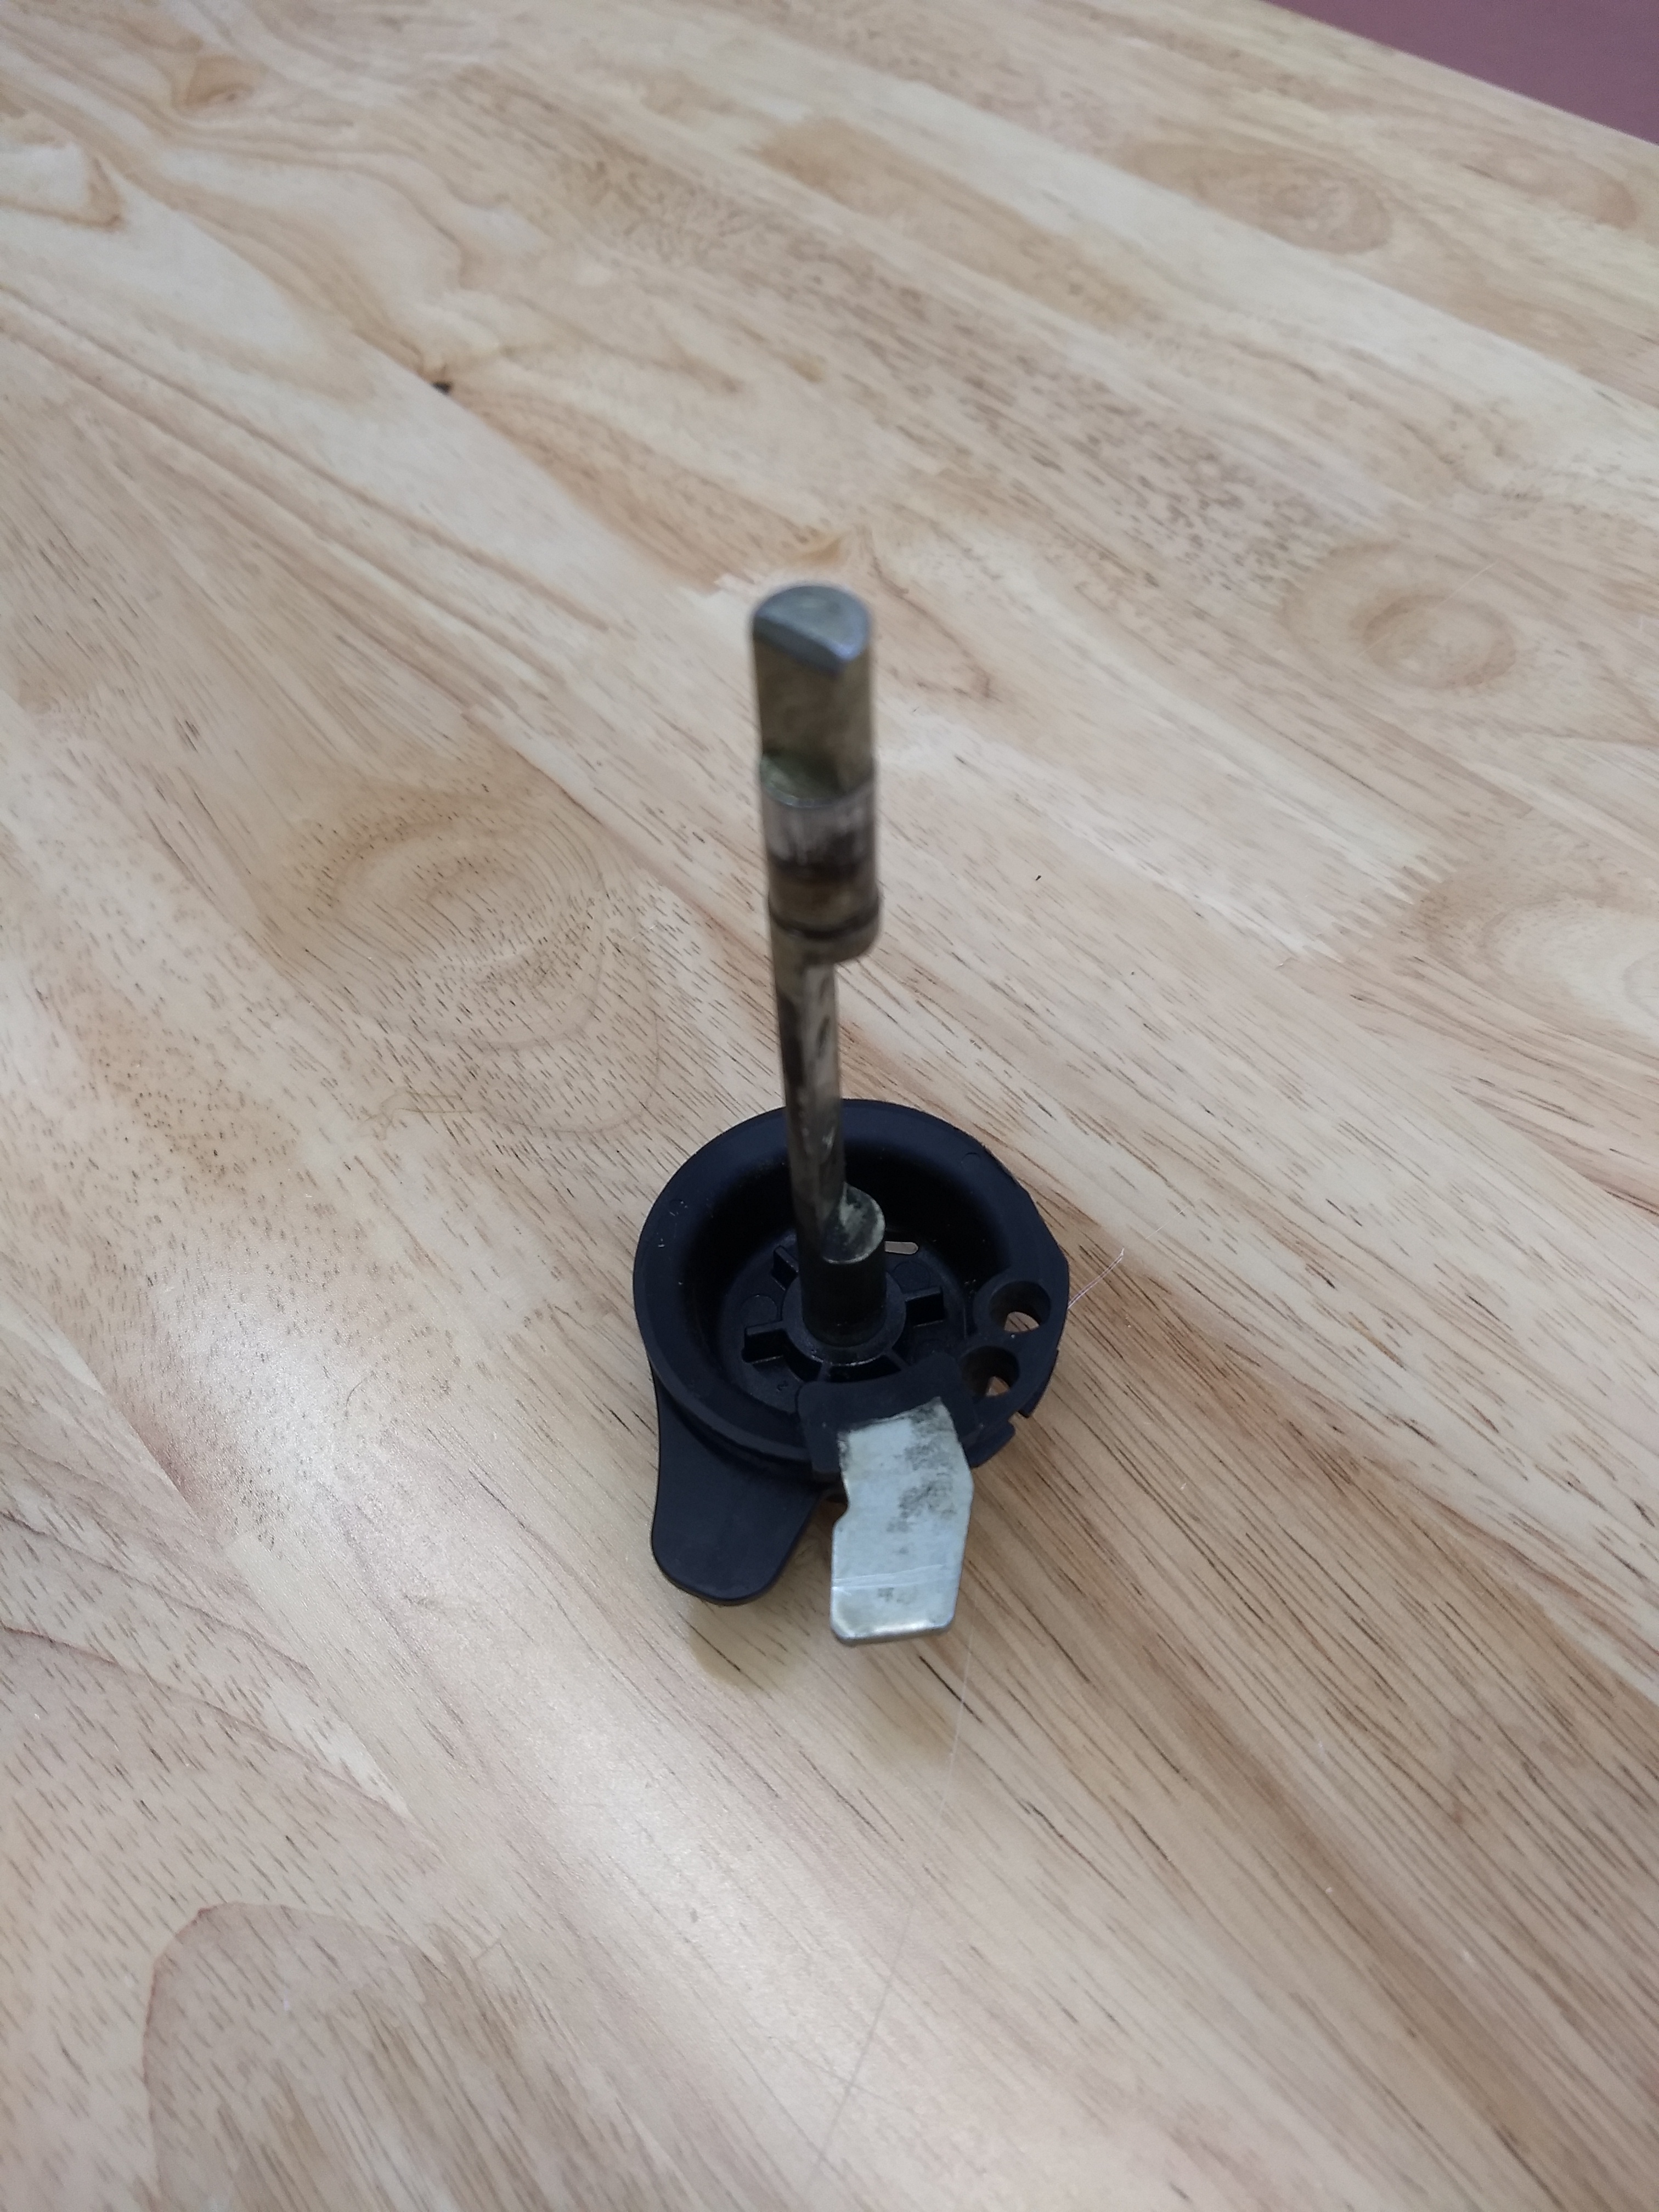
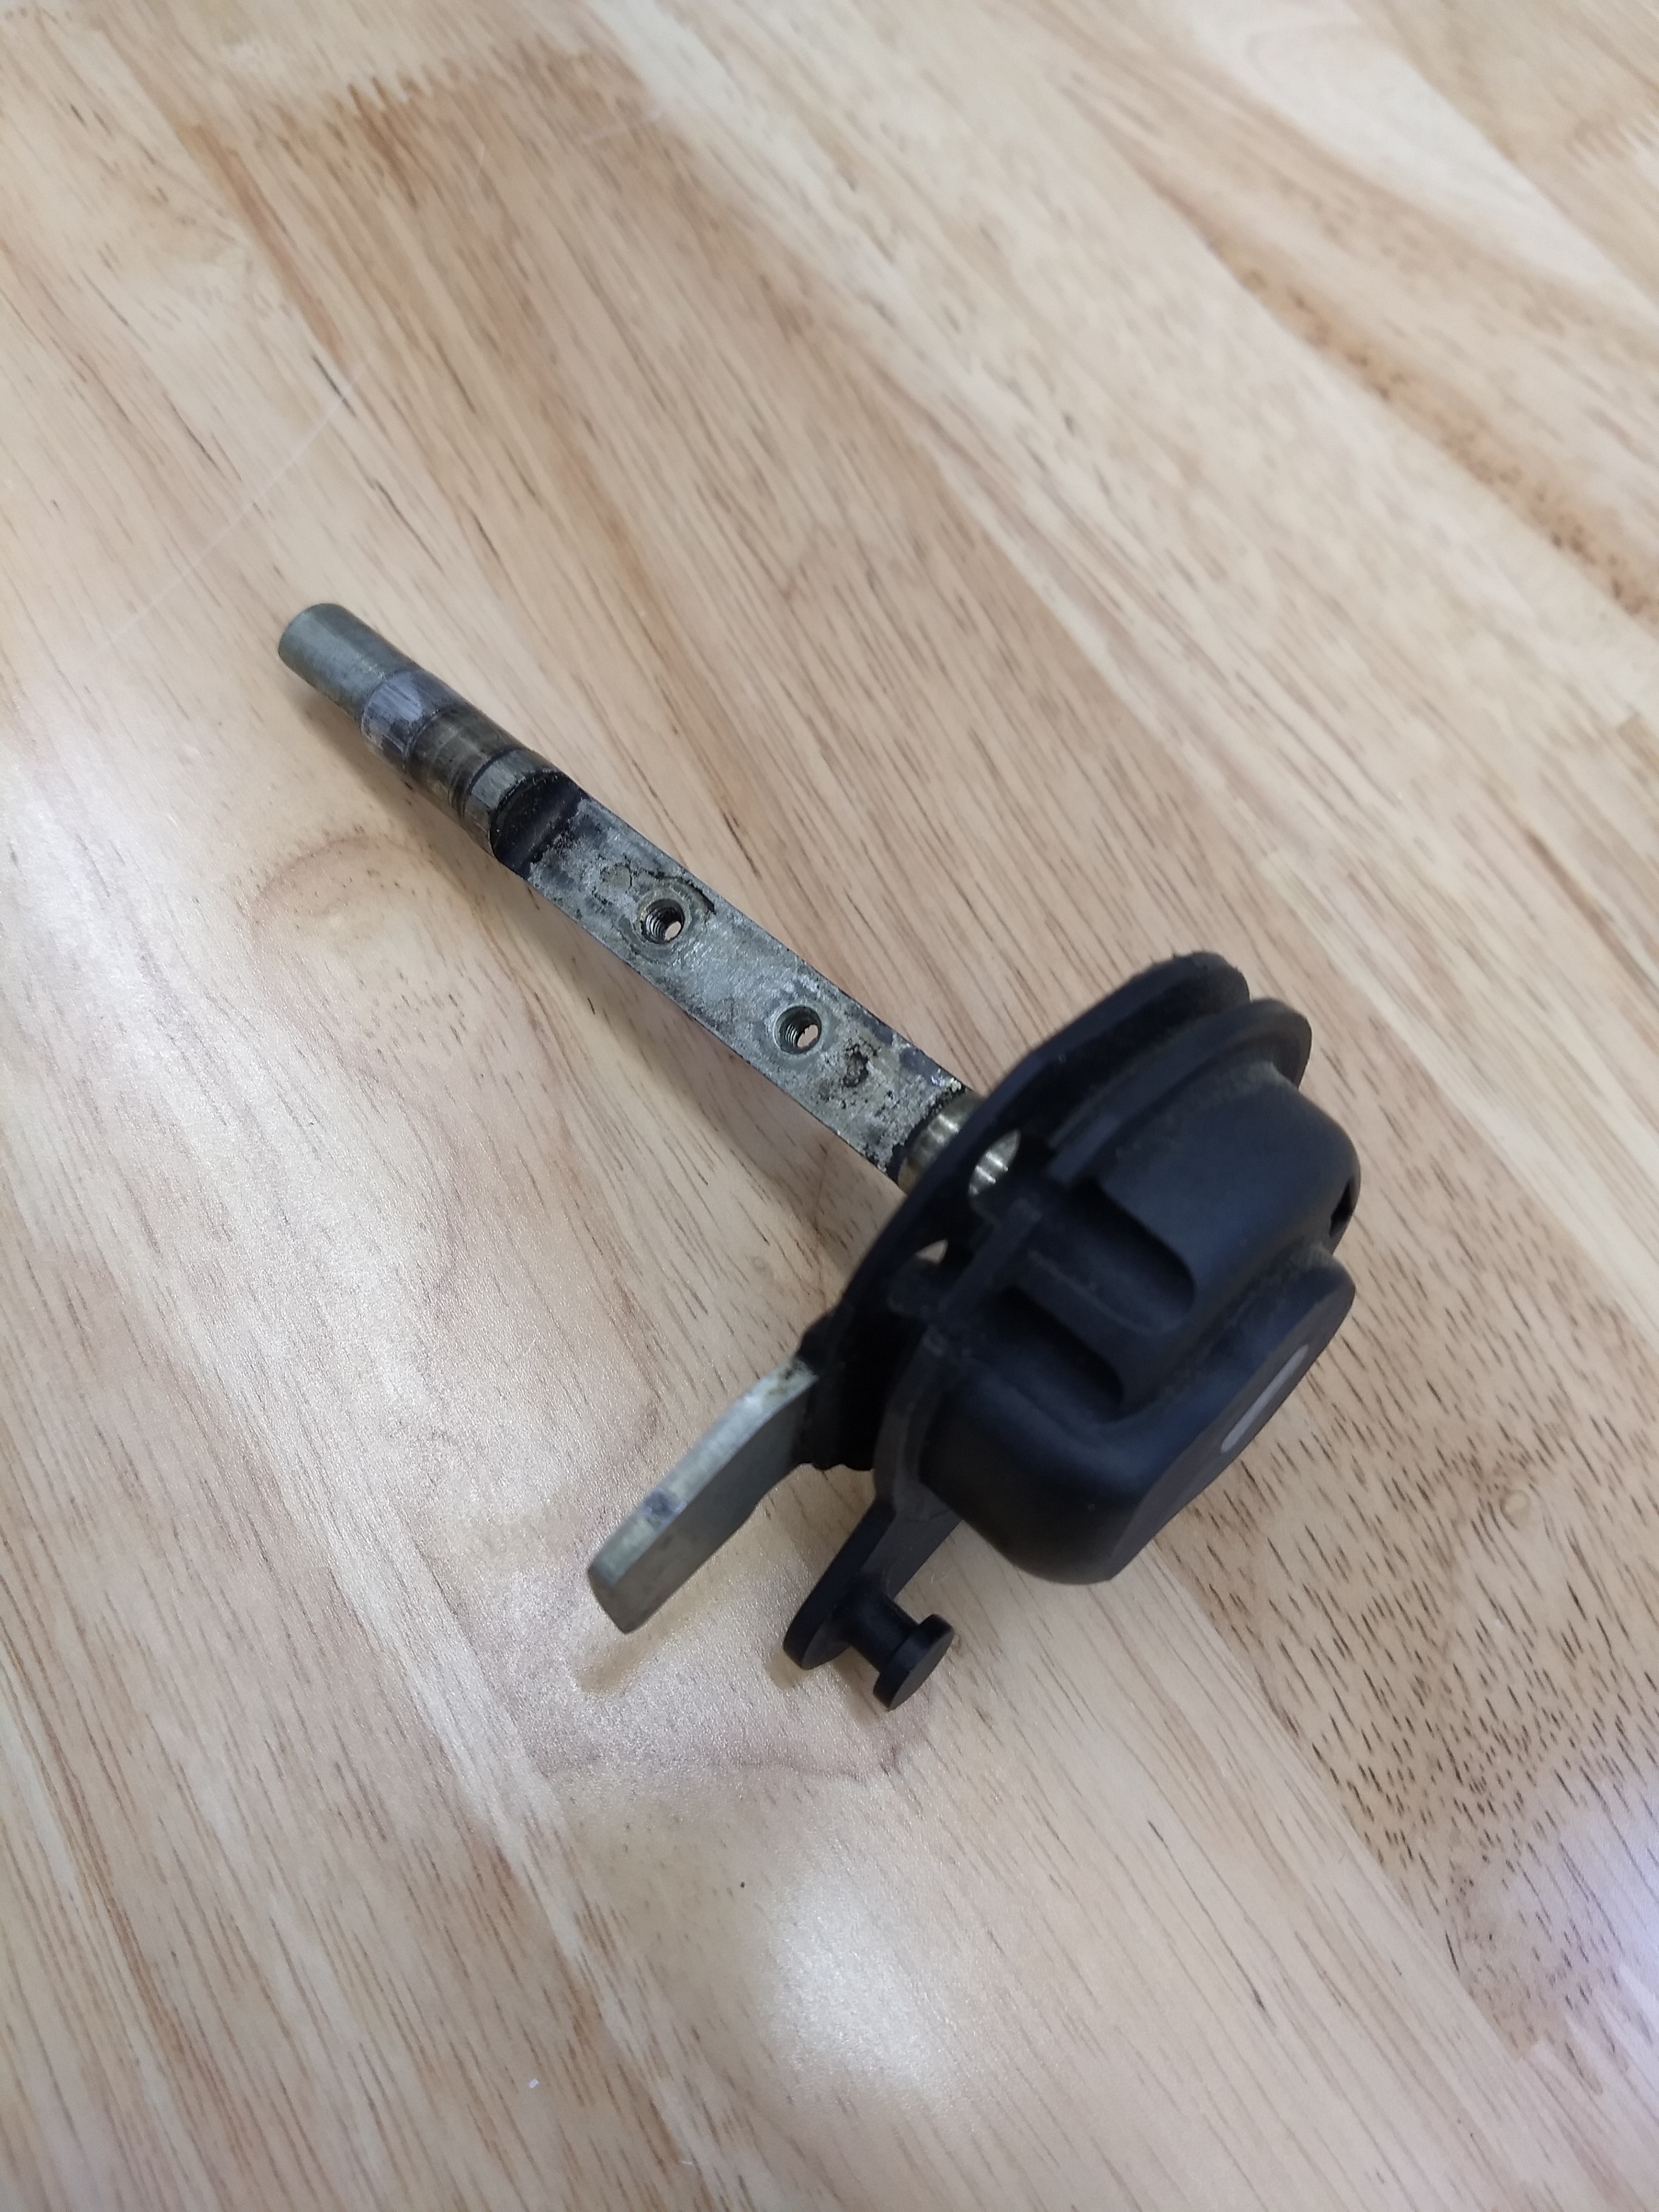
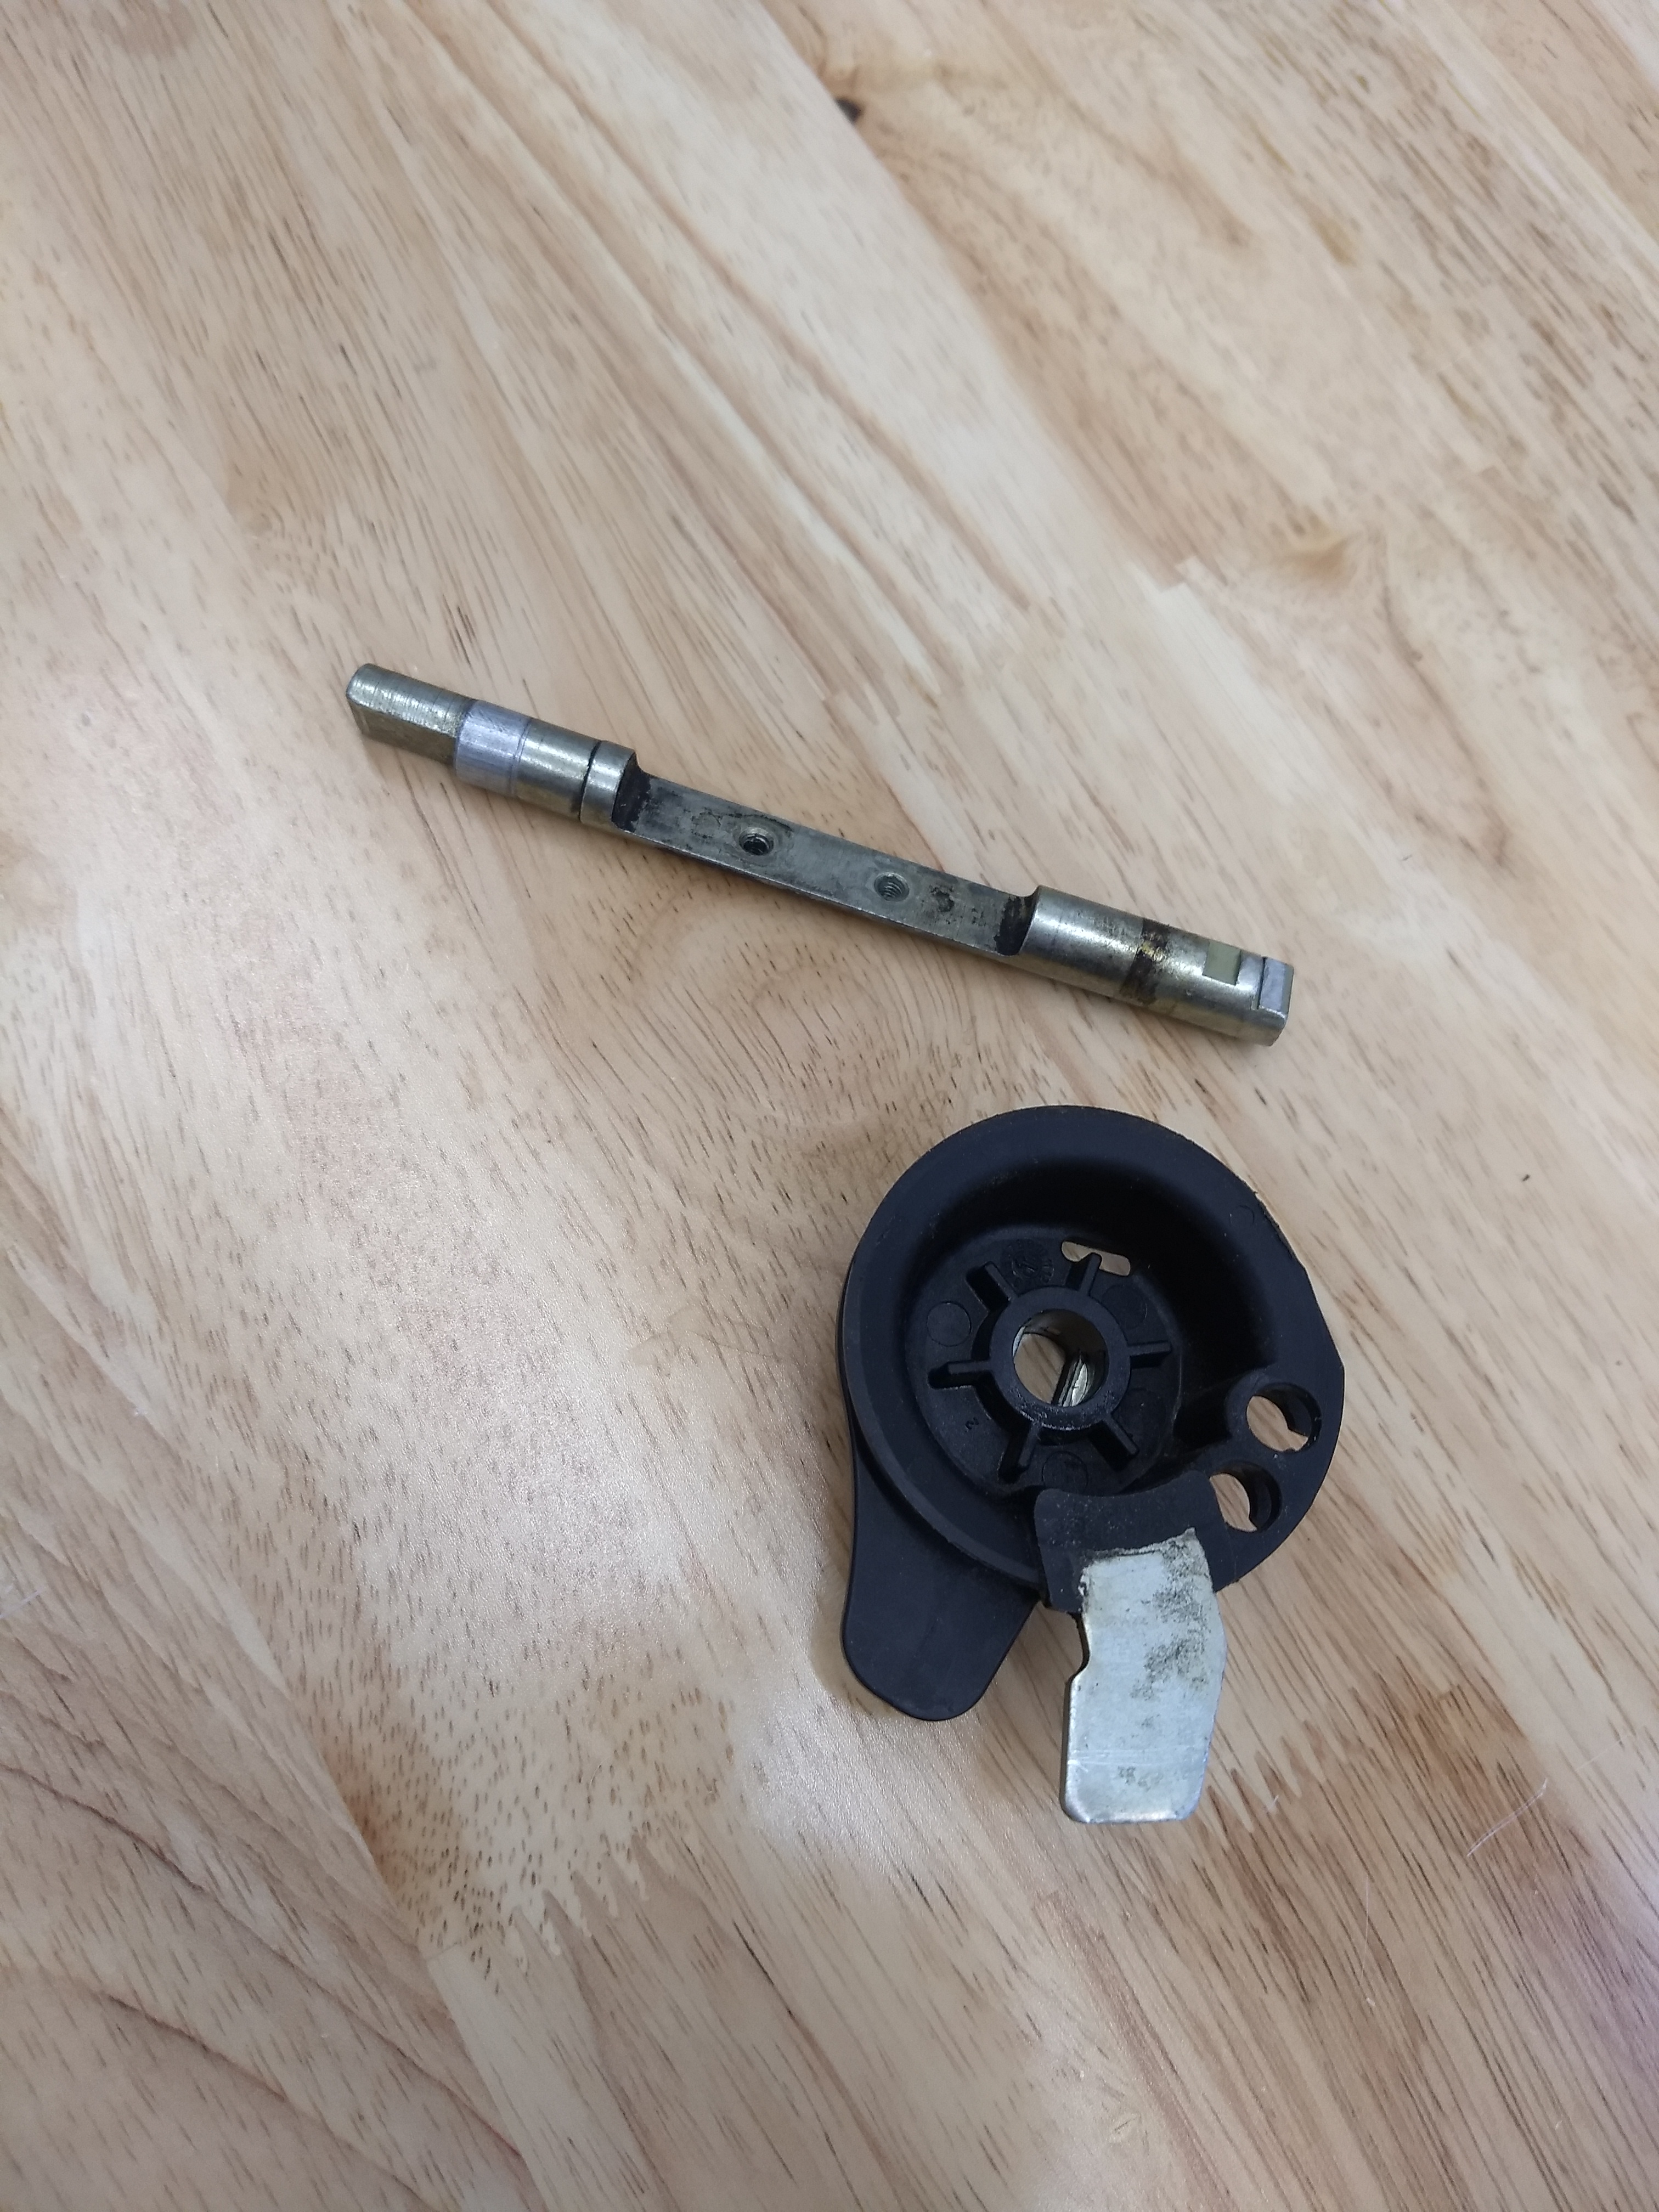
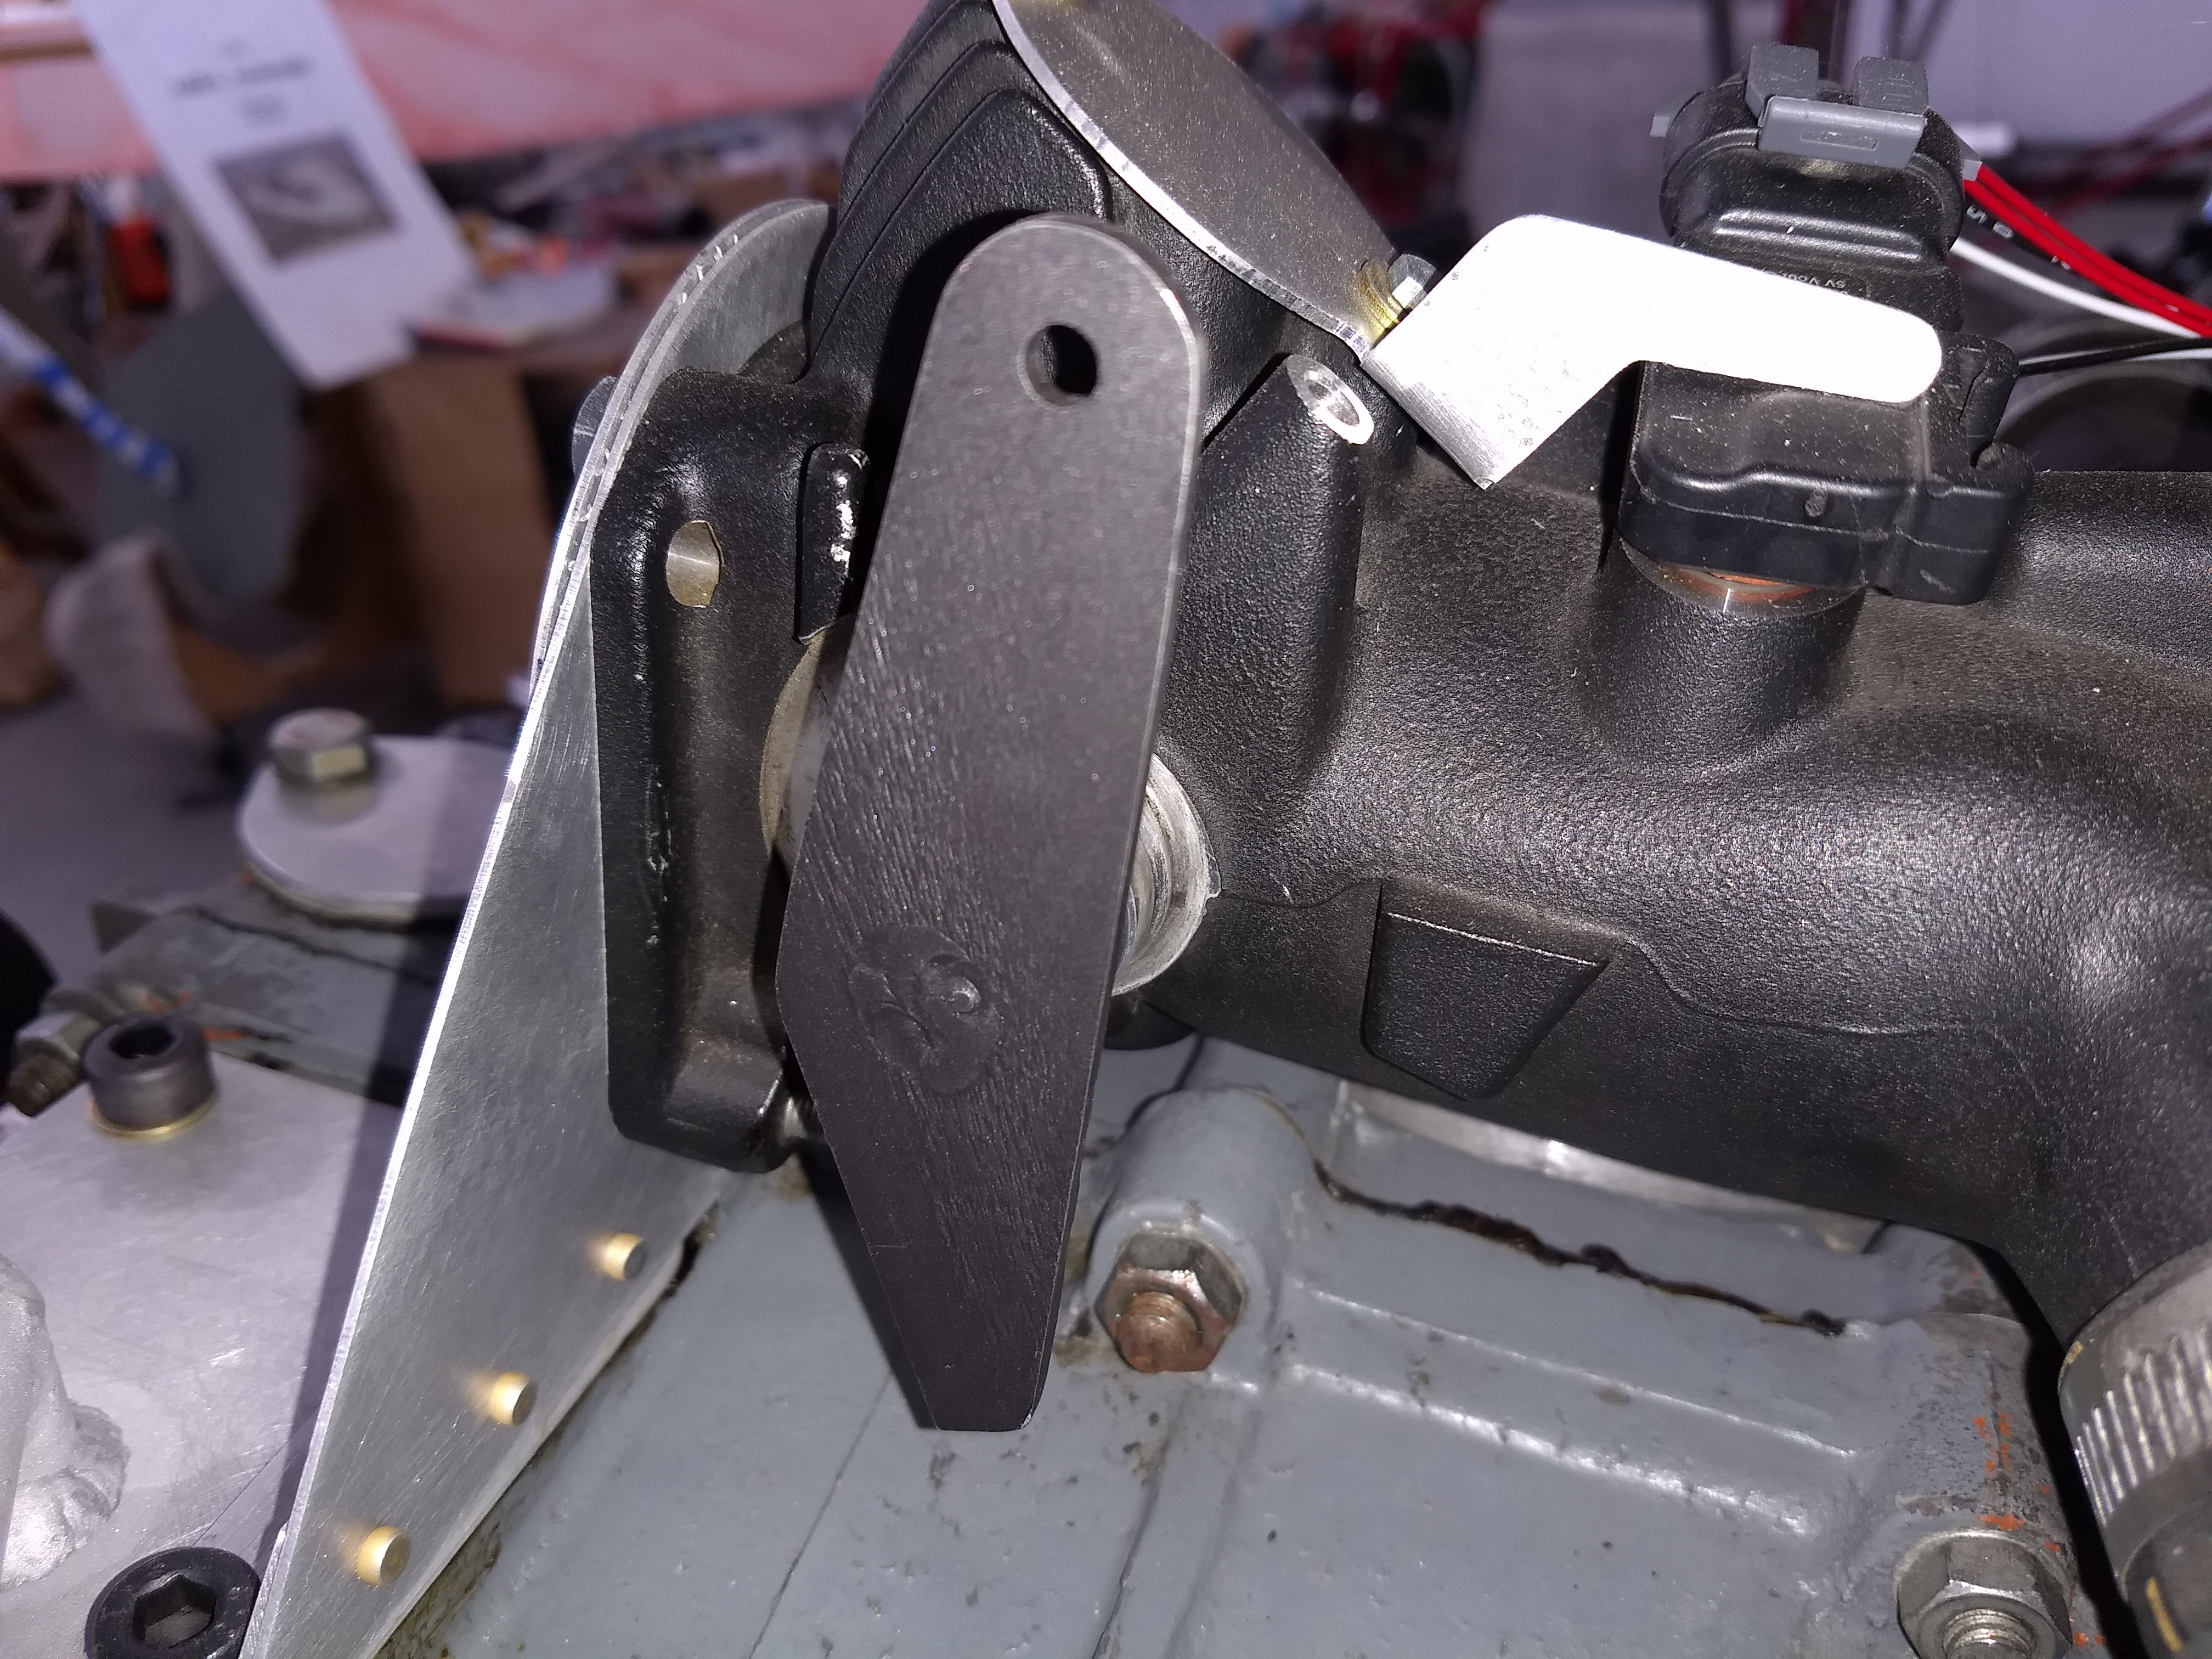
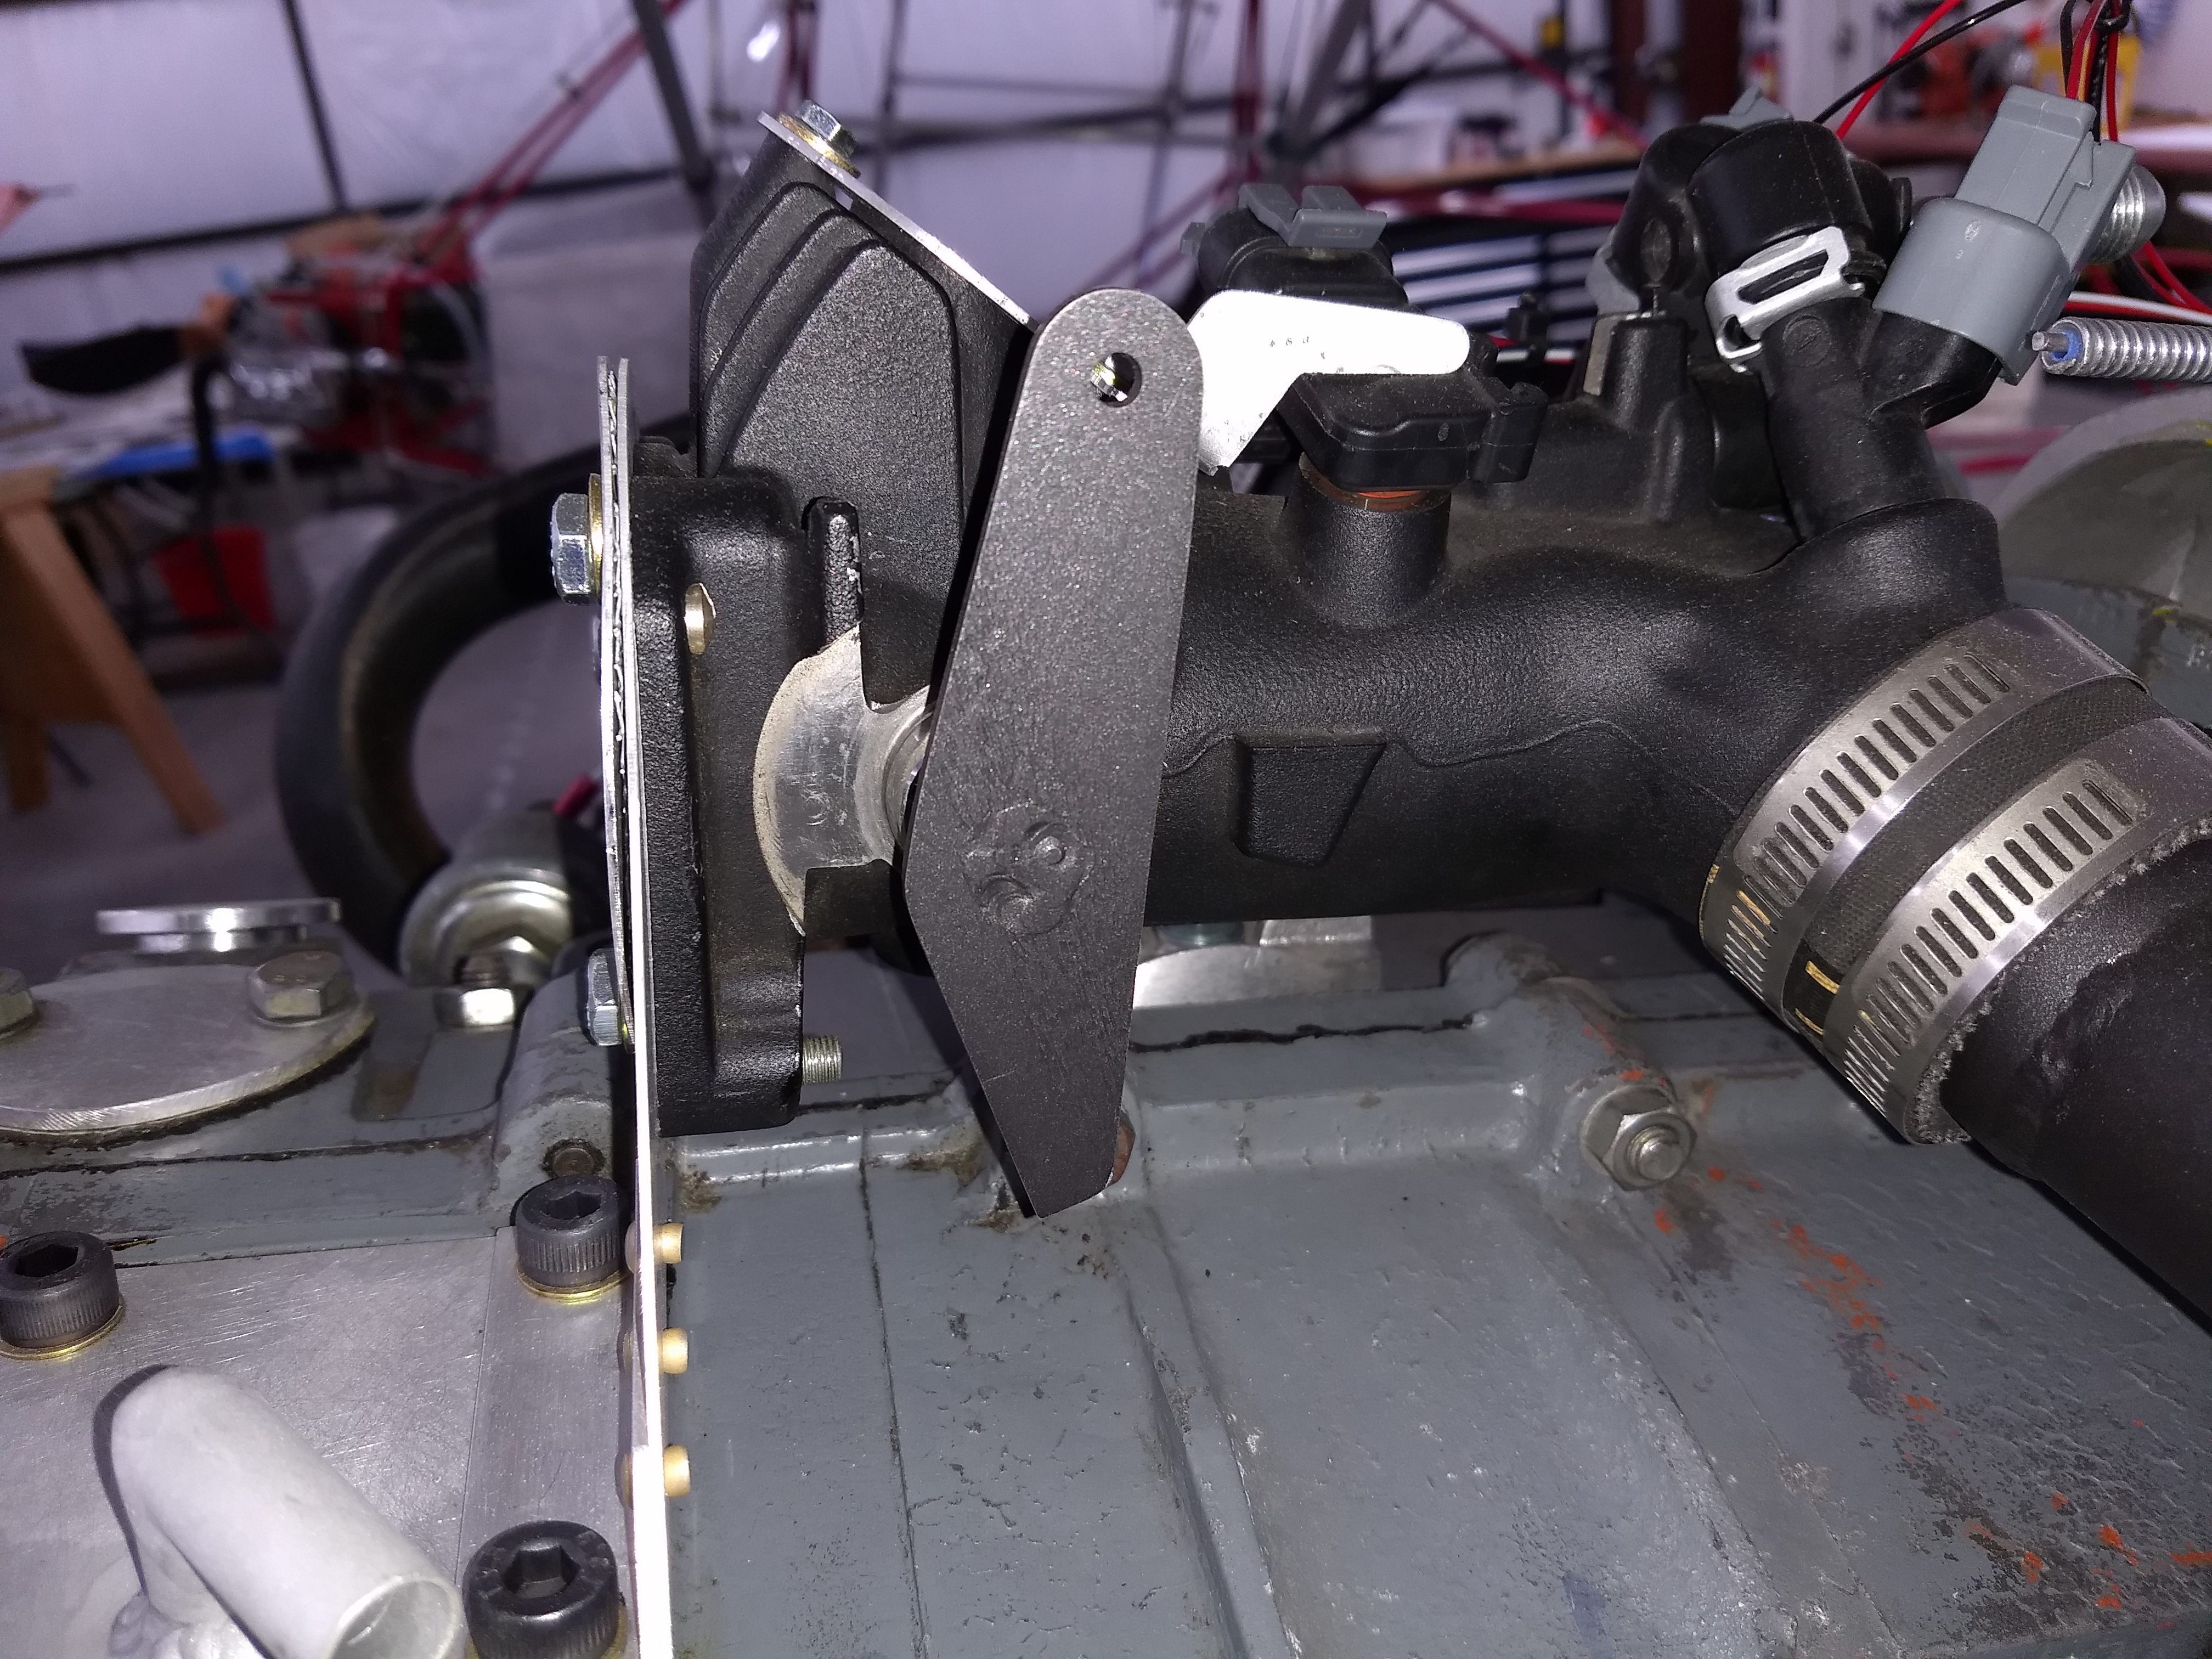
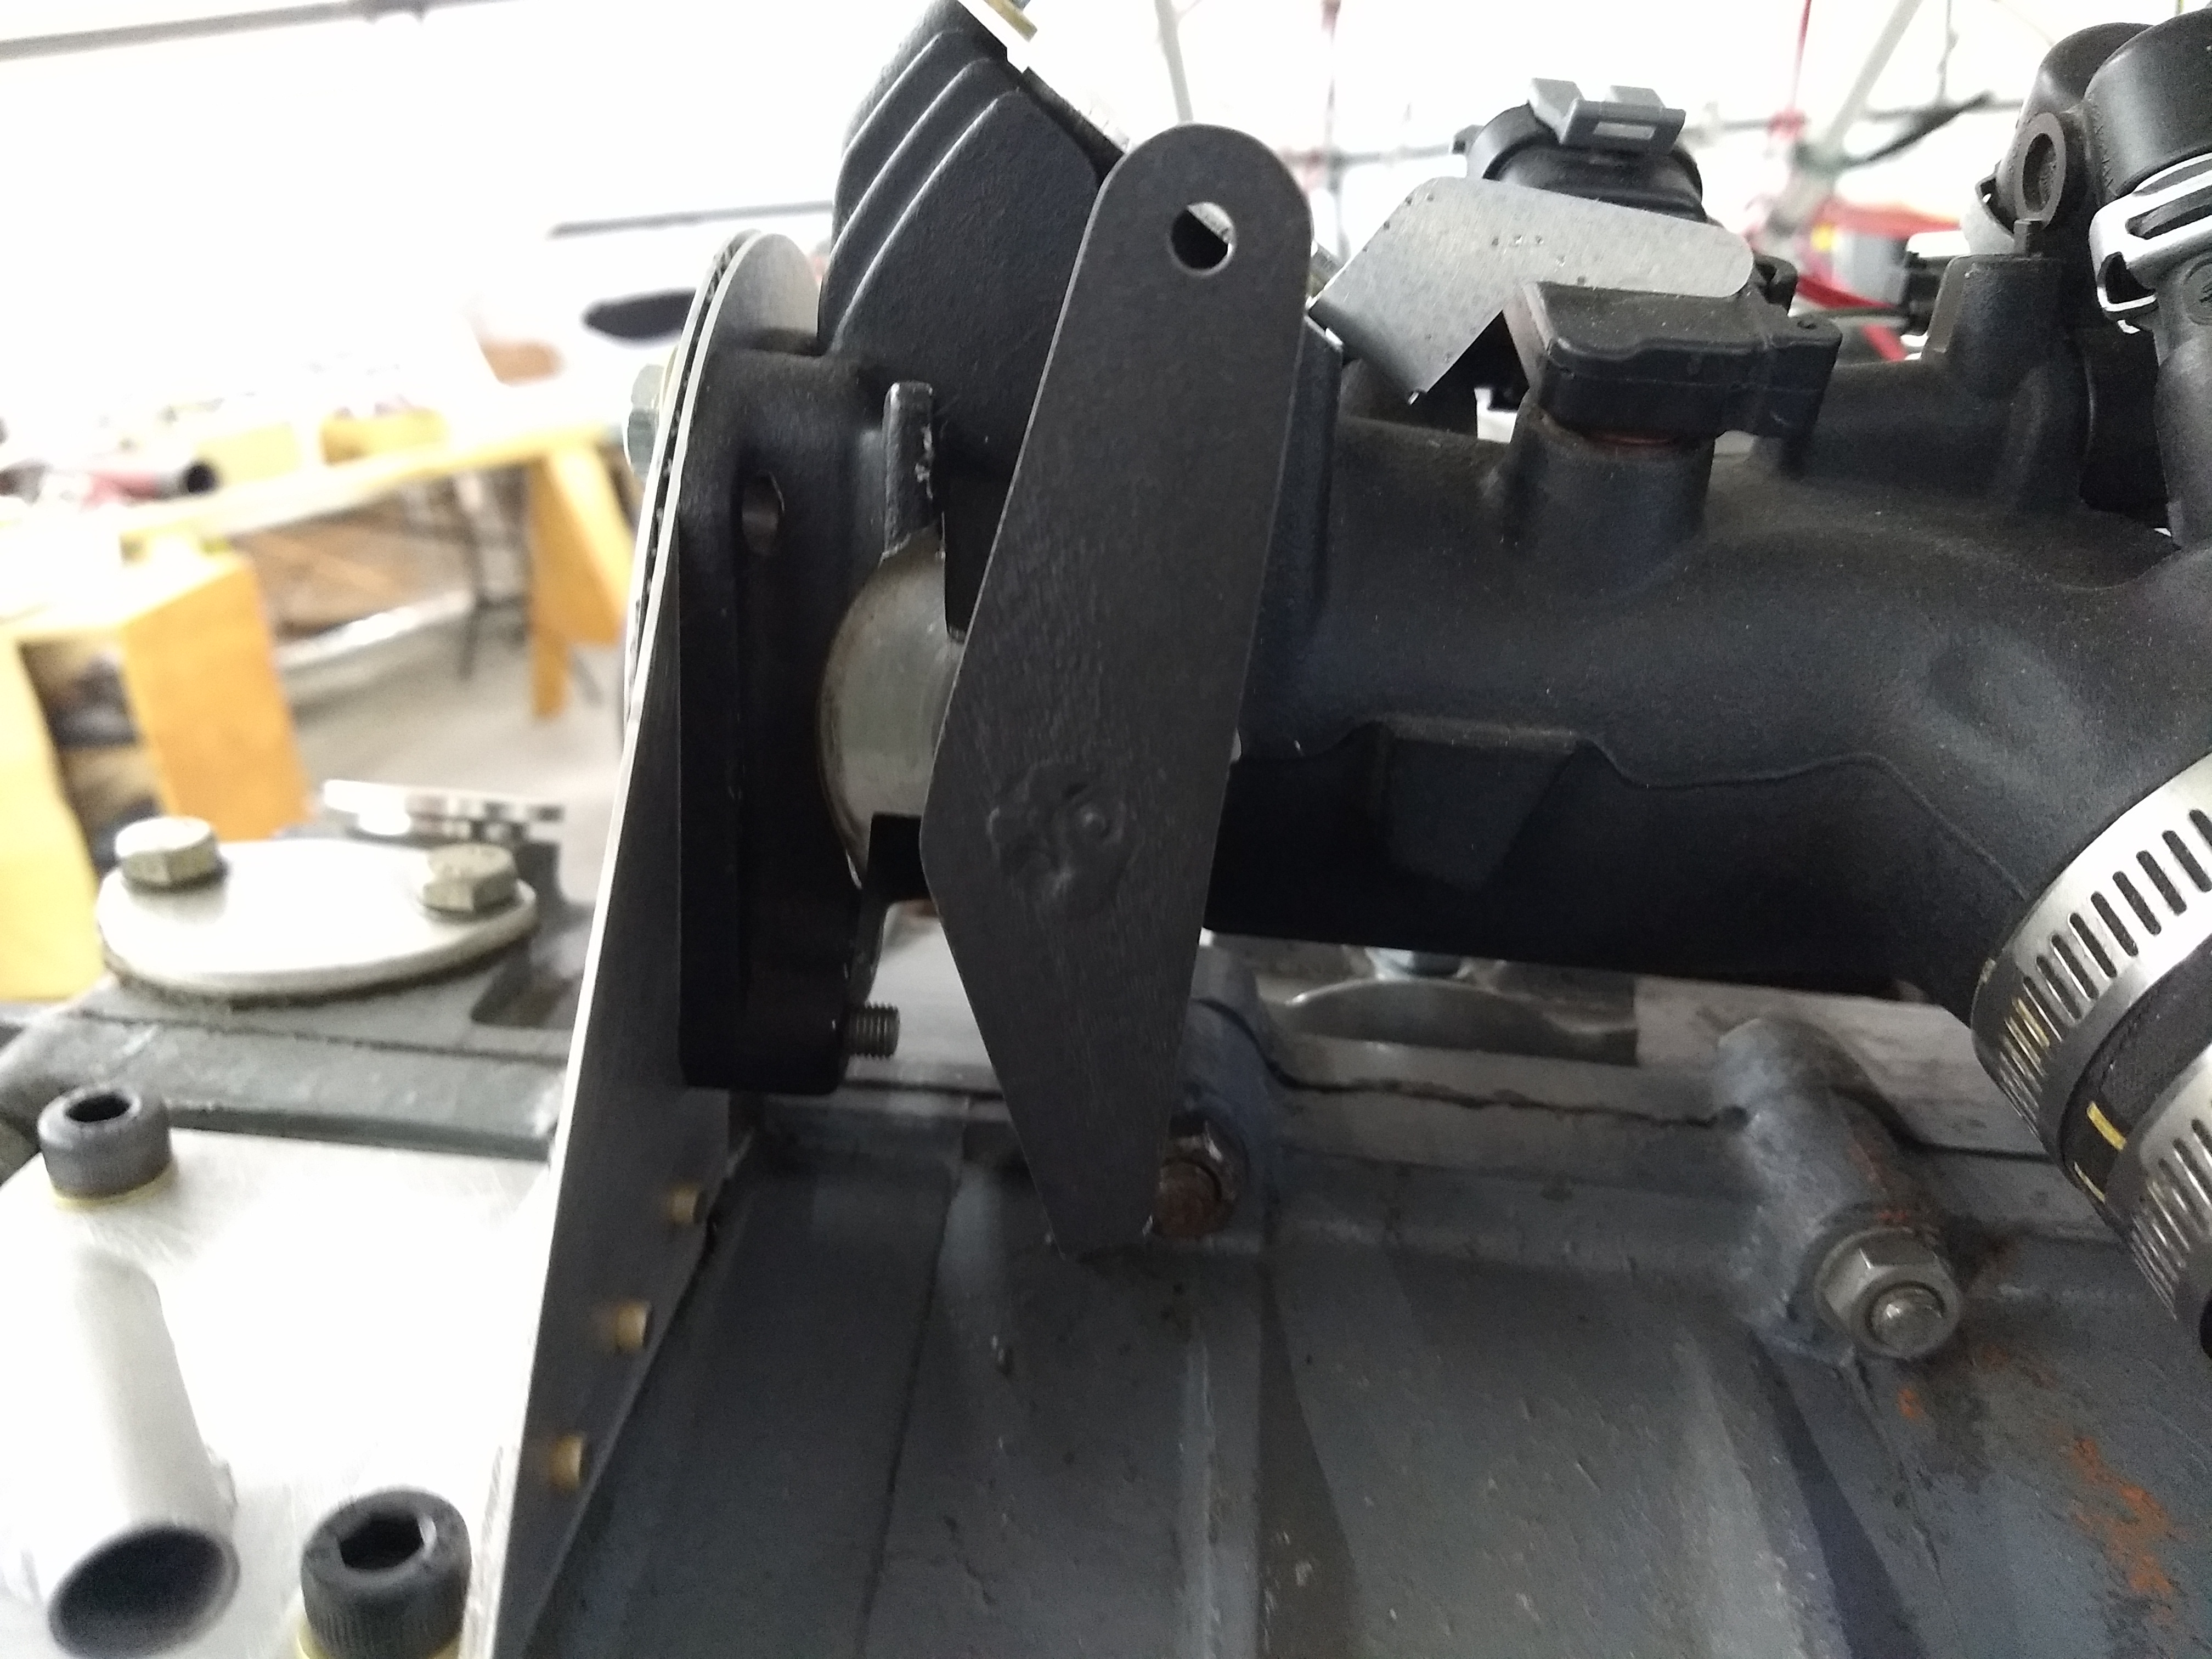
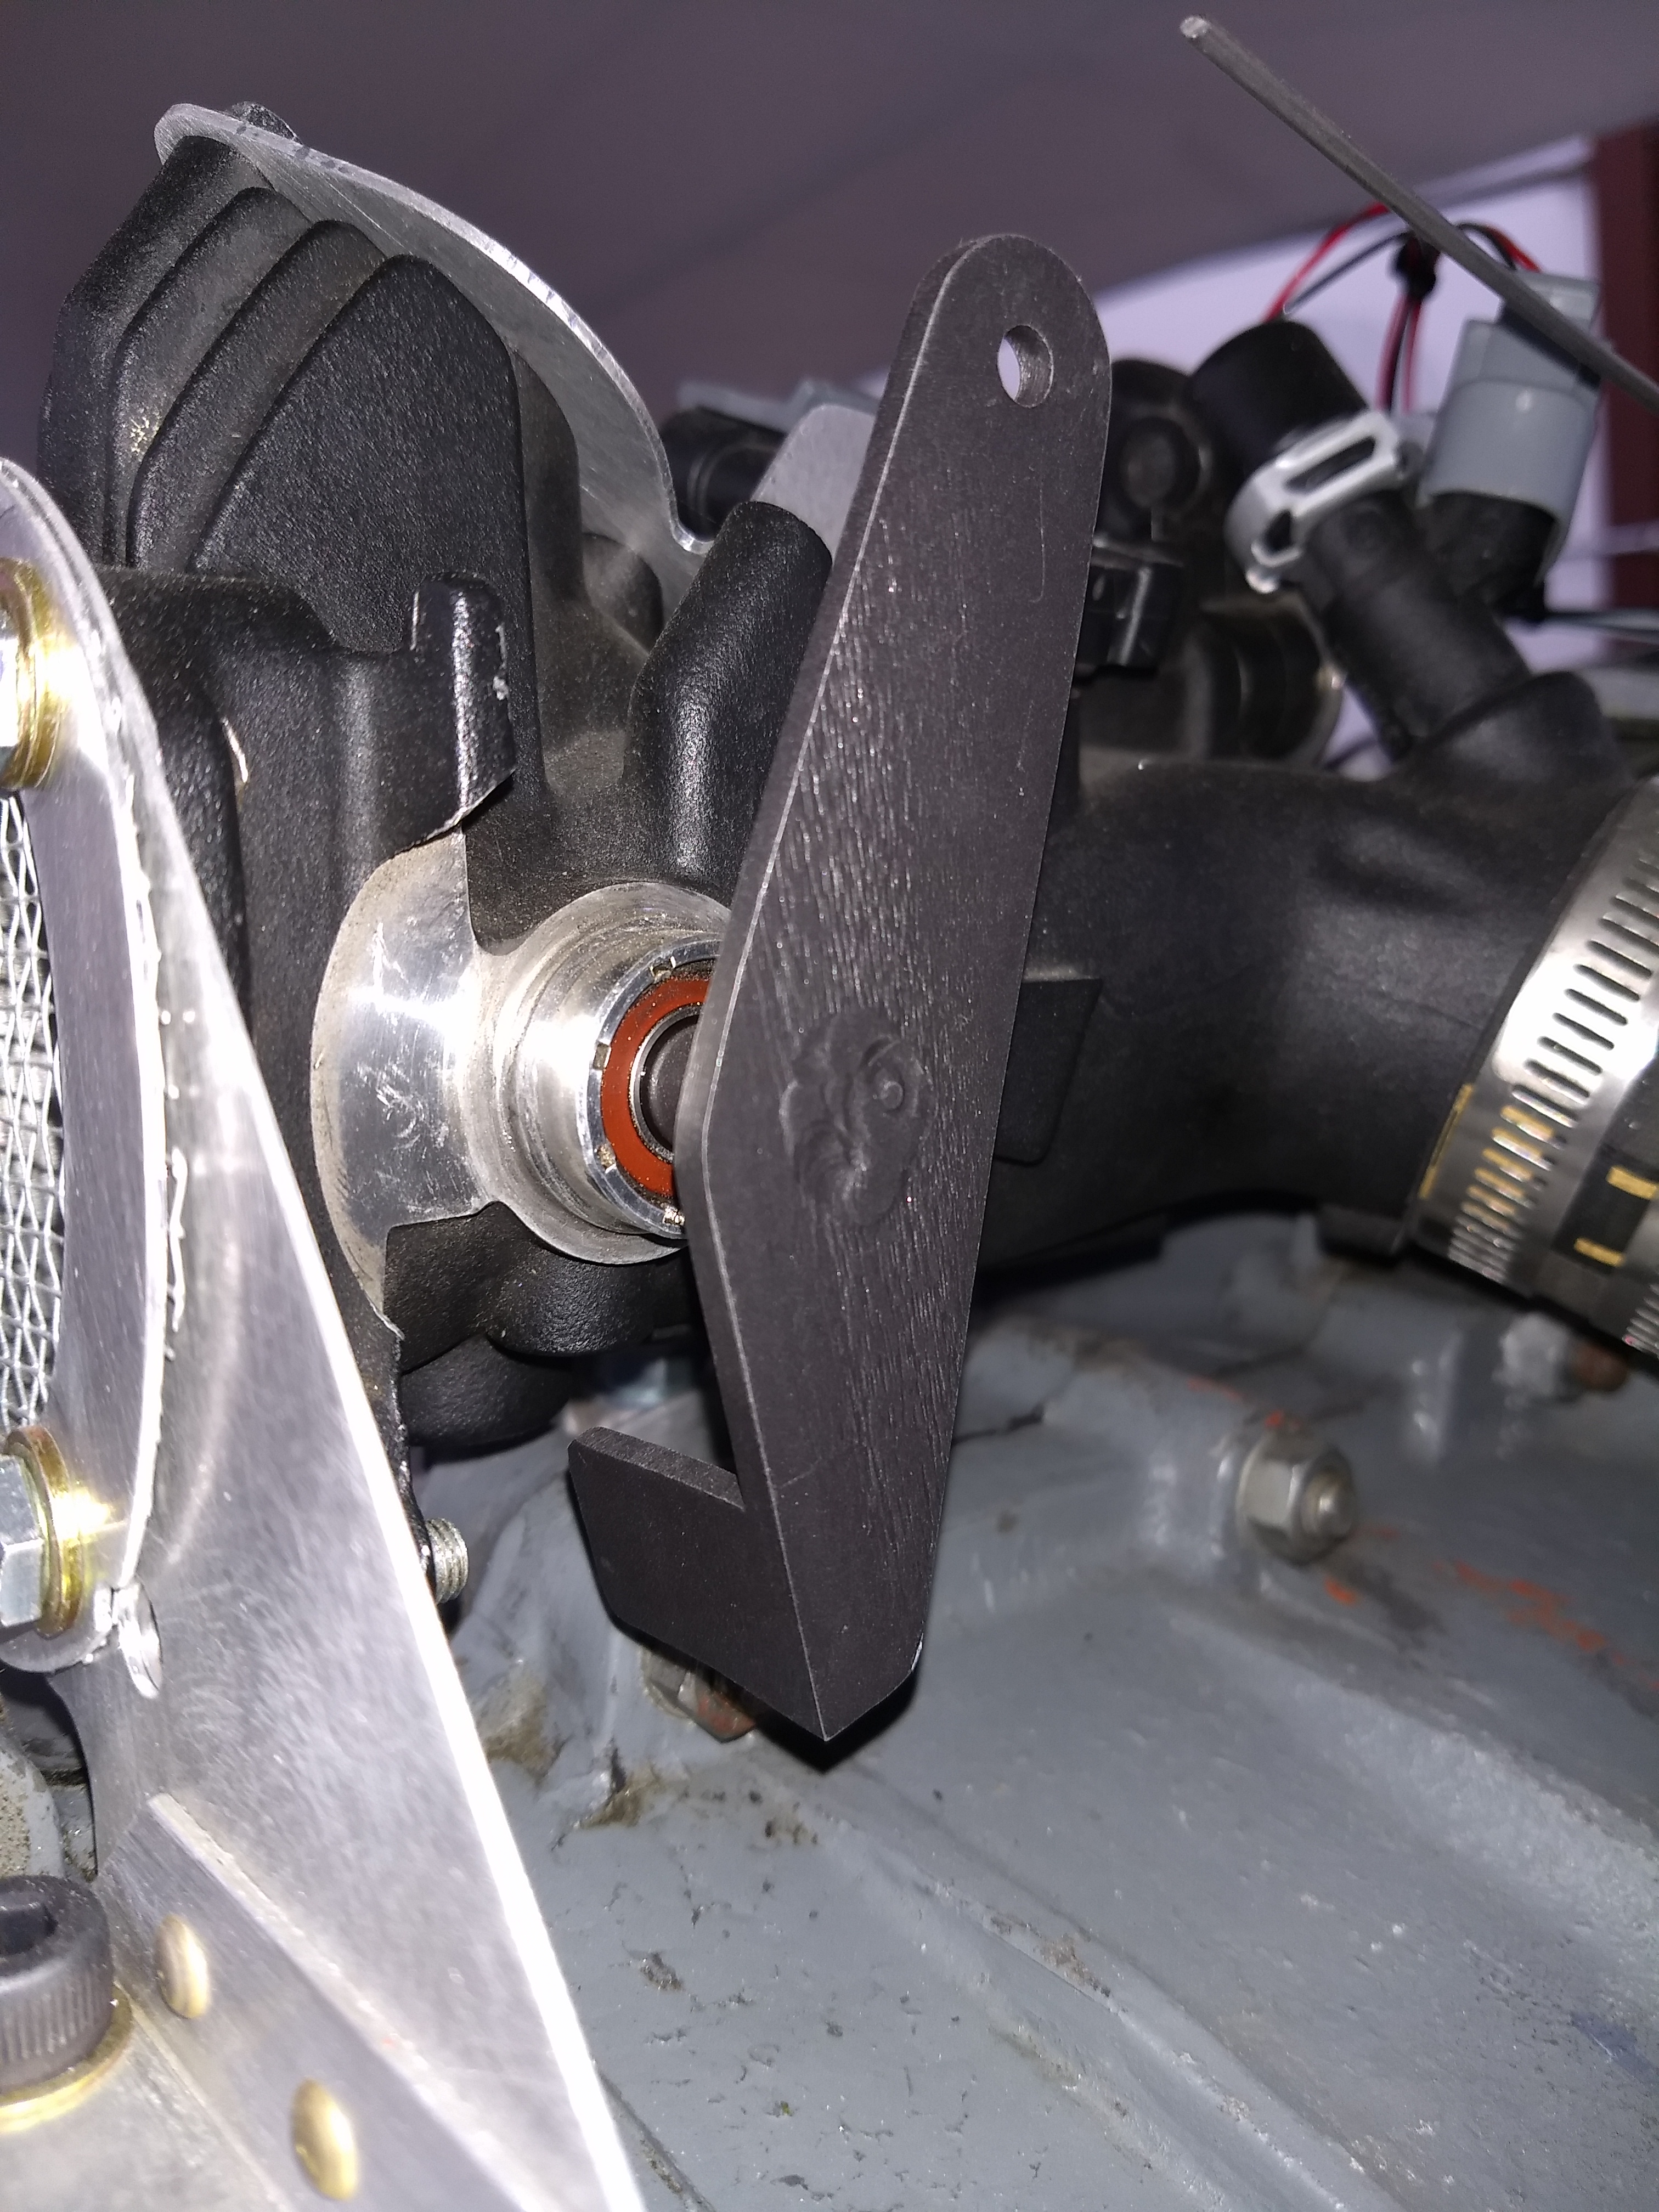
Throttle Modification
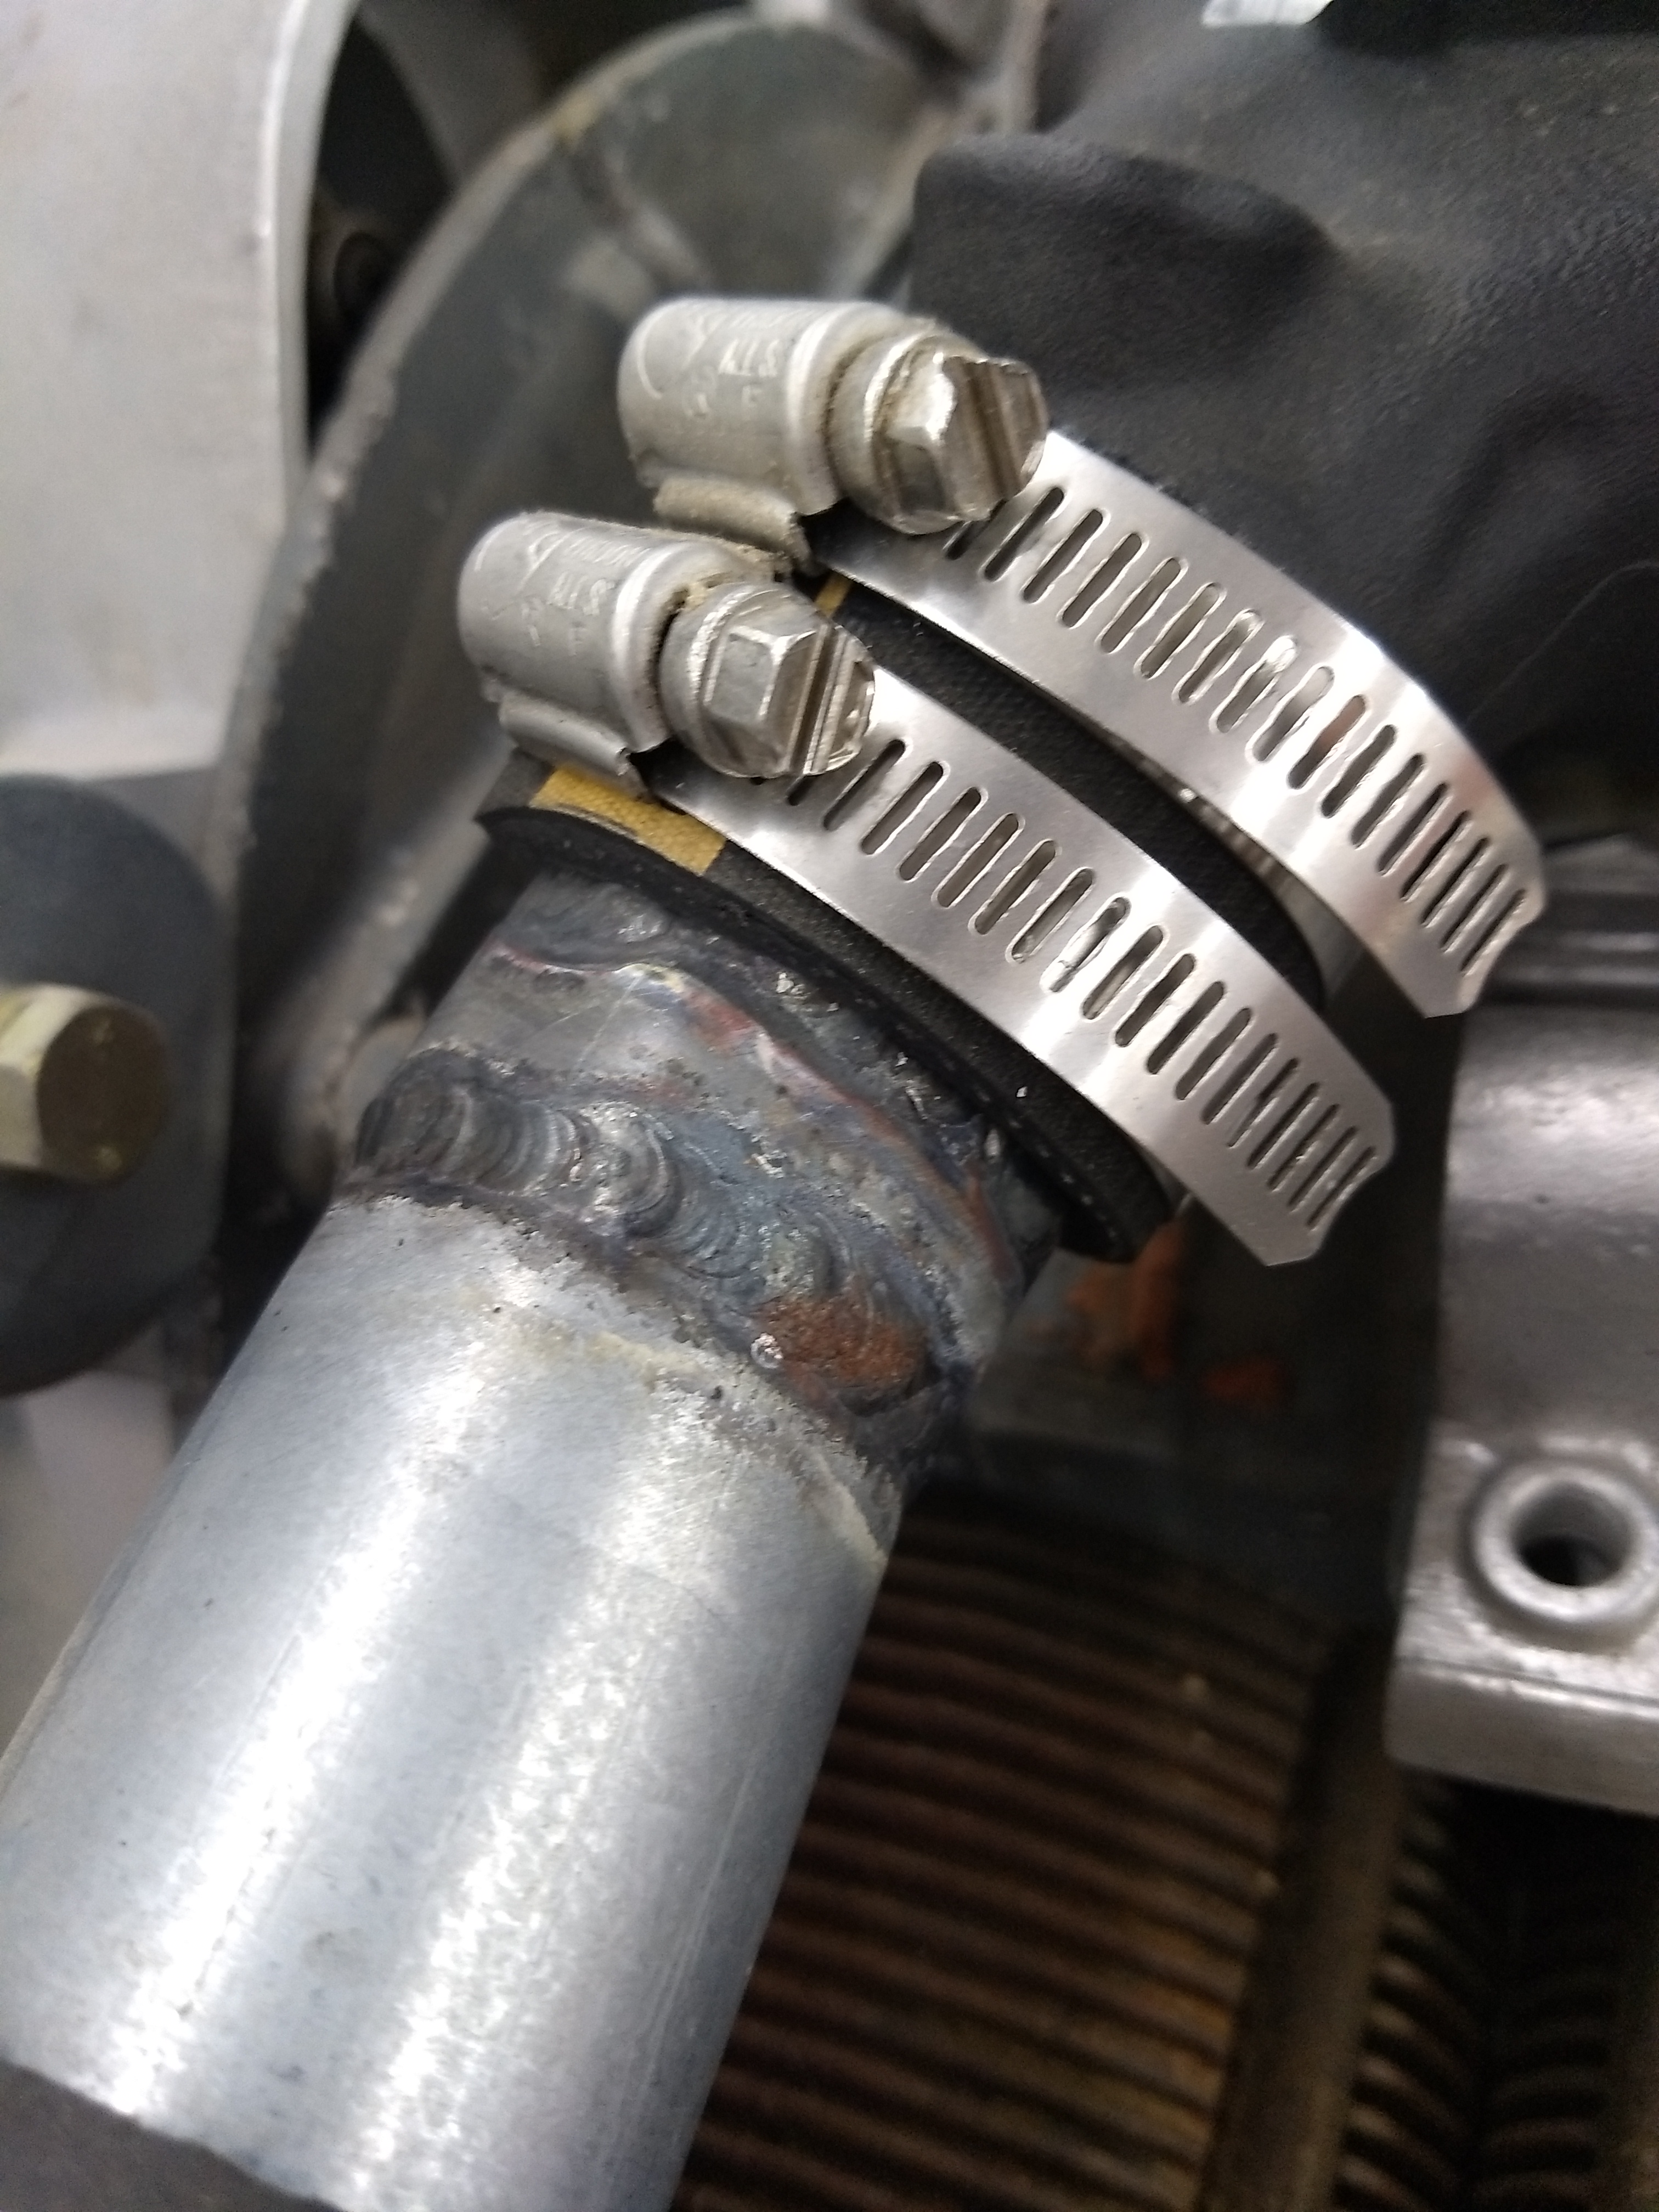
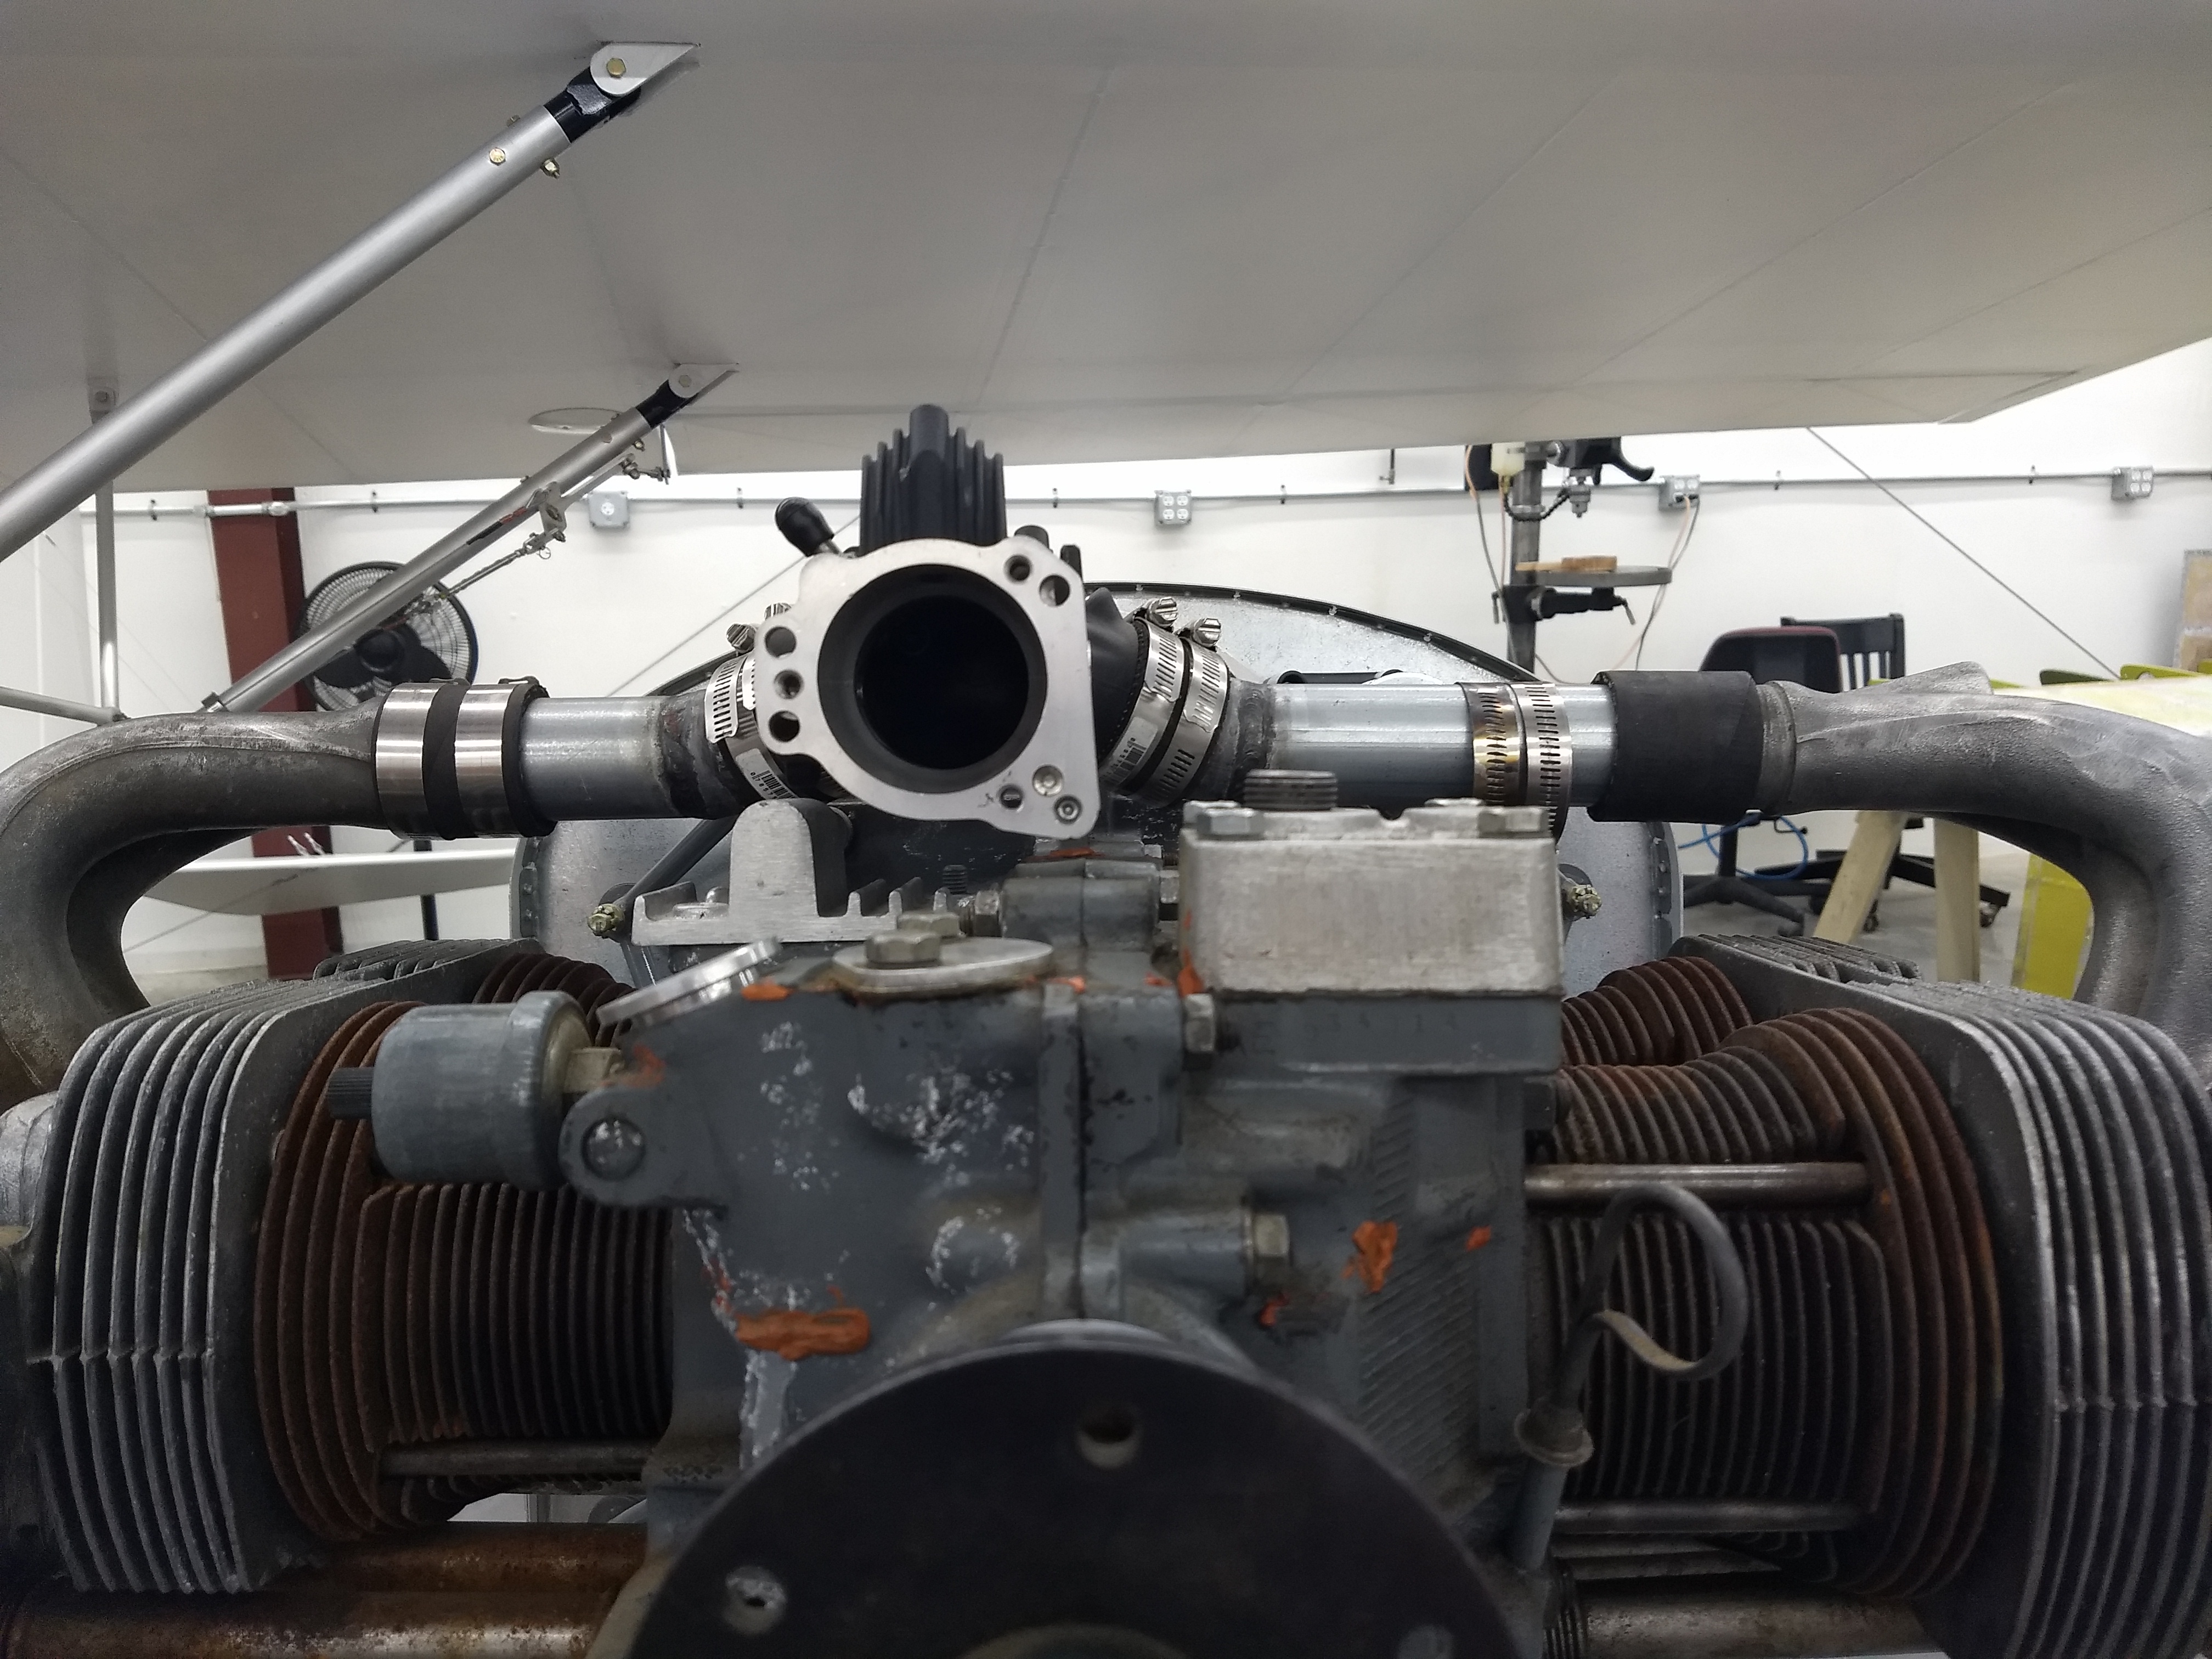
Throttle Body Piping
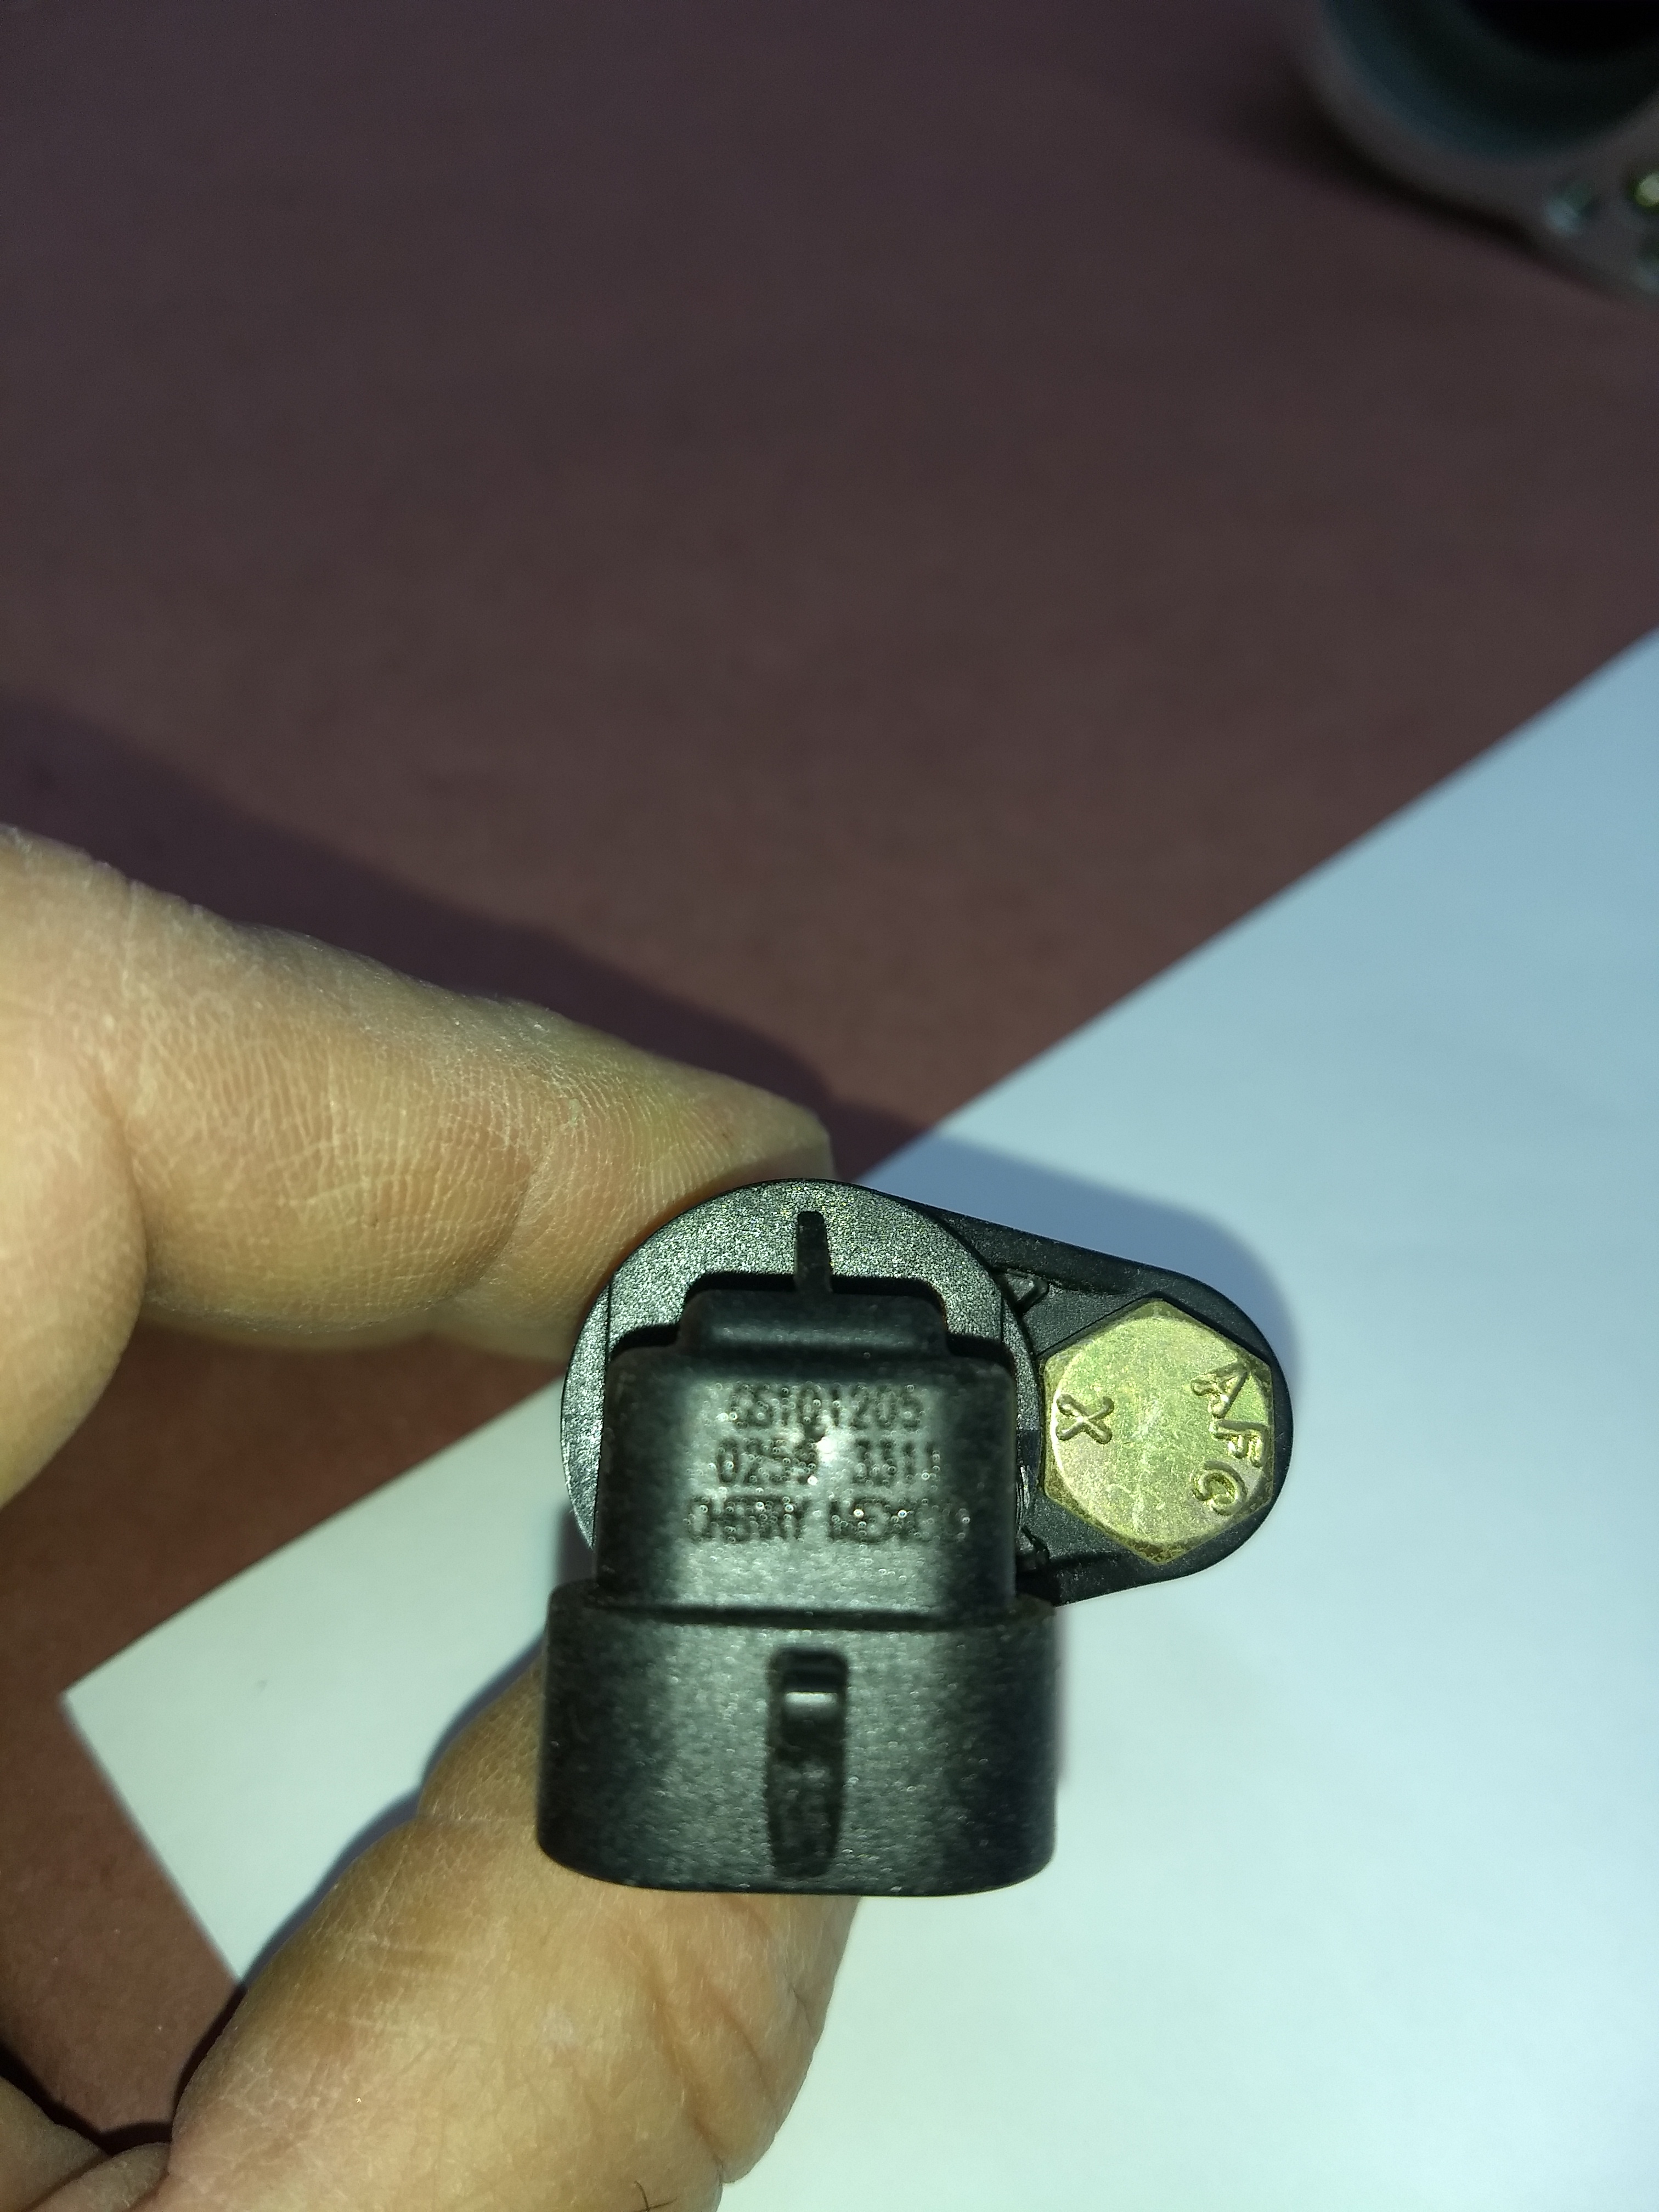
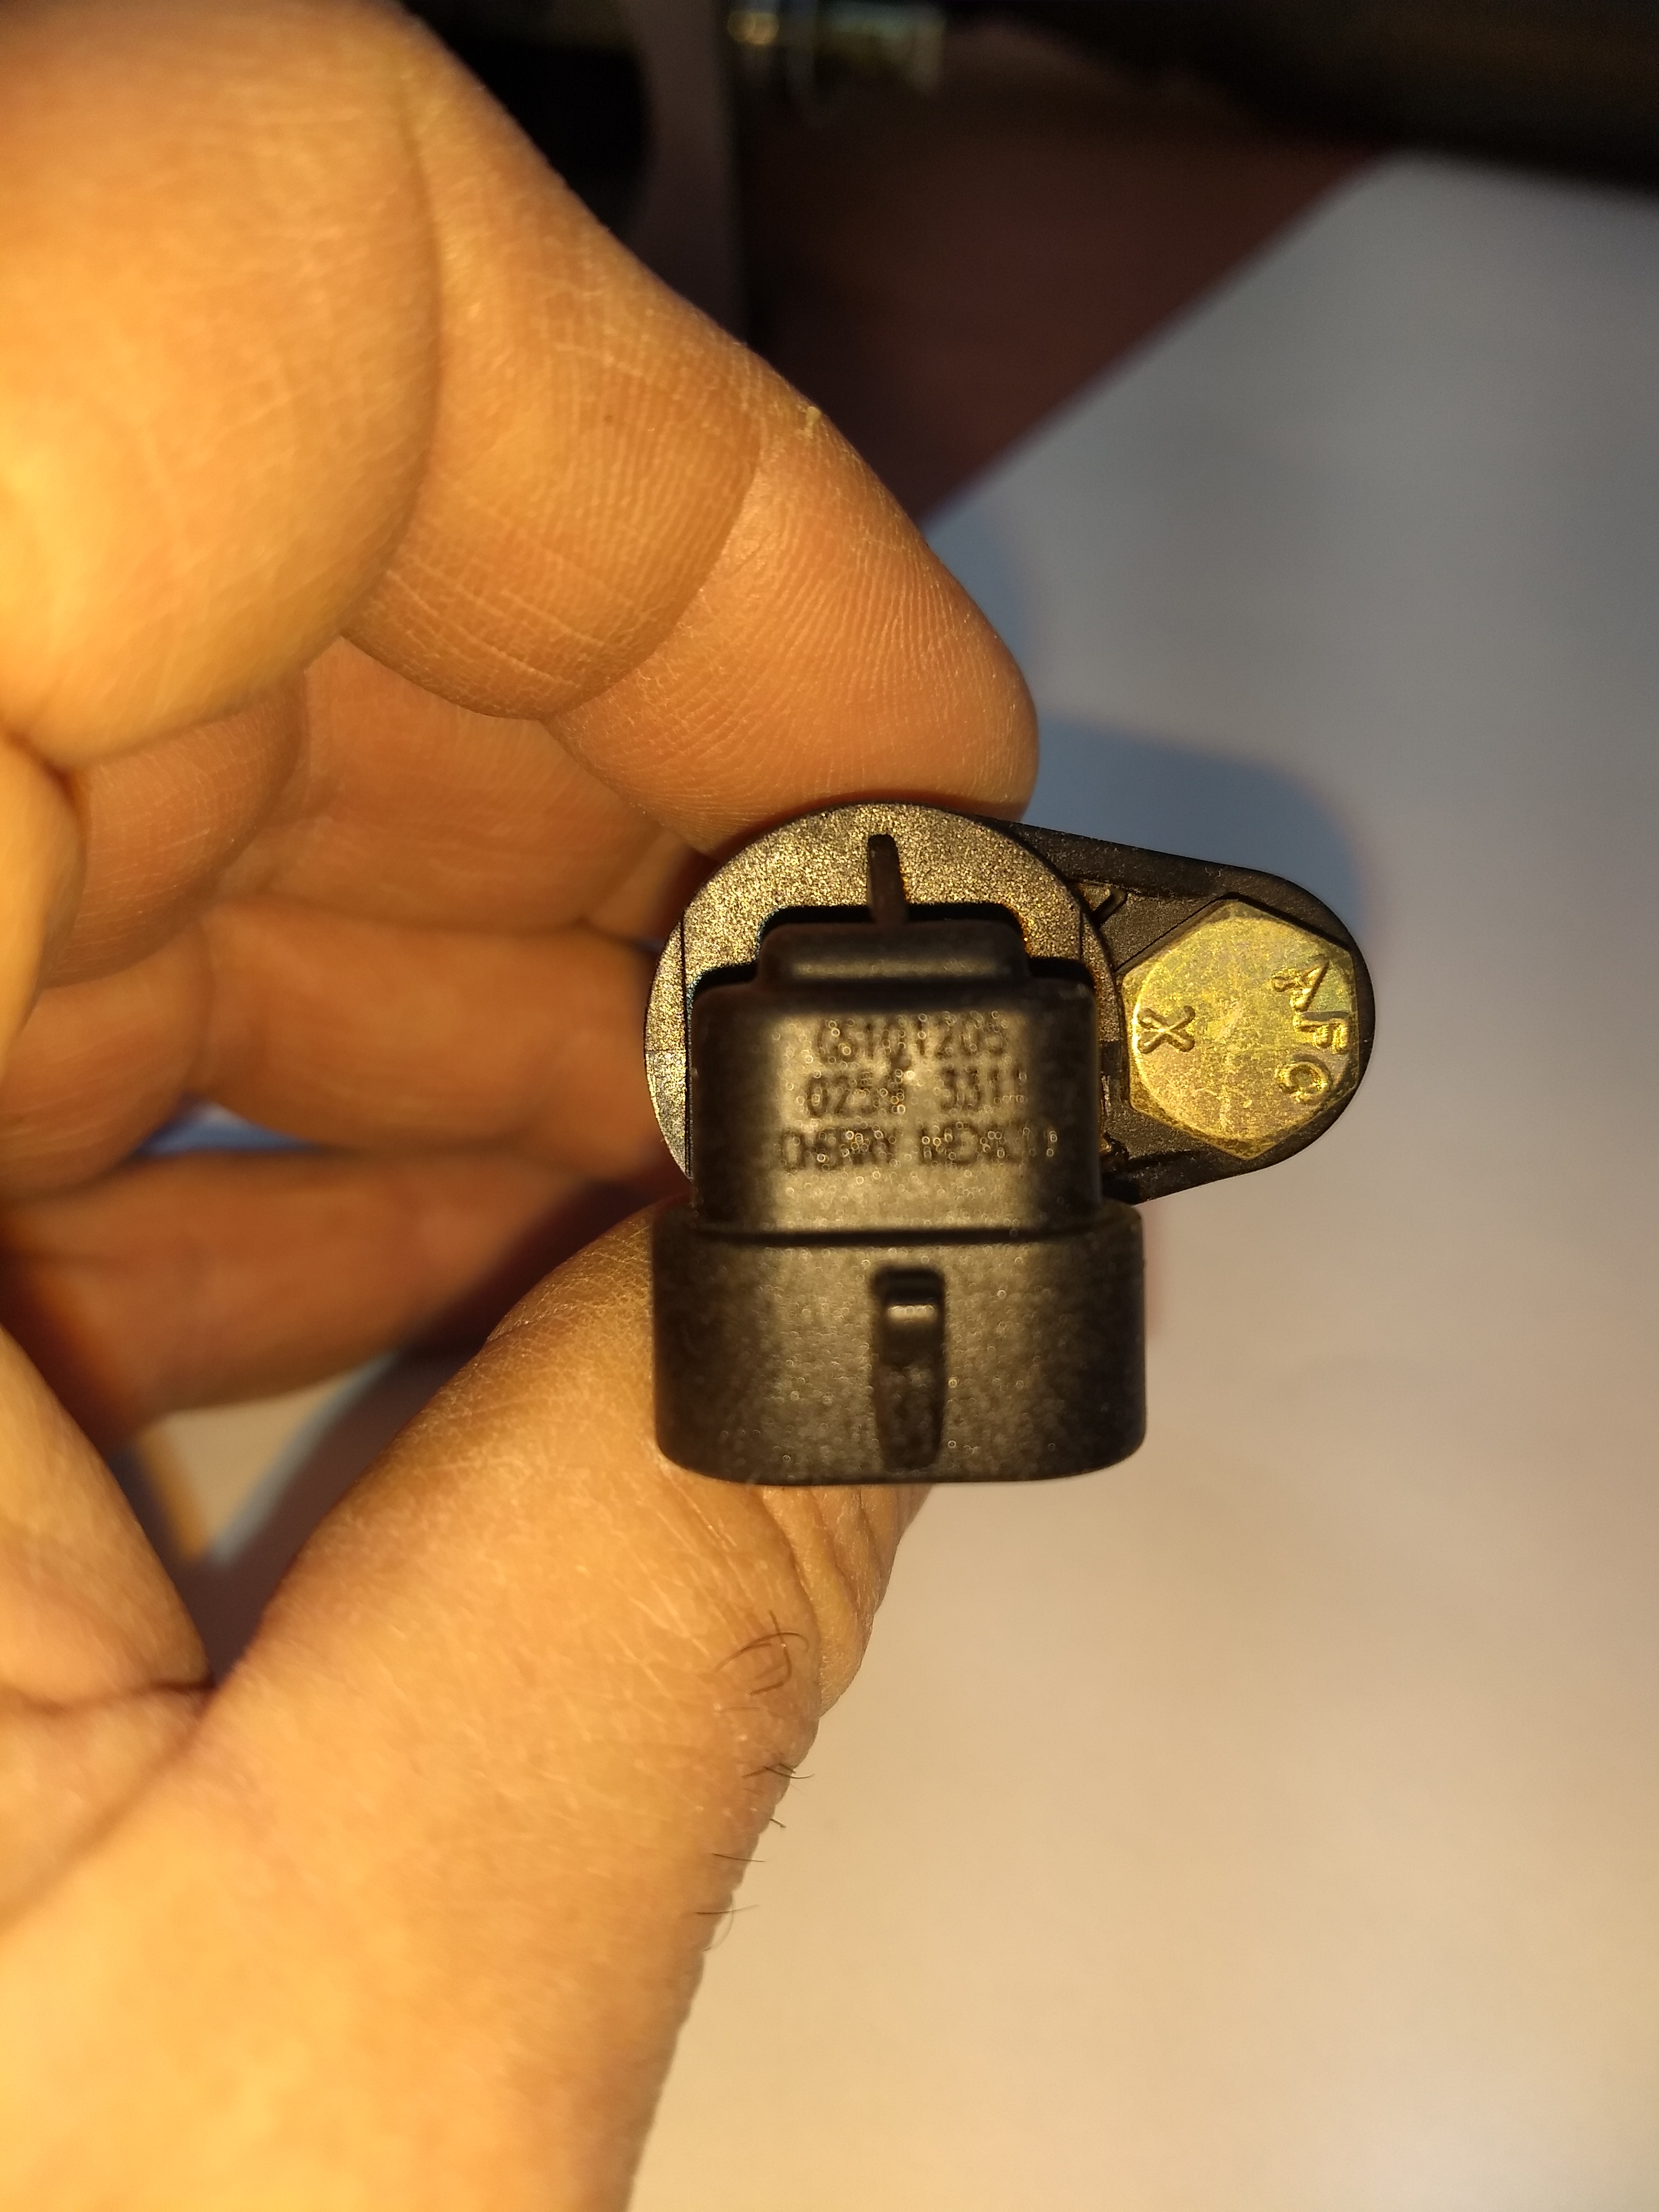
Throttle Body Sensors
Trigger Wheel
